Hour 1
In Hour 1 of the Today’s Homeowner Radio Podcast, learn how to remove rusty bolts from concrete, get the most out of kitchen cabinet space and more.
Removing Rusty Bolts From Concrete
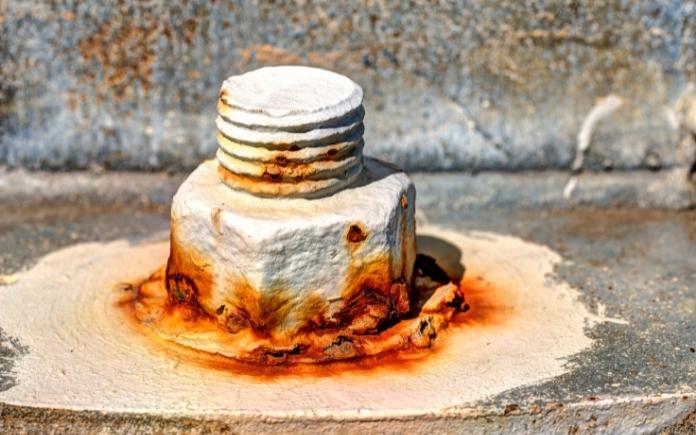
Cliff Dodd in Mobile, Ala., recently removed his pool diving board and pedestal base, but the severely rusty bolts are still embedded in the concrete.
“When I took dive off, the bolts were three rusted mounds. I couldn’t differentiate between the nuts, bolts and washers,” he says.
He wants to know, is there a way to remove the bolts, and if not, what’s the best way to prevent these old bolts from rusting and having a rust stain on the concrete in the future?
Removing bolts from concrete can be tricky, because they were put there in the first place to stay put. To remove them, use a center punch tool to drill a hole in the middle of the bolt. Then, drill it out as much of the rusty bolt as you can. After that, use a hammer and cold chisel to crush what’s remaining of the bolt inward to get it below the surface. This way you’re not disturbing the concrete around it too much.
Another option is to grind the bolts down below the surface as much as you can. To do this, use a disc grinder, and make sure you wear safety gloves and glasses while doing it. Hone the grinder back and forth until the bolt is about a quarter-inch below the surface.
To prevent the rusted bolts from staining the concrete, spray or brush on two to three coats of metal primer over the rusted bolt. This will seal off the rust and keep it from spreading into the concrete. To keep the paint from getting onto the concrete surface, cut a hole that’s the same size as the bolt in a paper plate and place it over the bolt area.
Next, cover the holes with a concrete patch. The challenge when working with existing concrete is getting the patch to match. For a uniform look, apply a concrete resurfacer over the entire slab.
Getting the Most Out of Your Cabinet Space
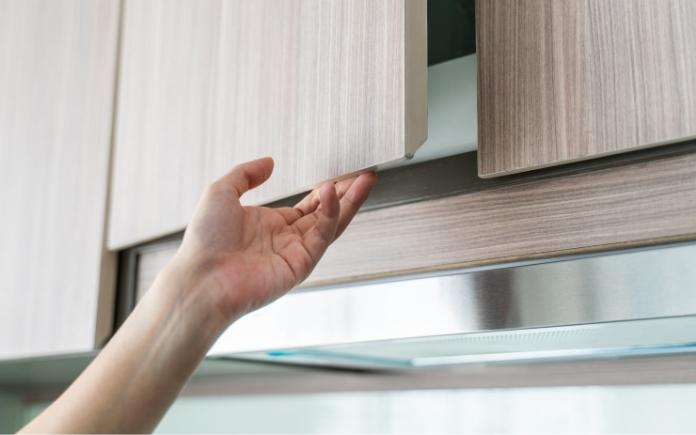
Dorene in Pennsylvania needs some advice on her kitchen cabinet storage.
She has pull-out shelves in her base cabinets, but half of them are broken. She’s ready to just remove them and install permanent half shelves.
Our advice: Don’t install stationary shelves; repair or replace the pull-out shelves.
When you look at the cubic feet of storage in a cabinet, you’re only using about 50 percent of it with stationary half shelves.
With a full pull-out shelf, you can use the most space and still have easy access to your items.
Repairing the pull-out shelves could be as simple as replacing the slides. Purchase new slides through the manufacturer.
To utilize even more cabinet space, consider installing a new pull-out shelf configuration. Home Depot offers many pull-out options, from corner cabinet pullouts to spice racks and more.
Before buying, take careful measurements of the depth and width of a cabinet. Retrofitted pieces of hardware are only expandable to a certain degree.
Hour 2
In Hour 2, we talk about the pros and cons of peel-and-stick wallpaper, the best paint for hardwood floors and more.
Pros and Cons of Peel-and-Stick Wallpaper

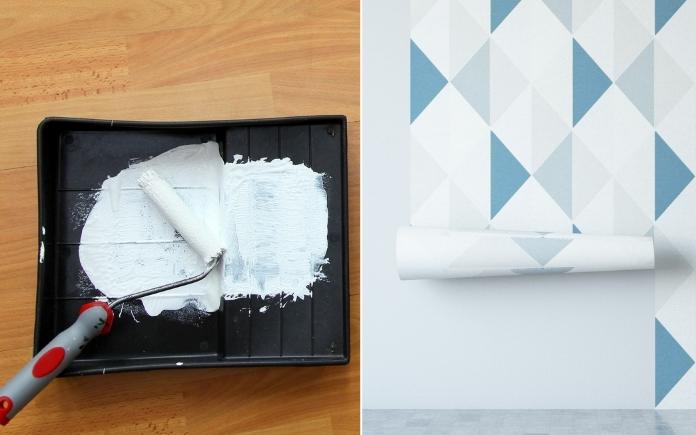
Peel-and-stick wallpaper is perfect for renters or homeowners who like to change their interior design often.
Because the adhesive is already applied, you don’t have to worry about making a mess with paste.
Before buying peel-and-stick wallpaper, consider the following:
Price: Prices for peel-and-stick wallpaper can vary. The cheaper it is, it will probably be more difficult to hang it smoothly. If you’re on a budget and going with the lowest price point, consider just using it for an accent wall. Also, keep in mind that the cheaper adhesive might damage your wall.
The higher in price you go, the easier the application and stronger the hold will be. Also, the more expensive types are easier to remove and leave behind less residue.
Location: Before putting up peel-and-stick wallpaper, take the room into consideration. A bathroom is very humid, so you need wallpaper with a strong adhesive. Otherwise, it might peel off by itself.
Also, because peel-and-stick wallpaper is made from plastic, heat can melt it. Don’t install it near a stove or a fireplace.
Our advice: Don’t buy the cheapest option. Buy mid-price peel-and-stick wallpaper and always check the reviews. If you find it costs the same as traditional wallpaper, you might as well hang regular wallpaper.
Painting a Wood Floor
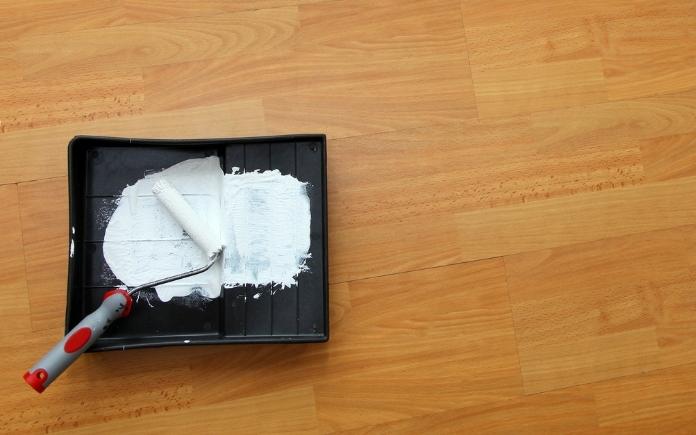
Karen Pittman in Tennessee lives in an older home that needs new flooring. Her current floors are wood, but she says they’re not worth refinishing.
“Until we can afford new flooring, is there a paint that will withstand the pitter patter of my 100-pound puppy’s little feet?” she asks.
We don’t often recommend painting a wood floor, but if it’s your only option, you need to use the right kind of paint.
Behr Premium Low-Lustre Enamel Porch and Patio Floor Paint will hold up to the heavy foot traffic of that 100-pound “puppy.” An anti-slip option is also available.
To paint the wood floors, prep it like you would any surface for painting and add a coat of primer.
Read “Painting Wood Floors” for a detailed guide on how to do it.
Around The Yard
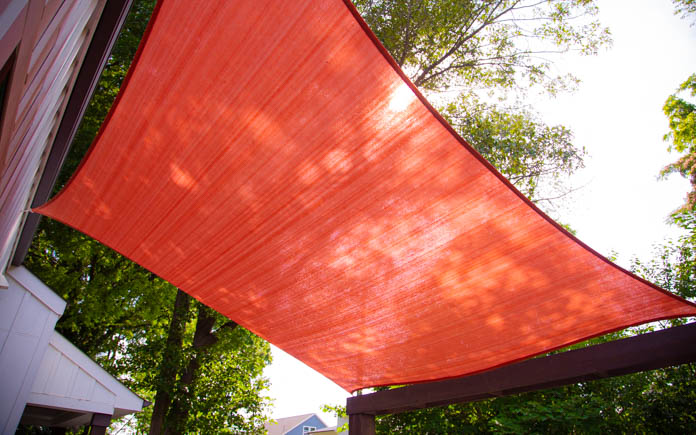
This time of year we spend more and more time outside. But for many of us It’s just downright HOT in July. So finding some shade for our outdoor living spaces is a priority. If you don’t just happen to have a perfectly positioned tree over your deck or patio, here are some ideas that may give you some relief from the Summer sun.
A pergola or arbor is the first thing many people think about when they want shade, but most of these structures don’t actually provide much of it on their own. Those vertically oriented boards across the top of them look really cool but they only block the sun at just the right angle. However, if you plant some climbing vines around the perimeter of the structure, in time they’ll create a canopy over the arbor that provides plenty of shade.
If early morning or late afternoon sun is a problem in your favorite spot, you may get some relief from a vertical hanging screen. The big decision here is whether you want to be able to move the screen when the sun isn’t intruding. Lattice panels are great for fixed screens but for a movable option, you might consider a rolling screen that works much like a window shade on a larger scale. I’ve even seen people make shade curtains from drop cloths with some success.
But by far the easiest and most popular way to produce shade is by hanging a fabric shade sail over the space. These are available in a variety of shapes, sizes and colors depending on your situation. The important thing to consider here is the tie-down locations. Be sure they’re sturdy enough to support the shade in the wind and allow some way to re-tension it since it will inevitably begin to sag over time.
This Around The Yard segment is brought to you by Quikrete and Pavestone.
Best New Products
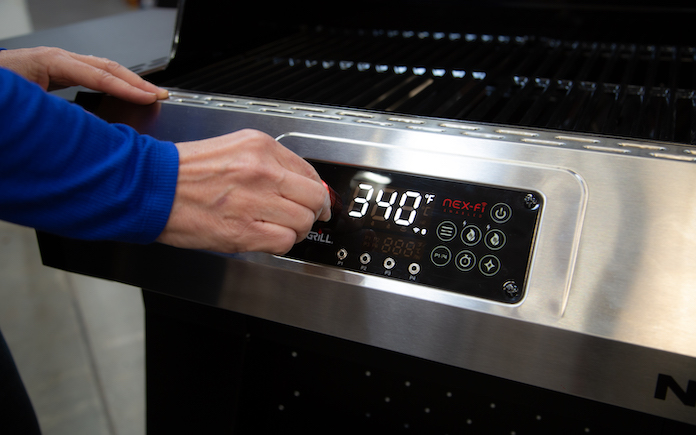 |
A smart grill takes the guesswork out of grilling. See why this new technology can make your barbecue better than ever. Learn more >> |
Simple Solutions
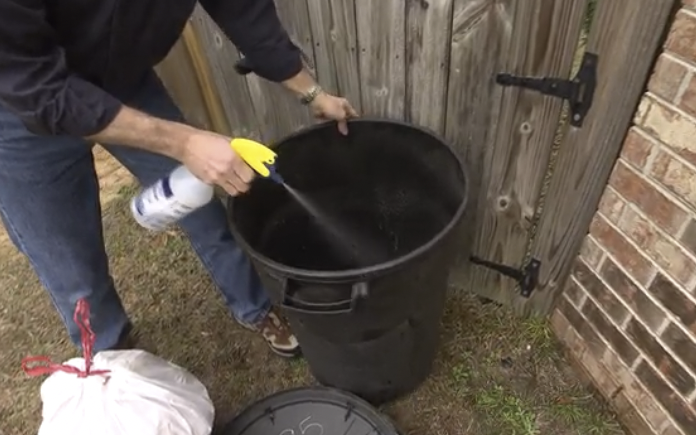
Pest-Proof Your Garbage Cans — Fill a spray bottle with ammonia and spray the outside of your garbage cans to repel raccoons, dogs and other critters from knocking over and rummaging through your trash. Also, liberally spray the ammonia on the ground around the garbage cans.
Watch: Tip for Disinfecting Outdoor Trash Can
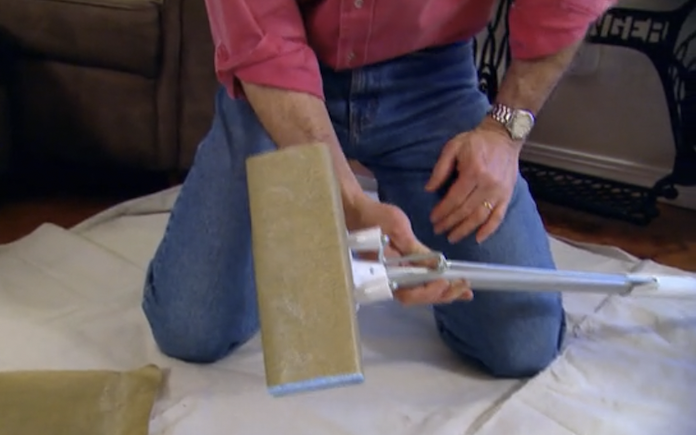
Improvised pole sander — A pole sander is great for sanding and smoothing lots of different surfaces, including walls, ceilings, decks and porches. However, if you don’t own a pole sander, you can make one from a sponge mop. Start by removing the sponge head from the mop and then wrap it in sandpaper. Screw the head back onto the mop and you’ve got a long-handled tool that’s ready for sanding.
Watch: Turn a Sponge Mop Into a Drywall Pole Sander
Other Products & Links Mentioned
Further Reading
Radio Show & Podcast: Send us your question!
If you have a comment, general question about home improvement, or something we’ve featured on Today’s Homeowner, please fill in this form:


