I’ve been working steadily on the cabinet for the master bathroom. I’ve gotten through most of the tedious stuff — building, veneer edge banding, sanding, and installing all of the drawer boxes, plus building and sanding all of the drawer front frames. I think I’ve gotten far enough to where I can reasonably expect to finish this cabinet this weekend.
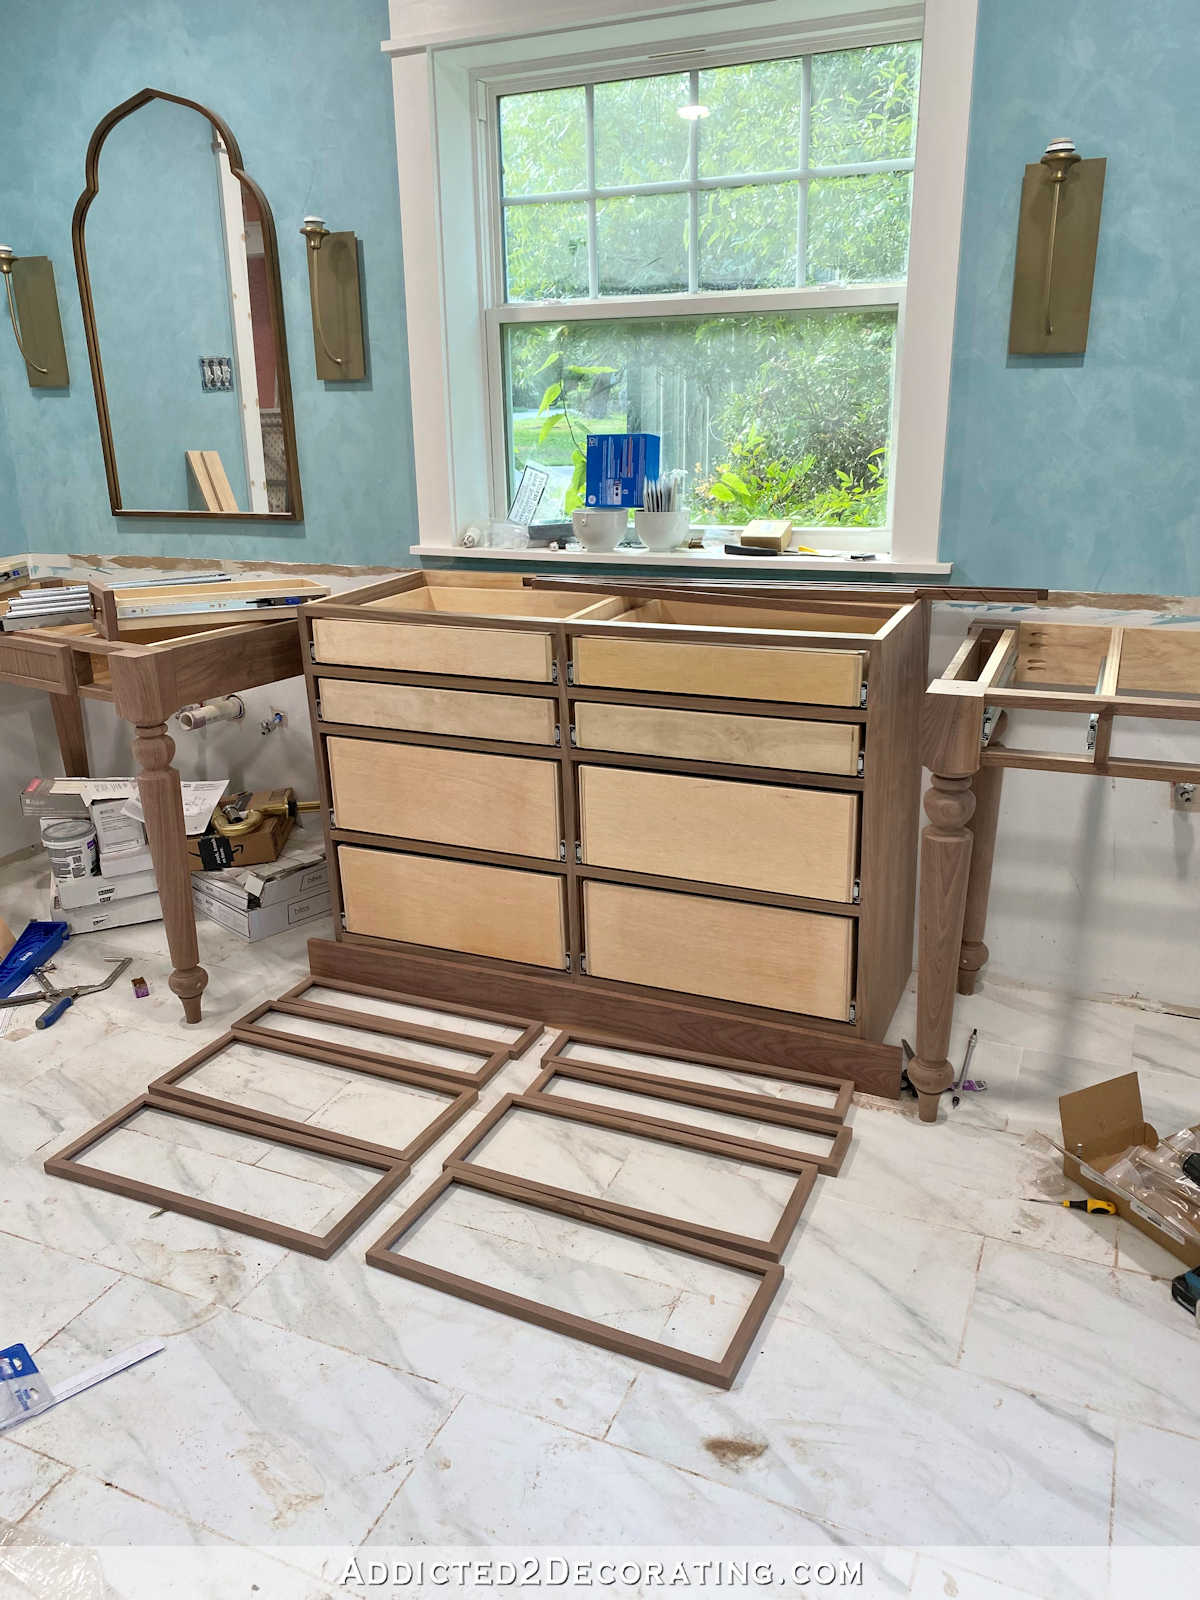
I still need to finish the drawer fronts (but the part left is the easy part) and attach them, use my router on that bottom board to make a pretty trim piece, and then make a countertop. I would LOVE to be able to finish building this cabinet, and then get the Rubio Monocoat finish on it this weekend. What an accomplishment that would be!
As far as the vanities go, I still need to make the drawer boxes and drawer fronts for this one…
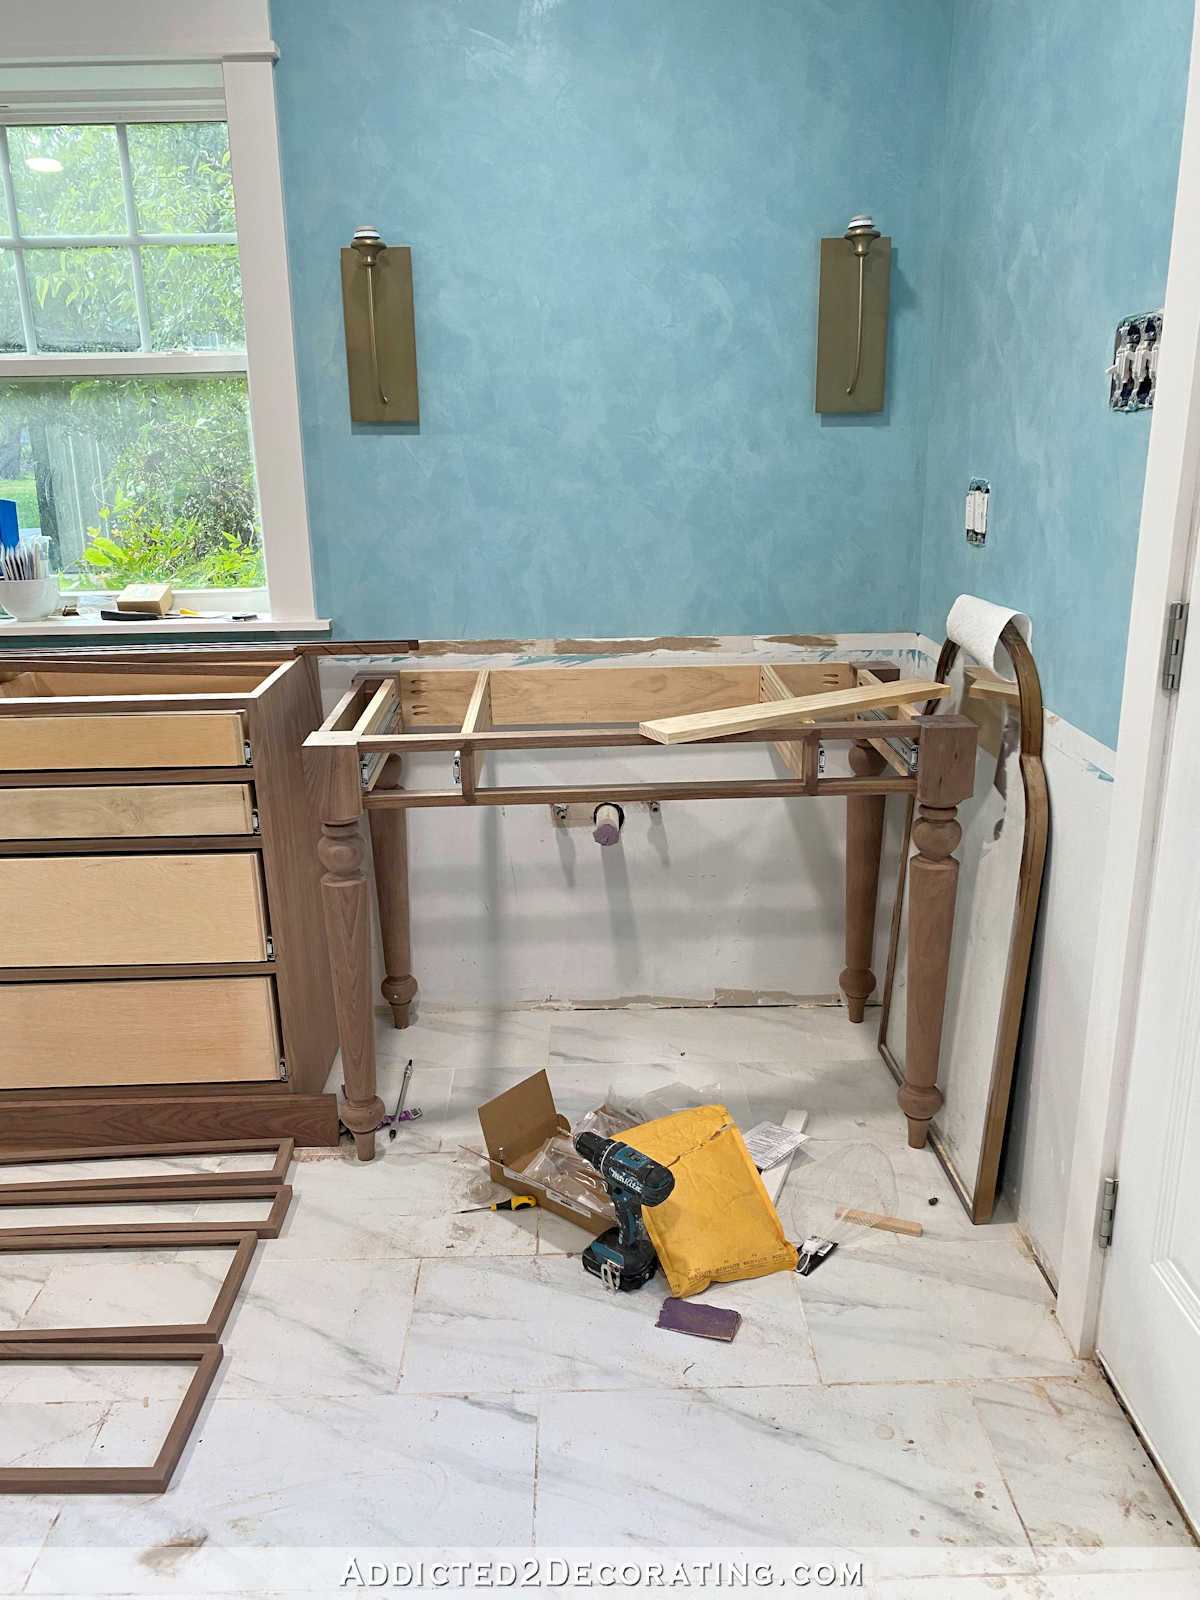
And then I need to do just a little bit of tweaking to this one to bring the drawers forward just a bit so that they won’t be set back so far under the countertop…
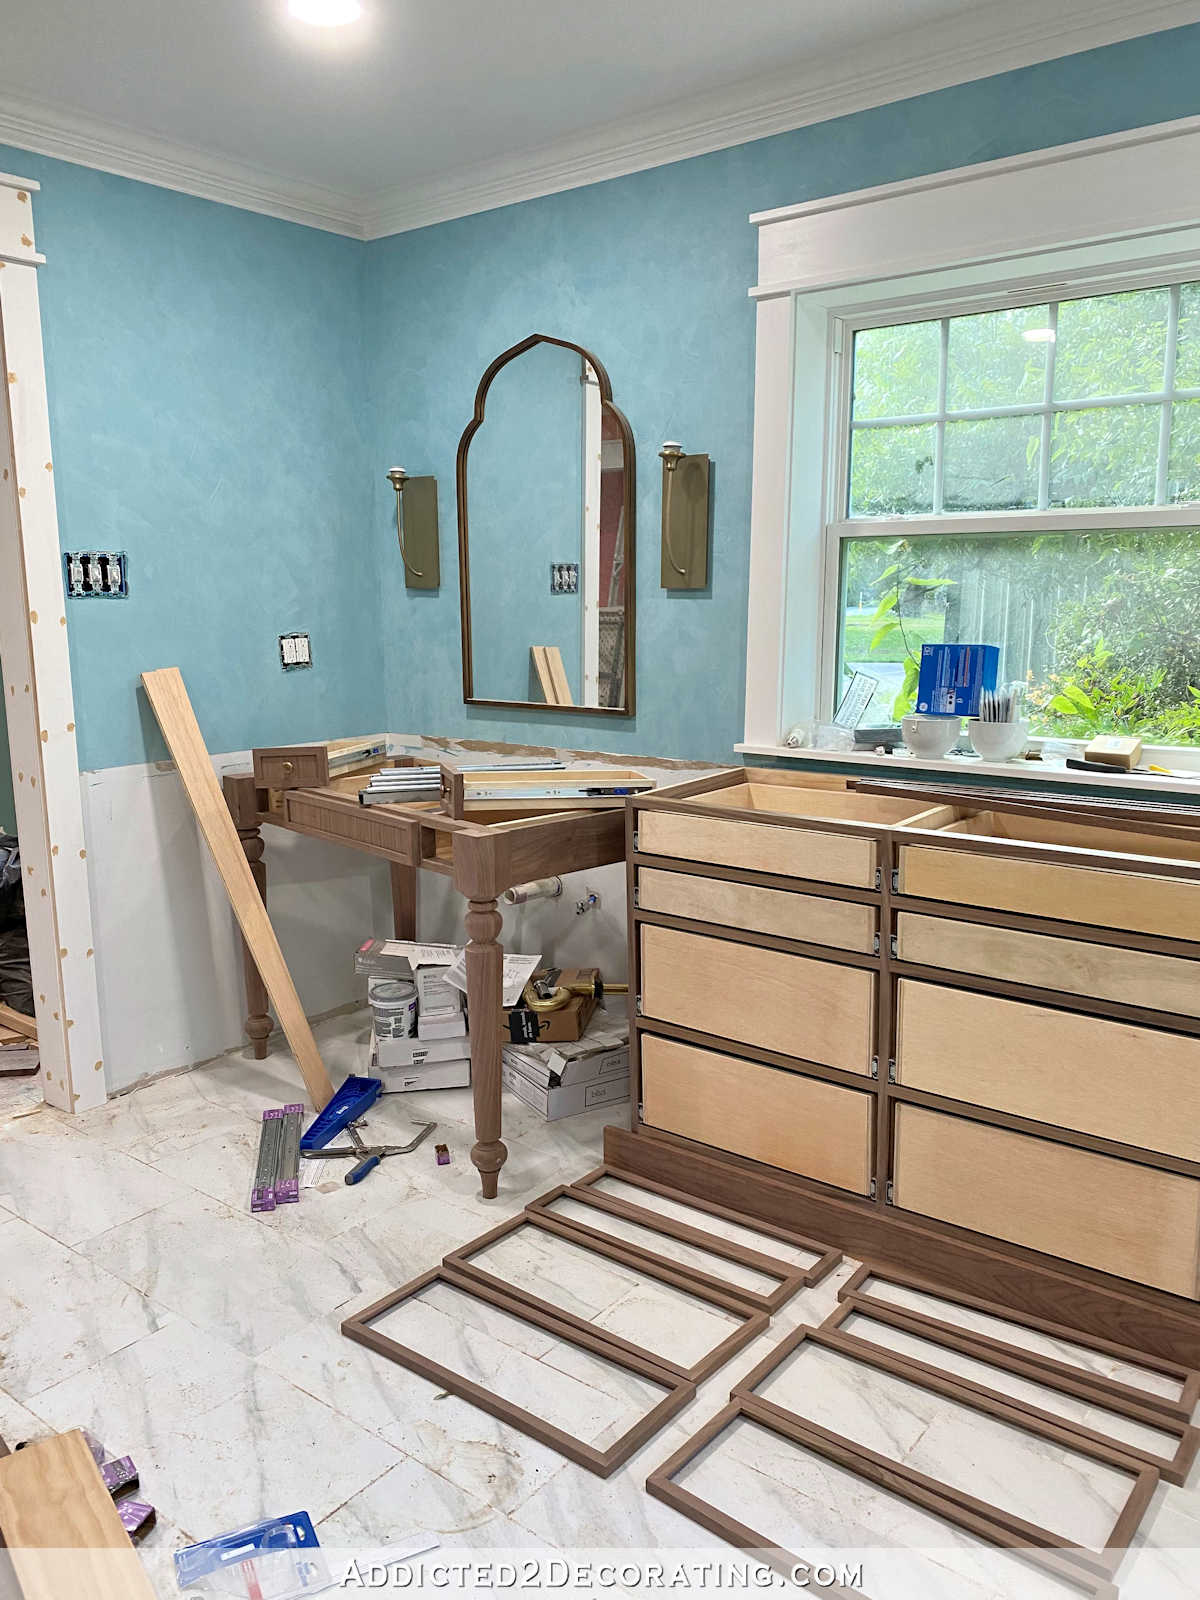
The middle cabinet is all sanded and ready for its Rubio Monocoat finish, but the vanities still need to be sanded to a 120-grit finish before they’ll be ready. But there’s not a whole lot of surface area on those, so that should be a pretty quick process.
So it’s getting there! I was beginning to think I’d never get those drawer boxes finished for the center cabinet. They took way longer than I anticipated, and I was so relieved to get that last one finished and installed so that I could move on to the drawer fronts.
This bathroom project is winding down, and it’s about time. I use Google Photos to store all of my photos, and it has a handy feature that shows you what photos you took one year ago, two years ago, etc.
Well, look at what showed up in my “one year ago this week” folder for this week…
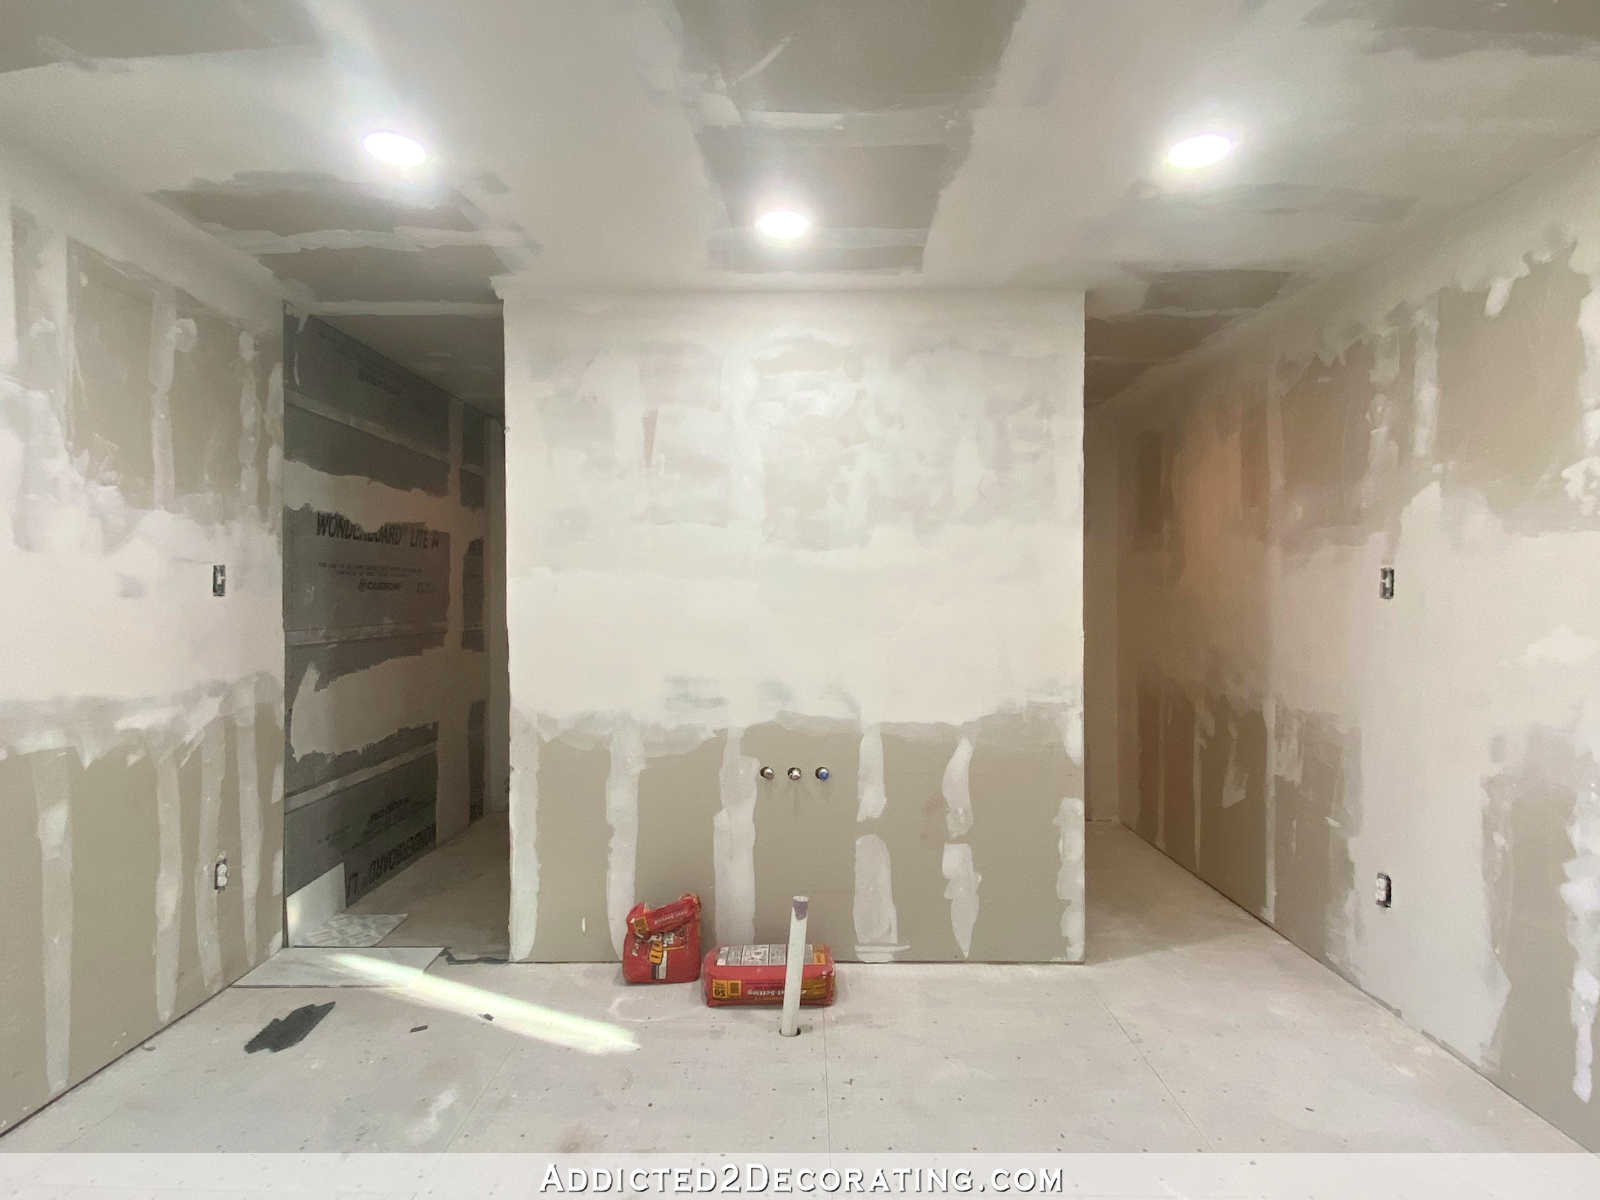
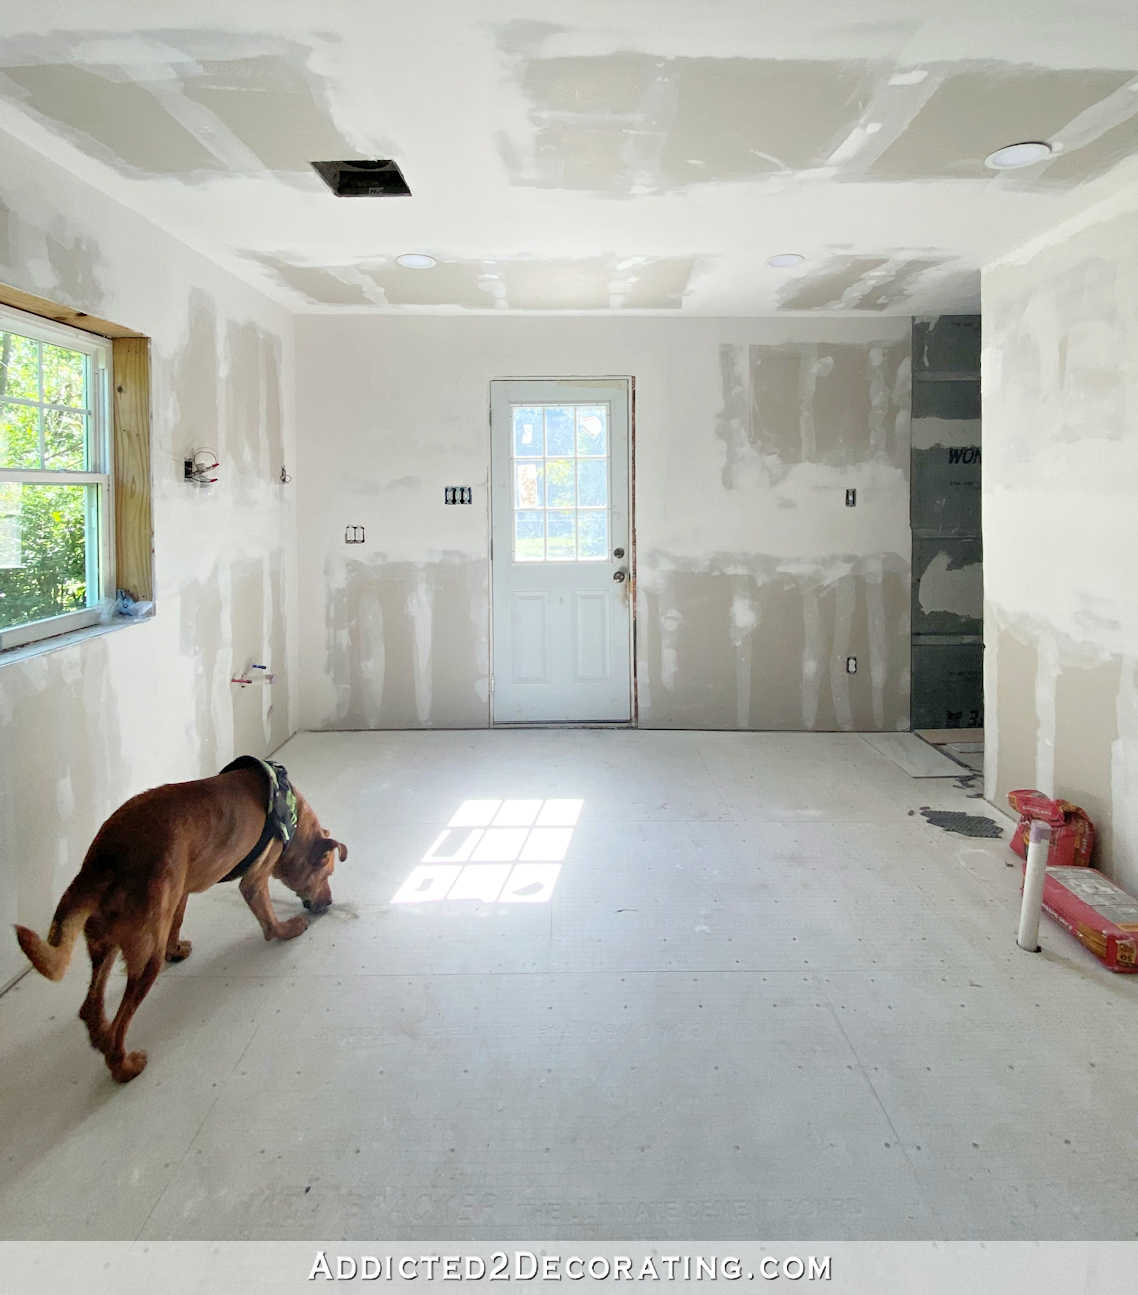
It was one year ago this week that my contractor’s guys finished up their part of this bathroom project, and handed the bathroom over to me to finish. This is what it looked like, one year ago this week, when this bathroom officially became my project — concrete board on the shower walls, unprimed drywall on the walls and ceiling, and concrete board on the floor.
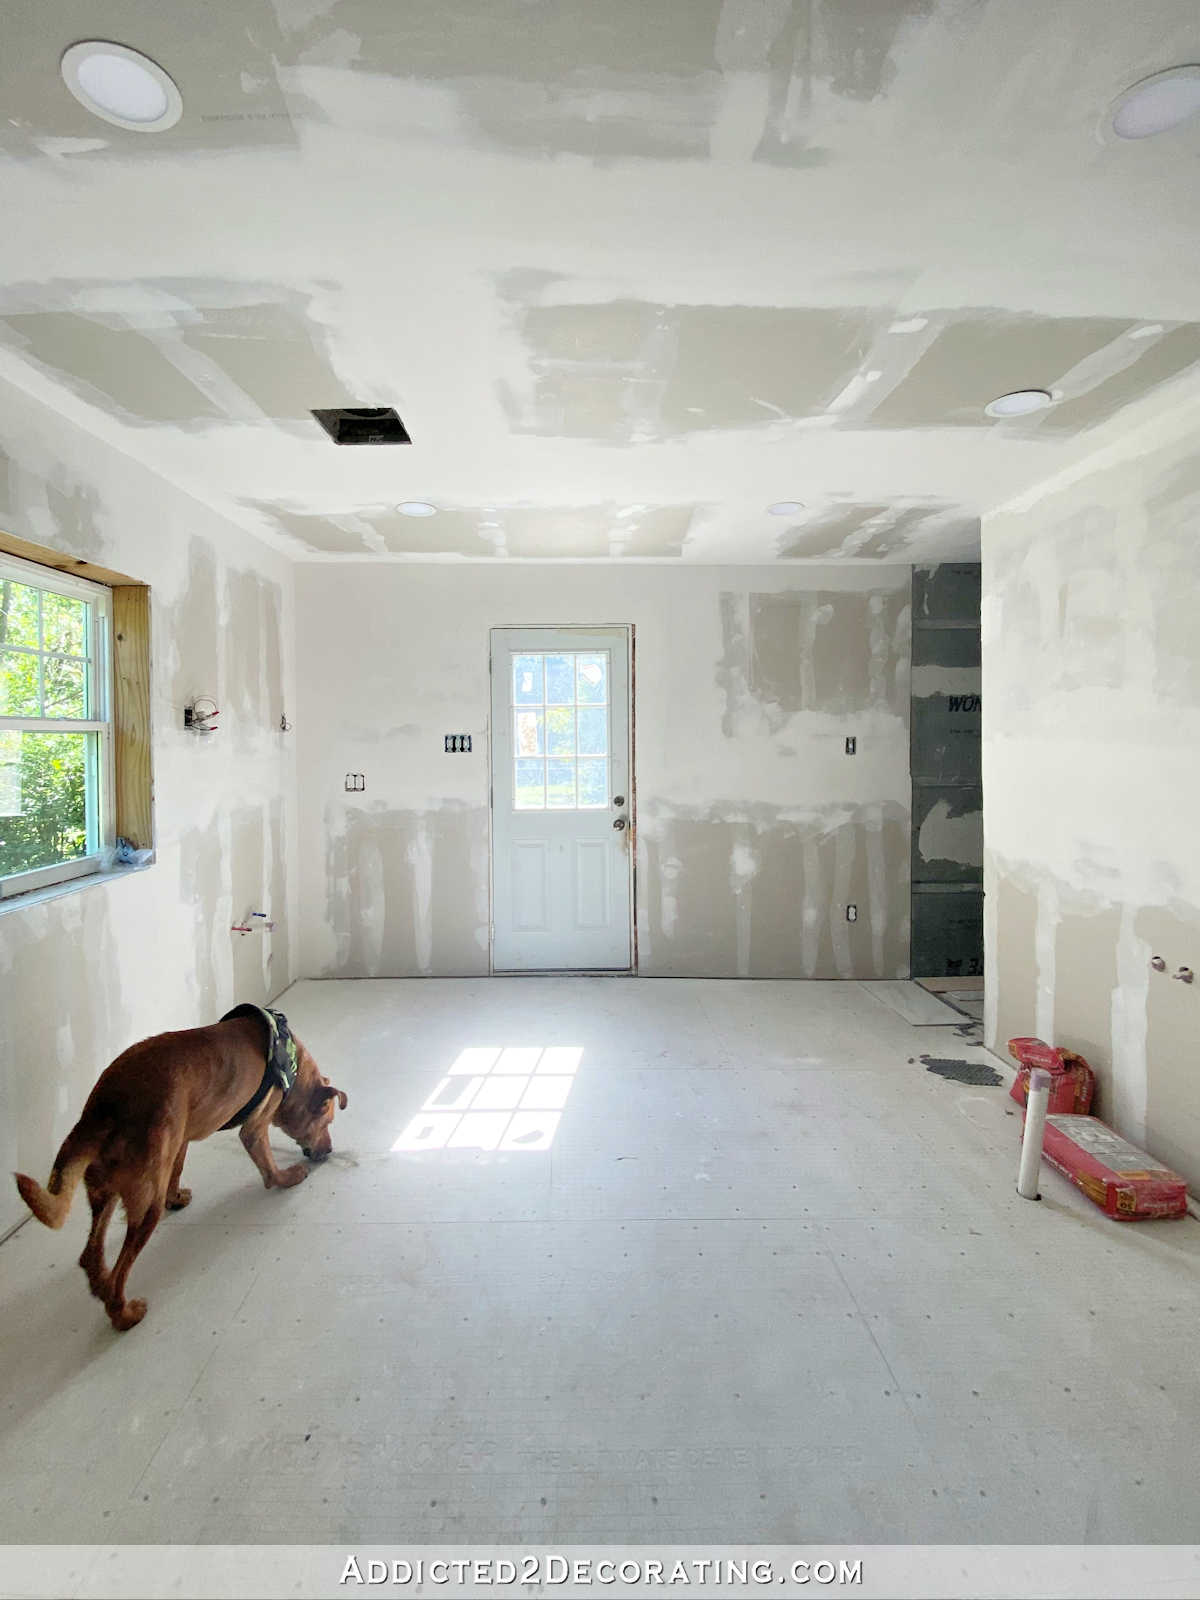
It was a complete blank slate, and a very intimidating one at that. It was so daunting that I start on it right away. At the time, I was still working on turning the breakfast room into a sitting room (which I finished in early September), and I was getting the pictures shelves finished and filled.
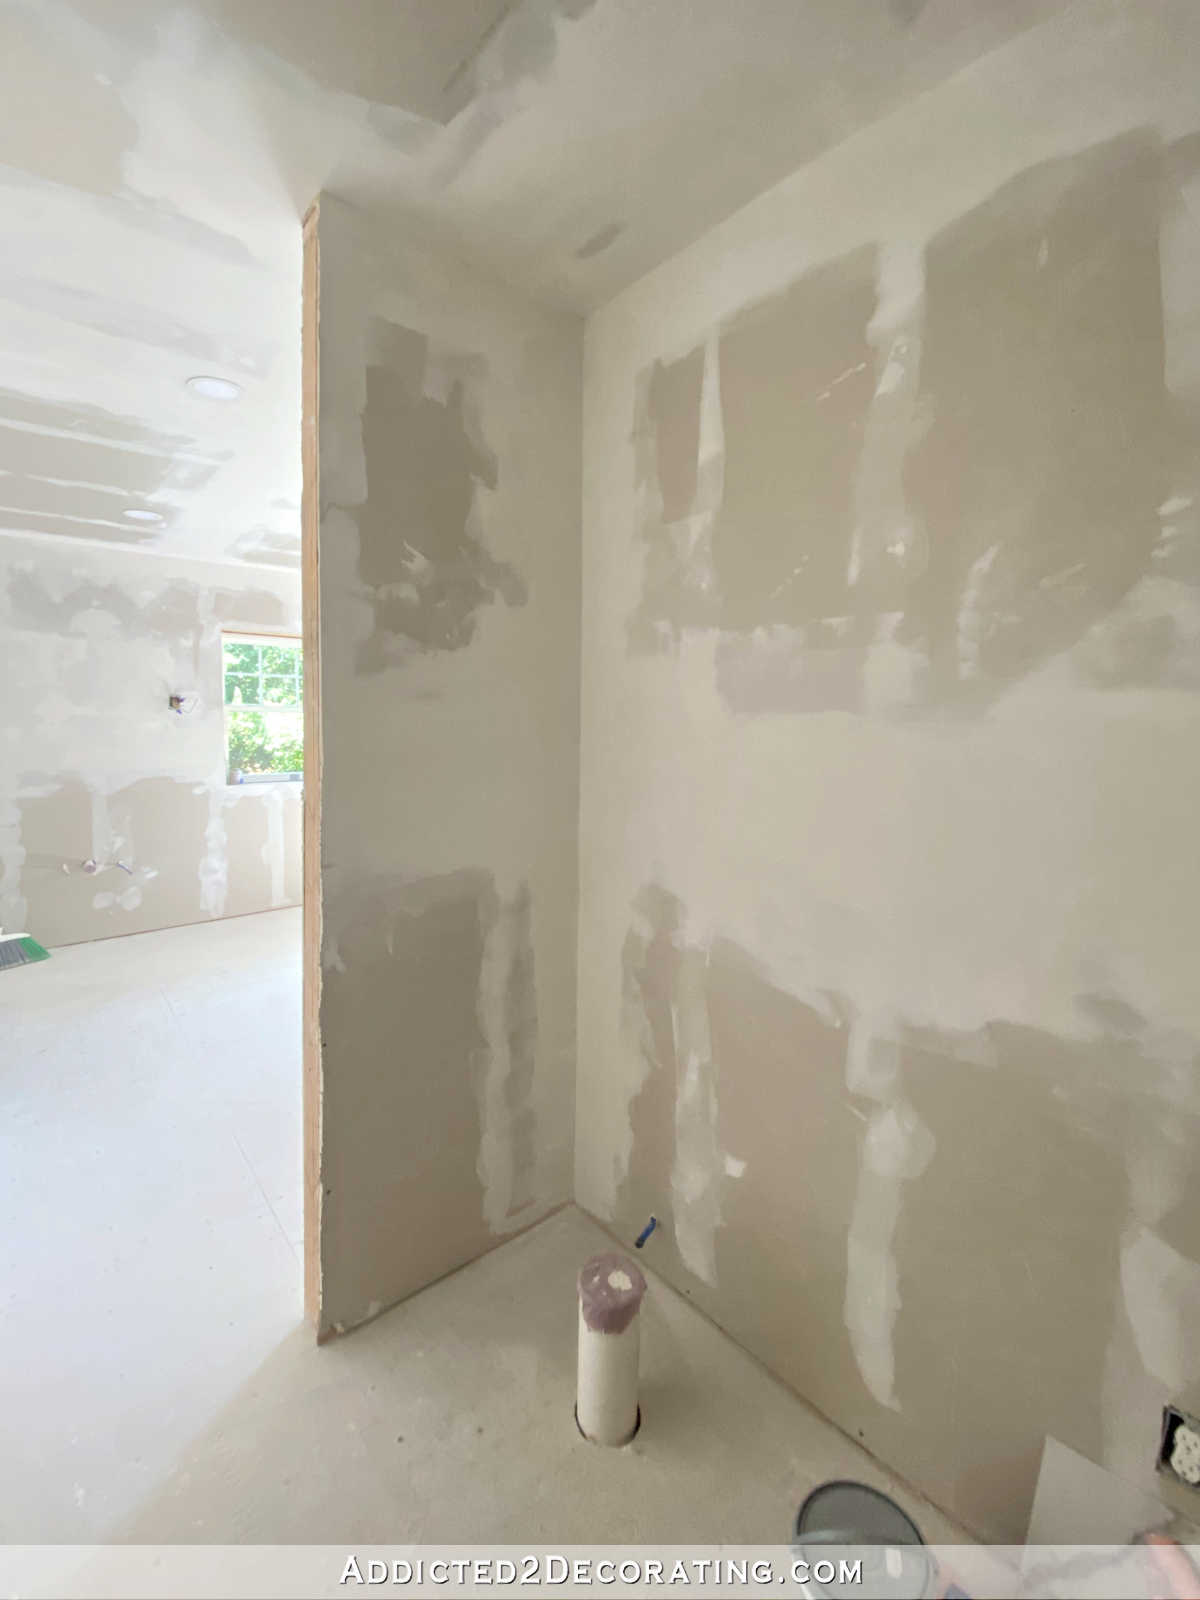
I didn’t actually start working on this bathroom until September 10th, and I began by priming the drywall. So that means if I can get this bathroom done in 15 days, it will have been a yearlong project. I really hope it doesn’t take longer than that, but I can’t guarantee anything. I’m sure I can get all of the big stuff done by then, but all of the little finishing projects (like figuring out window treatments and such) may take longer.
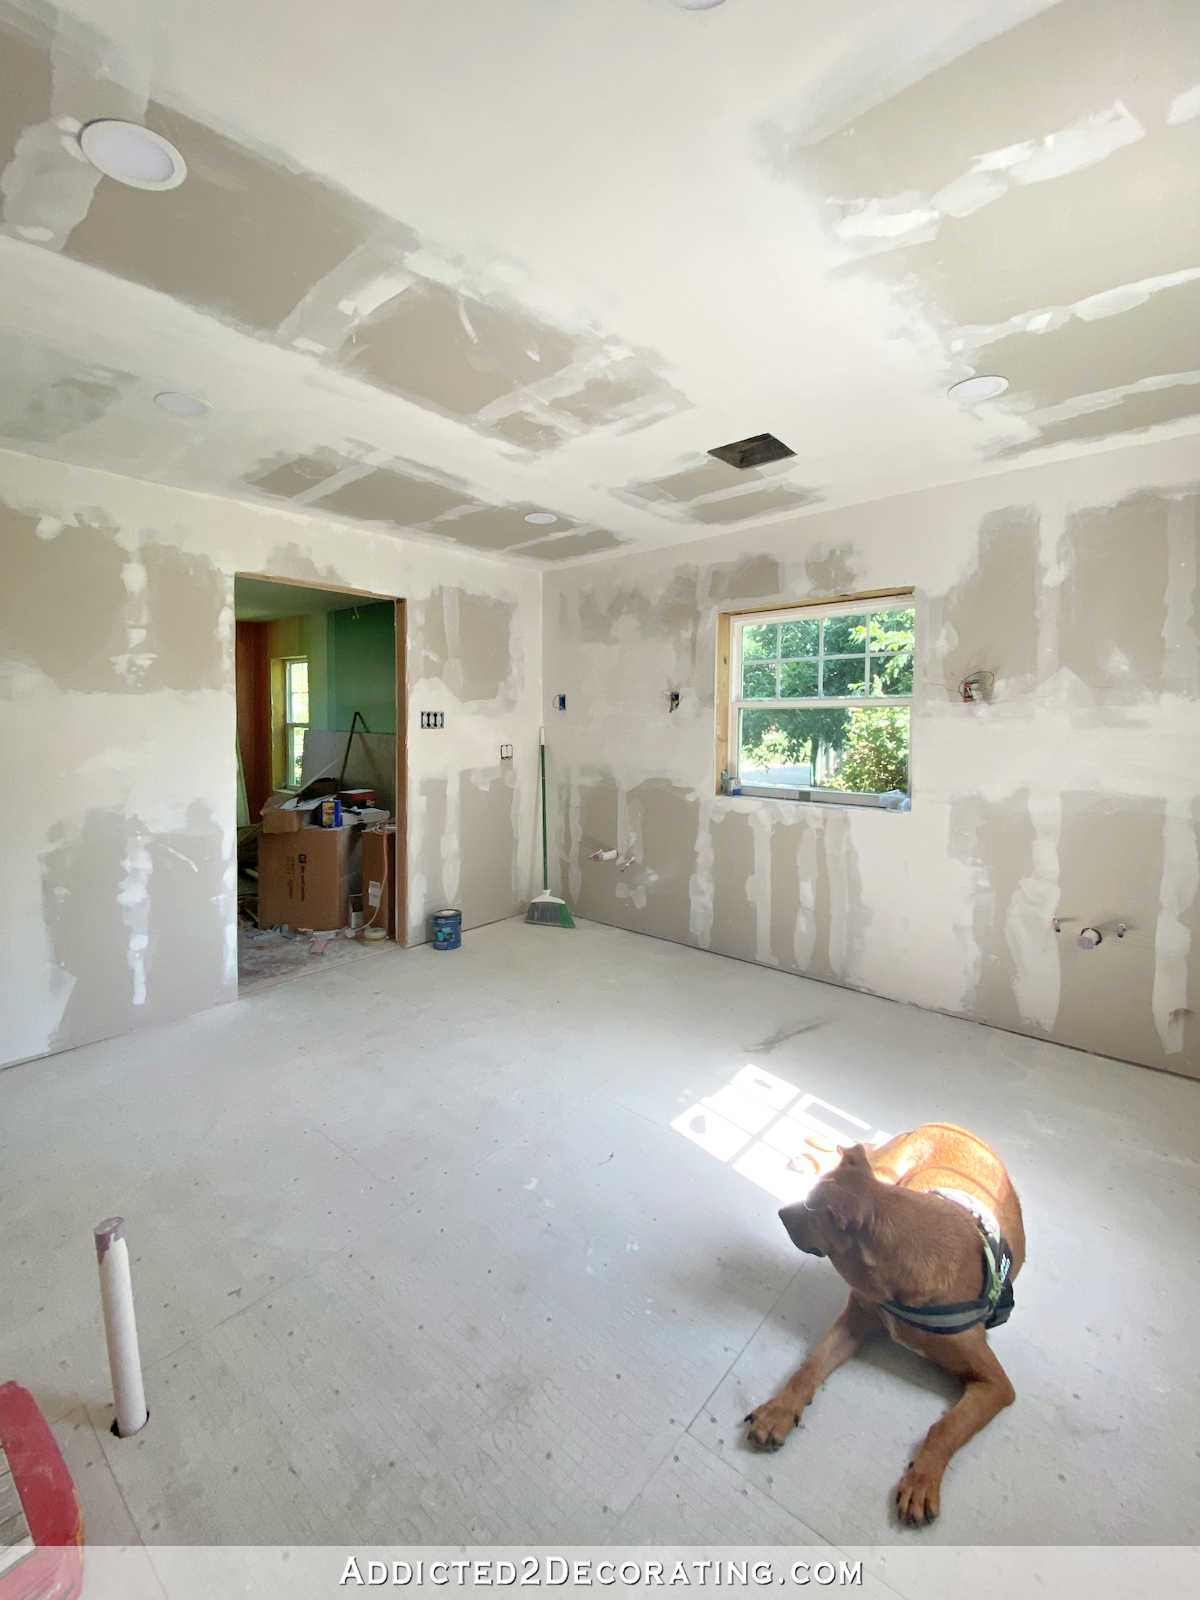
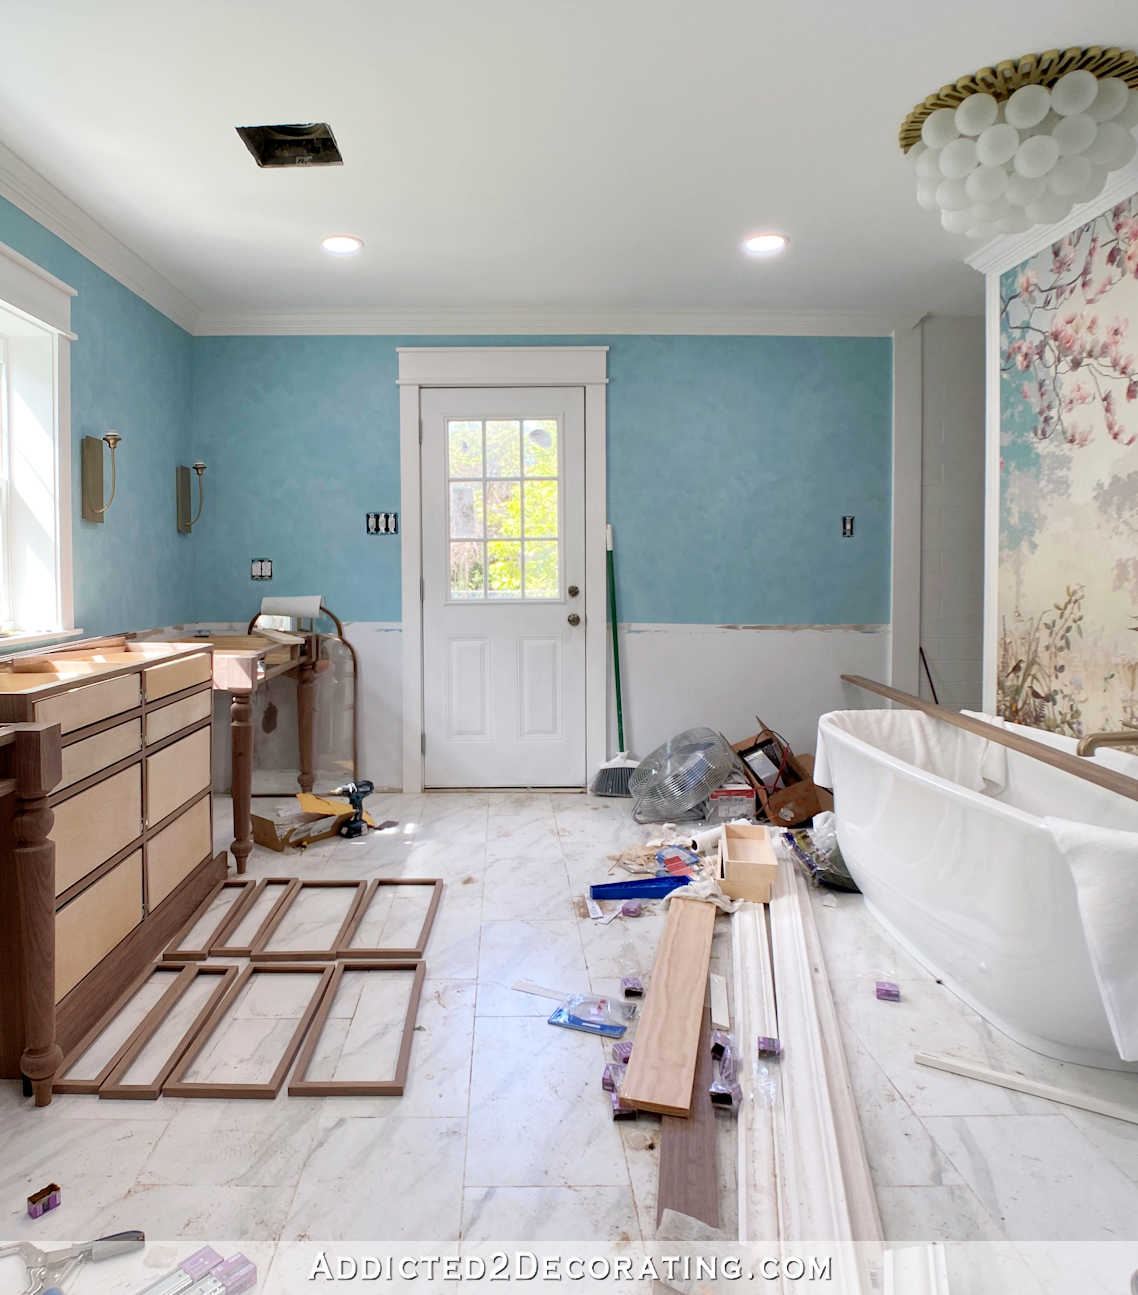
I have to admit that when I saw those pictures pop up in my “one year ago this week” folder, and I realized that I’ve been working on this room for nearly a year, I was frustrated and embarrassed for about five seconds.
But when I looked through the pictures and realized just how huge this project was, and everything that went into getting this room finished, and the fact that I’ve done everything from that point to where it is now by myself (with the exception of installing the bathtub and toilet), I realized that I have nothing to be embarrassed about. It was a huge, daunting task, and I’ve taken some extended breaks from the room here and there. And while I certainly could have finished it faster, I’m actually quite proud of the progress I’ve made, and I’m not bothered by the fact that it has taken me a year. The time has gone by fairly quickly.
The moral of the story? If you have a huge, overwhelming task before you, just start. Just do a little bit today, or this weekend. And then work on it steadily, a little here and there, and don’t stop. Don’t give up. Just continue that forward momentum and don’t worry or feel bad about the pace at which you’re working, or how long it’s taking you. Just keep moving forward, bit by bit. And before you know it, you’ll be right there at the finish line.

Addicted 2 Decorating is where I share my DIY and decorating journey as I remodel and decorate the 1948 fixer upper that my husband, Matt, and I bought in 2013. Matt has M.S. and is unable to do physical work, so I do the majority of the work on the house by myself. You can learn more about me here.
I hope you’ll join me on my DIY and decorating journey! If you want to follow my projects and progress, you can subscribe below and have each new post delivered to your email inbox. That way you’ll never miss a thing!


