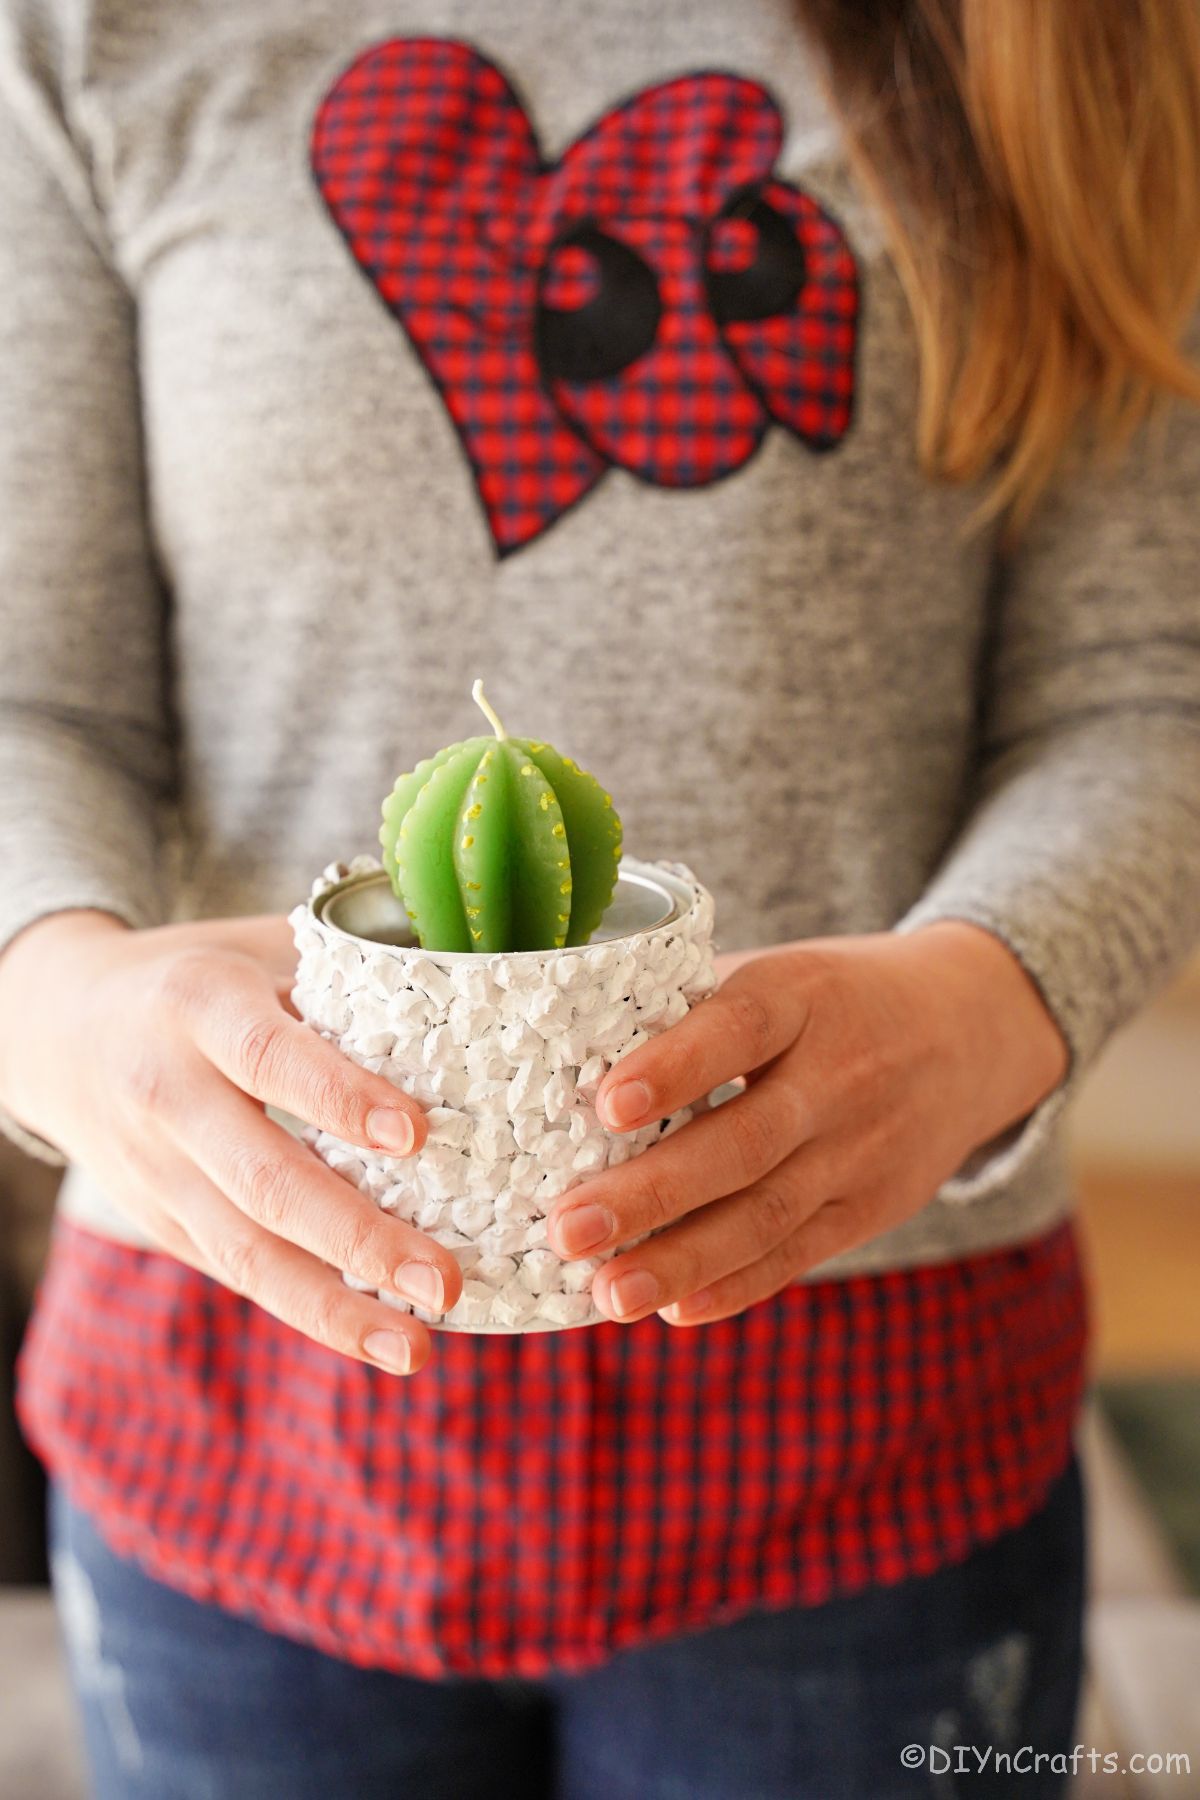
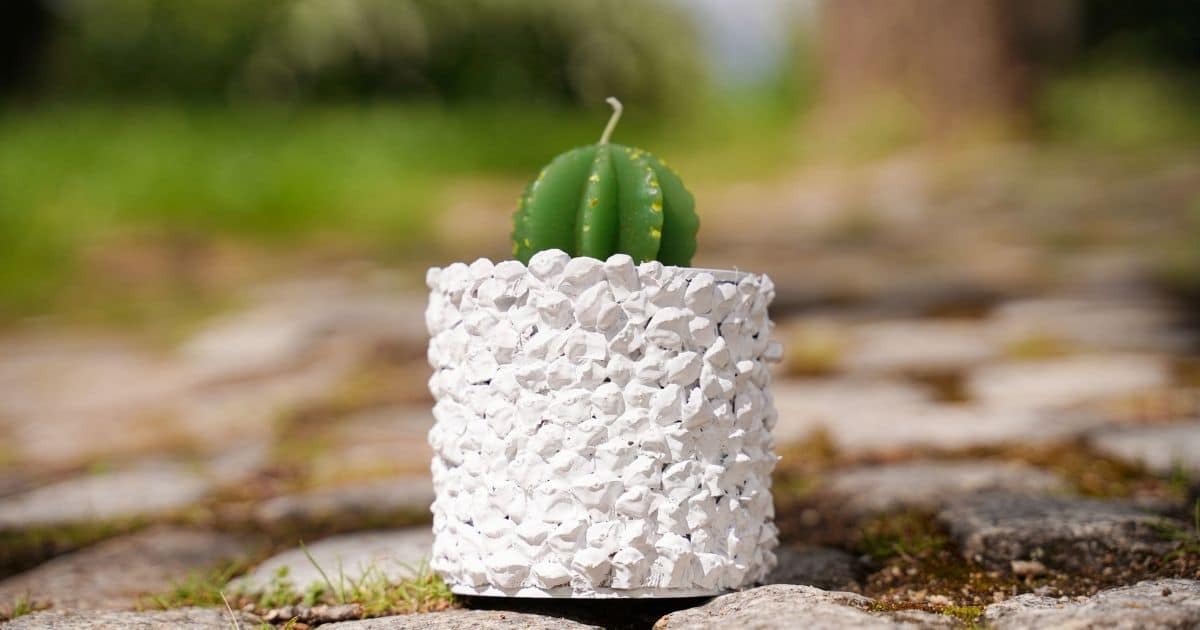
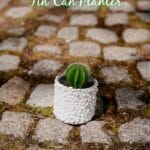
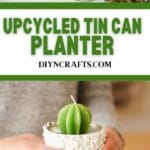
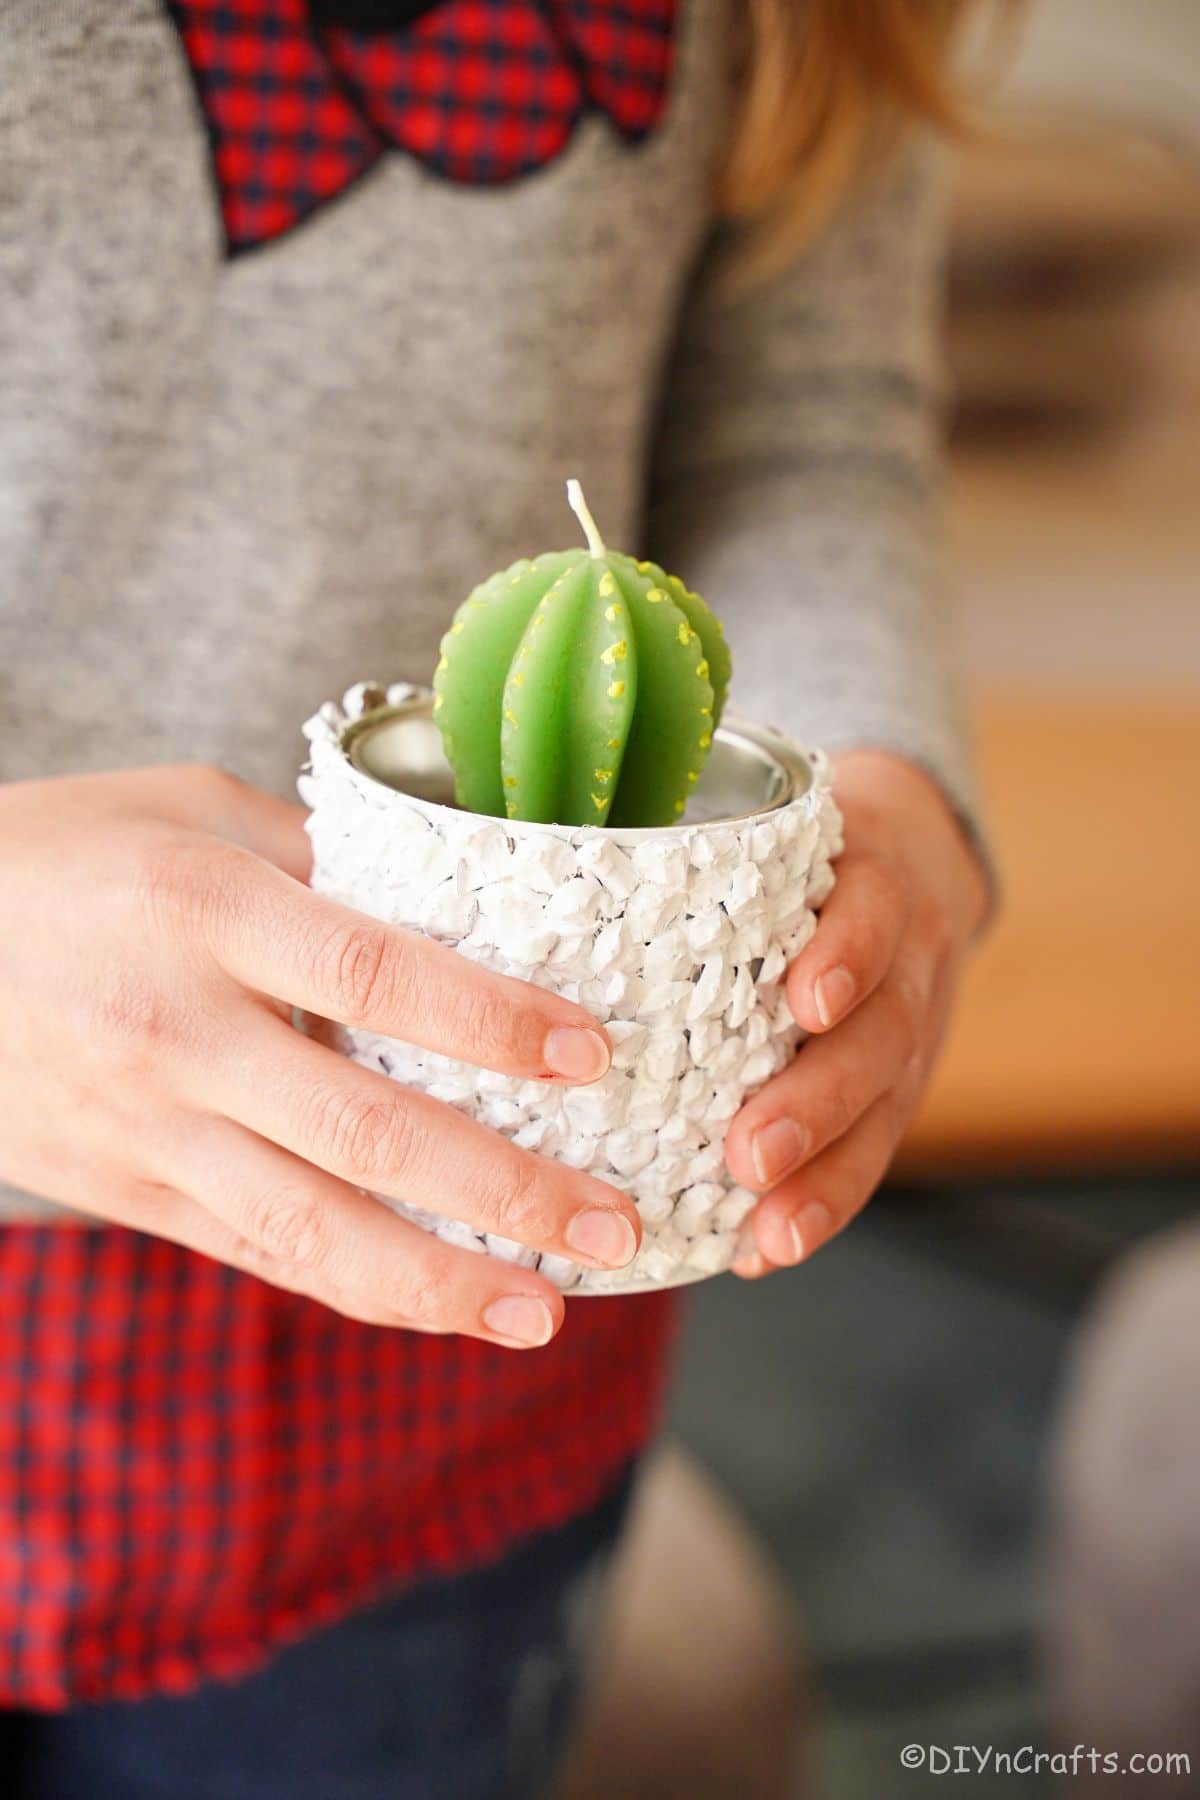
Looking for a creative and eco-friendly way to spruce up your home décor? Look no further than this super cute upcycled tin can planter! This stylish and unique planter is made from upcycled tin cans and covered with pieces of pine cones. It has a charming rustic appeal, making it perfect for any home or office. It is a fun and interesting addition to any space, and a great copycat of similar decor you’d find at pricey home stores.
Upcycled Tin Can Planter
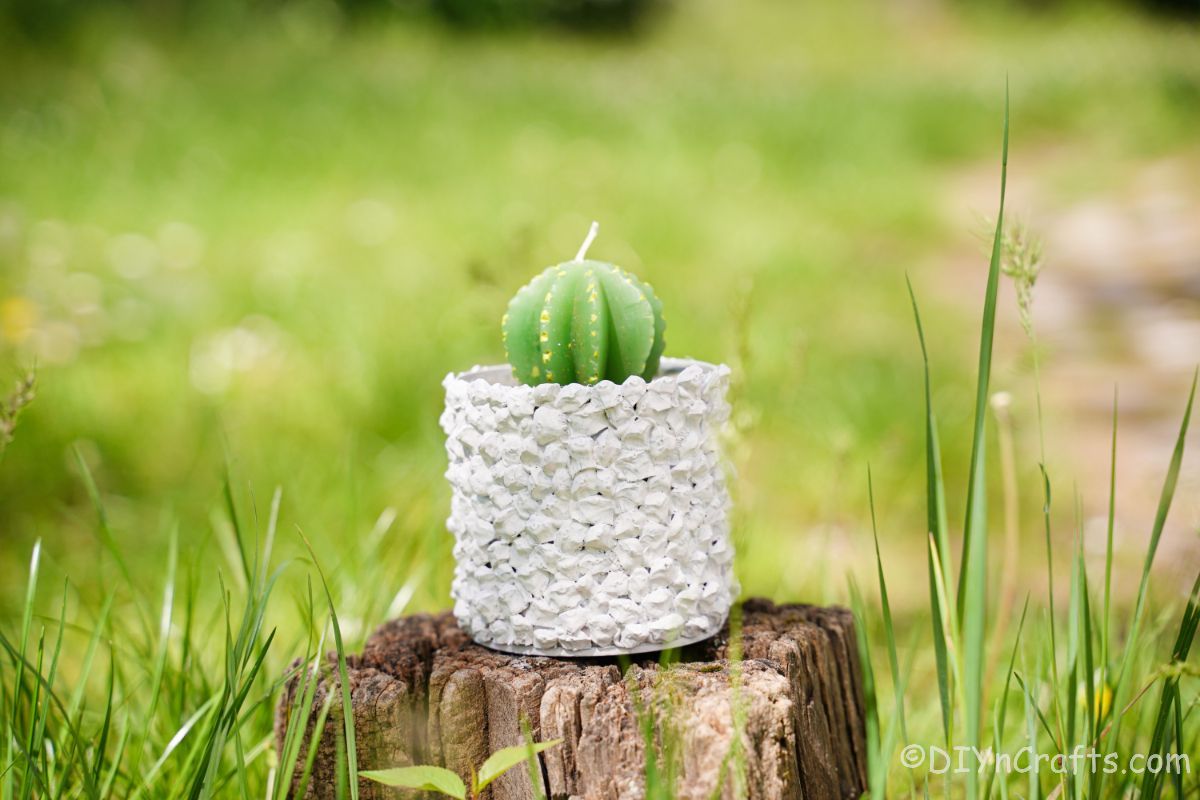
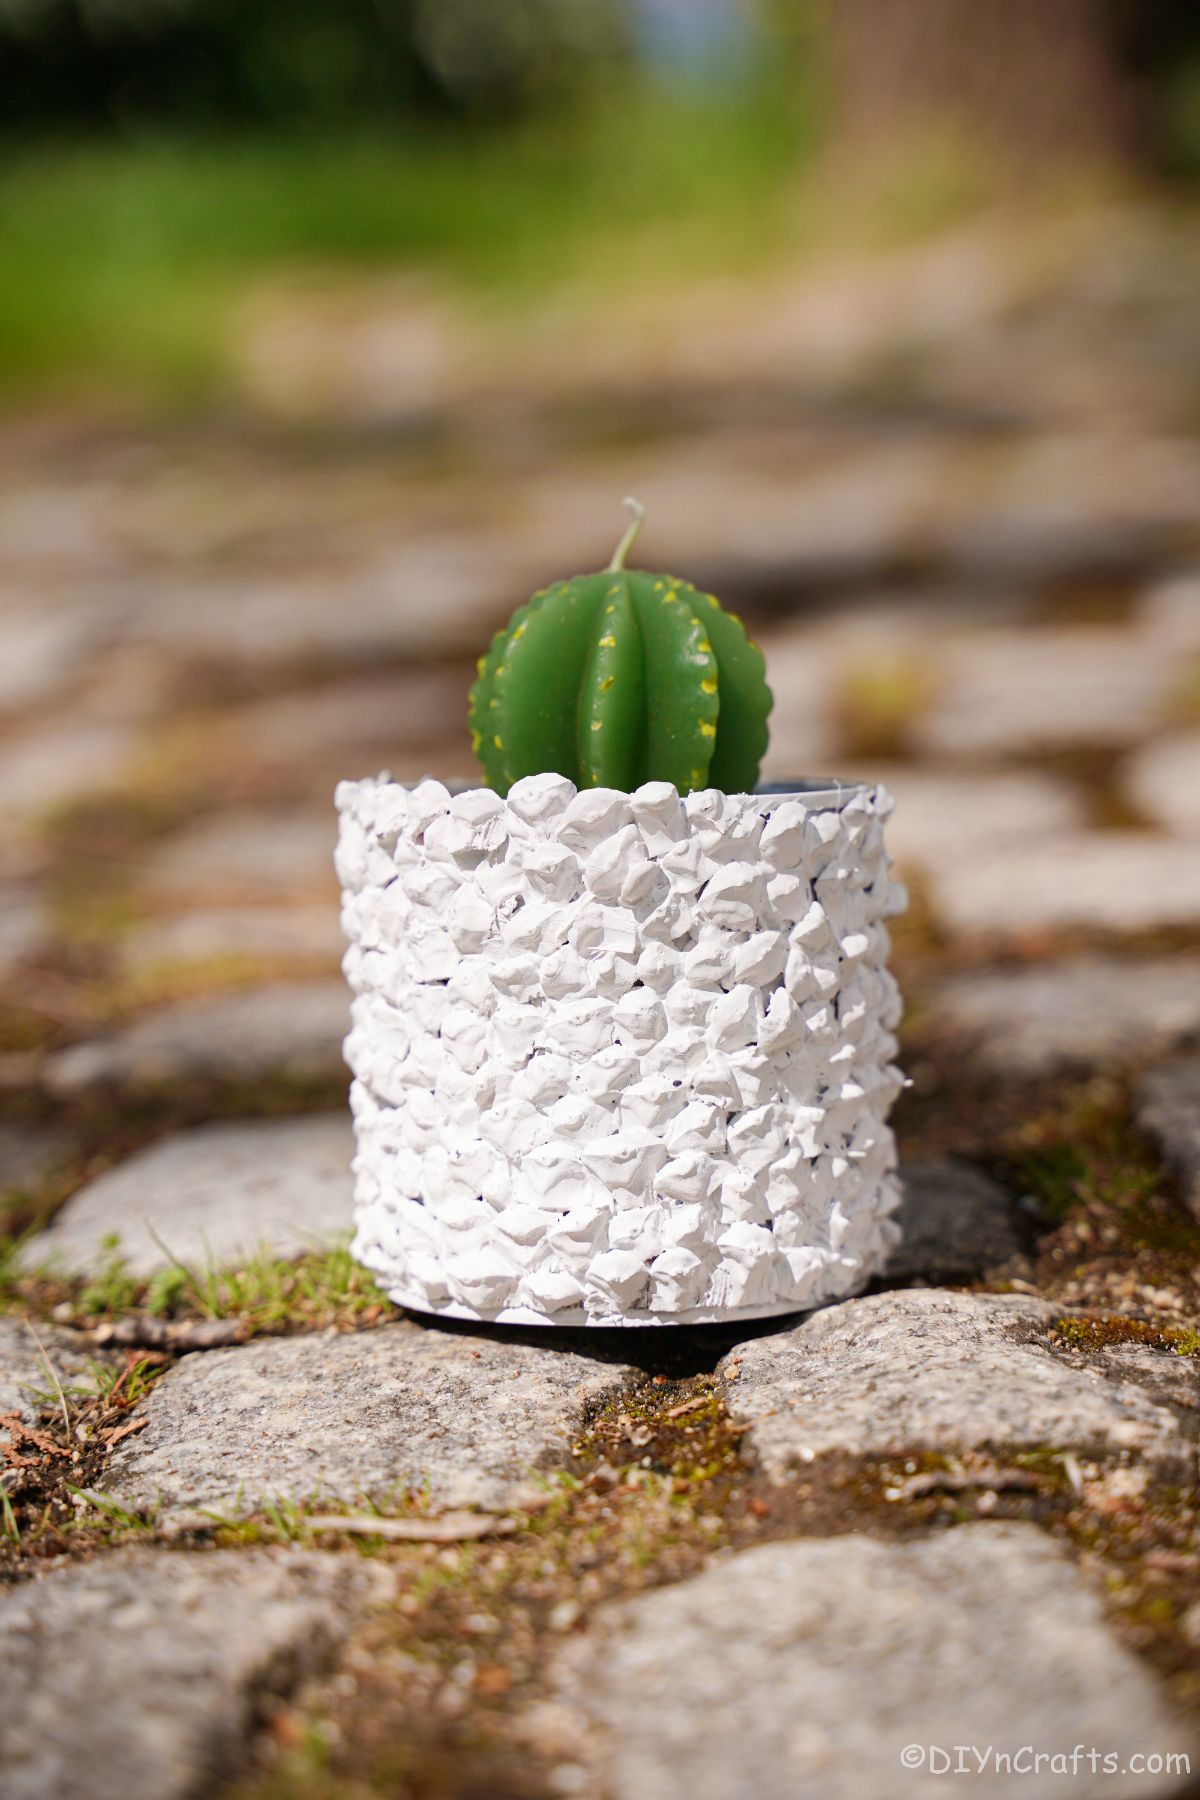
I love it whenever I can upcycle materials into something new. In this case, I am using a tin can to create a new planter. The planter is decorated using pieces of pinecones and then painted to match the decor around it. This simple upcycled tin can planter is not only creative and decorative, but it is also an eco-friendly design.
If you are like me and walk through home stores for inspiration, I know you’ve seen similar textured planters or vases. Using something already abundantly in my backyard to create that look was a stroke of genius. It goes great alongside these rustic tree bark lanterns or even DIY tin can lanterns.
Similar Project: Great Kitchen Cheat – Learn How to Easily Peel Tomatoes and Peaches
How Can I Get the Label Off a Tin Can?
One of the most annoying things when working with tin cans is the residue from labels. It’s usually fairly simple to peel the label off, but you’ll be left with bits of glue, and sometimes, the whole label will stick.
I always start by soaking it in hot water for 10 to 15 minutes. If that doesn’t work, I’ll add a good dish soap that has a degreaser element like Dawn. Sometimes, a blunt end of a butter knife can help push underneath the glue and make it easy to peel off. When that doesn’t work, I will reach for the Goo Gone products that are designed for dissolving labels and glue on cans. Then give it a good wash with soapy water and let it dry completely before using it for your craft.
What Can I Use Instead of Pinecones?
Pinecones are a simple-to-find material that adds so much texture to this planter. If you just don’t have access to them or don’t want to use them for some reason, you can go to other natural things. Other ideas to create texture are bits of bark, mulch, or even small pebbles or gravel.
You could also do something similar just by wadding up small 1″ squares of paper and gluing them in place than painting. The look is all about creating texture. Some beads or even sequins could be used with similar results.
Similar Project: A DIY Way to Refill Travel Toothpaste Tubes
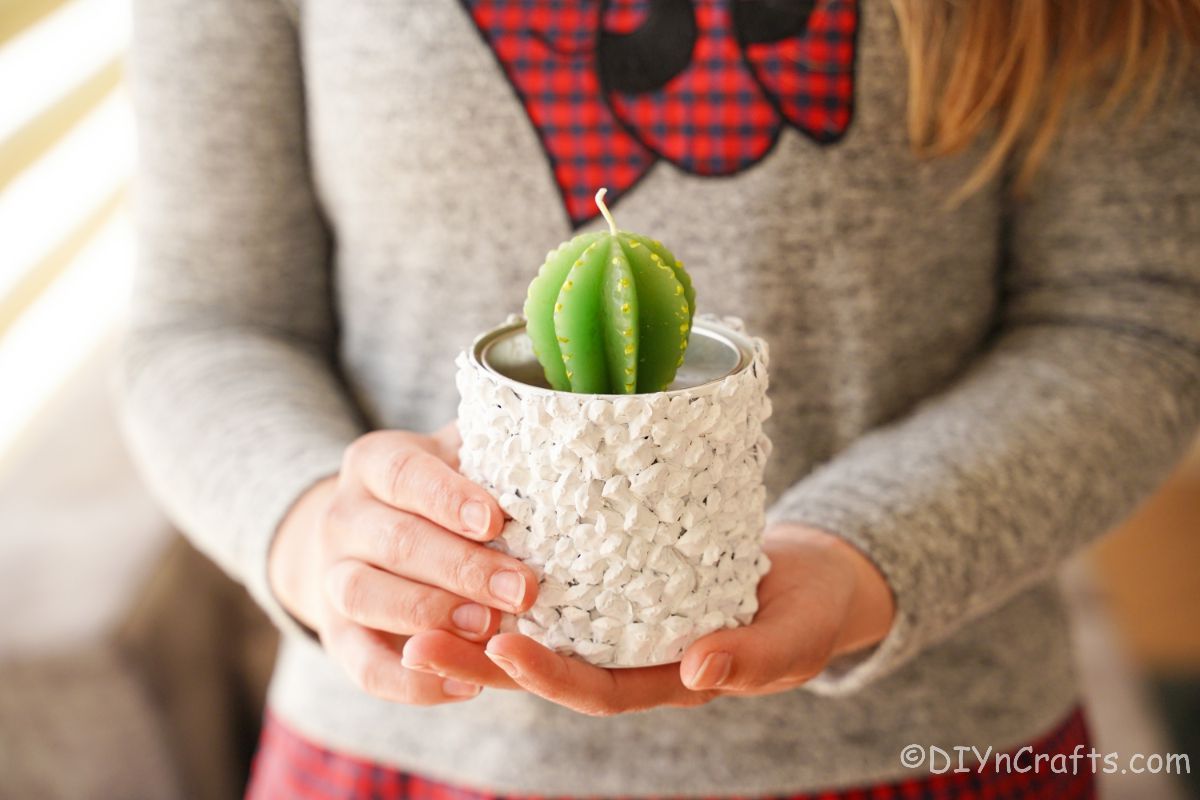
What Paint is Best To Cover Pine Cones?
I like to use spray paint to paint the pine cones because it is the simplest way to paint something with so many nooks and crannies. You can easily get full coverage in a short amount of time. You can also use acrylic paint like any common crafting paint. Just use a sponge brush or a regular paintbrush and remember to go between each piece to cover the can beneath.
If you aren’t going to use spray paint, you may want to paint the tin can before gluing the pinecone pieces. That way, if you just have to concentrate on painting the individual scales rather than getting underneath and beside them.
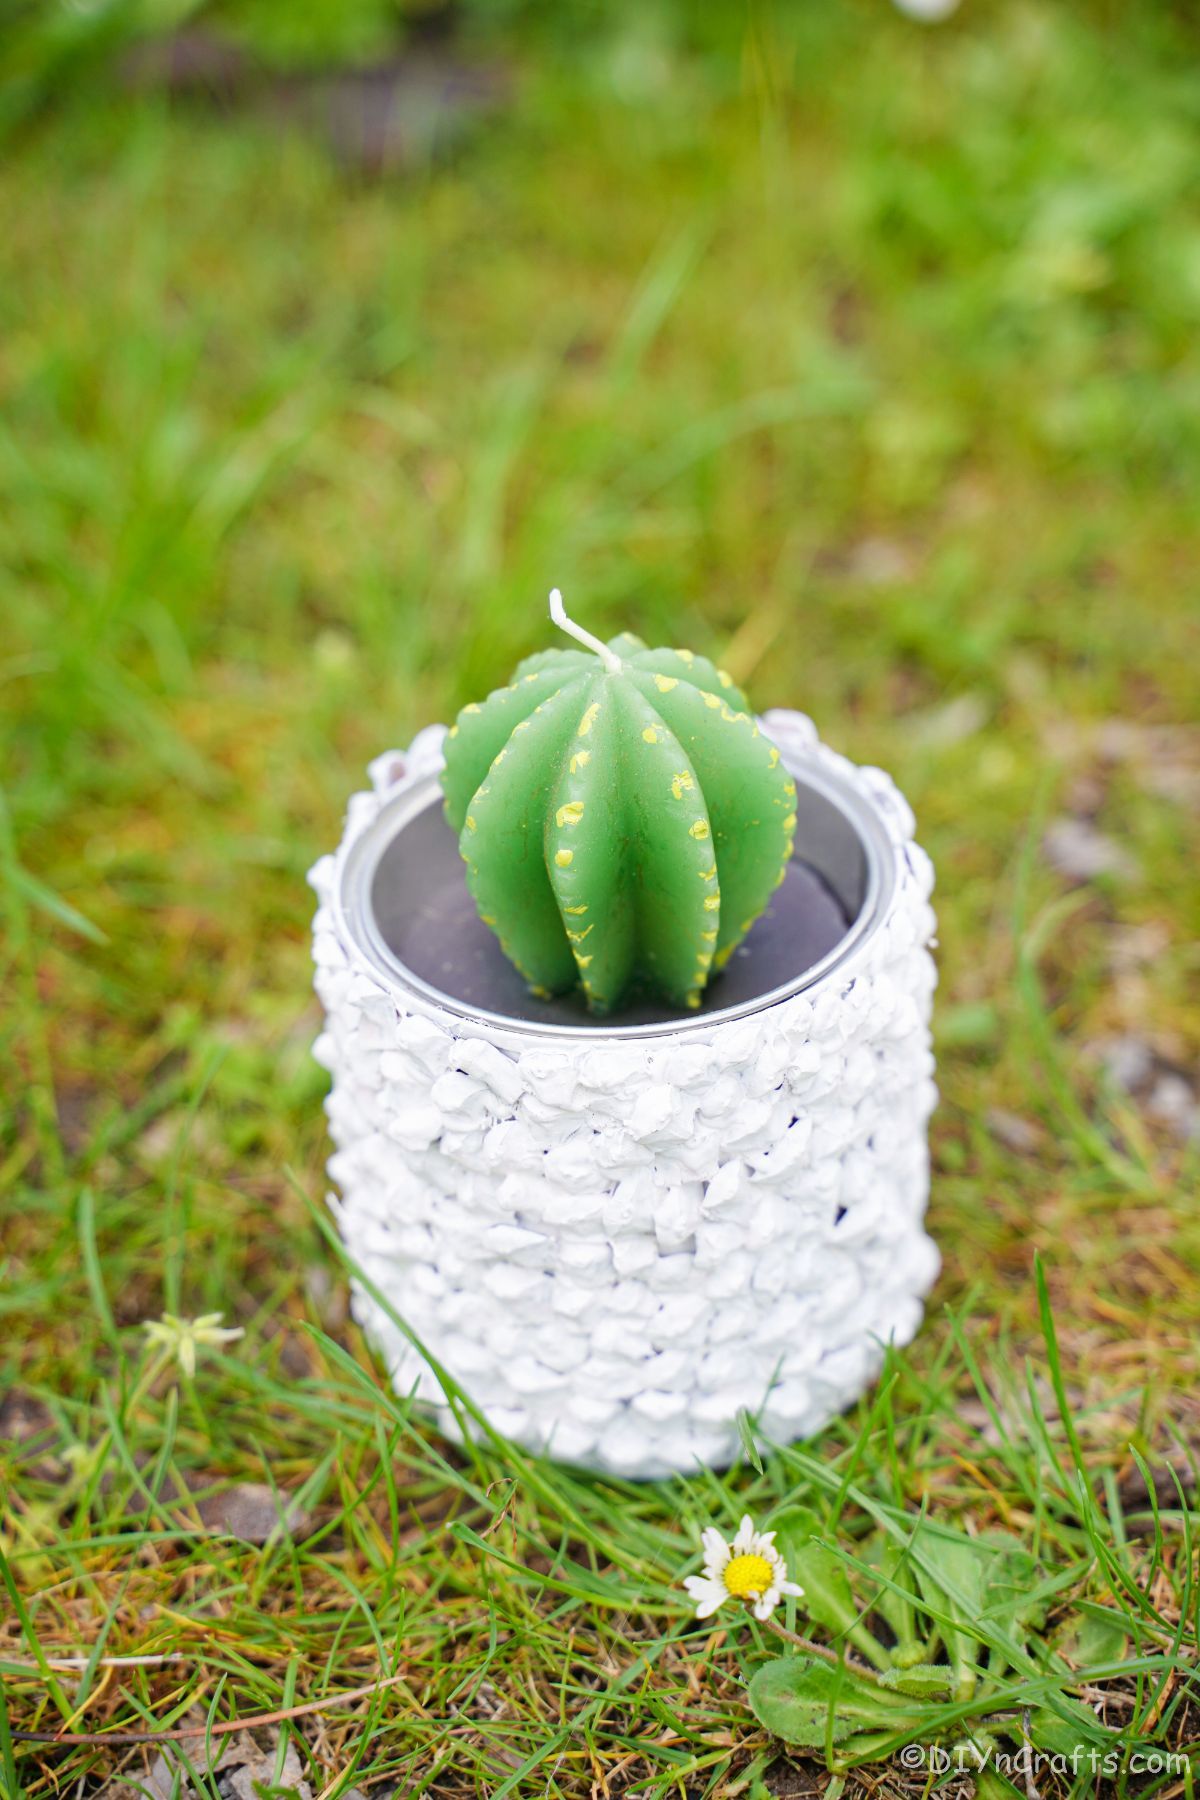
How Else Can I Customize My Tin Can Planter?
It is easy to change up this tin can planter to make it fit your style or your decor. As with all crafts we make, it’s all about making it just a little bit different to fit your own style. Below are some of the ideas I thought could turn this into something unique.
- Paint any color to match your decor. It looks great in neutrals like white, gray, black, or brown, but could also be a statement piece with bright colors like red or yellow.
- Use sparkling paint such as silver or gold spray paint. You could even spray with glitter spray after painting a solid color.
- Add a mix of pinecone scales and pebbles for an even more unique texture.
- Glue beaded ribbon around the top edge or base for added color.
Similar Project: Easy Homemade DIY Gel Air Freshener Recipe
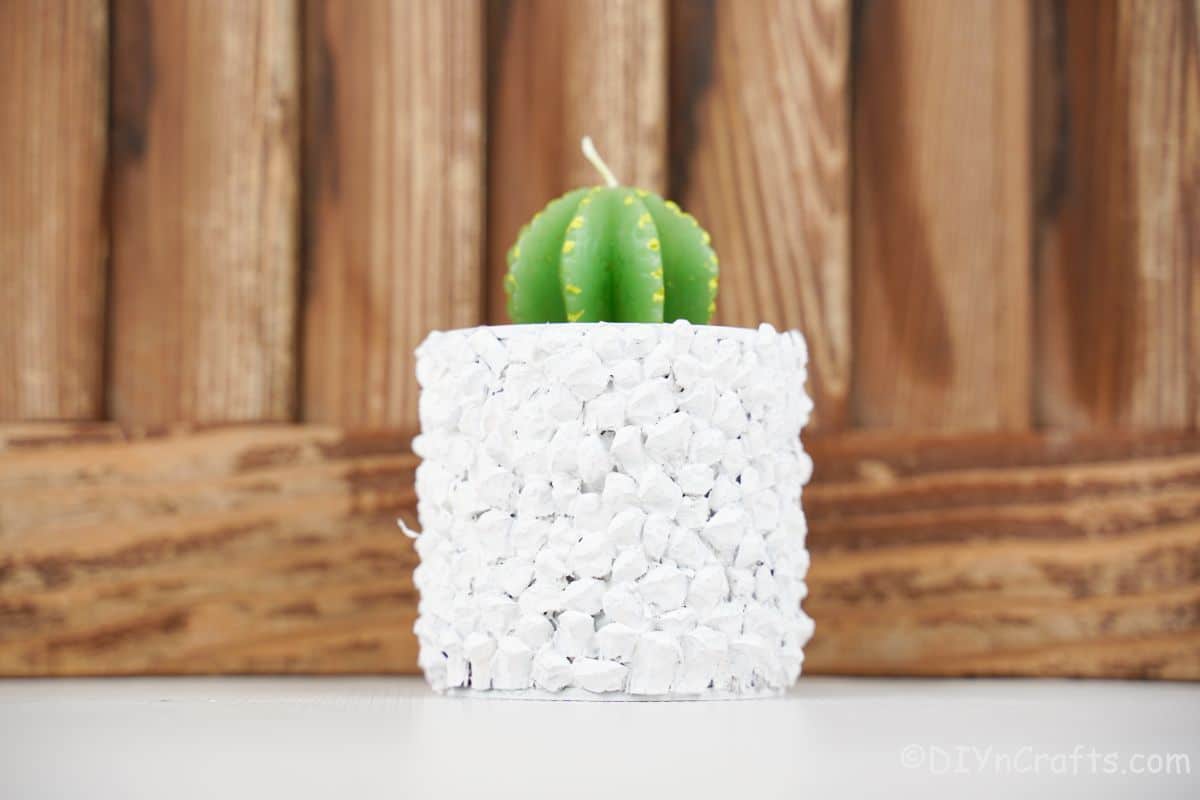
What Can This Be Used For?
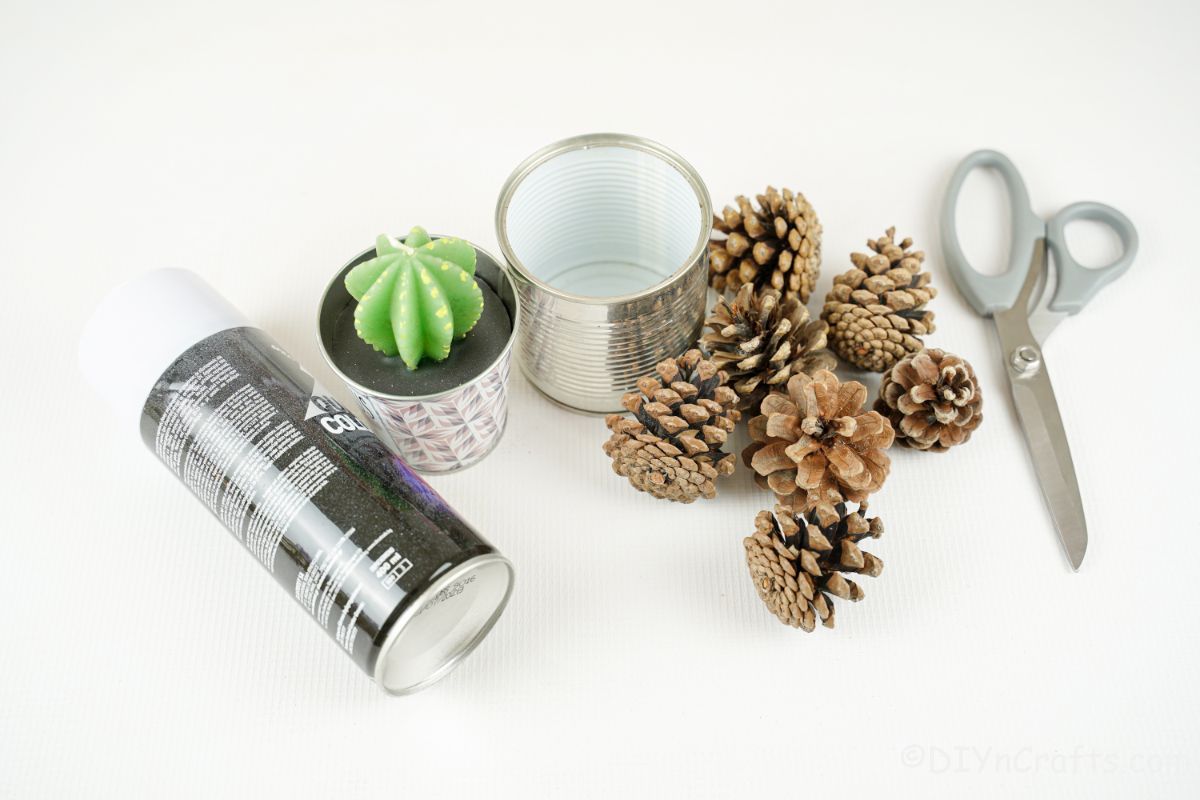
I designed this to be a planter. Whether you are making it a planter for real plants, artificial plants, or this candle that looks like a cactus, it is a great way to use a can that would otherwise have gone to the landfill.
Other options for using this include a pencil or pen holder on your desk or even a place to hold things like rulers and scissors at a kid’s craft space. It’s sleek enough to put on the kitchen counter to hold utensils, but could also be used to put a small candle inside for a light glowing light after dark.
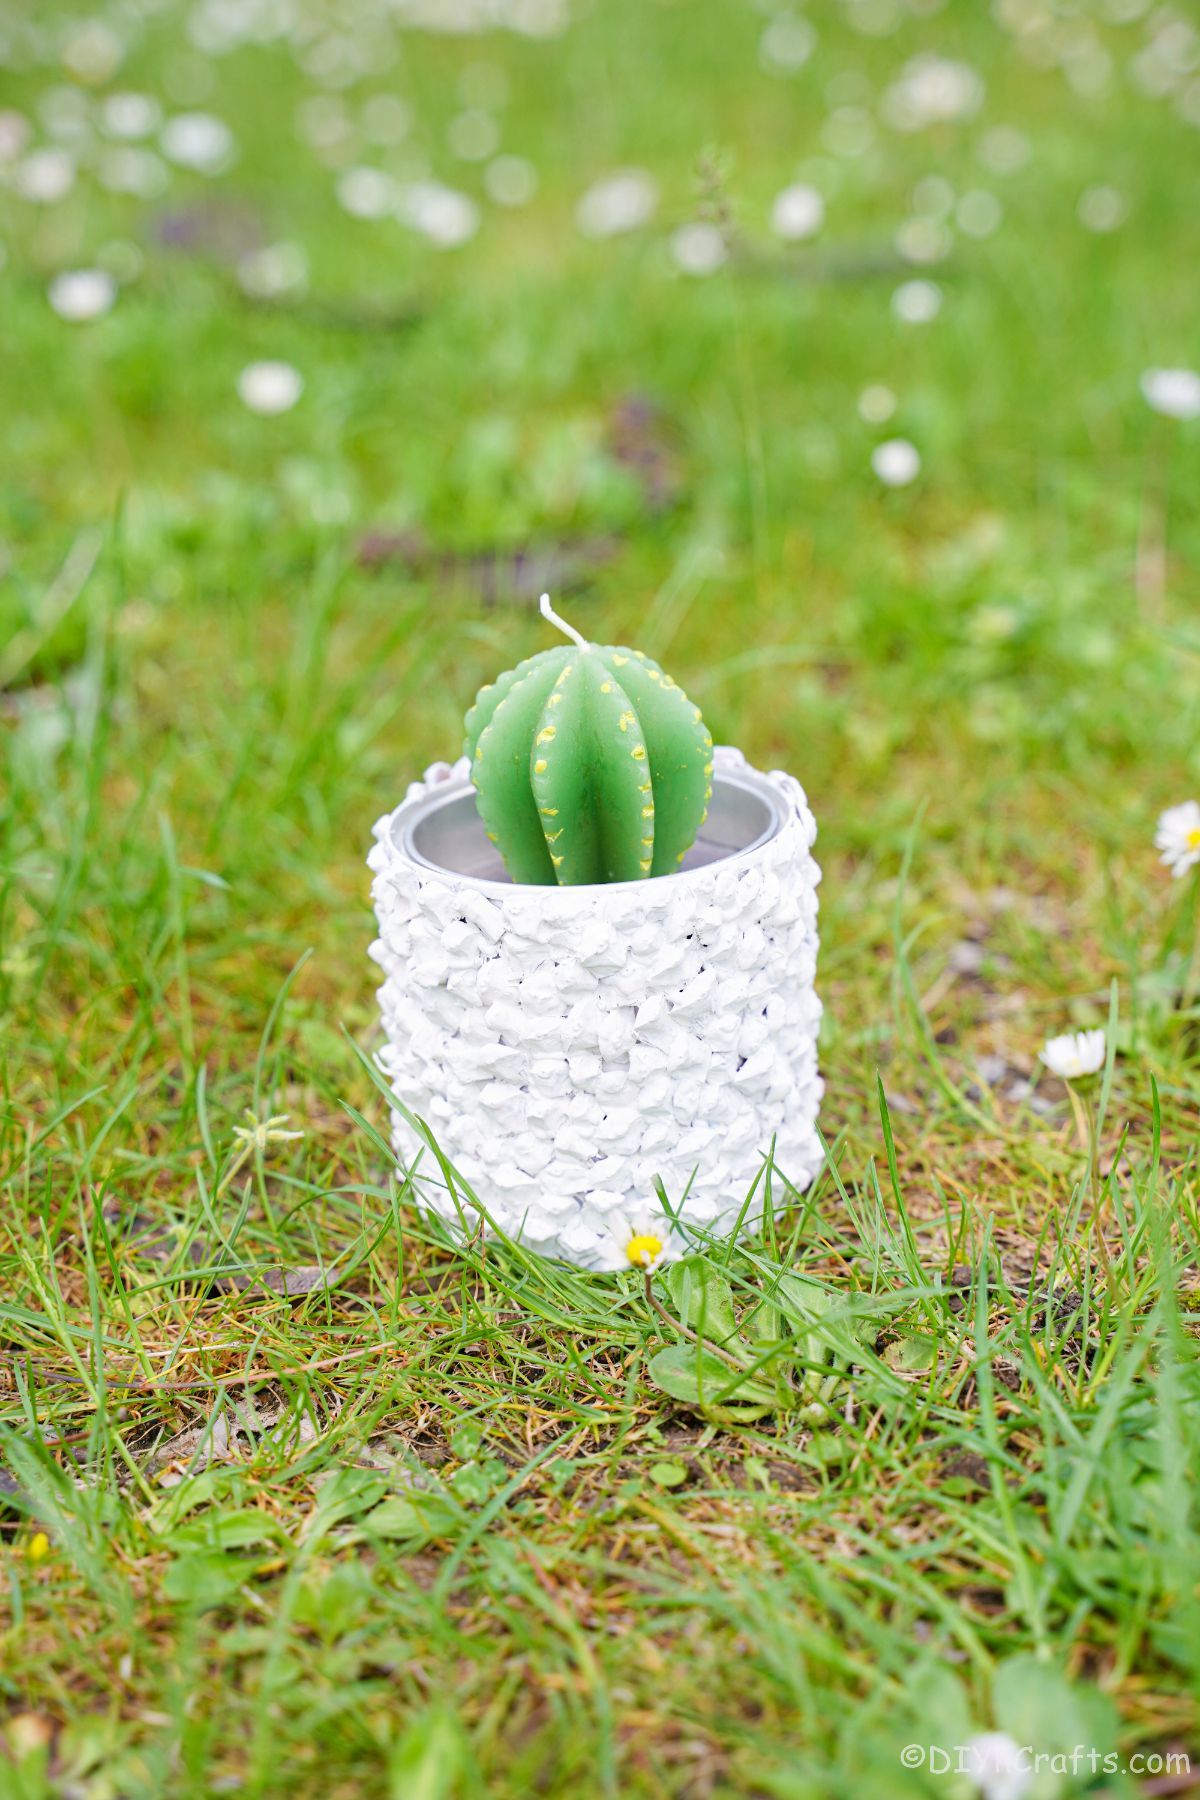
Supplies Needed
How to Make an Upcycled Tin Can Planter
Carefully remove the scales from several pinecones. Wash and let these dry if desired.
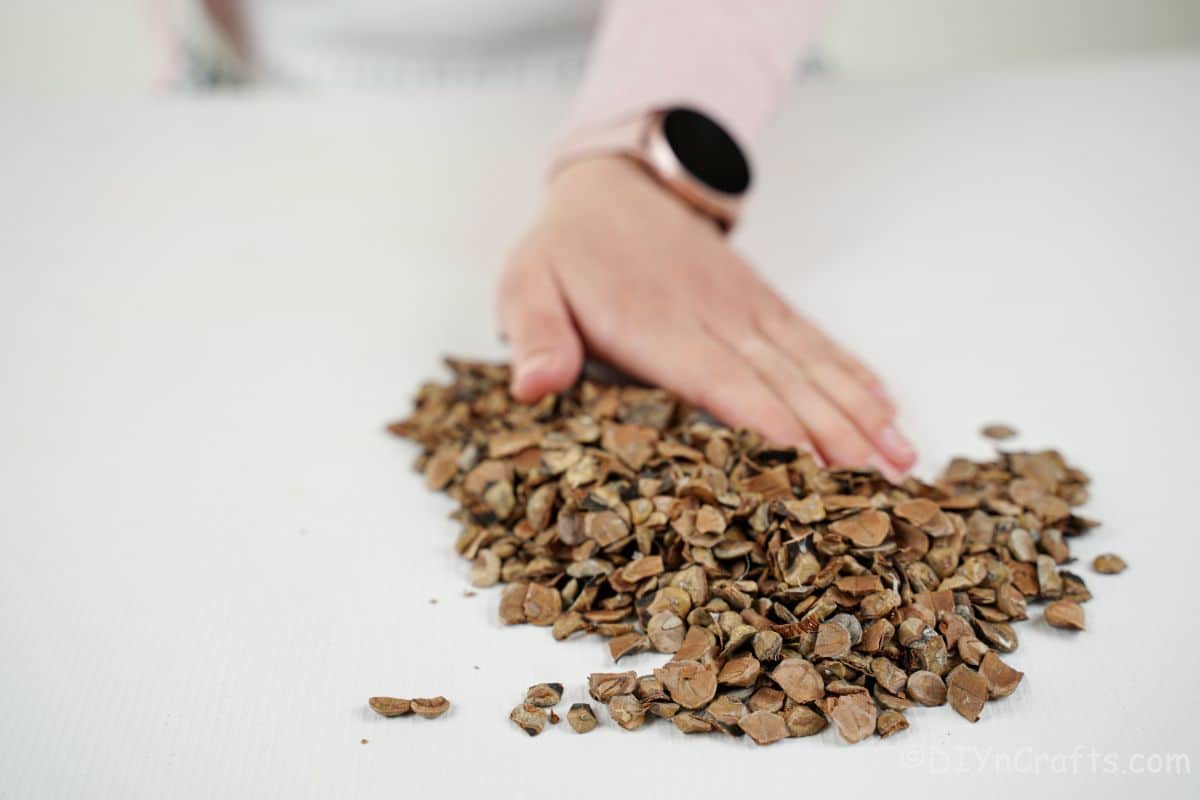
Then, starting at the base of a clean tin can, begin gluing the scales onto the can.
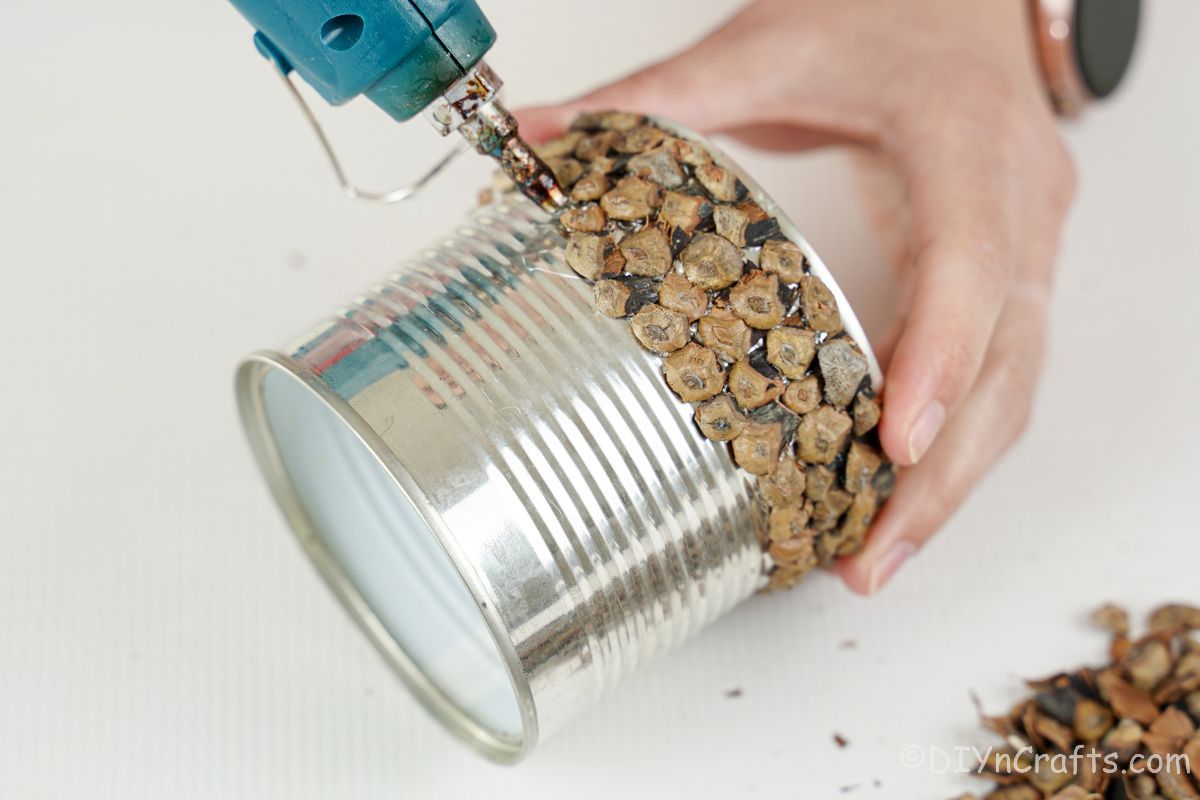
Continue gluing them going in even rows from bottom to top of the can.
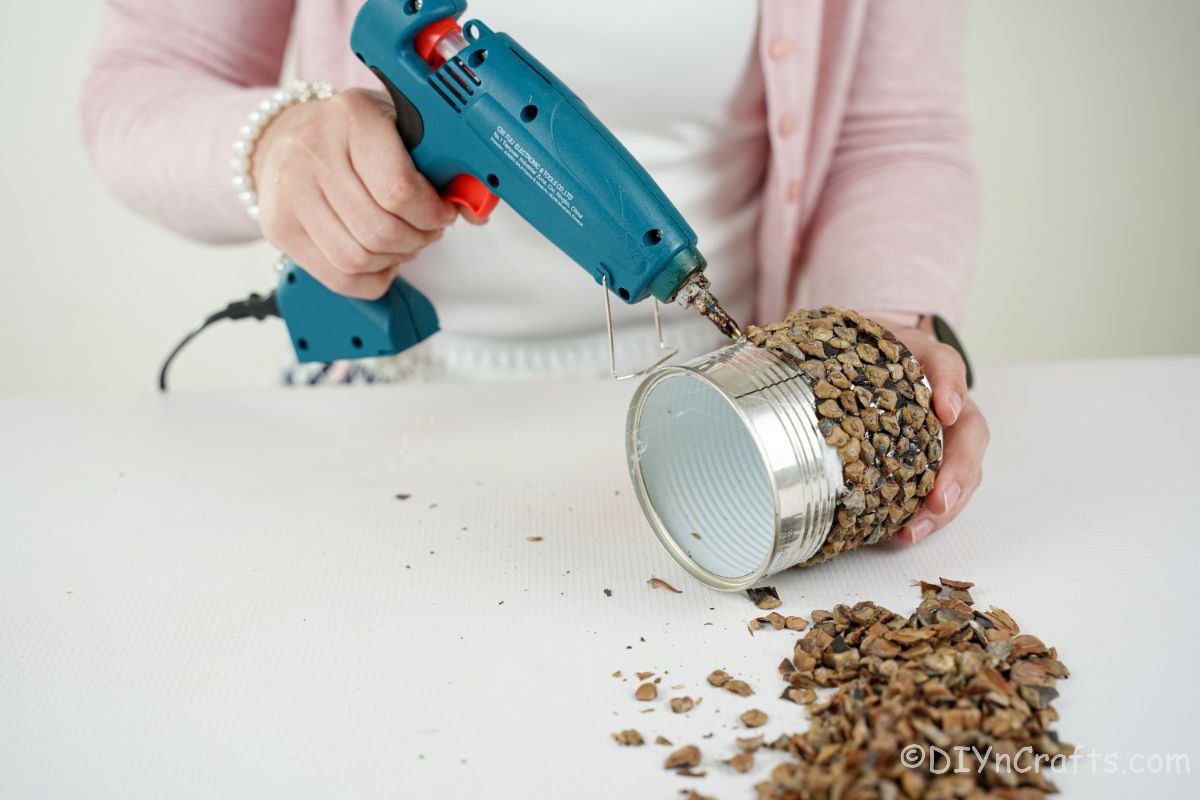
Once the can is covered in pinecone scales, spray it white with spray paint.
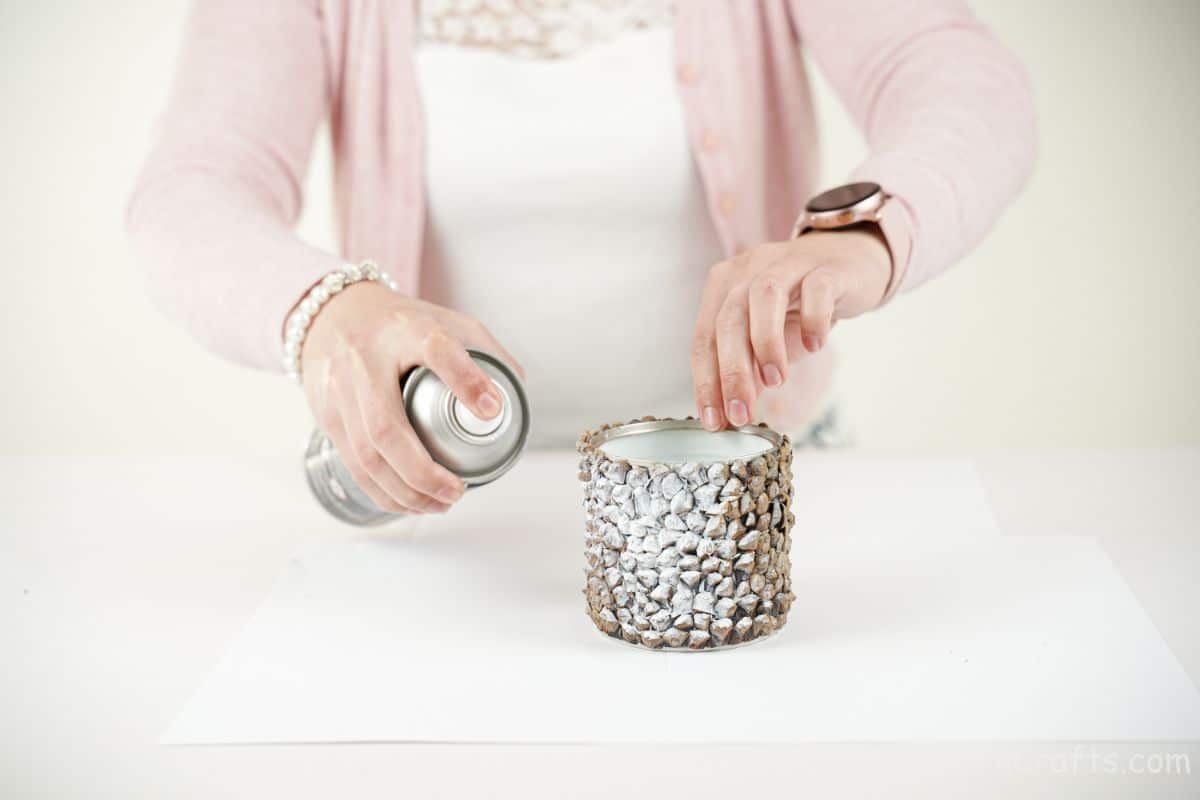
Set the can aside to dry completely for 30 minutes to 1 hour.
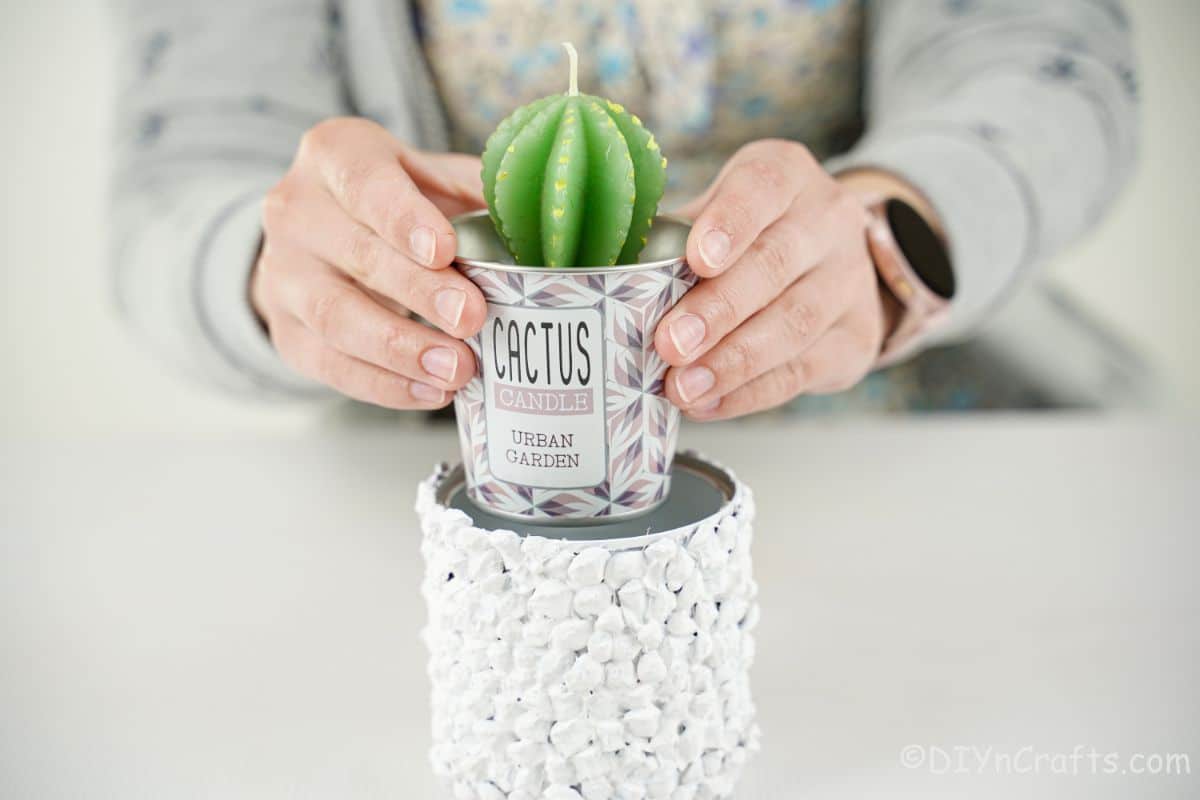
Then add your favorite fake or real plant inside and use it as home decor!
Similar Project: 18 Ways to Hang Your Plants Small Space Gardening Ideas
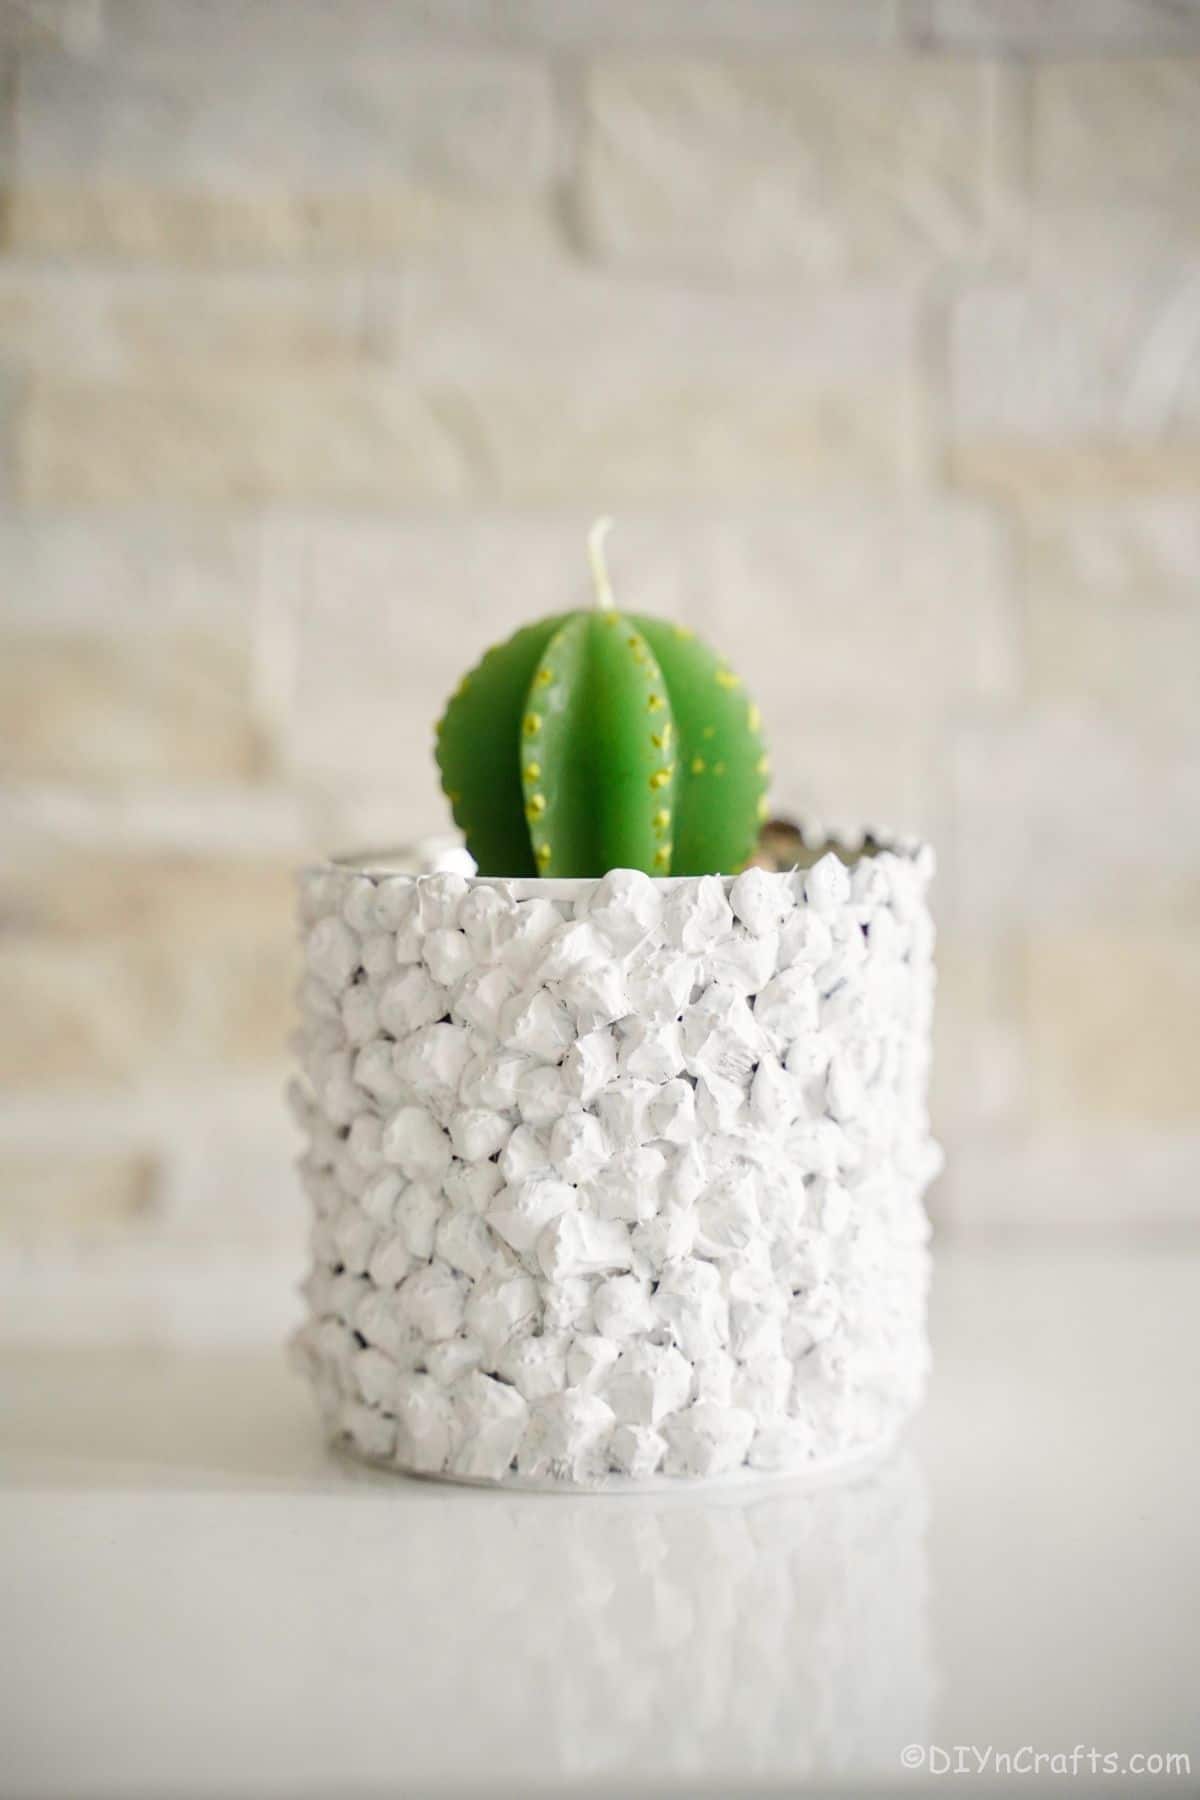
More Easy Tin Can Crafts
If you want some fun decor for your home that includes using upcycled items, look no further than the tin can crafts below. I love making cute items out of something that would be trash, and these trash to treasure projects are some of my personal favorites. Make sure that you bookmark the ideas, print out the tutorials, or pin them to your favorite home decor Pinterest board.
Yield: 1

This fun tin can planter is made with upcycled empty cans, pine cones, and a bit of paint! A fast and easy home decor item!
Active Time
10 minutes
Additional Time
30 minutes
Total Time
40 minutes
Difficulty
Easy
Estimated Cost
$1
Notes
Make a variety of sizes for a unique decoration for your mantle or to create a fun stacked sizes centerpiece.
Similar Project: 30 Magnificent DIY Rugs to Brighten up Your Home
Recommended Products
As an Amazon Associate and member of other affiliate programs, I earn from qualifying purchases.
Finished Project Gallery
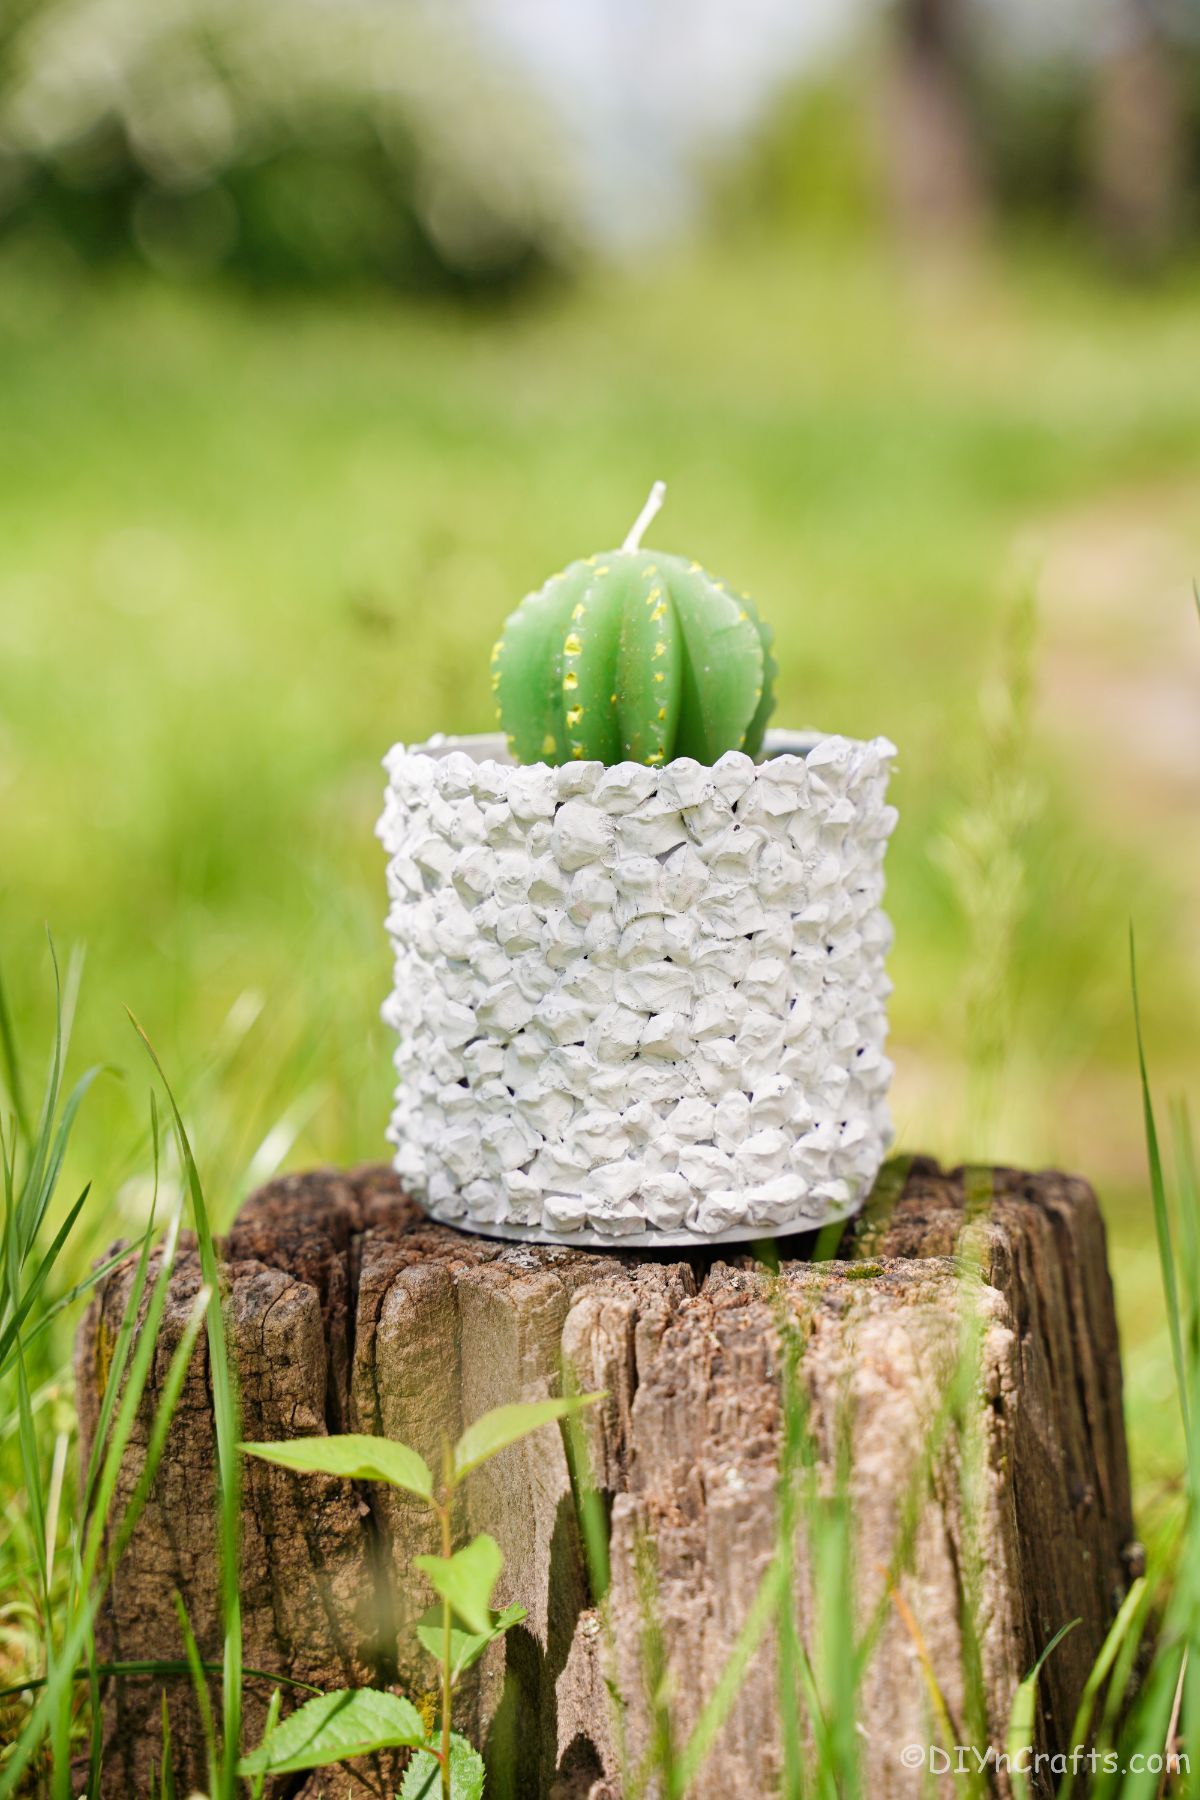
Paint your planter any color you prefer, or make a few in various colors for different themes.
