Molucella laevis
For a funky-looking annual that’s just unusual enough to be totally awesome, how about giving some bells of Ireland a ring?

We link to vendors to help you find relevant products. If you buy from one of our links, we may earn a commission.
As a former plant sciences major, I’ve taken my fair share of plant identification quizzes.
Some species are tough to identify, especially if their relatives are included in the assessment. Others, such as bells of Ireland, are distinctive enough to ID right away, no brain-racking required.
They look so unique, after all.
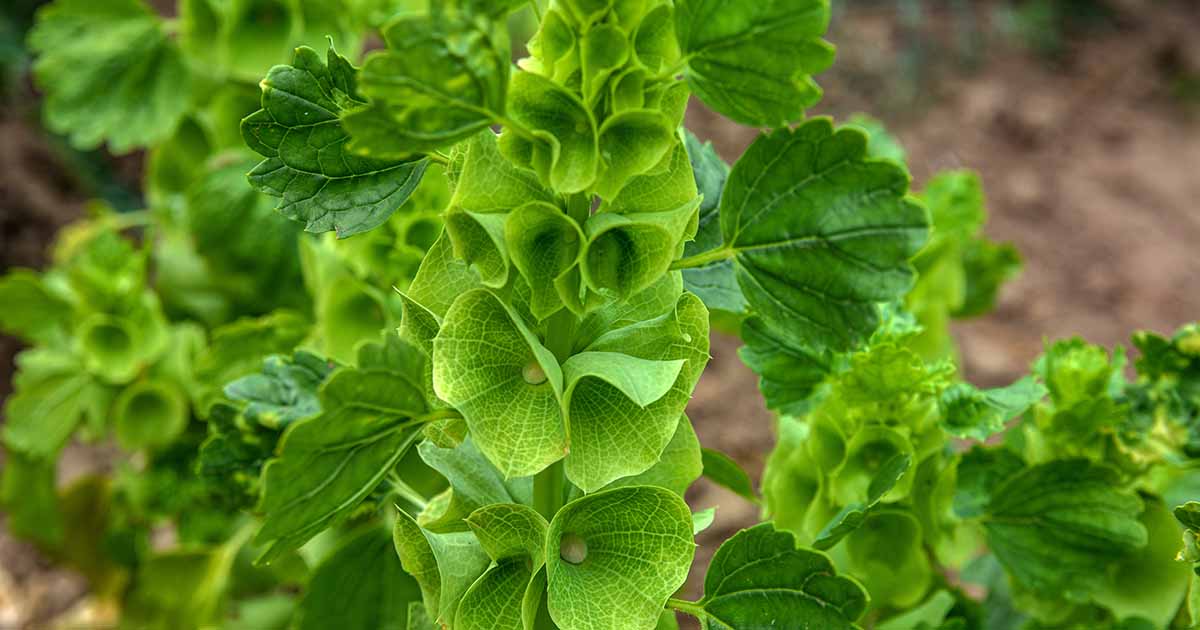
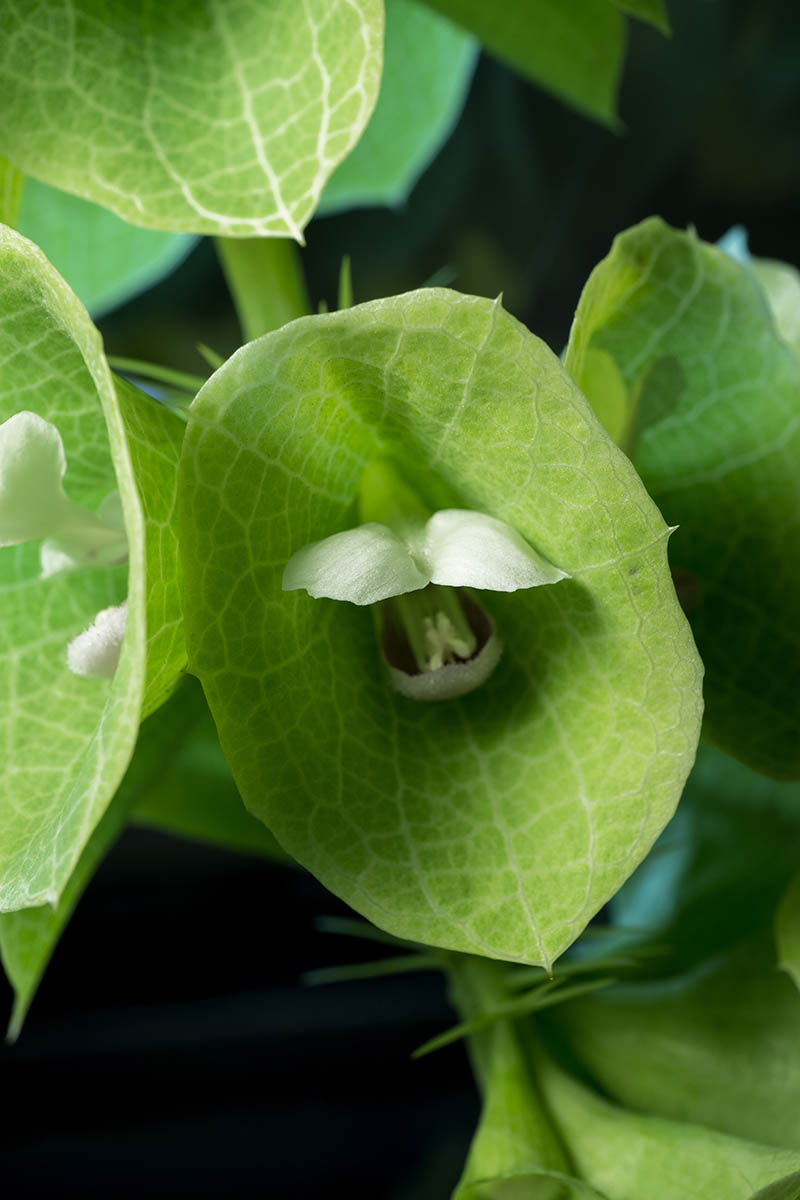
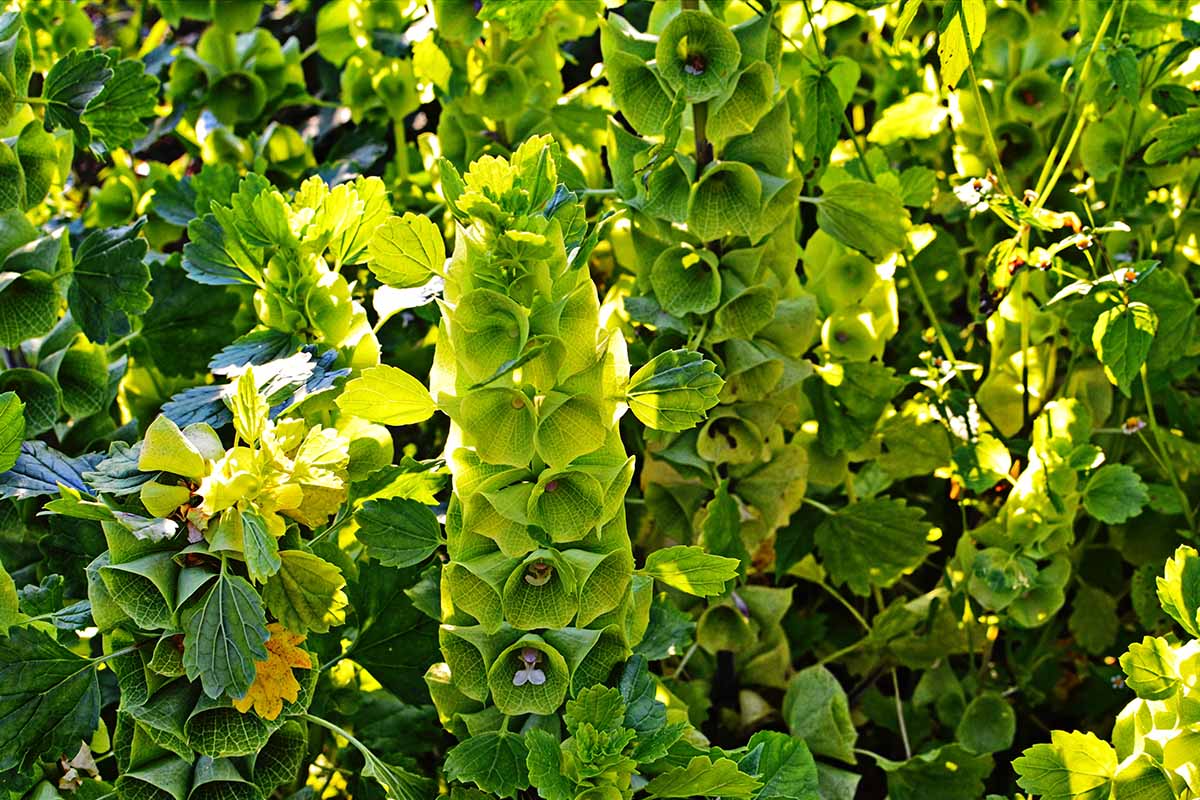
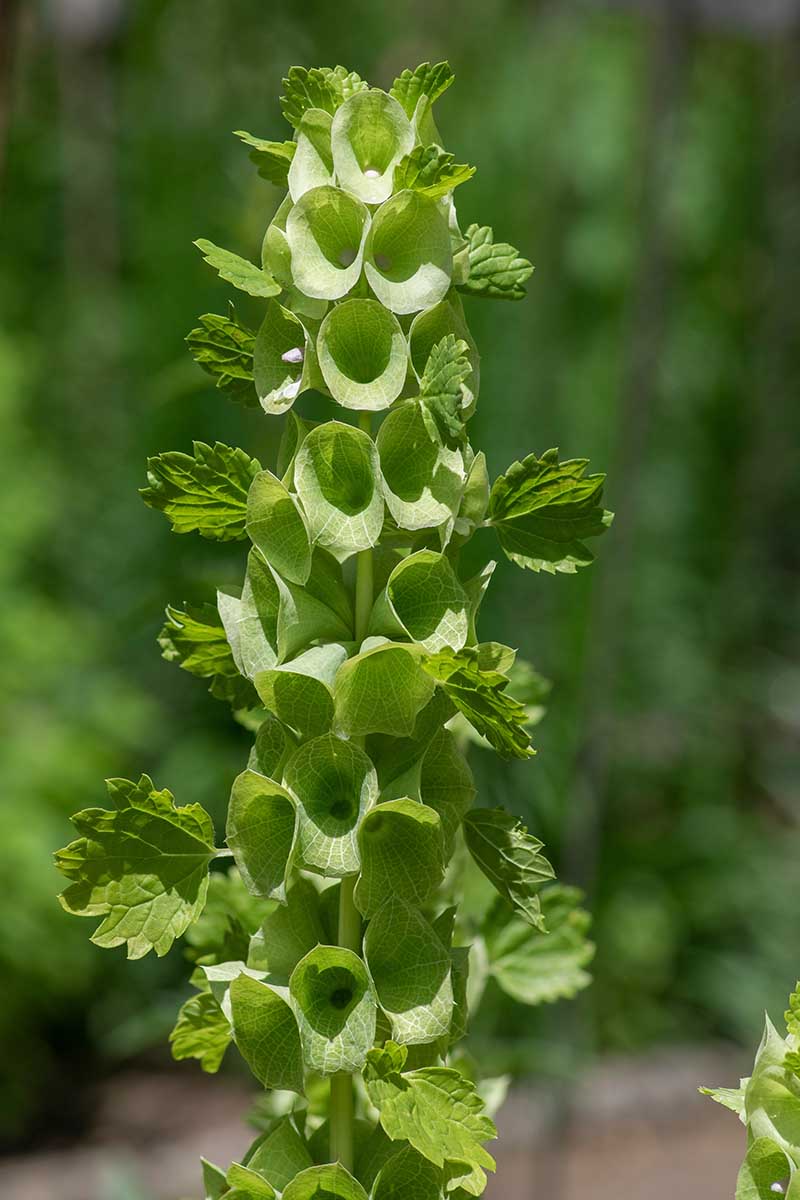
With upright stalks that bear clusters of small white flowers surrounded by light green calyces, it’s near-impossible to mistake Moluccella laevis for anything else.
Whether in a garden or floral arrangement, this beauty truly stands out in a crowd.
Given their one-of-a-kind aesthetic, it’s only natural to want some bells of Ireland for your own collection.
And after giving this guide a read-through and giving our tips a try, you may discover that you’re a natural at growing them.
Here’s what we’ll cover:
What Are Bells of Ireland Flowers?
It’s a valid question. I mean, they certainly don’t look like the stereotypical, stock-image blooms you might find after doing a Google image search for “flower.”
Aka Irish bells, shellflowers, and Molucca balms, bells of Ireland flowers are half-hardy annuals from the mint family suited to USDA Hardiness Zones 2 to 11.
This means M. laevis can handle the cool air and soil temperatures of early spring that tender annuals cannot, but lacks the resistance to light springtime frosts and freezes that hardy annuals have.
This upright-growing plant reaches a mature height of one and a half to three feet, and a mature spread of one to one and a half feet.
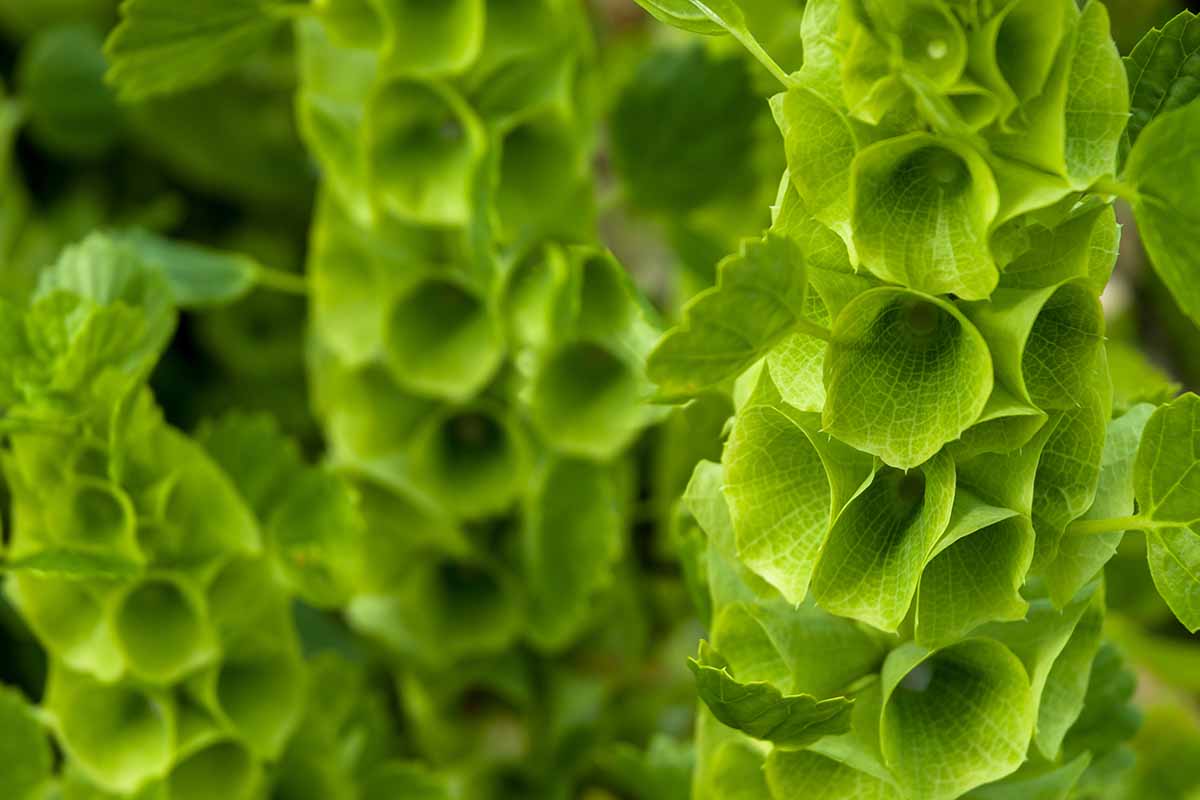
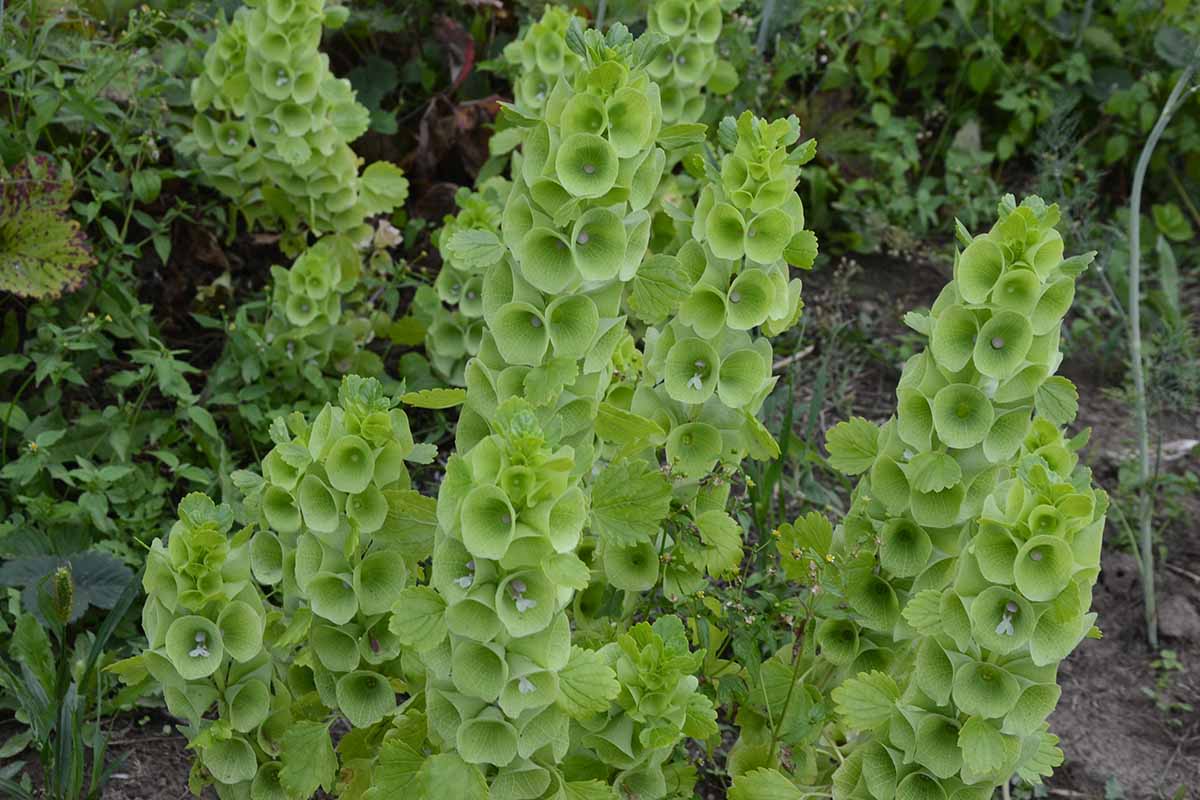
It produces tall, showy spikes of tiny, white, fragrant flowers that bloom from midsummer to fall, which are encased in large, conspicuous, bell-shaped green calyces.
The fragrance of the blooms is uniquely distinctive, with a minty, sweet freshness that is reminiscent of apple, or perhaps lime green Skittles.
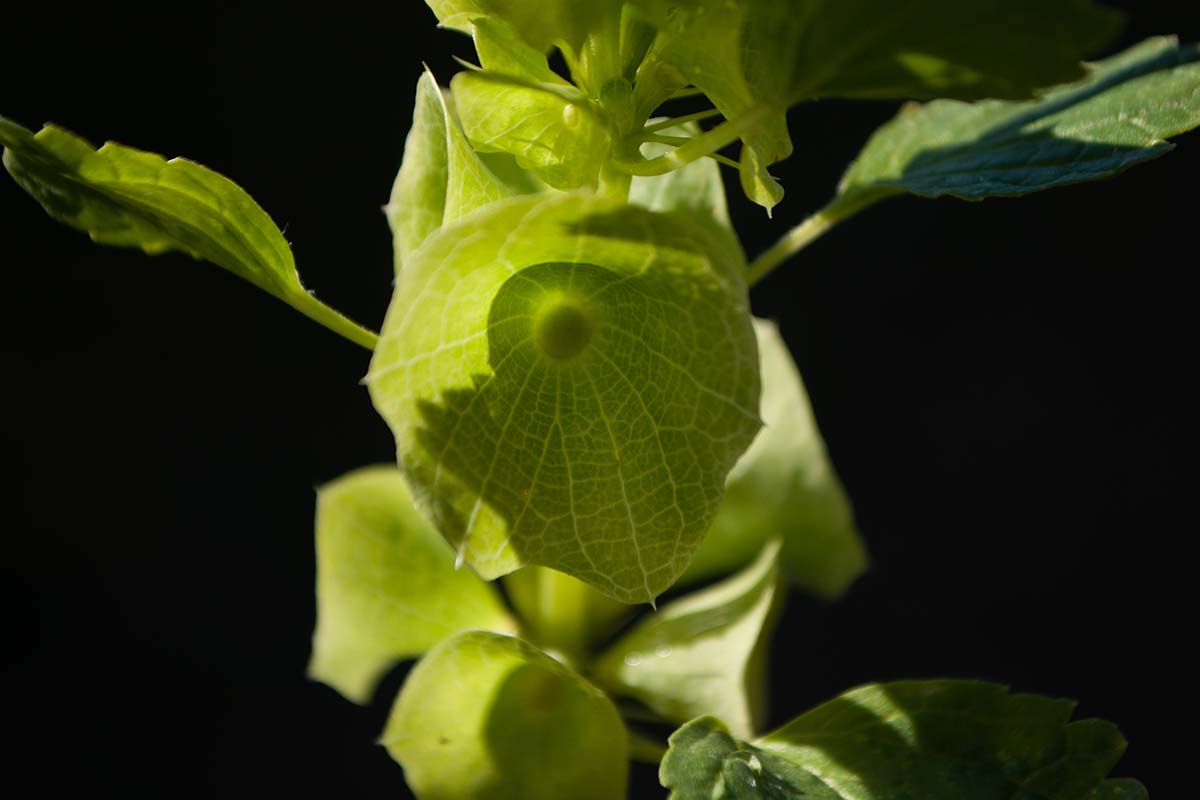
These calyces form in tightly-packed clusters along the square-shaped stems, with a ring of small, sharp thorns beneath each cluster. Oppositely arranged, scalloped leaves protrude from between the calyx clusters on long petioles.
As the plant desiccates at the end of the season, its green hue turns to attractive shades of white or pale beige. And beneath the plant’s crown lies a long and sensitive taproot, which can make transplanting a bit of a challenge.
In spite of their common name, bells of Ireland don’t actually hail from the Emerald Isle, but rather, from regions of western Asia including Turkey, Syria, Iraq, and the Caucasus.
It’s probably safe to say that the Irish part of their common moniker was a marketable reference to the plant’s green hue, a color often associated with Ireland.
The origin of the Latin name, however, is a bit more clear-cut. Bestowed by Carl Linnaeus, the genus name Moluccella is named after Indonesia’s Molucca Islands, where bells of Ireland were originally thought to be from.
The species name laevis means smooth – an accurate descriptor of the plant’s surface.
First cultivated in the 1570s in Belgium, bells of Ireland have been lovingly grown by horticulturalists ever since.
Besides their ornamental beauty in the garden, M. laevis is used in perfume making, and is a verdant favorite in floral arrangements, both freshly cut and dried.
In the language of flowers, i.e. floriography, bells of Ireland represent good luck, making them the perfect gift for those embarking on new beginnings.
Propagation
As anyone dining at a sushi restaurant knows, it can be tough to make a satisfying decision when you have a smorgasbord of options in front of you.
Luckily, you just have two viable avenues for propagating bells of Ireland: from seed or via transplanting.
From Seed
If this is your first attempt at growing bells of Ireland, you’ll need to acquire seeds from an external source, such as a vendor or a friend.
If you have M. laevis already growing in your garden, you can simply gather seeds from your existing specimens once they’ve dried.
To do so, wait until the “bells” attain a crinkly texture and a pale beige or white hue before plucking the calyces from the stem. Wear gloves and be mindful of the thorns.
For hand protection, check out these puncture-resistant gardening gloves from Garrett Wade, available in green, orange, and blue.

Puncture-Resistant Gardening Gloves – Green
When you look into a plucked calyx, you’ll notice the seeds at the bottom.
Turn the calyx upside down, take the bottom between your fingers, and roll it between your fingers over an open cup. Repeat with each plucked calyx until you’ve harvested all of your seeds.
The seeds themselves are small, dark, and roughly pyramid-shaped, almost like four-sided dice.
Leave them out to dry for a week or so, place them in a labeled envelope, and then store them in the refrigerator. You now have sowable seeds!
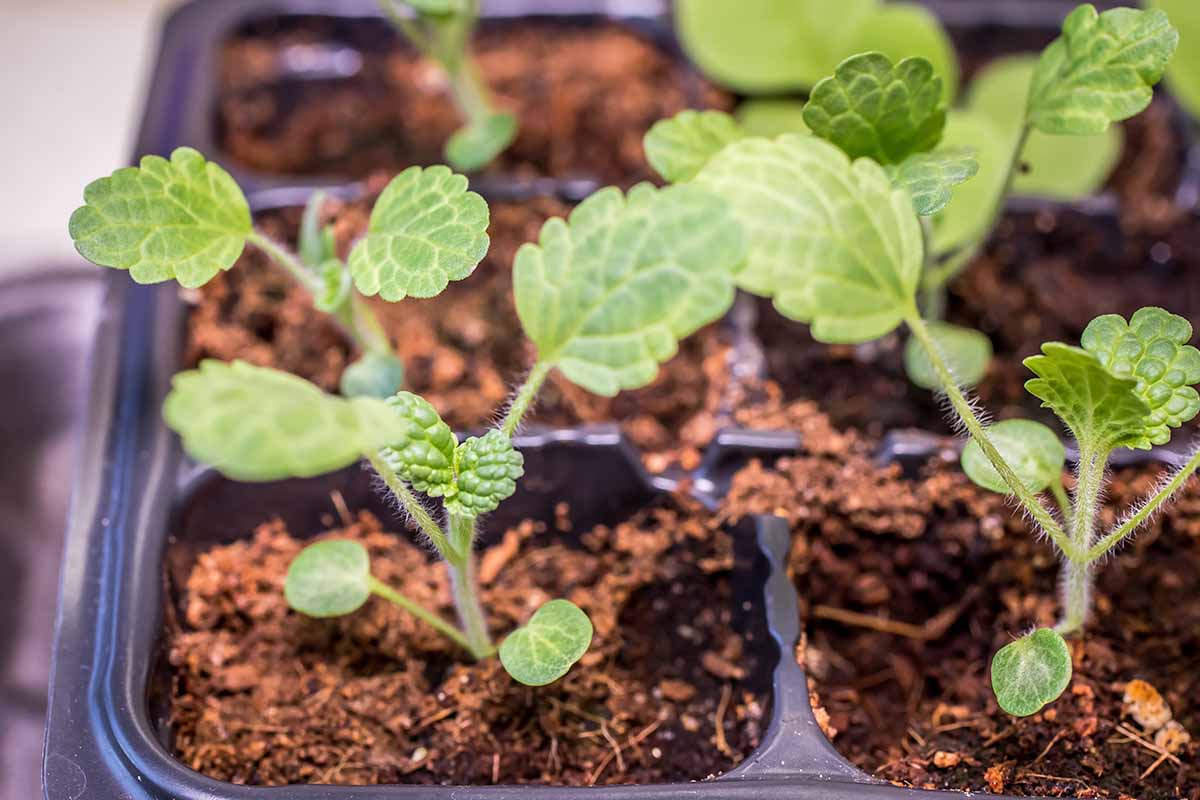
About 10 to 12 weeks before the local last frost date, fill three-inch containers with a 50:50 mixture of peat moss and perlite, and sow the seeds just below the media’s surface.
Lightly water the media, seal the tray in plastic, and leave it in the fridge for two weeks, keeping the media moist all the while.
After two weeks, unseal the containers and bring them out into a well-lit indoor area. Keep the media moist, and give the containers a quarter-turn each day to prevent lopsided growth.
Once nighttime temperatures are consistently above 40°F and daytime temperatures are consistently between 50 and 60°F, your bells of Ireland seedlings are ready to harden off for transplanting outdoors.
Take your containers outdoors into direct sunlight, and leave them there for 30 to 60 minutes before bringing them back indoors.
Add an additional 30 to 60 minutes each successive day until the plants can spend a full day outdoors.
Now it’s transplanting time!
Via Transplanting
Prior to transplanting, prepare well-draining and fertile planting sites, and be sure to space them 10 to 12 inches apart. Dig holes that are just as deep and a bit wider than each transplant’s container.
Whether you’re working with a transplant that you’ve purchased, one you’ve grown yourself, or one that you’ve lifted from elsewhere in your garden, it’s essential to be gentle with the root system.
While keeping a hand on top of the container near the plant’s crown, flip the container over and gently ease the transplant out.
With the transplant and media removed from the container, gently place them into the hole.
Backfill the hole with adjacent soil, water it in, and keep the surrounding soil moist. Repeat for each transplant, and you’re good to go!
How to Grow
All in all, growing and caring for bells of Ireland is pretty simple.
Climate and Exposure Needs
As half-hardy annuals, bells of Ireland won’t survive the winter. You’re free to utilize these bad boys in USDA Hardiness Zones 2 through 11, but they won’t be at their best in high heat or humidity.
M. laevis prefers full sun, but it can tolerate partial sun and partial shade exposure. In windy sites, you may have to stake your specimens to keep them upright.

Bamboo Stakes
For some support, how about these two-foot bamboo stakes? They’re sold in packs of 25 on Amazon.
Soil Needs
The ideal soil for M. laevis is well-draining and fertile, although this species can actually tolerate lean soils.
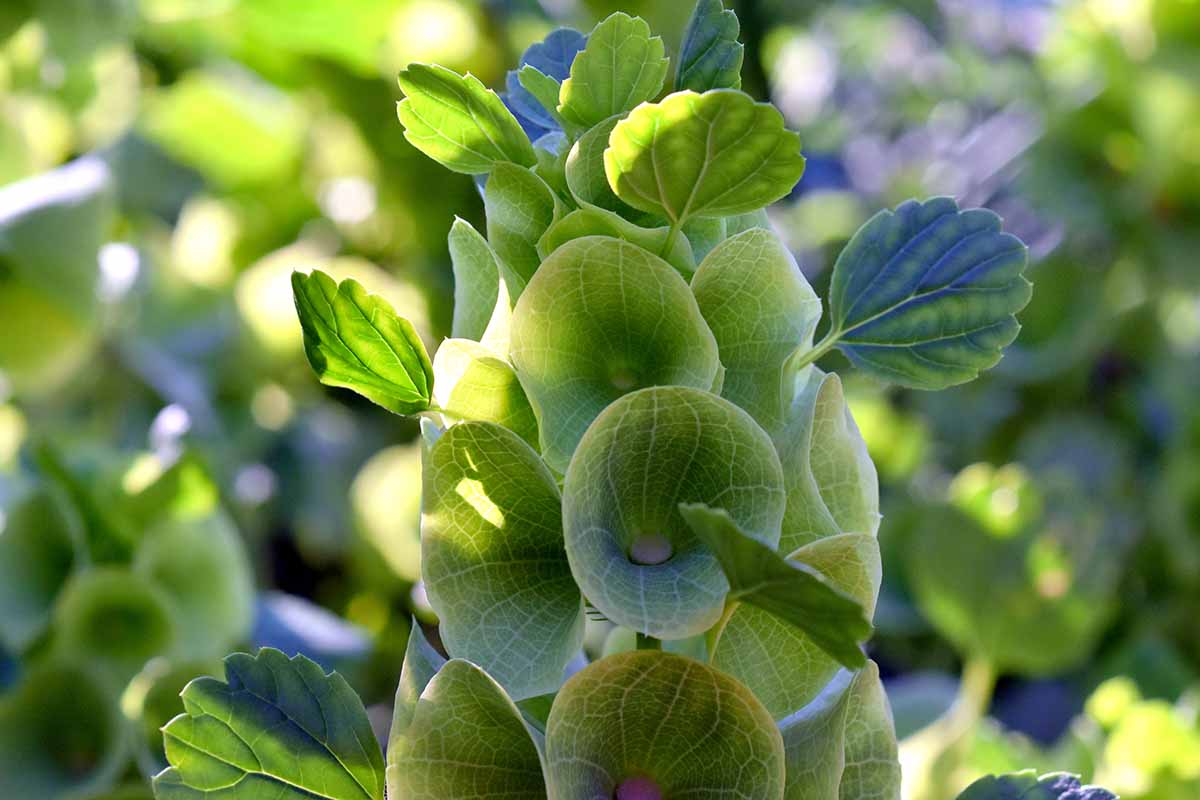
Working an inch or two of organic matter into your garden beds in early spring is a surefire way to provide that sweet, sweet fertility.
A pH that’s about neutral is optimal, so shoot for a range of 6.5 to 7.5.
Water and Fertilizer Needs
These flowers love to sit in moist soils, so be sure to give your bells of Ireland a nice drink whenever the surface feels dry to the touch.
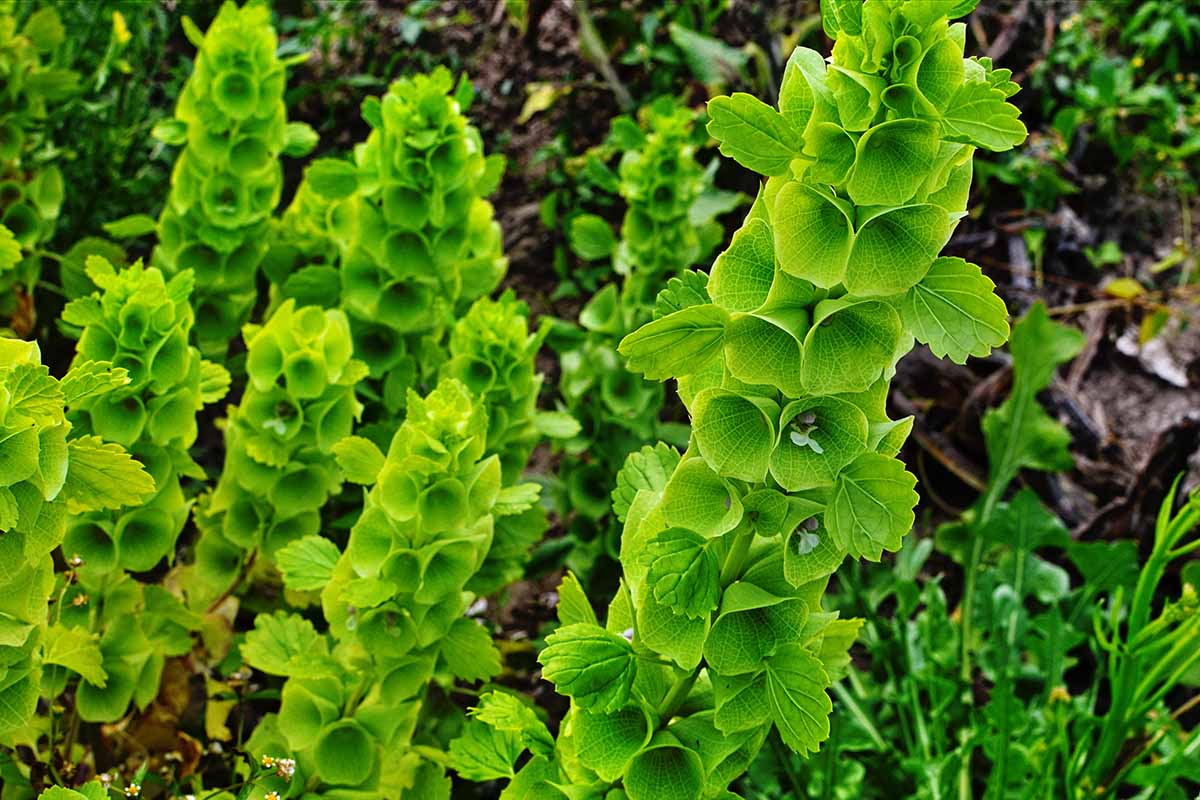
Either that, or choose a naturally moist yet well-draining planting site that doesn’t need supplemental irrigation.

EZ-Gro Liquid Fertilizer
Each month during the growing season, apply a general-purpose, balanced fertilizer such as this all-purpose, 20-20-20 NPK liquid plant food from EZ-gro, sold in one-quart containers on Amazon.
Growing Tips
- Full sun exposure is preferable, but partial sun and partial shade are tolerable.
- Aim for a pH of 6.5-7.5.
- Be sure to maintain soil moisture.
Maintenance
Aside from the watering and feeding that you’ll be doing throughout the season, there are a few other tasks you should add to your M. laevis routine.
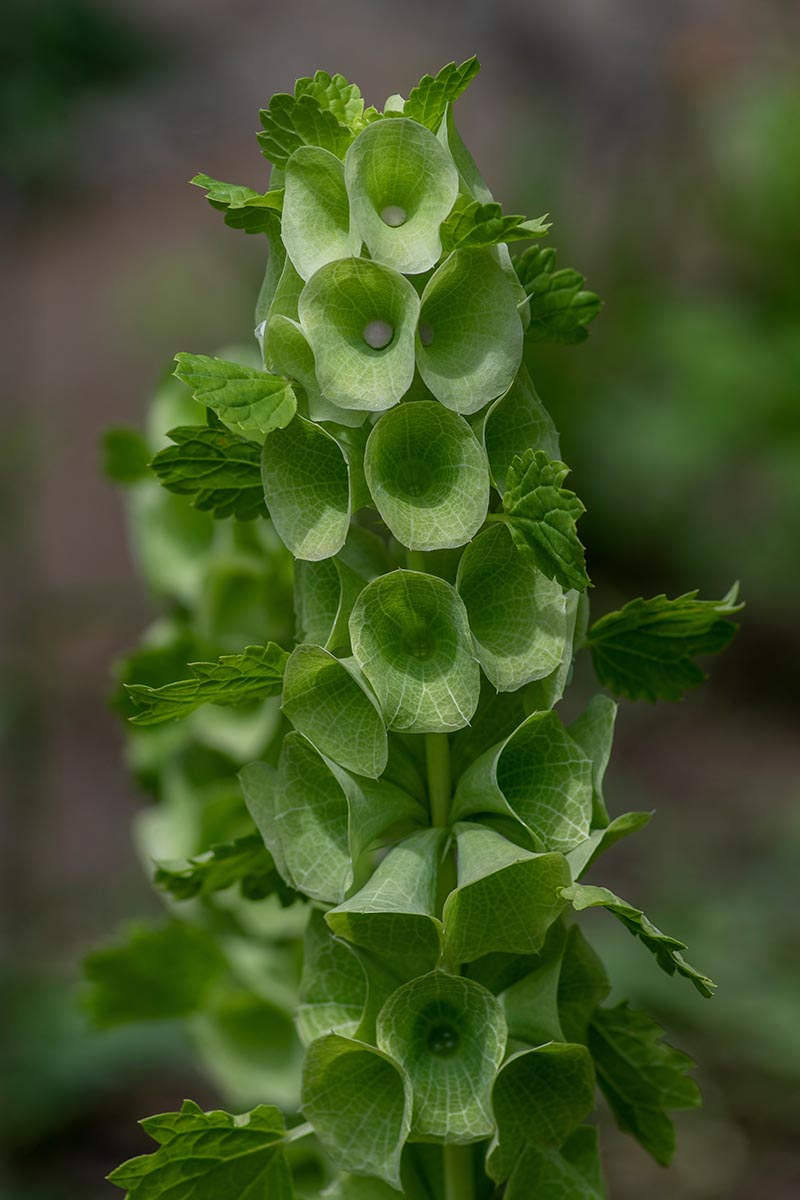
These guys are capable of self-seeding, so you can either pull or transplant any lil’ bells of Ireland that pop up in subsequent seasons, if you wish.
Alternatively, you can cut the stems before seeds form in late summer to early fall when they begin to dry if you don’t want the seeds to scatter naturally.
If you time this just right – i.e. as the calyces lose their flexibility and become firm – you can also use the dried blooms in floral arrangements.
Cultivars to Select
Don’t get it twisted, folks. A regular M. laevis – available in seed form via Eden Brothers – is pretty much perfect.
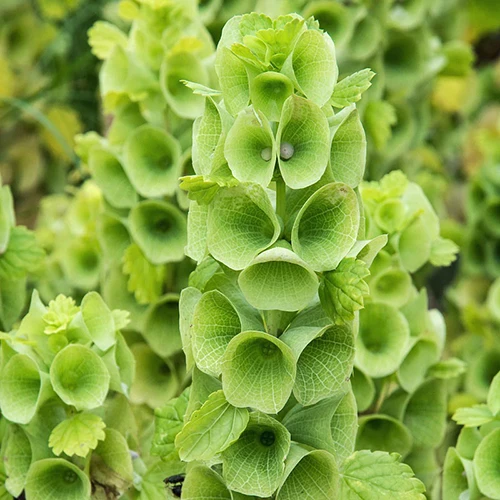
Bells of Ireland Seeds
However, there’s one cultivar that has a lot to offer, and it’s one I’d be remiss in ignoring.
Pixie Bells
There’s an issue that can plague the standard bells of Ireland: lankiness.
It’s a skinny-stemmed plant, yet it can grow up to three feet tall. This can leave your unstaked bells of Ireland buffeted around by winds, or prone to drooping as the shoots collect moisture buildup from rainfall.
‘Pixie Bells’ solves the problem with the reduced height and increased stem stockiness that a plain ol’ M. laevis lacks.
Instead of a maximum height of three feet, this variety’s verticality only reaches 20 to 24 inches.
And with its stronger stems, ‘Pixie Bells’ can withstand greater amounts of wind and water before flopping over, if they even flop at all.
If I may speak in terms of Nintendo’s “Super Mario Bros.” franchise, this cultivar is the Mario to the standard species’ Luigi – shorter and stouter, and more capable of beating Bowser.
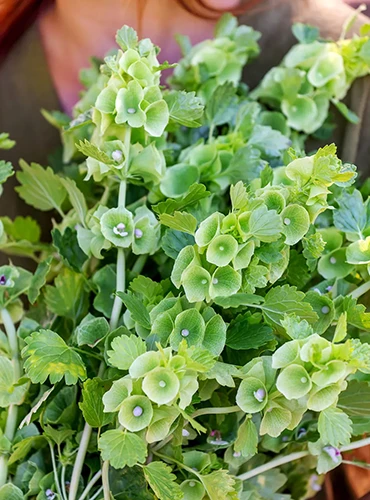
‘Pixie Bells’
Okay, maybe not that last part. But ‘Pixie Bells’ is definitely a winner!
Packs of 30 ‘Pixie Bells’ seeds are available for purchase from Burpee.
Managing Pests and Disease
Thankfully, M. laevis doesn’t leave gardeners with much to worry about in the ailments department. It’s resistant to deer and rabbits, and many pests and diseases don’t pose a threat.
But to keep your bells of Ireland looking wonderful, one must know of a few potential issues that could arise.
Insects
The great thing about proper pest management? It also doubles as disease prevention, since insects can often vector disease-causing pathogens as they feed.
Aphids
Measuring 1/16 to an eighth of an inch long, aphids are soft-bodied, translucent, and pear-shaped, with a light green hue that may be tough to make out on a light green plant.
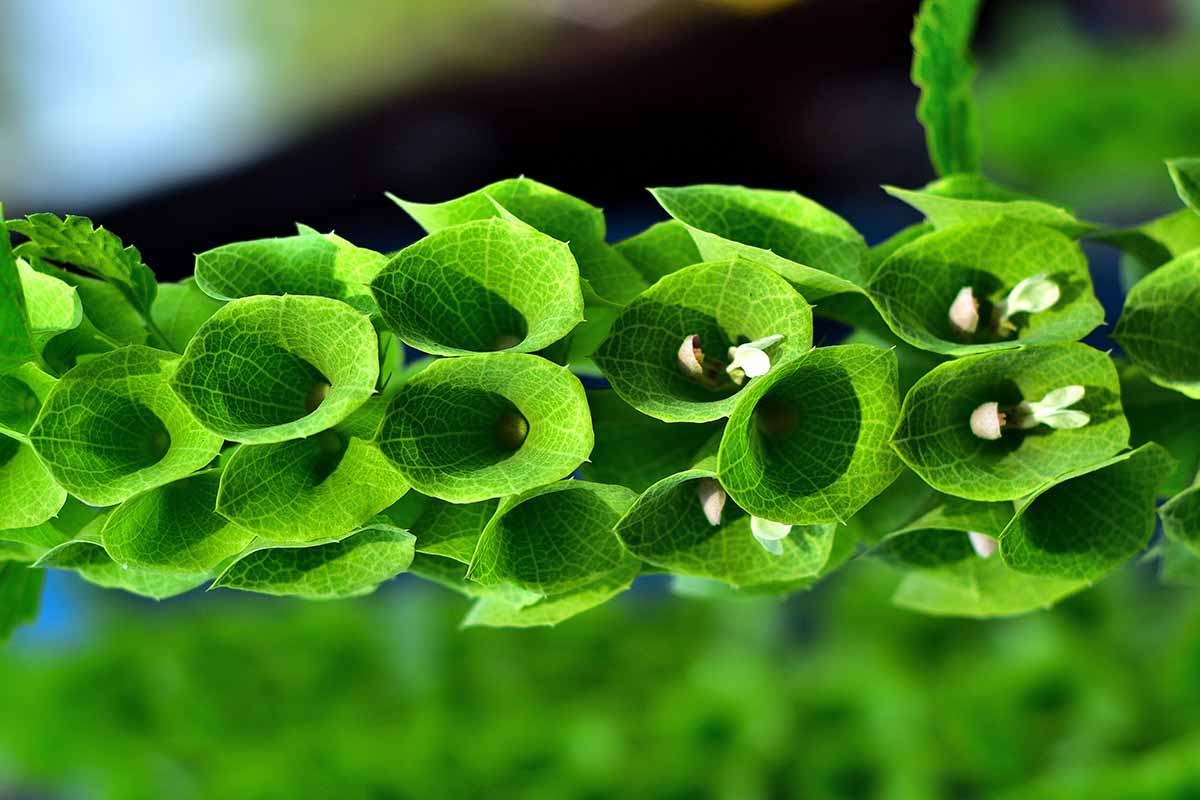
Aphids will settle onto the shoots of plants and extract delicious fluids from the phloem with their piercing-sucking mouthparts. Infested structures may exhibit chlorosis and stunted growth, especially if the aphid infestation is heavy.
Spider Mites
With oval-shaped bodies covered in translucent bristles, these puny arachnids are tough to spot with the naked eye.
But you’ll probably notice the webs they weave on infested plants, which can be a bit of an eyesore.
As evidenced by tiny white punctures, spider mites suck out vital plant juices, resulting in localized chlorosis and desiccation.
For control of spider mites, forceful water sprays or direct sprays of insecticidal soap are your best bet.

Bonide Insecticidal Soap
For the latter, a quart of multipurpose insecticidal soap is available to purchase from Bonide via Arbico Organics.
Disease
As a general preventative measure for warding off diseases, try your best to garden in a sanitary manner.
This means using sanitized tools, disease-free soils, and pathogen-free M. laevis specimens.
Cercospora Leaf Spot
Caused by species of Cercospora fungi, this disease riddles the leaves of infected specimens with small, brown, round to angular spots. Not merely cosmetic, these spots interfere with photosynthesis.
To prevent this problem, gather and dispose of adjacent garden detritus where the fungus can overwinter, and be sure to avoid overhead irrigation, which can promote the moist conditions that the causal fungi love.
When you “spot” symptoms in mild cases of infection, remove infected leaves and pitch them – don’t compost them.
A severely infected specimen should be lifted and disposed of. As the causal fungi can persist in the soil for up to two years, avoid planting in contaminated sites for at least two years after infection.
Crown Rot
With a name like “crown rot,” this disease is somewhat self-explanatory.
At the soil line, the plant’s crown does its job of holding the stem upright while transferring water and nutrients between the roots and the shoots.
But in oversaturated soil conditions, the crown is vulnerable to attack from various pathogens such as Fusarium, Phytophthora, and Rhizoctonia species.
If infection occurs, the crown can rot out, leading to stunted growth, root necrosis, and eventual plant death.
Prevention is the best cure for crown rot: ensure that soil oversaturation doesn’t occur.
This means watering less often, providing better drainage, or both. Lift and destroy any specimens where the majority of the crown and root system are rotted out.
Best Uses
Just like potatoes do, bells of Ireland hit the spot in a variety of circumstances.
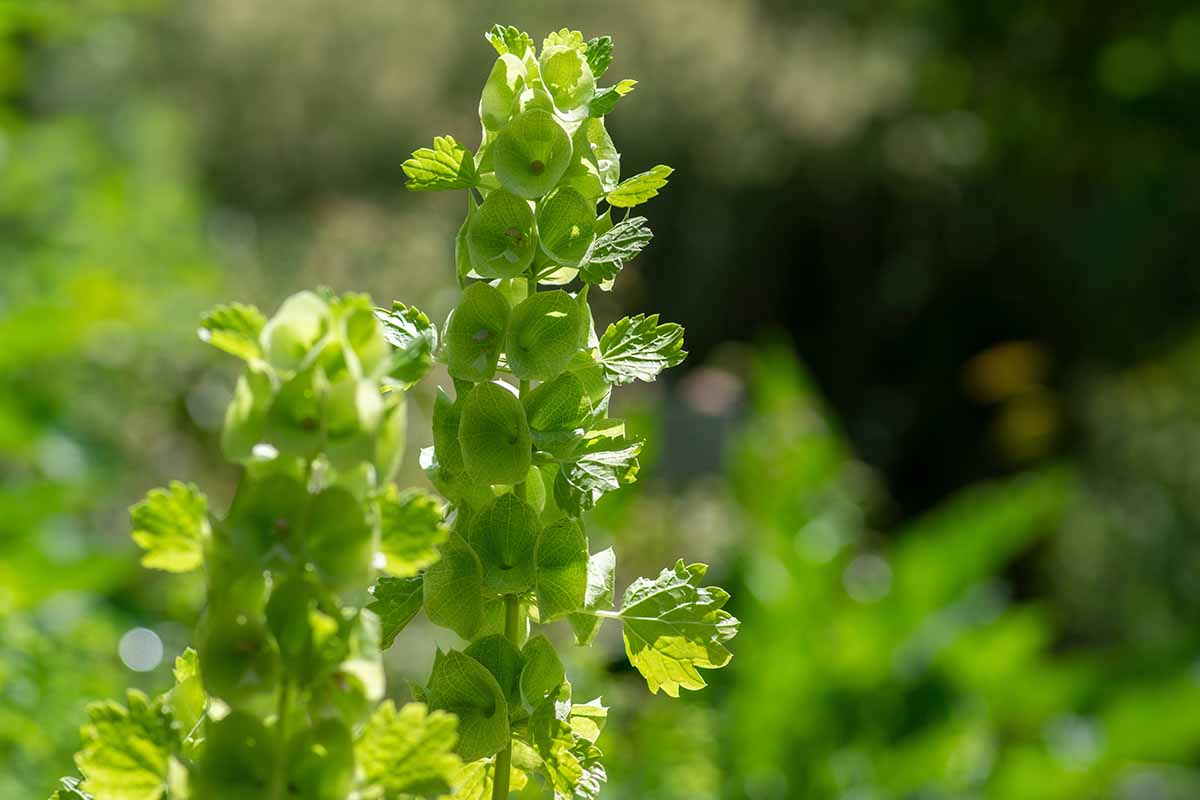
In the garden, they work amazingly in mixed borders with other annuals.
Their unusual aesthetic fits nicely within the beautiful chaos of a cottage garden, and their upright form provides many opportunities for complementary plantings within containers.
More of a florist than a landscaper? Whether gathered fresh or allowed to dry, M. laevis is a knockout in floral arrangements.
When bestowed either with or without other flowers, bells of Ireland are a beautiful way to wish somebody good luck!
After cutting the dry stems, remove the thorns and leaves before hanging them up to finish drying in a well-ventilated area.
If you want some fresh bells of Ireland for living arrangements, you should cut them when the calyces are about half open.
Make each cut diagonally, so that the stem can take up water while touching the bottom of a vase or other container. Remove the thorns and leaves, and voila! They’re ready to go.
Regardless of the specific application, bells of Ireland compliment purple hues quite well. Feel free to pair them with ornamental alliums, butterfly bushes, or even purple-leaved coleus!
Quick Reference Growing Guide
| Plant Type: | Half-hardy annual flower | Flower/Foliage Color: | White blooms in light green calyces/light green |
| Native to: | Iraq, Turkey, Syria, the Caucasus | Water Needs: | Moderate |
| Hardiness (USDA Zones): | 2-11 | Maintenance: | Low |
| Bloom Time: | July-September | Tolerance: | Partial shade, poor soils |
| Exposure: | Full sun | Soil Type: | Moist, fertile |
| Time to Maturity: | 2-3 months | Soil pH: | 6.5-7.5 |
| Spacing: | 10-12 inches | Soil Drainage: | Well-draining |
| Planting Depth: | 1/4 inch (seed), depth of root system (transplants) | Attracts: | Bees, butterflies |
| Height: | 1.5-3 feet | Uses: | Containers, cottage gardens, cut flowers, dried flowers, mixed borders |
| Spread: | 1-1.5 feet | Family: | Lamiaceae |
| Growth Rate: | Rapid | Genus: | Molucella |
| Common Pests and Diseases: | Aphids, mealybugs, slugs, spider mites; root rot | Species: | Laevis |
Give This Green Plant the Green Light
With so many potential plantings vying for your attention, it’s understandable that you might approach a new one with caution. Why should you choose this one over the others?
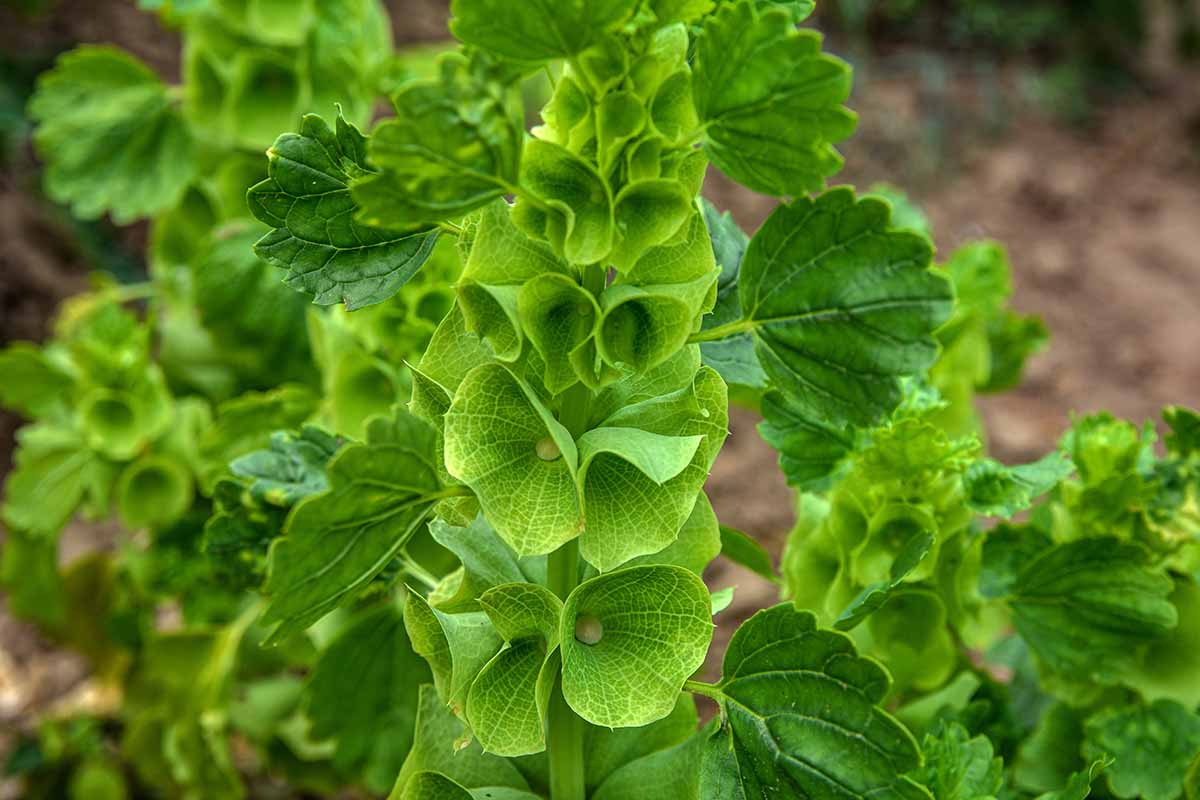
If you didn’t before you read this guide, you probably understand by now what makes bells of Ireland so special. It’s impossible to deny the special, distinctive beauty of Molucella laevis.
Bursting with questions or remarks? Then head on down to the comments section!
Curious about other members of the Lamiaceae family? Here are some minty guides for your perusing pleasure:

