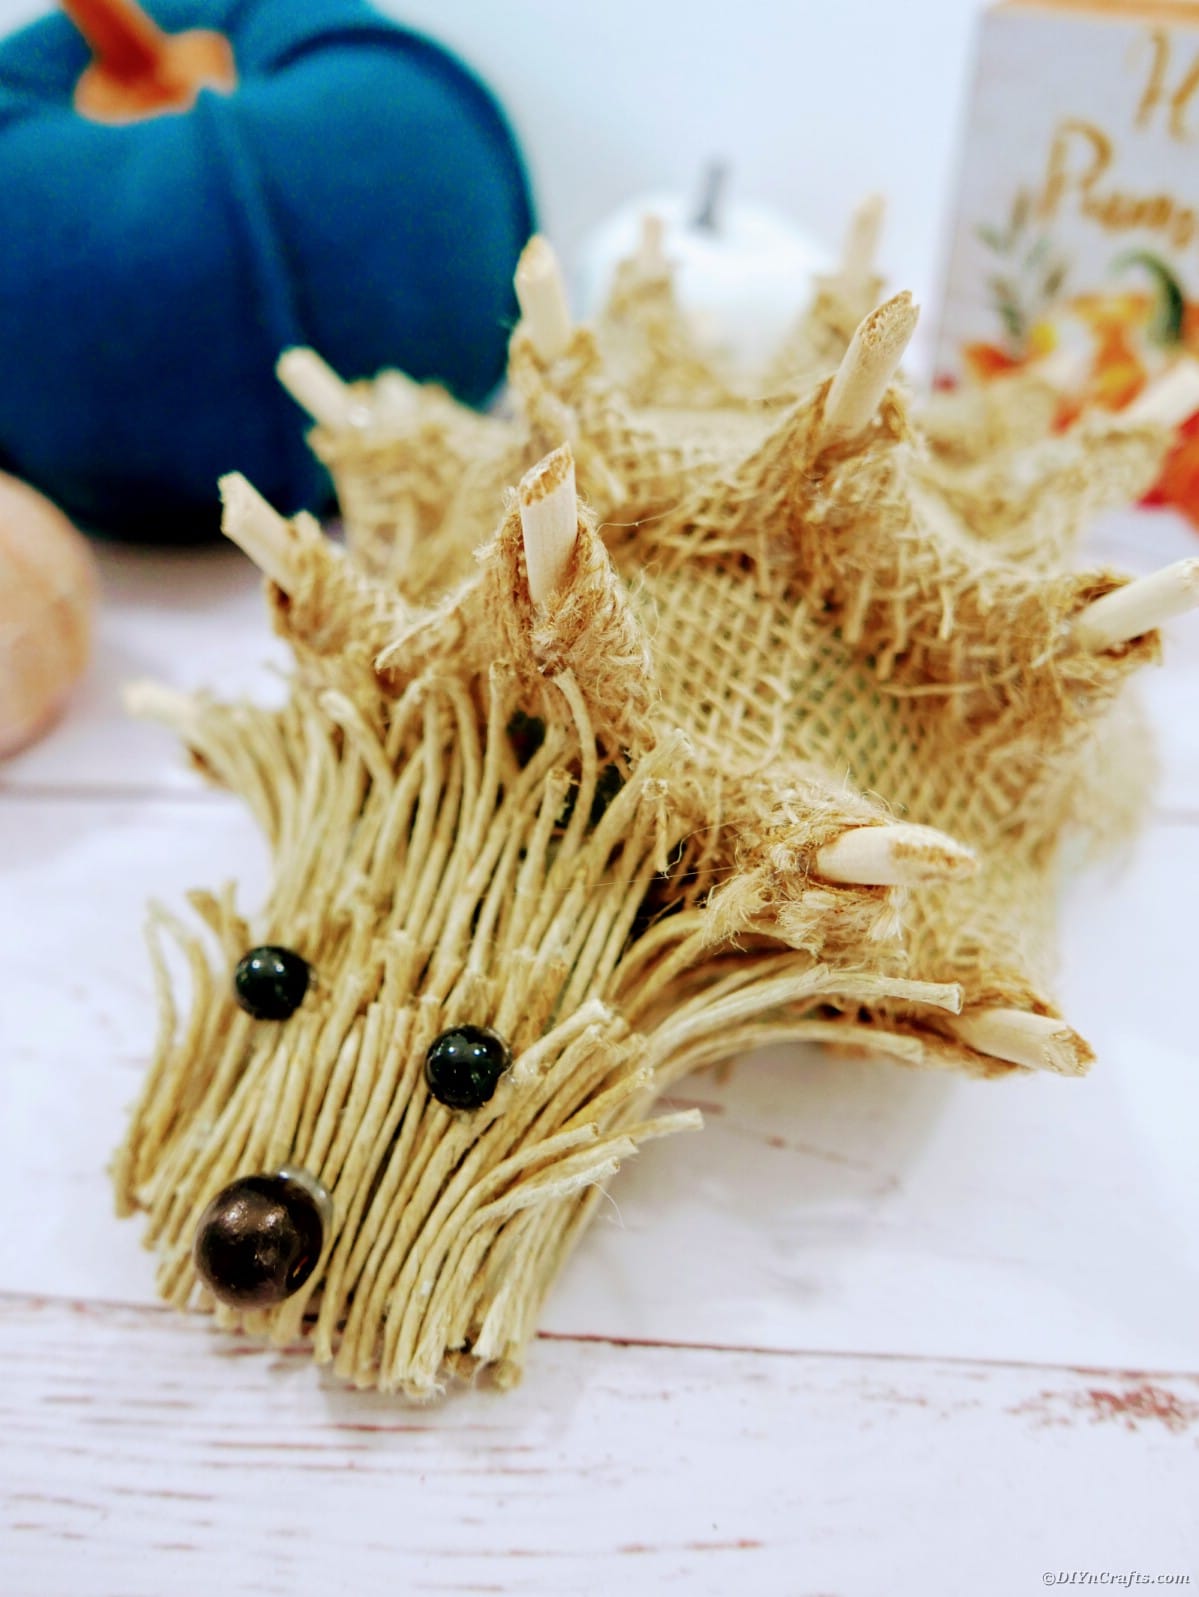
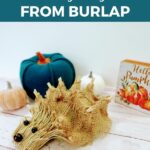
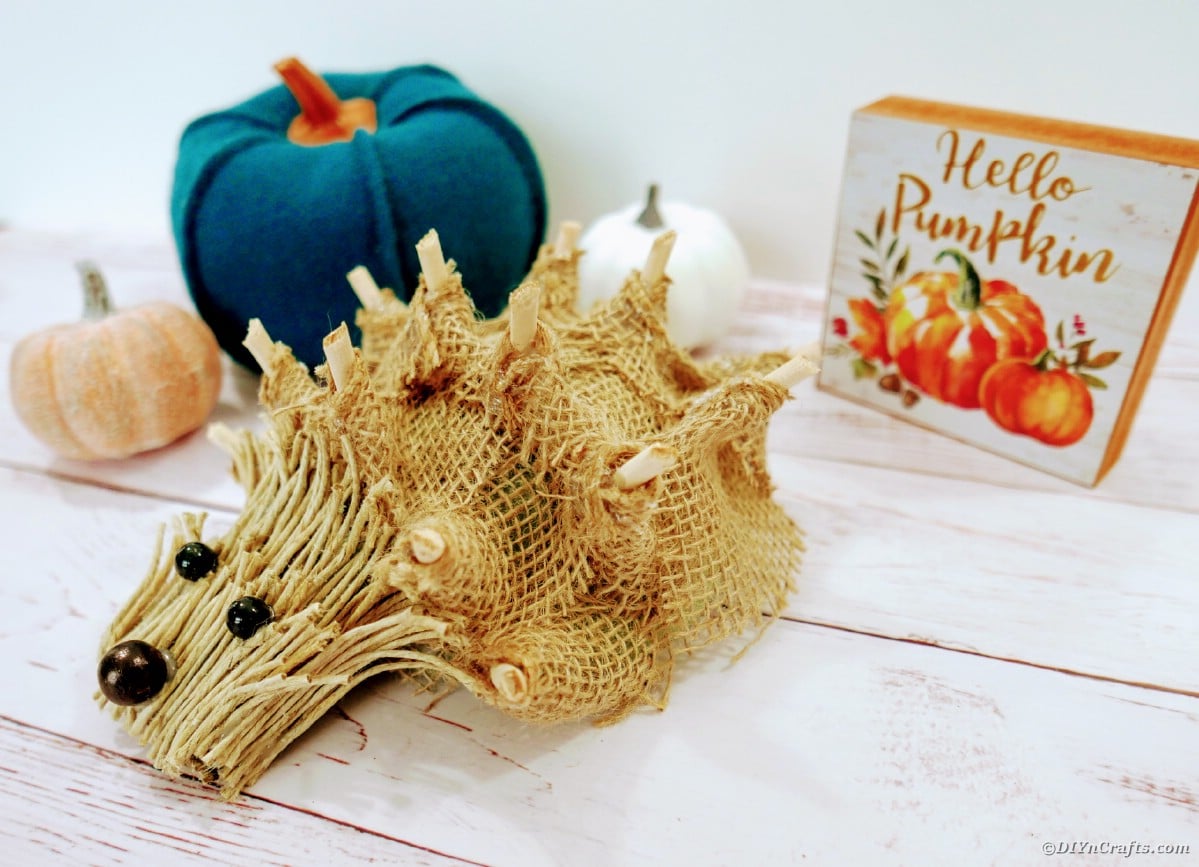
Are you obsessed with these adorable little woodland creatures? We are so in love with how cute this burlap hedgehog decoration turned out. A few simple supplies combine to create a little decor item that looks just like the real little critters you love! Check out the step by step tutorial with pictures below!
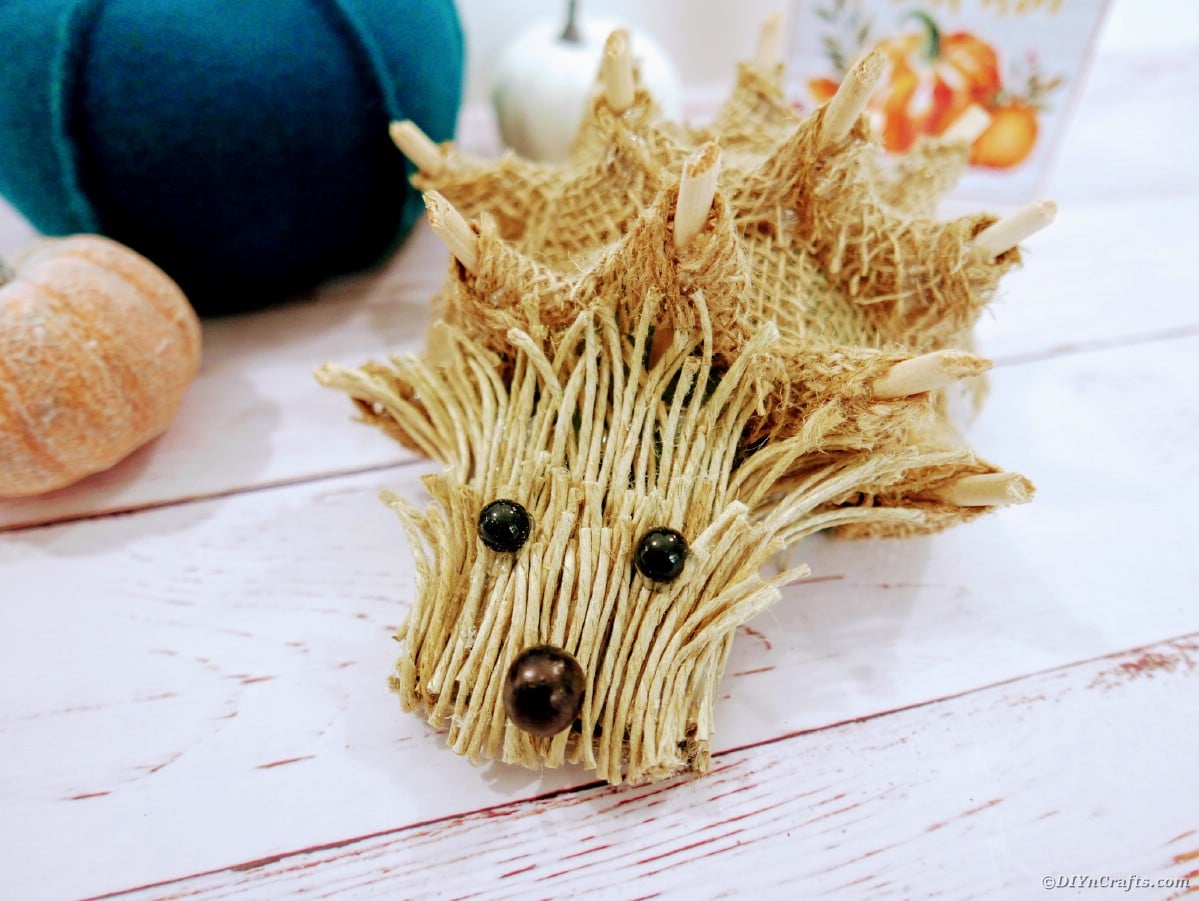
Burlap Hedgehog Craft
This is a super easy and fun idea for making the adorable hedgehog come to life in crafting. You are using simple items you likely already have on hand in your craft closet. While this project does include several steps, it is easy to follow and the result is definitely worth your time.
If you like hedgehogs as much as we do, then you might also like this upcycled plastic bottle pinecone hedgehog decor, old book paper hedgehog, or this super cute hedgehog kids craft that has three different styles to choose from.
What Else Can Be used for The Base of My Hedgehog?
Floral foam is super handy and affordable. I especially like how you can so easily trim it down to size and make these as big or as large as you wish. That said, you may not like using the foam as it can also be a bit messy when cut down. The green foam turns to dust and can make a little mess, so below are some other options you can use when making your hedgehog that are just as easy and affordable to use.
- Styrofoam balls or blocks cut to size.
- Wooden disks or blocks cut to size with dowels hot glued into place.
- Recycled plastic bottles or tin cans.
How Can I Add These to My Home Decor?
I personally love hedgehogs year round, but they are especially popular in fall as the warm colors fit that Halloween and Thanksgiving theme. You can use them then as part of your decor, or truly any time of year when desired. Below are a few ways to add these to your home.
- Create a few different sized ones and add bow-ties, hair bows, and vests using scrap fabric to create a family and place on your mantle.
- Use them as book ends on your book shelf.
- Add to shelves in kids rooms or a baby nursery as part of the woodland creature decor theme.
- Use as part of a woodland creature baby shower decor theme.
- Add to side tables or as a centerpiece on your dining table.
- Make a miniature and hang from a holiday tree.
Can I Use Fabric Instead of Burlap?
You can definitely swap the burlap for fabric if you prefer. As this isn’t exact by any means, it’s easy to substitute what you have on hand. They don’t have to be brown either! You can give your hedgehog personality!
Some ideas I like include felt, scrap flannel, old scrap pillow cases or sheets, or even a t-shirt with a theme you want to save but can no longer wear. There is no right or wrong with this project. Turn it into what makes you happy!
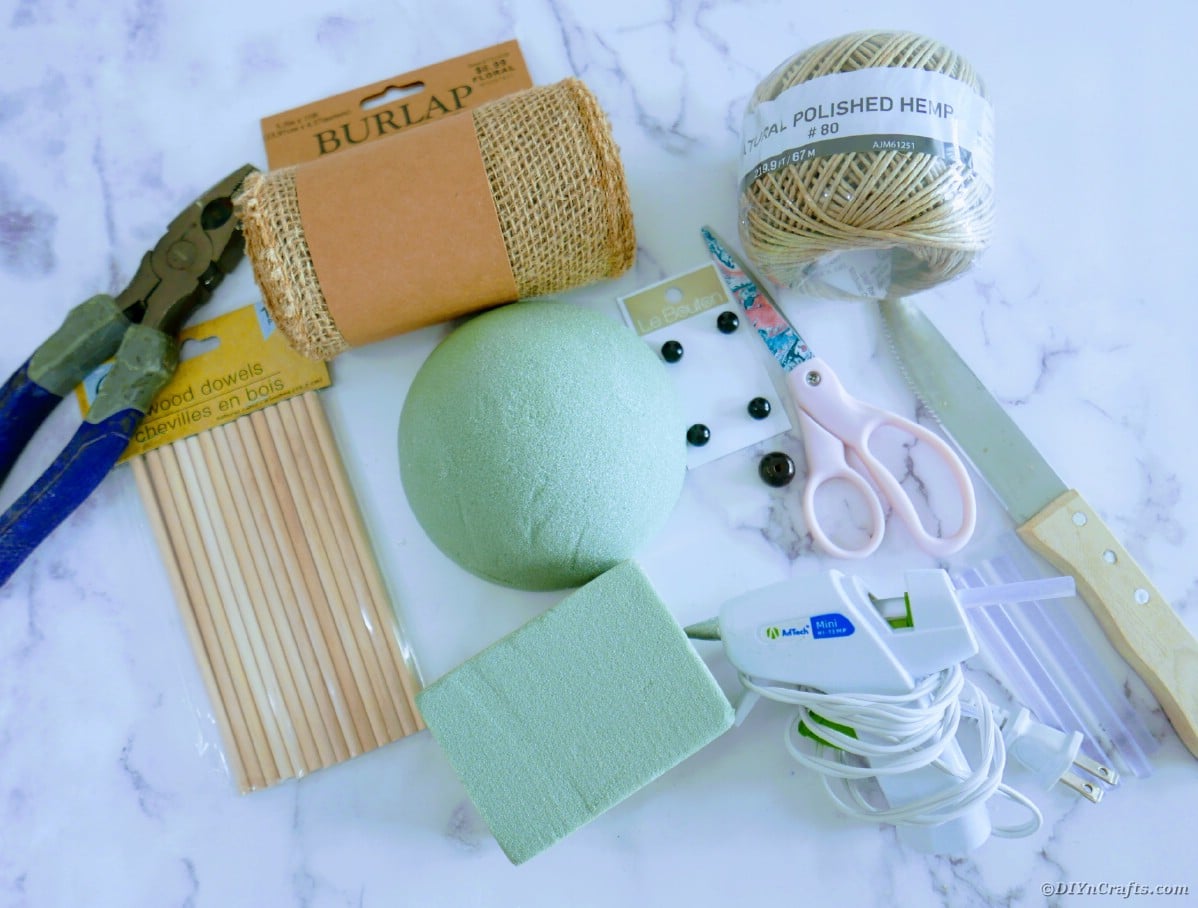
Supplies Needed
How to Make a Burlap Hedgehog
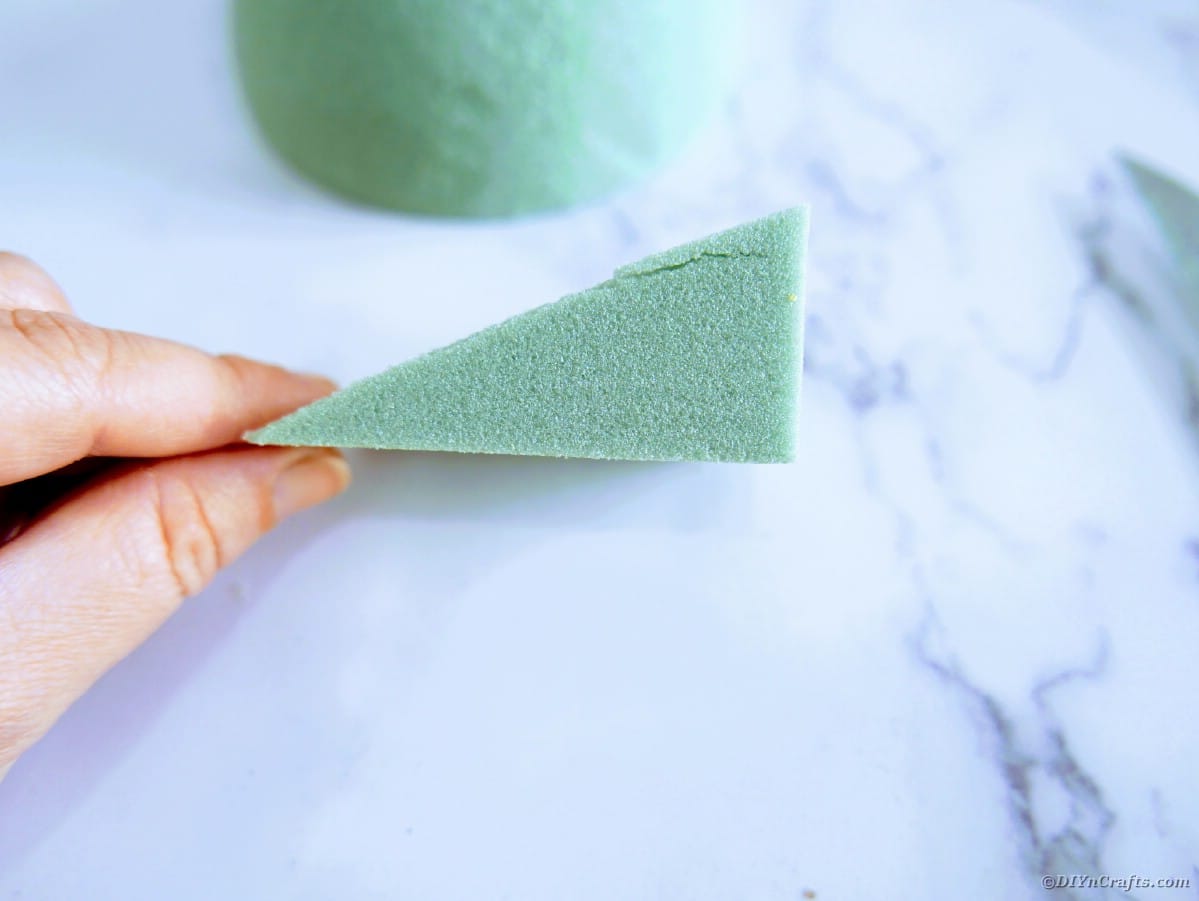
Using a knife, cut the end of the floral foam brick at an angle to create a 90° triangle. Cut approximately ½” across the short end of the triangle again.
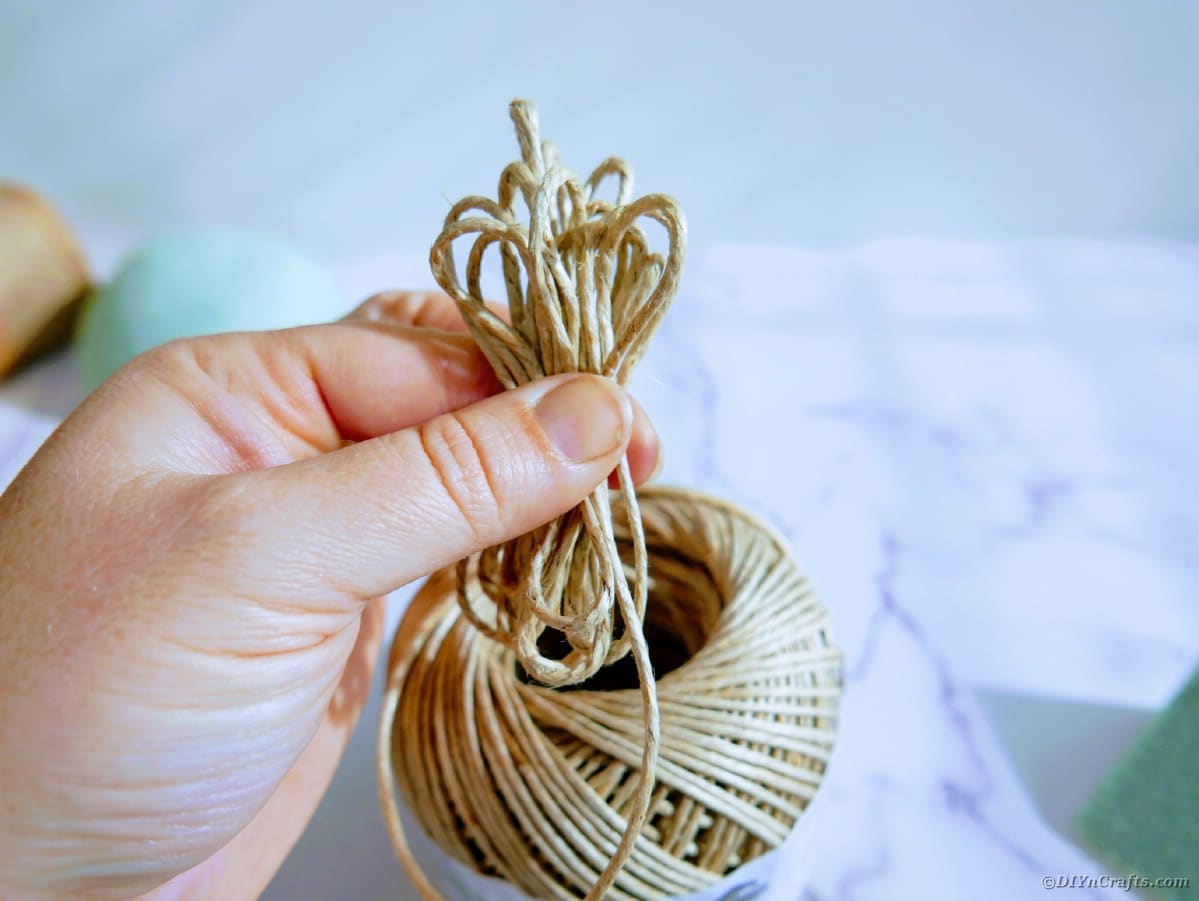
Begin unwinding the polished hemp cord, and folding it back and forth until you have about 25 loops that are approximately 3” long.
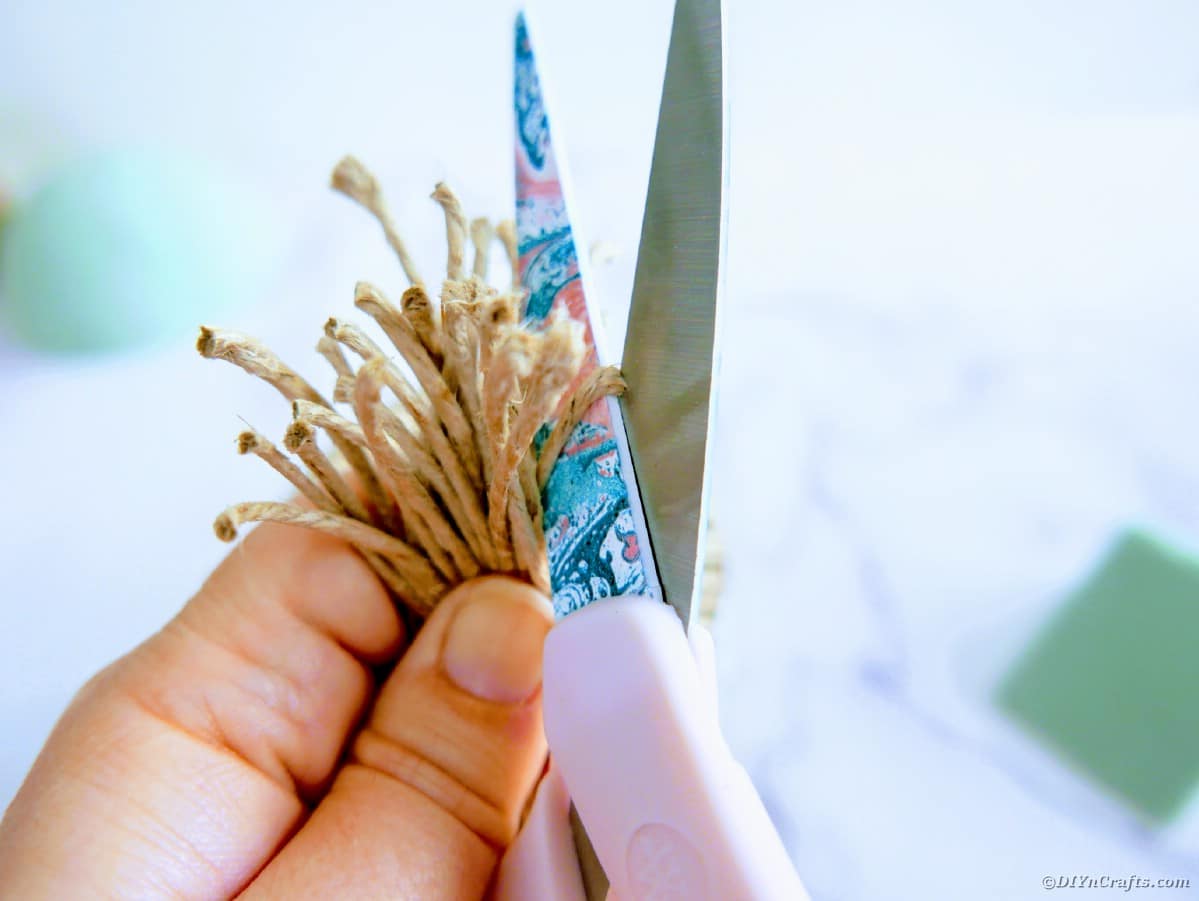
Using your scissors, cut the loops at both ends, so that you have separate pieces of the cord.
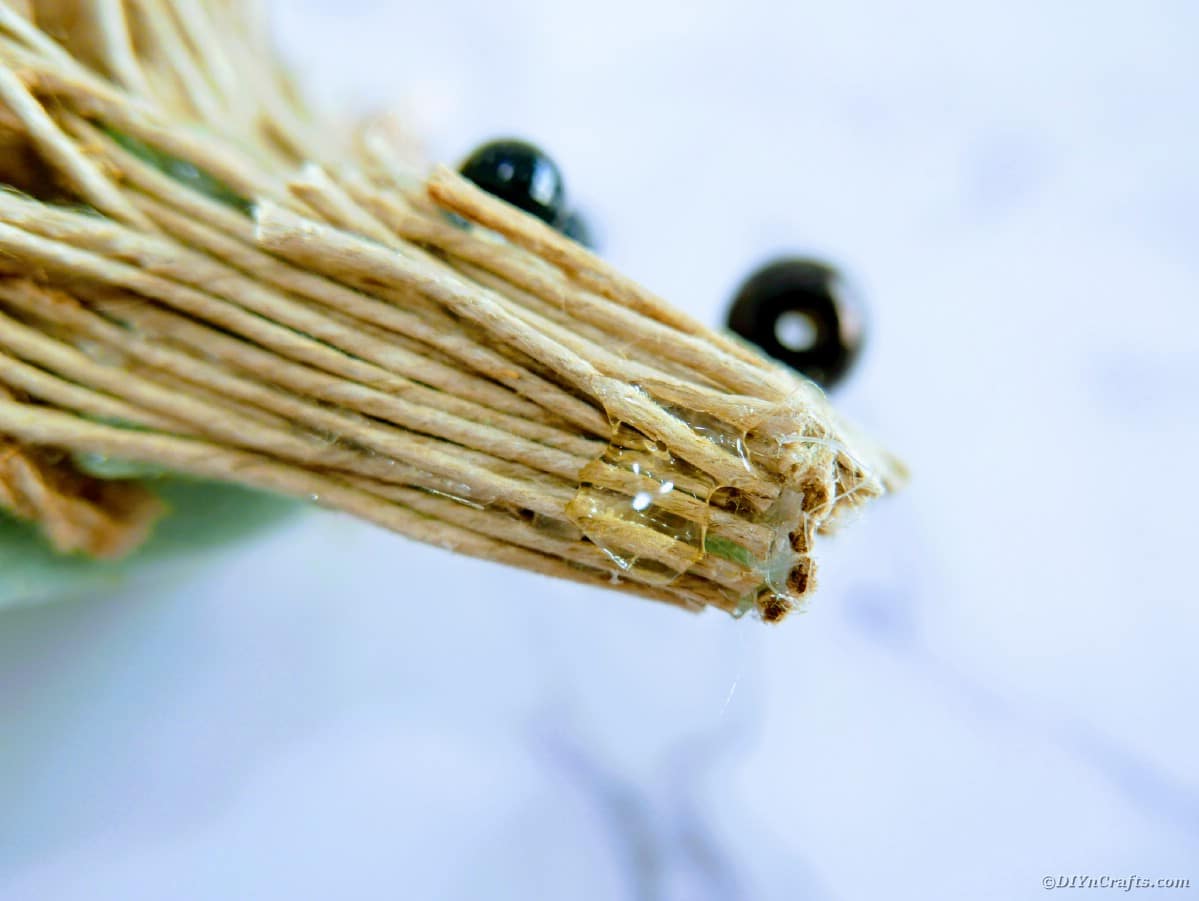
Hot glue the cord pieces to the floral foam triangle, making sure to leave an overhang at the top approximately ½”. Repeat process until the triangle is covered on the top, and sides with hemp cord.
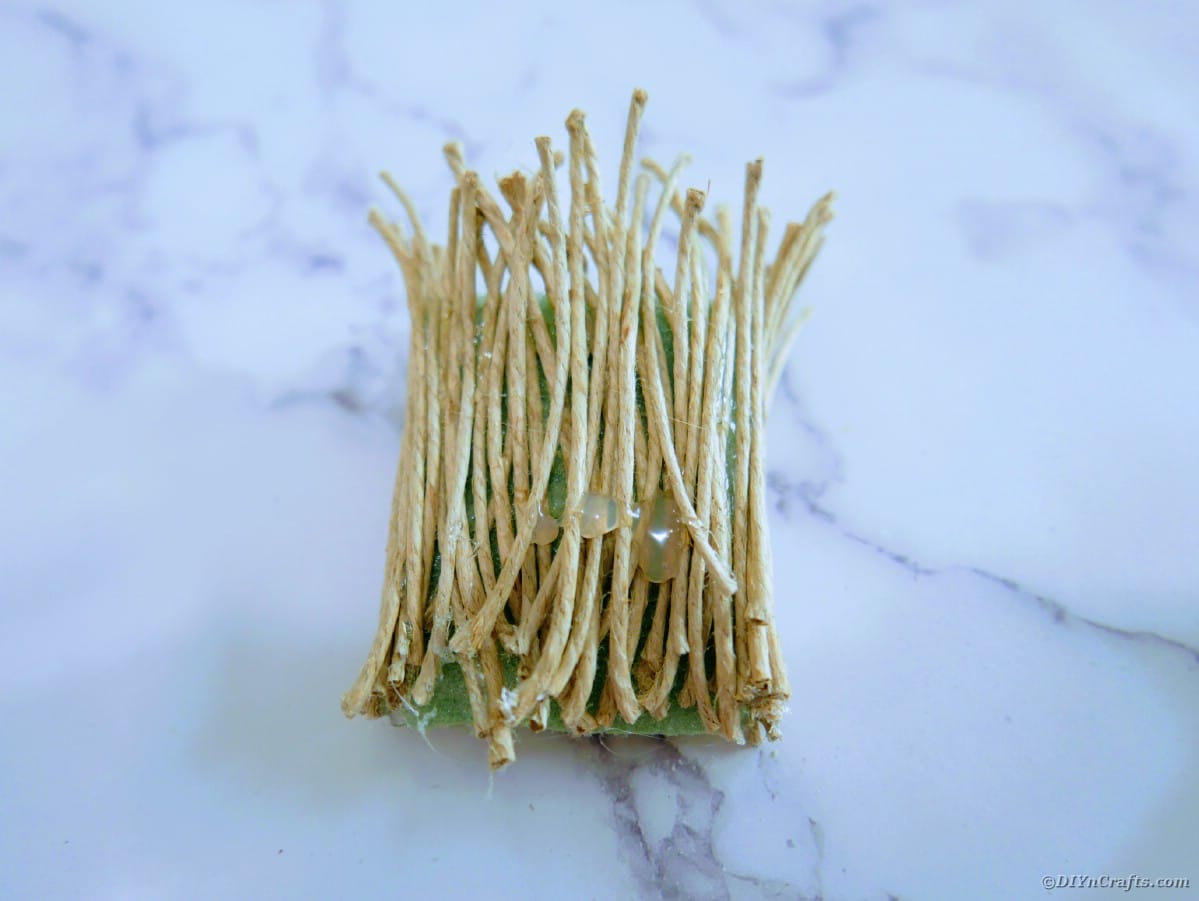
Cut 4-5 more pieces of cord, and glue across the front of the floral foam triangle, so that none of the green foam is showing.
Next, unwind more hemp cord, and fold back and forth until you have another 25-30 loops, but this time they will be approximately 1 ½” long. Cut the loops again at both ends to separate the pieces. Hot glue the shorter pieces on top of the longer pieces of hemp cord, making sure to only glue them about halfway down, so that you can fold and flare the top portion outwards.
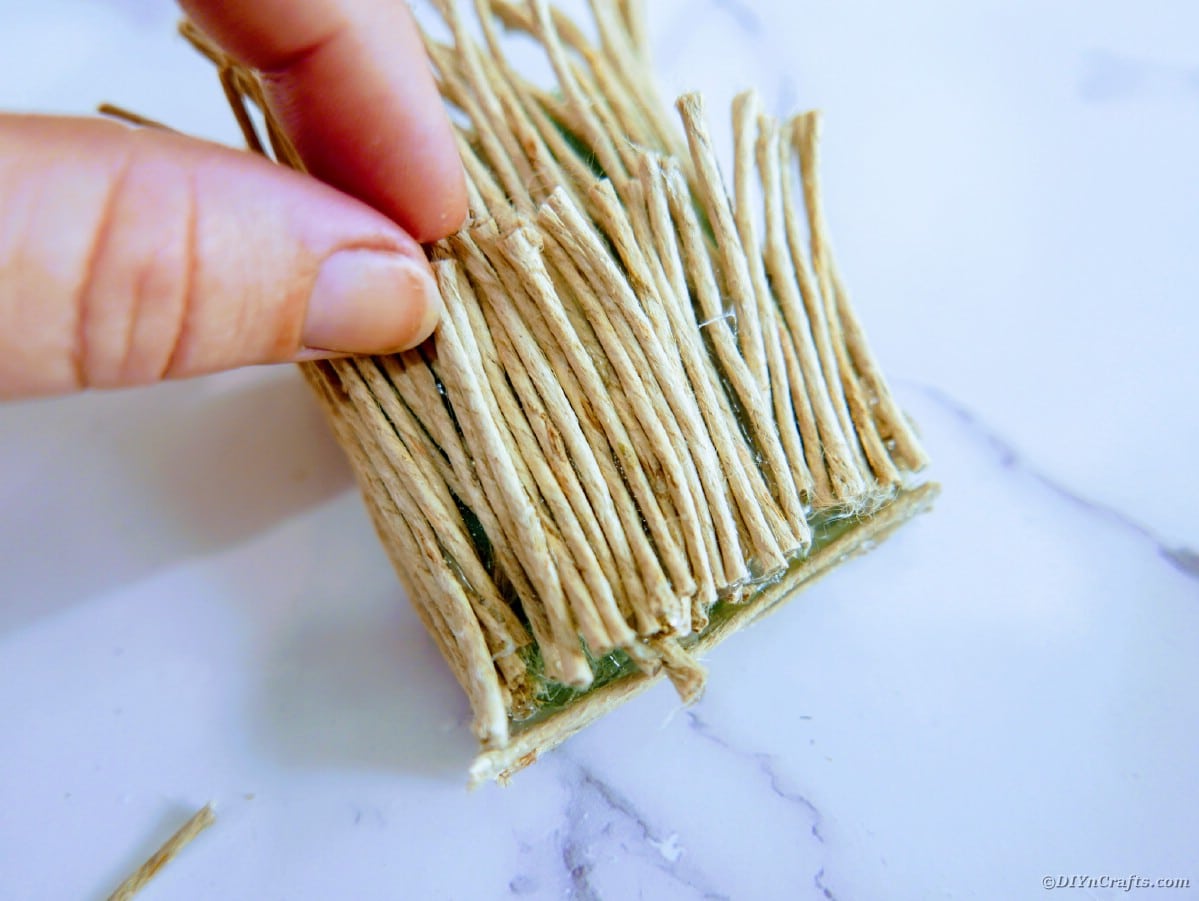
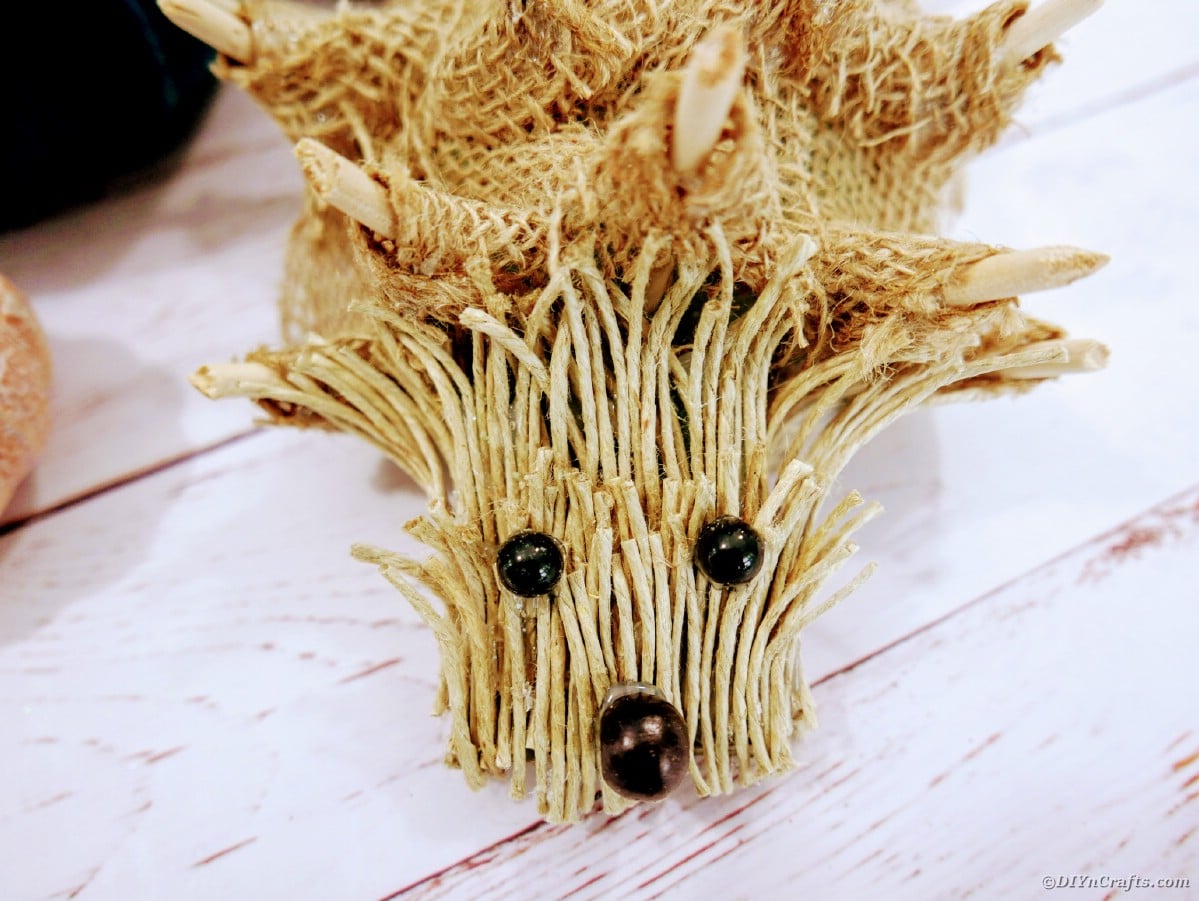
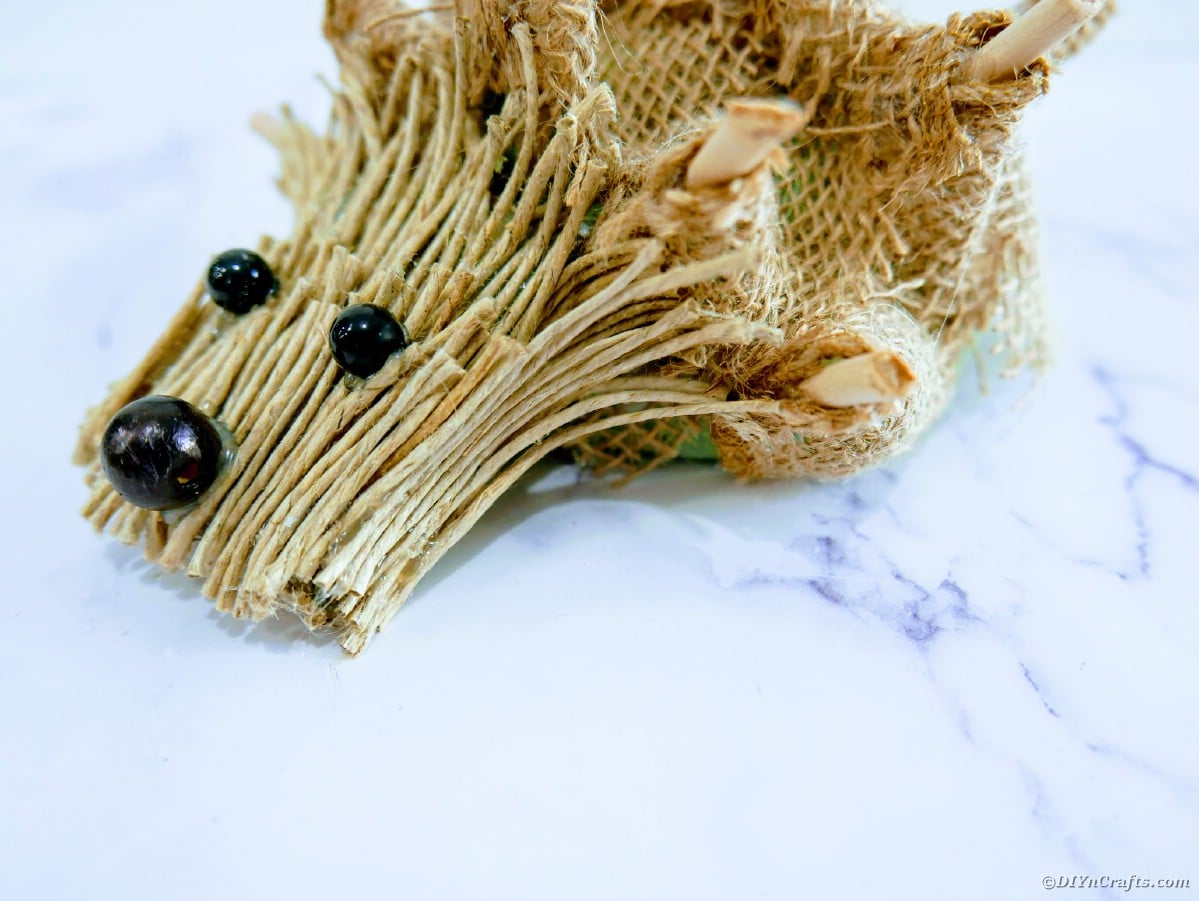
Hot glue the small black beads on as the eyes, and the larger black bead as the nose.
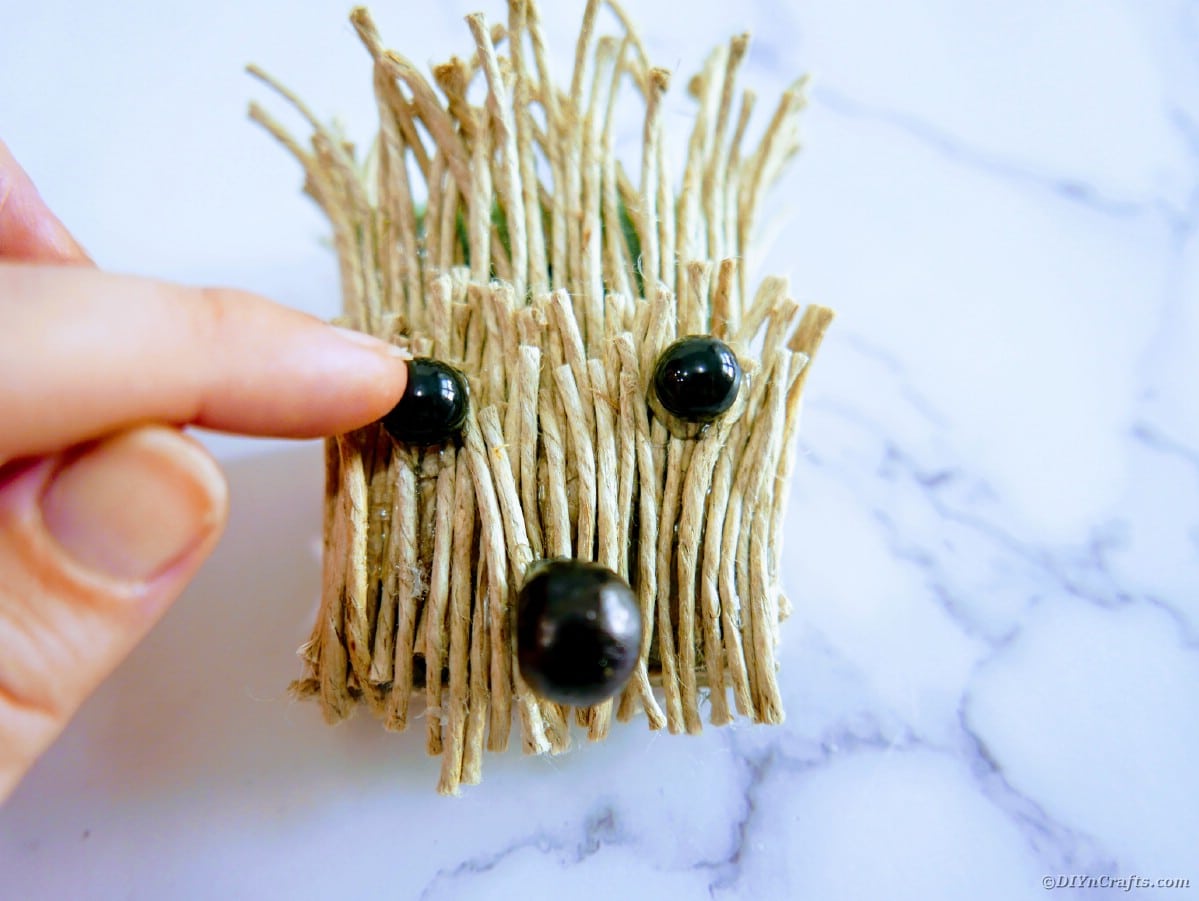
Using the wire cutting pliers, cut the wooden dowels in approximately 2” pieces, cutting the ends at a slight diagonal. Cut 15-16 pieces.
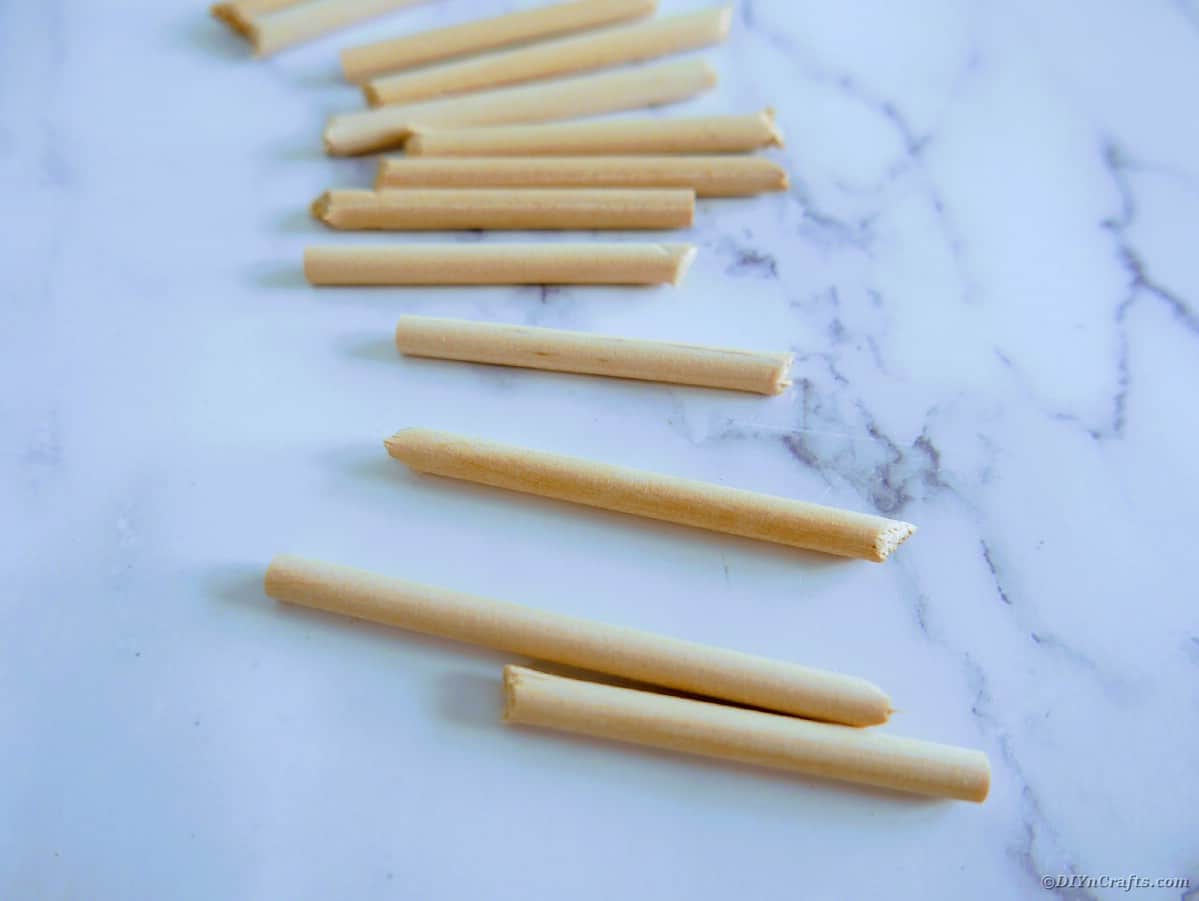
Next, cut the wide burlap ribbon into 2” long strips, and then cut those strips in half so that you have two squares. Repeat this process until you have about 15 or 16 squares of burlap ribbon.
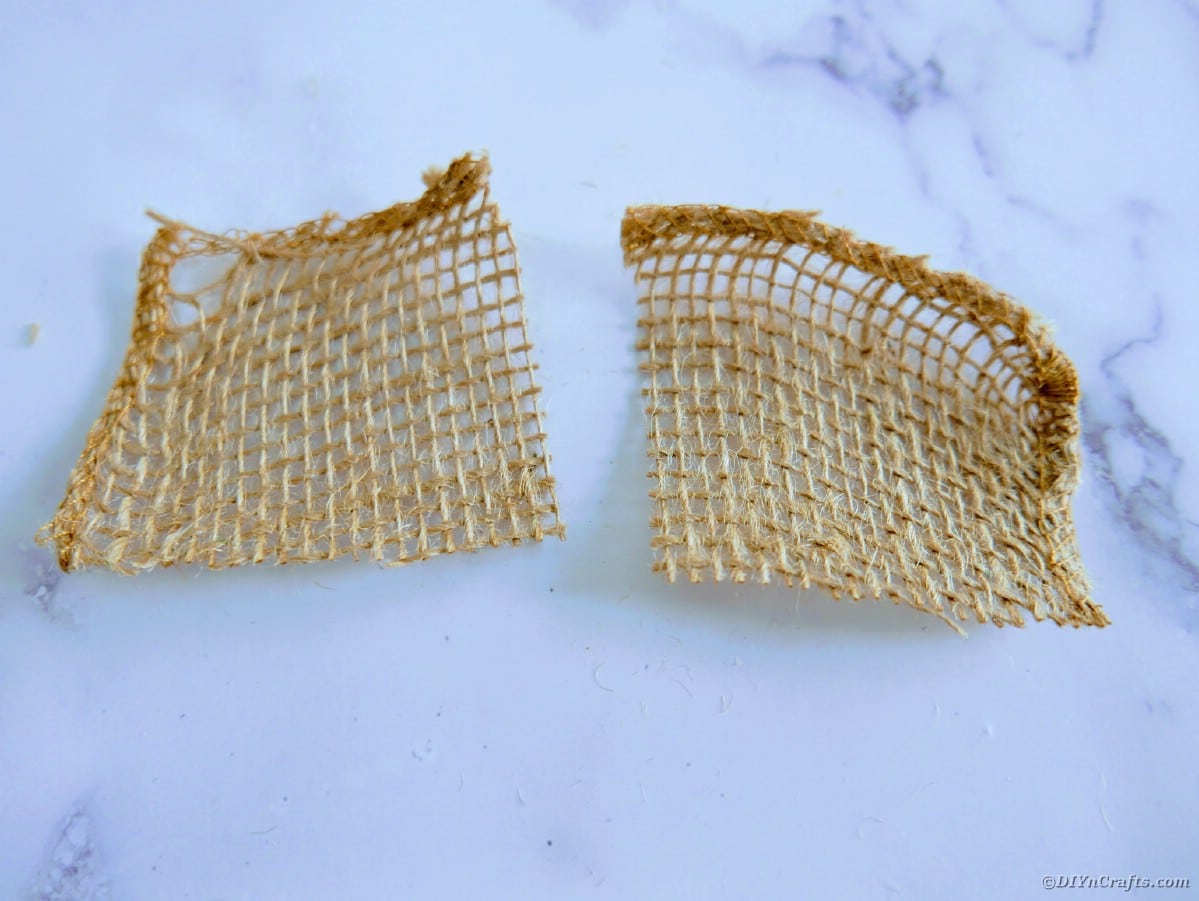
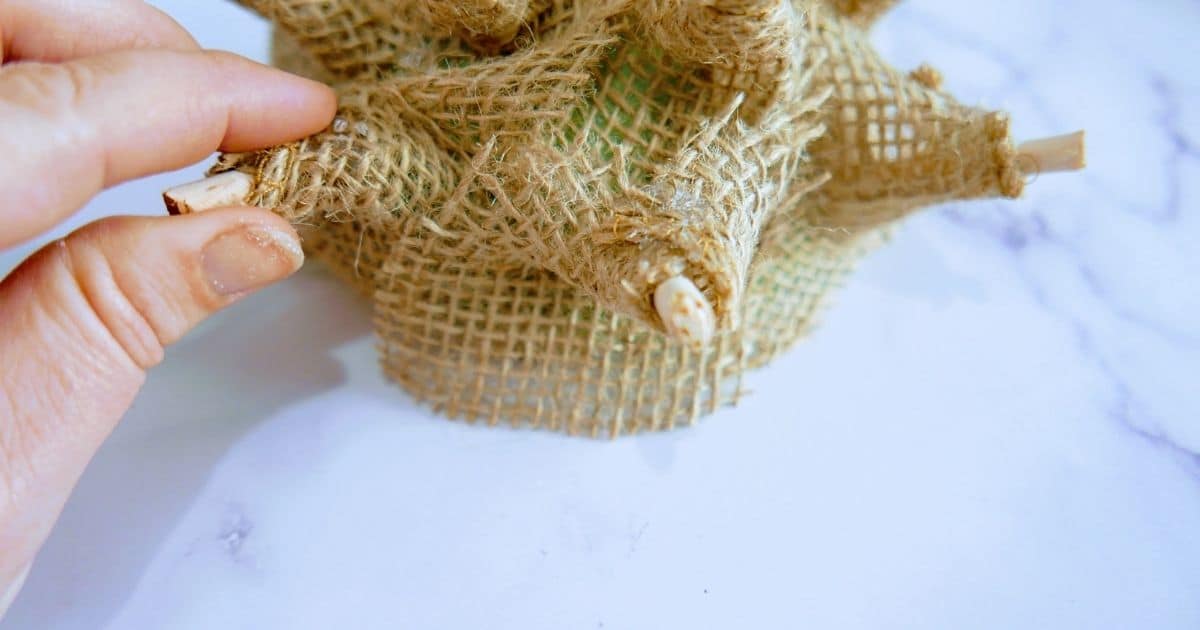
Apply a small amount of hot glue to the middle top of the burlap ribbon square. Place the wooden dowel piece on top of the glue, with the angled edge sitting just above the ribbon. Now place a little hot glue about ⅓ of the way down the wooden dowel piece, and fold the burlap ribbon onto the dowel, gluing again so that both sides are folded over the wooden dowel.
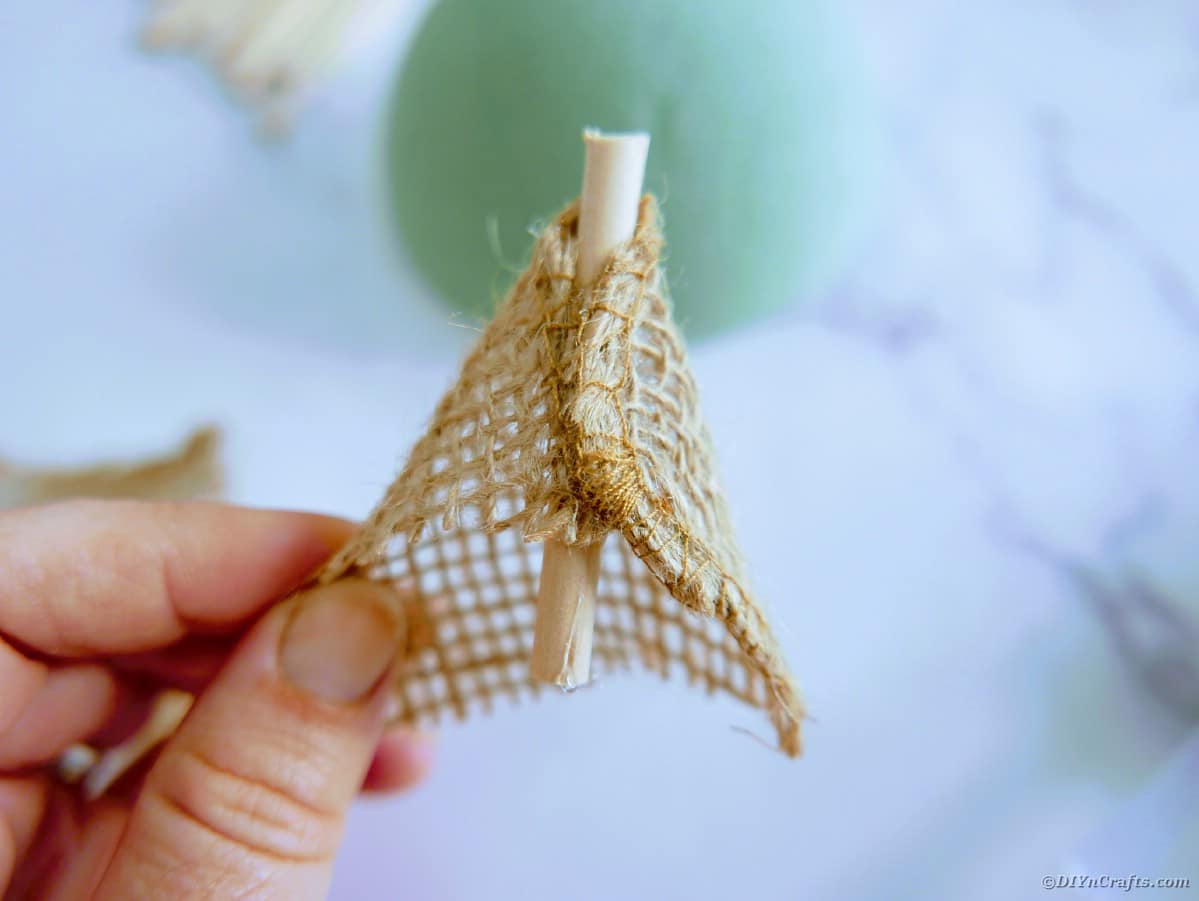
Repeat this process until all 15-16 wooden dowel pieces are covered with burlap ribbon.
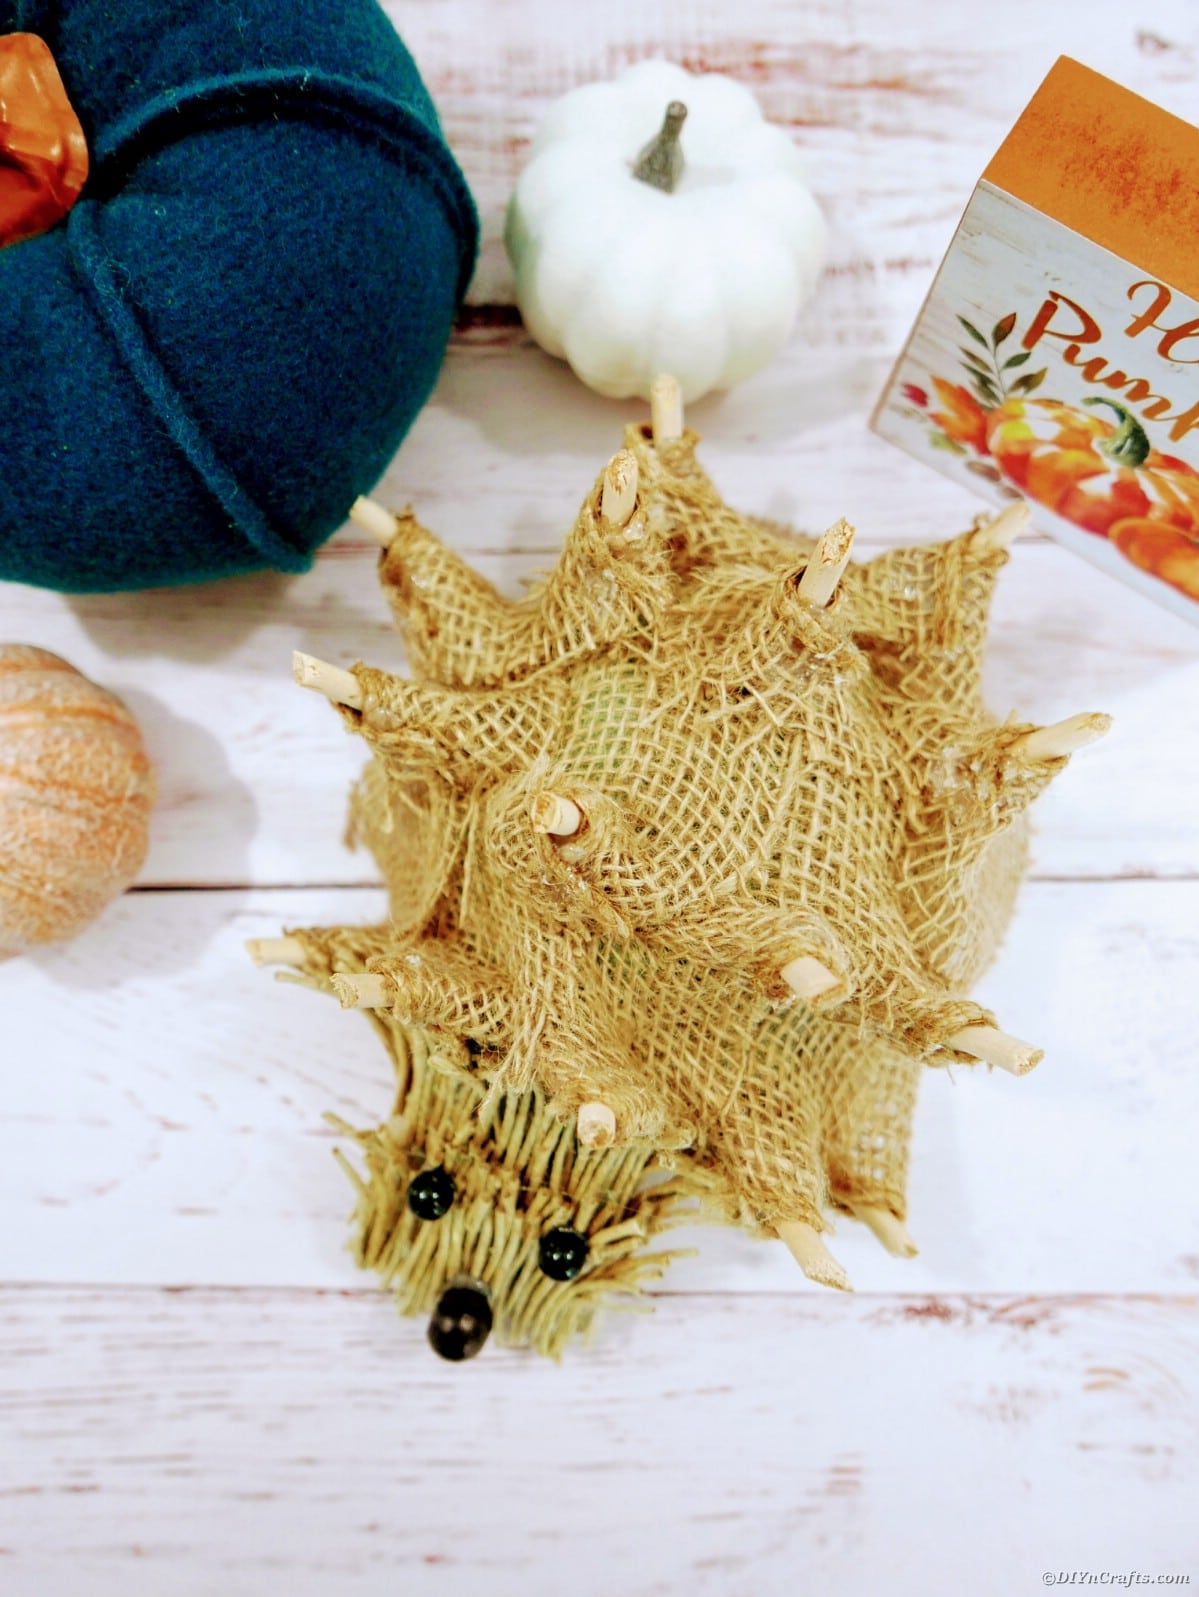
Starting on the front right side of the floral foam half ball, push the bottom of the burlap covered dowel piece into the foam ball.
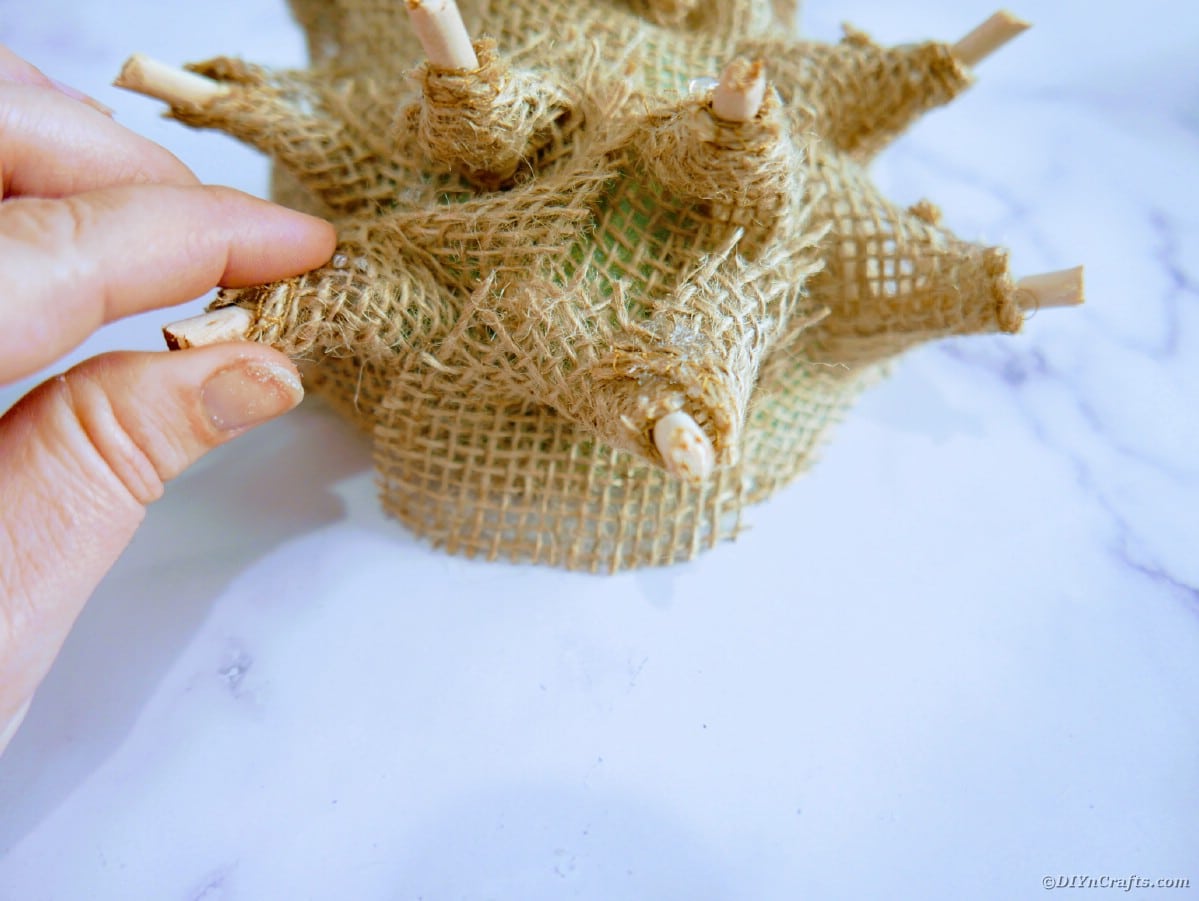
Repeat this process until all but the front middle portion of the foam half ball is covered. Cut two additional squares of burlap ribbon, and glue directly onto the front exposed portion of the floral foam half ball.
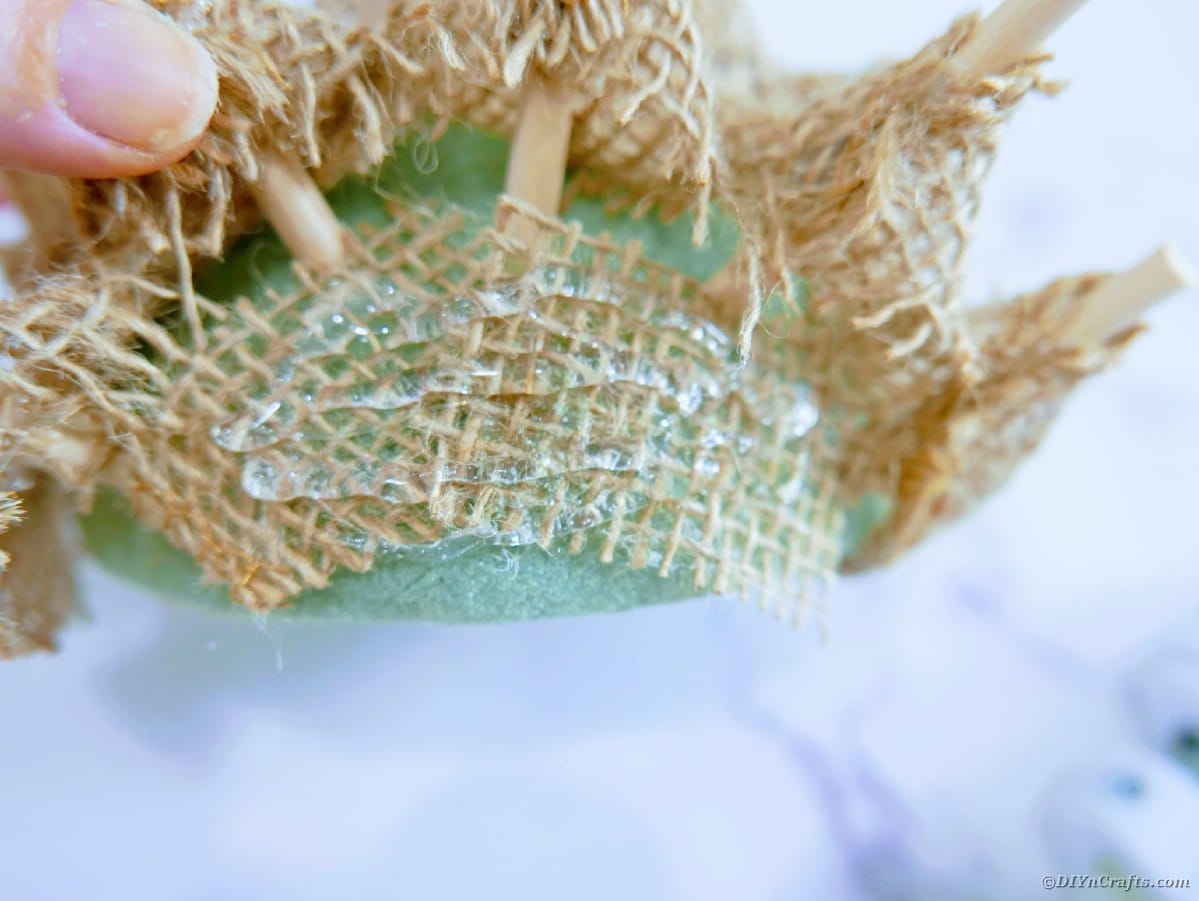
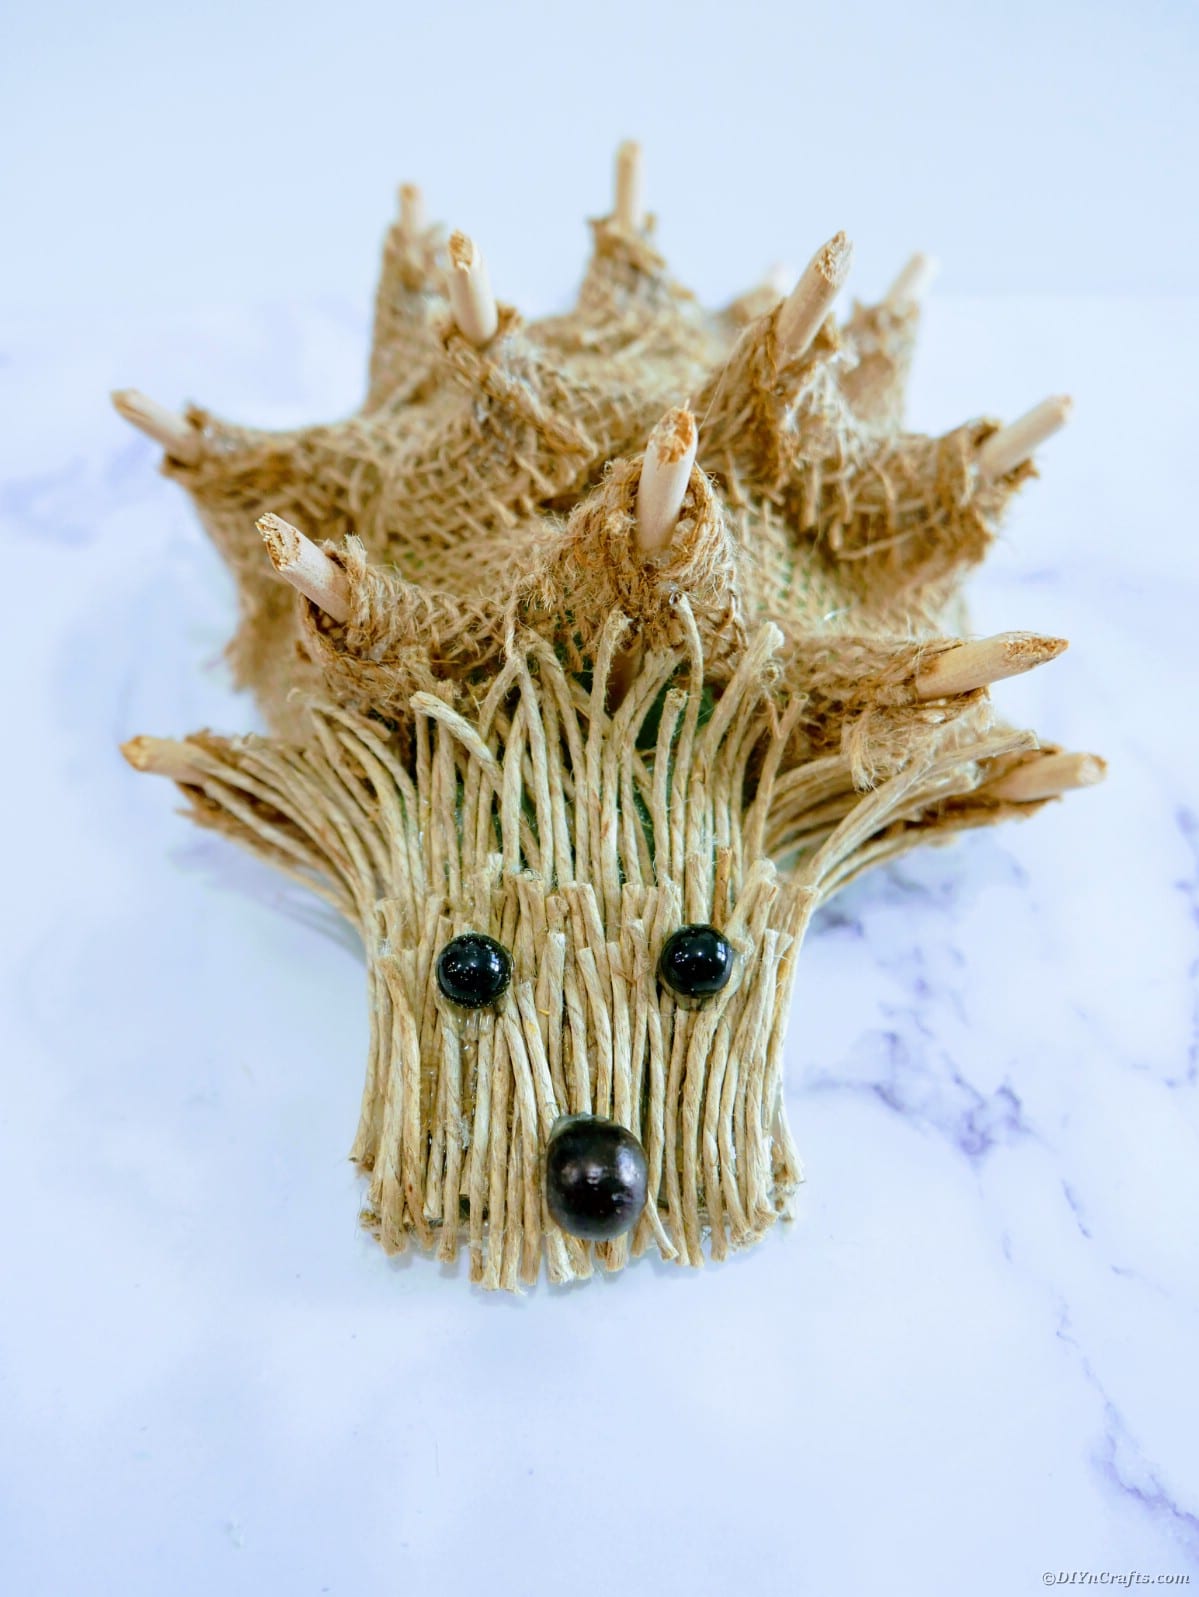
Lastly, hot glue the hemp cord covered triangle “face” onto the burlap ribbon front of the floral foam ball.
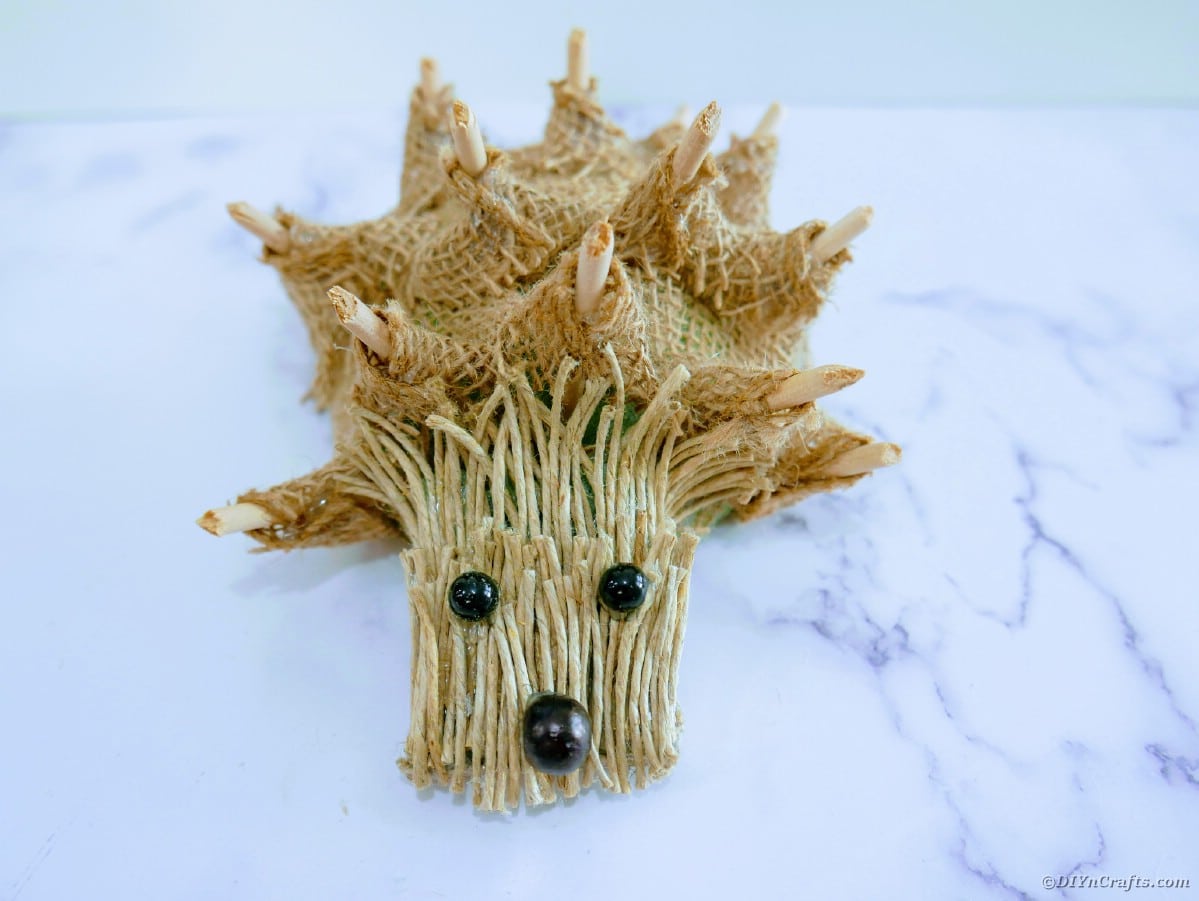
Once fully dried, fold and fan/flare out the hemp cord around the face of the hedgehog.
Display as desired!
More Cute Craft Ideas
If you want more ideas for decorating with a fall theme, below are some of my favorites. They are super cute, easy to make, and tons of fun. Grab the kids and get busy crafting to add unique looks to your home for the fall season.
Yield: 1
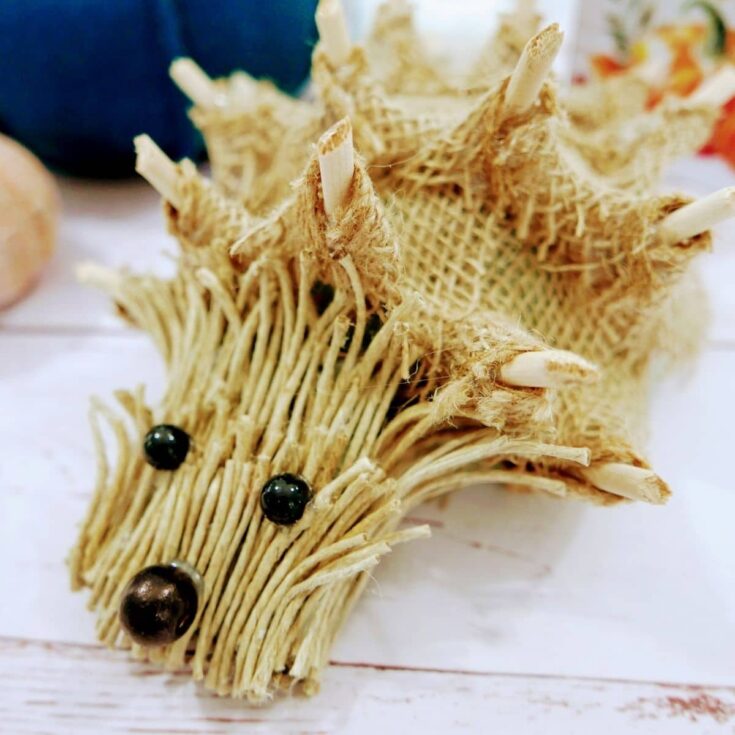
Follow an easy tutorial to create a cute little burlap hedgehog decoration! A perfect addition to any shelf or even a mantle!
Prep Time
5 minutes
Active Time
15 minutes
Total Time
20 minutes
Difficulty
Easy
Estimated Cost
$5
Instructions
- Using a knife, cut the end of the floral foam brick at an angle to create a 90° triangle. Cut approximately ½” across the short end of the triangle again.
- Begin unwinding the polished hemp cord, and folding it back and forth until you have about 25 loops that are approximately 3” long. Using your scissors, cut the loops at both ends, so that you have separate pieces of the cord. Hot glue the cord pieces to the floral foam triangle, making sure to leave an overhang at the top approximately ½”. Repeat process until the triangle is covered on the top, and sides with hemp cord.
- Cut 4-5 more pieces of cord, and glue across the front of the floral foam triangle, so that none of the green foam is showing.
- Next, unwind more hemp cord, and fold back and forth until you have another 25-30 loops, but this time they will be approximately 1 ½” long. Cut the loops again at both ends to separate the pieces. Hot glue the shorter pieces on top of the longer pieces of hemp cord, making sure to only glue them about halfway down, so that you can fold and flare the top portion outwards.
- Hot glue the small black beads on as the eyes, and the larger black bead as the nose.
- Using the wire cutting pliers, cut the wooden dowels in approximately 2” pieces, cutting the ends at a slight diagonal. Cut 15-16 pieces. Next, cut the wide burlap ribbon into 2” long strips, and then cut those strips in half so that you have two squares. Repeat this process until you have about 15 or 16 squares of burlap ribbon.
- Apply a small amount of hot glue to the middle top of the burlap ribbon square. Place the wooden dowel piece on top of the glue, with the angled edge sitting just above the ribbon. Now place a little hot glue about ⅓ of the way down the wooden dowel piece, and fold the burlap ribbon onto the dowel, gluing again so that both sides are folded over the wooden dowel. Repeat this process until all 15-16 wooden dowel pieces are covered with burlap ribbon.
- Starting on the front right side of the floral foam half ball, push the bottom of the burlap covered dowel piece into the foam ball. Repeat this process until all but the front middle portion of the foam half ball is covered. Cut two additional squares of burlap ribbon, and glue directly onto the front exposed portion of the floral foam half ball.
- Lastly, hot glue the hemp cord covered triangle “face” onto the burlap ribbon front of the floral foam ball. Once fully dried, fold and fan/flare out the hemp cord around the face of the hedgehog.
Notes
Make your hedghogs in various sizes to create a family to place on your mantle.
Recommended Products
As an Amazon Associate and member of other affiliate programs, I earn from qualifying purchases.
Add these cute little hedgehogs throughout your decor any time of year, but especially as fall approaches.
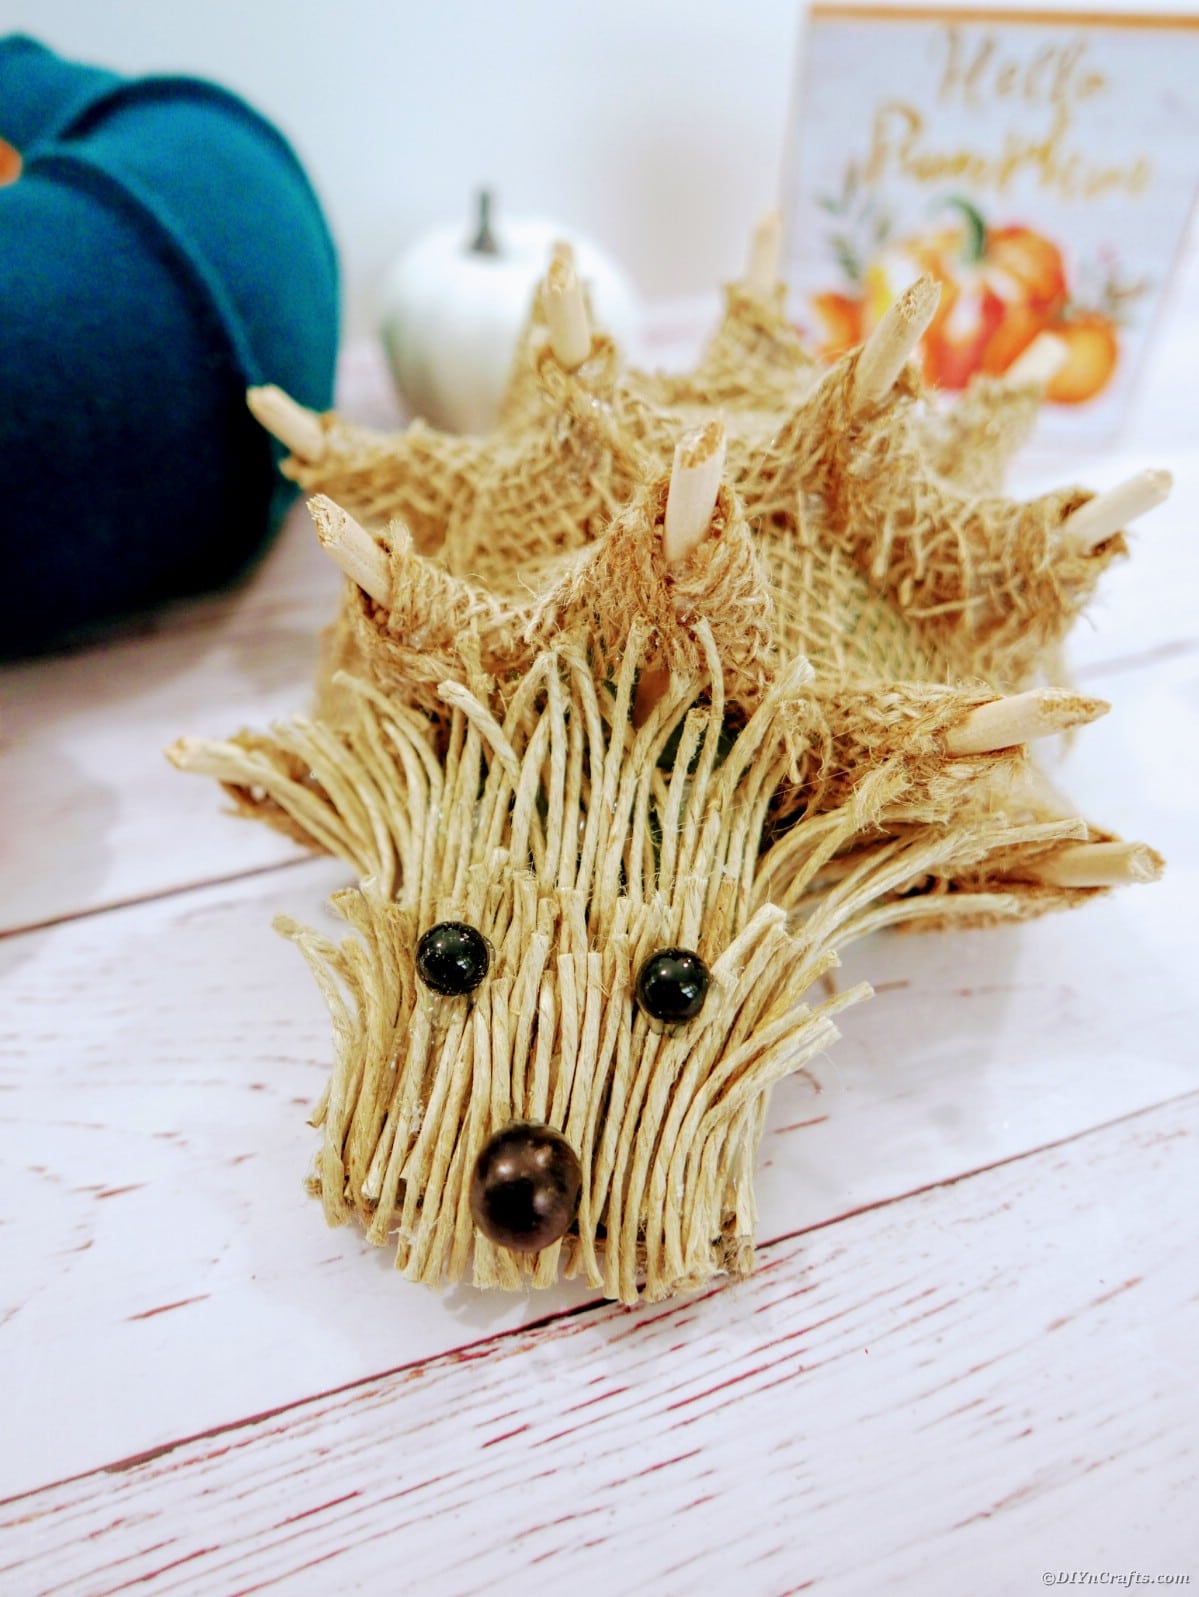
Add different colors of burlap, twine, or eyes to add more personality!
