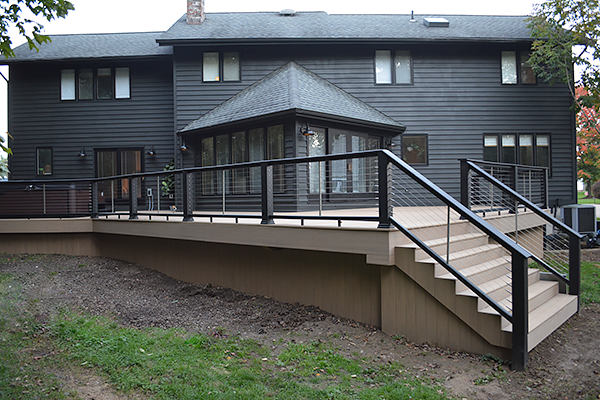
We’re so excited to have our new TimberTech deck completed and ready for living! The deck is everything we hoped it would be and more and I can’t wait to tell you all about it!
Thank you TimberTech for sponsoring this project!
Let’s take a look back at where we started. We’ve definitely come a long way! We worked with Yardzen to create super realistic renderings to help us visualize exactly what this space was going to look like. What they came up with was amazing! And I’d say we’re well on our way to making this our reality!
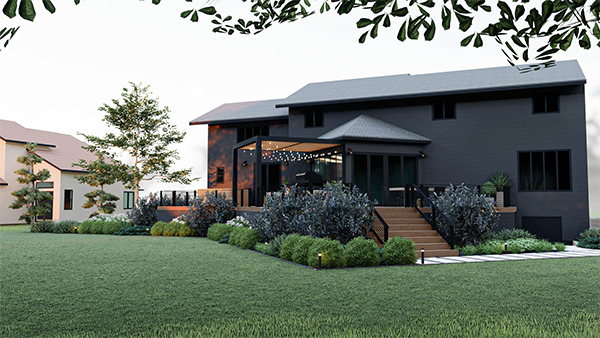
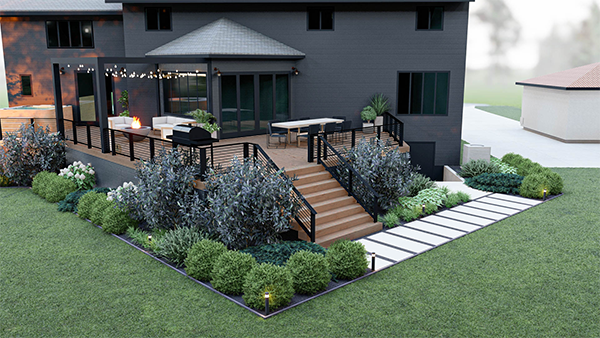
Painting the house completely transformed it and set the stage for the rest of the backyard makeover. For the exterior of the home, we used Benjamin Moore Blacktop for the siding and Sherwin Williams Tricorn Black for the windows.
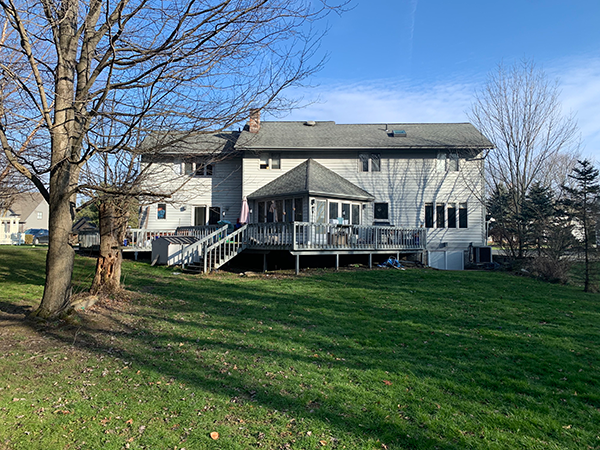
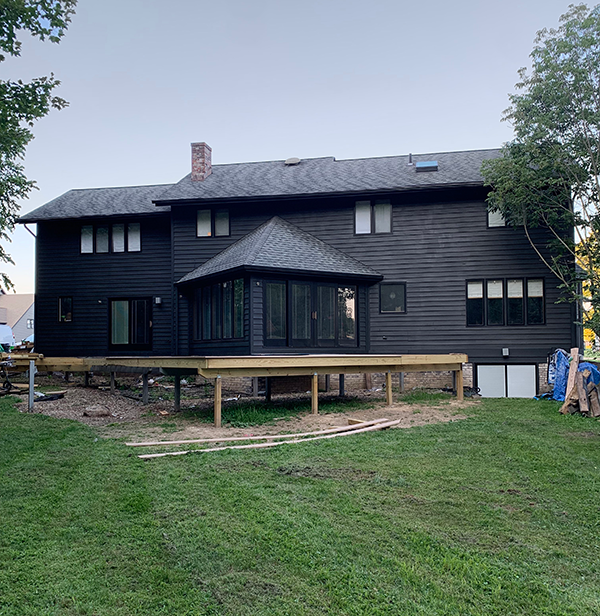
Next, we decided to build the deck ourselves, which saved us a lot of money, but also took longer. We were able to use some of the framework from the original deck, and we adjusted the shape and size a bit, extending some areas and eliminating others. We wanted to create a shape that was more functional for our family.
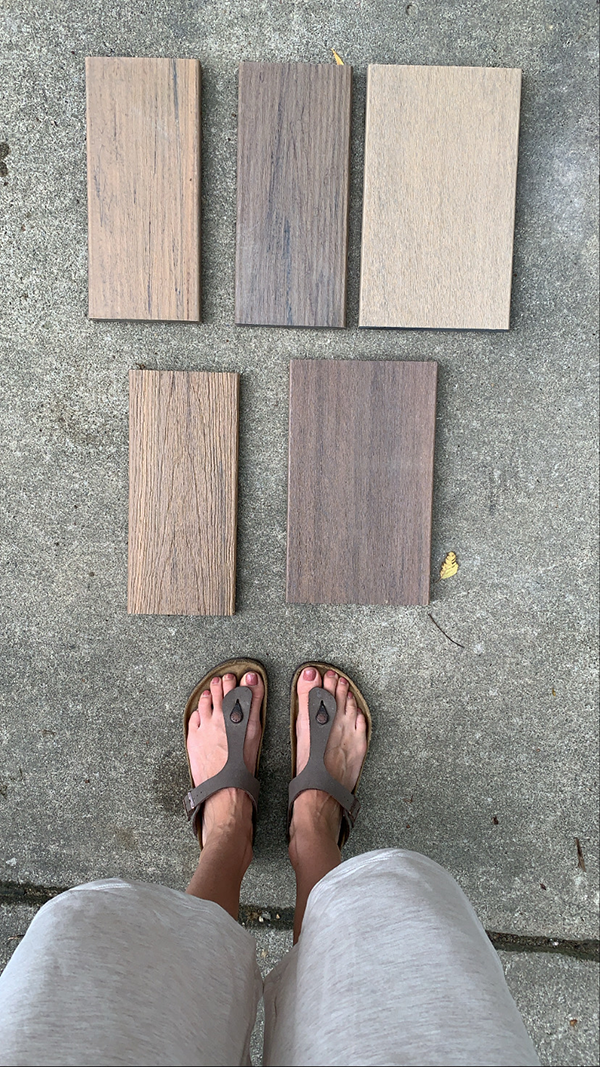
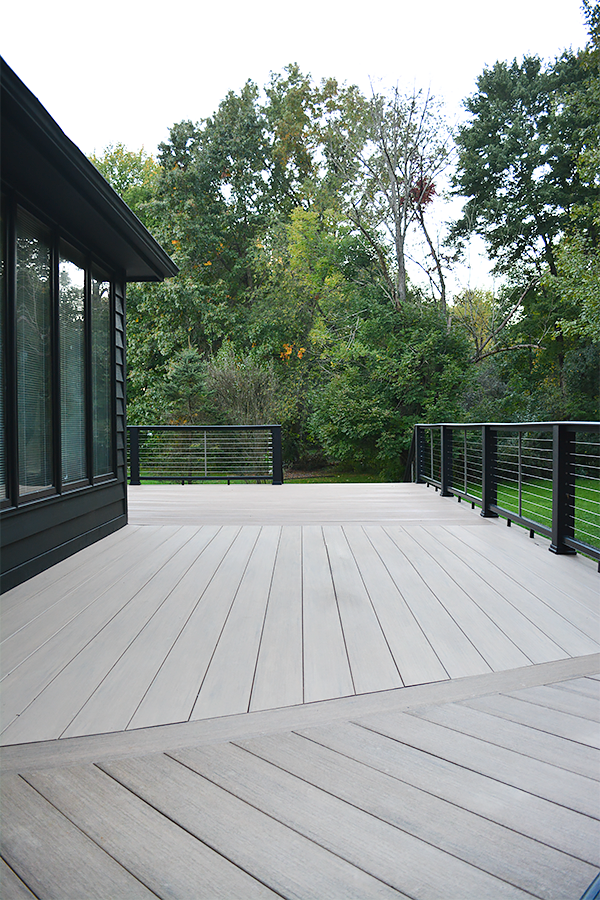
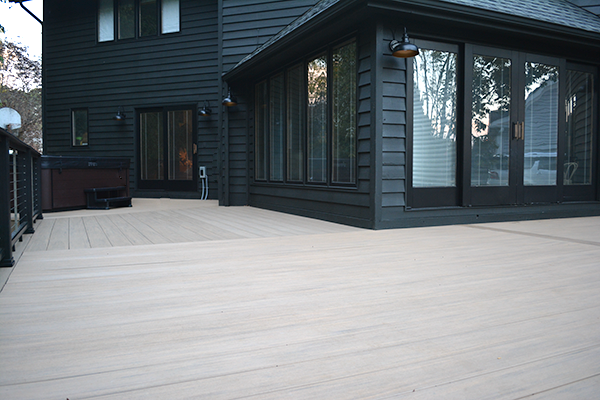
After ordering alllll the samples, I immediately knew which one I wanted (top right!). TimberTech has the most realistic looking wood finishes compared to all the other composite decking brands I considered. Weathered Teak from the Vintage Collection is the perfect light color that looks so much like real wood. We chose the wide width board (7.25” wide compared to a normal deck board which is 5.5” wide), which we felt gave it a cleaner look for our extra large deck! It’s very similar to our interior floors so I knew it would help make our outdoor space feel like an extension of the inside.
I love that TimberTech products don’t require annual maintenance like our old deck did and TimberTech deck boards don’t have splinters, making them PERFECT for my family with 3 young kids! The boards resist moisture, fading, scratching and staining – and the Vintage Collection comes with a lifetime product warranty and 50 year fade and stain warranty – can’t beat that!
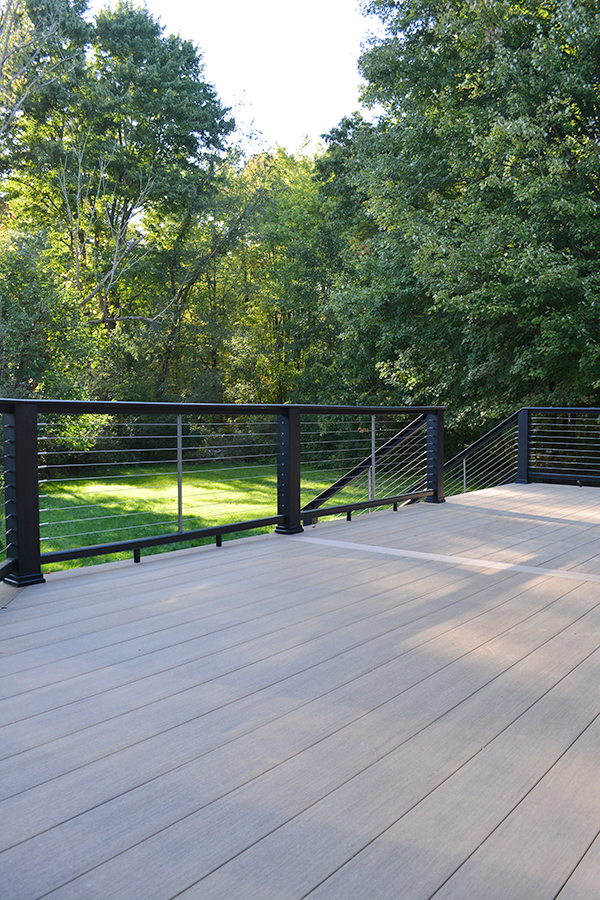
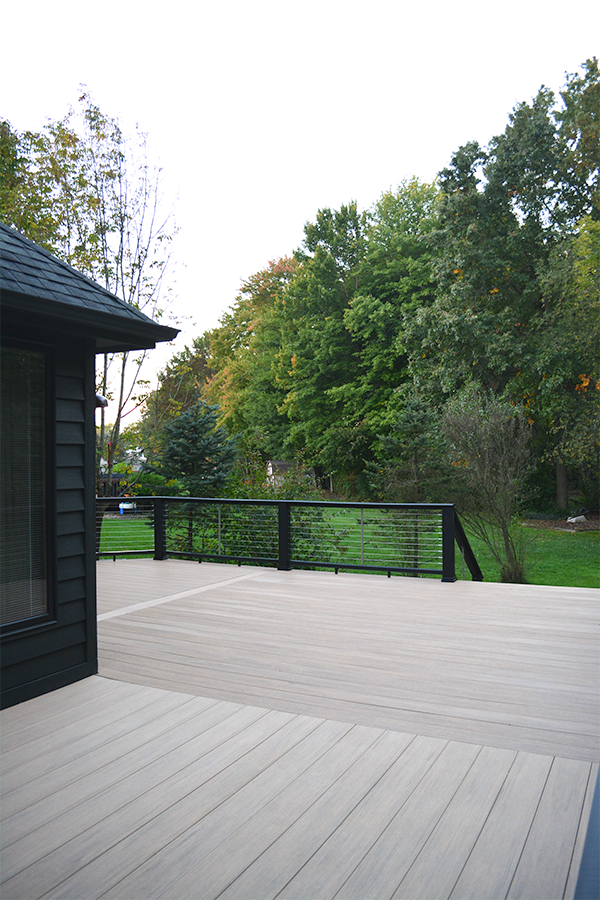
We used a combination of 16′ and 20′ boards and laid them as full length as we could – using a breaker board to create different sections. We decided on this look instead of staggering the boards, like you often do inside with wood and tile, because it creates less joints and less cuts. I think, overall, it’s a much cleaner look!
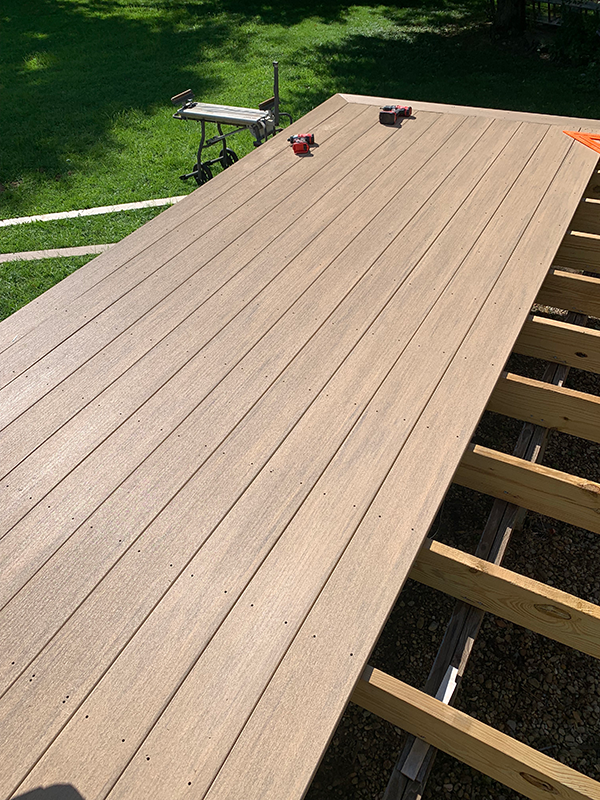
TimberTech recommended using their Cortex Hidden Fastener System and as you can see in the above photo, the screw holes are visible. You use the TORX® ttap® drive system which allows you to countersink your screws and then you use the collated plug strips to fill them in.
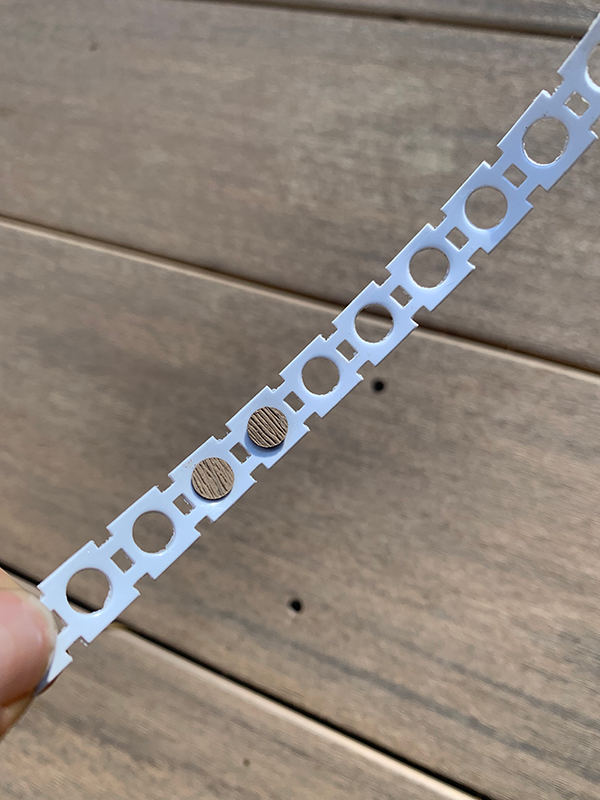
The plugs are made of the exact same material as the deck, so they blend in perfectly. You just line up the grain with the grain of the board and hammer it in. It’s like magic! The holes instantly disappear.
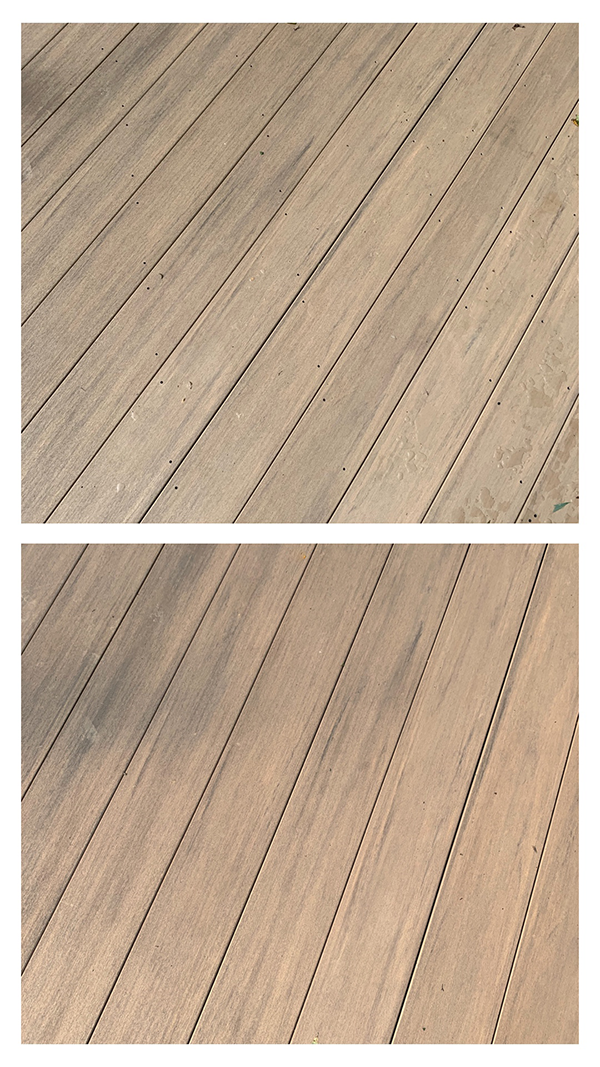
Installing our decking went very smoothly and on the days that Dan and his dad could work together, they got in a great rhythm of one person cutting and one person screwing them in.
Since the boards don’t have any knots or imperfections like real wood, it makes it a lot easier to cut and you get a nice straight edge every time.
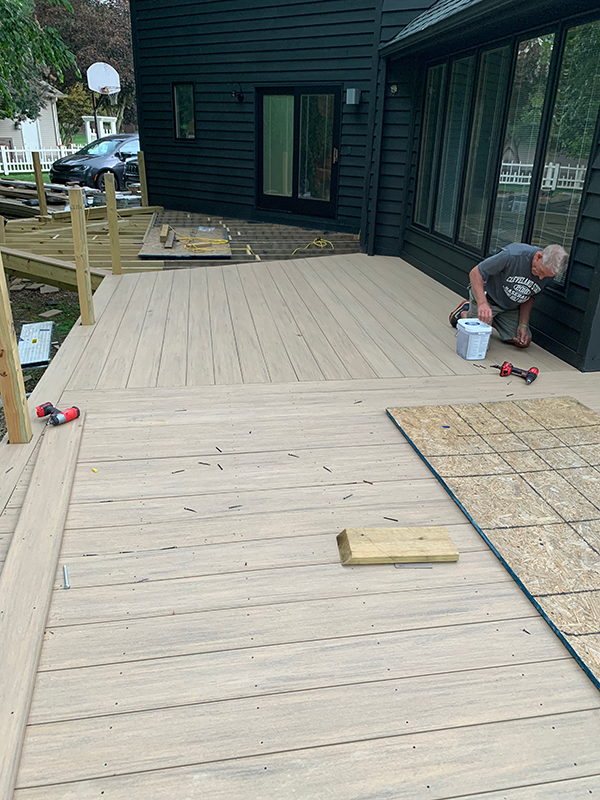
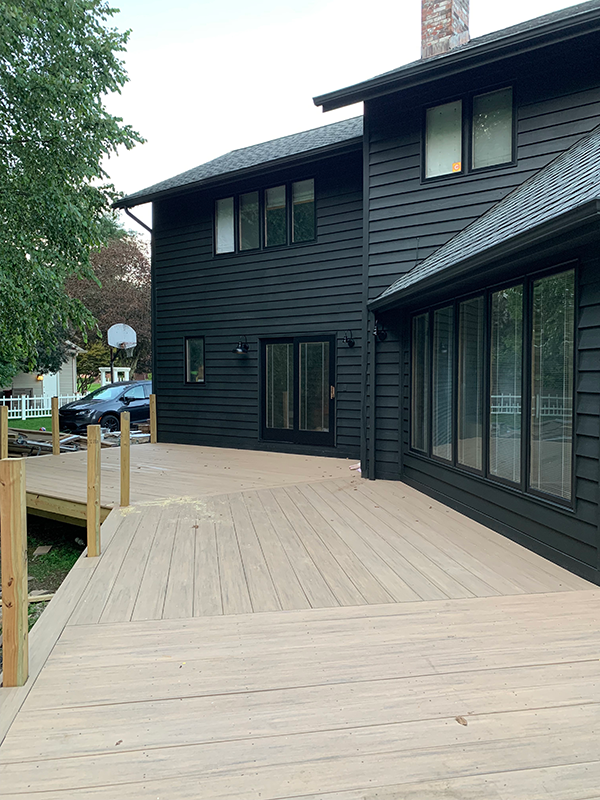
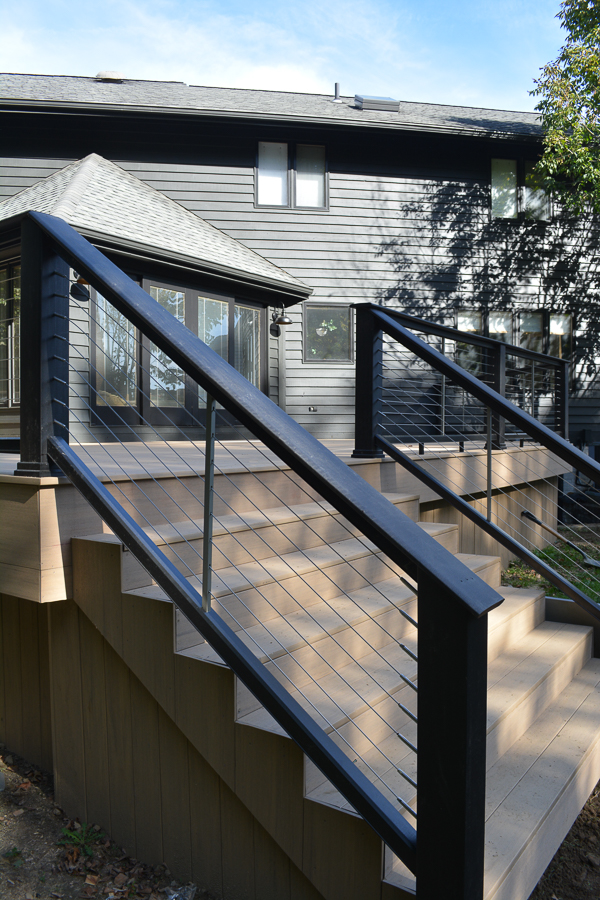
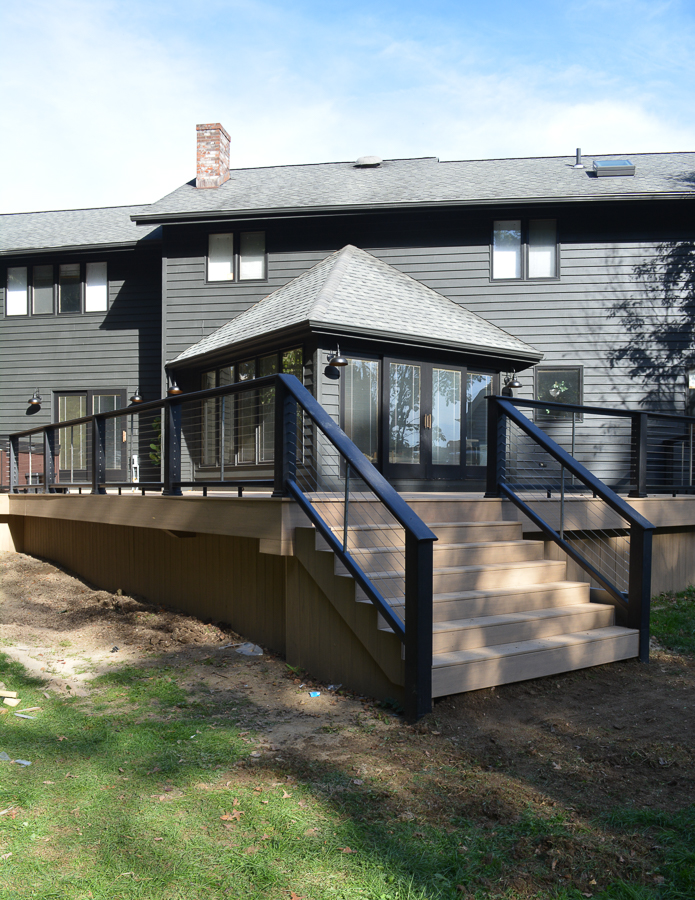
Once the top part of the deck was in – it was time to focus on the railing. We went with the Classic Composite Series with Contemporary Top Rail and modern Stainless Steel Cable Rail.
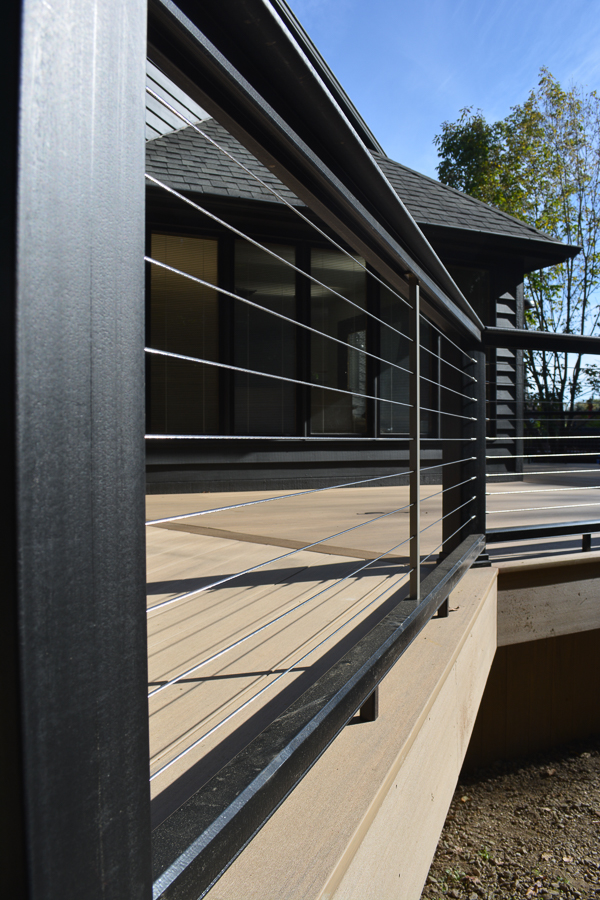
I love how the openness of the cable rail allows you to see through it making it feel like our deck isn’t confined to one area, but rather an extension of our backyard. It also allows us to see the kids better when they’re playing in the backyard and we’re sitting on the deck.
The cable rail was very straight forward to install once you figured it out and it was so satisfying tightening up each one! I love that the lines of the cable follow the lines of the siding on our house. It’s little things like that, that make me happy ?
I opted for black post sleeves with no cap to keep things simpler and more modern. This way the contemporary top rail just sits right on top and looks like one solid piece.
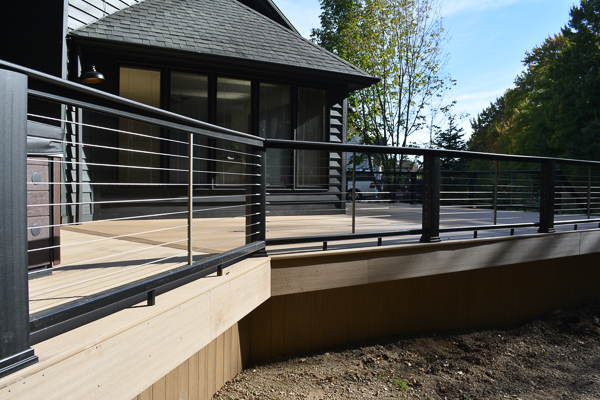
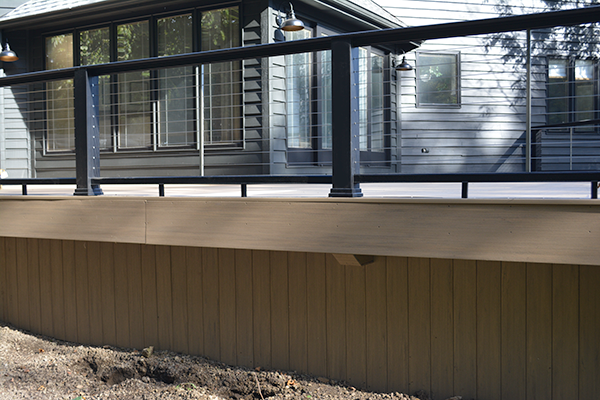
One thing that I really disliked about our old deck was that it was open along the bottom. Animals would get under there and make nests and you could see all the debris and garbage that blew under there. It was just a very unclean look. So, I knew that I wanted to close off our new deck.
We used 12″ wide fascia boards along the top perimeter and then used 5.25″ deck boards for the skirting (vertical boards) all in the same Weathered Teak color. I think it creates such a clean and finished look and really streamlines the whole design.
This project was so fun to work on together as a family and see all our hard work pay off. I still can’t believe how much of a transformation it is and am so excited that we won’t have to re-stain it every year!
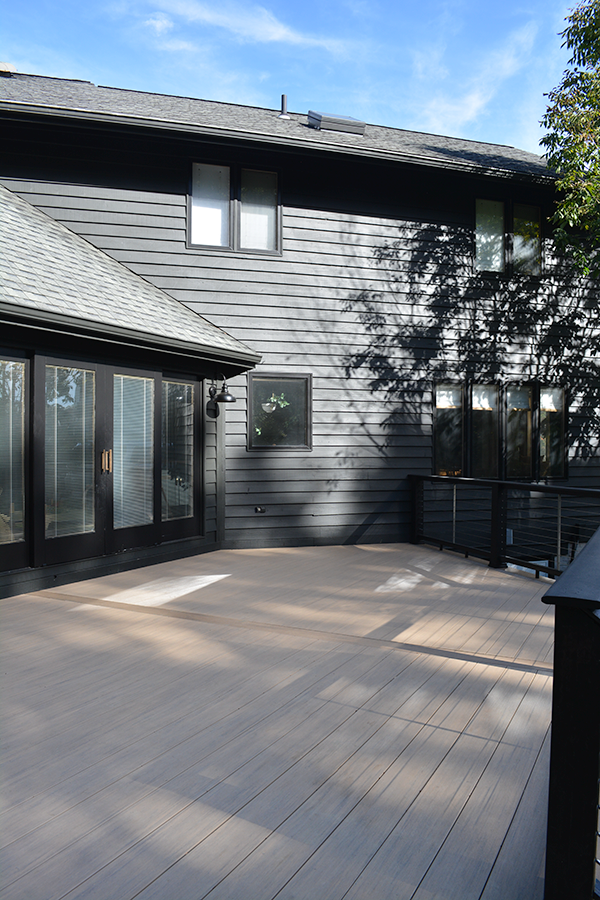
Isn’t the color SO GOOD?! I’ve been getting asked a lot about whether or not it’s hot to walk on and if it’s slippery. The temps have cooled down a lot already around here, but when we were installing it, we had some days that were close to 90, and it honestly was not bad at all! The lighter color and material definitely help it stay cooler. The TimberTech AZEK boards we got are made from PVC as opposed to traditional wood and plastic composite decking, and they actually stay up to 30 degrees cooler than competitive composite decking which is awesome!
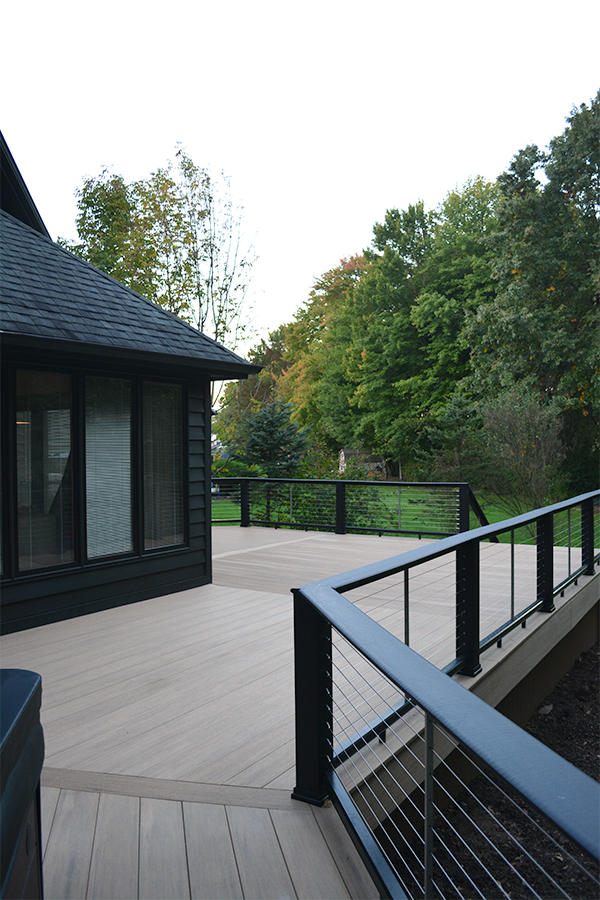
As far as being slippery, we’ve also gotten a lot of rain this summer and we haven’t noticed it being slippery at all! Especially with the kiddos running around on it constantly, nobody has slipped. In fact, TimberTech AZEK boards are actually 40% more slip resistant than the competitive boards!
We are so grateful to TimberTech for helping us bring our backyard oasis dreams to life! We still have a lot of landscaping work to do around the deck and of course now I can’t wait to start decorating. Stay tuned!
Related


