
If you’re like most people, your home is the single biggest investment that you will make in a lifetime. Therefore, it makes good sense to do everything that you can to take good care of this prized possession.
People who get the best return on their investment – when it comes time to sell – don’t wait for the roof to leak or paint to peel. They perform regular home maintenance that preserves the structural integrity of their home. Regular maintenance also keeps a home looking spiffy which also has a lot to do with its value.
Painting is a maintenance task that offers one of the best returns for the home maintenance and appearance buck – inside or out. However, a fresh coat of house paint can transform an otherwise “plain Jane” home into the “show stopper” of the neighborhood. This can be especially true of a stucco home since stucco has special “problems” such as cracking, fading and efflorescence – not typical of other finishes.
Aside from enhancing a home’s appearance, a fresh coat of paint can help protect the home from the elements (sun, rain, snow, etc.) and the inevitable deterioration that occurs from prolonged exposure to these elements.
How often should you paint the exterior of your home? The answer depends on several factors, such as; exterior siding material, climate, sun exposure and the quality and type of paint used. With proper preparation and when using top-quality paint, a home will typically require painting every five to seven years. Darker shades (as with trim colors) may need repainting every couple of years to retain their original brilliance.
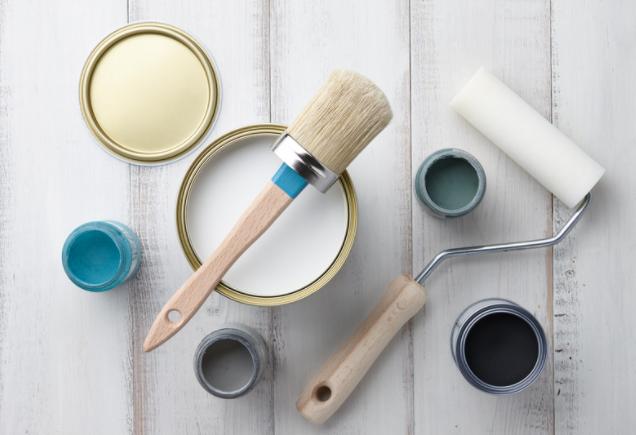
Choose Paint Quality and Color
Use colors that will enhance the architectural appearance of your home. The one or two-color schemes used in the past are just that – a thing of the past. A well-thought-out color “pallet” – using several colors or shades — can be visually pleasing by accentuating various architectural elements. For example, the barge, fascia and general trim can be painted one color, the overhang or soffit another, the body another and shutters (if they exist) another and a “punch” color for the entry door. A reputable paint dealer and/or a professional “color consultant” can be of tremendous help when choosing colors.
When it comes to paint quality, think of paint as an investment and not a cost. If you enjoy painting and want to paint your home often, buy inexpensive “generic” brands. We guarantee that you’ll be busy painting every year or so. If, on the other hand, you like paint, but would rather not enjoy the experience more often than every five to seven years, we suggest that you purchase the best paint that money will buy.
Good paint isn’t cheap! However, when you consider lasting quality and the protection that it offers your home, it’s a real bargain. Shop for a major name brand and plan to spend in the neighborhood of $25 per gallon.
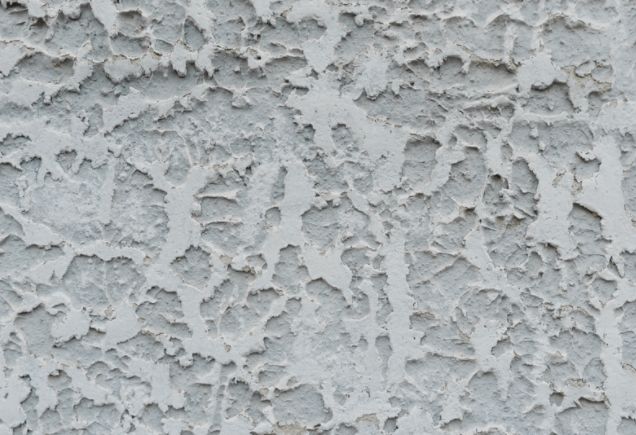
Prepare Your Stucco
Preparation and paint application technique are no less important than the quality of the paint – this is especially true with stucco due to the concerns expressed earlier.
It doesn’t make any difference how good the paint is; it simply won’t stick unless the surface is clean. With stucco, we suggest a thorough power washing to clean the surface and remove chipped and peeling paint. Particularly dirty areas — such as the lowest section close to the ground — should be scrubbed with a coarse nylon brush and powdered laundry detergent. Use 1/3 cup to one gallon of hot water. Add a quart of bleach to this concoction if mildew is present.
Efflorescence — a white powdery substance that is common with stucco and masonry finishes — should be removed using a wire brush.
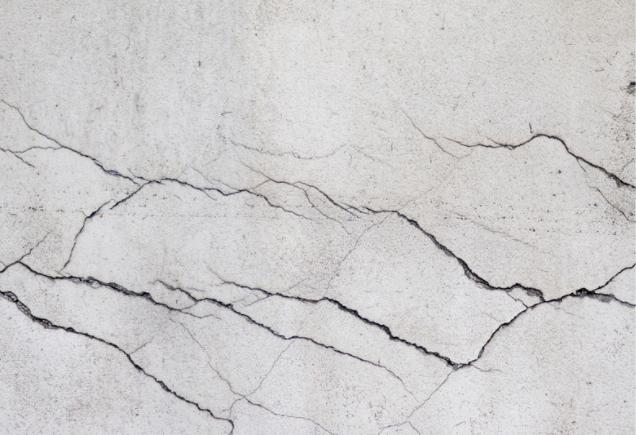
Repair cracks
The most challenging aspect of prepping a stucco house for painting is the crack repair. You can literally turn your home into an interstate road map of obvious crack repair if you aren’t cautious. When it comes to stucco crack repair “less is more.” First, don’t attempt to patch every crack. Hairline cracks and those that you can’t get your fingernail into should not be patched. Good quality paint should fill those cracks.
Wider cracks should be filled with a high-quality exterior-grade acrylic latex caulk. Have a damp sponge handy to wipe away excess caulking. There are two trade secrets that are a must when it comes to caulking stucco. First, when using a damp sponge to wipe off excess caulking, wipe in all directions to remove caulking that may be lodged in a textured finish. The other secret – while the caulking is still wet, place fine texturing sand into the palm of your hand and, holding your hand in front of the caulking, blow across the sand to scatter it onto the surface of the damp caulk. This will help make the patch less obvious and prevent the “road map” effect by helping the caulk blend into the surrounding finish.
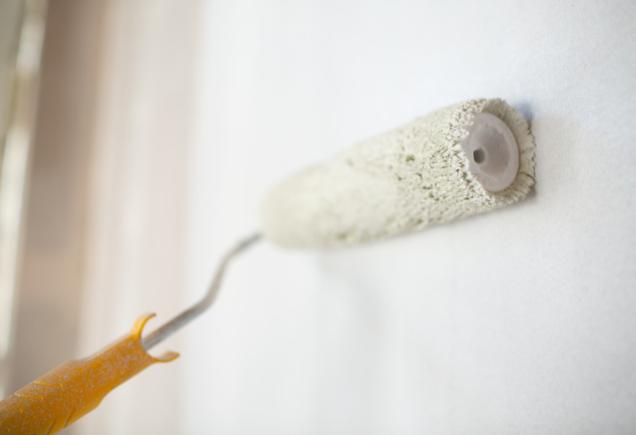
Begin Painting
Stucco can be painted using a roller or with an airless sprayer – a brush is not recommended. A roller works well for small jobs, but can be overwhelming on larger projects. When it comes to big jobs consider using an airless sprayer. It makes putting paint on a breeze – especially on larger jobs. Don’t be so hasty to put your roller away when using a paint sprayer. Spraying will get the paint onto the surface. Use a deep nap roller (3/4 to 1”) to work the paint into the surface and to achieve a nice uniform surface.
Although one coat may do the trick, stucco will usually require two coats due to its high level of absorption and to conceal cracks and other repairs.

