[ad_1]
I had hoped to get the floor in the bathroom completely finished yesterday, but I quickly realized that the clean up process (including removing some dried mortar that had squished up into the grout lines) was going to take way longer than I initially thought. So my revised goal was to get the floor (and grout lines) completely prepped and ready so that I could grout as soon as I started working today.
And then this little monster made a mess of things. ?
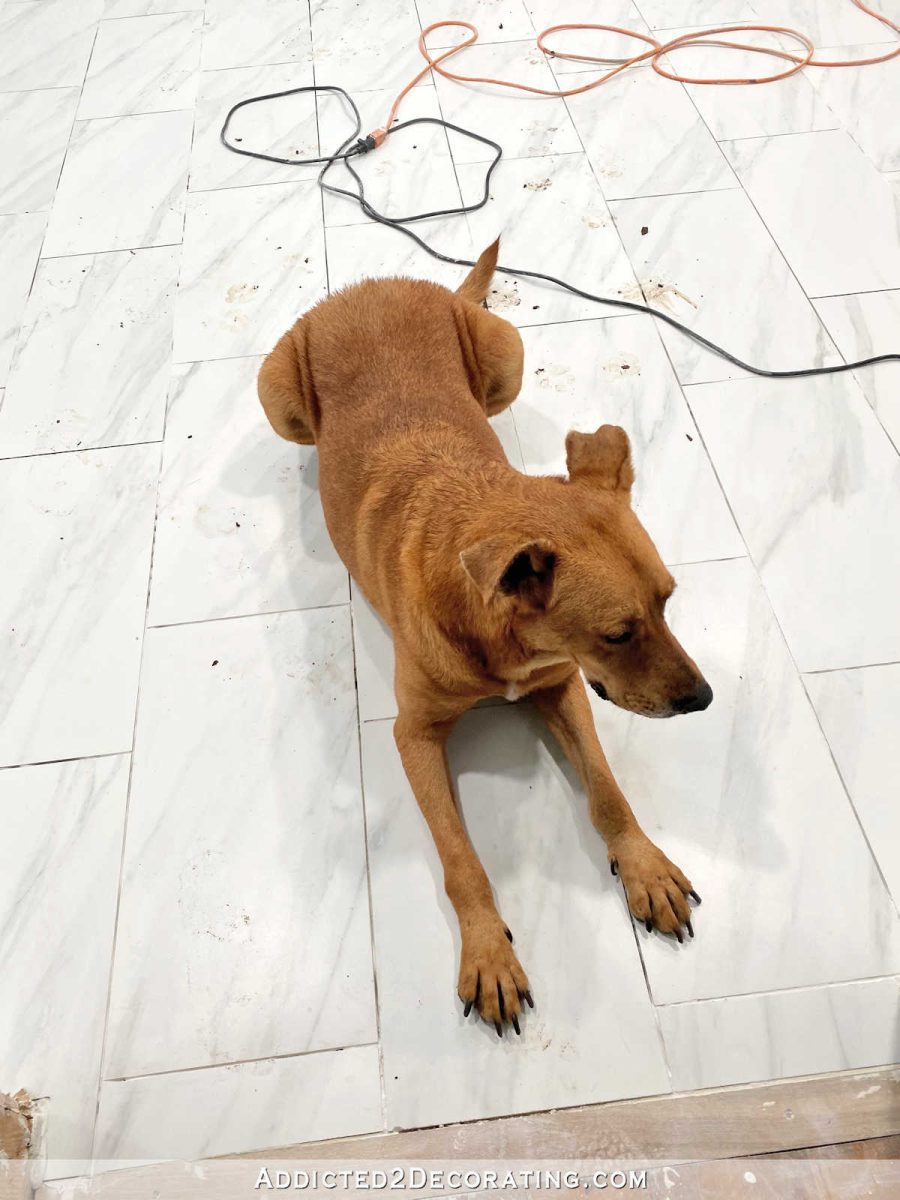
I let him out of the bathroom door into his yard first thing every morning, and I didn’t even realize that it had rained last night. He was out of the door and into the mud before I even realized it. So when I let him back in, he tracked mud all over. Two steps forward, one step back. ?
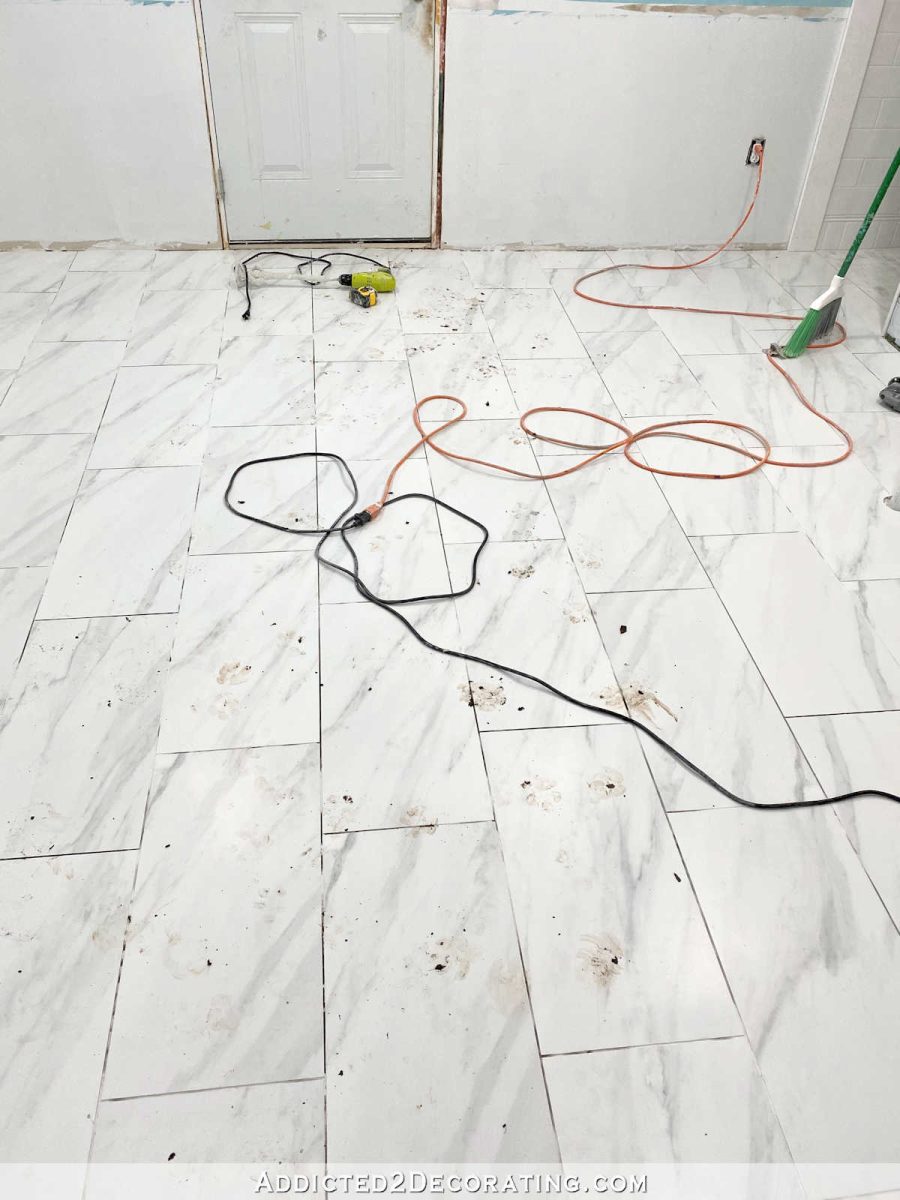
I need to figure out how to solve this problem because the area right at the bottom of the steps leading outside lands right on dirt, and it always gets muddy when it rains. So as long as this door opens to the exterior (i.e., until we can actually build our addition and this door leads to our new master bedroom), this is going to be a problem unless I take steps to rectify the situation. I have no idea how to handle it, though. Fake grass around the steps? Small gravel? I’m not sure, but the dirt/mud is going to drive me crazy on my new tile floor, so something needs to be done.
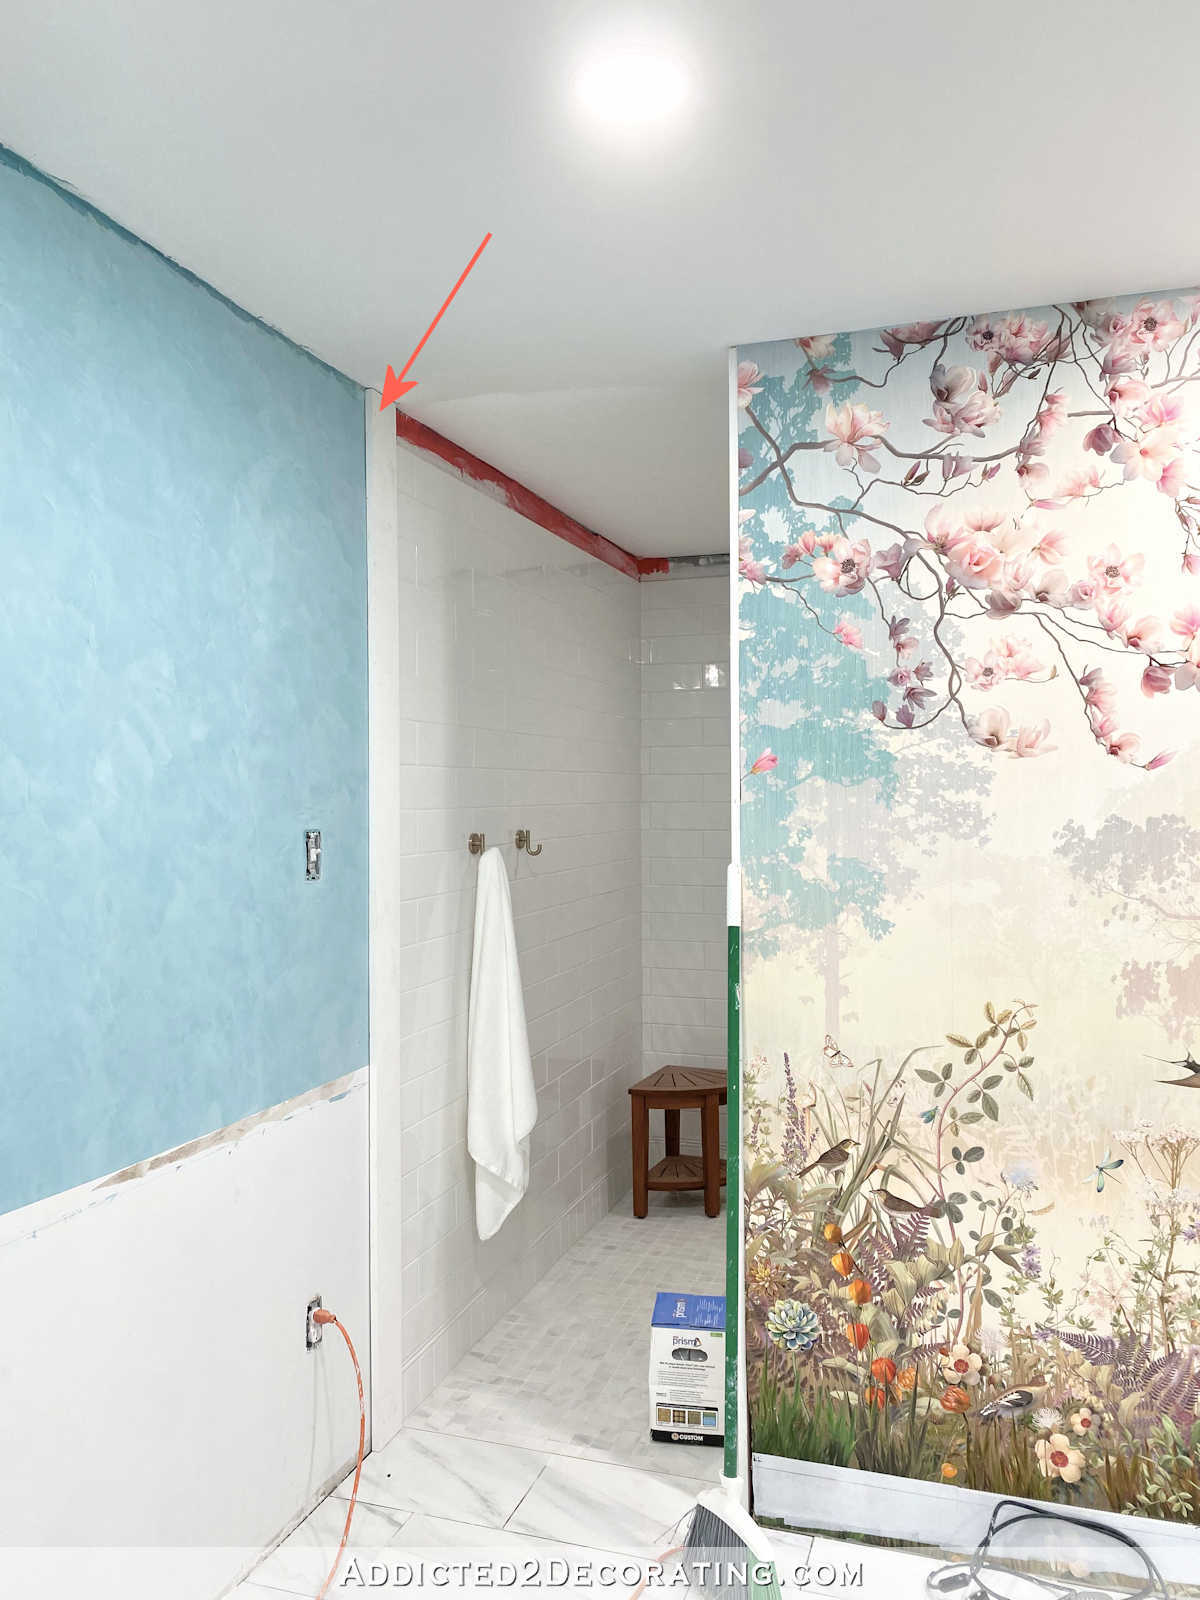
As soon as I get the floor grouted, I’m going to start on the trim. That means that this area around the top of the shower will finally be finished.

The trim decision was a tough one for me. I had no idea how to handle the shower. When I started tiling the shower, I thought maybe I would tile right up to the ceiling and leave it at that. And then the trim around the ceiling (crown molding and any other additions) would stop at this trim board delineating the main part of the bathroom from the shower.
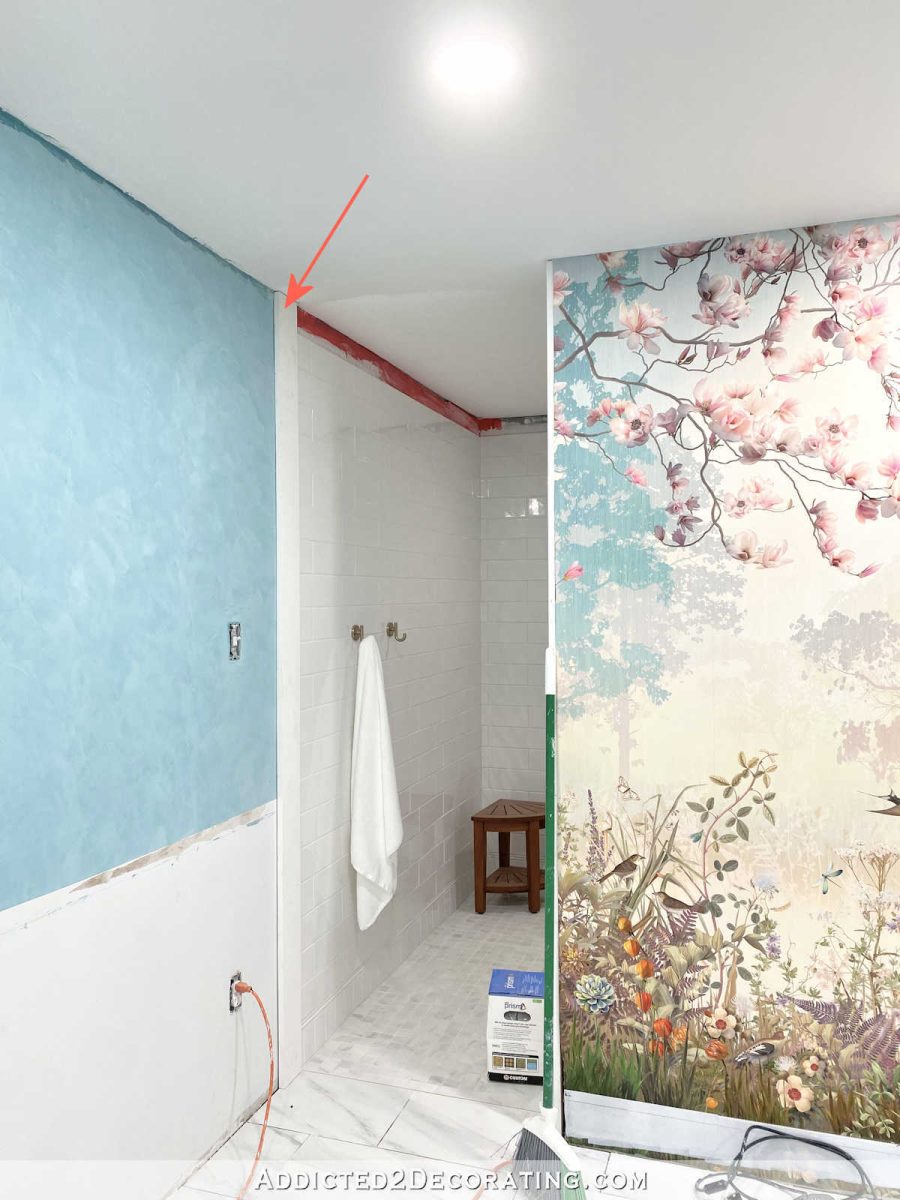
But I couldn’t figure out a way to stop the crown there in a way that I liked. I don’t know if you’ve ever seen a situation where crown molding is stopped on a wall for some reason, and then cut so that it returns to the wall. According to The Joy Of Moldings, it’s called a hanging return.
I realize that there are times when that’s absolutely necessary, but I just don’t like the way it looks. So creating a situation where I have not just two of those (because if it’s on this wall, I’d have to mirror that on the wall going into the toilet area), but I’d actually have four of them because it would necessitate having these hanging returns on the mural wall, also. And I just COULD NOT bring myself to have hanging returns on the crown molding at either end of the main focal wall of the entire bathroom.
The other situation I considered was to create a drop down in the openings that lead to the toilet area and the shower so that the crown molding can be continuous around the main part of the bathroom.
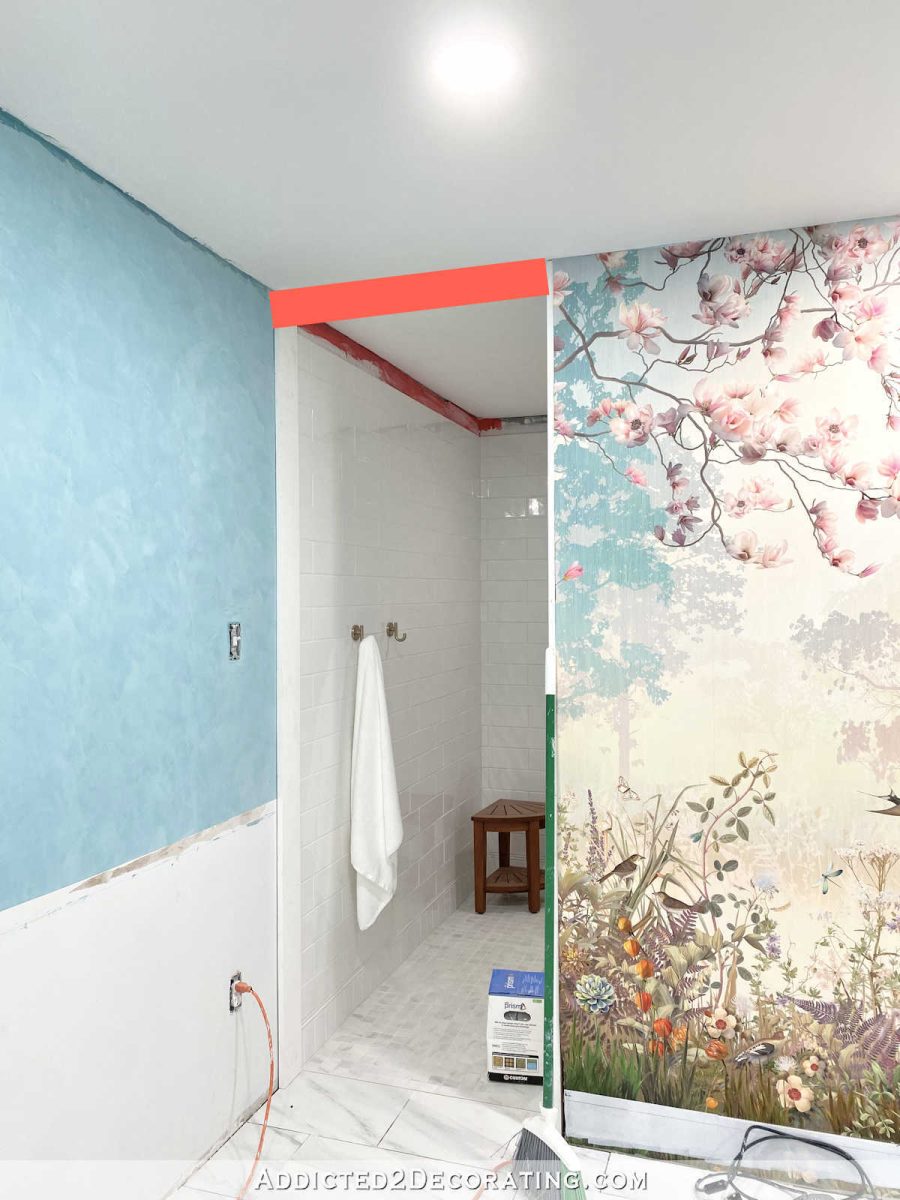
But that just seemed like an afterthought (because it would be), and I really wanted the continuous ceiling throughout all of the areas of the bathroom. So that wouldn’t work, either.
So I’m going to carry the ceiling trim all around the whole bathroom, including into the shower and the toilet area. The one problem that has been keeping me from jumping right in is that the ceiling in the shower has this very noticeable issue. See how it dips down right here?
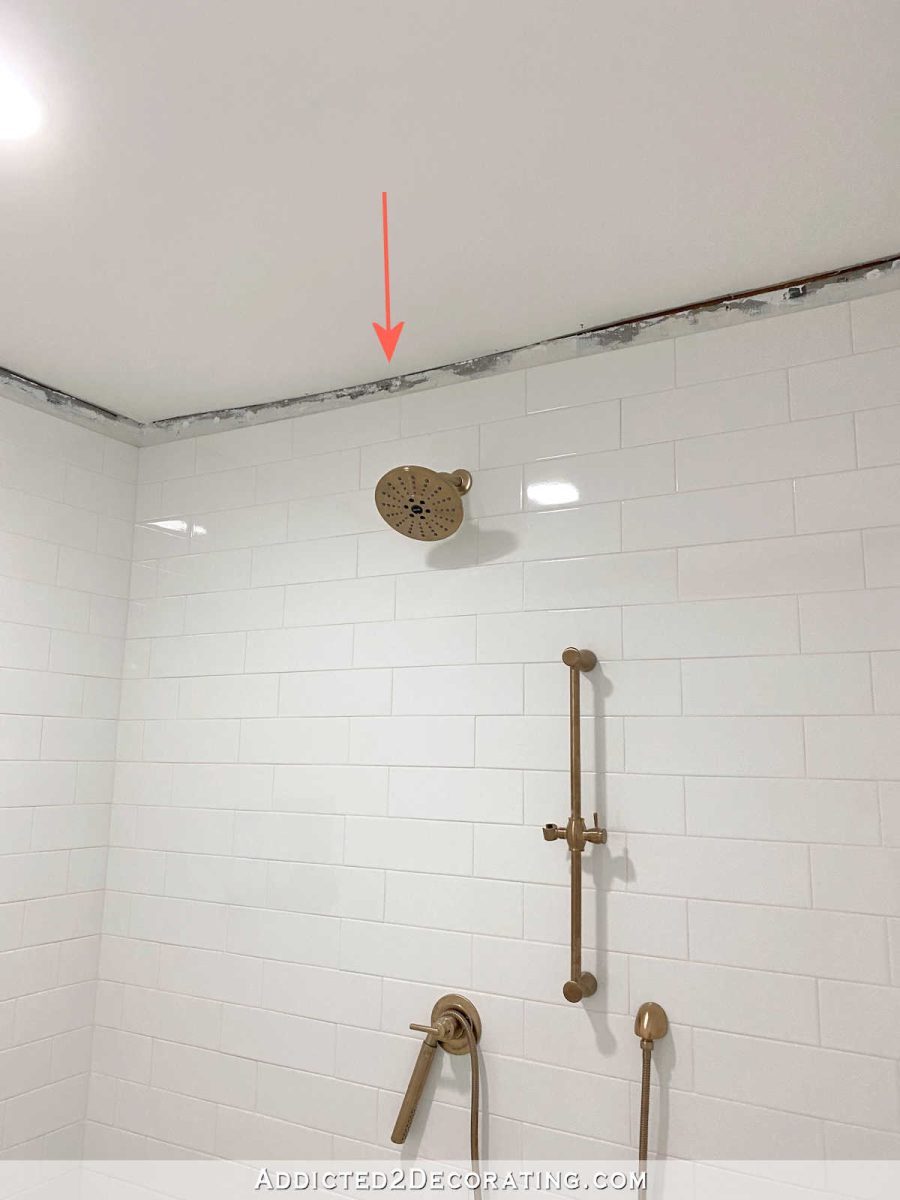
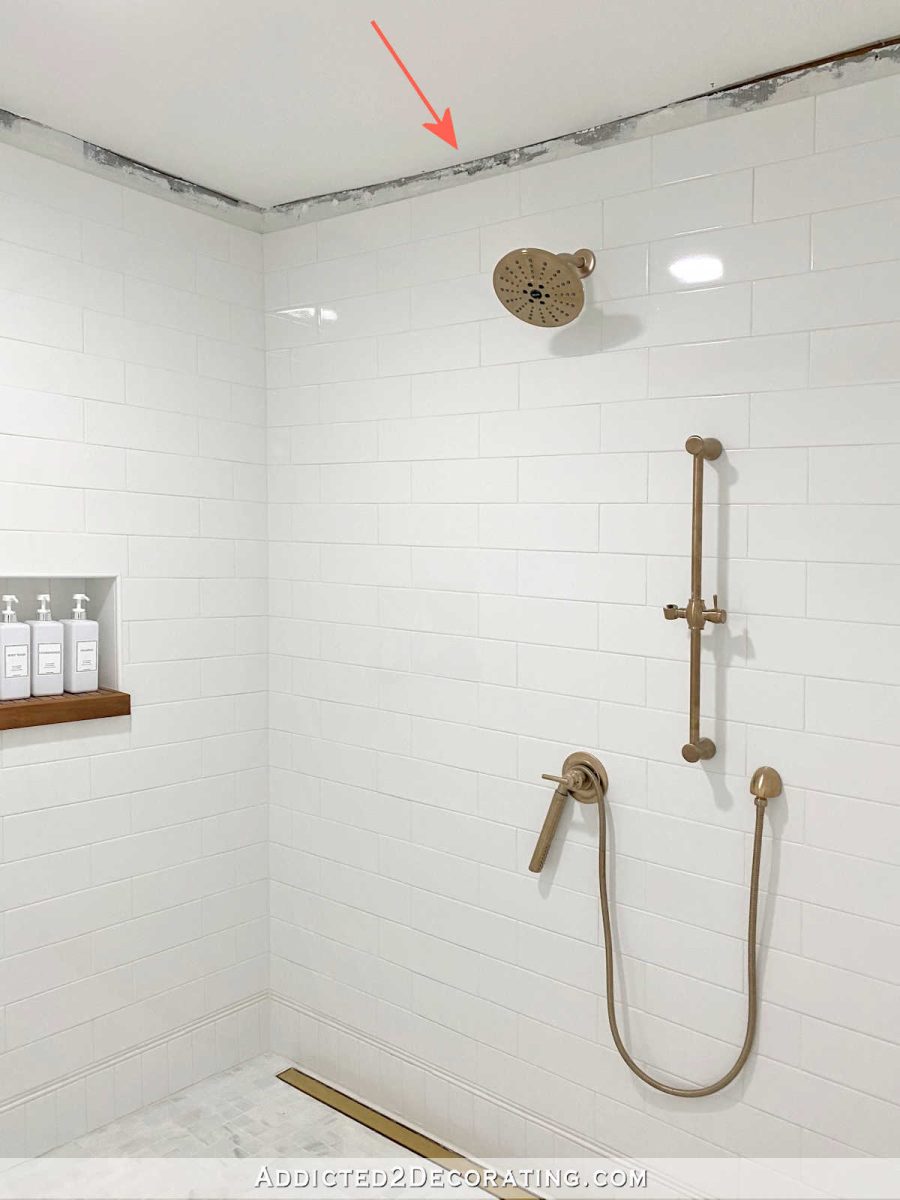
So it has taken me quite some time to figure out how to deal with that since crown molding won’t fit right up against that. Crown doesn’t bend that easily, and even if it did, it would have an obvious dip in the straight line of the crown that would drive me crazy.
But whatever I decide to do in the shower to accommodate that dip has to carry around the entire bathroom, so I had to keep that in mind as well.
After racking my brain for every possible solution to the problem, I’ve finally made a decision. I’m going to tackle this bathroom ceiling (including the shower and toilet area) in a very similar way that I did in the music room. I won’t be doing the slats on the ceiling. I’m just talking about the perimeter of the ceiling. In the music room, I attached strips of MDF that are about 12-14 inches wide around the perimeter…
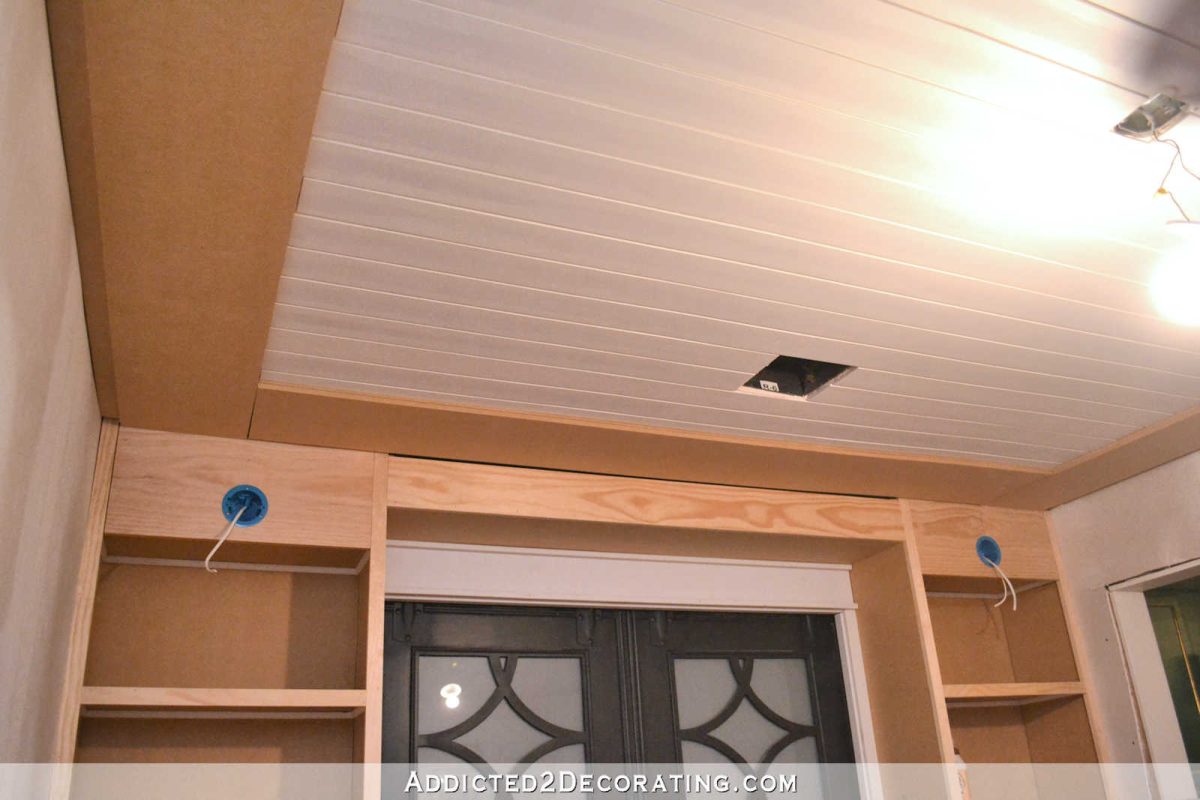
And then finished off with base cap molding on the inside edge of the MDF, and crown molding around the wall. You can see the details of the music room ceiling here.
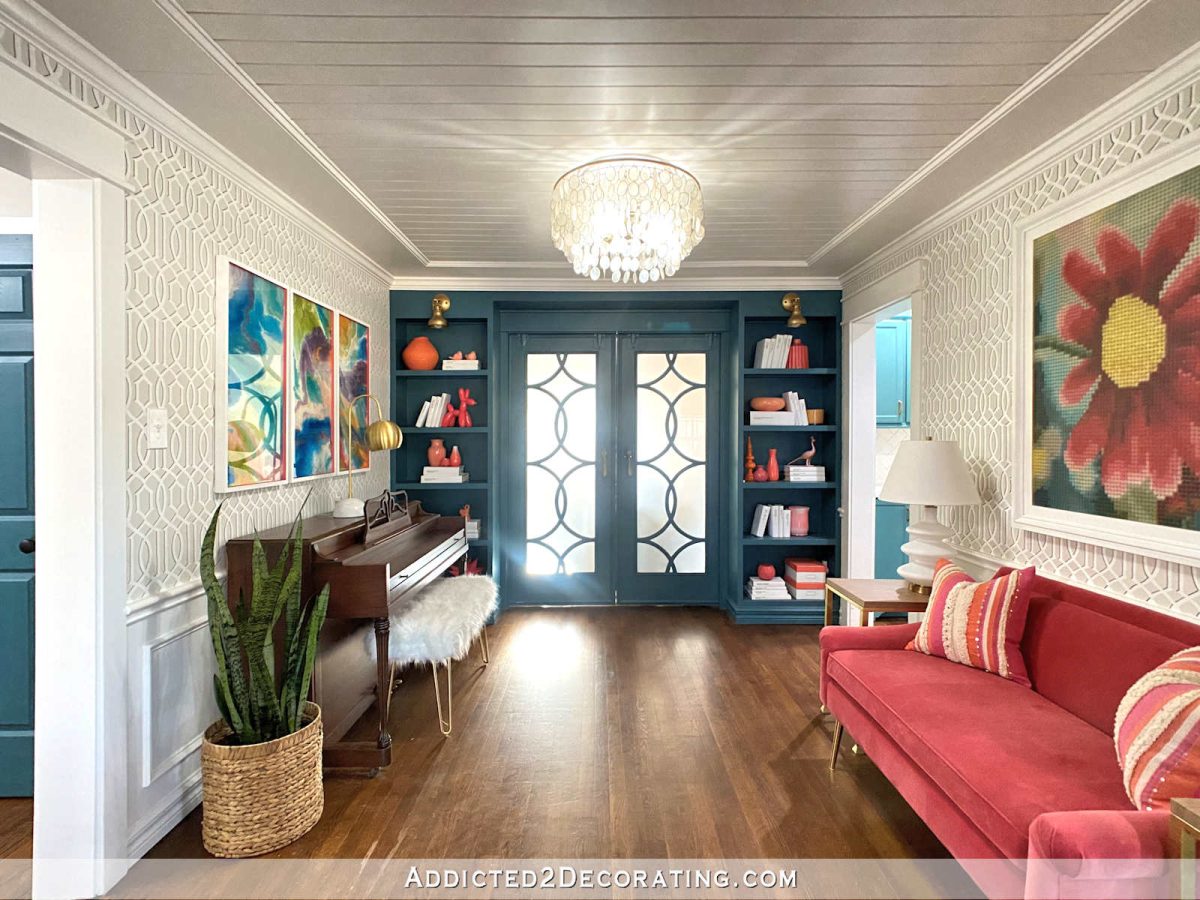
Obviously, just attaching boards directly to the ceiling in the bathroom (shower) won’t help solve that problem with the dip in the ceiling, but I can add spacers (strips of 1″ wood) around the perimeter of the ceiling, and then attach the boards to the spacers instead of attaching them directly to the ceiling. That way I can space the spacers so that they’re not attached to that dip in the ceiling.
Since this ceiling trim will be in the shower as well as the main part of the room, I won’t be using MDF. I’ll be using primed solid wood boards (primed with an oil-based primer) so that they’re protected from any moisture during showers. And the light in the middle of the shower is also a vent that automatically comes on when the light is turned on, so there shouldn’t be a big moisture problem anyway.
I’m confident that this will work out because, as I’ve mentioned several times before, the shower in this bathroom is almost as big as the entire hallway bathroom. And that bathroom the only full bathroom in our house that has been in regular use for the last eight years. It’s full of wood and trim (and MDF, actually!), including a stained wood slat ceiling and MDF and a tub skirt made of wood and MDF attached directly to the side of the bathtub, and yet after seven years, it looks almost exactly like it did when I finished the remodel in 2015.
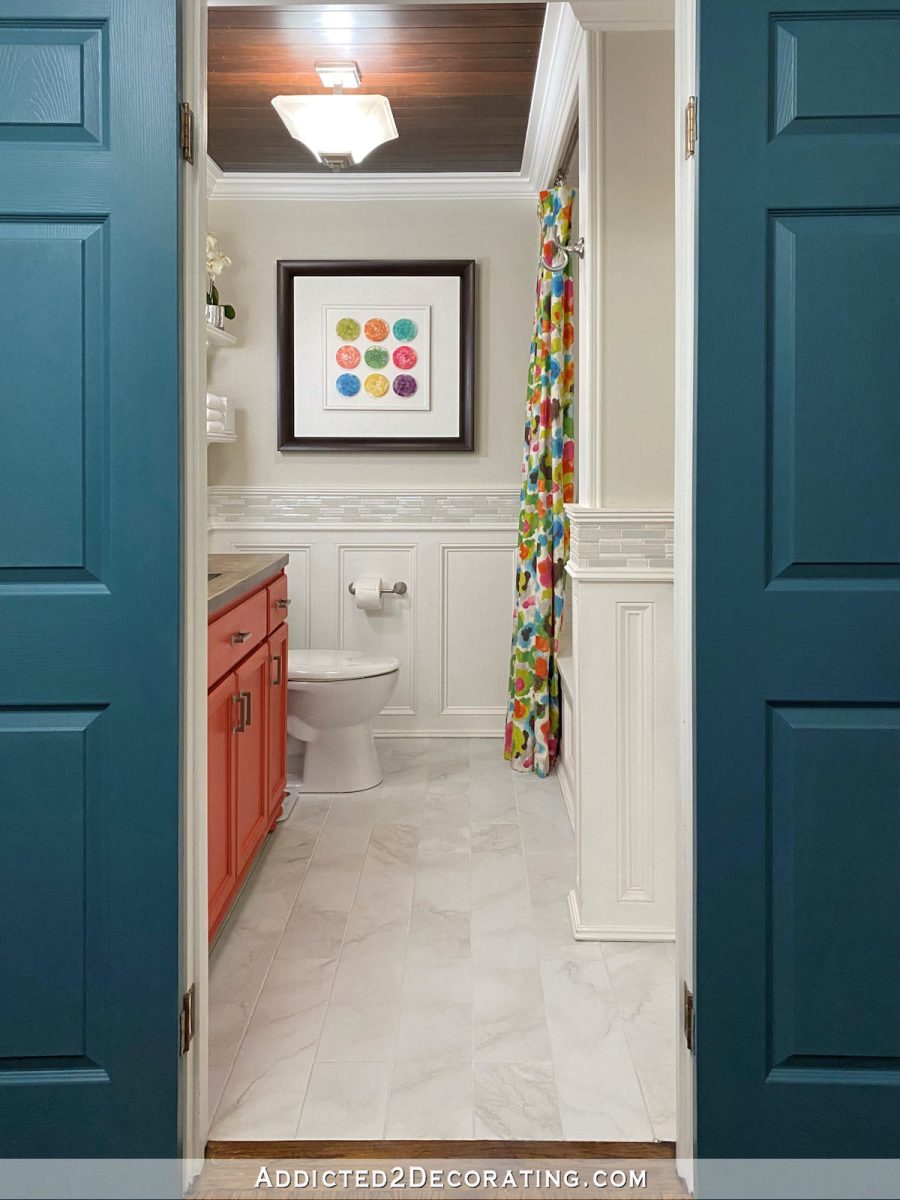
I remember people warning me about putting all of that wood (and MDF!) in that bathroom, but it hasn’t been a problem at all. I think the key really is oil-based primer.
So that’s the plan, and hopefully I can get started on the trim on Thursday. We’ll see how it goes. ?

Addicted 2 Decorating is where I share my DIY and decorating journey as I remodel and decorate the 1948 fixer upper that my husband, Matt, and I bought in 2013. Matt has M.S. and is unable to do physical work, so I do the majority of the work on the house by myself. You can learn more about me here.
I hope you’ll join me on my DIY and decorating journey! If you want to follow my projects and progress, you can subscribe below and have each new post delivered to your email inbox. That way you’ll never miss a thing!
[ad_2]
Source link

