[ad_1]
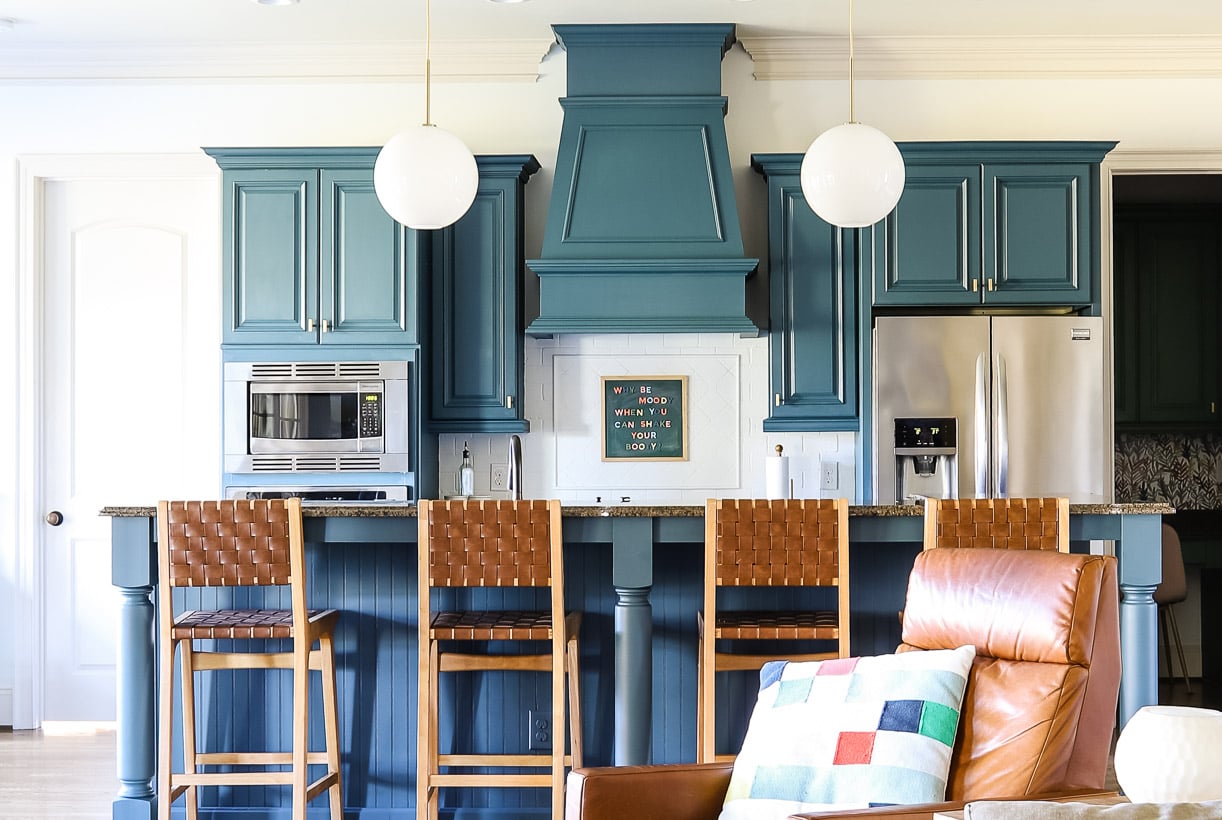
No budget to completely renovate your kitchen? No problem! We painted our kitchen cabinets, painted the tile backsplash, updated the hardware and island lights and VOILA… our kitchen looks entirely new and different. But unlike a full kitchen renovation, this kitchen makeover was budget-friendly.
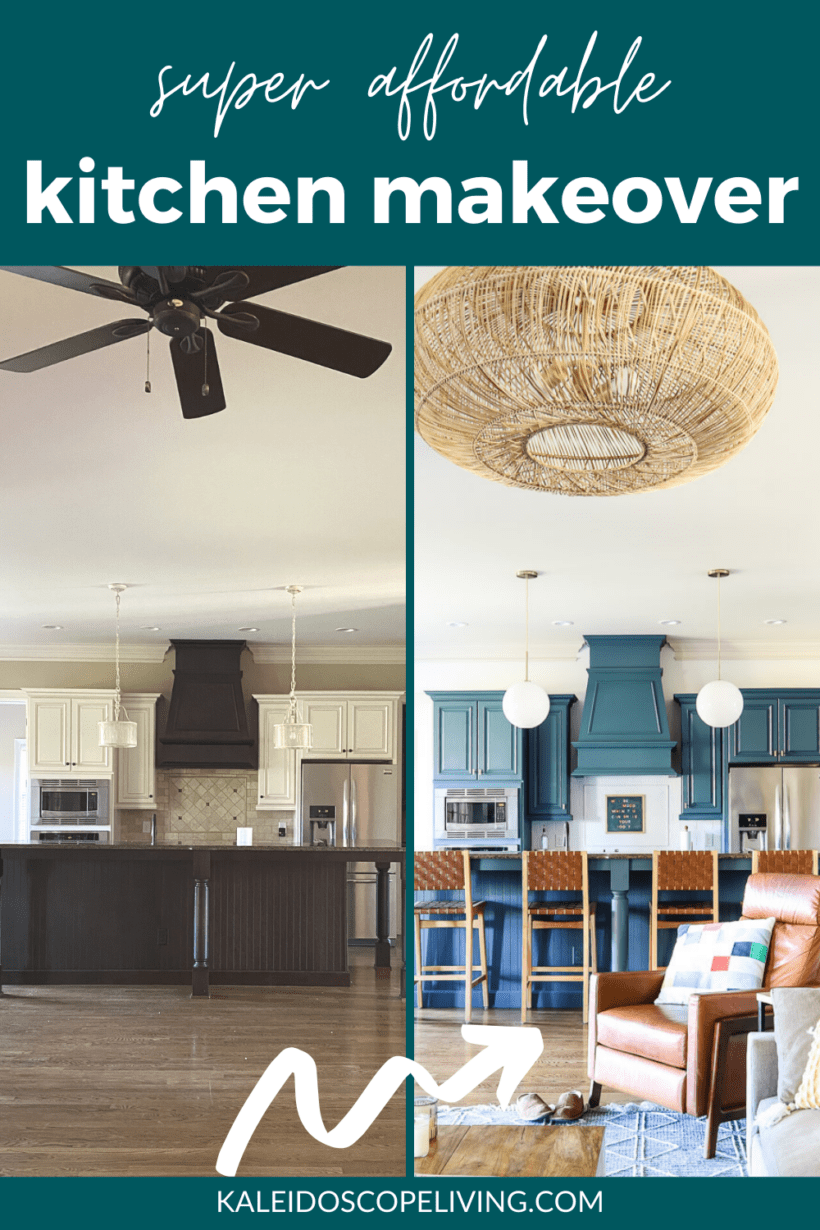
Reveal days are my favorite!!!! It’s finally time for me to share our budget-friendly kitchen makeover with you! We moved into this house almost three months ago and this kitchen makeover is the biggest project we have tackled so far. If you have taken the part 1 and part 2 tours of the house when we moved in, you know that we have a lot we want to change in this house! And the beige/brown kitchen was a big part of that!
The Before
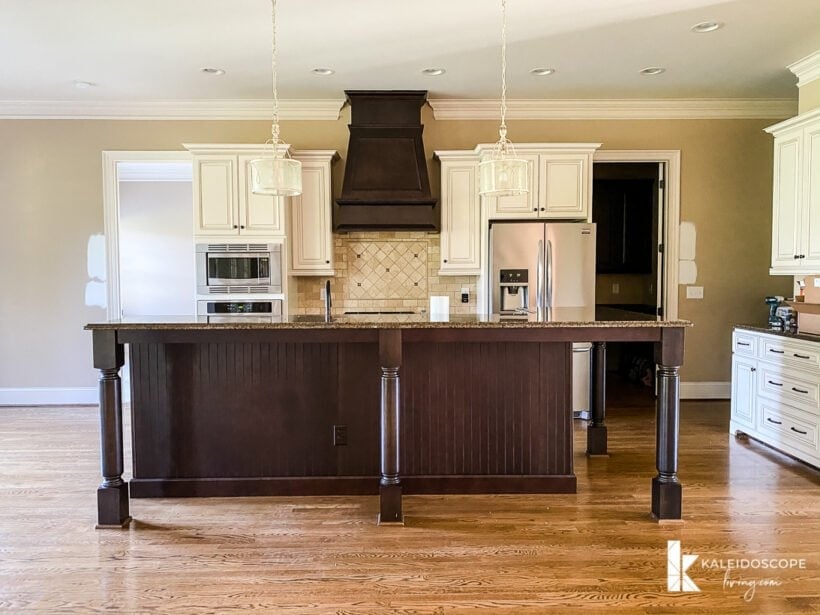
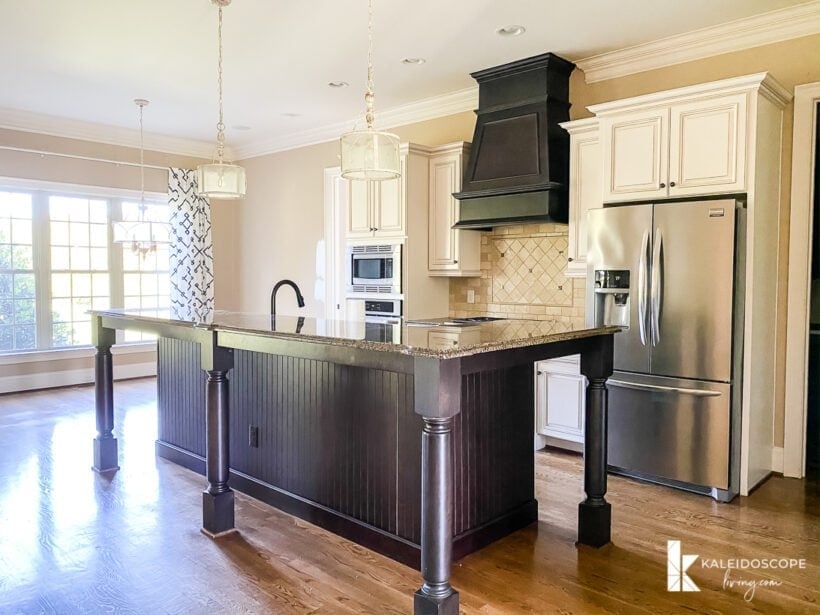
This is what the kitchen looked like when we closed on the house.
This post contains some affiliate links for your convenience. Click here to read my full disclosure policy.
The Little Tweaks Before Christmas
We had the brown walls painted white right before we moved in, which brightened the space up quite a bit. And then the girls and I painted the brown stone tile backsplash white a few days before Christmas (I even shared this funny Instagram Reel about painting the backsplash). You can see my tutorial for painting tile backsplashes here. We also updated the cabinet hardware and pendant lights around the same time. So the kitchen already started to look a bit more like “us” by the time Christmas rolled around.
I’ve linked to the cabinet hardware and new pendant lights below.
Click on any image for full product details.
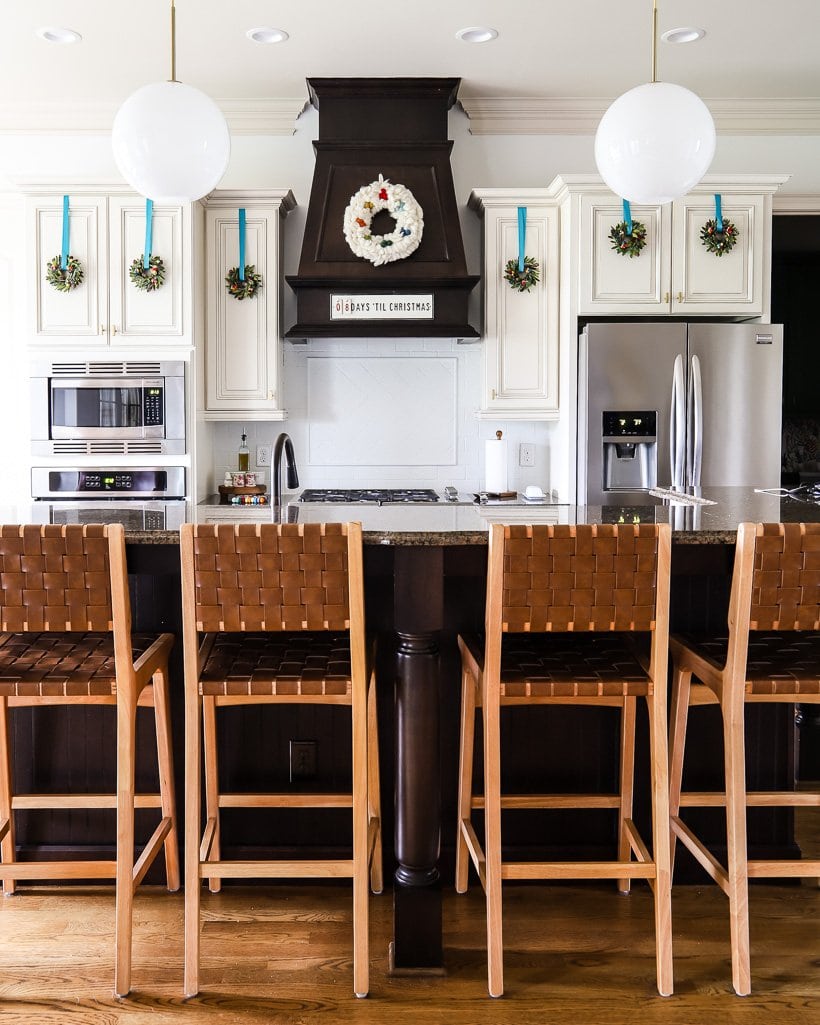
The BIG Change a/k/a Painting the Kitchen Cabinets
But the plan was always to paint the kitchen cabinets. I knew that’s when the BIG TRANSFORMATION would happen. And I was right! I followed this same process for painting kitchen cabinets, so if you are looking for a step-by-step tutorial, be sure to check that out! You can also watch this IGTV video where I answered questions about painting my cabinets AND you can check out this story highlight all about painting my cabinets. Lots of cabinet painting resources for you!!!
I used Fusion Mineral Paint in Seaside to paint our cabinets. I got full coverage with 1 coat, so it only took 4 pints to paint our entire kitchen! I used the Natural Stain and Finishing Oil as the topcoat, which required only 1 tiny can for the whole kitchen. I tackled the entire job totally by myself and it took me 3 partial days. Not bad at all! I linked to the supplies I used below.
Click on any image for full product details.
Fusion Mineral Paint is one of only two paints that I recommend for painting kitchen cabinets. You can read about the other paint I have used to paint kitchen cabinets in this post. I strongly prefer Fusion Mineral Paint now that I’ve discovered since it requires fewer steps and only 1 layer of topcoat, but both methods work well and are very durable.
So let’s take a look at how the kitchen looks now, shall we?!
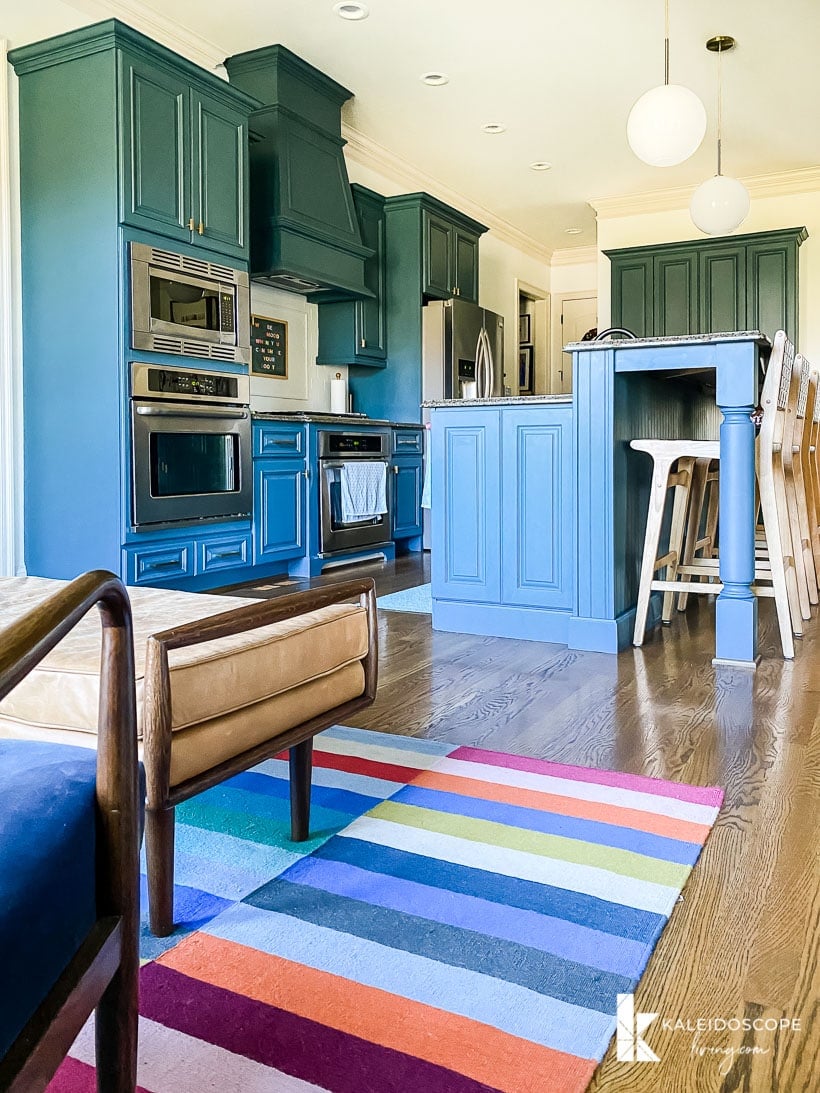
Budget-Friendly Kitchen Makeover REVEAL
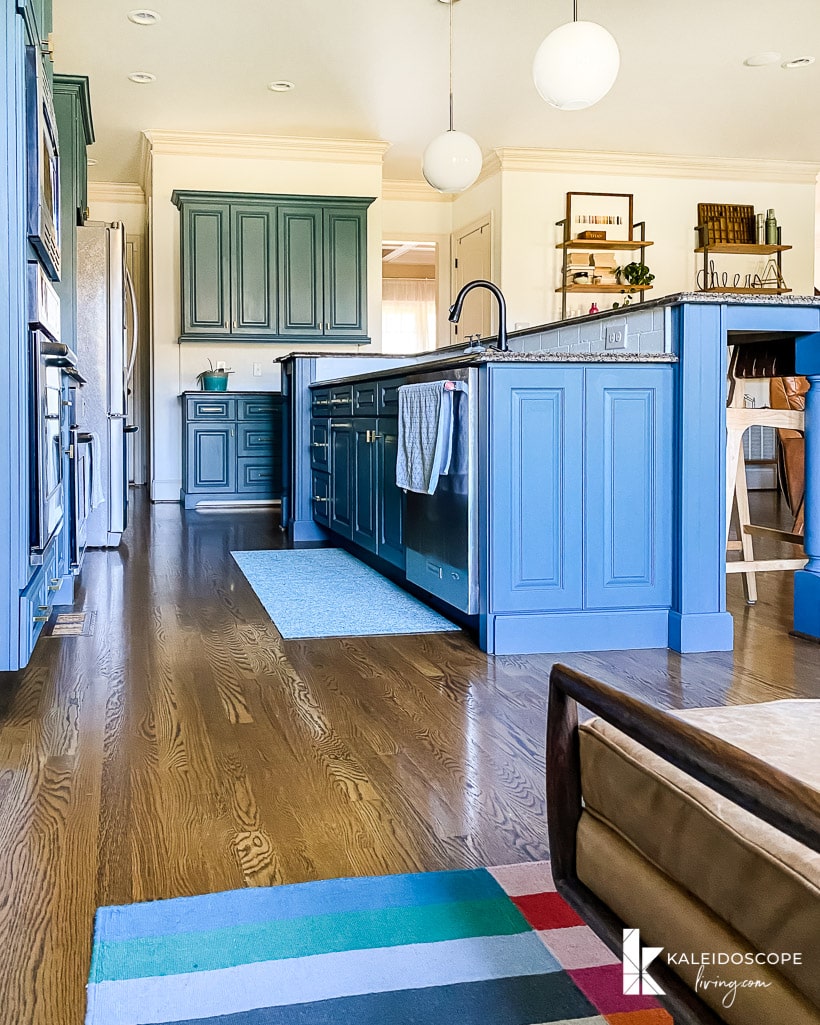
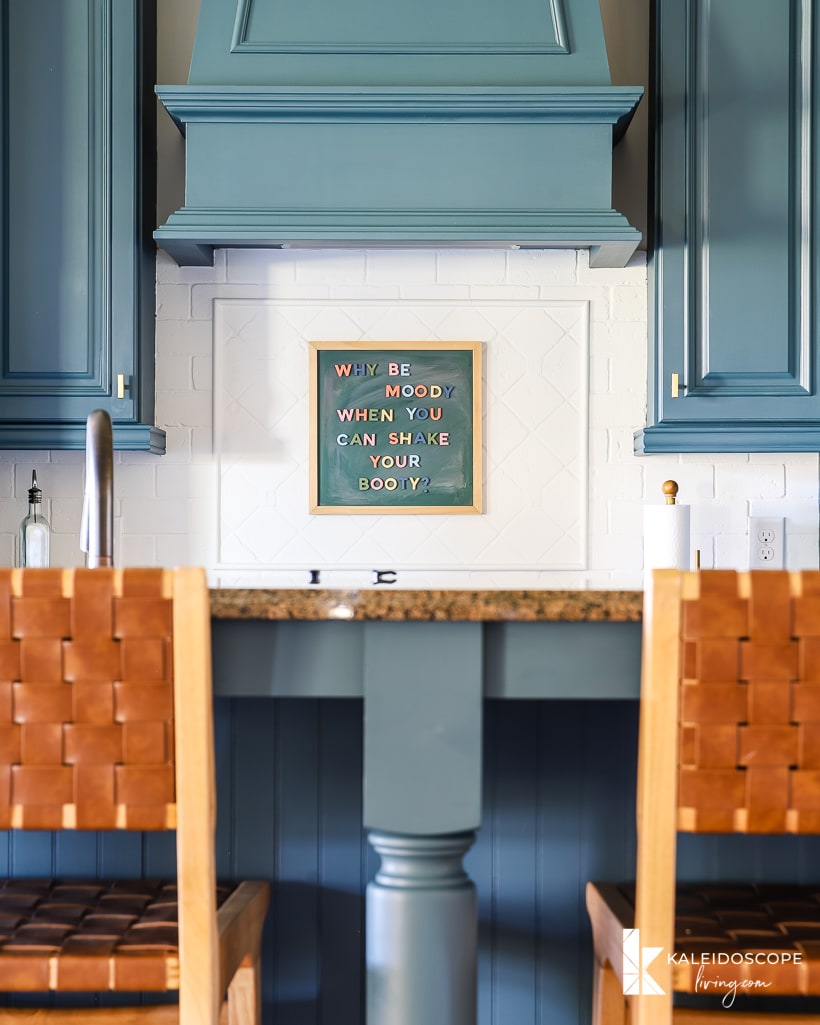
I do want to mention is that the Seaside color is a beautiful teal blue color that changes a bit depending on how the time of day and on how the light hits it. Our cabinets can pull more green or blue all depending on the lighting and angle. These changes are VERY SUBTLE and LOVELY in person.
But they are very HARSH through a camera for some reason. You will definitely see that in some of these photos! The cabinets can look like different colors even in the SAME photo just because of how the lighting hits them. If I was a professional photographer, I may know how to capture what I see in person a bit better, but alas, I’m not. So you’ll just have to take my word for it when I say your eyes see things differently than the camera when the light hits the cabinets.
These first two photos are very accurate representations of the Seaside color (meaning this is what the color chip of the paint looks like).
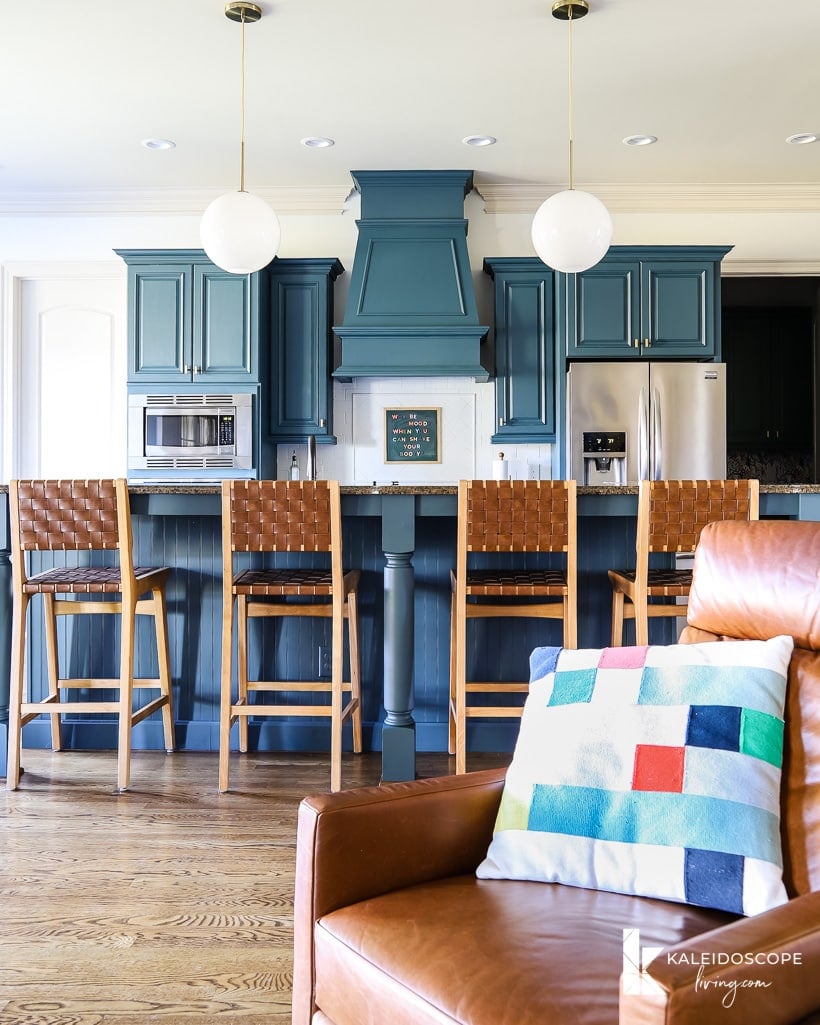
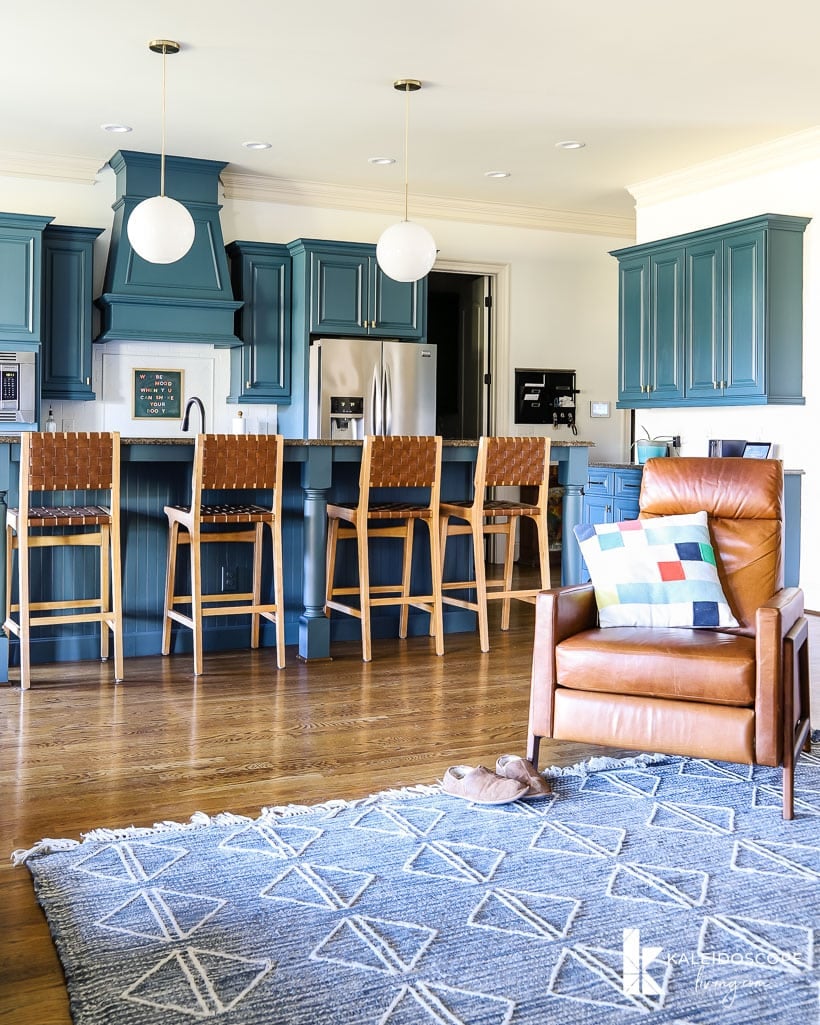
I LOVE the view below, which shows a peek into our built-in office that I gave a makeover back in November! And the upper cabinetry looks true to color. But see where the bright light is shining in on the island and the cabinets to the right? See how it makes them look really BLUE? I can’t explain it, but that’s not the actual color, lol.
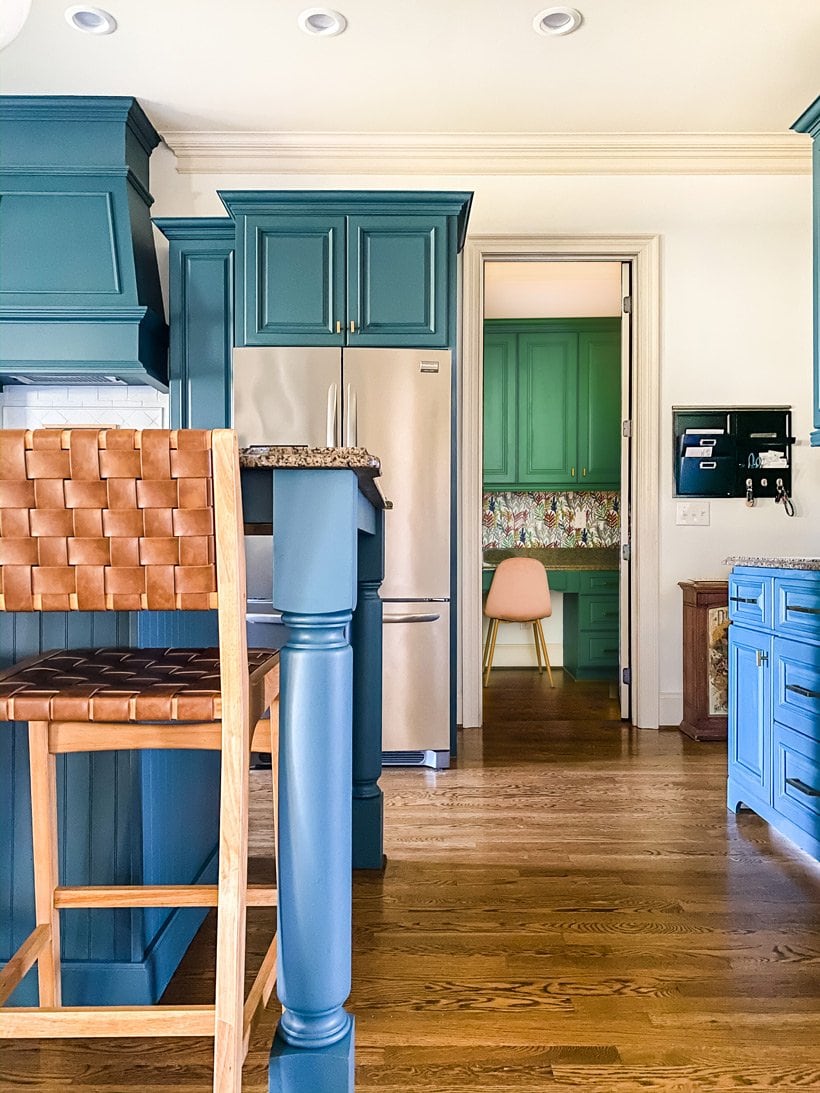
Same issue for the photos below, but I wanted you to see these angles!
Okay, back to a photo with no weird lighting/color issue
The Organizing Goodness
If you follow me on Instagram, you know that our budget-friendly kitchen makeover hasn’t just been about making it pretty. We have focused a lot on function since we don’t ever plan to fully gut and renovate this kitchen (like we did in our last house). So that meant hunting for just the right interior drawer and cabinet organizers. And y’all, I don’t want to brag, but I friggin’ nailed it. Even Joe is impressed!
We installed a new pull-out trash can/recycling system, an under-the-sink organizer, a pots and pans organizer, and a double-pull out for our larger pots and pans. You can see photos of everything in our kitchen below. You can also watch this story highlight to see me demonstrate/talk about everything and how it’s used! I’ve also included links the cabinet organizers below.
Click on any image for full product details.
We also worked hard to maximize our drawer storage, because we don’t have much in the work zone portion of our kitchen. I’m linking to all of the drawer organizers that we used below.
Click on any image for full product details.
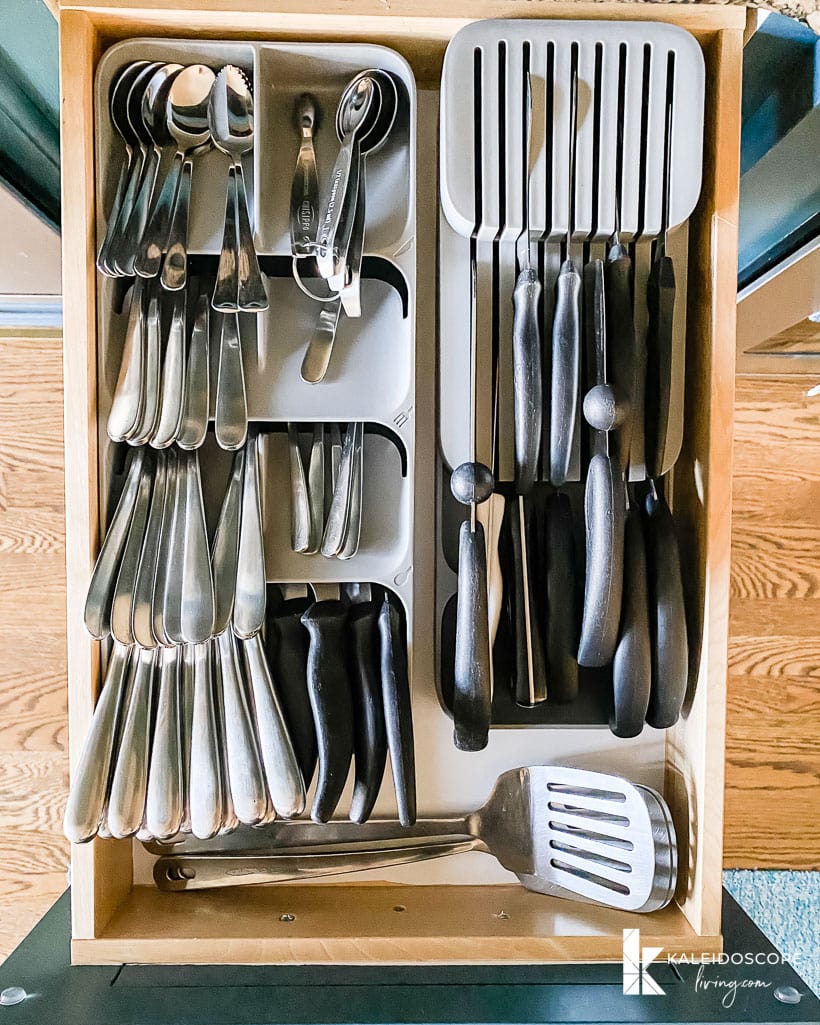
I found the most AWESOME space-saving utensil and knife storage. We were able to combine TWO drawers’ worth of stuff into a single drawer because of these genius products! Yes, that’s all of our utensils AND knives in one small drawer. And YES, our drawer still opens and shuts easily (I even show you in my Instagram stories that you can watch HERE).
I also found these really cool clear stacking organizers that allowed us to condense a lot of our miscellaneous kitchen stuff. The top stack slides back and forth and can be taken off completely to access what’s on the bottom. Love them.
And last but not least, I organized our junk drawer with this simple set of drawer organizers! No regrets.
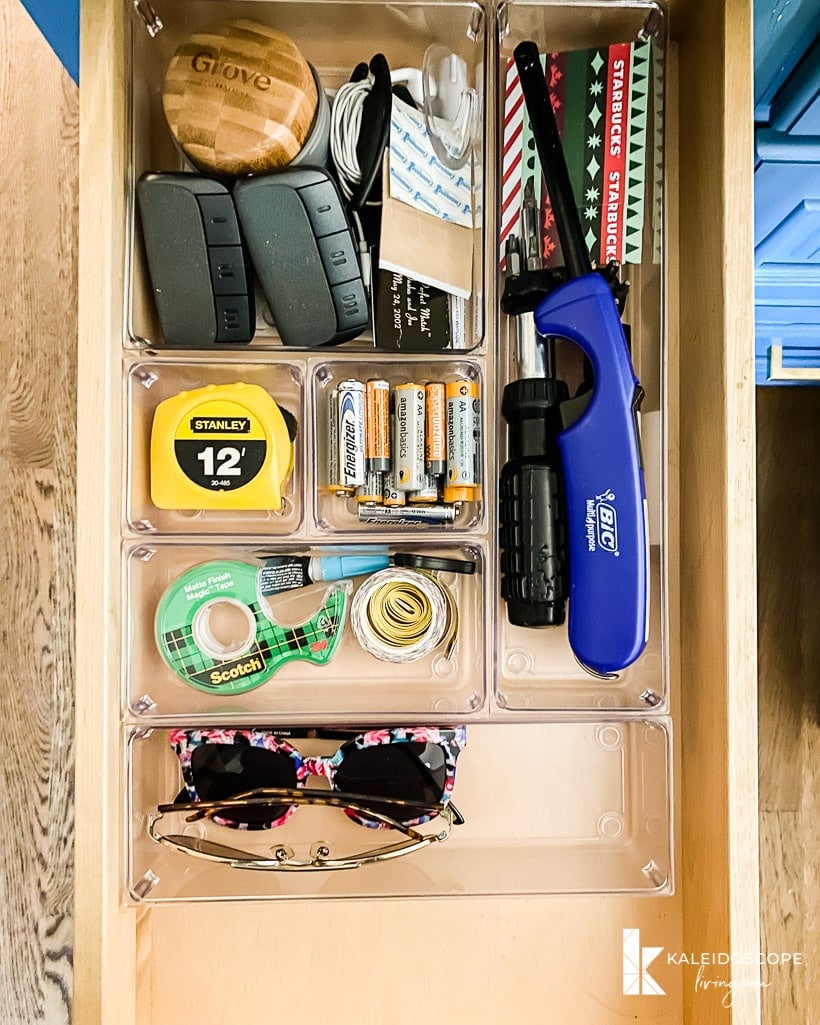
Y’all, we LOVE our kitchen now. LOVE IT. It’s not only our style now, but it functions well for our family, too! Never underestimate what you can accomplish with paint and some organizing supplies!!!
I’ve also linked some other things that you may see in some of the photos and wonder about (like our barstools) below
Click on any image for full product details.
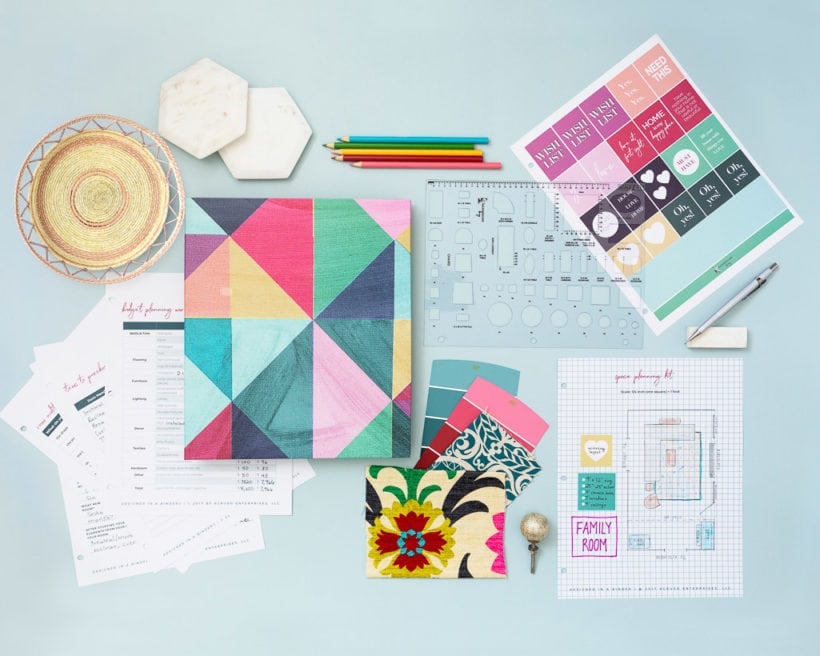
If you are wondering how I come up with room designs (like I did when we decided to give this kitchen a makeover), the answer is Designer in a Binder®. Designer in a Binder® is the design system I have used for years and years! A couple of years ago, I finally put it all down on paper so that others can use it as well! In it I walk you through all the important stuff like choosing items that are the correct scale, space planning, mixing patterns, choosing colors and more! I give easy-to-understand guidance on all of this in Designer in a Binder®! You can order your binder now. We have over 6,900 happy customers so far! Click HERE to learn more.

[ad_2]
Source link

