Dieffenbachia spp.
I don’t know about you, but there are days when I just want a houseplant that makes me feel like I’m the most talented gardener on the planet.
Of course, I love the dramatic look of a fiddle-leaf fig, and I’m blown away by an elegant phalaenopsis orchid, but it can be exhausting trying to keep these more finicky types of flora thriving.
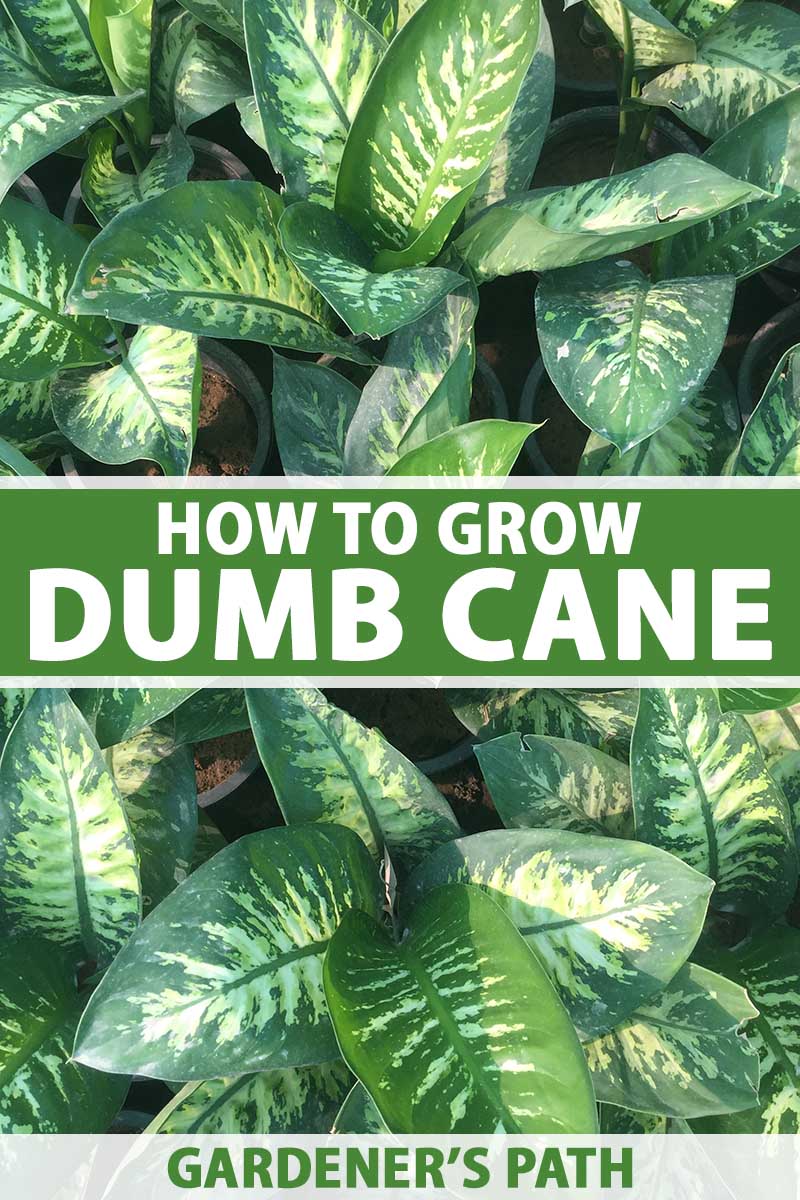
If you’re like me and you enjoy easy-care houseplants, say hello to Dieffenbachia, also known as dumb cane. If orchids are the high-maintenance beauty queens of indoor gardening, dumb cane is the natural beauty standing in the wings, just out of the spotlight.
While I’m off pampering my orchid and begging my fiddle-leaf fig to tell me why it’s dropping leaves, my dumb cane is off to the side looking fabulous without much input from me.
Showy and elegant, its patterned foliage will add color and dimension to your home. And Dieffenbachia will tolerate neglect, over or underwatering, and just about any level of light. There’s no special pruning or pampering required.
Different species are available in a variety of patterns, as well as sizes that range from under a foot to over six feet tall at maturity.
Whether you want a small plant that can hang out on your desk in your office, or some ample, bushy greenery to fill a dim, empty corner of your living room, dumb cane is an excellent choice.
If I sound too much like a salesperson here, that’s because I want everyone to revel in the bliss of these low-maintenance lovelies.
In this guide, we’ll dive into how to care for dumb cane, but as I’ve mentioned, it really isn’t difficult. Here’s what I’ll cover:
There’s just one thing that might make you want to reconsider picking up a dumb cane for your home:
They’re highly toxic to humans and animals if ingested, and the sap can irritate the skin and eyes.
If you have curious toddlers or pets, maybe stick to that fiddle-leaf fig after all. We’ll talk more about this below.
Cultivation and History
Plants in the Dieffenbachia genus are native to the Caribbean, and South and Central America.
They have naturalized in Sri Lanka, Singapore, Malaysia, Samoa, and various islands of the South Pacific, including Hawaii and Fiji.
The genus was named Dieffenbachia by noted Austrian botanist and head of the Austrian Botanical Gardens, Heinrich Wilhelm Schott, after his head gardener Joseph Dieffenbach.
It was given the common name “dumb cane” because of the affect it has if any part of the plant is ingested.
The plant contains calcium oxalate crystals throughout its leaves, stems, and roots.
If ingested, the crystals cause the body to release histamines, which results in swelling of the mouth and throat. This can cause breathing difficulties and in severe cases may possibly lead to death.
The irritation of the vocal cords and throat can also render the eater mute.
There have even been instances of people requiring tracheostomies to help them breathe after taking a nibble from this poisonous specimen.
The oxalate crystals can be so potent that simply touching a cut stem to one’s lips can cause swelling. Symptoms start within minutes and can last for days.
Discovery of this property led to a dark, tragic past for this plant. Horrifyingly, it was used to punish Black slaves in the Caribbean, and some slaves ingested it as a way to commit suicide. It was also used at least once to silence a court witness.
In Brazil, it was thought to cause sterility.
Michael G. Kenny, Professor Emeritus of Anthropology at Simon Fraser University, wrote in the Social History of Medicine (Volume 15) that Nazi SS leader Heinrich Himmler proposed using extracts of the plant to sterilize “racially undesirable war prisoners.”
In stark contrast, many cultures throughout history have used the root, stem, and leaves of dumb cane medicinally as a form of birth control and to treat dropsy, inflammation, gout, and sexual dysfunction.
More recently, it became a favorite home decor element starting in the Victorian era.
There are 135 known species in the Dieffenbachia genus, though not all are grown as houseplants.
The species you’ll most commonly see in homes are D. amoena, D. bowmannii, D. picta, D. maculata, and D. seguine.
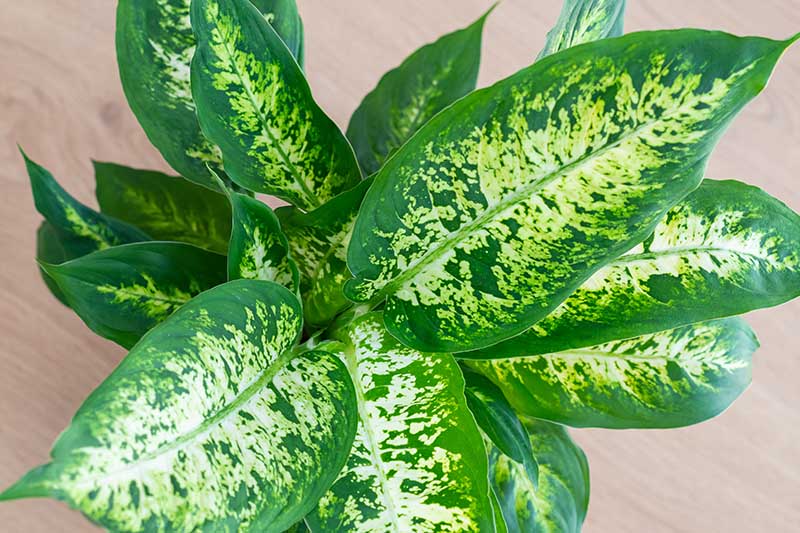
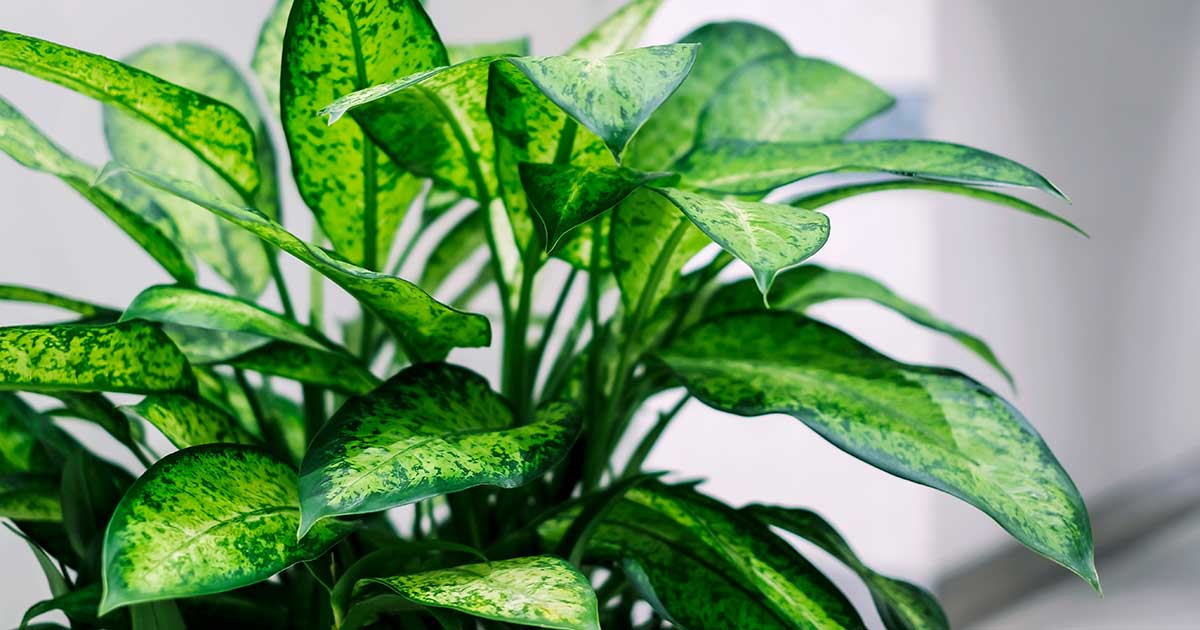
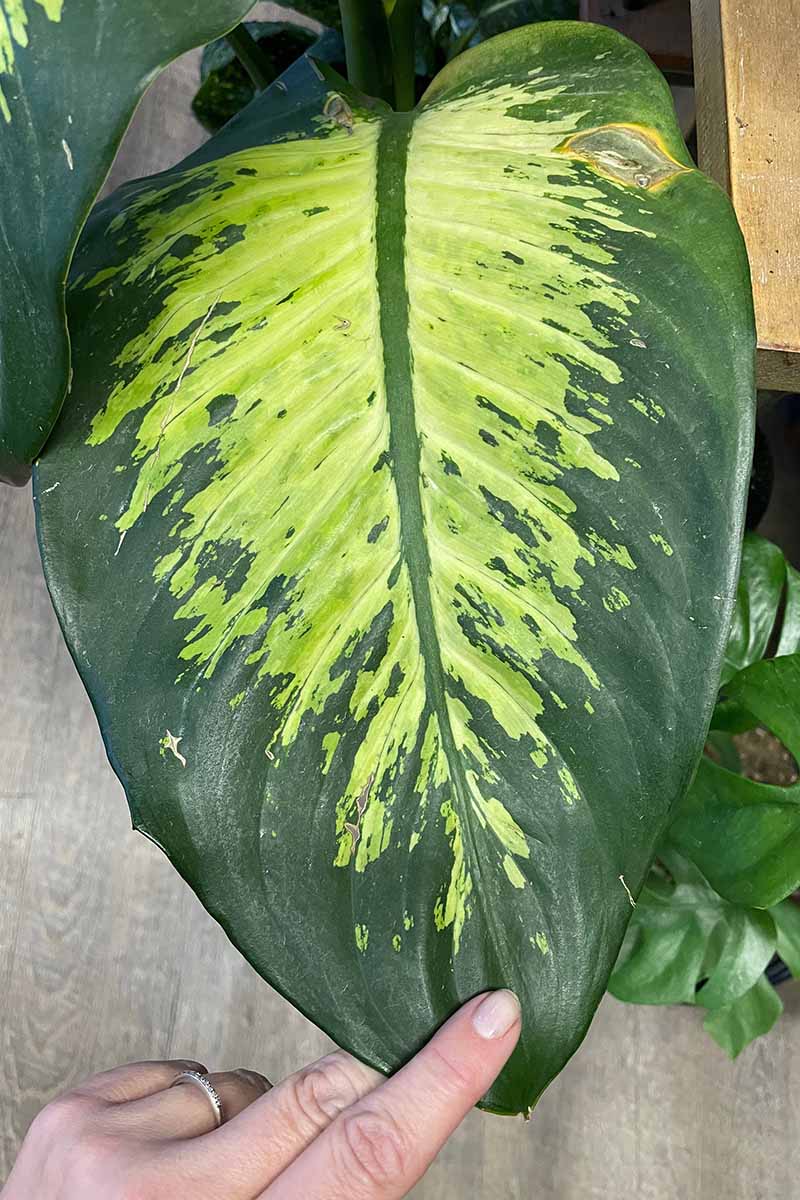
They range in size from two to 10 feet tall and two to three feet wide, depending on the variety. The leaves are elliptic in shape, and can grow up to 10 inches long.
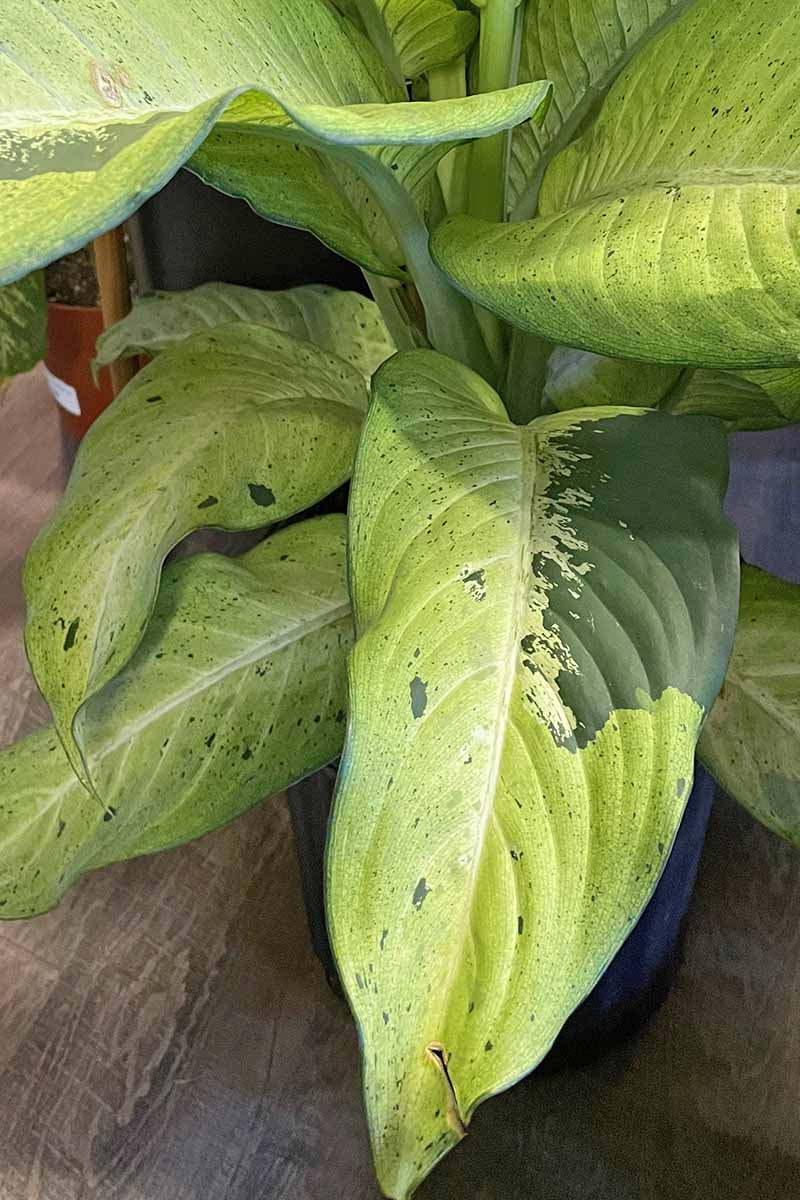
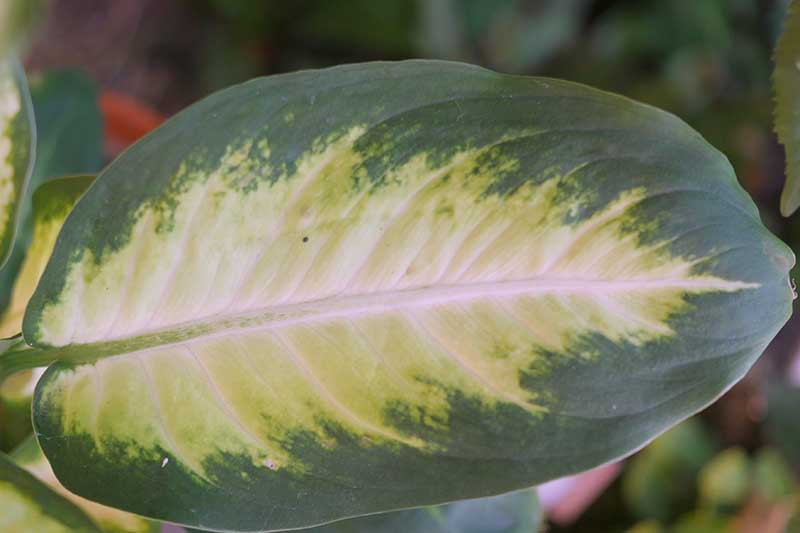
Leaf patterns may be solid green or mottled, with spots or patches of white, cream, or yellow.
The distinctive leaf patterns have earned it the alternate name of leopard lily.
Flowering is rare if grown indoors, but under the right conditions, plants can produce showy white blossoms that resemble a calla lily – which is not surprising, since they come from the same family, Araceae.
If pollinated, these are followed by bright red fruits.
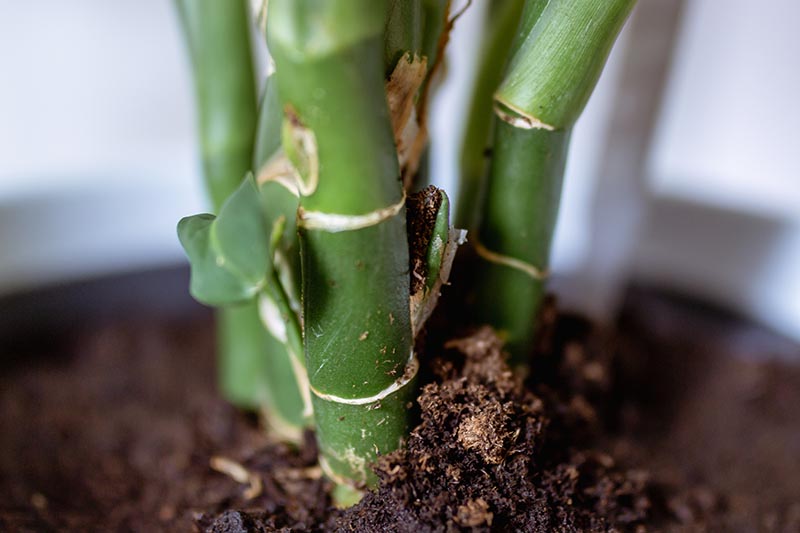
Over time the lower leaves drop off, exposing the stem, which looks similar to sugar cane.
As the leaves drop, leaving just the top foliage in place, the plant starts to resemble a small palm tree.
A Note of Caution:
In case the warning above didn’t tip you off: watch out! This plant is toxic to cats and dogs, and can cause drooling, vomiting, difficulty swallowing, or even death.
Humans should take care, as well. Keep plants away from young children who like to put things in their mouths.
The sap can irritate the skin and eyes. Wear gloves, long sleeves, and eye protection when working with this plant, to be on the safe side, and avoid touching your face.
Propagation
There are several ways to propagate dumb cane at home, including air layering, via stem cuttings, and by division.
When you cut the roots, stems, or foliage, make sure to start with a clean knife or clippers, and clean your tools thoroughly afterwards.
Wash them in soap and water or rub them with a cloth dipped in a 10:1 mix of water and bleach, to prevent the spread of disease and to ensure that you don’t accidentally come in contact with the sap.
All propagation should be done in the spring or early summer.
From Air Layering
Air layering is the process of opening the stem of your dumb cane plant to encourage roots to form and then separating the new growth from the existing plant.
If your plant has a central stem that’s at least a foot tall, you can air layer it to create a new plant.
Gather some clear plastic – a gallon-size garbage bag works well; zip ties, twist ties, or string; a sharp, clean knife; a toothpick, a cotton swab or small brush, rooting hormone powder or gel; and sphagnum moss, and get ready to work.
You may also need a pair of clippers or scissors, so keep some handy.
If the stem is already exposed because the plant has dropped its lower leaves, choose a spot about halfway up the stem to make your cut.
If not, trim away the leaves from the center of the stem using a pair of clippers so you have clear space to work with.
You need about three inches of foliage-free space. Leave the foliage above and below the trimmed stem in place.
While you don’t need to be exact, your cut should be placed at least four inches from the tip of the stem.
Take your sharp, clean knife and make a 45-degree incision at an upward angle, cutting just halfway through the stem where you want the new roots to form.
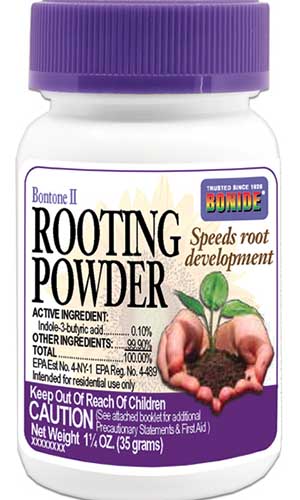
Then apply rooting hormone to the inside of the cut with a small brush or cotton swab.
Bonide Bontone II Rooting Powder
Bontone II Rooting Powder, available at Arbico Organics, has always been a reliable option for me.
Then, stick a toothpick horizontally into the cut to ensure it doesn’t heal and close over before forming roots. Clip away the excess length of the toothpick.
Dip your sphagnum moss in water and then wring it out. Pack the moss around the cut stem so that it’s completely covered all the way around. You should have at least two inches of moss both above and below the cut.
Wrap the plastic around the moss to hold it in place, and secure it with zip ties, twist ties, or string at the top and bottom.
Place the plant in bright, indirect light and water as you would normally. Open the plastic now and then to make sure the moss is still moist. If not, pour in a little water or mist the moss with a spray bottle.
After about six weeks or so, you should see roots filling in around the moss. But don’t worry too much if you don’t yet – it can take up to three months for new roots to form.
When you can see the new roots, it’s time to separate your new greenery from the existing plant.
Cut the top of the plant off just below the plastic using a knife or clippers. Remove the plastic, moss, and toothpick, and plant as you would a transplant (described below).
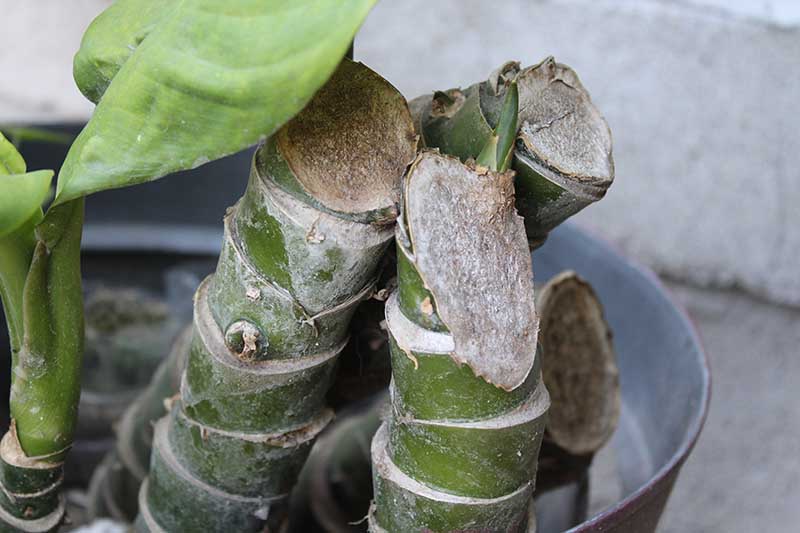
You can discard the original plant, but if you keep watering it and keep it in indirect sunlight, it will usually send up new shoots from the base.
Trim the stem back to an inch or so above the soil to encourage new, bushy growth. Water when the top inch of soil becomes dry.
From Stem Cuttings
You can also propagate Dieffenbachia plants via stem cuttings.
This method is easiest if your plant has dropped its lower leaves and the stem is exposed, but you can also cut away existing leaves to access the stem.
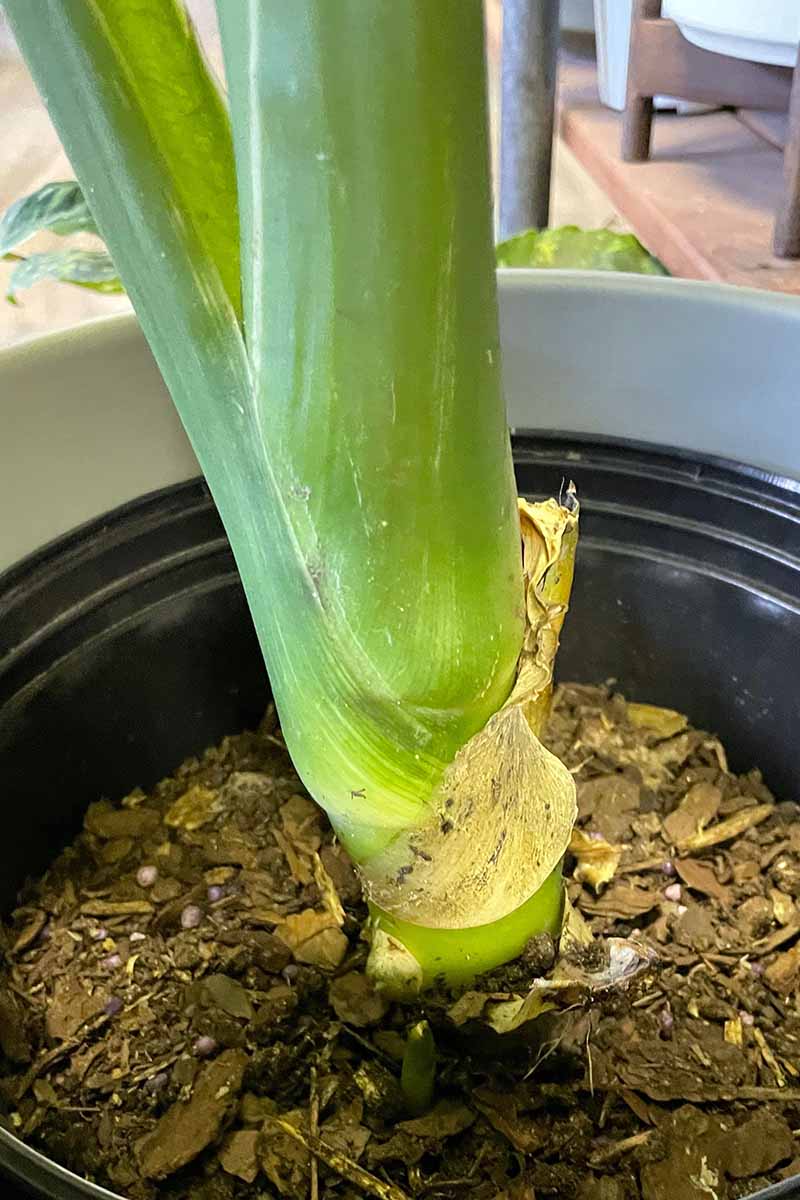
Each section that you cut needs to have at least one band (technically called a node), which is where the leaves were attached to the plant.
The goal is to take a few cuttings that are about two or three inches long. Depending on the length of the stem, you may be able to snip multiple pieces for transplanting.
Use a sharp, clean knife or clippers to cut sections of the stem. Leave a few leaves attached to the top section if you want. While cuttings don’t need leaves to take root, this can speed things up a little.
Dip the bottom end of each cutting in rooting hormone.
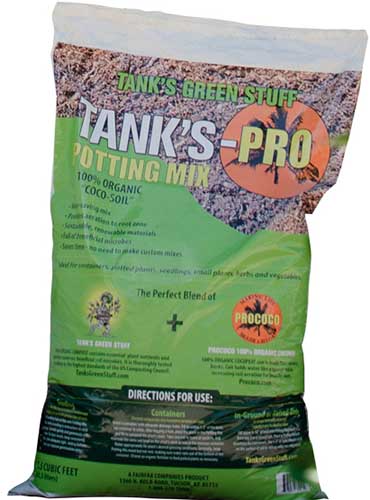
Tank’s Pro Coco-Soil Potting Mix
Place the stem upright in potting soil – I use Tank’s Pro Coco-Soil Potting Mix, available at Arbico Organics – and bury it, with about half of the cutting below the soil.
To make things easier, I root my cuttings directly in the pot I intend to grow the plant in, but you can use a temporary container if you prefer.
Water the cuttings and ensure that the soil stays moist as they sprout. Place them in an area where they can enjoy indirect sunlight.
As with air layering, you can also keep the original plant stump and it will send up new sprouts if you keep watering it and keep it in an area with indirect sunlight.
After one or two months, you should see new growth emerging from the top of your cuttings, followed by leaves.
Cuttings from lower down the stem take longer to root than ones taken from higher up. When they have two or three leaves, you can transplant them.
By Division
If you have a dumb cane plant with a single stem, you can’t divide it. This method only works if you have a plant with several stems growing from a single root ball.
Dividing is a useful way to propagate a dumb cane, but it is also a good idea if your plant starts getting too big for your space or outgrowing its container.
To do this, gently remove the entire plant from its container by tipping it sideways and working a clean knife carefully around the perimeter of the pot. Grasp the plant around the base of the stems and remove it from the pot.
Now, look for a spot to split the plant. You want to find a place where there is a natural division with roots intact among the stems, and avoid splitting stems that are growing very close together.
Clean away as much of the soil as you can to expose the roots and gently tug the sections apart as much as possible.
If the roots aren’t coming apart cleanly (and they likely won’t), just use a clean knife or small saw to cut the rest of the roots apart. Trim away any roots that are soft and mushy or dry and brittle.
Replace half of the plant in the original container so that it is growing at the same depth that it was before. Add new potting soil to secure it in place.
Plant the second section as you would a transplant.
Transplanting and Repotting
Ready to put your store-bought Dieffenbachia into a container?
Choose a new pot that is at least as big as the container it was growing in, or you can use one that is a few inches larger. The container should have at least one drainage hole for excess water to run out of.
Use a loamy, well-draining potting soil that contains peat or coconut coir for your new houseplant.
Miracle-Gro Indoor Potting Mix is one of my favorite options because it’s both water retentive and it drains well.
It also has built-in fertilizer, so you don’t have to feed your plant again for the first six months after planting.
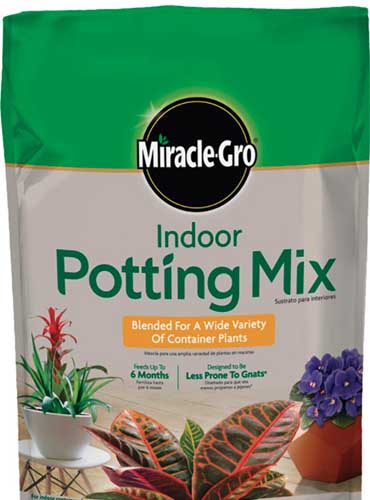
Miracle-Gro Potting Mix
You can find six-quart bags of Miracle-Gro Potting Mix available at Home Depot.
Place some soil in the bottom of the new container to ensure that the plant is growing at the same depth as it was before.
Make sure the soil in the original container is slightly moist before you start working.
Remove the plant from the plastic nursery pot by gently squeezing the sides to loosen it, and then carefully tug out the plant by gripping it at the base of the stem or stems.
Put the plant in the container and fill in around it with soil. Pack the soil down and give it a good soak, allowing the excess water to drain out of the holes in the bottom of the pot.
Repot every year or two to keep your dumb cane happy. If you see roots poking up out of the surface of the soil or ringing the perimeter of the container, it’s time to repot.
I like to poke a finger into the perimeter to feel for roots, or you can pull the plant out and examine the situation once a year or so.
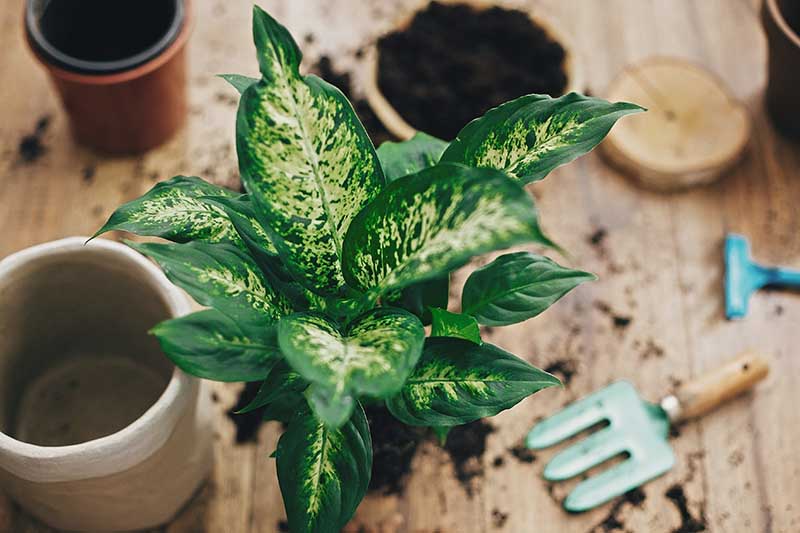
You also want to refresh the soil every two years or so. Old soil tends to get compact and loses nutrients.
Follow the instructions for transplanting, and use a new container that is a few inches larger than the existing one.
Place soil in the base of the new container so that the plant sits at the same height it was before, if necessary.
How to Grow
Now it’s time for the easy part: get ready to sit back and enjoy your new beauty.
After you find a good spot for it to grow in, all you need to do otherwise is provide it with food and water now and then.
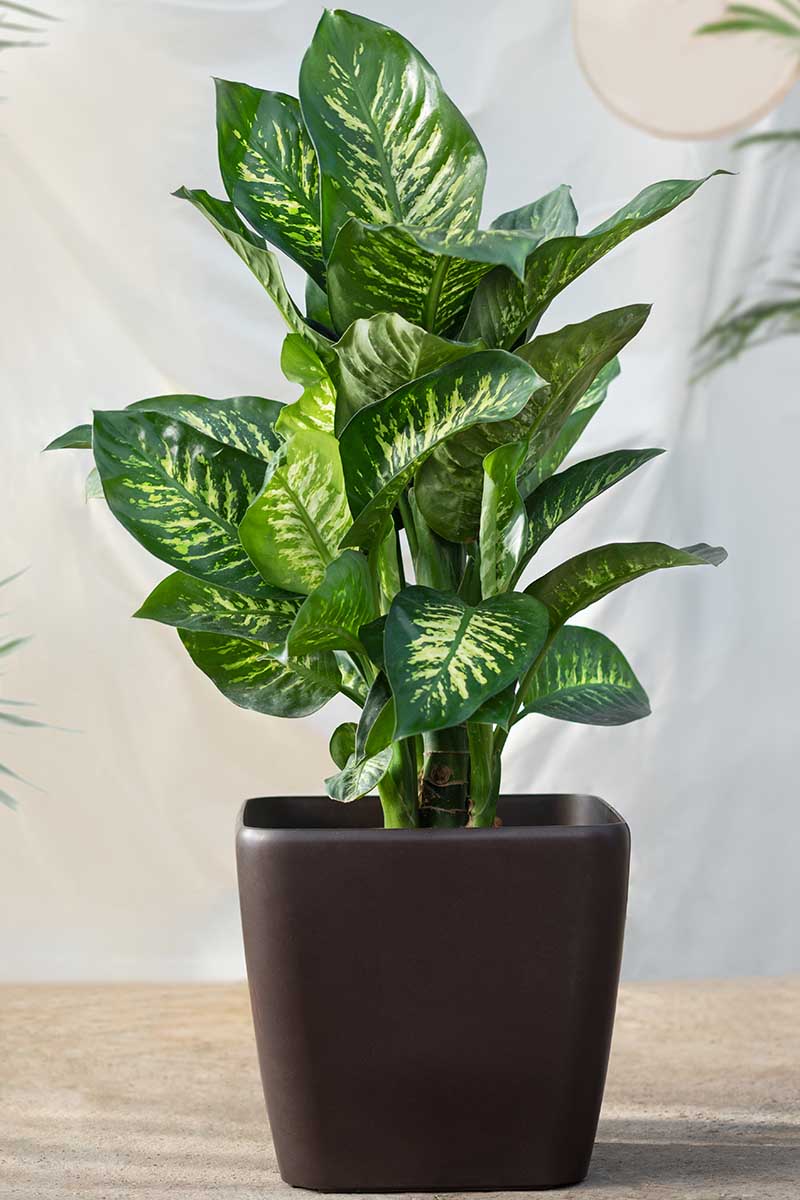
This isn’t a plant that you want to place in a bright west-facing window, as dumb cane prefers partial shade and too much direct light can cause tip burn.
These can grow in a spot with at least six hours of indirect sunlight, but you need to make a special effort to keep them well watered, so they don’t get too dry with the additional light.
They can also adjust to low light, but they will grow more slowly. Be sure to rotate plants positioned in low light conditions frequently, to prevent them from reaching for the light and growing unevenly.
A location where temperatures remain between 60 and 75°F is ideal, but these plants can tolerate cooler temperatures down to 50°F and heat up to 90°F for short periods without suffering.
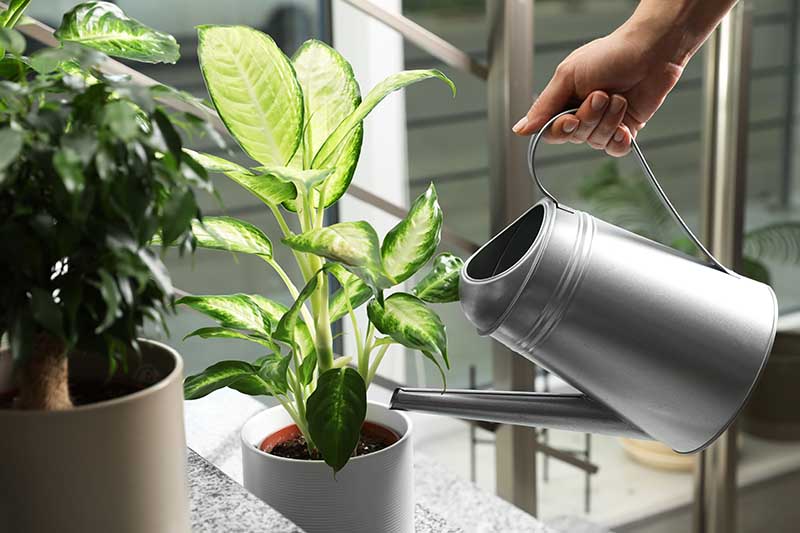
Dieffenbachia plants prefer moist soil that is allowed to dry out a little in between waterings. Allow the top inch to dry before giving them a drink, but be sure that you never let them sit in soggy soil.
If the leaves start to droop, that’s a sign that you need to give your plant a good drink. Check the soil and add water if it’s dry.
To water, soak at the soil level until water runs out of the drainage holes. Remove the saucer and toss the excess water out after it is done draining.
These plants prefer humidity above around 60 percent, but don’t worry. They’ll do fine in drier air as well.
Just note that dumb cane leaves can start to turn brown at the tips if the plant isn’t getting enough water or if the air humidity is too low. To prevent this, consider placing the plant on a pebble tray or purchase a humidifier.
You can make your own by putting pebbles in a shallow tray and filling it with water, or you can purchase a pre-made tray to make life a little easier.

Brussel’s Humidity Tray
Brussel’s Humidity Tray is available from Amazon if you decide to go that route.
I’m lazy, so I just move mine to the bathroom during the drier months (usually winter) if the leaves start to develop brown tips.
Dumb canes are heavy feeders, but don’t pull out the fertilizer just yet. You want to find the right balance between applying so much fertilizer that the plant grows too quickly, and giving it so little that it struggles to survive.
Plants that are growing in low light need less fertilizer than ones placed in brighter light, and they will need little or no fertilizer during the dormant winter period.

Lilly Miller All Purpose Plant Food
Choose a balanced fertilizer – with an NPK ratio that is even, like 5-5-5 or 10-10-10 – like Lilly Miller’s All Purpose Plant Food, available on Amazon.
Simply dilute in water and apply to the soil every six weeks or so during the growing season.
If you notice curled leaves with brown edges and the soil isn’t extremely dry, you’ve likely added too much fertilizer. Reduce the frequency with which you’re fertilizing or apply it at half strength.
If you use soil with added fertilizer, don’t fertilize for the first six months after planting. Otherwise, you can start your fertilizer routine straight away.
Growing Tips
- Allow the top inch of soil to dry out between waterings.
- Plants appreciate bright indirect light or they can tolerate low light conditions..
- Feed every six weeks or so with a balanced fertilizer.
Pruning and Maintenance
There’s no need to prune your dumb cane, but if you find any leaves that are shriveled and brown, yellow, or otherwise unattractive, you can trim them off with a clean pair of clippers.
If your plant grows tall and leggy with an exposed stem, feel free to propagate it via stem cuttings as described above.
If you don’t like the look of a tall, leggy plant, but you don’t want to propagate it, you can either toss it out and start fresh or do what I do:
When my dumb canes start to look like palm trees, I simply cut the stem with a pair of clippers to about an inch above the soil level.
Put the plant in a spot with bright, indirect light and keep the soil moist. Within a few weeks, new growth will emerge from the base of the stem and you can start fresh.
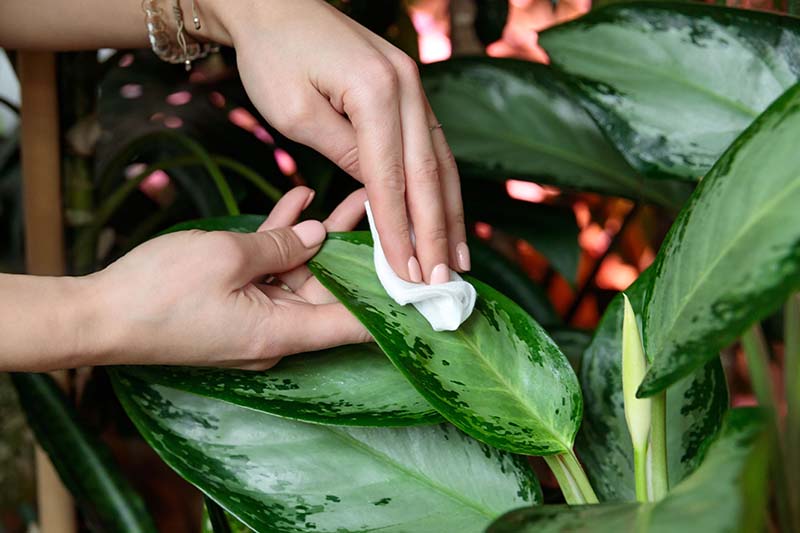
Dust the foliage every few weeks with a damp cloth. Leaves that are covered in a layer of dust aren’t able to photosynthesize effectively.
Cultivars to Select
Sellers often don’t specify which species they’re selling, though they’ll sometimes describe the cultivar.
It doesn’t really matter much, since they all have the same growing requirements. These cultivars are some of the more popular and pretty options out there.
Camille
D. maculata ‘Camille’ stands out because of its striking foliage pattern, which has a wide white and light green dappled center edged in dark green.

‘Camille’
In low light, the leaves become more green than dappled. This one grows about three feet tall and is quite bushy.
You can find plants in six-inch pots available from House Plant Shop via Amazon.
Compacta
If you have a small, poorly lit corner to fill, ‘Compacta’ (D. maculata) might be just the ticket. It stays much smaller than most other varieties, rarely growing beyond 18 inches tall.

‘Compacta’
The leaves feature a blotchy, cream-colored pattern along the center of the leaves, with a wide green margin.
You can find plants in six-inch pots available from California Tropicals via Amazon.
Exotica
D. maculata ‘Exotica’ has a more upright growth habit than other varieties and grows up to 24 inches tall.
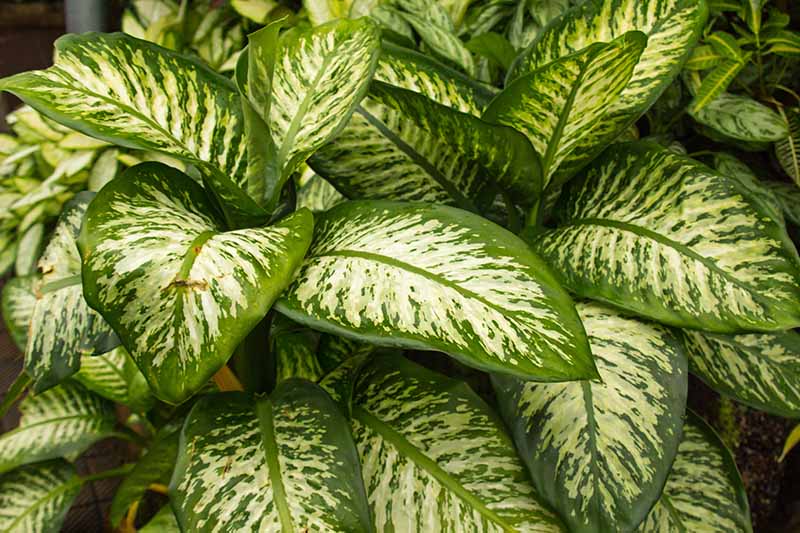
The leaves are green with a marbled creamy yellow pattern that bears a striking resemblance to the merle pattern seen on the coats of certain types of dogs.
Marianne
Sometimes called ‘Tropic Marianne’ or ‘Maryanne,’ D. maculata ‘Marianne’ grows to about three feet tall at maturity. It has oversized leaves with a creamy center and thin, dark green margins.
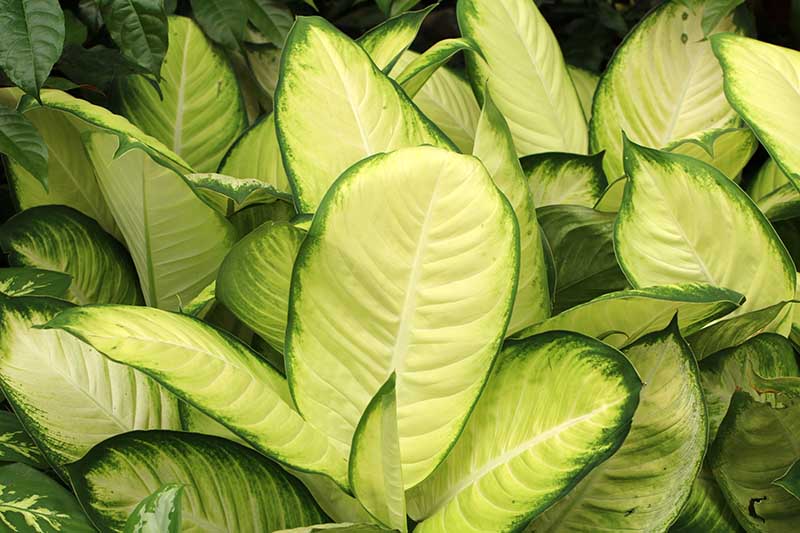
Unlike many others on this list, the center of each leaf is a single color that gradually fades into the margin rather than having a marbled or speckled pattern.
Rudolph Roehrs
D. maculata ‘Rudolph Roehrs’ has pale, speckled yellow and white leaves with dark green margins and green veins. The foliage almost looks as though someone splattered it with paint.
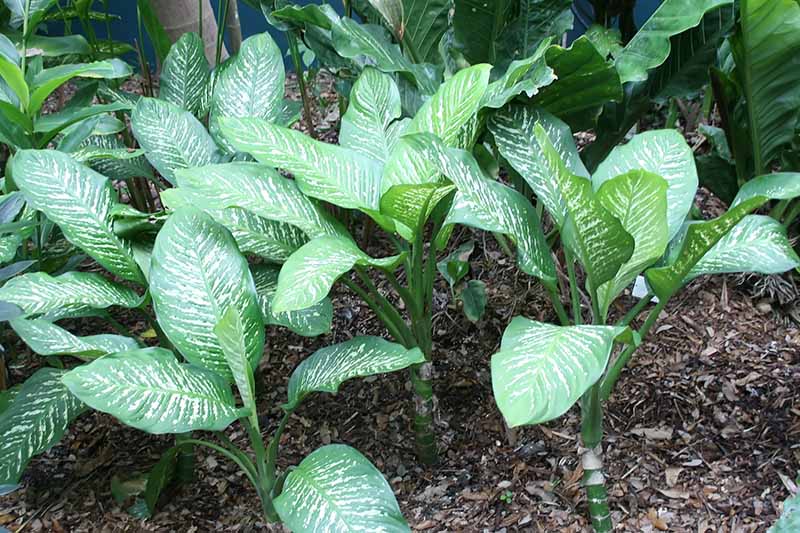
This one grows anywhere from four to six feet tall, so it’s better for larger spaces.
Tropic Snow
‘Tropic Snow’ stretches up to six feet tall when it’s full grown.
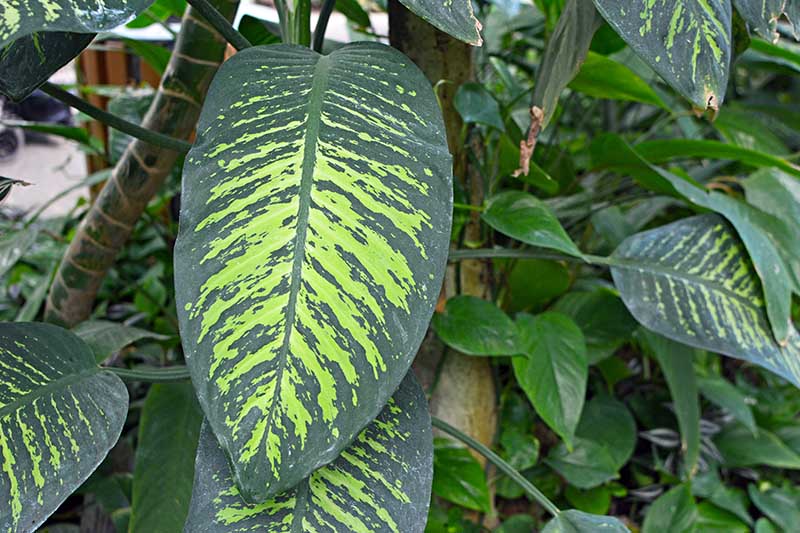
The leaves of this D. seguine cultivar have a dramatic marbled green center, with dark green midribs and margins.
Superba
‘Superba’ (D. maculata) has thicker leaves than other members of this species.
And the foliage has a mottled cream and light green pattern reaching to the edges of the leaves, rather than just being located in the center like what you’ll see with many other cultivars.
Expect ‘Superba’ to grow to about three feet tall.
Vesuvius
‘Vesuvius’ is a standout in the D. amoena species because of its explosively mottled leaves.
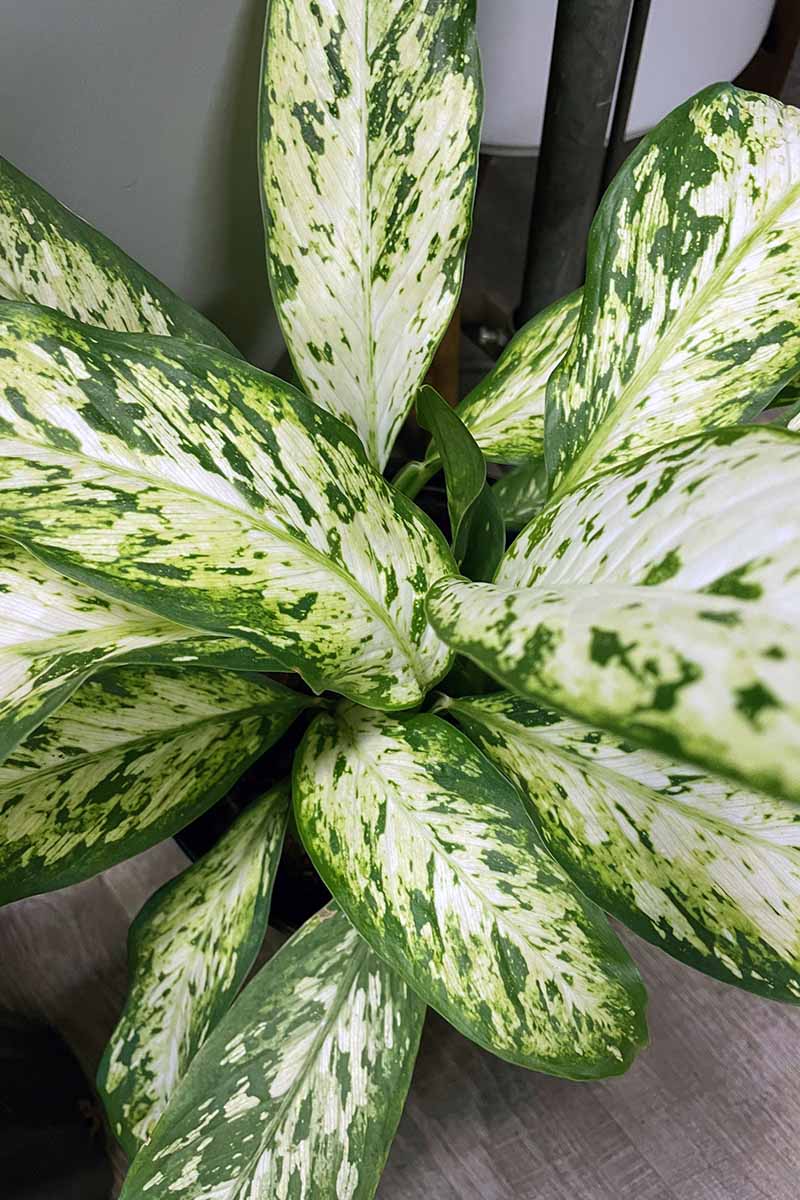
The margins are dark green, while the center of each massive leaf has cream, yellow, and light green marbling that varies from tiny pinhead-sized spots to larger patches that nearly cover the entire leaf.
This one grows to a large size indoors, to an average of three feet in height, but I’ve seen them reach up to five feet in ideal conditions.
Managing Pests and Disease
Dumb cane is a sturdy plant that resists most pests and diseases.
If you keep it healthy by watering well, repotting, fertilizing, and dusting as needed, it should be well on its way to withstanding any potential problems.
Still, there are a few insects and diseases that you’ll want to keep an eye out for.
Insects
Wonder what type of bugs bug Dieffenbachia? There aren’t a ton, but the usual houseplant pest suspects can sometimes be found lurking around.
Aphids
Aphids are an extremely common pest both indoors and out. There are thousands of different species and hundreds of them that attack veggies and ornamentals, all from the Aphididae family.
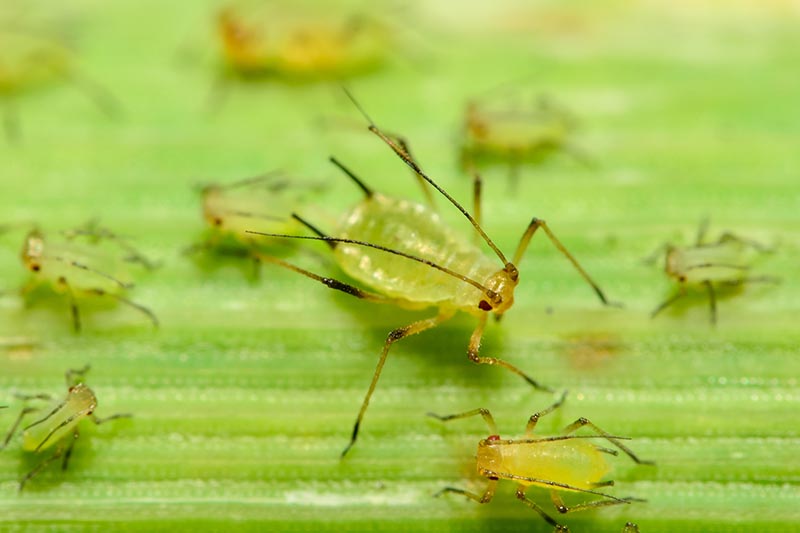
The adults are about an eighth of an inch long and can be tan, green, yellow, pink, gray, white, or black.
These tiny pests suck on stems and leaves. As they feed, they secrete a sticky substance called honeydew. If you spot ants on your houseplants, look closer.
You might have an aphid infestation, since ants are attracted to the honeydew. The sticky substance also attracts sooty mold.
Severely infested plants can have yellow spots, yellowing leaves, or stunted growth.
The first line of attack you should use is to take your dumb cane to your shower or sink, if possible, and spray the leaves with a strong blast of water.
This will knock off the aphids and you can wash them right down the drain.
If that isn’t possible, neem oil is another treatment option.
Dilute neem oil according to the manufacturer’s directions and spray the foliage, taking care to spray the underside where sneaky aphids may be hanging out. Reapply after a week.
You can learn more about how to control aphids in this guide.
Mealybugs
Say you’re walking by your Dieffenbachia one day and you notice that it looks like it has little fluffy bits of cotton on it.
You’ve probably got mealybugs (unless someone has been walking around tossing cotton bits in your house).
These small pests from the Pseudococcidae family are soft-bodied insects that are often covered in a fluffy, waxy, white material.
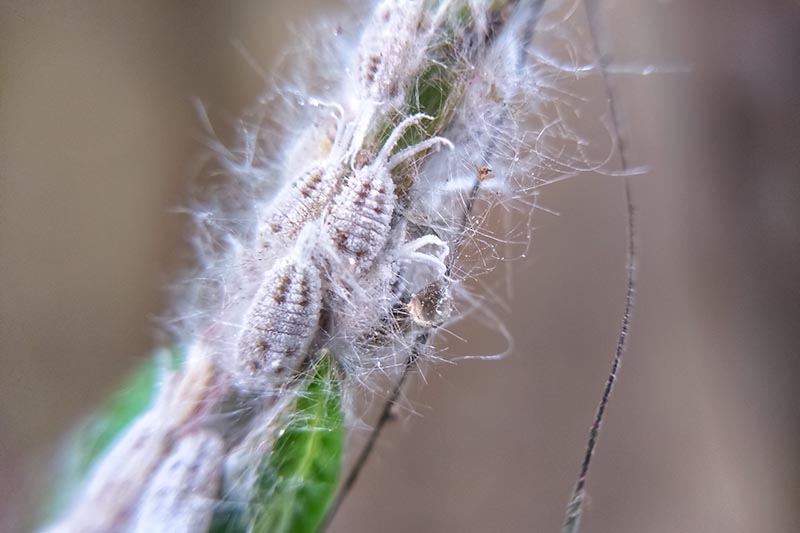
You’ll most often notice this pest on the undersides of the leaves and on the canes, where they hang out and suck the sap out of your plant, resulting in yellow leaves and stunted growth.
A bad enough infestation can even kill an entire plant.
As if that wasn’t bad enough, they secrete honeydew just like aphids do, attracting ants and sooty mold.
If you don’t have a huge number of insects on your plant, dip a cotton swab in rubbing alcohol and wipe it on each individual bug. Don’t touch the plant with the alcohol, as this can damage the foliage.
If you have a bigger infestation, it’s time to break out the insecticidal soap.
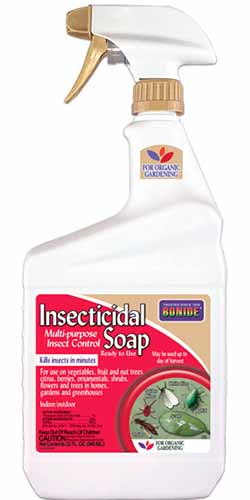
Bonide Insecticidal Soap
Arbico Organics carries 12 or 32 ounce bottles of Bonide Insecticidal Soap that you can spray directly on the foliage of your houseplants – be sure to apply to the undersides as well.
You’ll likely need to reapply weekly or biweekly a few times to totally eradicate an infestation.
Spider Mites
Spider mites, gotta love em – right? Wait. No, they suck. Literally.
Pretty much every outdoor gardener or anyone with a few houseplants is going to run into spider mites at some point.
These tiny arachnids from the Teranychidae family puncture plants with their mouthparts and suck out the sap.
While they prefer hot, dry, dusty environments, they attack hundreds of different plants in a wide range of conditions.
You might see the bugs themselves, but they are really small, so it’s far more common to see the fine webbing they leave behind.
They can cause discolored stippling or brown spots on leaves. Foliage may also turn yellow.
First, try to make conditions unpleasant for these bugs. A humid environment of above 80 percent and regular dusting of the leaves helps keep them away.
You can also give your plant a good shower with a handheld nozzle to knock the bugs loose. You might have to do this once a week for several weeks.
Neem oil and rosemary essential oil are an effective control for spider mites.

Rosemary Essential Oil
Use a teaspoon of rosemary oil per cup of water and spray the leaves once a week until you don’t see any more mites.
Pick up rosemary essential oil at Amazon to help with your mite battle.
Disease
While it isn’t common, it’s not impossible for your dumb cane to fall ill with a fungal or bacterial infection. Here are two common ones to watch out for.
Anthracnose
Anthracnose is caused by the fungus Colletotrichum gloeosporioides. When it attacks, it causes circular tan or brown spots with yellow margins to form on the foliage.
Spots may appear water soaked or dry.
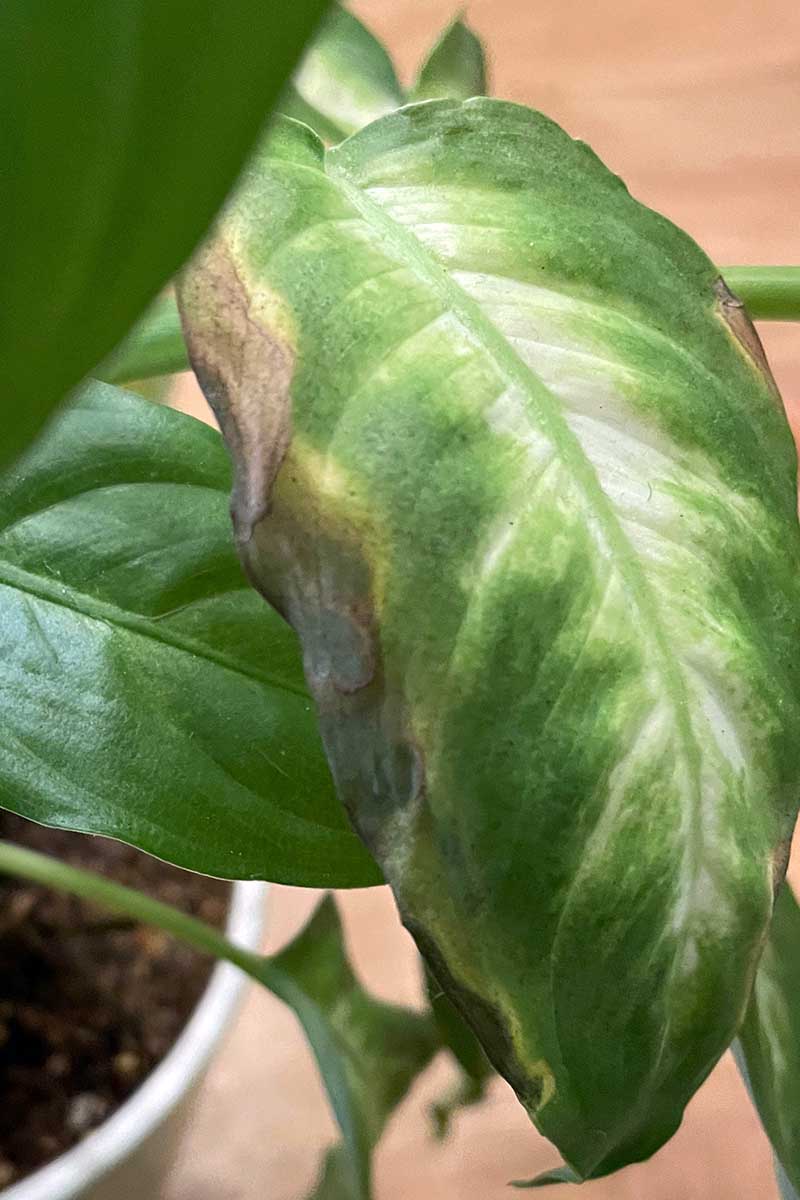
Neem oil is a good option to start with to control anthracnose. Combine three parts neem oil and one part water. Spray the foliage once every few days for several weeks or until you see healthy, new foliage emerging.
Leaves with holes won’t heal, but yellowing should improve, so watch for that, as well.
Serenade Garden is another organic treatment option that uses the beneficial bacteria Bacillus subtilis to kill off fungi. Dilute it according to the manufacturer’s directions and spray the leaves.
Bacterial Leaf Spot
Bacterial leaf spot causes small green or gray circles to appear on the foliage. As the disease progresses, they can become larger and may even merge to form a lesion.
The spots may turn brown or black and the centers may fall out. Impacted leaves may also turn yellow.
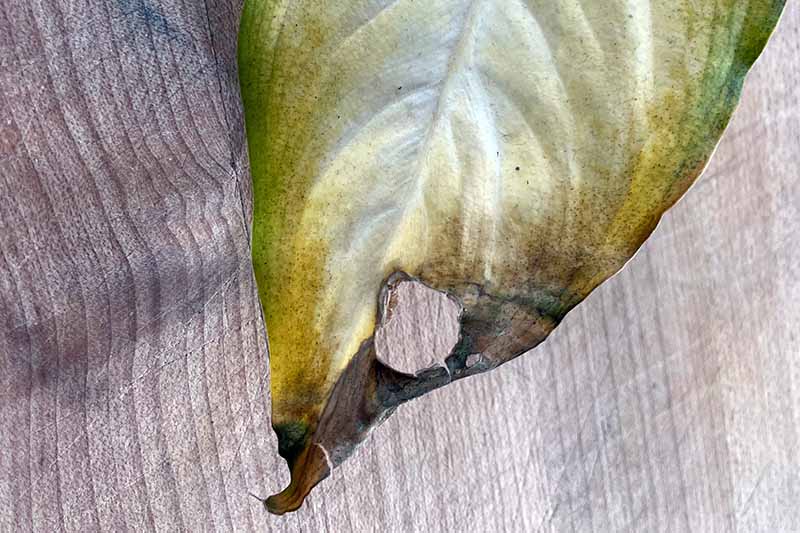
This disease is caused by Erwinia carotovora or E. chrysanthemi and, unfortunately, there is no cure.
Remove any infected leaves. As a preventative measure, be sure to water at the soil level to prevent the disease from spreading as splashing water can spread the bacteria.
Be absolutely certain that you sanitize your tools before and after you use them on an infected plant, in a 10:1 mix of water and bleach, or you risk spreading the disease further.
If all of the stems of the entire plant begins to show symptoms, you’ll need to throw it out.
Best Uses
Dieffenbachia excels as a container specimen both indoors and out. If you live in Zones 10-12, you can also grow it outdoors in the garden in mass plantings, borders, or as an accent.
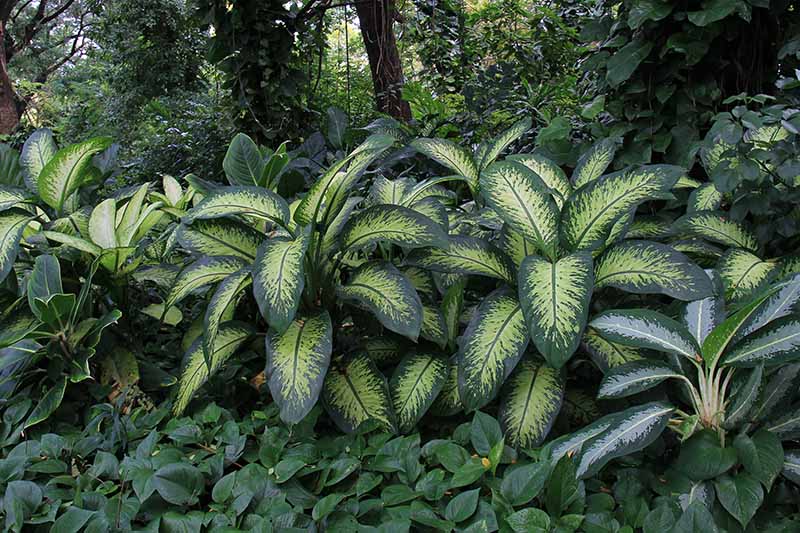
Indoors, it can brighten up a dark corner since it survives well in low light. I think it’s ideal in a bathroom because there’s lots of humidity there and not always a lot of light.
Because they can grow up to six feet tall, they also make a dramatic statement if you need a large specimen to fill an empty space.
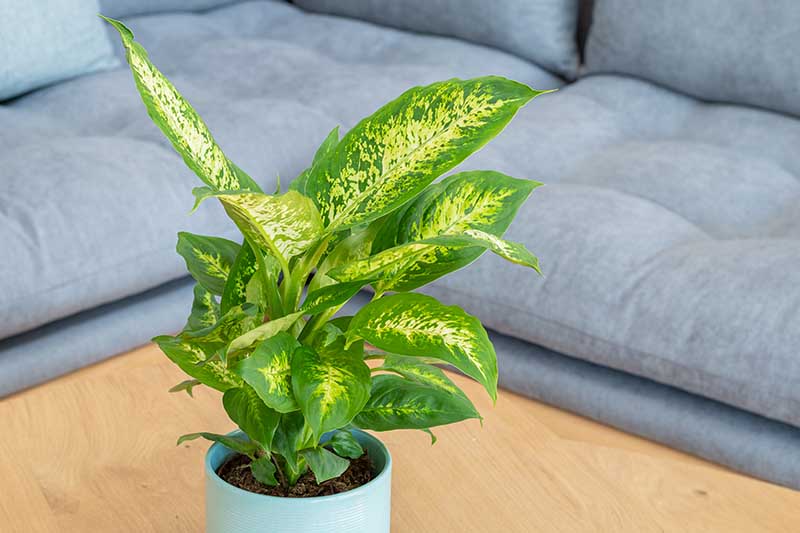
They’re ideal for beginning houseplant enthusiasts because they can handle a bit of neglect, plus they add some beautiful texture to your interiors.
Quick Reference Growing Guide
| Plant Type: | Evergreen herbaceous perennial | Foliage Color: | Green, yellow, cream, white, variegated |
| Native To: | Caribbean, Central and South America | Soil Type: | Rich, loamy, loose |
| Hardiness (USDA Zone): | 10-12 (outdoors) | Soil pH: | 6.0-6.5 |
| Exposure: | Full sun to shade outdoors, bright indirect light to full shade indoors | Soil Drainage: | Well-draining |
| Height: | 3-10 feet, depending on variety | Uses: | Ornamental houseplant, border plantings, accent, ground cover in Zones 10-12 |
| Spread: | 2-3 feet | Order: | Alismatales |
| Water Needs: | Moderate | Family: | Araceae |
| Maintenance: | Low | Genus: | Dieffenbachia |
| Tolerance: | Drought | Species: | amoena, bowmannii, picta, maculata, seguine |
| Pests & Diseases: | Aphids, mealybugs, spider mites; anthracnose, bacterial leaf spot |
Dumb Canes Don’t Ask for Much
Dieffenbachia plants have a lot to offer and they don’t ask for much in return. Give them a home, water, feed them when you water, and they’ll add color and texture to your space.
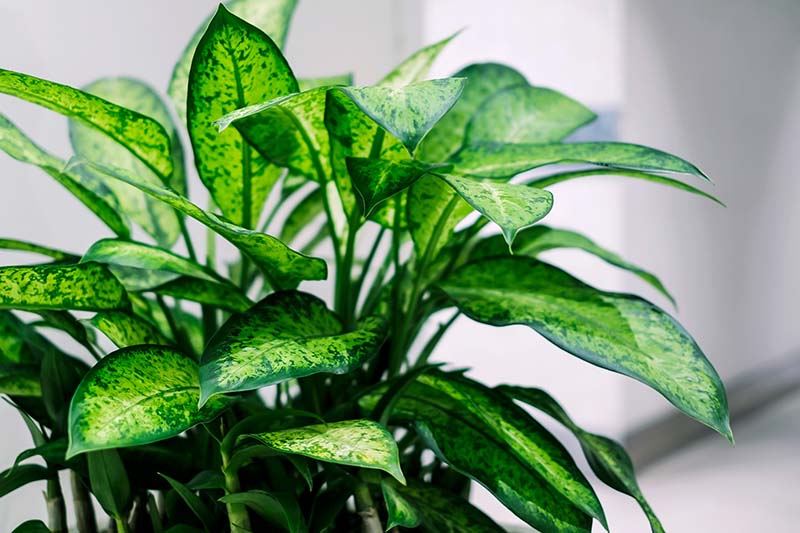
Honestly, it’s making me consider tossing my orchids out the window (look out below!) and filling my house with dumb canes instead.
What about you? Are you excited to get going with dumb canes? Come back and share with the rest of us about how you do – and be sure to tell me which cultivar you pick!
Feel ready to add more houseplants to your indoor jungle? Here are some other guides that you might find helpful:
Photos by Kristine Lofgren © Ask the Experts, LLC. ALL RIGHTS RESERVED. See our TOS for more details. Product photos via Arbico Organics, Bonide, Brussels, California Tropicals, Healing Solutions, House Plant Shop, Lilly Miller, and Miracle-Gro. Uncredited photos: Shutterstock.
About Kristine Lofgren
Kristine Lofgren is a writer, photographer, reader, and gardening lover from outside Portland, Oregon. She was raised in the Utah desert, and made her way to the rainforests of the Pacific Northwest with her husband and two dogs in 2018. Her passion is focused these days on growing ornamental edibles, and foraging for food in the urban and suburban landscape.

