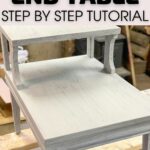
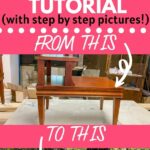
I am an absolute sucker for mid-century modern styles, but sometimes you just want to modernize them a bit. This great step by step tutorial is ideal for turning a pair of mid-century modern end tables into fresh new pieces with a gorgeous paint job and fun accents. If you need a great furniture makeover for inspiration, look no further than this process.
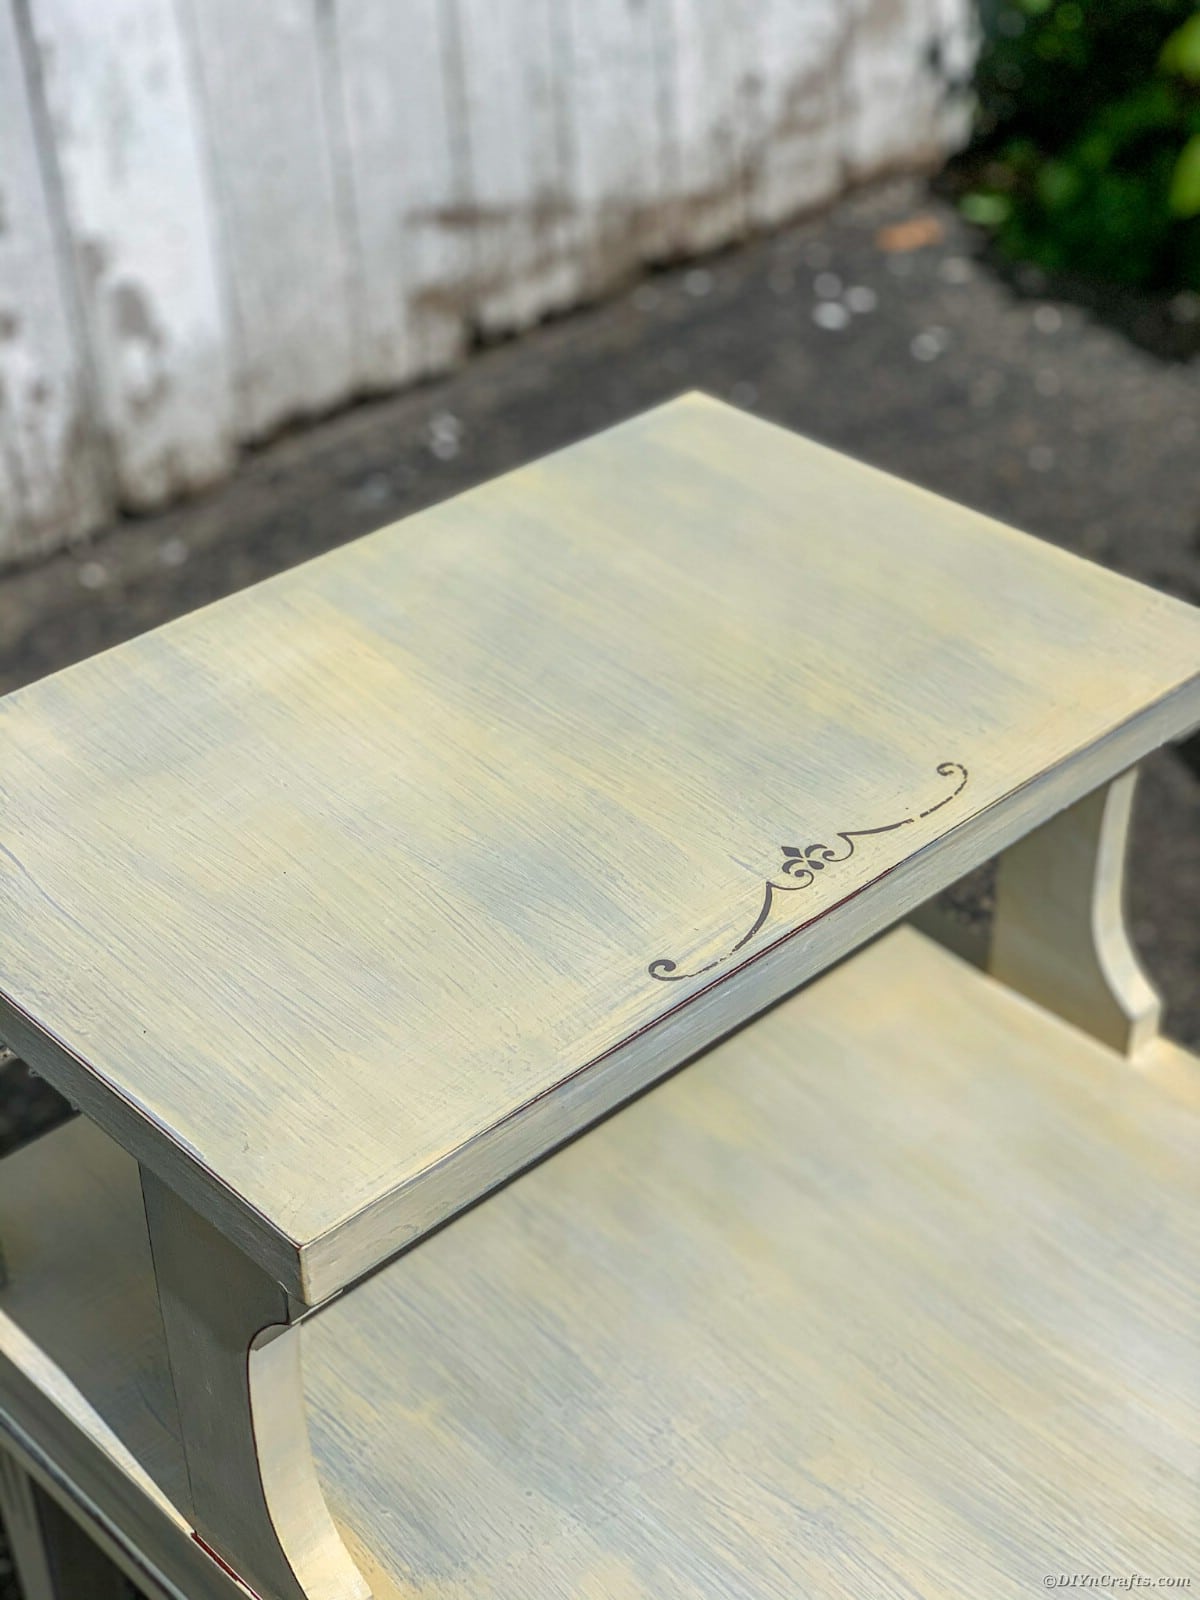
Mid Century End Table Makeover
Whether you are turning your own set of end tables into beautiful pieces for your home or applying these tips to another furniture piece, this tutorial is a great place to begin when looking for inspiration. There are tons of little details, but the overall process is simple enough that anyone can complete. You’ll find yourself falling in love with the process of furniture makeovers and soon will look forward to your next project.
If you need more inspiration for amazing upcycle, repurposing, or makeover projects, check out our curio cabinet restoration tutorial to start. You may also appreciate this list of ideas for repurposing bookcases or even this list of pottery barn inspired knockoff DIY options. It’s always fun to find new ways to use items in your home too, so make sure you check out ways to repurpose old kitchen cabinets while you are there!
Do I Need a Respirator Mask to Do This Project?
While you do not need a special mask for doing this project, we do recommend all painting be done in a well-ventilated space. A workshop or garage is great, as long as there are plenty of windows and air circulation so you are not in a confined space with fumes. Investing in a reusable respirator mask or painting is a smart decision, especially if you intend to follow this process with more than one piece of furniture.
What Tools Do I Need?
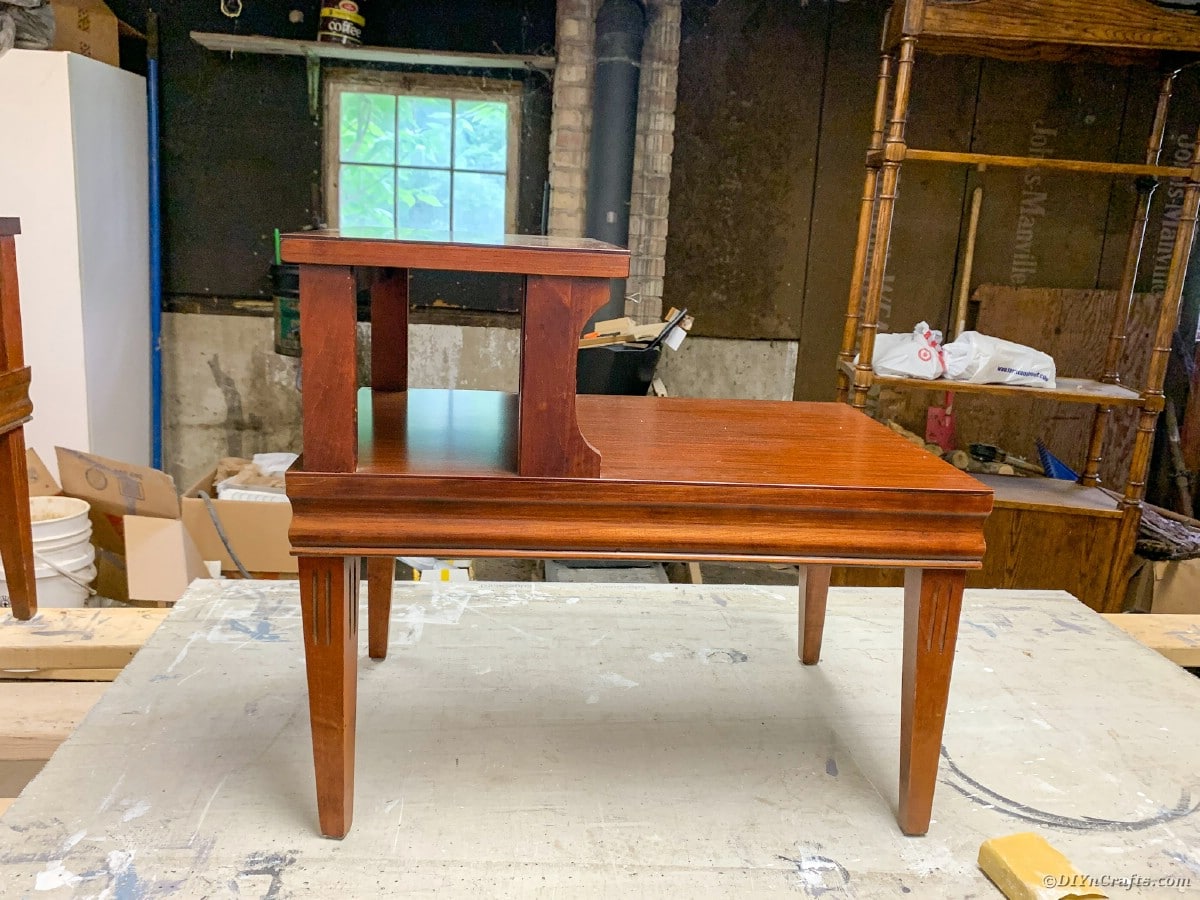
Start By Preparing Your Workspace and Furniture Pieces
Always begin any restoration or makeover project by setting the workspace up appropriately. This includes gathering tools, shopping for supplies, and preparing the furniture itself for finishing.
- Place furniture in a clean workspace. If working in a garage be sure to sweep or blow all dirt and debris out of the area you will be working in. Lay a drop cloth down to ensure the paint does not drip and ruin your flooring.
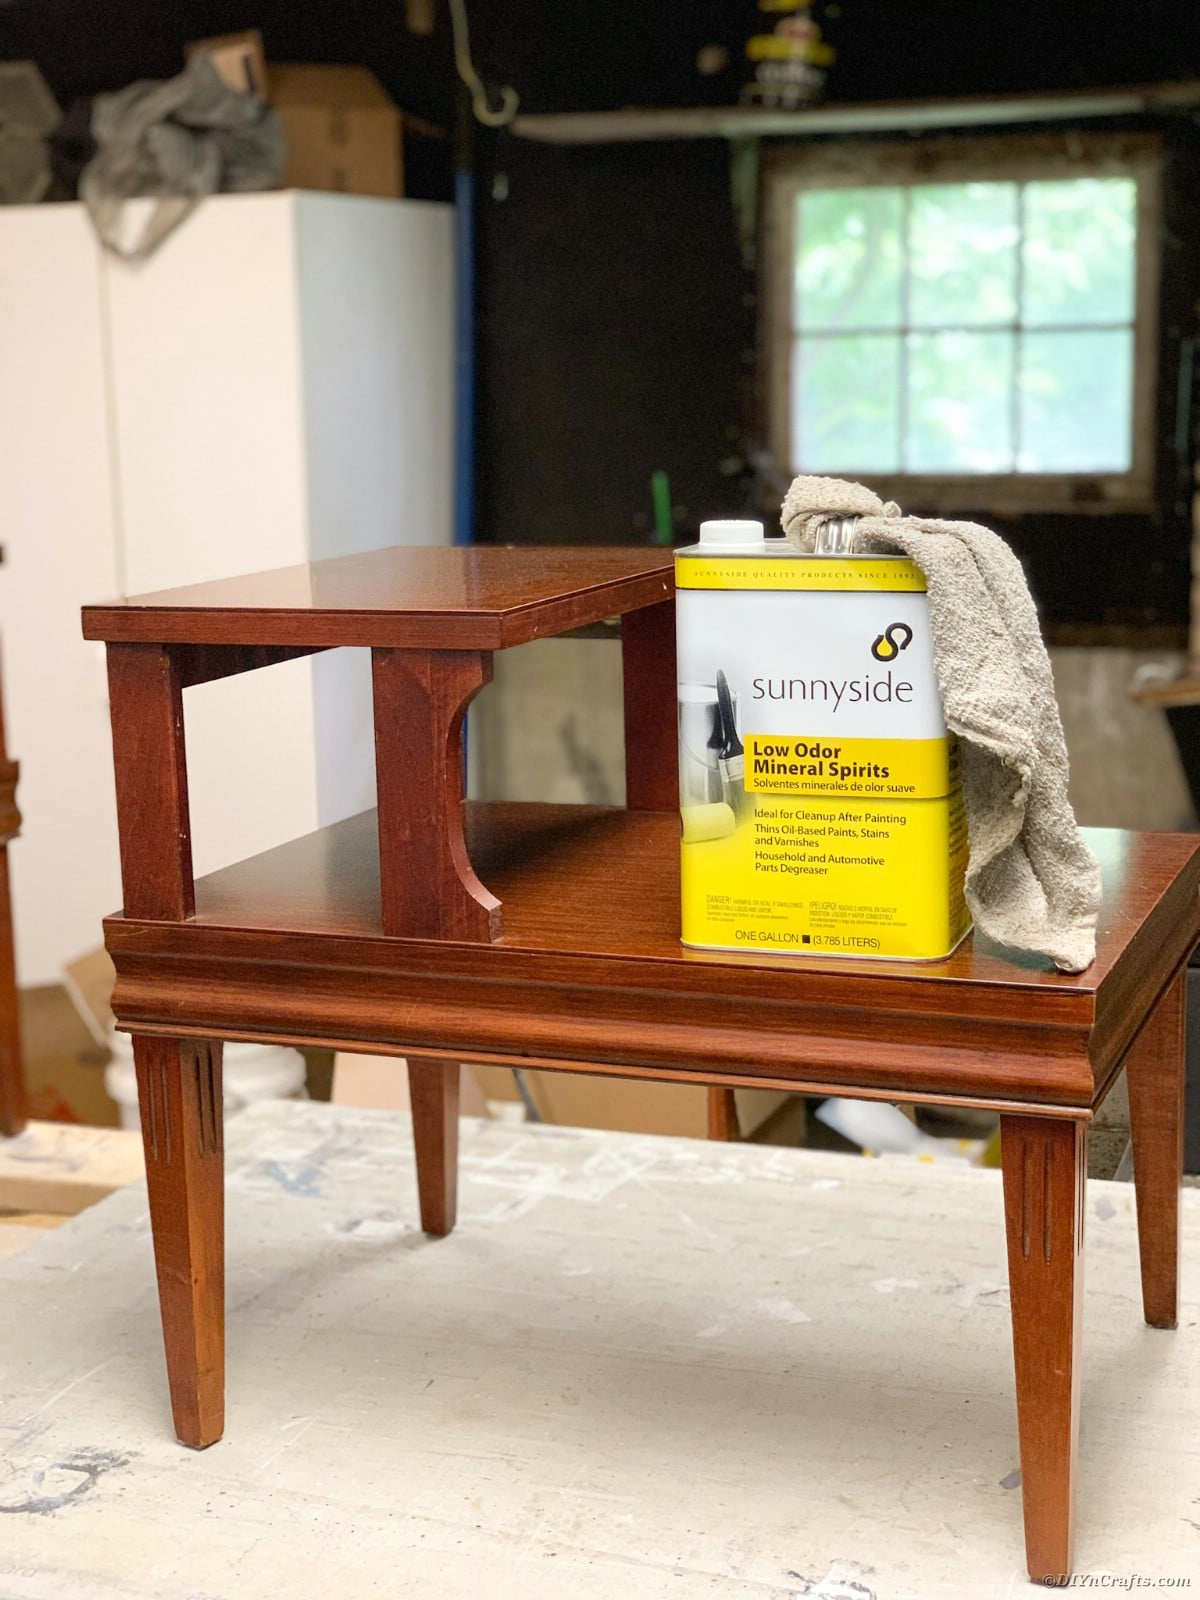
- Take one lint-free cloth and dampen it with mineral spirits. Clean the entire piece of furniture with the spirits to remove any and all debris or oils that may be on the surface. Be sure to wipe down anywhere you will be painting, including the inside of drawers and/or doors. It is advised to wear a mask or be sure you are in a well-ventilated area.
- Sand the entire piece using 220 grit sandpaper. If you have an orbital sander you can use this for the top of your piece and any larger areas to save you time and energy. If not, no worries sanding blocks and regular sandpaper will do just fine.
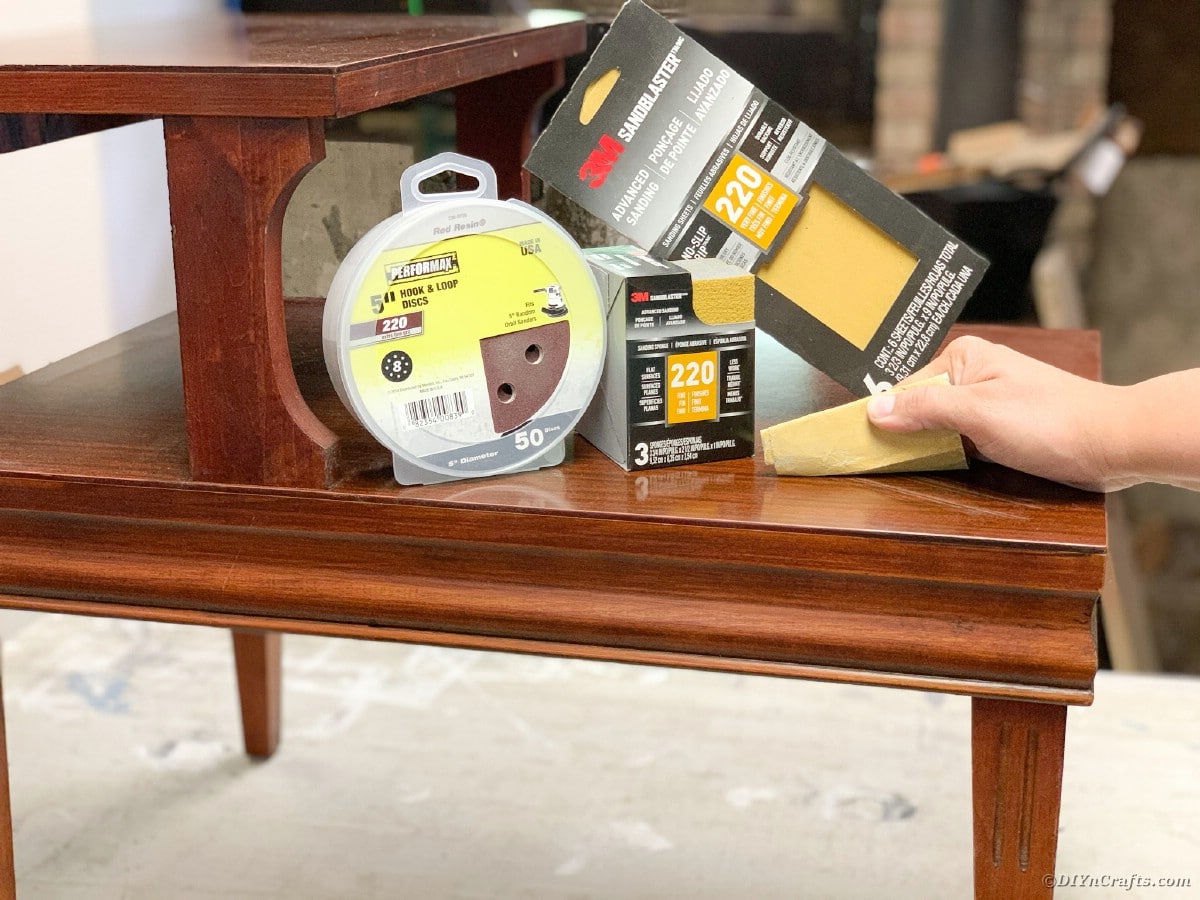
- Be sure to rough up the existing finish to expose the natural wood grain. Smooth out any imperfections and ensure your piece is smooth to the touch. Be careful around any small details. Sanding is all about the pressure you apply. Heavy pressure in areas that have a thick existing finish, light pressure on corners, and areas with detail you do not want to disturb.
- Take another lint-free cloth and remove all dust particles from the sanding process. Take your time, you do not want any lingering particles that will live under your paint. If you have an air compressor gun you will be done in no time. Don’t miss the corners and crevices!
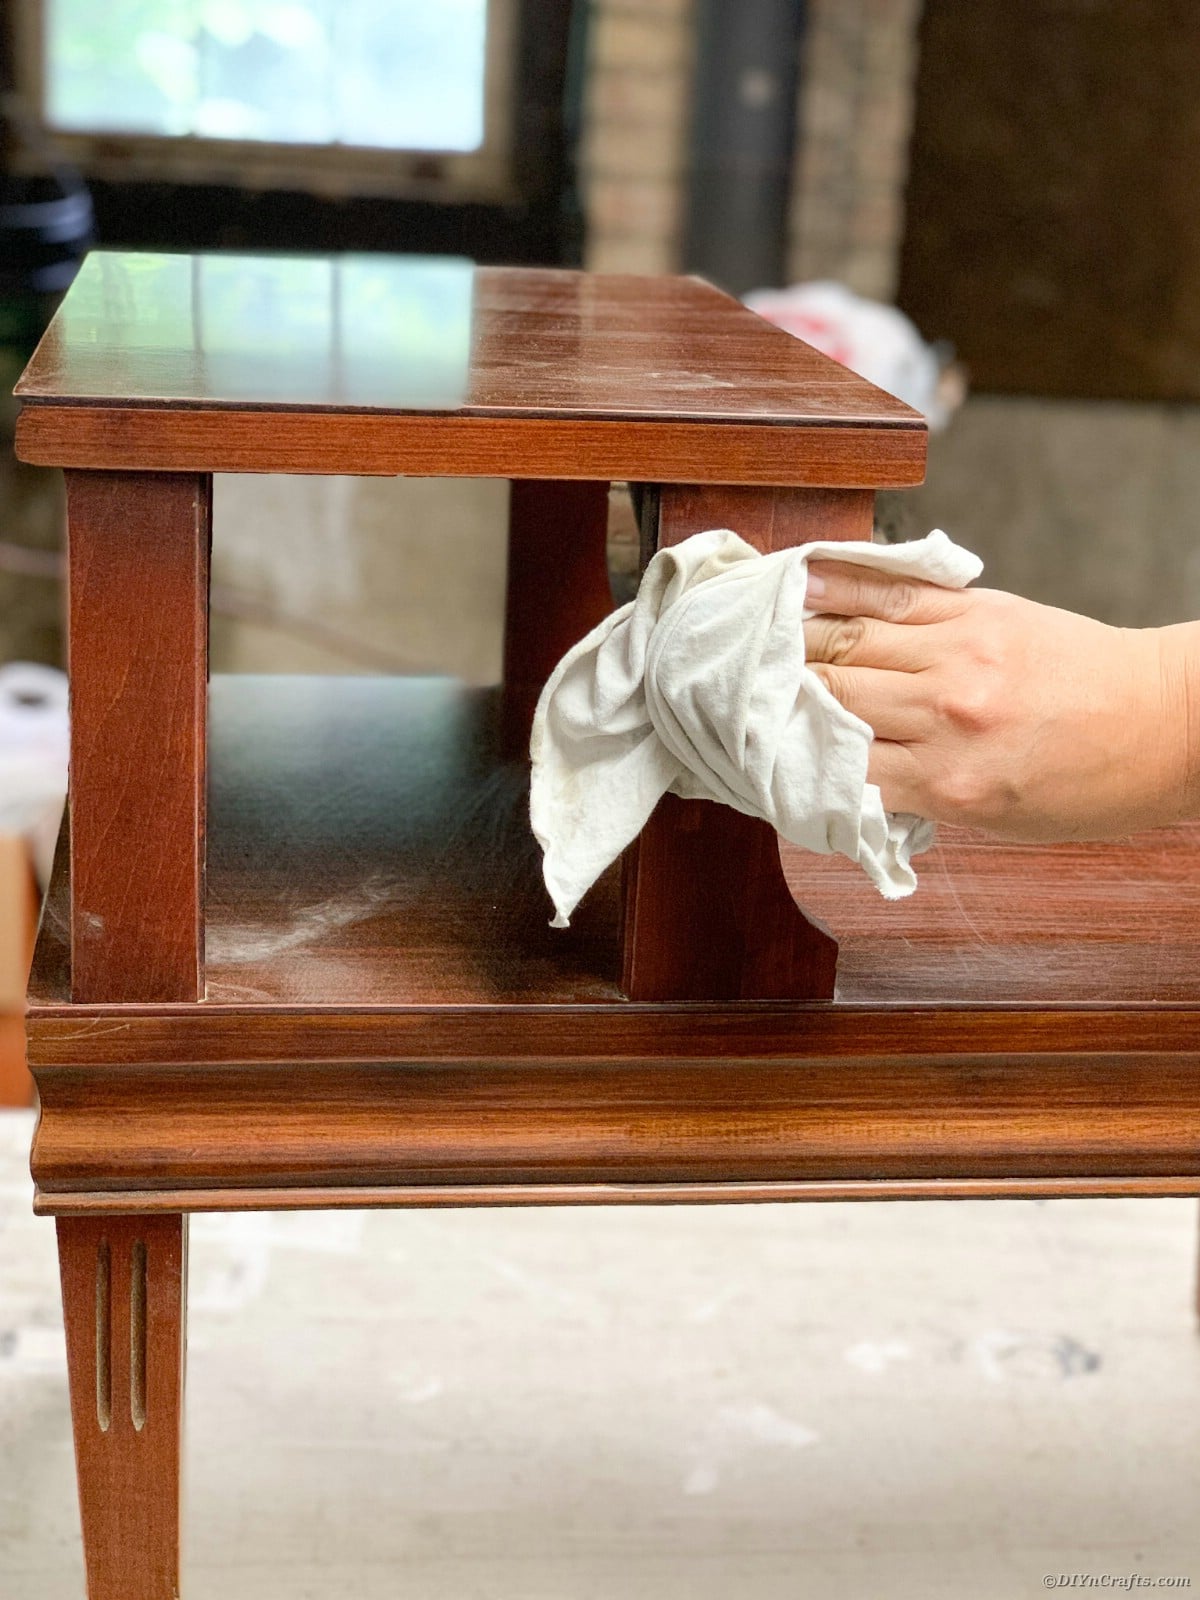
Begin the Painting Process for Your Restoration
After you have everything prepared, you will begin painting or staining the furniture as directed. This is the time when ventilation is important, and covering any tables, flooring, or even your own clothing is vital. The painting process may be simple, but drying and letting items cure does take time. Allow yourself time for this and do not hurry the process.
- Take your wood stick and mix your Rust-Oleum Chalked Aged Gray Paint for 30 seconds.
- Pour Rust-Oleum Chalked, Aged Gray, on to a paper plate. A little goes a long way. Best to add more to your plate as you go to ensure you do not waste.
- Using your Natural Bristle Chalk Paint Brush, coat the bottom of your brush and start painting the top of your piece. Be sure to work the paint in the same direction as the wood grain. Working from top to bottom will help minimize drips. Coat the entire piece. Don’t worry if the paint looks streaky it will all flatten out.
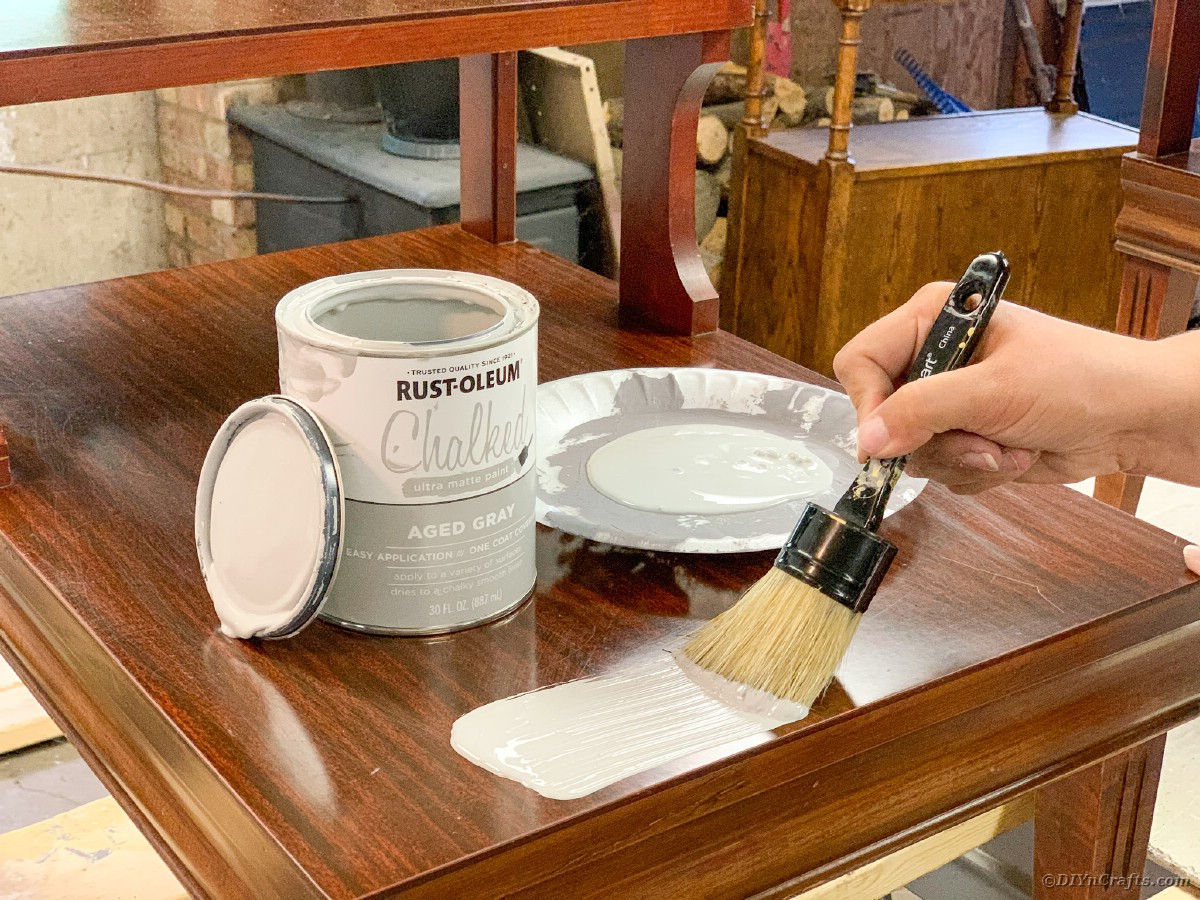
- Let dry for 30 minutes.
- Flip piece (if necessary) and paint underneath with Rust-Oleum Chalked Aged Gray Paint. Be sure to focus on any edges or areas that might be visible to ensure full coverage.
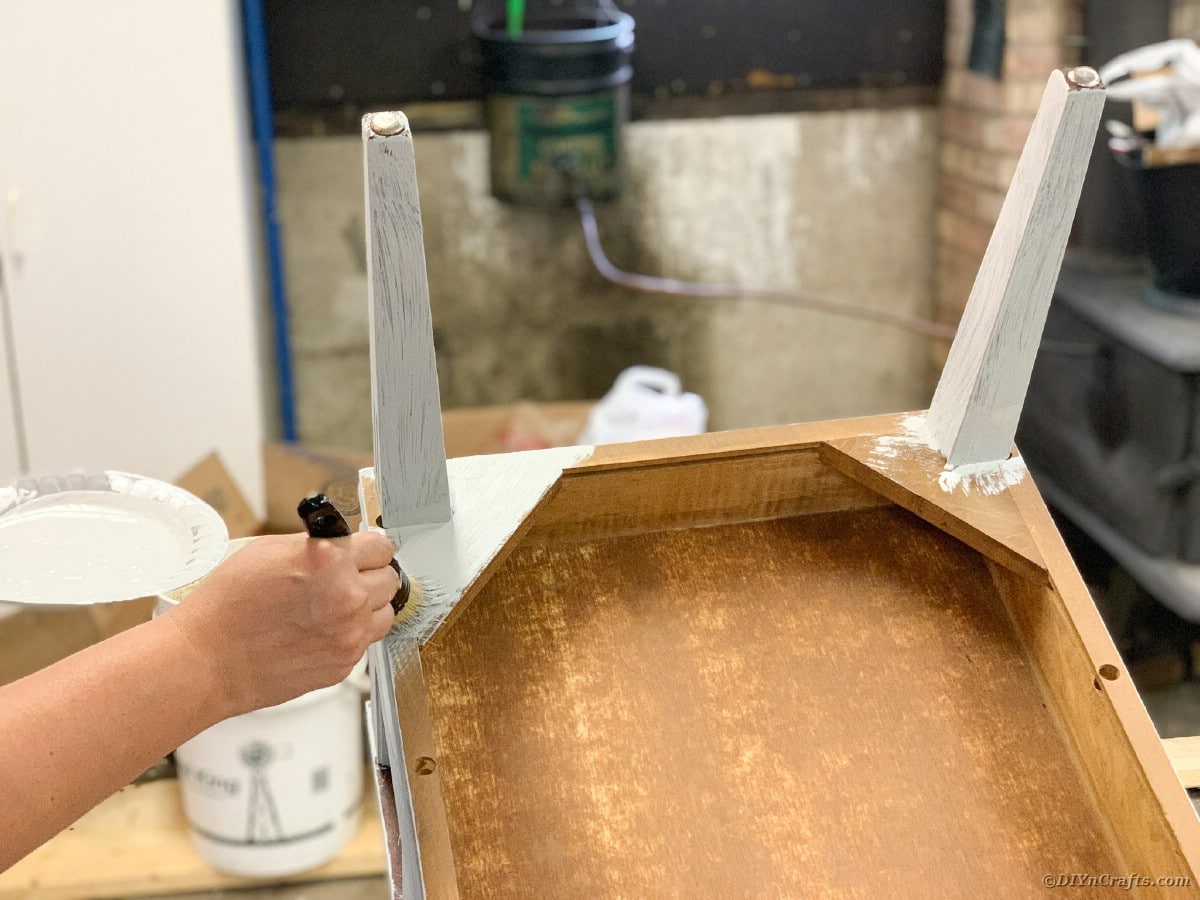
- Let dry for 30 minutes.
- Flip piece to have top of piece parallel with the ceiling.
- Apply a second coat of Rust-Oleum Chalked Aged Gray. Using your Natural Bristle Chalk Paint Brush, coat the bottom of your brush and start painting the top of your piece. Be sure to work the paint in the same direction as the wood grain. Working from top to bottom will help minimize drips. Coat the entire piece. Don’t worry if the paint looks streaky it will all flatten out.
- Let cure for 24 hours (depending on weather and humidity)
- If necessary, using 220 grit sandpaper lightly sand any areas of paint drips or build up.
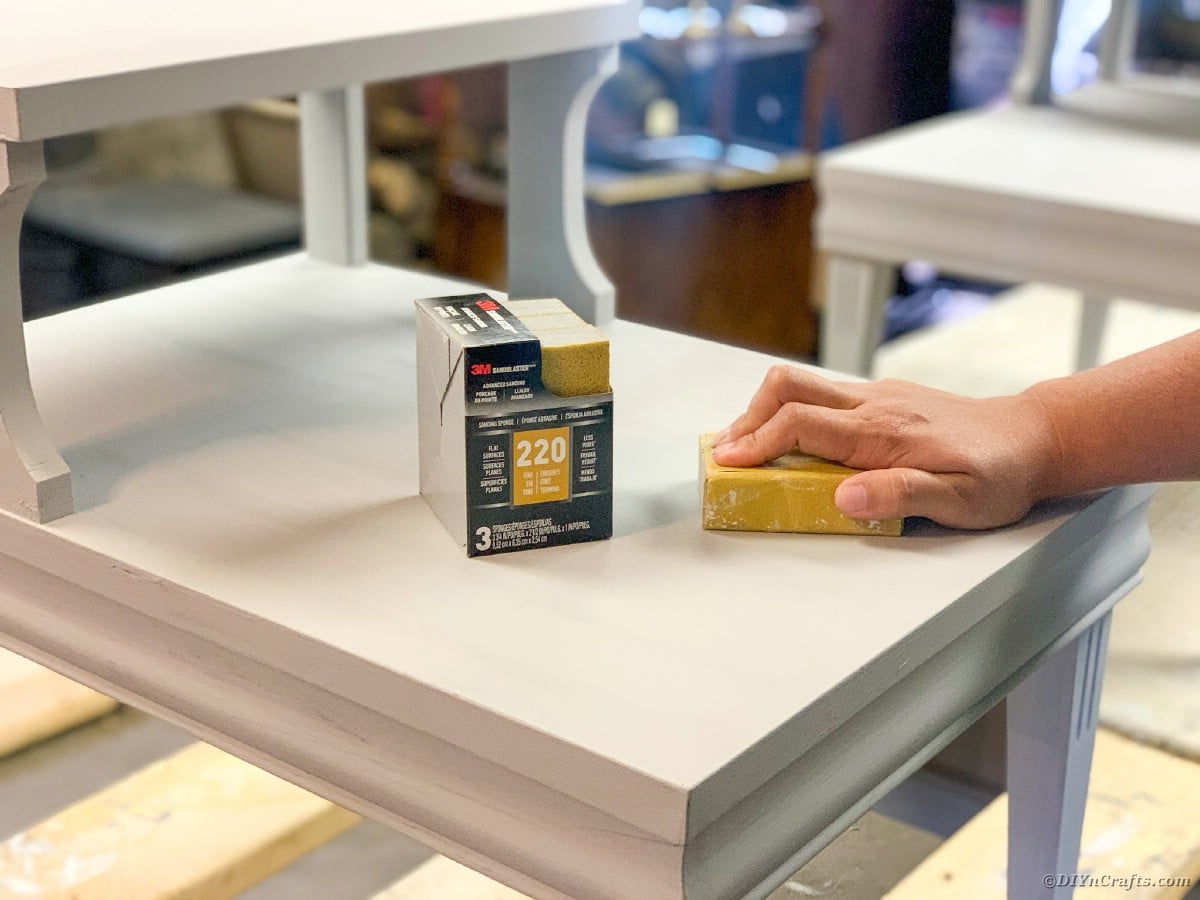
- Using your lint-free dust cloth remove any debris.
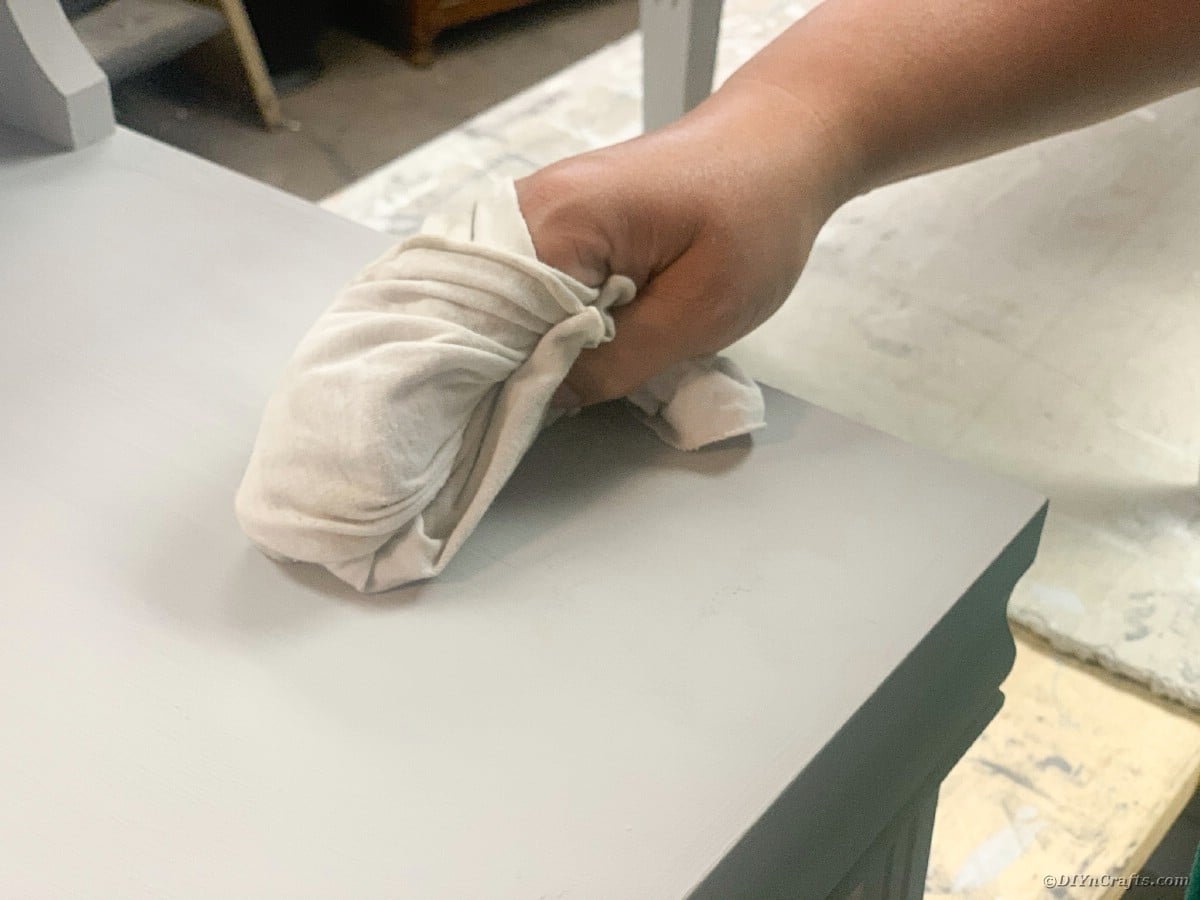
- Shake your Dixie Belle Rebel Yellow Chalk paint for 30 seconds.
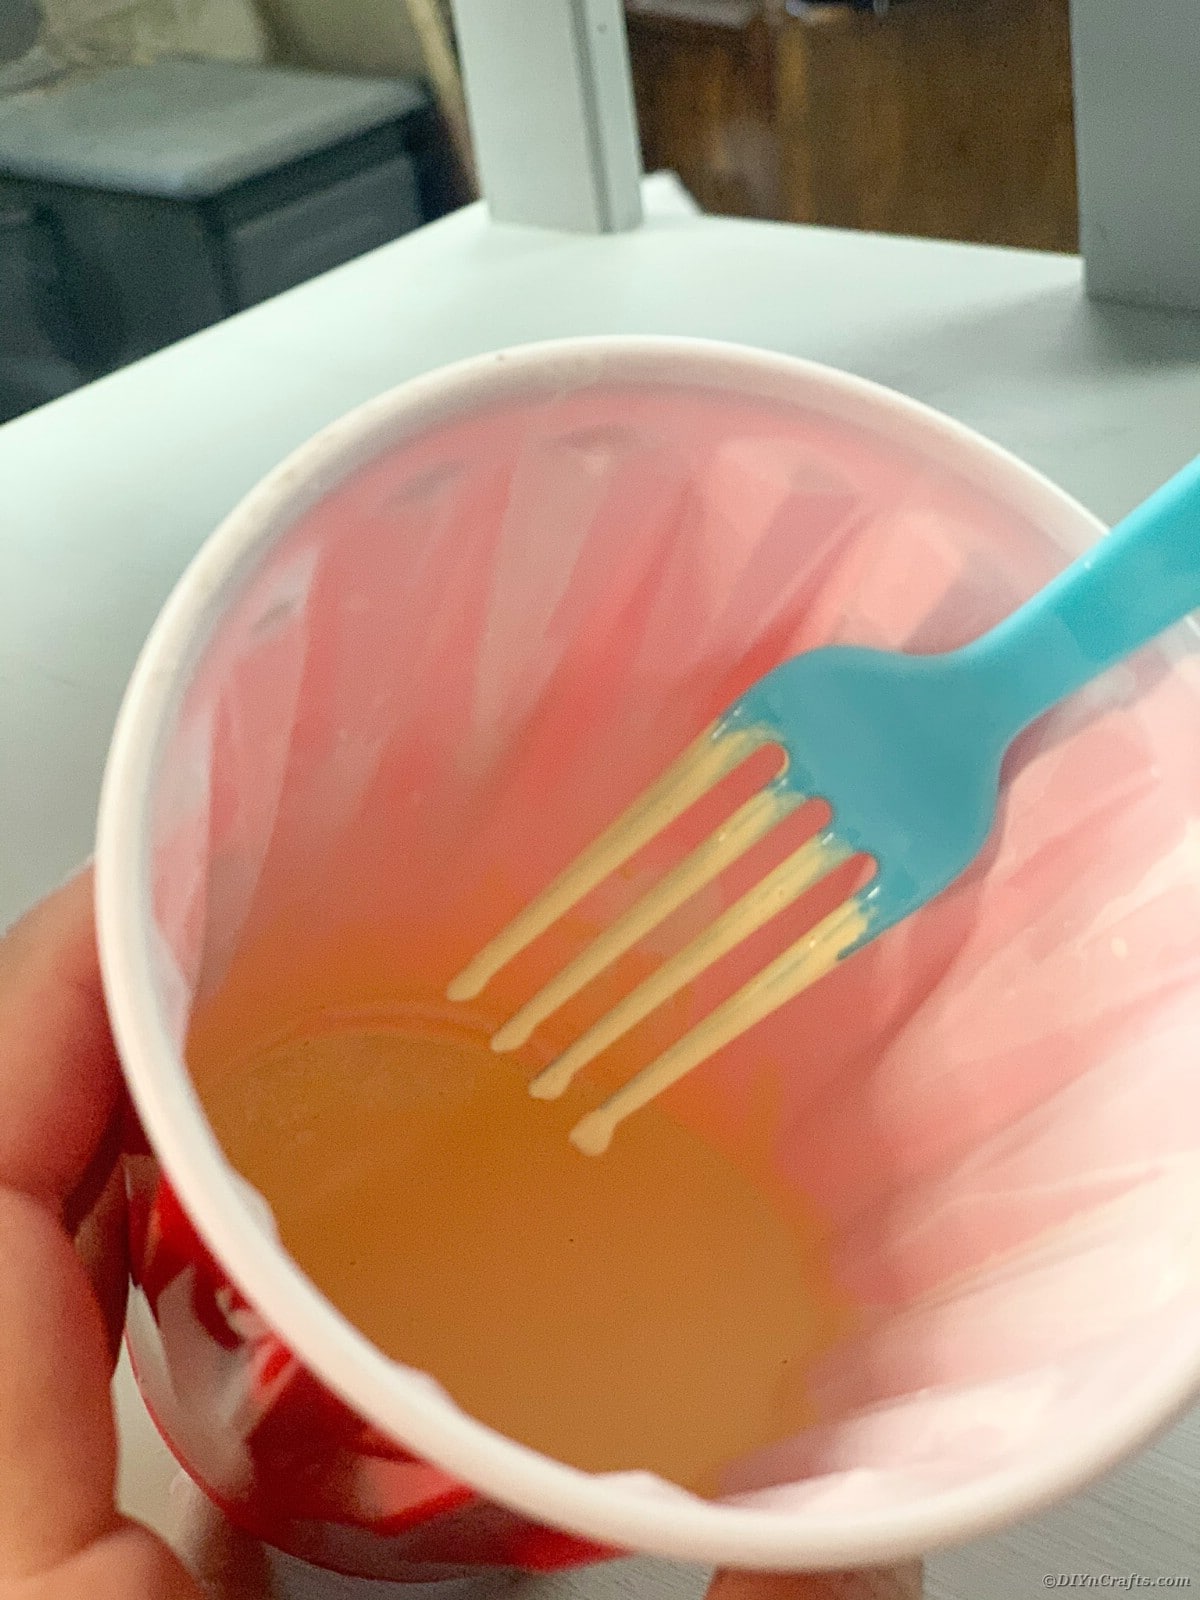
- Pour Dixie Belle Rebel Yellow and water using a 50/50 ratio into a solo cup. Mix thoroughly with a plastic fork.
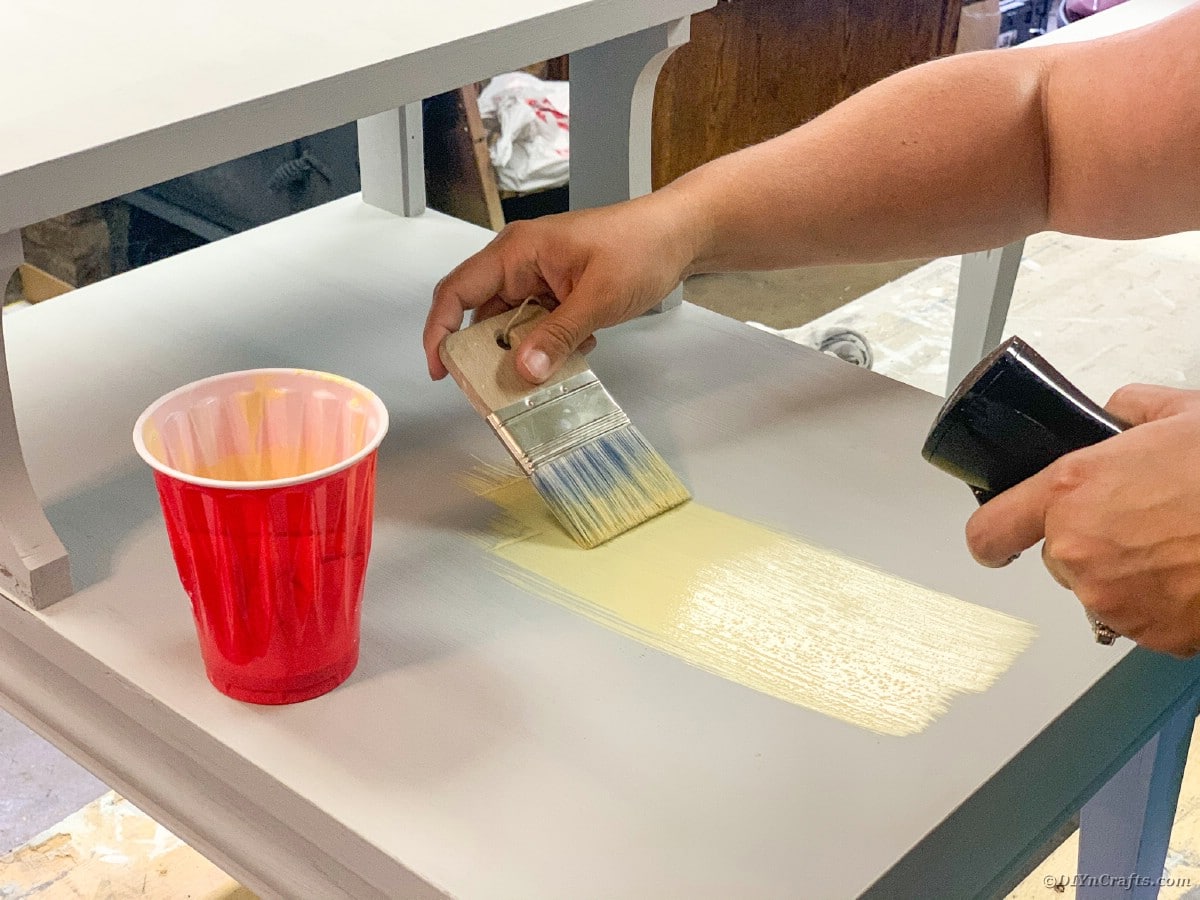
- It’s time to begin your Yellowwash. Using your natural bristle chip brush, coat the bottom of your brush and start painting the top of your piece. Paint in the same direction as the wood grain. Work from top to bottom. Be sure to use light strokes and long strokes. Mist your paint with your misting spray bottle to keep the paint moving over your piece as it starts to dry. Move the paint with your misting spray bottle as much as you can before adding more of the Yellowwash.
- Let dry for 30 minutes.
- Flip piece and Yellowwash the underneath with Dixie Belle Rebel Yellow Chalk paint and water 50/50 ratio. Be sure to focus on any edges or areas that might be visible to ensure full coverage.
- Let Cure for 24 hours.
Add the Finishing Touches to Your End Table Restoration
The final additions to your tables or furniture are different with every project. This one includes some extra steps we don’t always have on our projects, so pay attention to the details and remember that this is the final step to make your project truly your own.
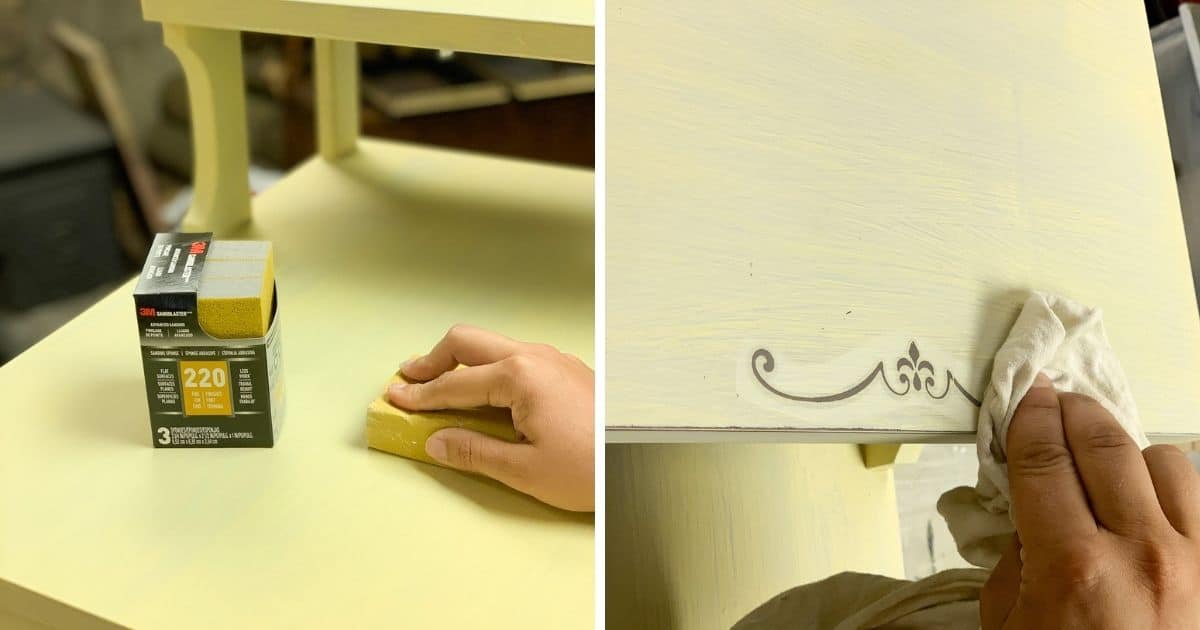
- Using 220 grit sandpaper lightly sand the entire piece. Corners, legs, and drawers are a great place to distress. A heavy distressing technique was used with this piece, as we only wanted a faint yellow hue.
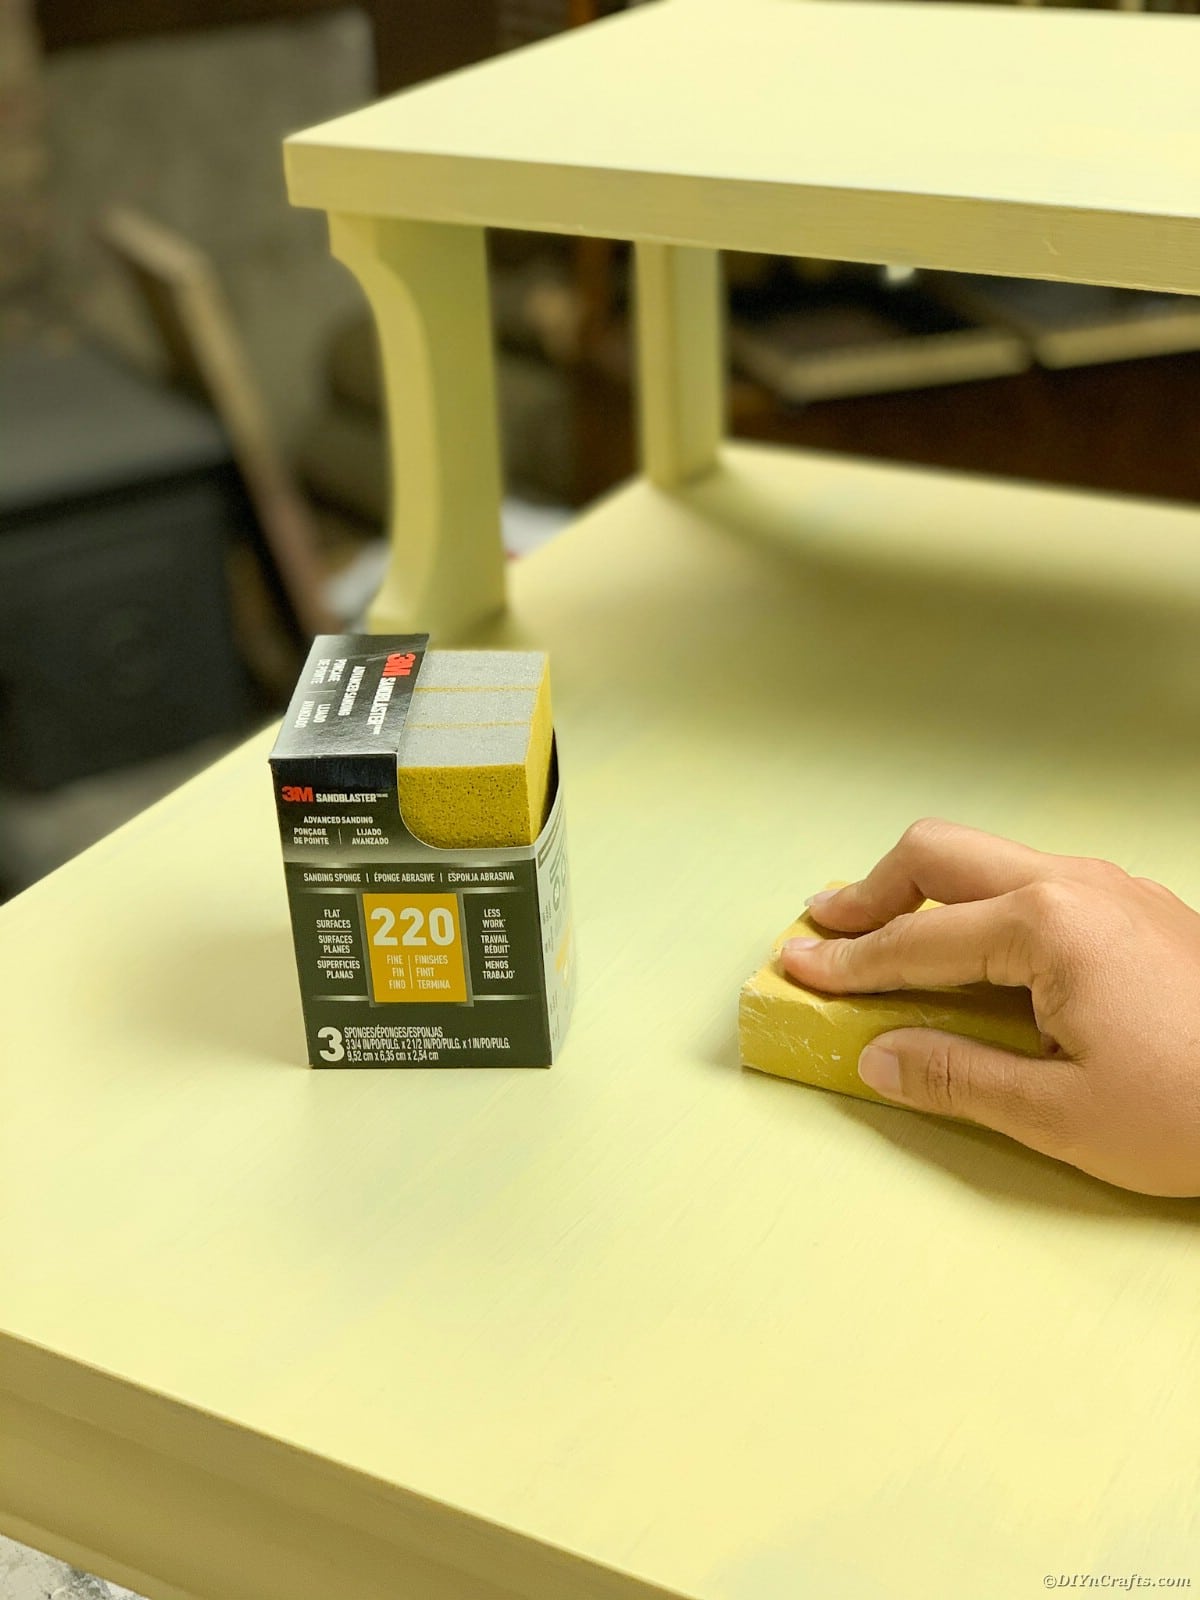
- Take your dusting lint-free cloth and remove all dust particles from the sanding process.
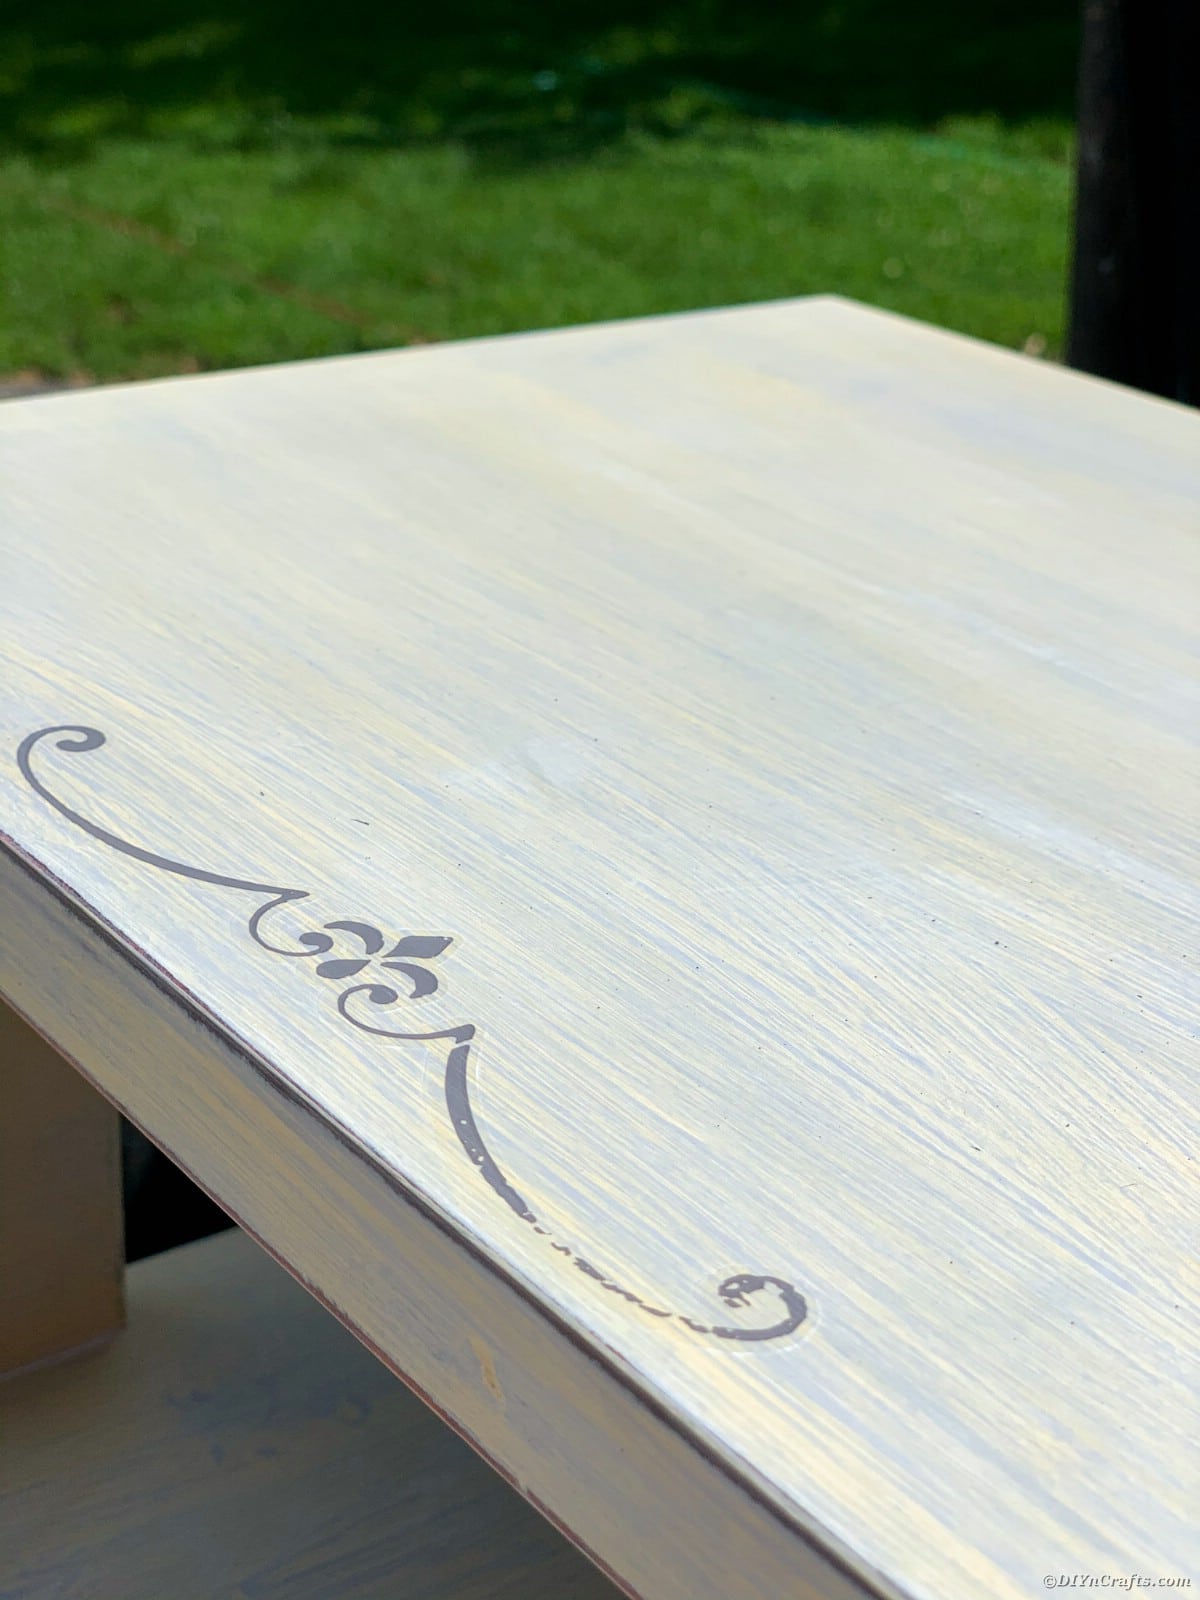
- Time to apply the Re-Design with Prima furniture transfer. Place the tube in the refrigerator for 15 minutes. Doing this before applying is a hot tip to ensure your transfer will release from the backing and have a smooth finish.
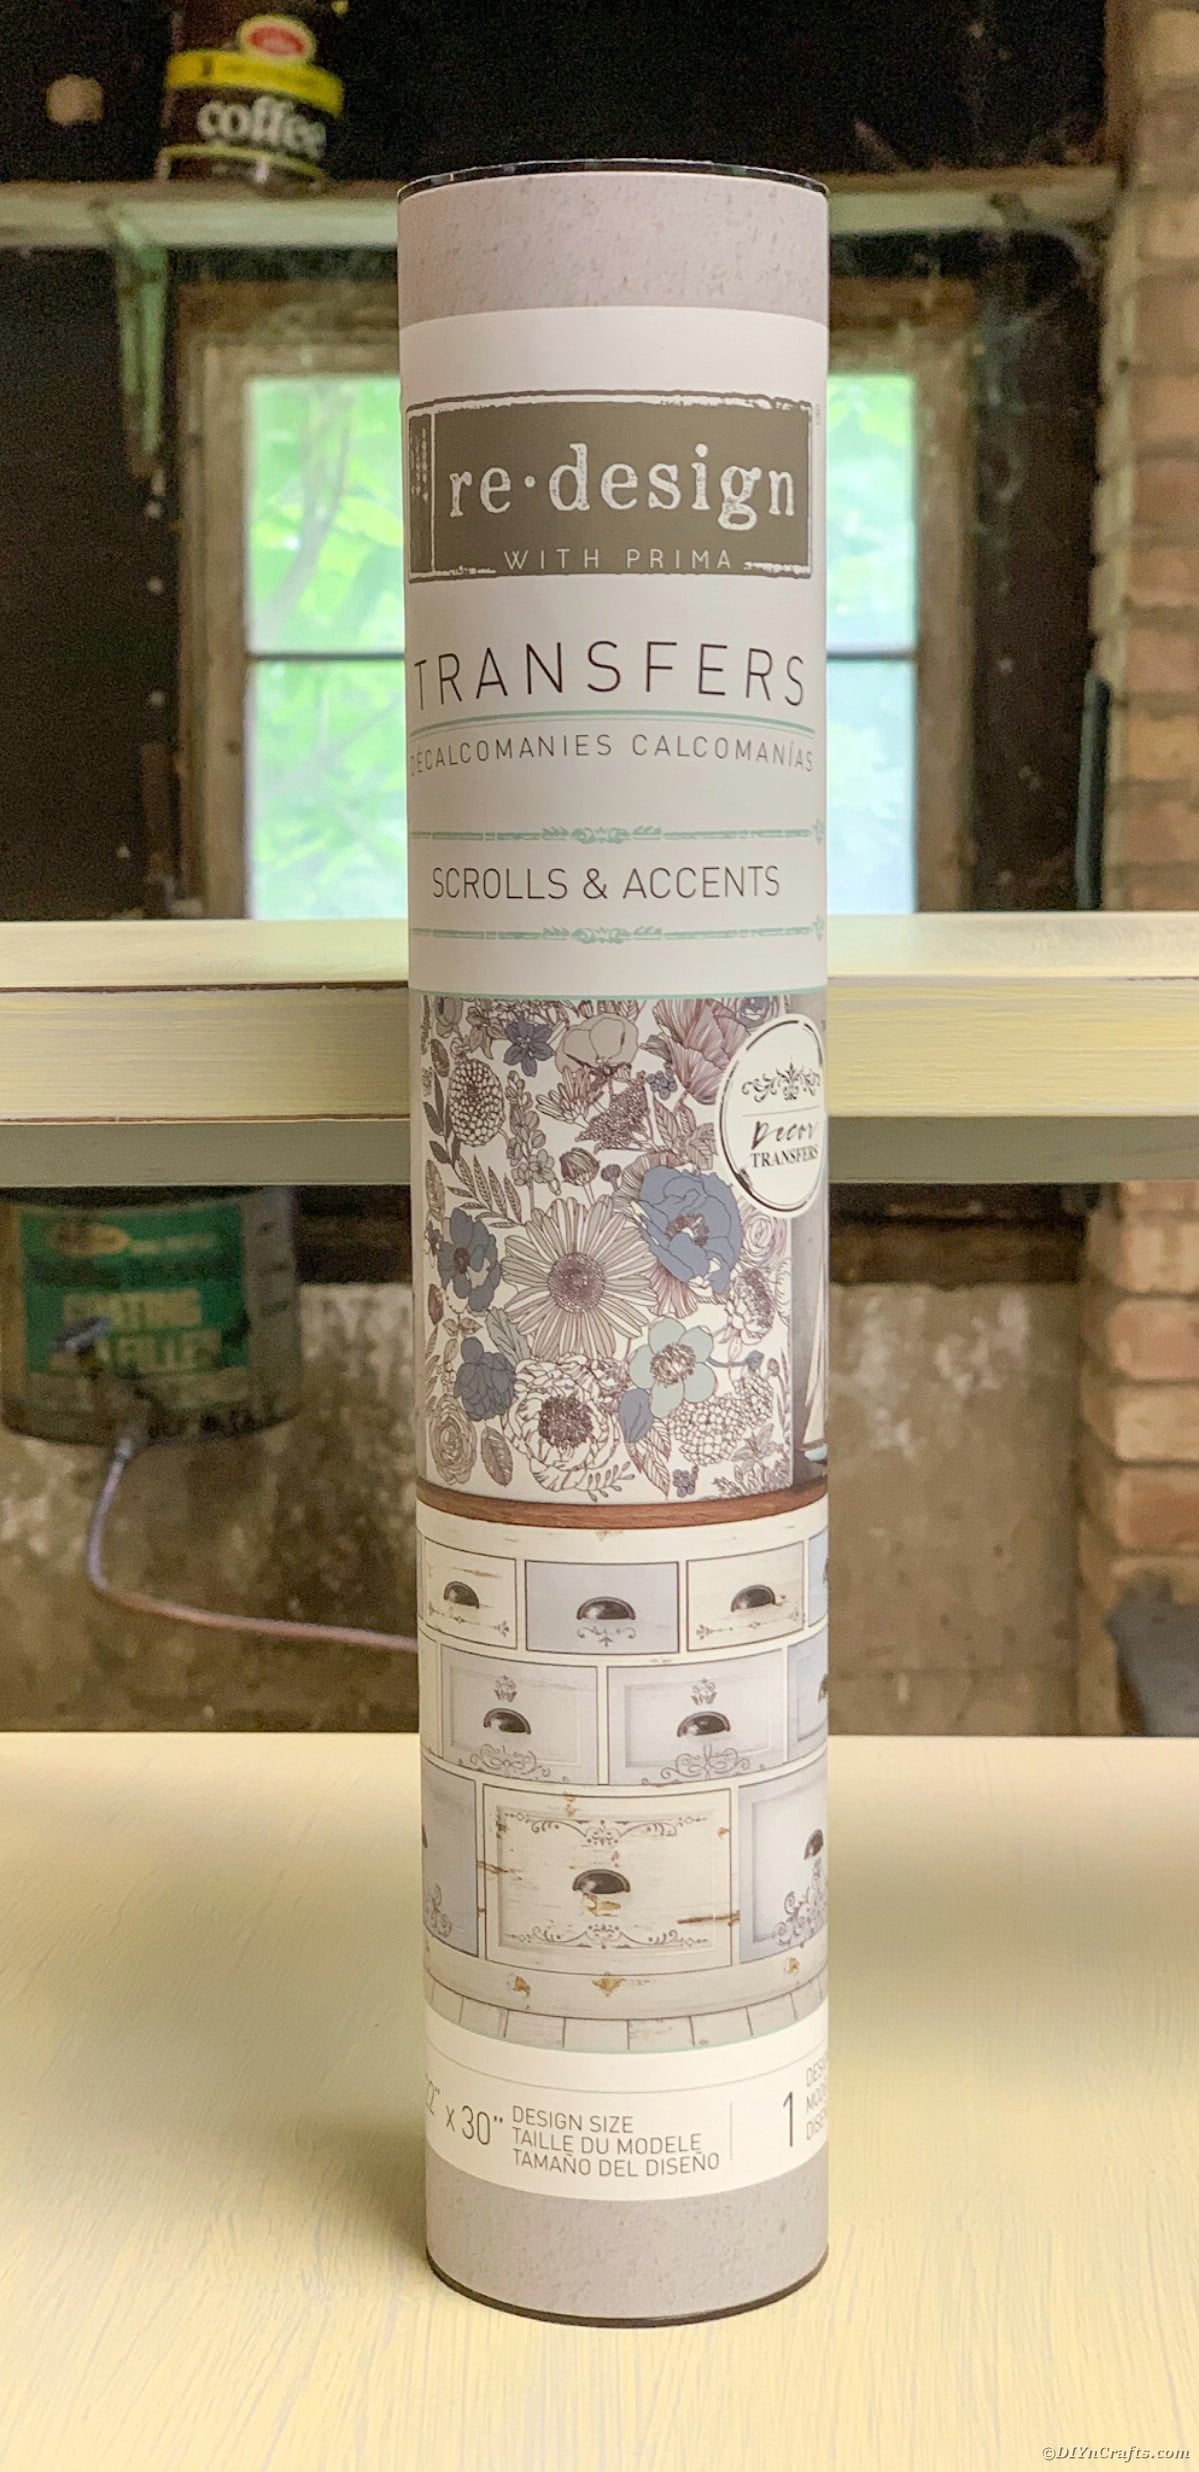
- Remove the tube from the refrigerator and select which of the scrolls and accents you want to use.
- Using your scissors cut through the plastic and the backing. Keep both pieces together while cutting. Protect the accent at all times. Cut just the transfer that you will be using.
- Measure your piece and ensure that where you will place the transfer will be centered or even wherever you choose to place it! Measure twice and be sure you like the positioning because once it’s placed it can not be moved.
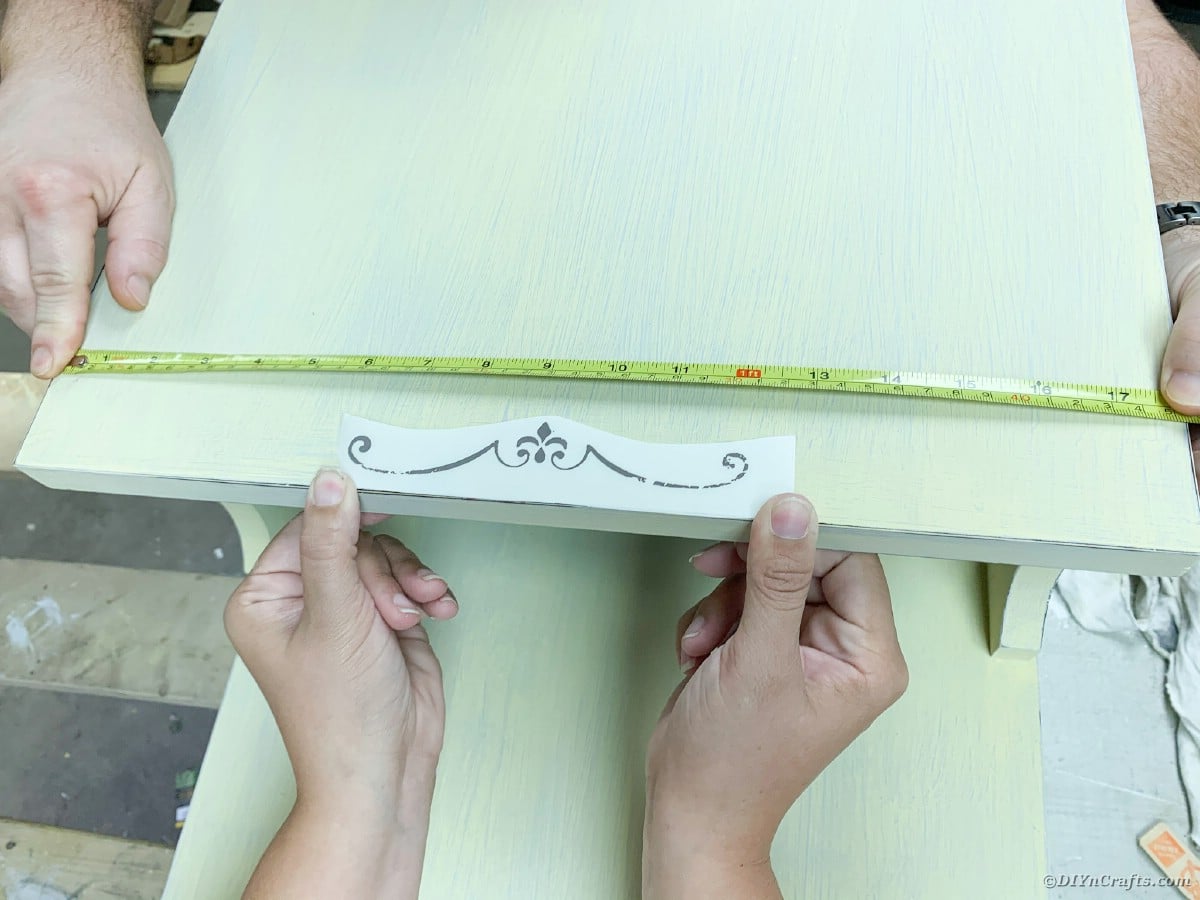
- Remove the paper backing on one side of the transfer. Lay the transfer directly to the wood. Slowly remove the rest of the backing until the transfer stands alone.
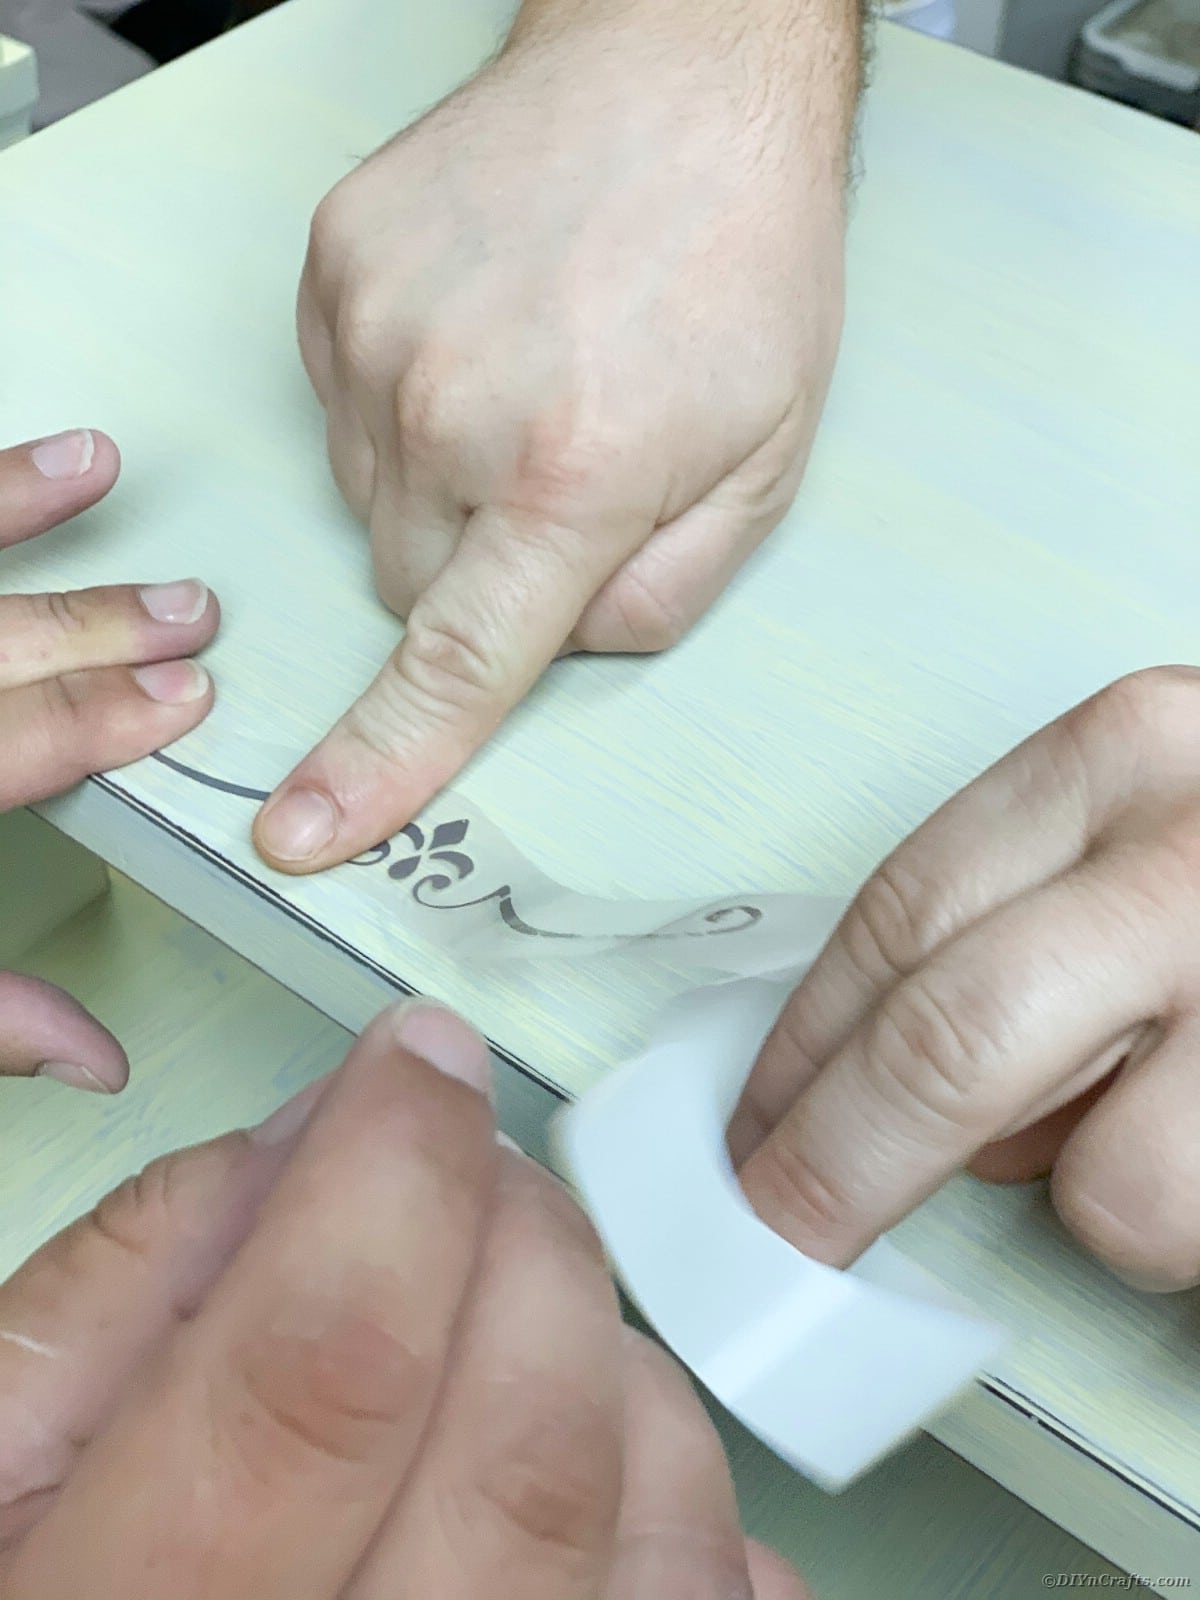
- Using the wood stick provided by Re-Designs carefully press the transfer into the wood. Lightly scrape it in all directions.
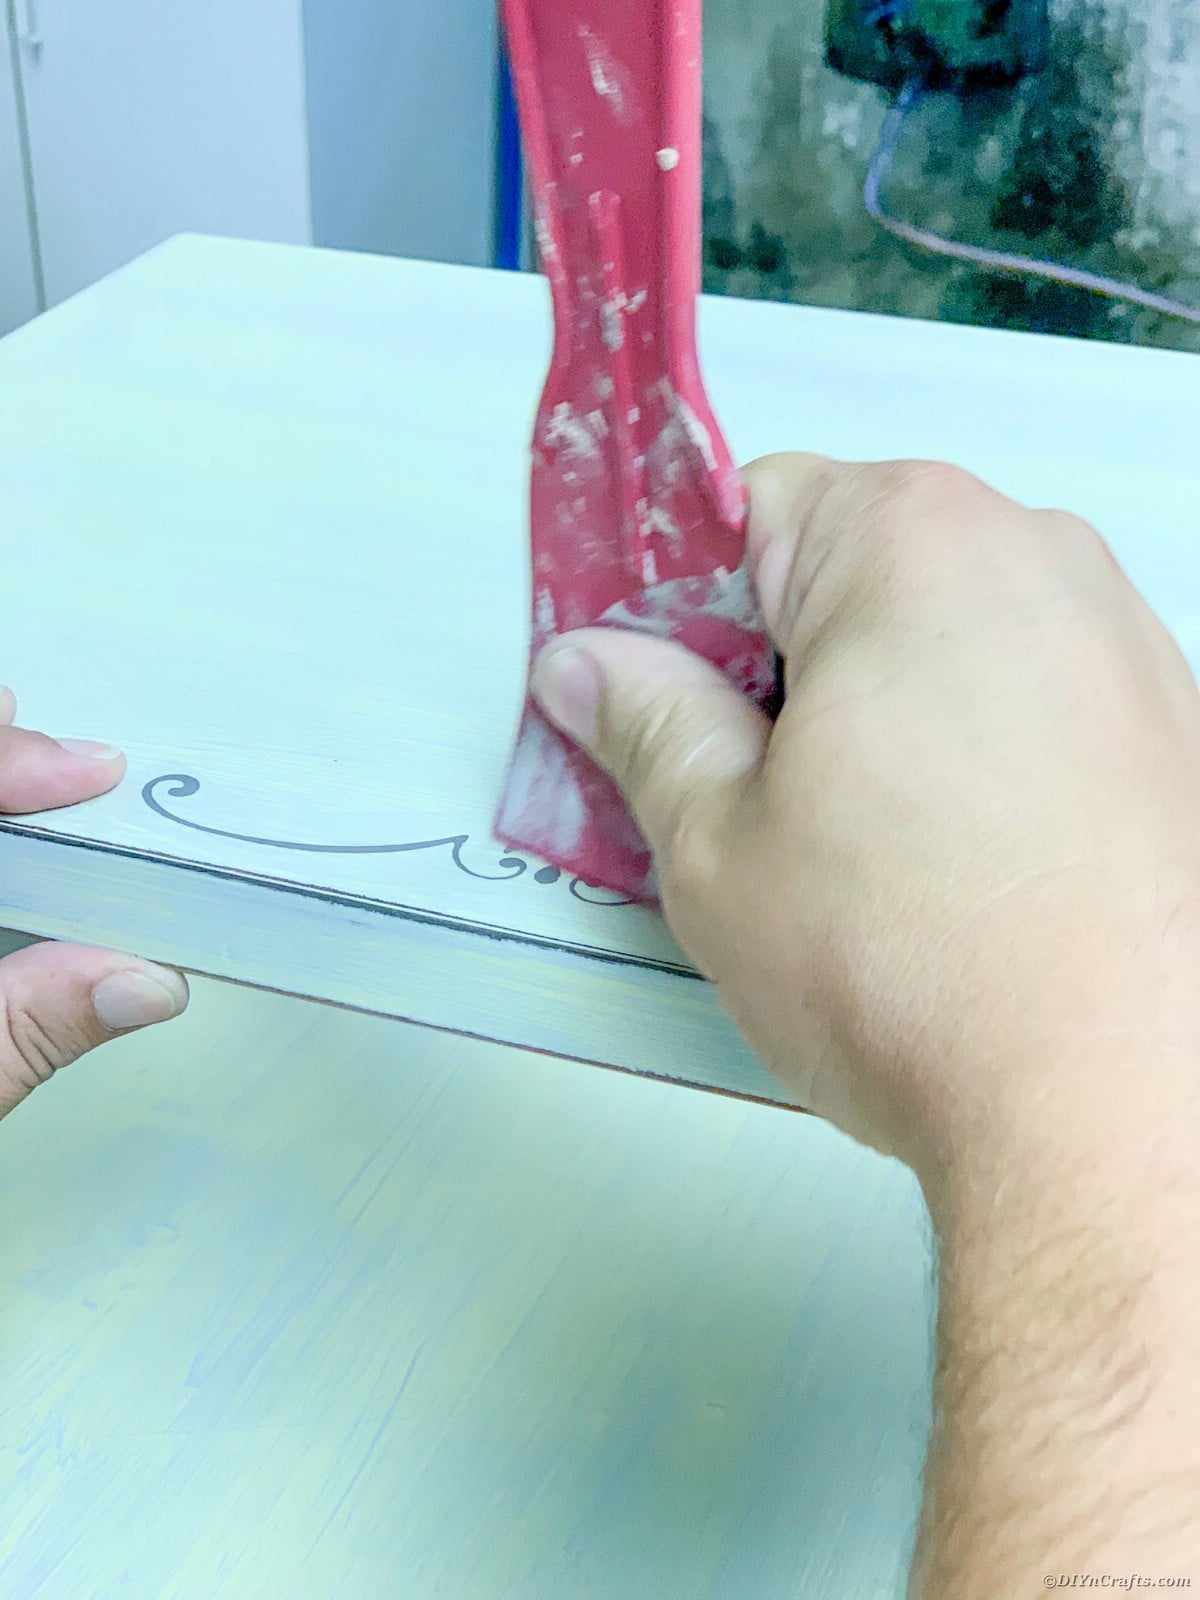
- Take a lint-free dust cloth and press the transfer into the wood while the plastic is still on top of the transfer.
- Begin to remove the plastic. Go slowly. If you see part of the transfer did not adhere, press the plastic back down and use your wood stick and try again. Then try to remove the plastic until your transfer has fully adhered.
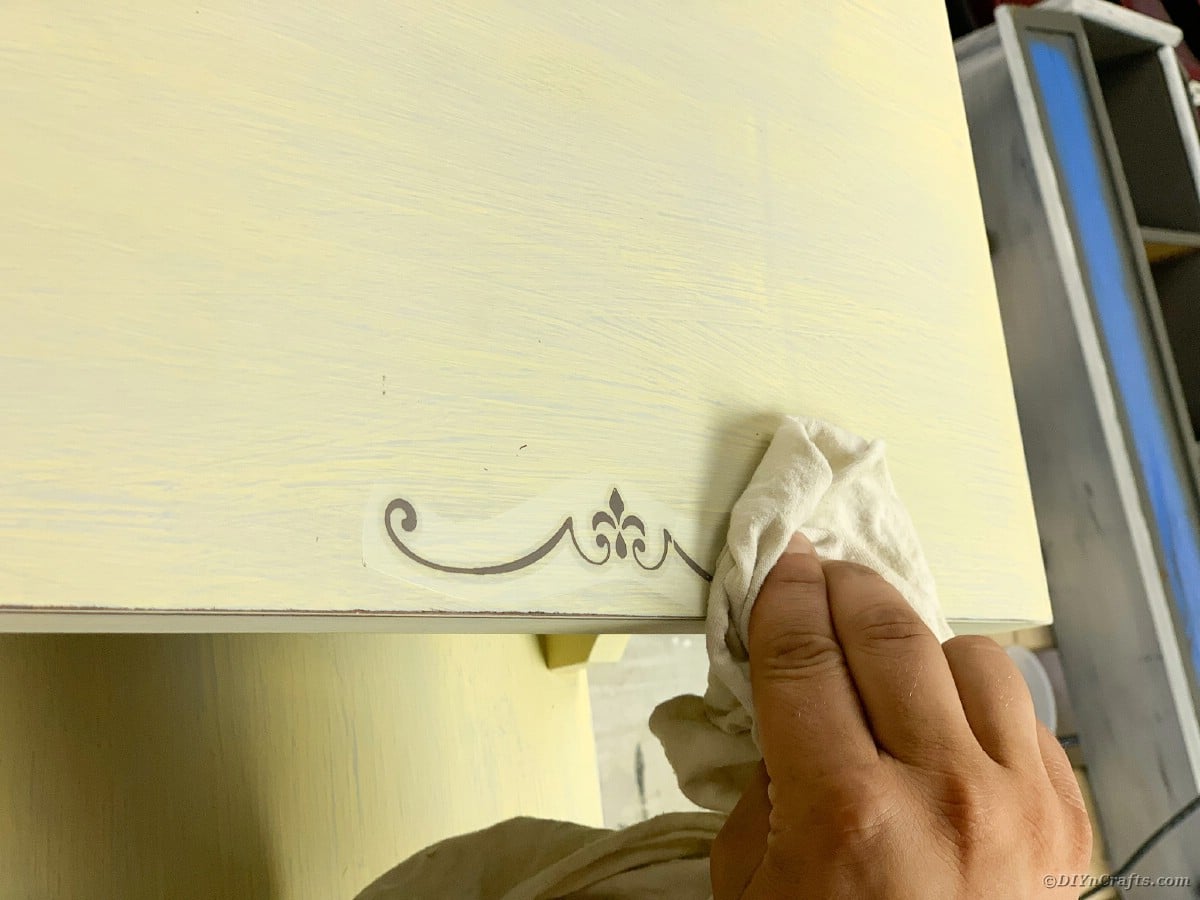
- Set a timer for 15 minutes. Start the timer when you begin the next step.
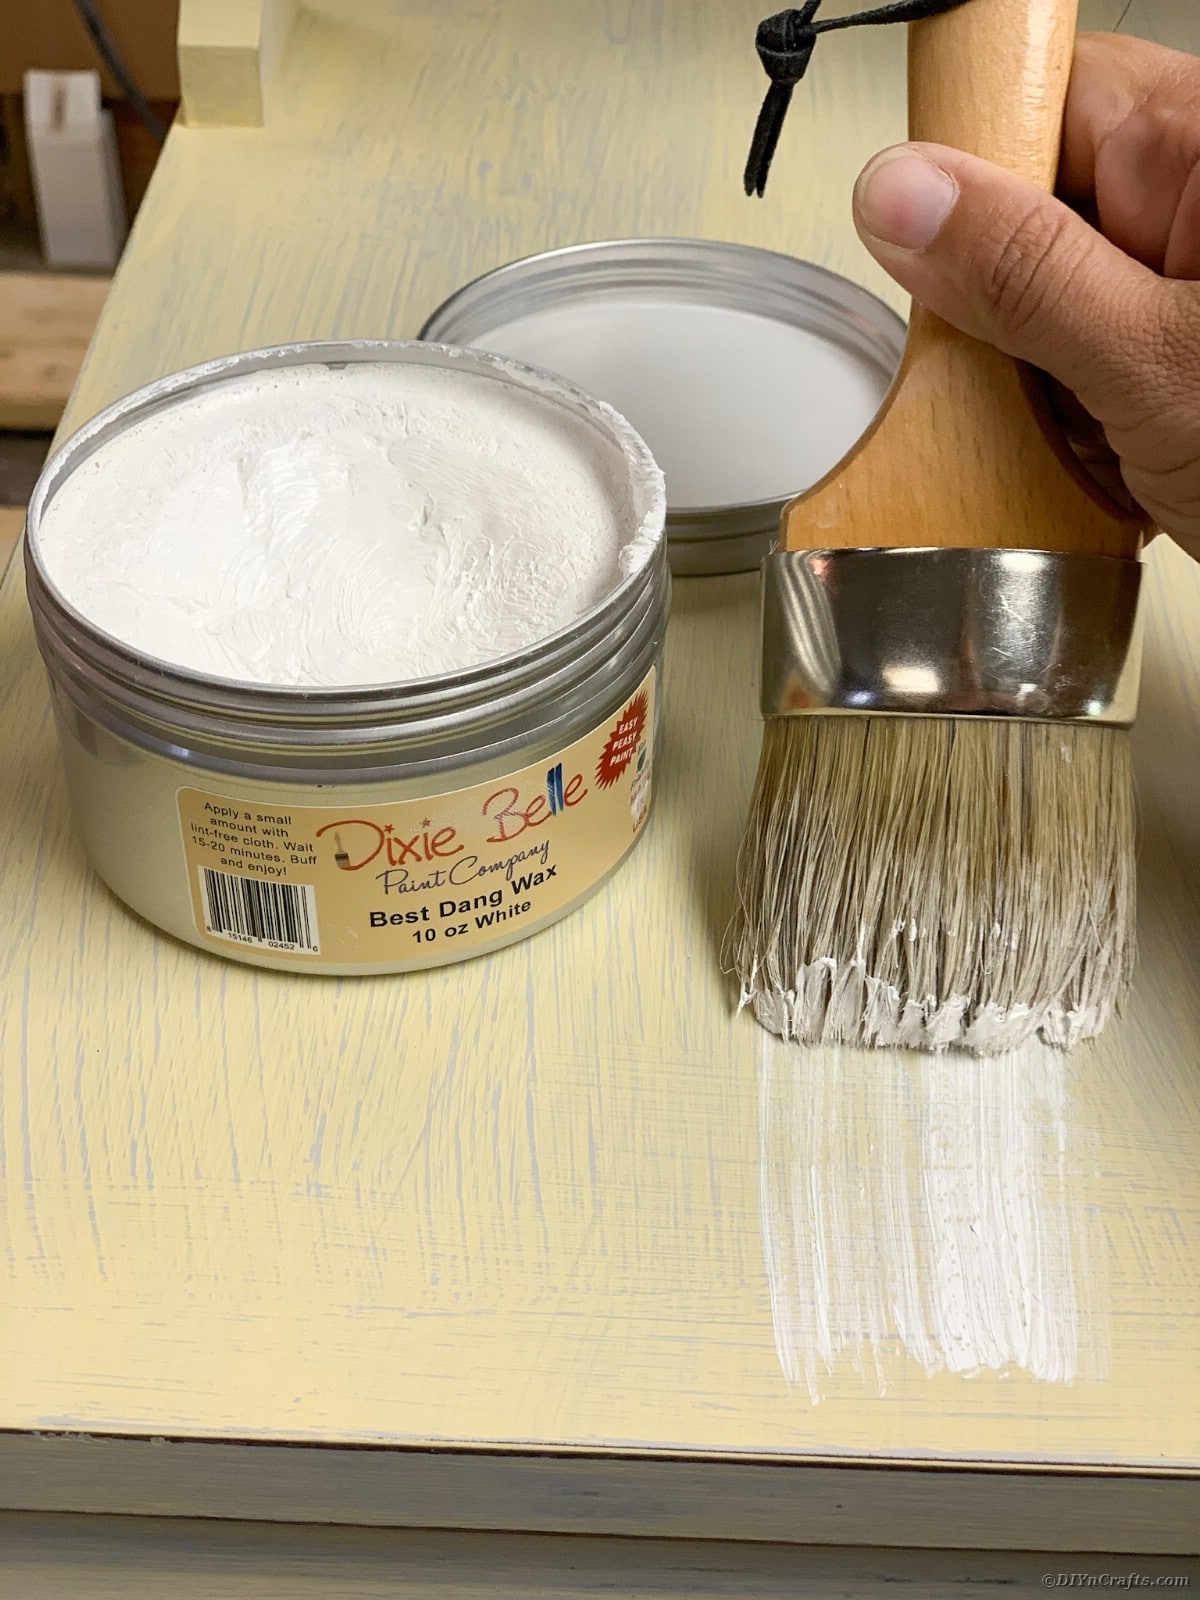
- Using your natural bristle wax brush and Dixie Belle Best Dang White Wax apply a thin coat to the entire piece. You can dip your brush right into the tin. Remember to apply a thin coat, including over the transfer. Work quickly.
- Once the timer goes off you can start to rub in your wax. Work in the area that you applied to first. Using your last lint-free cloth rub your wax into your piece. Be sure to rub in all directions and press the wax into the wood. Be gentle around your transfer. The wax will seal the transfer to ensure your accent will last. If you’re not sweating you’re not doing it right. This takes elbow grease.
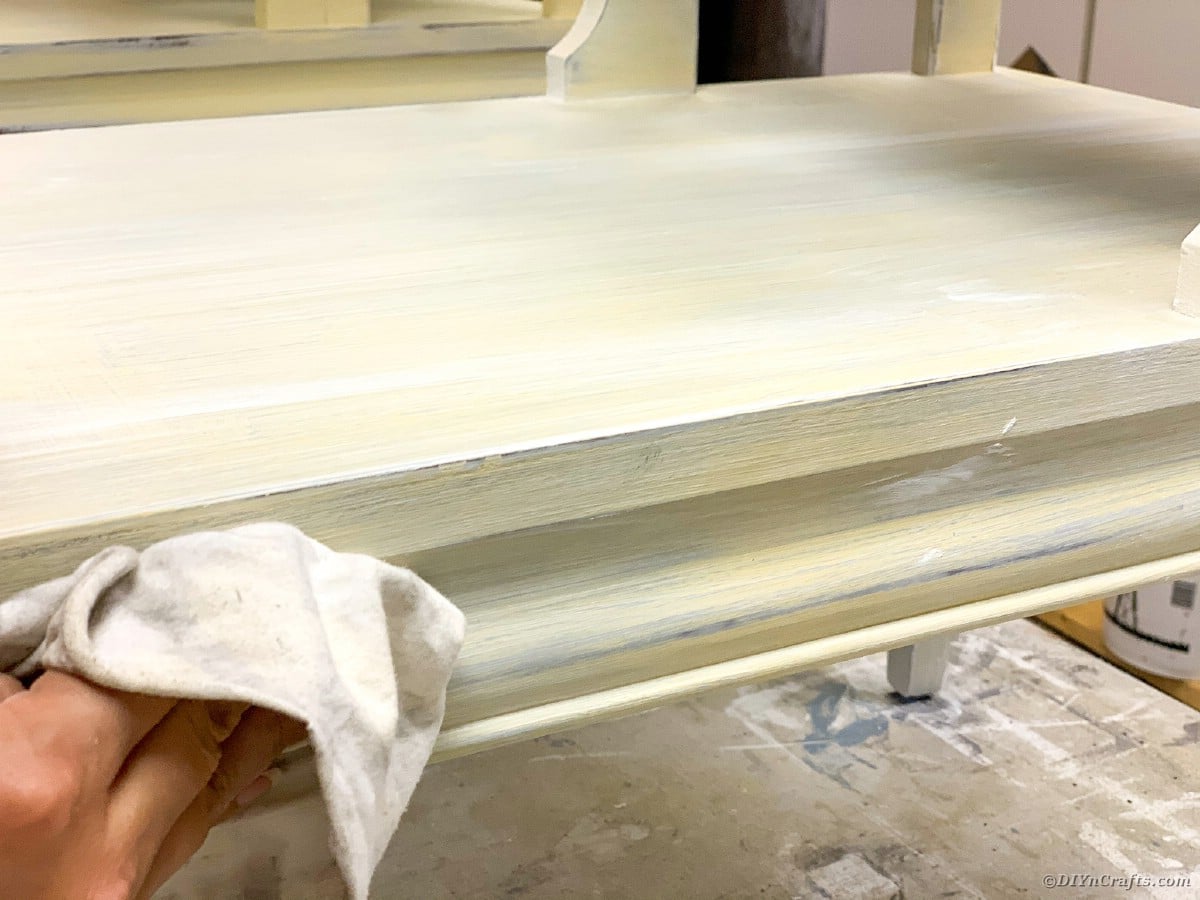
- Let dry for 1 hour.
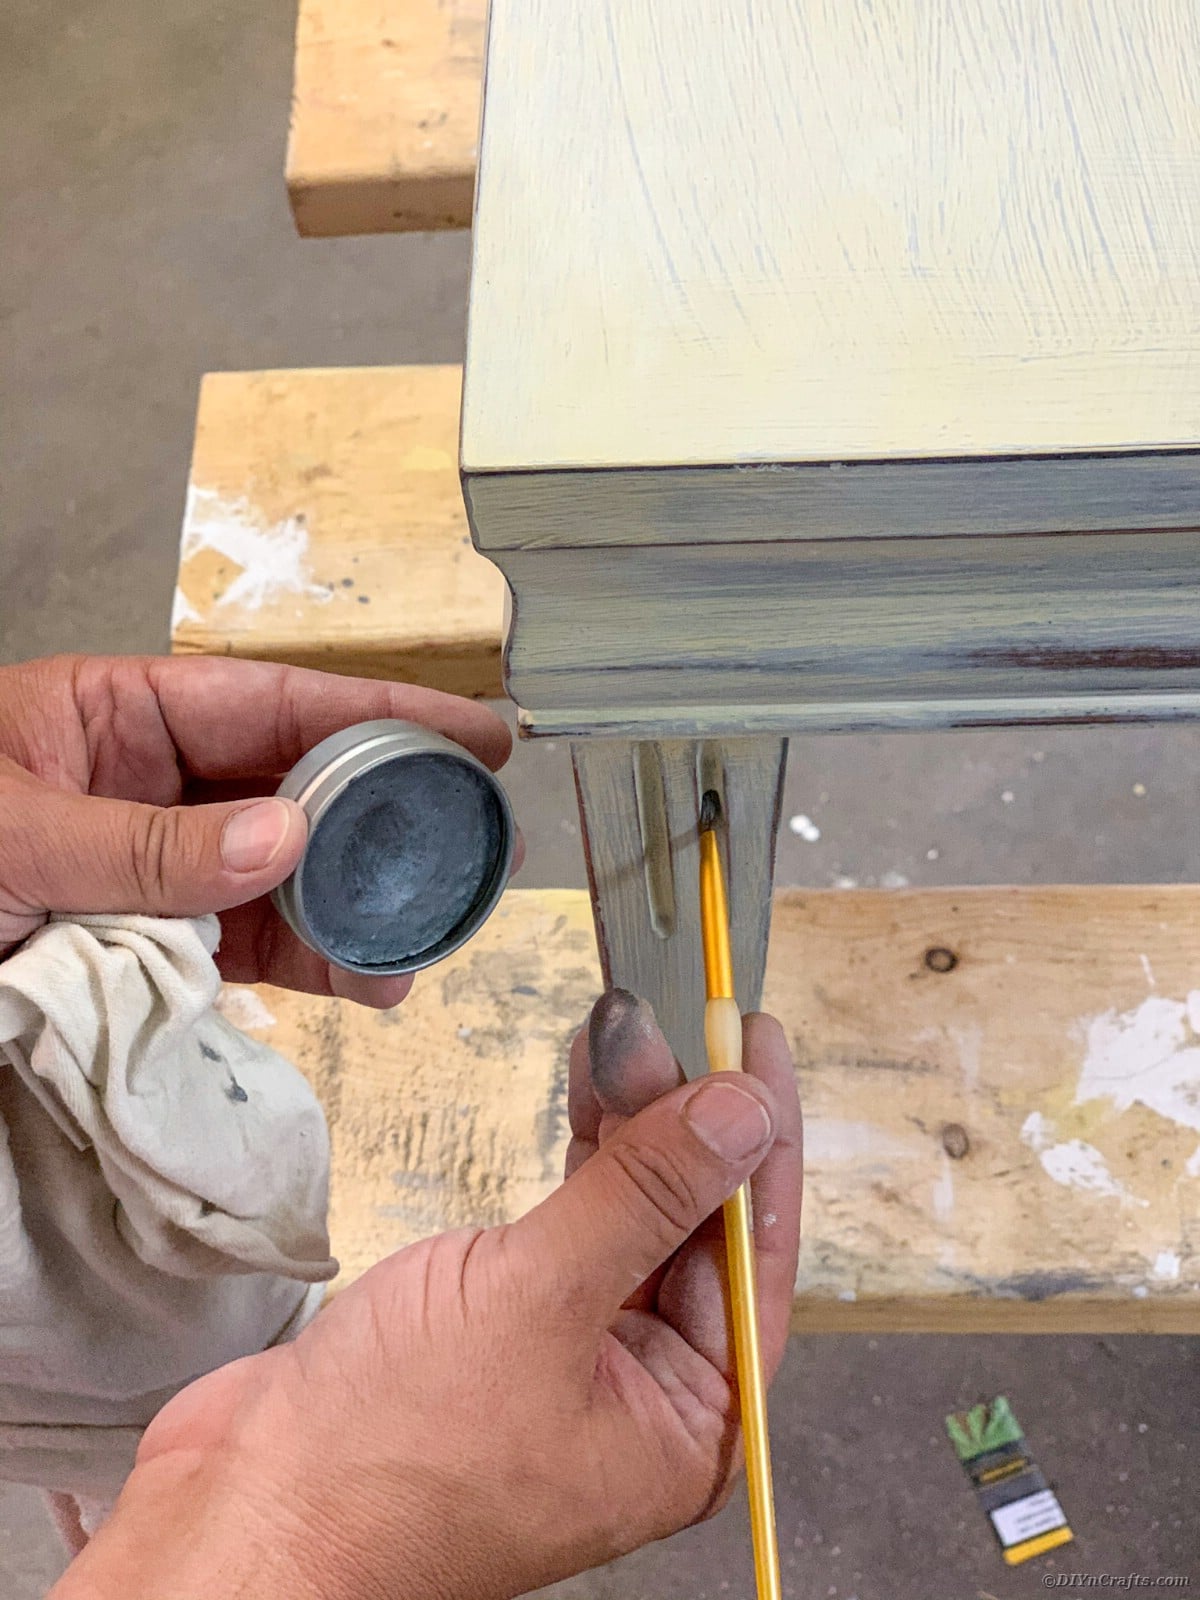
- Time to Use your Dixie Belle Gilding Sterling Silver wax to detail. Dip your finger right into the container and accent any areas that you want to bring attention to.
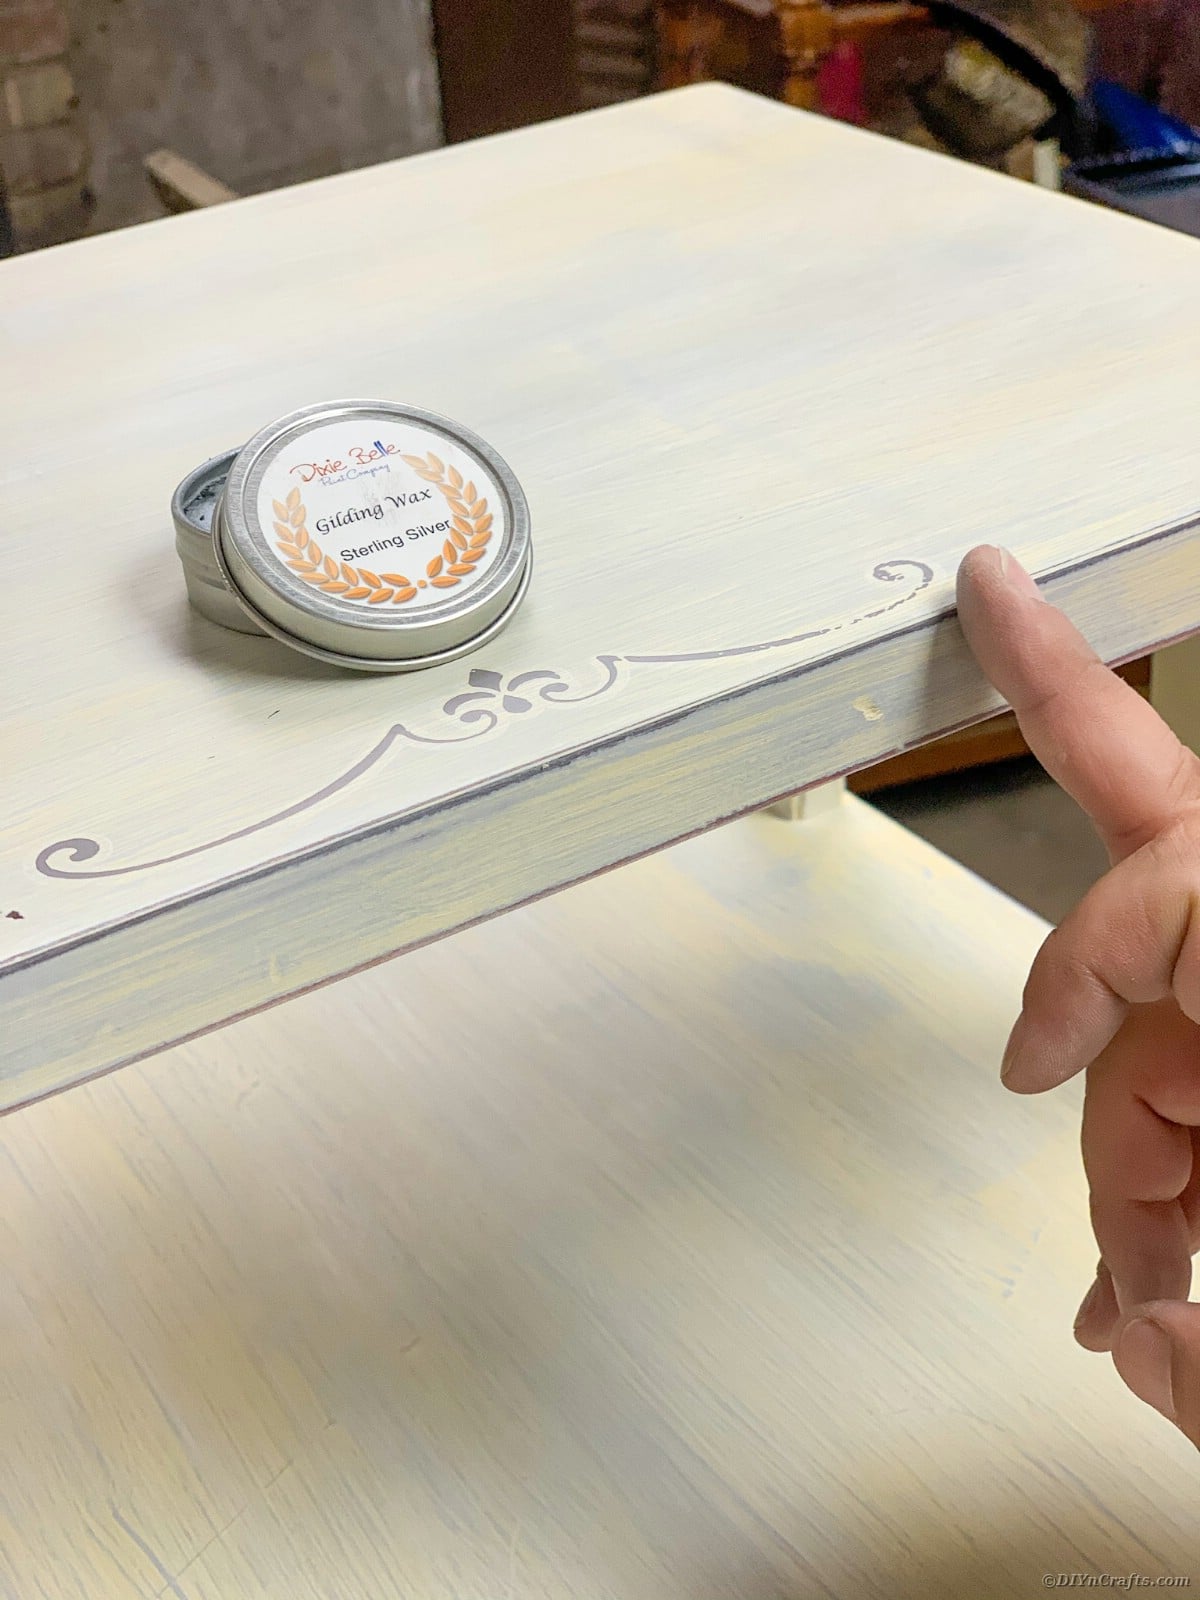
- On this piece, we chose to accent the distressed edges, corners, and grooves in the legs! This is your time to be creative!
- Let Cure for 24 hours.
- The full Cure time is 30 days. (You can gently use your furniture after the first 48 hours) Be sure not to clean or drag anything across your beautiful creation before your 30 days are up.
Always Clean Up Your Work Space for Next Time
Don’t put this off. When you are done with your project, make sure that all of your tools, paints, and supplies are put away. This includes cleaning brushes, rolling up the drop cloth, and putting things back into drawers or taking them to be properly disposed of.
- Clean all chalk paint brushes immediately after use with water. If buildup occurs you can gently clean with mineral spirits.
- Place wax brush in a ziplock bag. No need to clean your brush as long as you only use the same color wax with the same brush. Place in a ziplock bag immediately when you’re done using.
- Double-check to make sure all leftover paint and wax are tightly sealed.
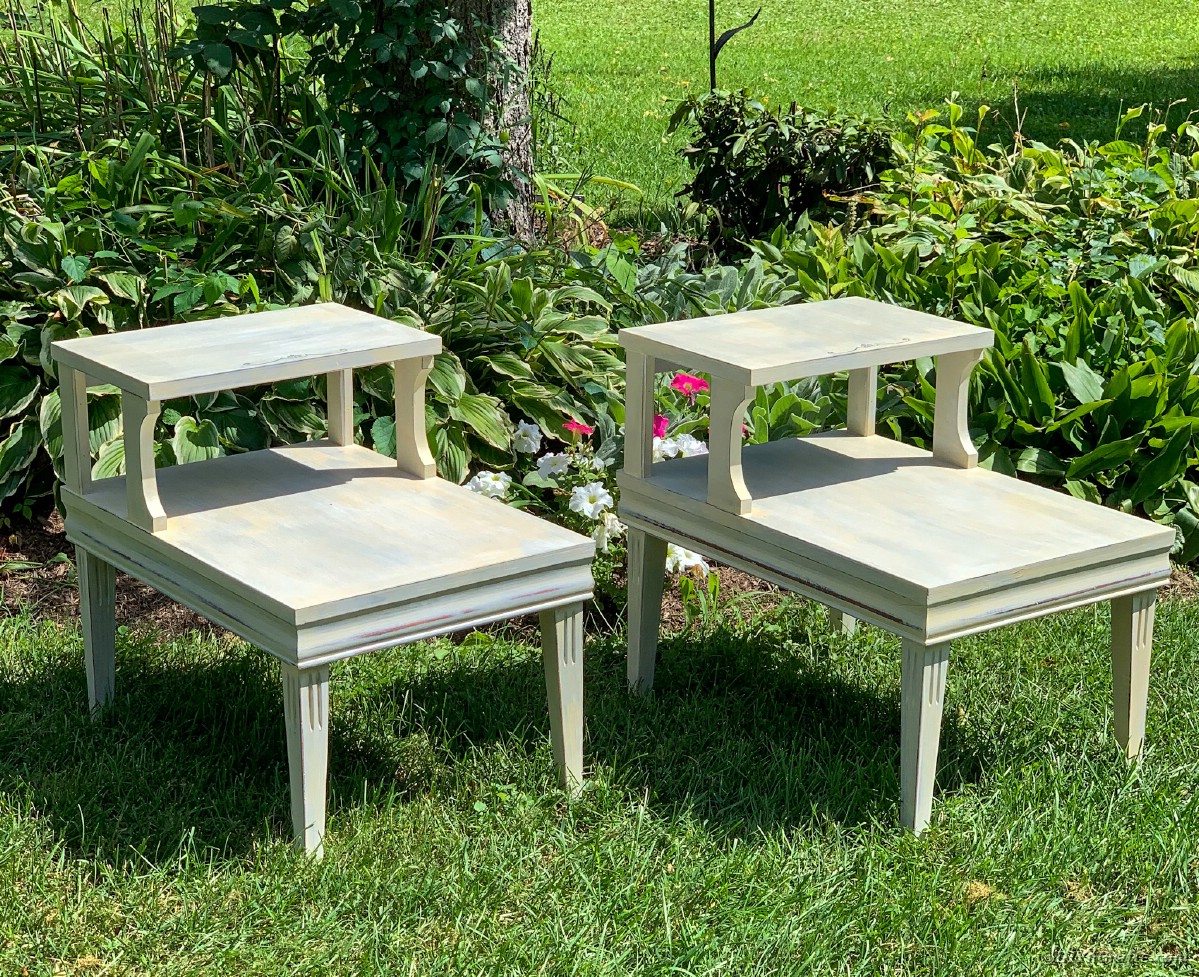
Yield: 1
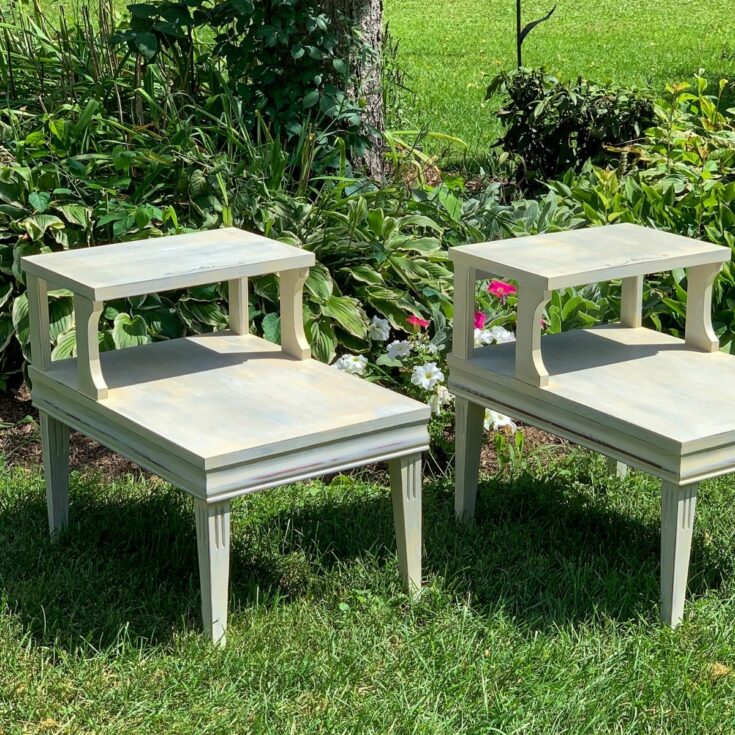
Use this step by step mid century end table furniture makeover as a guide for your next fun furniture project. A great restoration tutorial ideal for anyone who loves modern farmhouse styles.
Prep Time
2 hours
Active Time
5 days
Additional Time
2 days
Total Time
7 days 2 hours
Difficulty
Medium
Estimated Cost
$100
Instructions
Prepare Your Workspace
- Place furniture in a clean workspace. If working in a garage be sure to sweep or blow all dirt and debris out of the area you will be working in. Lay a drop cloth down to ensure the paint does not drip and ruin your flooring.
- Take one lint-free cloth and dampen it with mineral spirits. Clean the entire piece of furniture with the spirits to remove any and all debris or oils that may be on the surface. Be sure to wipe down anywhere you will be painting, including the inside of drawers and/or doors. It is advised to wear a mask or be sure you are in a well-ventilated area.
- Sand the entire piece using 220 grit sandpaper. If you have an orbital sander you can use this for the top of your piece and any larger areas to save you time and energy. If not, no worries sanding blocks and regular sandpaper will do just fine. Be sure to rough up the existing finish to expose the natural wood grain. Smooth out any imperfections and ensure your piece is smooth to the touch. Be careful around any small details. Sanding is all about the pressure you apply. Heavy pressure in areas that have a thick existing finish, light pressure on corners, and areas with detail you do not want to disturb.
- Take another lint-free cloth and remove all dust particles from the sanding process. Take your time, you do not want any lingering particles that will live under your paint. If you have an air compressor gun you will be done in no time. Don’t miss the corners and crevices
Painting Steps
- Take your wood stick and mix your Rust-Oleum Chalked Aged Gray Paint for 30
seconds. - Pour Rust-Oleum Chalked Aged Gray on to a paper plate. A little goes a long way. Best to add more to your plate as you go to ensure you do not waste.
- Using your Natural Bristle Chalk Paint Brush, coat the bottom of your brush and start painting the top of your piece. Be sure to work the paint in the same direction of the wood grain. Working from top to bottom will help minimize drips. Coat the entire piece. Don’t worry if the paint looks streaky it will all flatten out.
- Let dry for 30 minutes.
- Flip piece (if necessary) and paint underneath with Rust-Oleum Chalked Aged Gray Paint. Be sure to focus on any edges or areas that might be visible to ensure full coverage.
- Let dry for 30 minutes.
- Flip piece to have top of piece parallel with the ceiling.
- Apply a second coat of Rust-Oleum Chalked Aged Gray. Using your Natural Bristle Chalk Paint Brush, coat the bottom of your brush and start painting the top of your piece. Be sure to work the paint in the same direction as the wood grain. Working from top to bottom will help minimize drips. Coat the entire piece. Don’t worry if the paint looks streaky it will all flatten out.
- Let cure for 24 hours (depending on weather and humidity)
- If necessary, using 220 grit sandpaper lightly sand any areas of paint drips or build up.
- Using your lint-free dust cloth remove any debris.
- Shake your Dixie Belle Rebel Yellow Chalk paint for 30 seconds.
- Pour Dixie Belle Rebel Yellow and water using a 50/50 ratio into a solo cup. Mix thoroughly with a plastic fork.
- It’s time to begin your Yellowwash. Using your natural bristle chip brush, coat the bottom of your brush and start painting the top of your piece. Paint in the same direction as the wood grain. Work from top to bottom. Be sure to use light strokes and long strokes. Mist your paint with your misting spray bottle to keep the paint moving over your piece as it starts to dry. Move the paint with your misting spray bottle as much as you can before adding more of the Yellowwash.
- Let dry for 30 minutes.
- Flip piece and Yellowwash the underneath with Dixie Belle Rebel Yellow Chalk paint and water 50/50 ratio. Be sure to focus on any edges or areas that might be visible to ensure full coverage.
- Let Cure for 24 hours.
Finishing Touches:
- Using 220 grit sandpaper lightly sand the entire piece. Corners, legs, and drawers are a great place to distress. A heavy distressing technique was used with this piece, as we only wanted a faint yellow hue.
- Take your dusting lint-free cloth and remove all dust particles from the sanding
process. - Time to apply the Re-Design with Prima furniture transfer. Place the tube in the refrigerator for 15 minutes. Doing this before applying is a hot tip to ensure your transfer will release from the backing and have a smooth finish.
- Remove the tube from the refrigerator and select which of the scrolls and accents you want to use.
- Using your scissors cut through the plastic and the backing. Keep both pieces together while cutting. Protect the accent at all times. Cut just the transfer that you will be using.
- Measure your piece and ensure that where you will place the transfer will be centered or even wherever you choose to place it! Measure twice and be sure you like the positioning because once it’s placed it can not be moved.
- Remove the paper backing on one side of the transfer. Lay the transfer directly to the wood. Slowly remove the rest of the backing until the transfer stands alone.
- Using the wood stick provided by Re-Designs carefully press the transfer into the wood. Lightly scrape it in all directions.
- Take a lint-free dust cloth and press the transfer into the wood while the plastic is
still on top of the transfer. - Begin to remove the plastic. Go slowly. If you see part of the transfer did not adhere, press the plastic back down and use your wood stick and try again. Then try to remove the plastic until your transfer fully adheres.
- Set a timer for 15 minutes. Start the timer when you begin step 12.
- Using your natural bristle wax brush and Dixie Belle Best Dang White Wax apply a thin coat to the entire piece. You can dip your brush right into the tin. Remember to apply a thin coat, including over the transfer. Work quickly.
- Once the timer goes off you can start to rub in your wax. Work in the area that you applied to first. Using your last lint-free cloth rub your wax into your piece. Be sure to rub in all directions and press the wax into the wood. Be gentle around your transfer. The wax will seal the transfer to ensure your accent will last. If you’re not sweating you’re not doing it right. This takes elbow grease.
- Let dry for 1 hour.
- Time to Use your Dixie Belle Gilding Sterling Silver wax to detail. Dip your finger right into the container and accent any areas that you want to bring attention to. On this piece, we chose to accent the distressed edges, corners, and grooves in the legs! This is your time to be creative!
- Let Cure for 24 hours.
- The full Cure time is 30 days. (You can gently use your furniture after the first 48 hours) Be sure not to clean or drag anything across your beautiful creation before your 30 days are up.
CleanUp:
- Clean all chalk paint brushes immediately after use with water. If buildup occurs you can gently clean with mineral spirits.
- Place wax brush in a ziplock bag. No need to clean your brush as long as you only use the same color wax with the same brush. Place in a ziplock bag immediately when you’re done using.
- Double-check to make sure all leftover paint and wax are tightly sealed.
Notes
Feel free to use any transfers you prefer to decorate your furniture, or simply leave as is.
Recommended Products
As an Amazon Associate and member of other affiliate programs, I earn from qualifying purchases.

