

[ad_1]
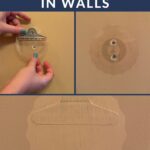

Wondering how to fix a hole in your wall? I’ve tried every method out there over the past 19 years and this is the EASIEST and BEST way I’ve found.
Thank you to DAP Products for sponsoring this post. As always, all opinions about DAP Eclipse Wall Repair Patches are 100% my own based on personal experience. This post contains some affiliate links for your convenience. Click here to read my full disclosure policy.
Y’all, I’ve been patching holes in walls for the past 19 years as a homeowner. And I’m here to tell about the absolute best and easiest way to patch a hole in the wall. I’ll never do it a different way again!
You’ve probably seen my posts about how to repair small wall damage here. You may have even seen our methods for repairing larger areas of damage in this post. That is all to say we are not strangers to patching walls! What you may not know is that it has always been one of our most dreaded jobs because we never feel like our patch jobs look that great when we are done, no matter how careful we are. Well friends, that has ALL CHANGED!!!!!
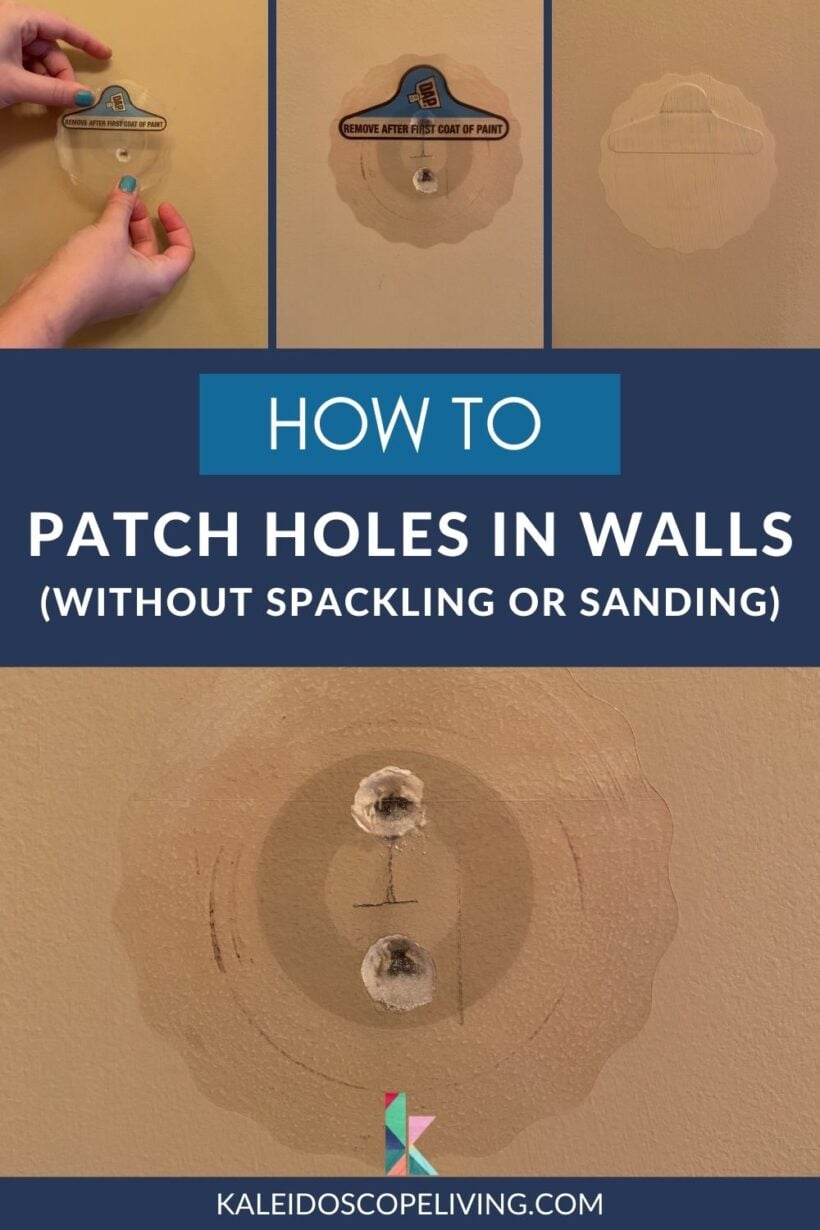
I’ve discovered DAP Eclipse Wall Repair Patches and I’ll never patch holes another way again. They are a new product for repairing drywall damage that doesn’t involve spackling. That means no more waiting for spackle to dry and no more messy sanding. That’s right–you can paint over the patch immediately (in fact, you have to). REJOICE!
Let me back up and tell you that I had seen this commercial for DAP Eclipse Wall Repair Patches and was skeptical that anything could be this easy or this perfect.
But y’all… now that I have used these patches myself I can tell you that IT REALLY IS THAT EASY AND PERFECT. Want real-life proof? You may have seen me do it in real-time on my Instagram stories, but in case you missed it, you can watch the video below! I show you exactly how to use the patches in this video (and I also provide written instructions below the video).
How to Fix a Hole in Your Wall With DAP Eclipse Wall Repair Patches
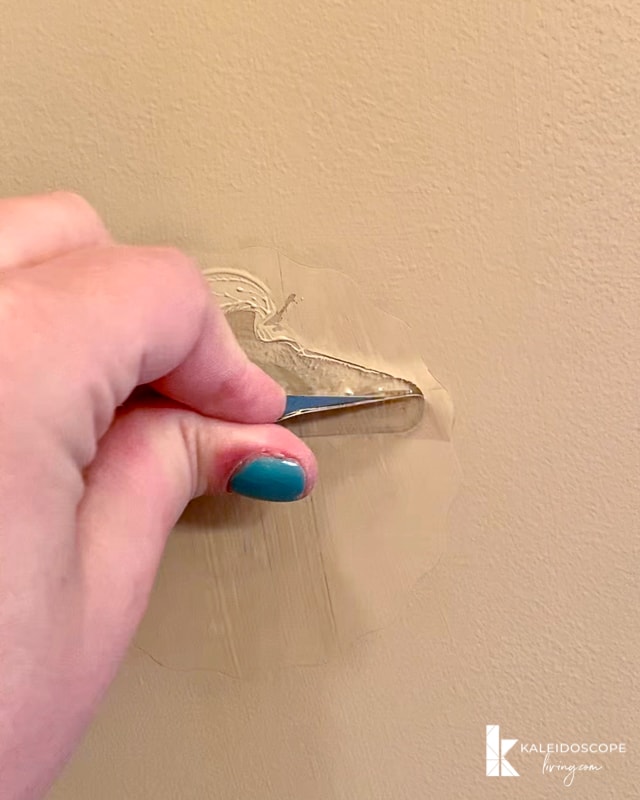
Step 1: Clean the surface of your wall to get any dust or debris off of it. I made sure to push in any bits of drywall that had popped out of the hole.
Step 2: Peel the backing off of your DAP Eclipse Wall Repair Patch and then position the gray center circle of the patch over the center of the damage. Use your hand to smooth the patch onto the surrounding drywall.
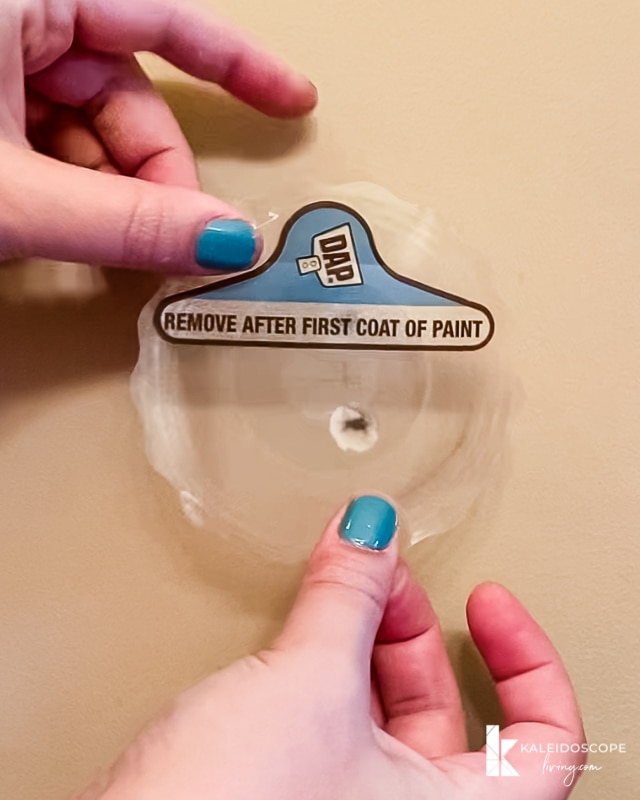
Step 3: Paint over the entire DAP Eclipse Wall Repair Patch immediately.
Step 4: After the paint on the surrounding drywall is dry, pull the pop-up tab off the DAP Eclipse Wall Repair Patch.
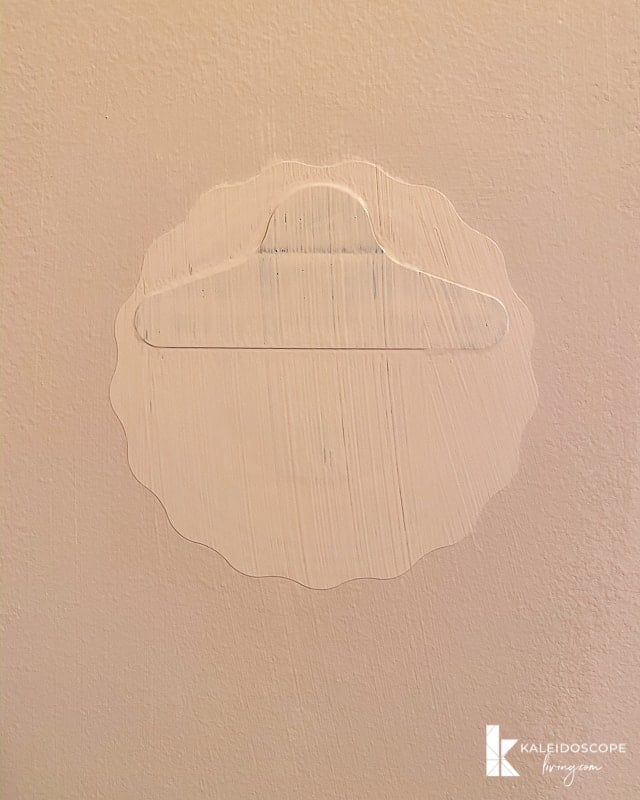
Step 5: Apply two additional coats of paint! I used a paint brush, but it’s recommended that you use a high quality roller to apply your paint. Whoops! I didn’t realize that until AFTER I completed this project. Mine still looks great, but I’ll use a roller next time!
That’s it! It’s so easy!
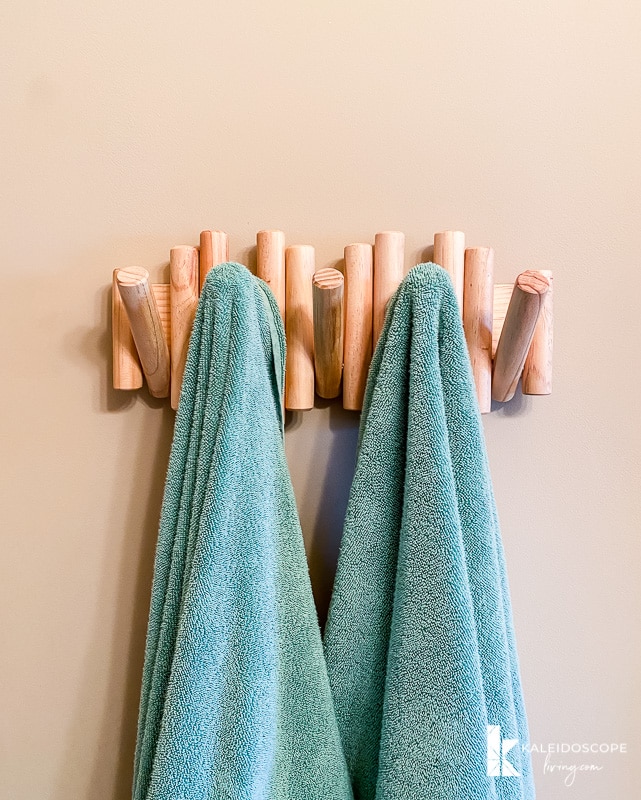
The old towel bar was longer than the new towel hook we installed, so the patched areas on to the right and left of the new towel hook (we hung it at the exact same height). You can’t see them! So good!
FAQ’s About Using DAP Eclipse Wall Repair Patches to Fix Wall Holes
Can you use these if you have textured walls? Yes, you can repair a textured wall using DAP Eclipse Wall Repair Patches! I got this question A LOT so I confirmed that the patches are compatible with aerosol spray textures and textured rollers. If you are repairing textured walls or ceilings, remove the protective layer by pulling the pop-up tab immediately after placing the patch on your drywall (no need to apply the first coat of paint). Then apply your texture texture and allow it to dry. Then paint!
How does this compare to how you would “normally” patch a hole? Well, in the past I would normally clean the area, then fill the hole with spackle. Then wait for it to dry. Then sand. Then fill it with spackle again. Then wait for it to dry AGAIN. Then sand AGAIN. Then spot prime the area to prevent paint flashing. Then wait for the primer to dry. Then I would FINALLY be able to coat the repaired area with the wall paint. And my patch jobs never looked totally perfect.
But are these repairs “strong” if the holes don’t actually get filled? Apparently! According to my research, these patches are actually stronger than the drywall itself. Here’s what I found on DAP’s site, “This all-in-one, mess-free solution not only provides a permanent, long-lasting repair but is also stronger than drywall itself making it perfect for areas that may see the reoccurring impact, such as behind a door.” How cool is that?
You can grab these magic patches at Home Depot the next time you are there! I highly recommend them and plan to keep plenty on hand at all times! If you want to try them for yourself, be sure to save this post to Pinterest so you can find it again later!


[ad_2]
Source link


")


