[ad_1]
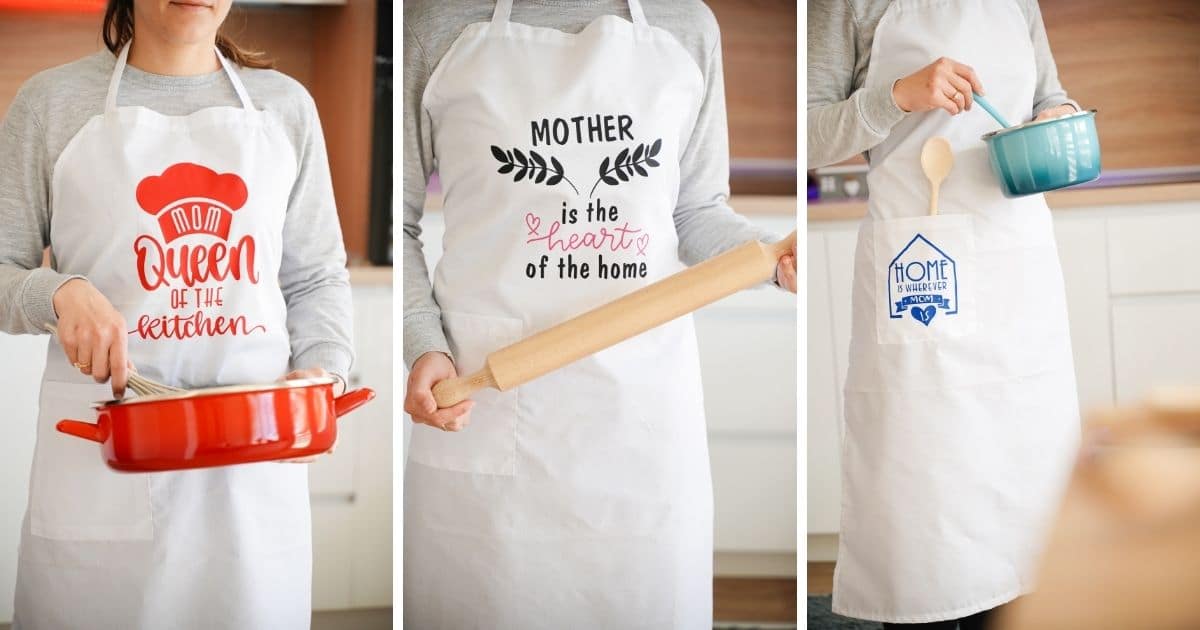
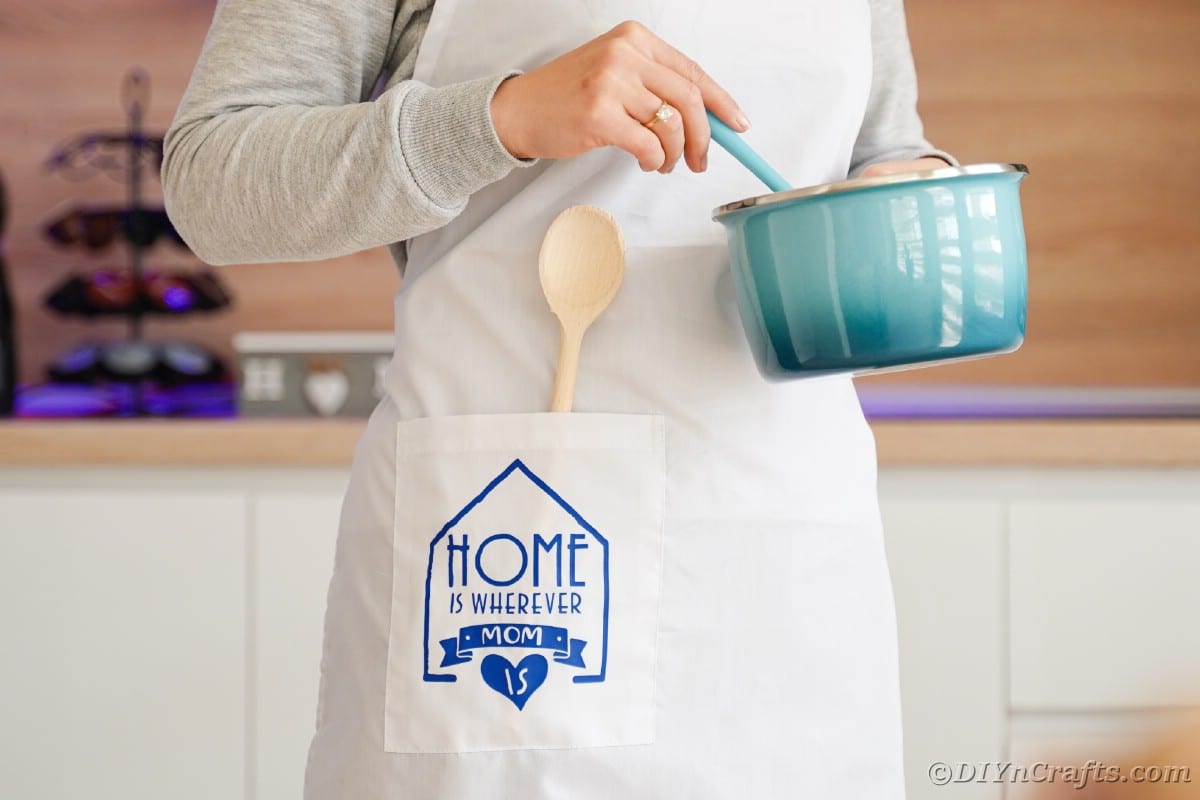
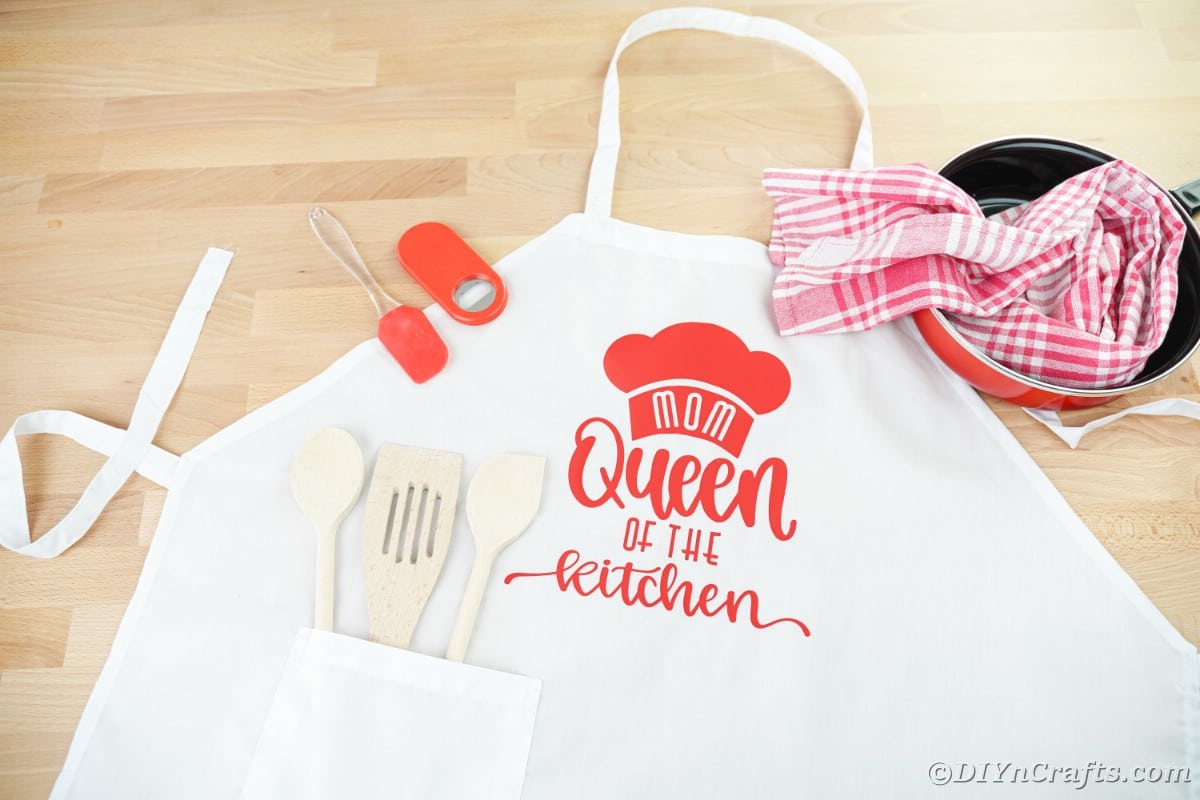
Does your mom or another important woman in your life love cooking? Then you can celebrate them by making this super easy apron with Cricut vinyl just in time for Mother’s Day! If you are looking for a great idea that is also a beginner Cricut project, this is a great start! Easy, fun, and perfect for gifting.
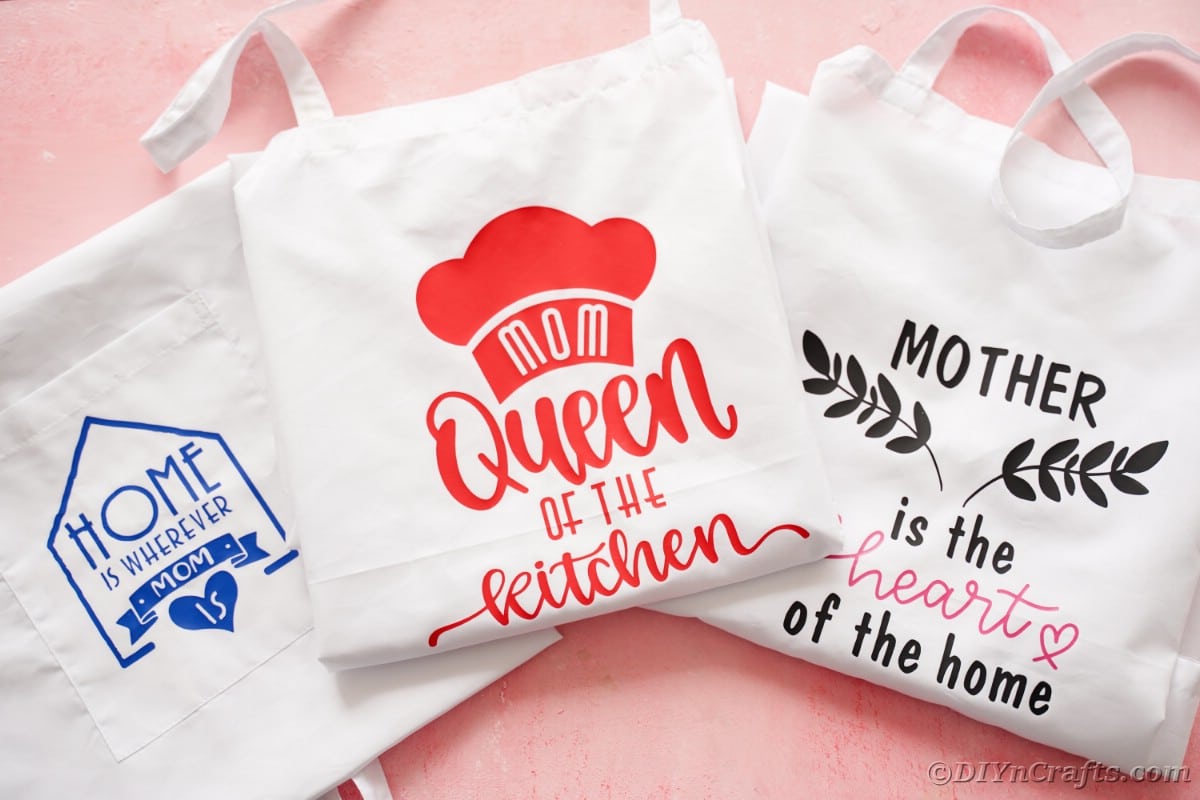
Cricut Vinyl Mother’s Day Apron
If you are new to Cricut, then this is the best idea for making a custom gift you will love! These aprons are ideal for moms who love being in the kitchen. Of course, if your mom, or the mom you are celebrating, doesn’t like to cook, then this might not be the best idea. We all know not to send the message that you expect them to cook!
If you want other easy beginner Cricut options, then you can check out these adorable little Cricut vinyl Mother’s Day floral shadowboxes or this one of these cute little Mother’s Day coffee mugs. There are multiple designs for both that are excellent for gifting this year.
What Type of Apron Should I Use?
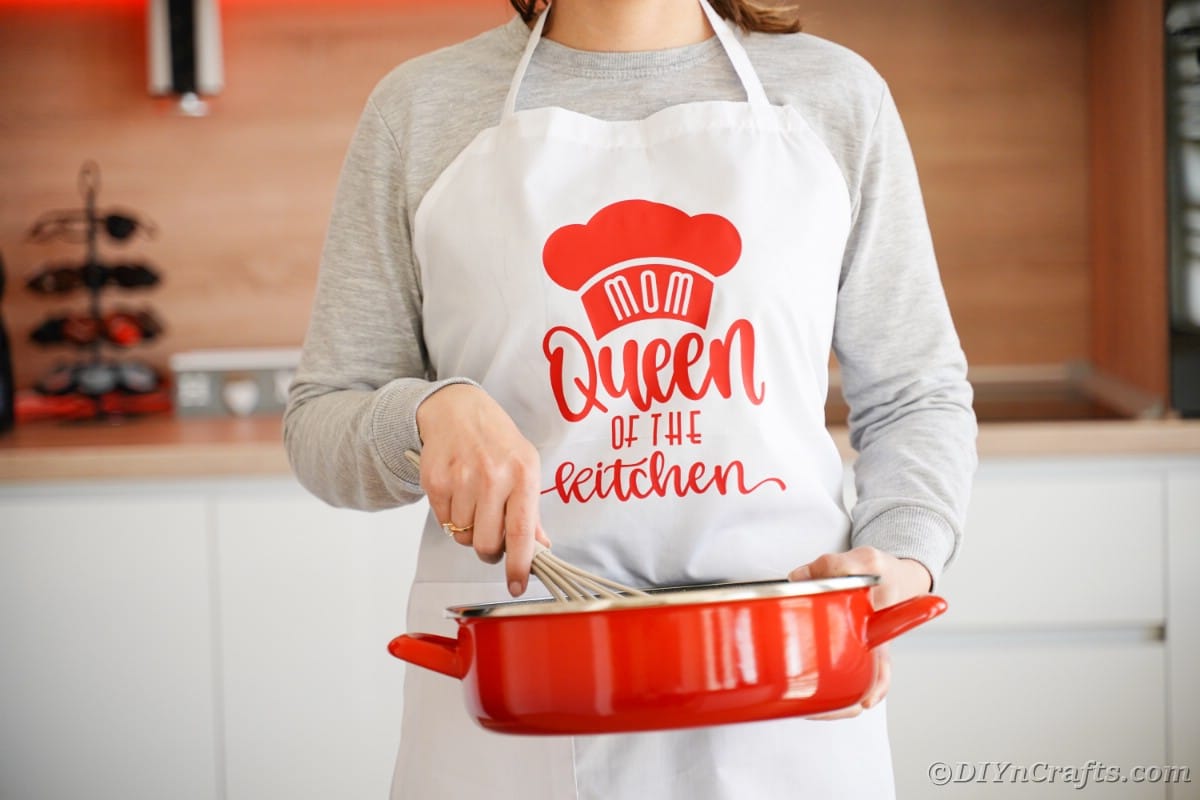
You can use any type of apron you want for this project. The designs look best on a solid-colored apron. The type of apron won’t matter as long as you can iron on the vinyl. I like the idea of using basic solid white like shown, but you can do this with any number of colored aprons. Popular options are canvas and denim as they last longer, but a nice 100% cotton apron works great as well.
What Kind of Vinyl is Best?
When adding vinyl to fabric, the best option to use is an iron-on vinyl. It is designed specifically for this and when heated properly will stay in place long term. It may also be referred to as heat transfer vinyl or HTV.
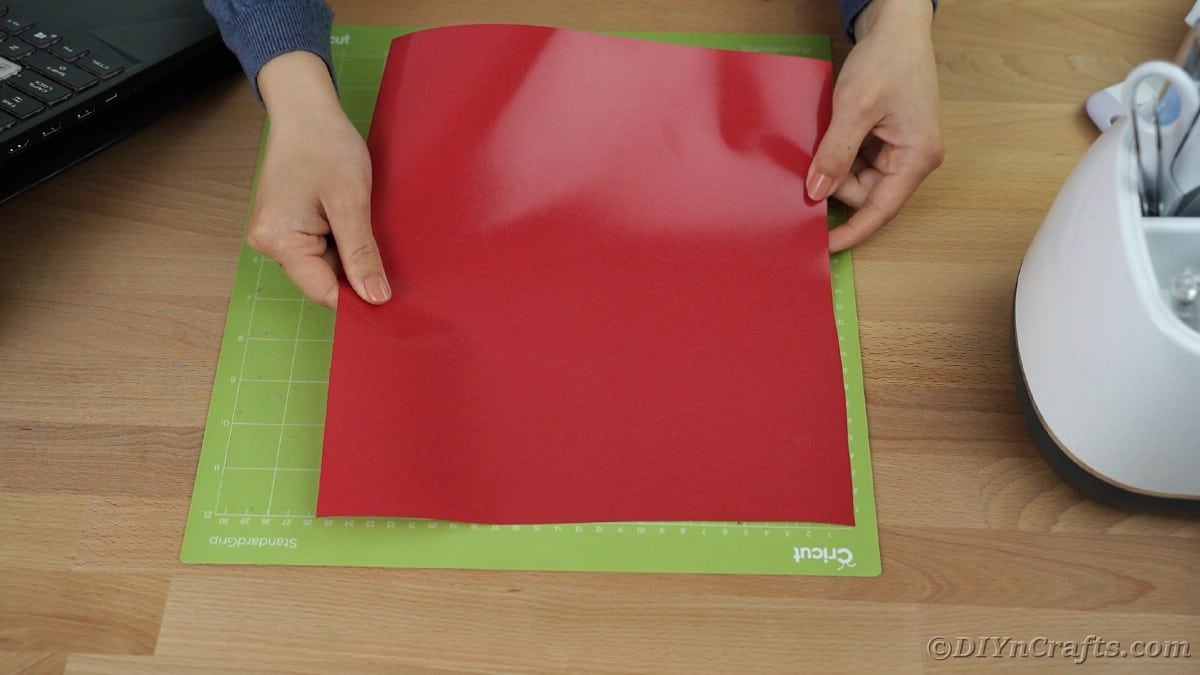
The difference between this and other vinyl options is that the front of the vinyl is the shiny side (carrier side) that has a barrier in place while the vinyl is cut. This is then peeled off when you apply heat to the vinyl to secure it in place. When cutting the vinyl, make sure the matte side is facing upwards on the Cricut mat.
How do I Seal the Vinyl to the Fabric?
For this tutorial, you will see the use of a wax paper layer over the vinyl and a basic clothes iron to heat and seal the vinyl. This isn’t the only option, and in fact, is not as common as using a heat press. A heat press is a better option since it has more even heating over the entire item rather than the uneven heat of an iron.
One of the best options for a heat press if you decide you want to invest in one for more use down the road is the Cricut Easy Press. It gives you a much better result that is likely to last for longer and not be as likely to peel off of the apron.
How Do You Wash an Apron with Vinyl?
There are a few good rules to follow when washing anything with iron-on vinyl such as this apron.
- Let the vinyl cure for at least 24 hours before washing.
- Wash in cold water only.
- If a clothing item, wash inside out.
- Hang dry or dry on a delicate or low-heat setting.
- Do not iron directly over vinyl. Iron only from the backside of the item.
Supplies Needed
For Design #1
For Design #2
For Design #3
How to Make an Apron with Cricut Vinyl
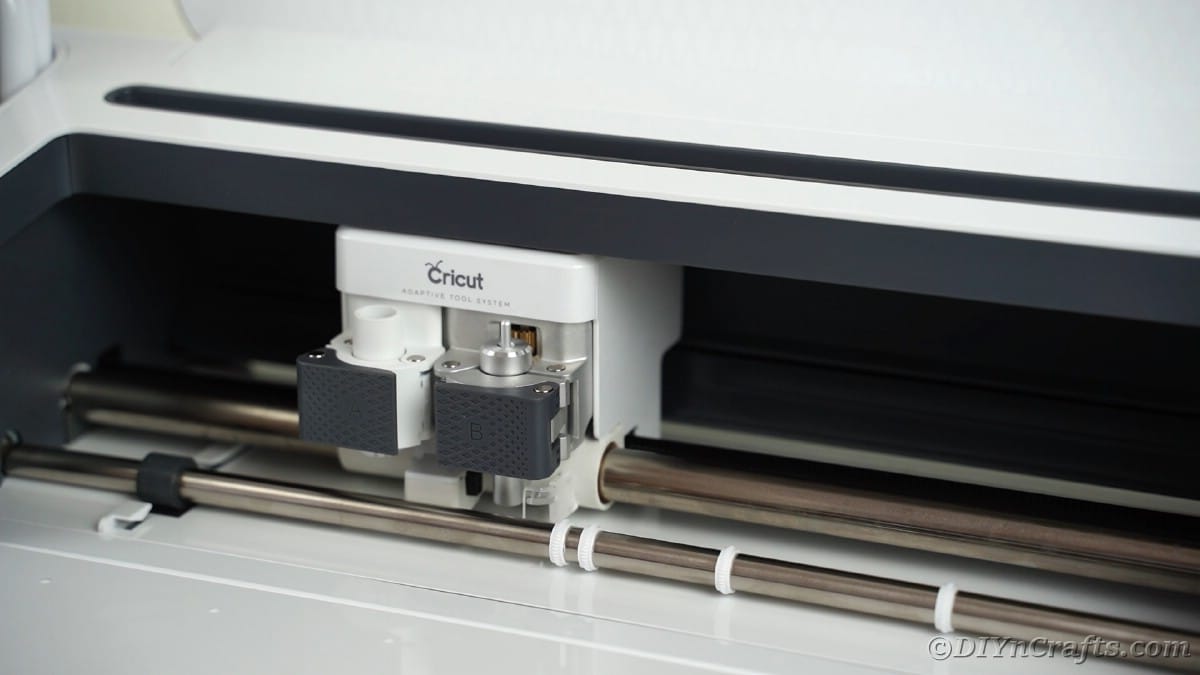
Prepare the Cricut machine by placing the correct blade into the housing and turning it on to be ready for your mat.
Load the SVG Cricut files into Design Space for the design you have chosen.
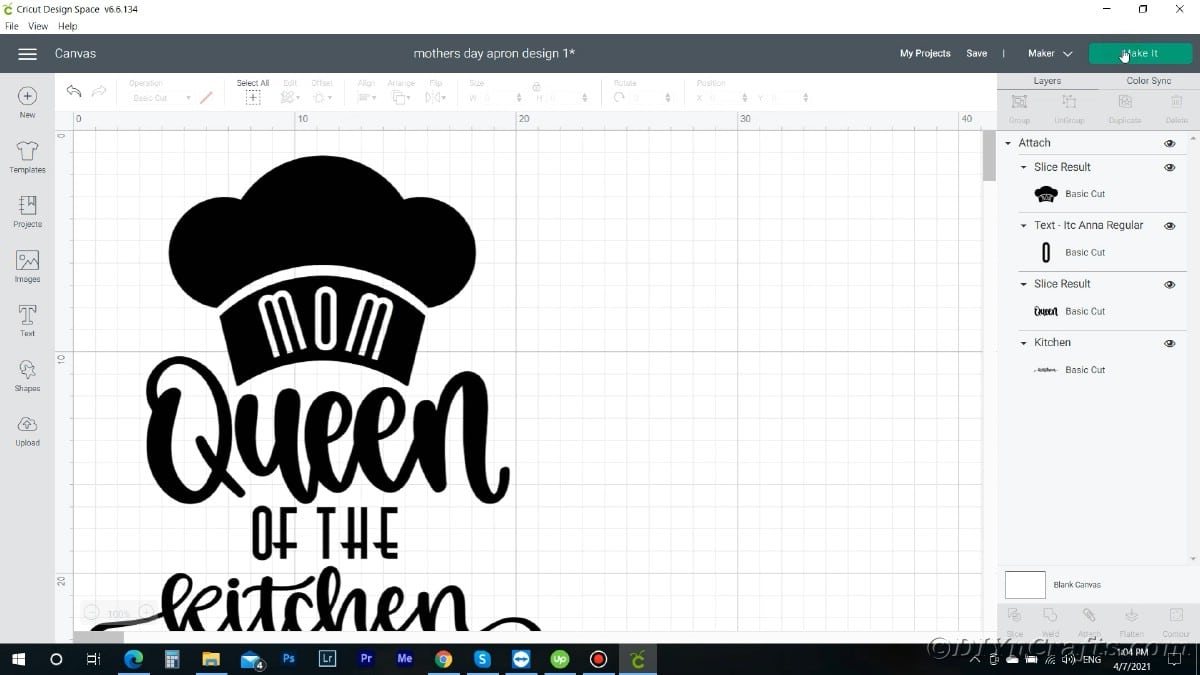
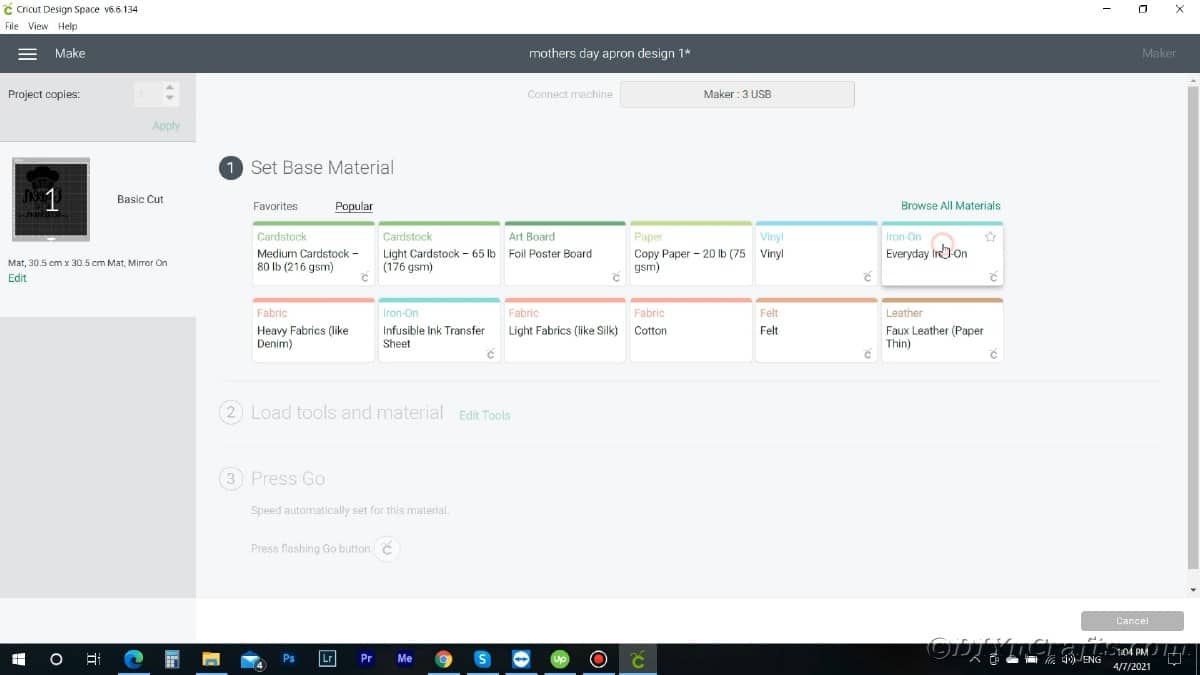
Choose the appropriate material from the list.
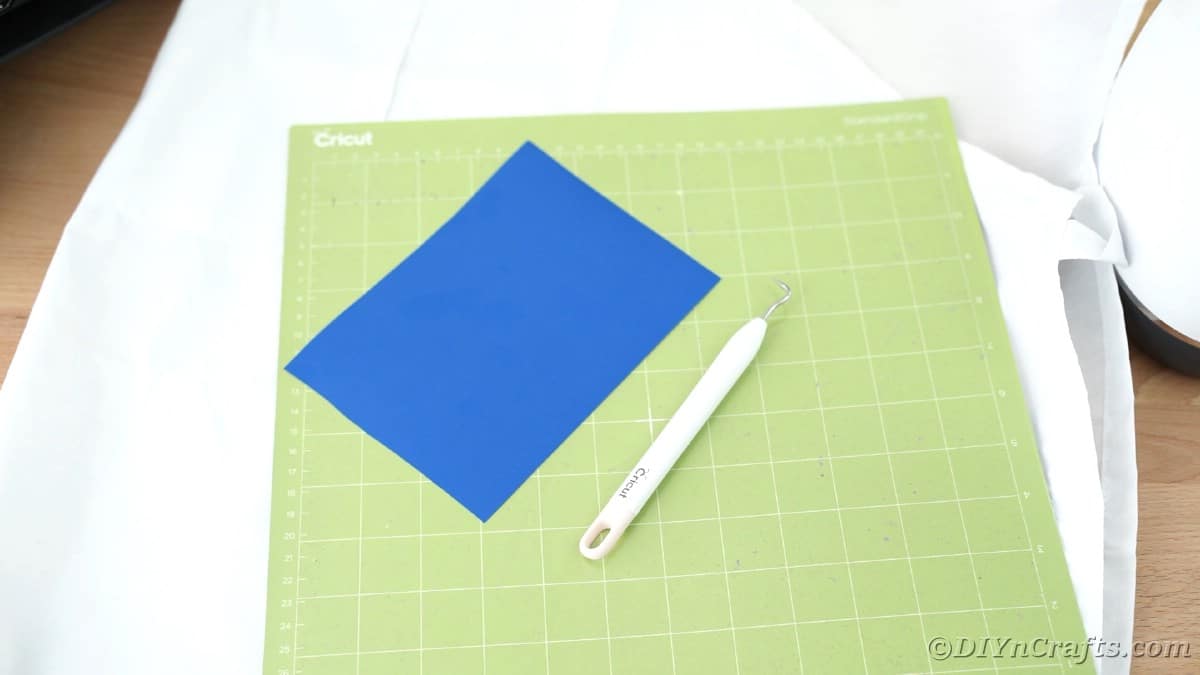
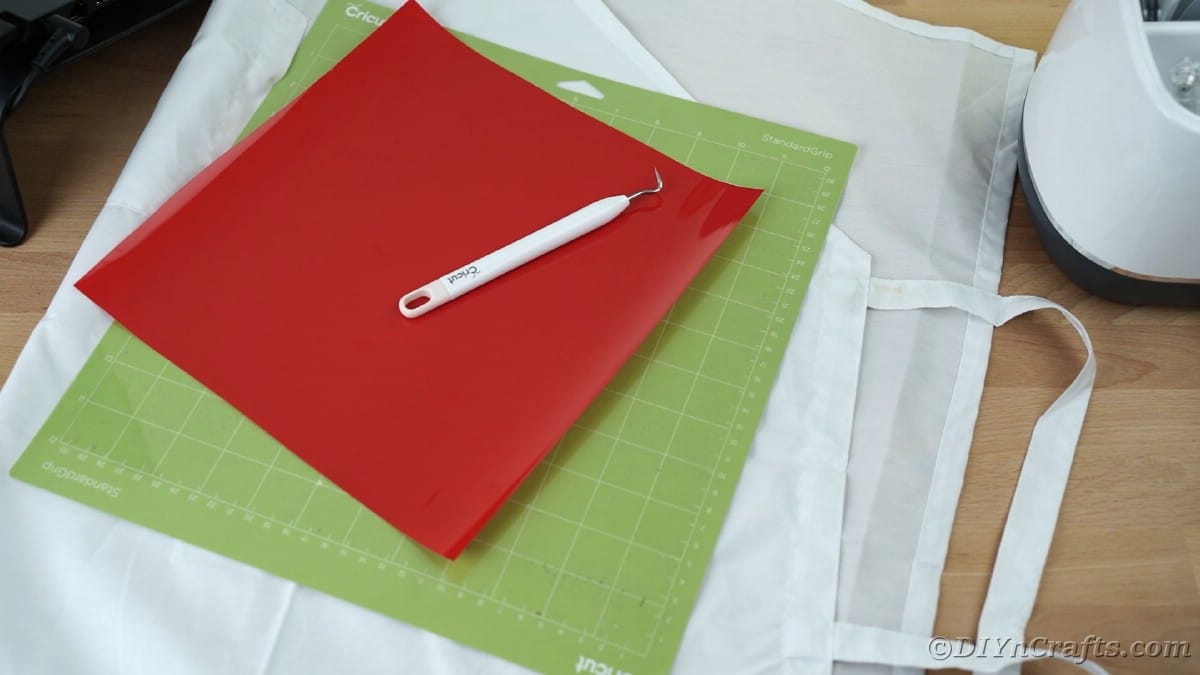
Place the vinyl onto the mat making sure the matte side is facing up and that it is placed into the corner and smooth.
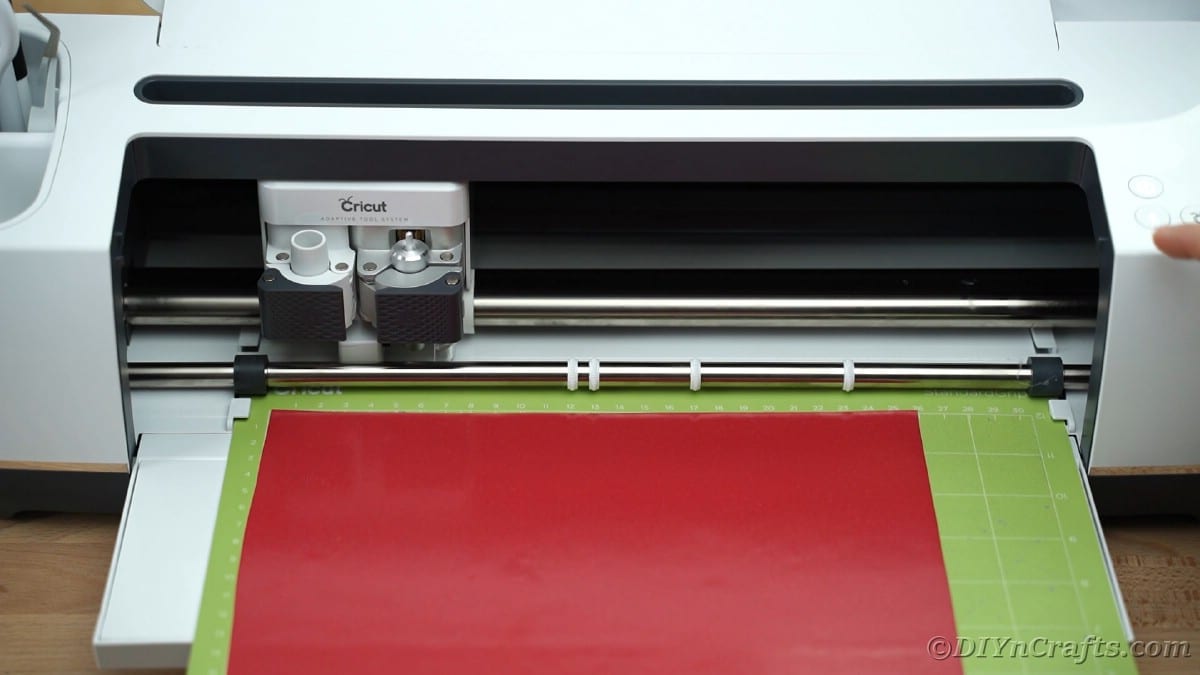
Load the mat onto the Cricut machine and follow the prompts as shown on the screen.
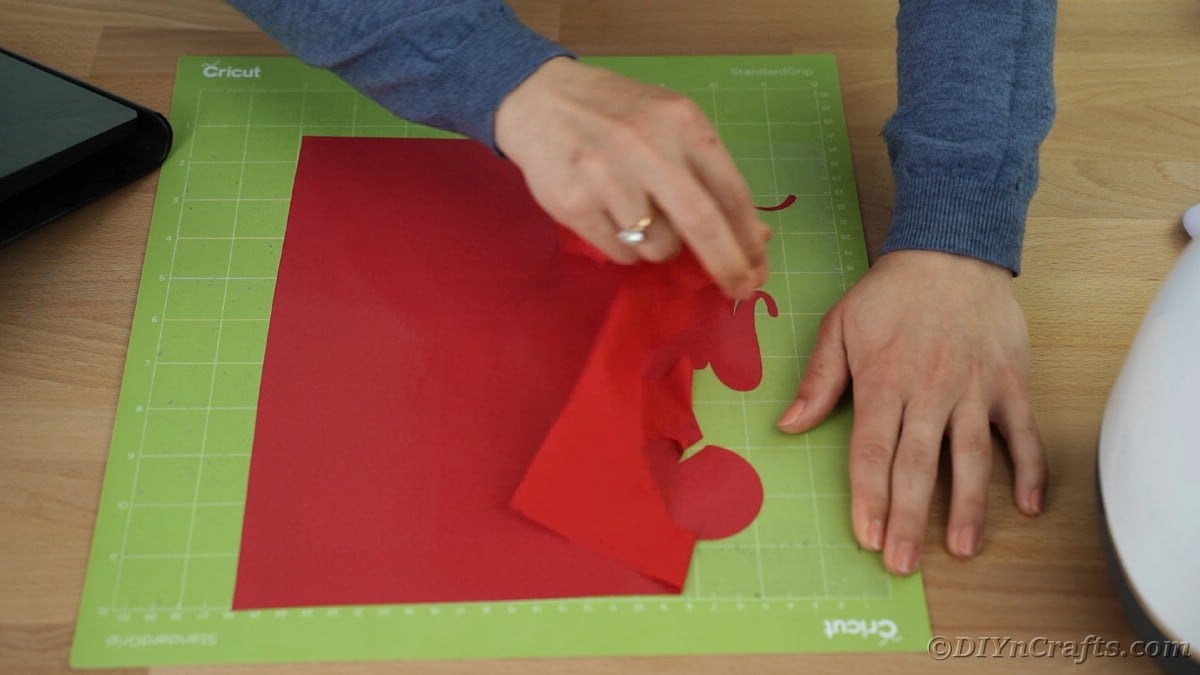
Once the vinyl has been cut, remove the larger portions of excess vinyl and discard.
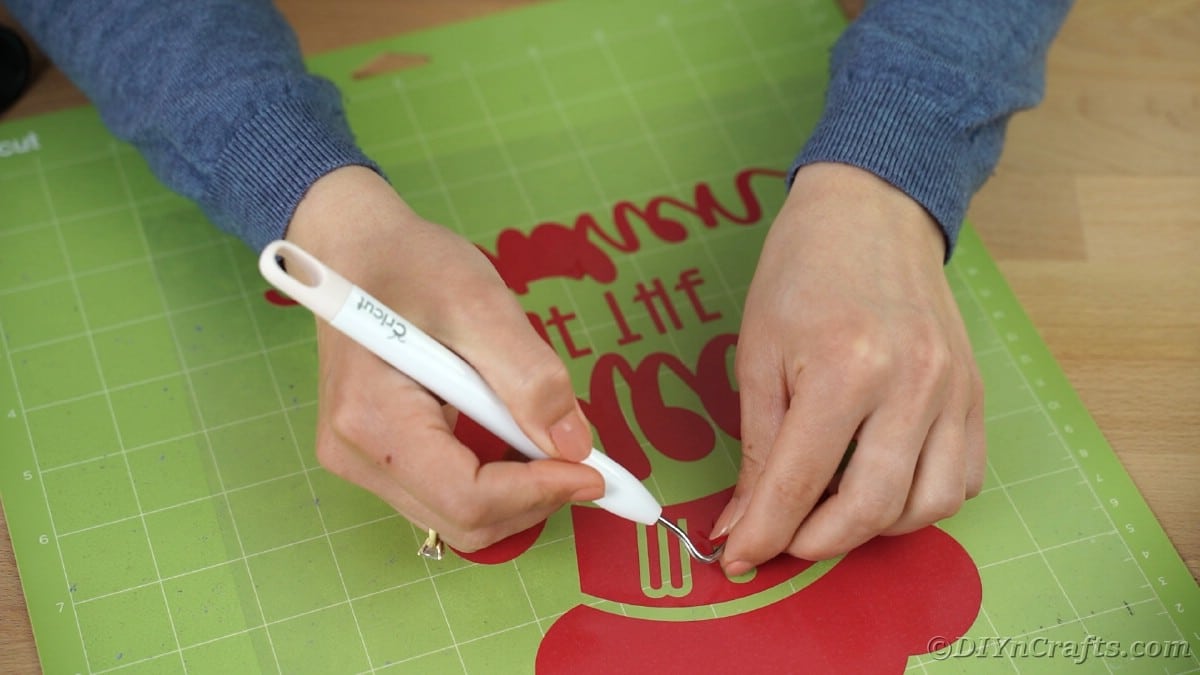
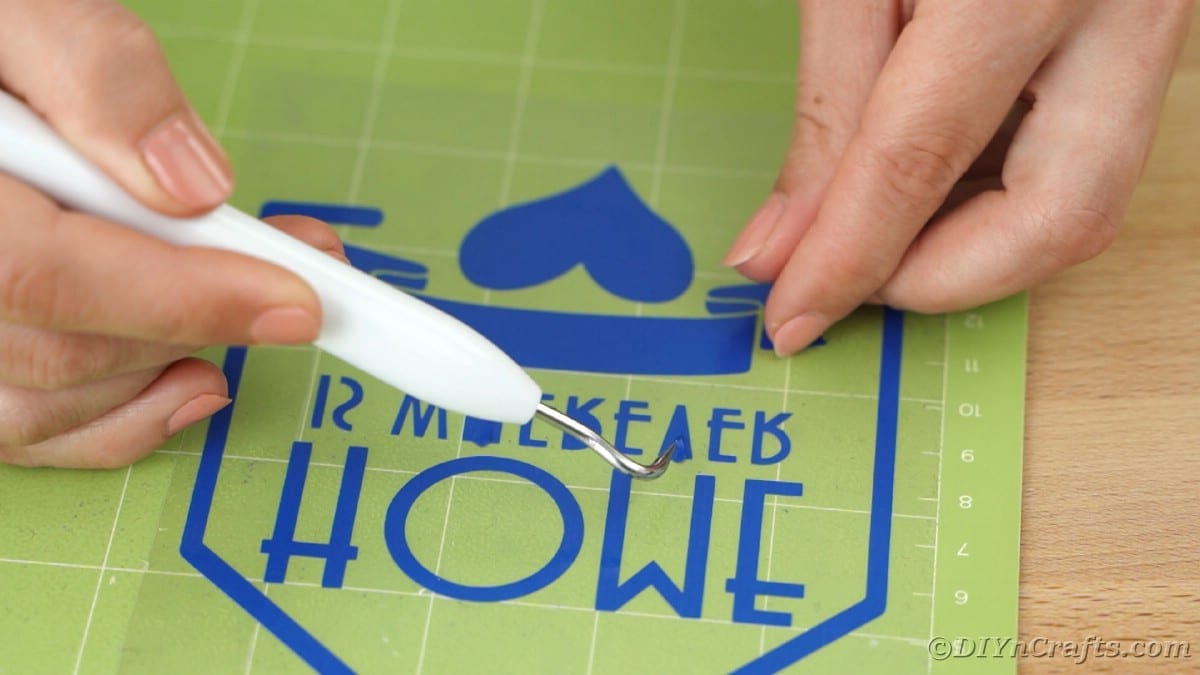
Use the weeding tool to remove any remaining bits of vinyl in letters or around other parts of the cut message.
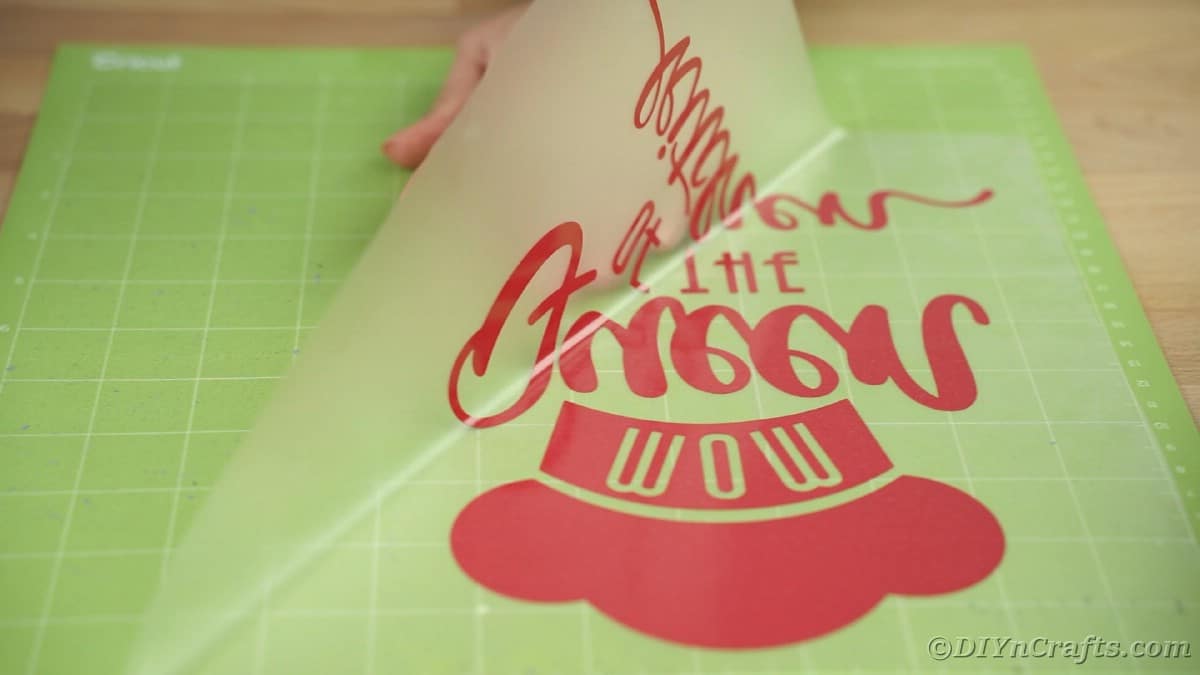
Place a sheet of transfer tape over the top of the weeded vinyl and press well to seal against the vinyl.
Gently remove the transfer paper from the mat bringing the vinyl with it.
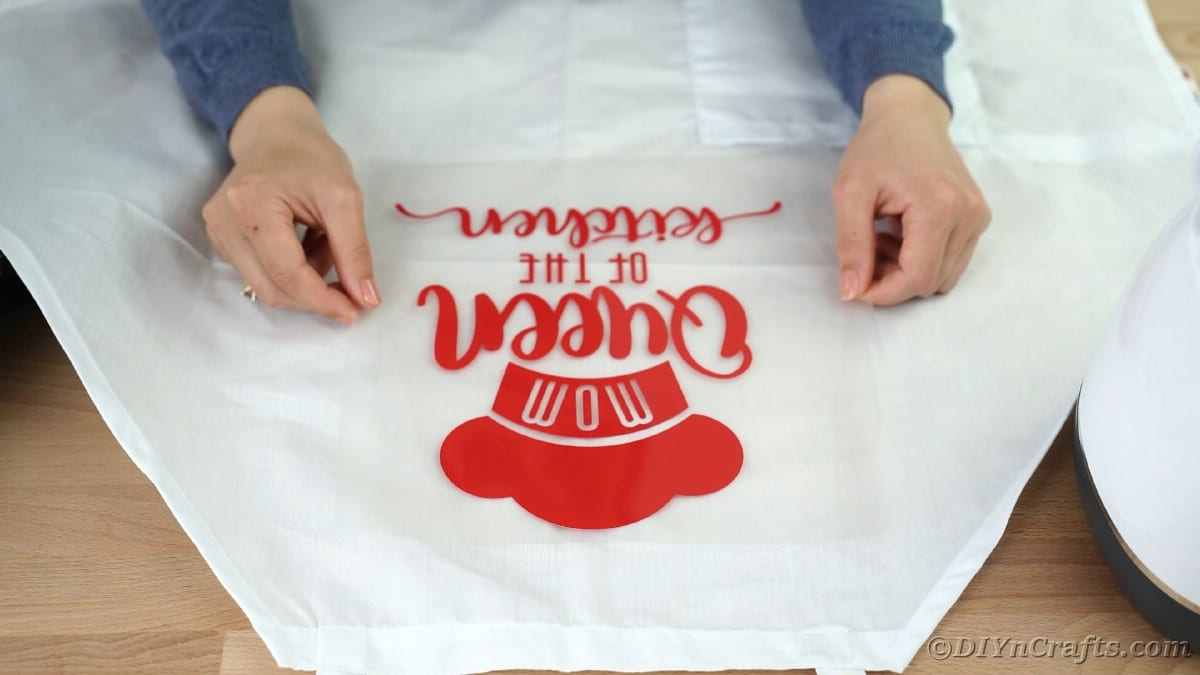
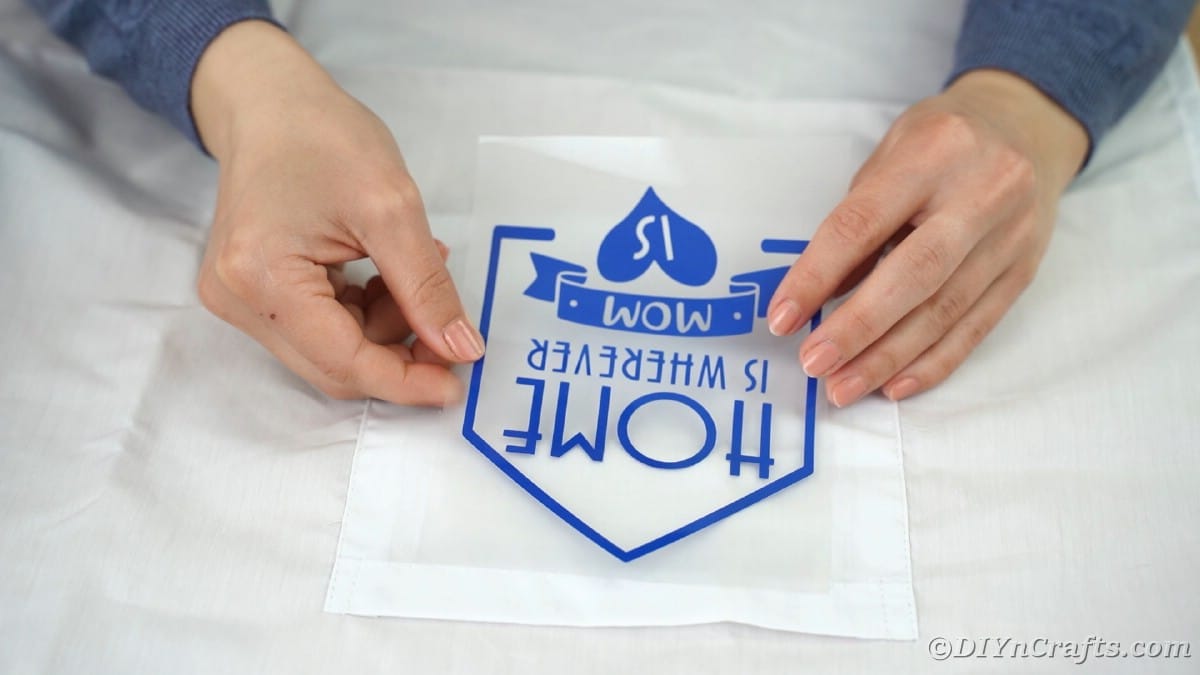
Place the paper onto the apron where you want the message to be and press down to smooth against the fabric.
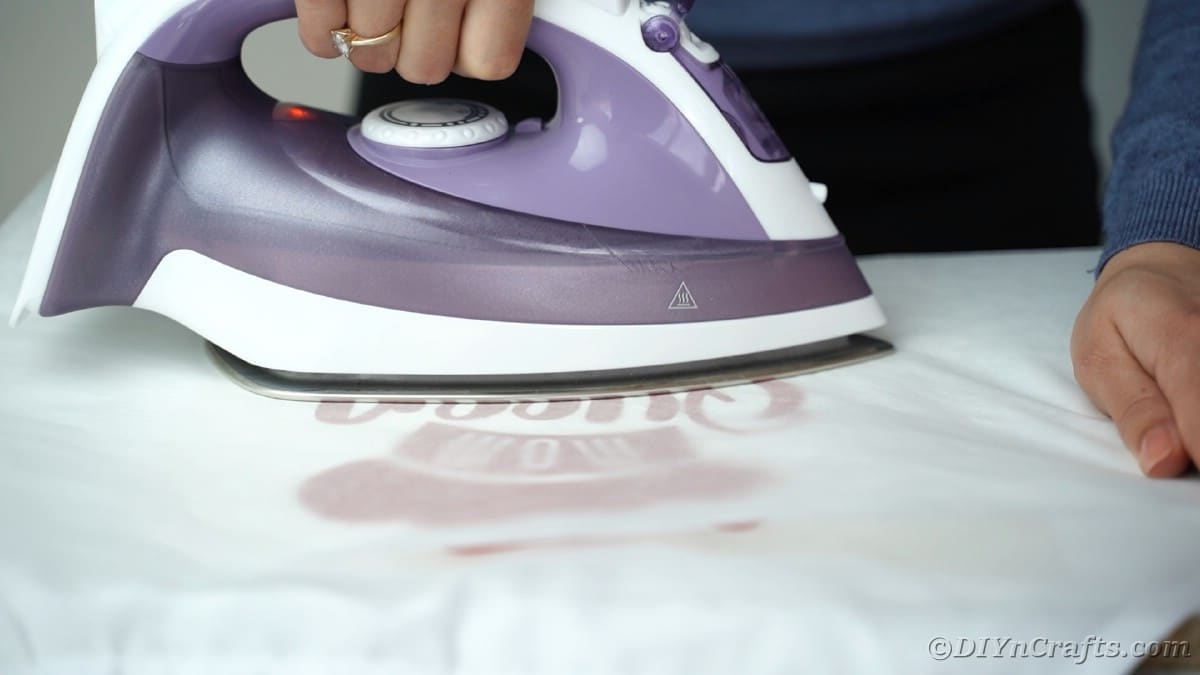
Place a piece of wax paper over the vinyl and transfer paper, then use the iron (or heat press) to heat onto the fabric. Leave the iron for 10 to 15 seconds on each section of the vinyl until all have been heated.
Carefully remove the wax paper and transfer paper from the apron leaving the vinyl attached to the apron.
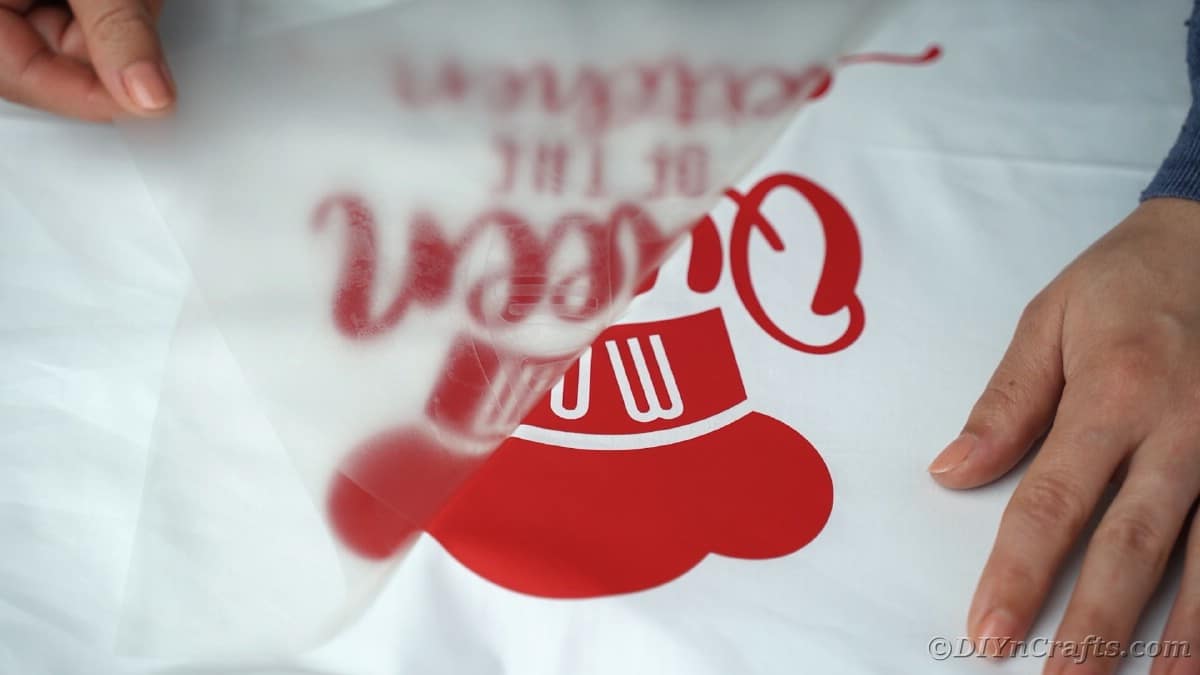
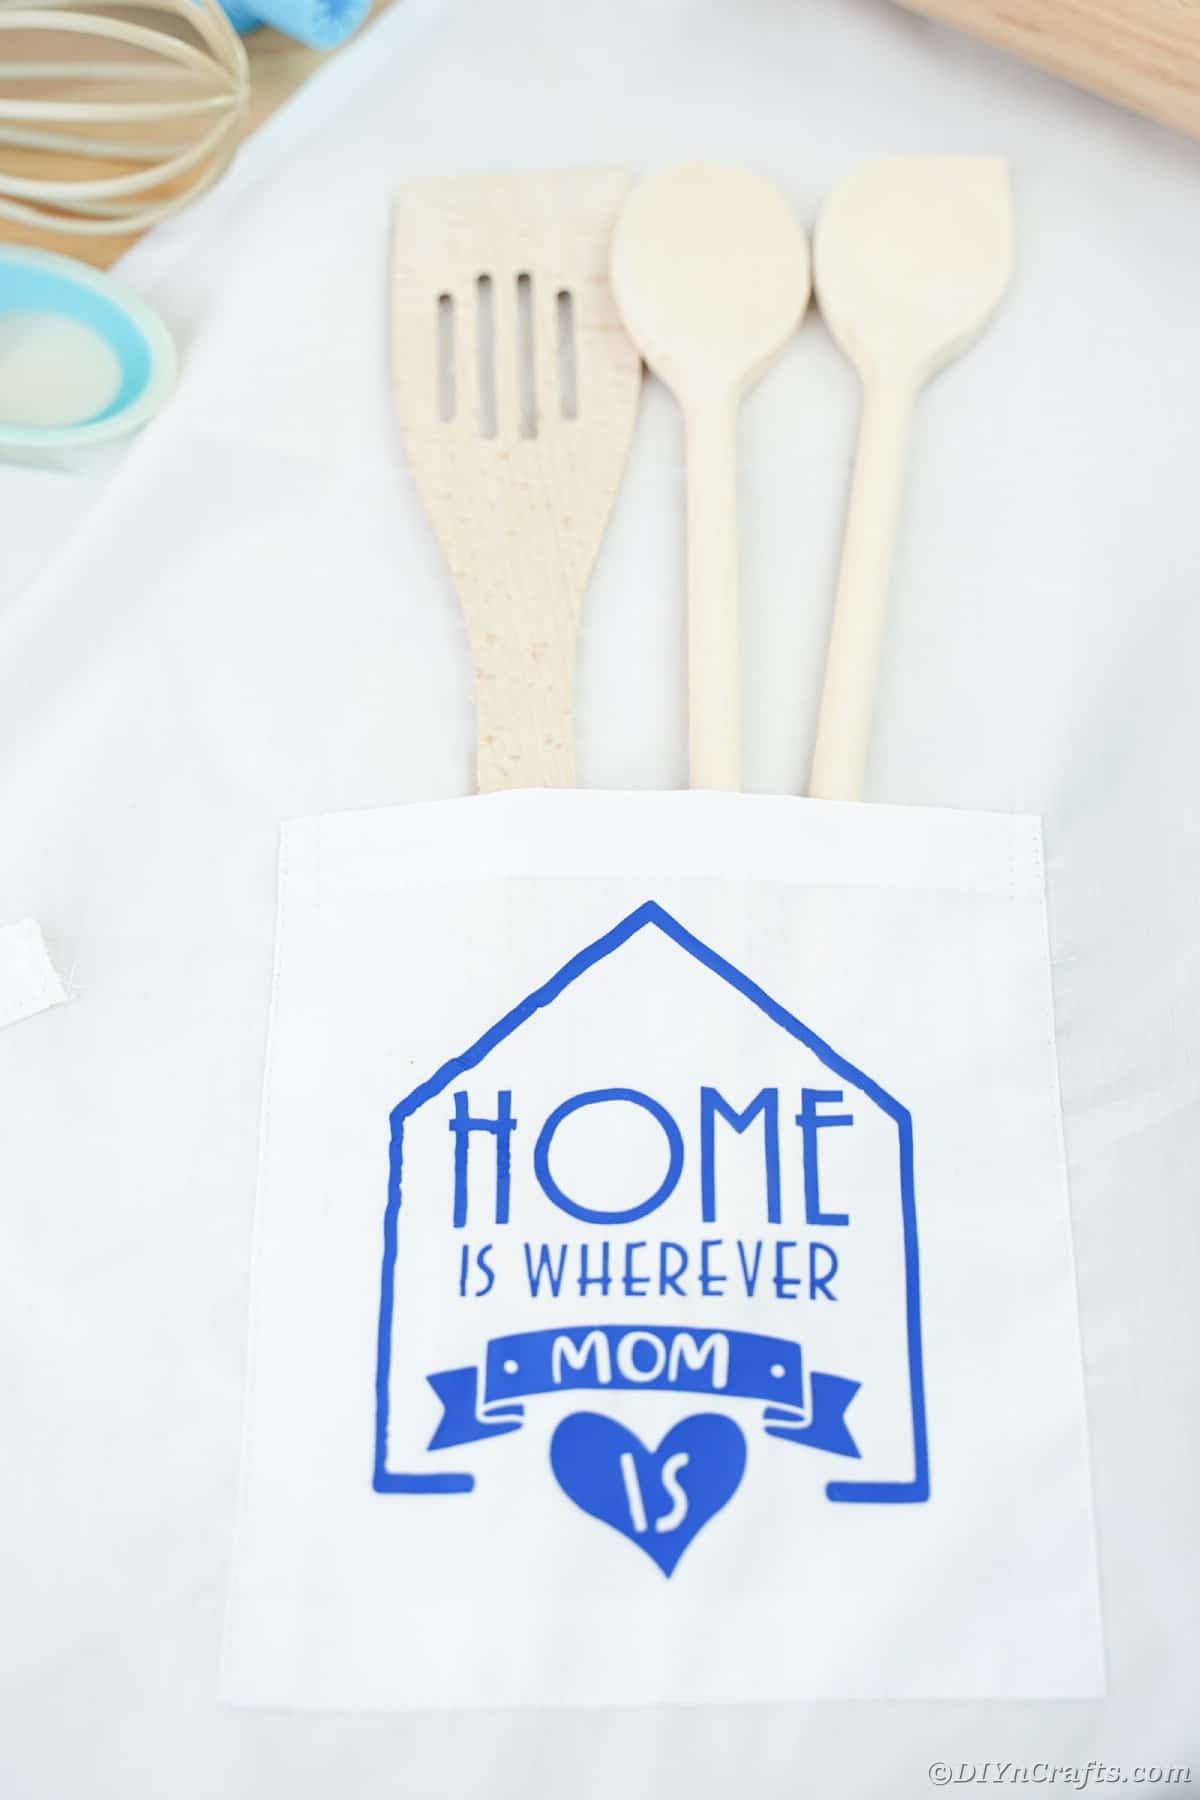
For the message on the pocket, repeat the same process of loading, choosing, cutting, and weeding.
Press the vinyl onto the pocket and iron it as before to seal it in place.
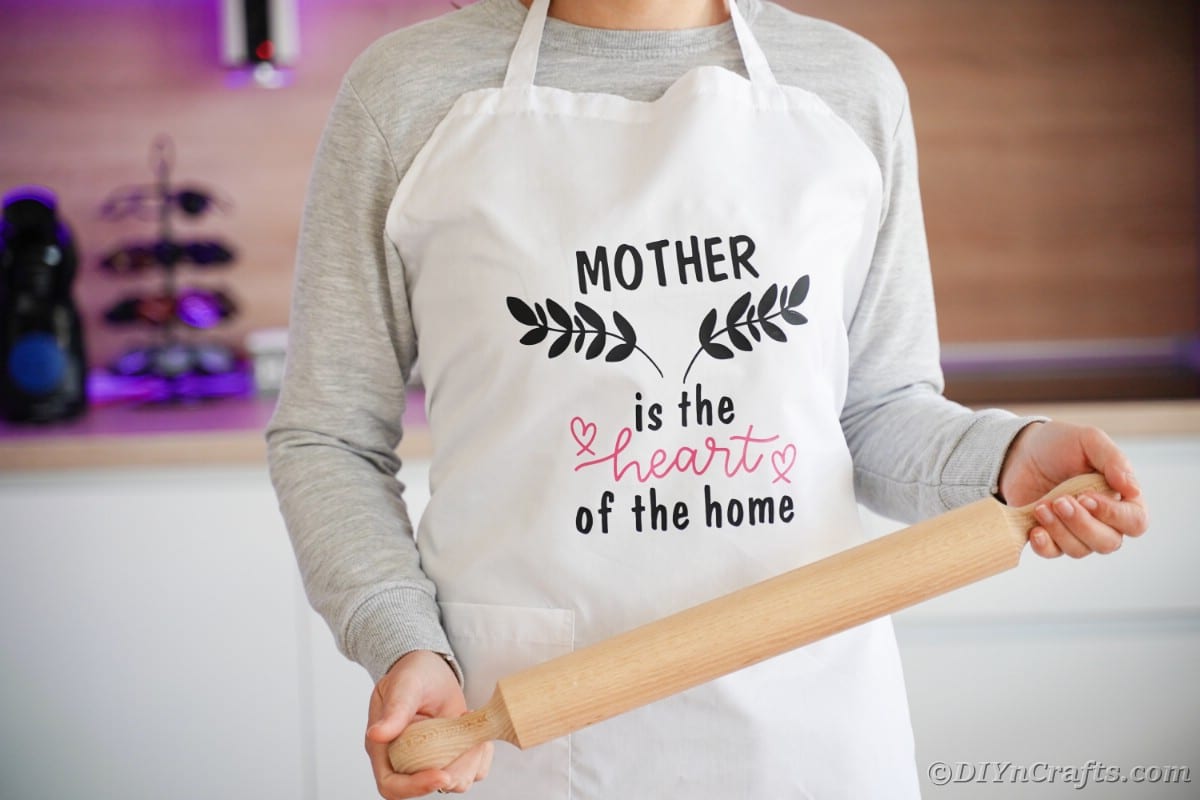
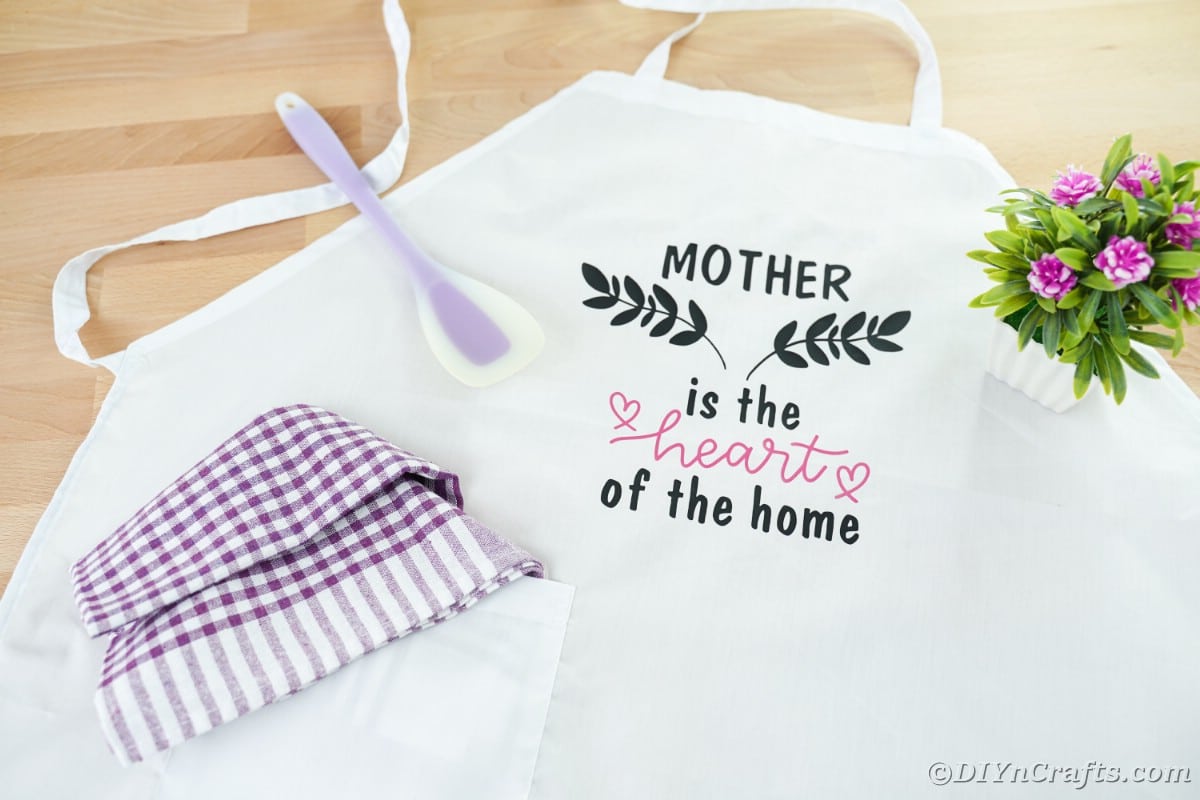
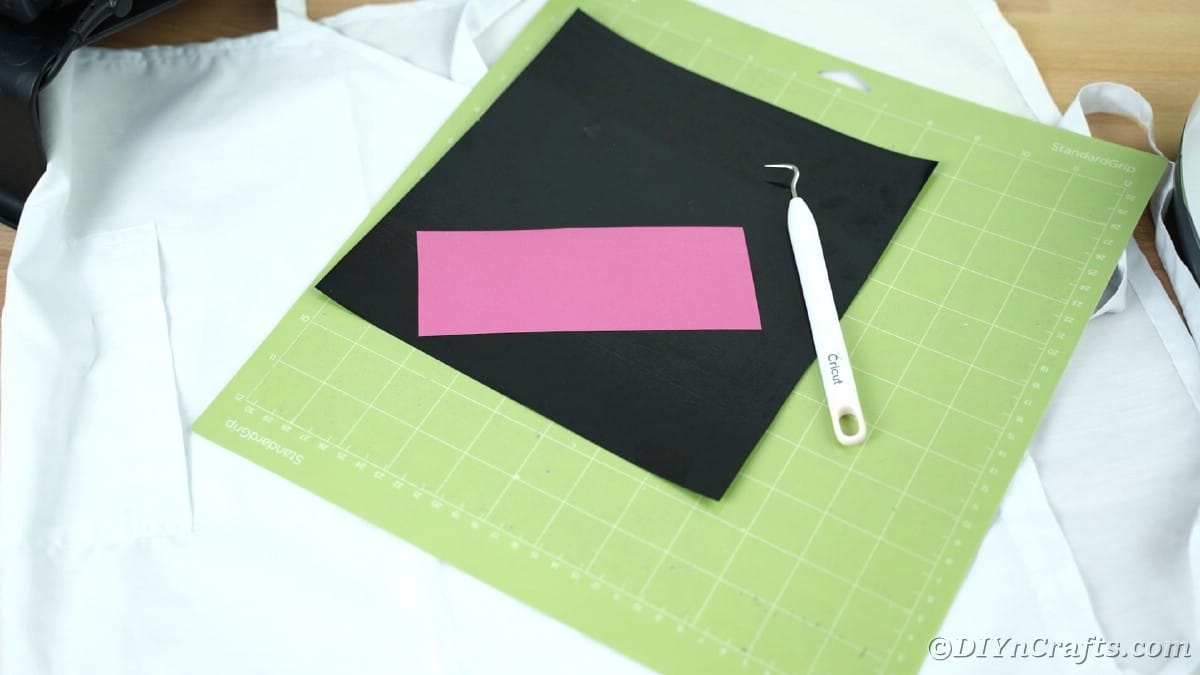
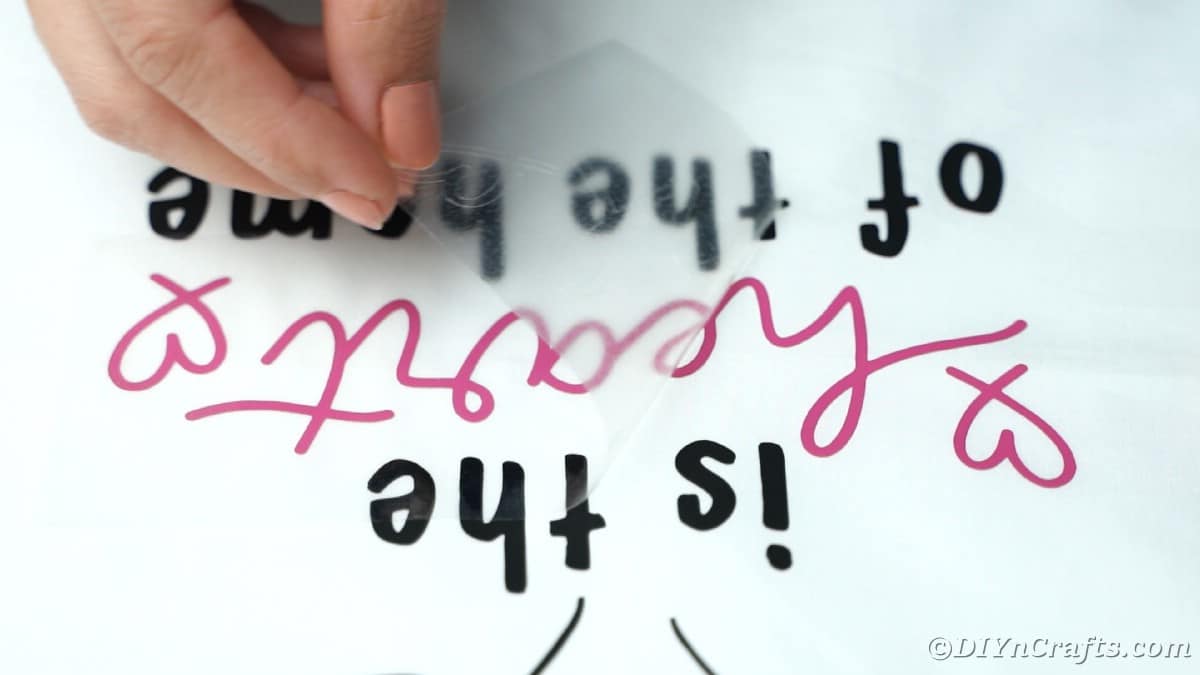
For the message with two colors of vinyl, you will repeat the same process but loading the mat with both the black and pink vinyl as shown.
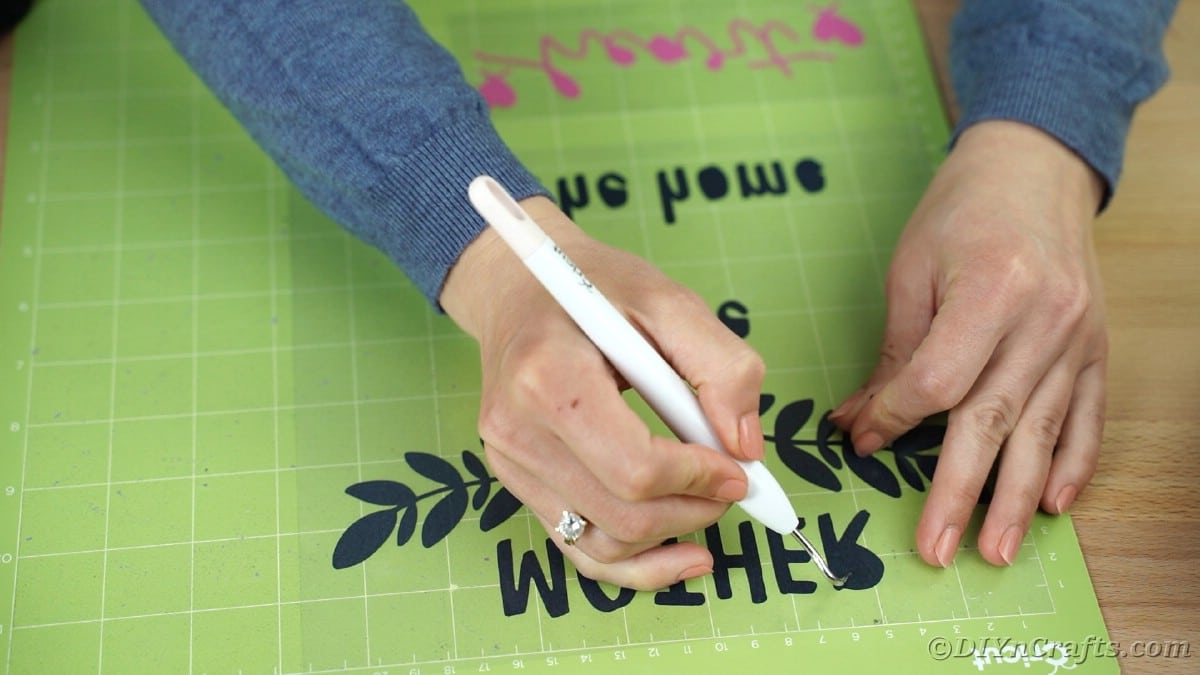
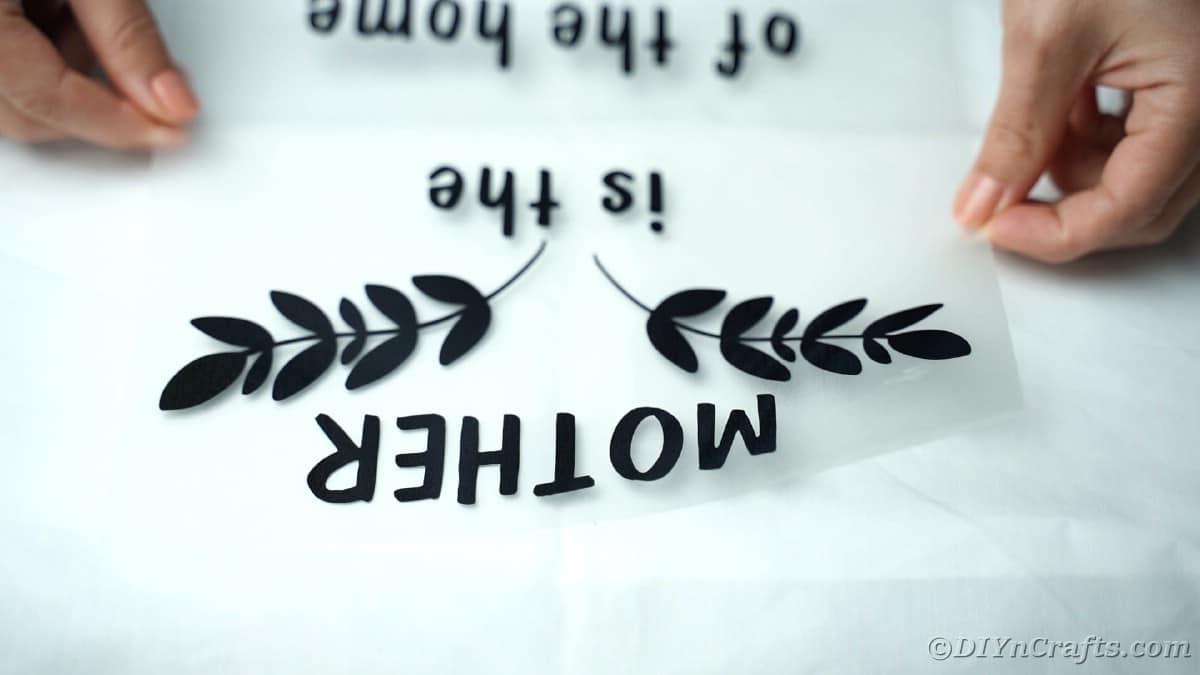
Then, when moving the vinyl to the apron, do so with just the black vinyl first. Iron and seal as directed.
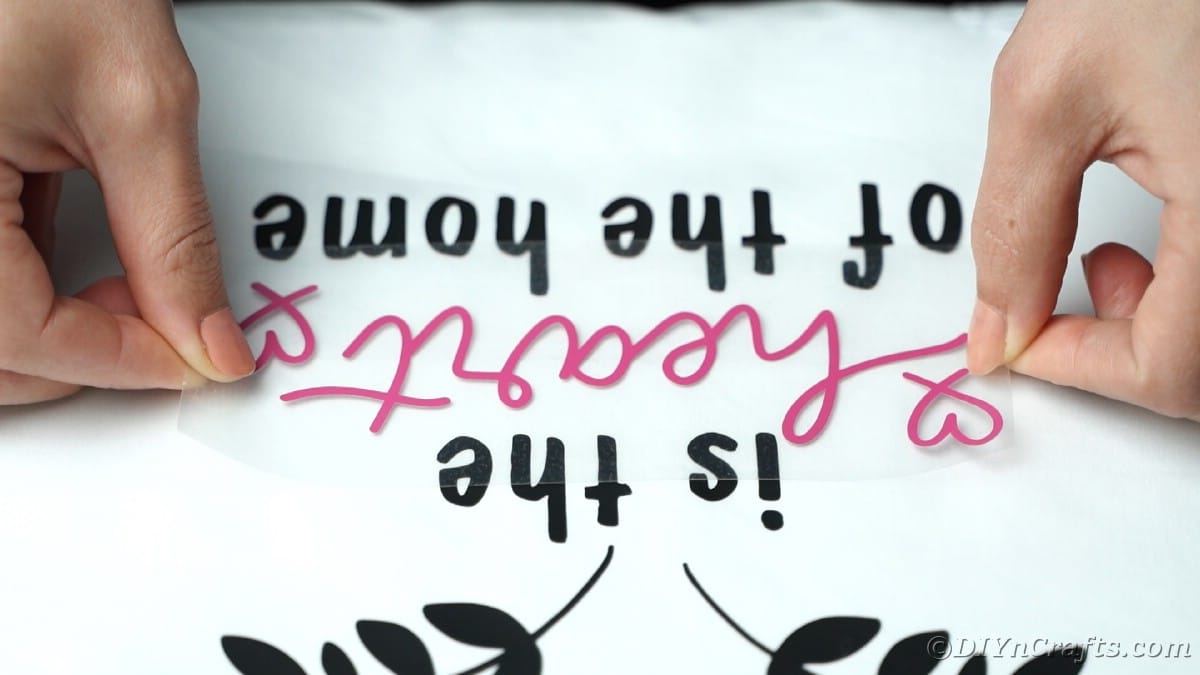
After it is in place, move the pink vinyl in place and iron in place.
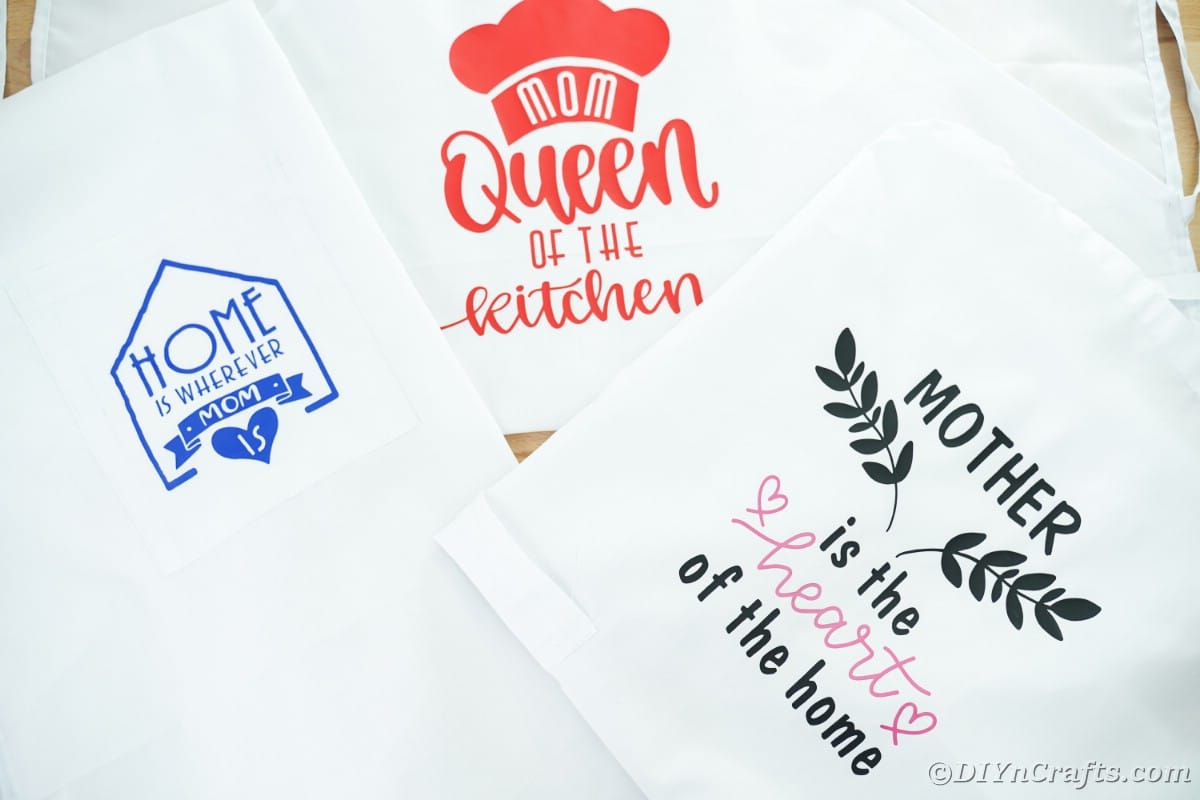
Gift or wear with pride.
More Mother’s Day Ideas
Mother’s Day is such a special time to share and celebrate the most important woman in your life. Finding just the right gift is a must, and this year, choose from this list to make that easier than ever. Whether you need something inexpensive, handmade, or a little of both, then check out the ideas below for inspiration!
Yield: 3
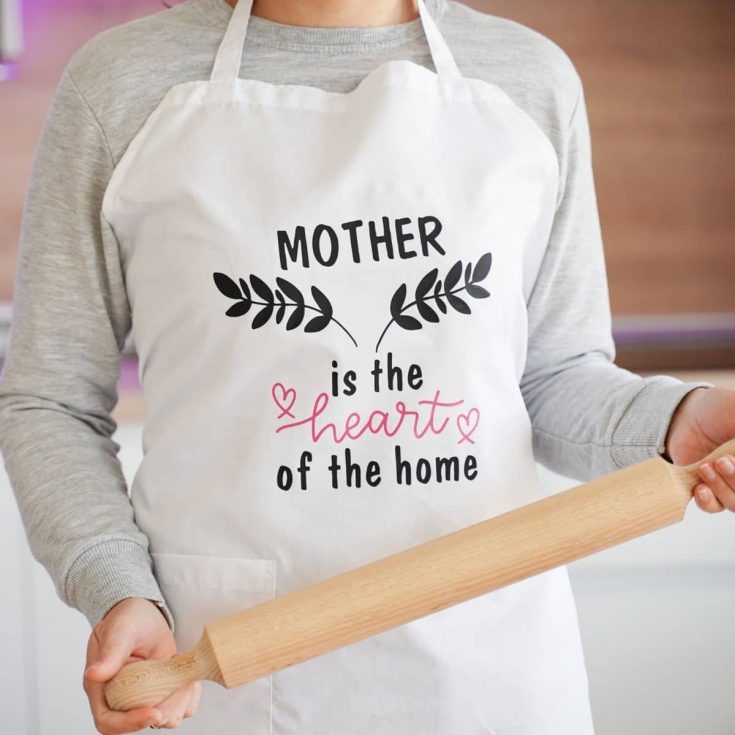
Gift your mom a beautiful apron made with Cricut vinyl! This tutorial includes 3 unique patterns that are gorgeous and easy to make for beginners!
Active Time
25 minutes
Total Time
25 minutes
Difficulty
Easy
Estimated Cost
$10
Instructions
- Load the SVG Cricut files into Design Space for the design you have chosen.
- Choose the appropriate material from the list.
- Place the vinyl onto the mat making sure the matte side is facing up and that it is placed into the corner and smooth.

- Load the mat onto the Cricut machine and follow the prompts as shown on the screen.
- Once the vinyl has been cut, remove the larger portions of excess vinyl and discard.
- Use the weeding tool to remove any remaining bits of vinyl in letters or around other parts of the cut message.
- Place a sheet of transfer tape over the top of the weeded vinyl and press well to seal against the vinyl.
- Gently remove the transfer paper from the mat bringing the vinyl with it.

- Place the paper onto the apron where you want the message to be and press down to smooth against the fabric.
- Place a piece of wax paper over the vinyl and transfer paper, then use the iron (or heat press) to heat onto the fabric. Leave the iron for 10 to 15 seconds on each section of the vinyl until all have been heated.

- Carefully remove the wax paper and transfer paper from the apron leaving the vinyl attached to the apron.
- For the message on the pocket, repeat the same process of loading, choosing, cutting, and weeding.
- Press the vinyl onto the pocket and iron it as before to seal in place.
- For the message with two colors of vinyl, you will repeat the same process but loading the mat with both the black and pink vinyl as shown.
- Then, when moving the vinyl to the apron, do so with just the black vinyl first. Iron and seal as directed.
- After it is in place, move the pink vinyl in place and iron in place.
- Gift or wear with pride.

Notes
For best results use a heat press in place of the iron.
Recommended Products
As an Amazon Associate and member of other affiliate programs, I earn from qualifying purchases.
Customize these messages with the colors of vinyl you prefer or think fit the mom in your life.
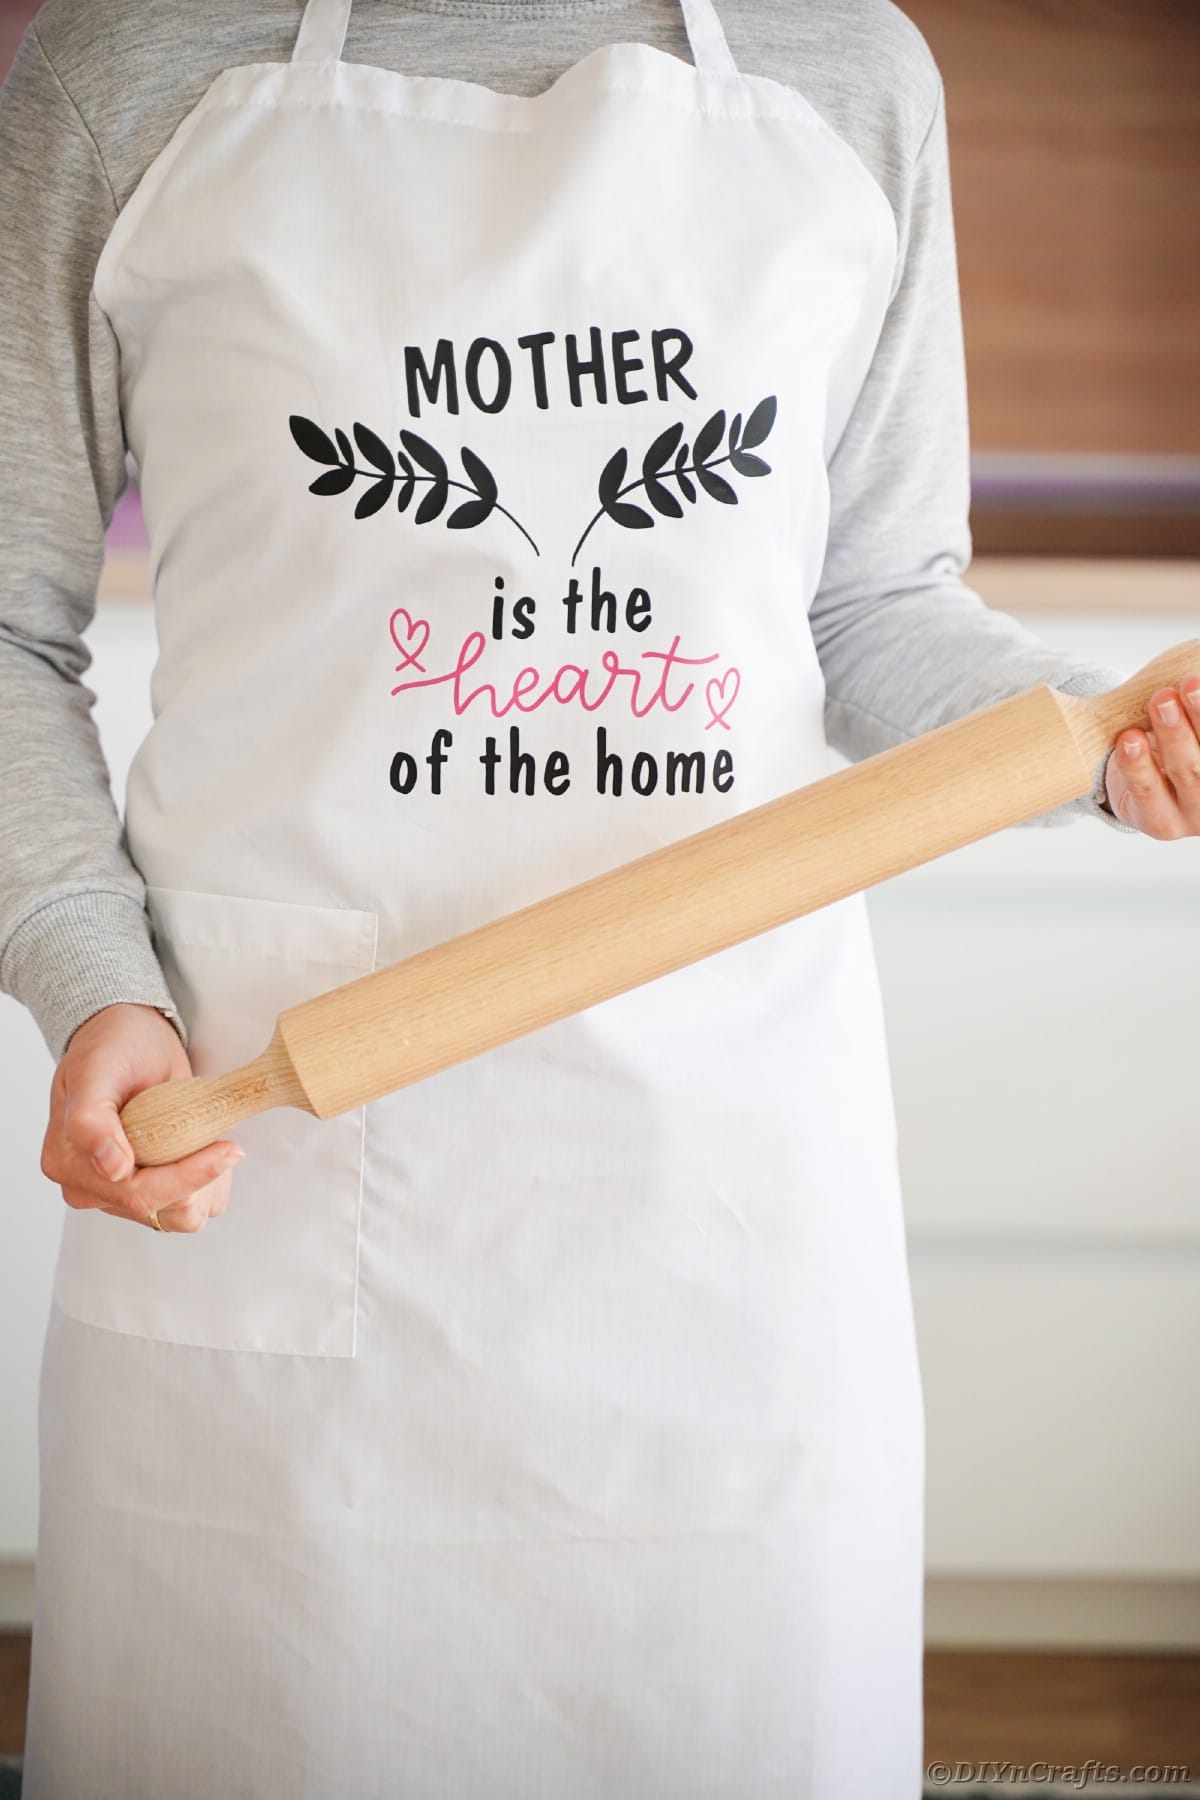
You can always put this on a t-shirt or a tote bag instead of an apron if you think that would be preferred.
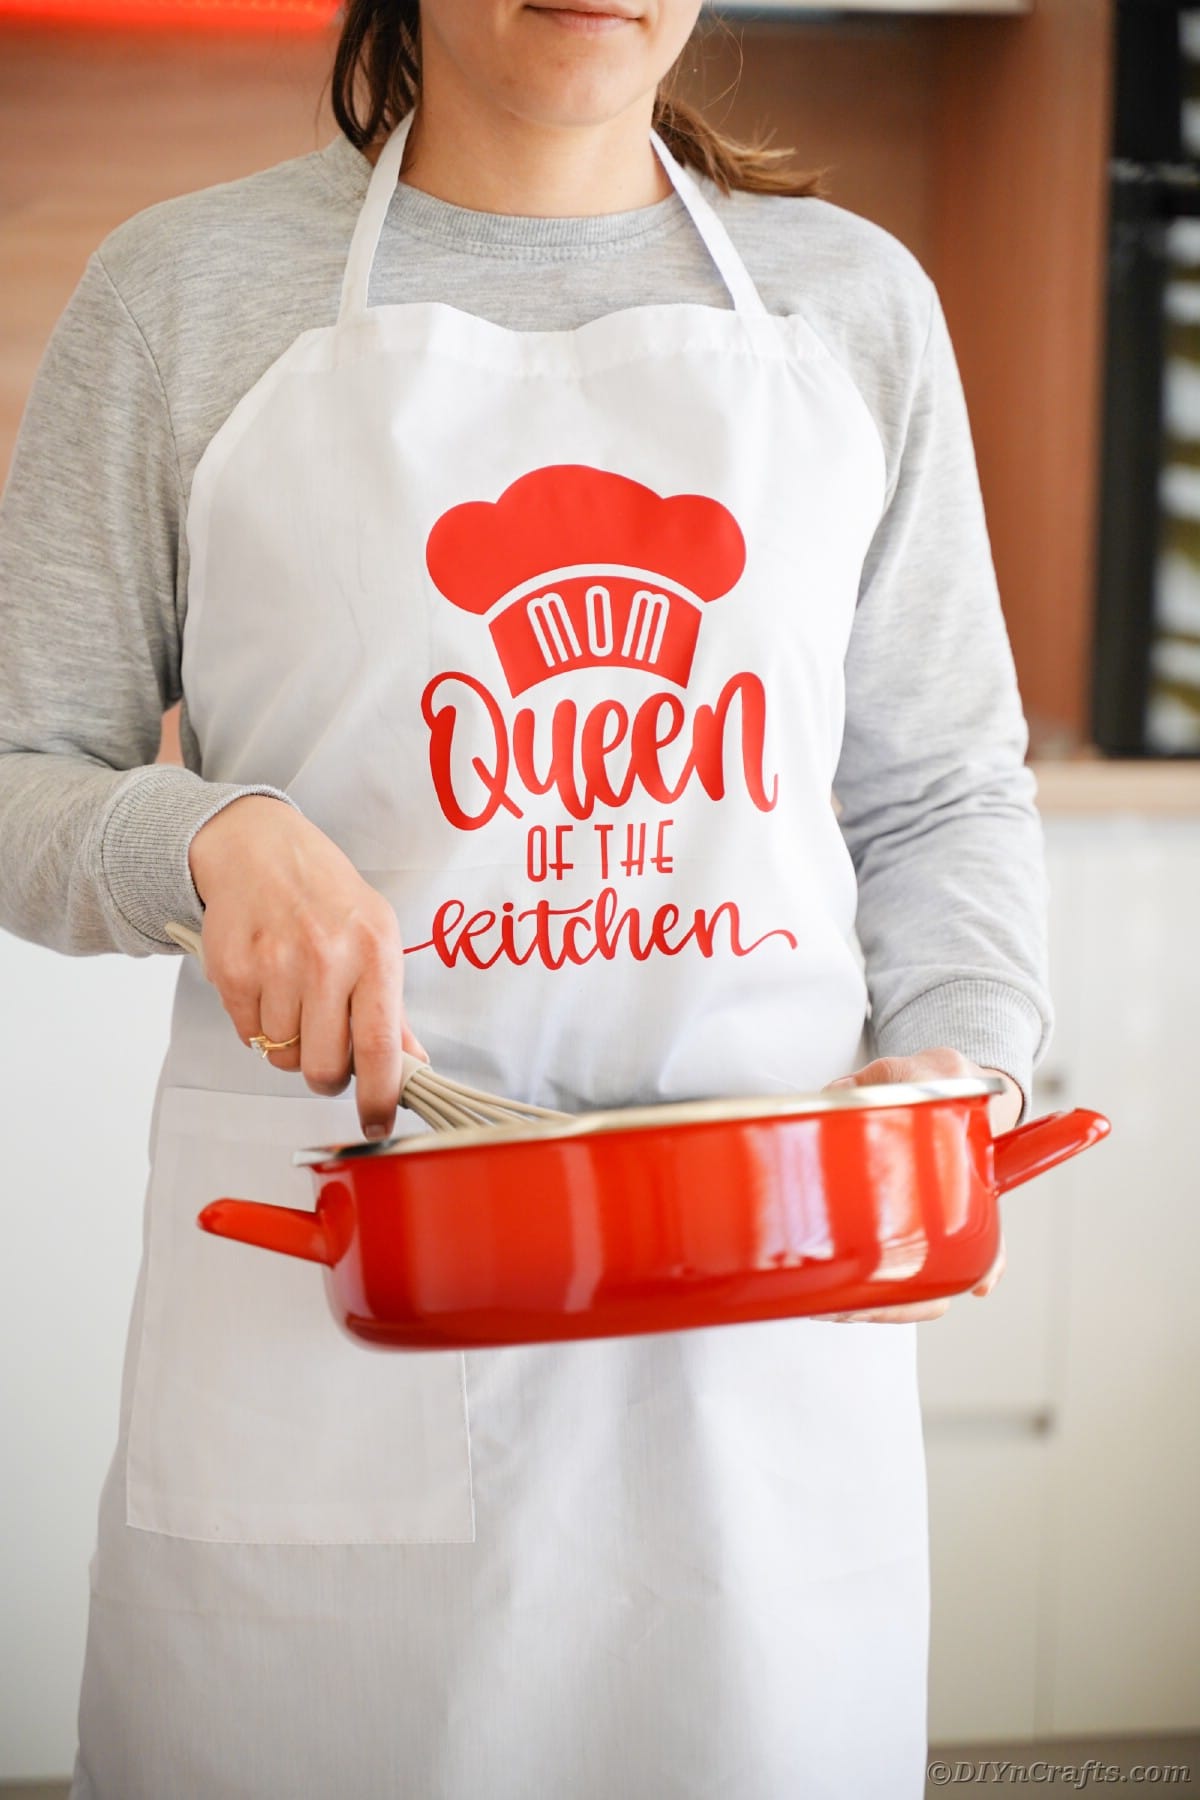
Of course, I like the idea of these on a chef hat too!
[ad_2]
Source link

