Interested in some of the top tips for composting chicken manure to use in the garden? You’ve come to the right place.
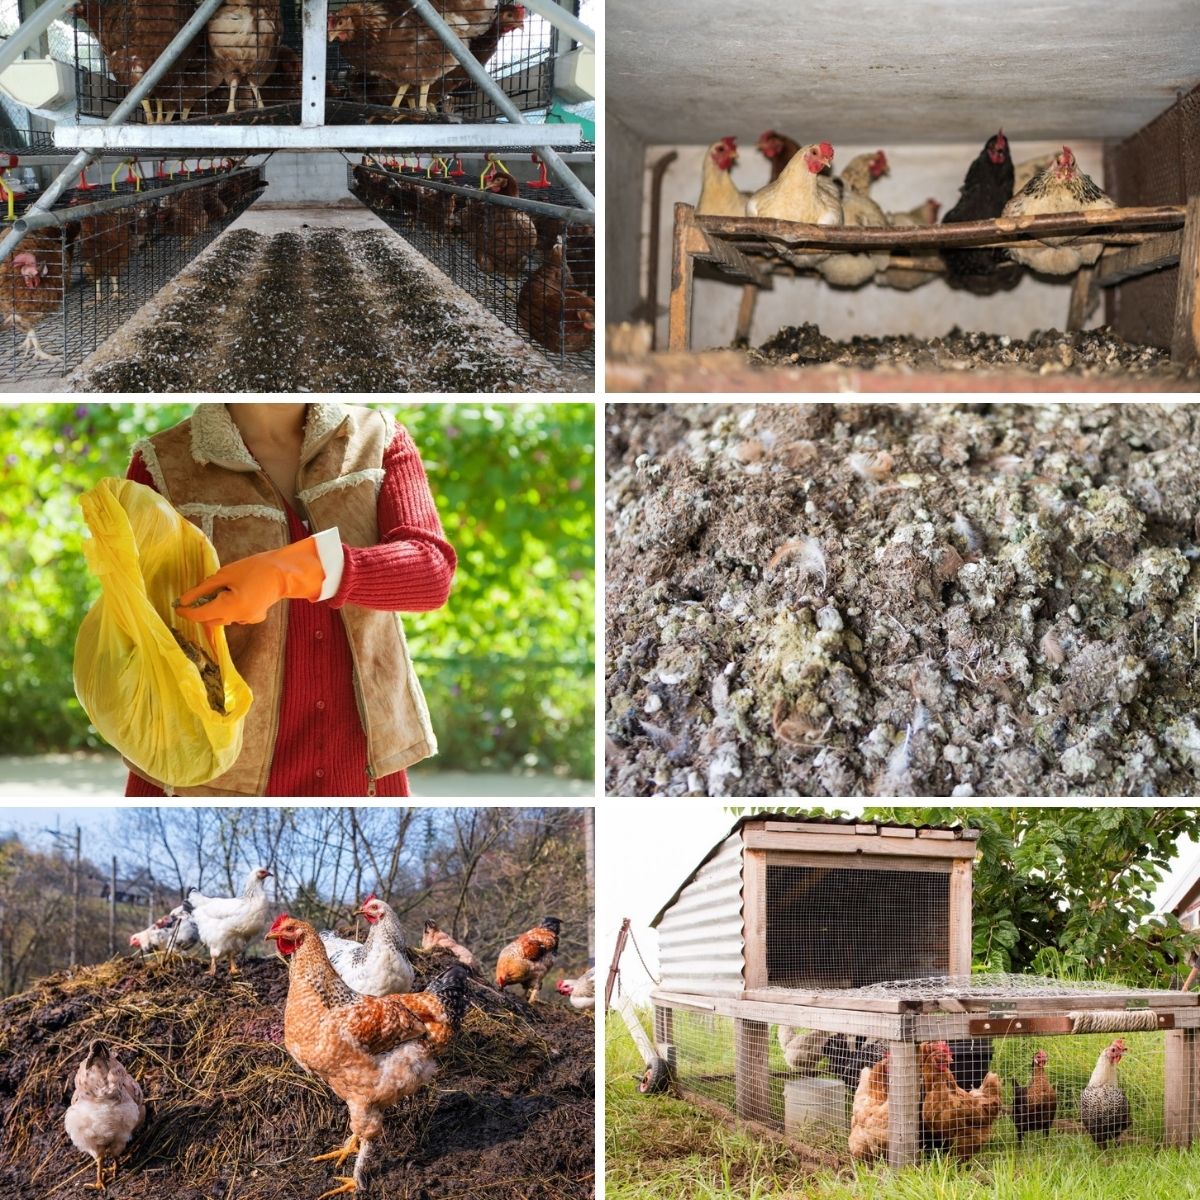
Chickens are often kept for their primary uses of eggs laying and meat, but they have a secondary use as well which is not as commonly known—their manure makes great garden compost. While some may see their chicken’s waste as an extra chore—especially when you are actively shoveling it out of their coop—others see this as an opportunity to reuse what is readily available to improve the quality of their garden crops.
However, chicken waste should not be used in its raw form to fertilize your garden; instead, it should be composted properly to ensure no damage comes to your plants and no diseases are passed to you when you eat your produce. The composting process is fairly simple, and it is an effective way to make sure you and your plants stay safe when using chicken waste. If you’re looking for ideas for building compost bins, then we have them in spades, and while you’re composting, here is a list of things you should and shouldn’t add to your pile.
8 Tips for Composting Chicken Manure
Composting chicken manure—while complex on a biological level—is a simple task that any gardener should be able to tackle. Chicken waste by itself is already fairly safe, but the composting process is important in making sure it is absolutely safe before using it on your crops. When composting your chicken manure, there are a few steps that will help make your life easier throughout the process.
1. Use the Bedding
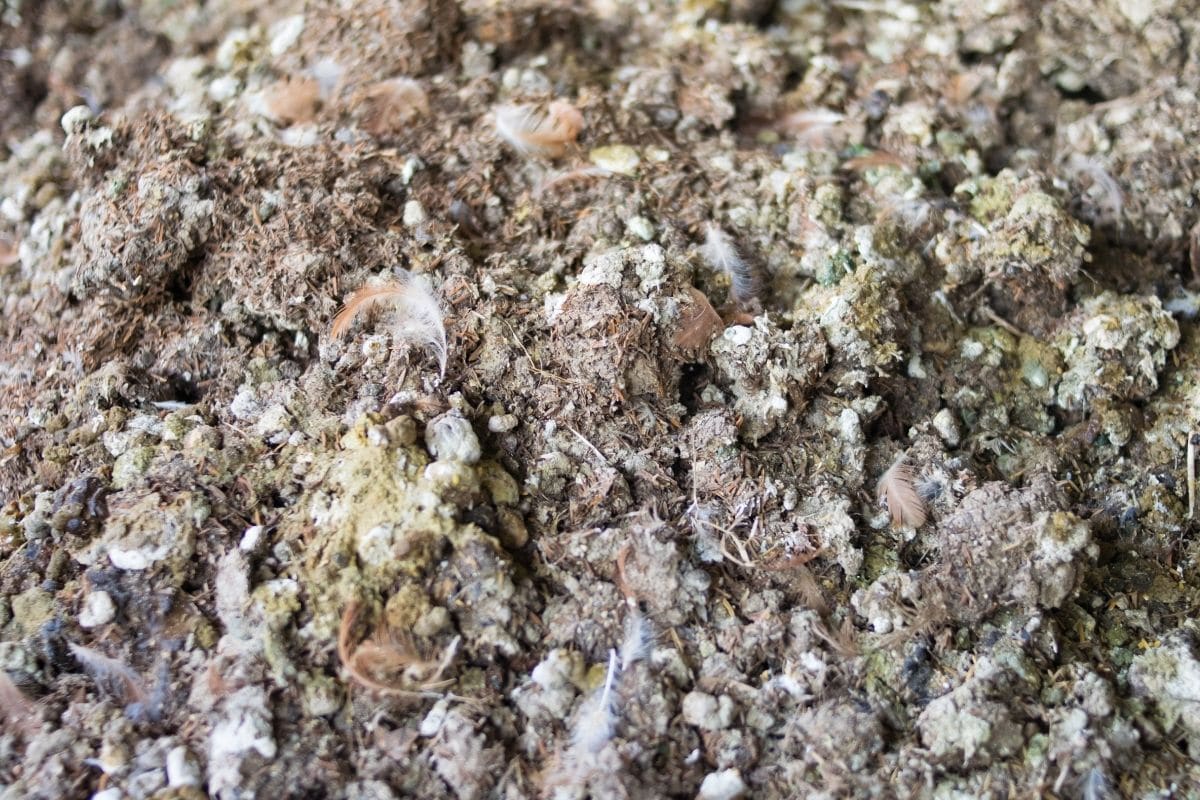
When scooping out chicken waste from your coop, there is no need to try to separate the waste from the bedding; the bedding is actually a crucial step in the composting process if the right bedding is used. When choosing bedding for your chicken coop, you will want something organic—such as wood shavings—which will aid in the composting process.
To create your compost, you will need somewhere between 50% waste and 50% other organic materials to 25% waste and 75% other organic materials. The bedding will count towards your other material; in fact, if you need more material to add, additional bedding is often a good choice followed by grass clippings, straw, or hay.
2. Monitor Temperature
When composting manure, it is important that your compost reaches temperatures between 140 and 160 degrees Fahrenheit for at least three days to ensure that harmful pathogens are killed before use—this process is known as hot composting.
Although chicken waste is generally much safer than human or other animal waste, there is still the potential for E. coli and Salmonella pathogens to make their way into the manure, making the heating process of crucial importance.
Checking the temperature of your compost throughout the process is easy, and it is most commonly done with the use of a composting thermometer. A composting thermometer only differs from a traditional thermometer in the sense that it displays a “safe” range, taking the guesswork out of reading the results. When using a thermometer, it is best practice to keep a log of temperatures to ensure you have sufficient time in the 140- to 160-degree heat range necessary to kill certain bacteria.
3. Curing
There is another important step that helps make sure that your chicken manure compost is safe for use in the garden—while not all chicken waste contains harmful bacteria, it should always be treated like it does. Curing your compost is the final step and uses time to make sure any harmful pathogens are no longer alive. Even after the hot composting process, there is the potential for some bacteria to be left lingering.
The ideal length of time to cure your compost is at least 120 days—although many gardeners claim as low as 80 days. Curing the compost is as simple as leaving it covered in a pile for a certain amount of time. You can even choose to spread your compost over your garden right away, just be sure to not harvest any produce before the curing window is complete.
4. Using Bins
One way to set up a composting area if you do not want to dedicate a section of your land is through the use of bins or totes. When using bins, make sure they are large enough to account for the waste—along with any bedding that comes with it—and additional organic material required for the composting process. You will also want to make sure there is enough room in your bins to turn the compost as oxygen will need to be added periodically for the composting process to work properly.
Many gardeners who use this composting bin technique have a secondary bin that is designed specifically for the curing process. Once the compost is ready, they will move it over to the second bin and cover it for approximately 120 days until the curing cycle is complete. A tip when using bins is to create a base with wheels that the bins sit on so you can easily wheel it around your garden when it is time to spread compost.
5. Deep Litter Method
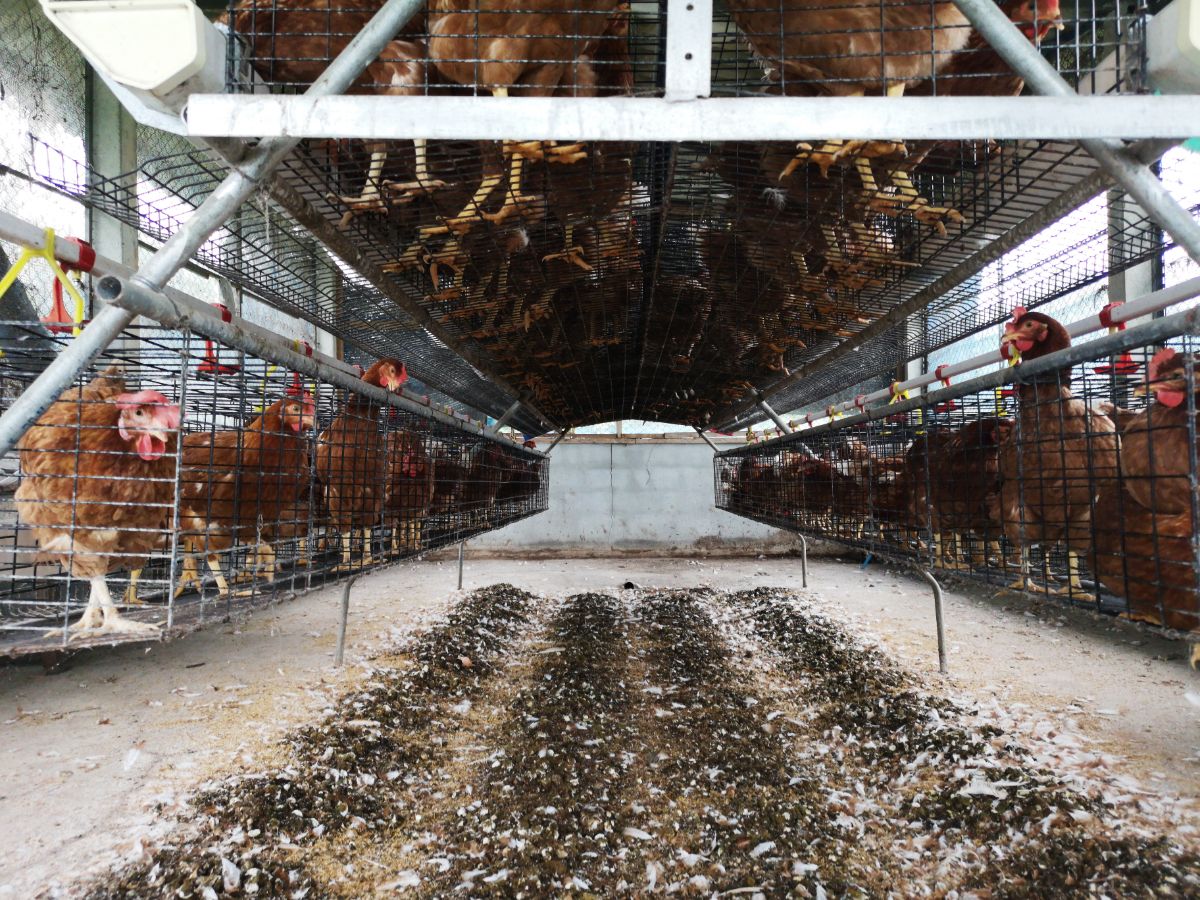
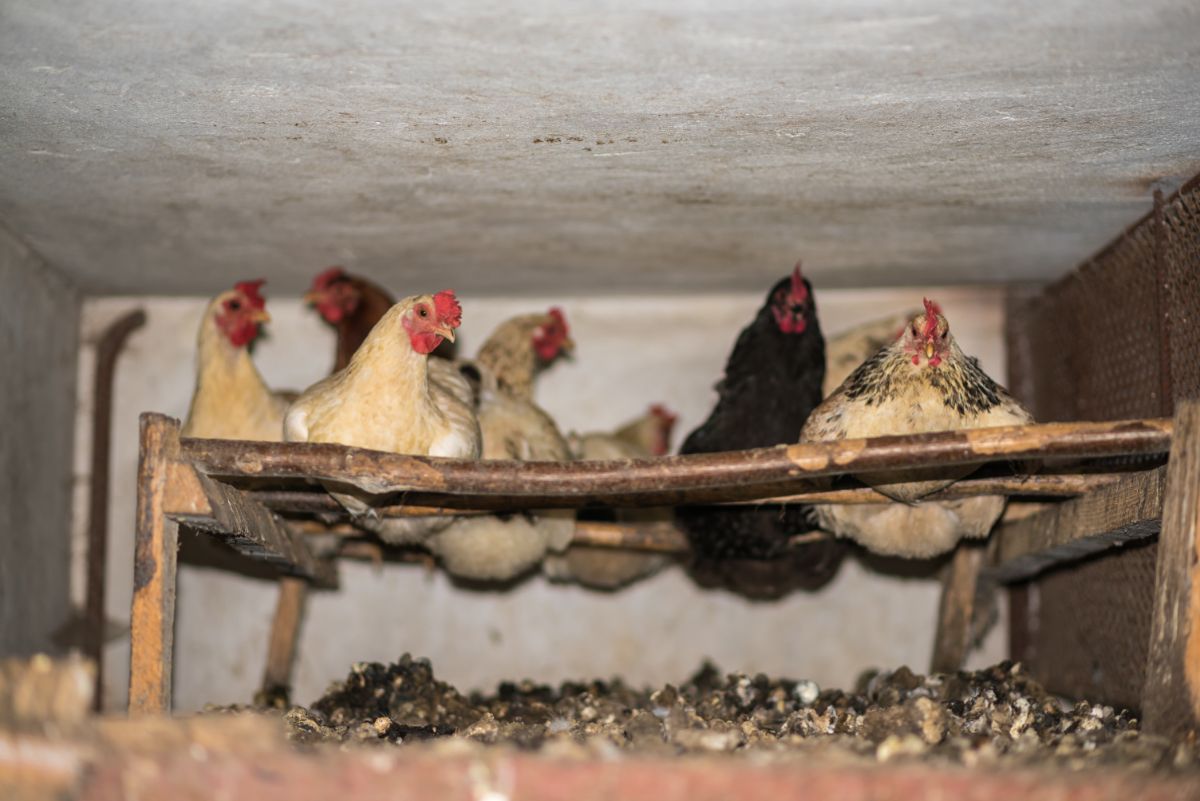
A different method of composting your chicken waste is by utilizing your chickens’ house to act as a composting bin itself using the deep litter method. This composting method involves adding additional layers of bedding over the old layers as they become too dirty.
The under layers will start to compost using the old bedding as your organic material and the chicken waste as the nitrogen component. As the chickens move around and peck at scratch, they will turn the contents of the compost, adding the oxygen required for the composting process.
Using the deep litter method for composting chicken waste is a great tip for the chicken owner who doesn’t have additional space for a composting pile or bin. By using this method, you will only have to scoop out the compost once or twice a year. Many gardeners will take the compost and add it directly to their garden from the coop; however, it is still recommended to account for a curing period before harvesting any produce upon which the compost was used.
6. Compost Away From Your Coop
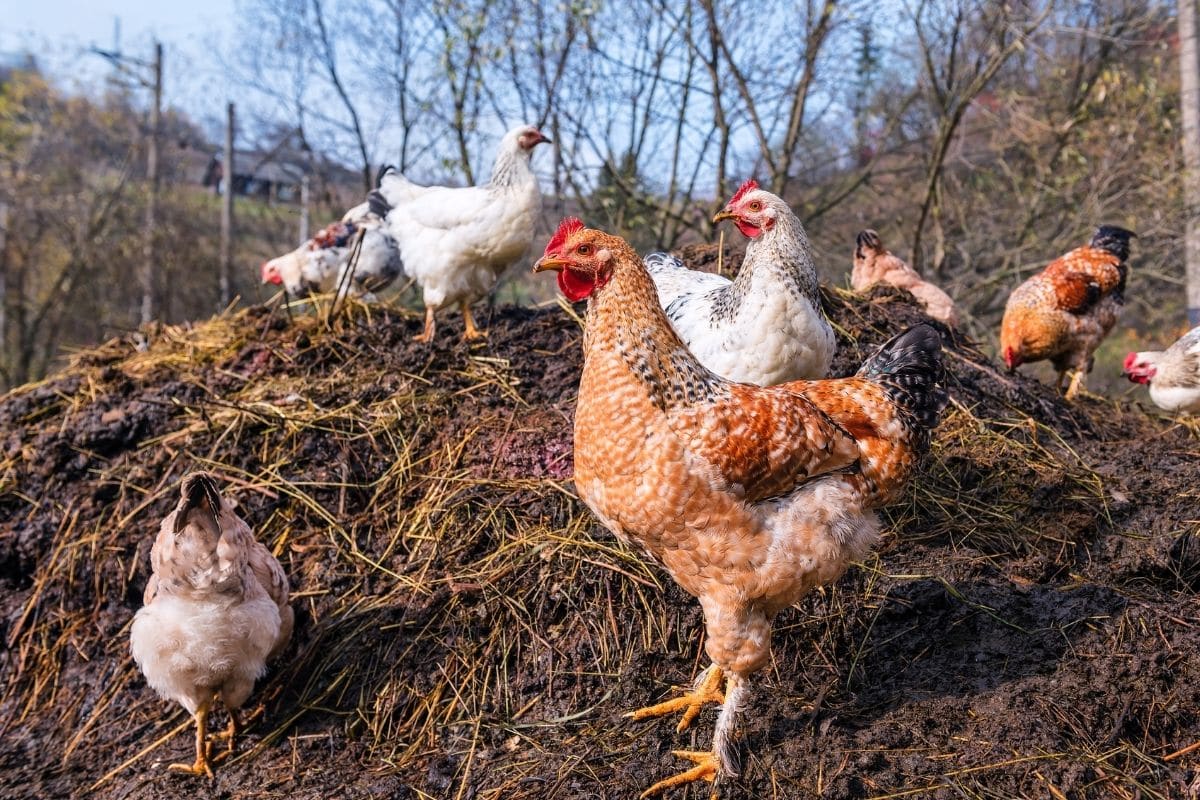
If you are not utilizing the deep litter method and are creating either a composting pile on your property or composting bins, it is a good idea to keep the compost away from your chicken coop. Compost has a tendency to attract certain animals and rodents who may harm your chickens if given the chance.
Compost piles may also have an odor during certain cycles of the composting process, so you will probably want to keep the setup away from your house as well. Many people resolve the odor issue by using a covered composting system.
7. Wear Gloves
When working with any manure products, it is always recommended to wear gloves throughout the entire process. Although the composting process generally eliminates any harmful bacteria, there is always a chance that some are left behind. After the curing process has taken place, your composted manure should be safe, but it doesn’t hurt to wear gloves if you have them around.
8. Wash the Produce You Grow
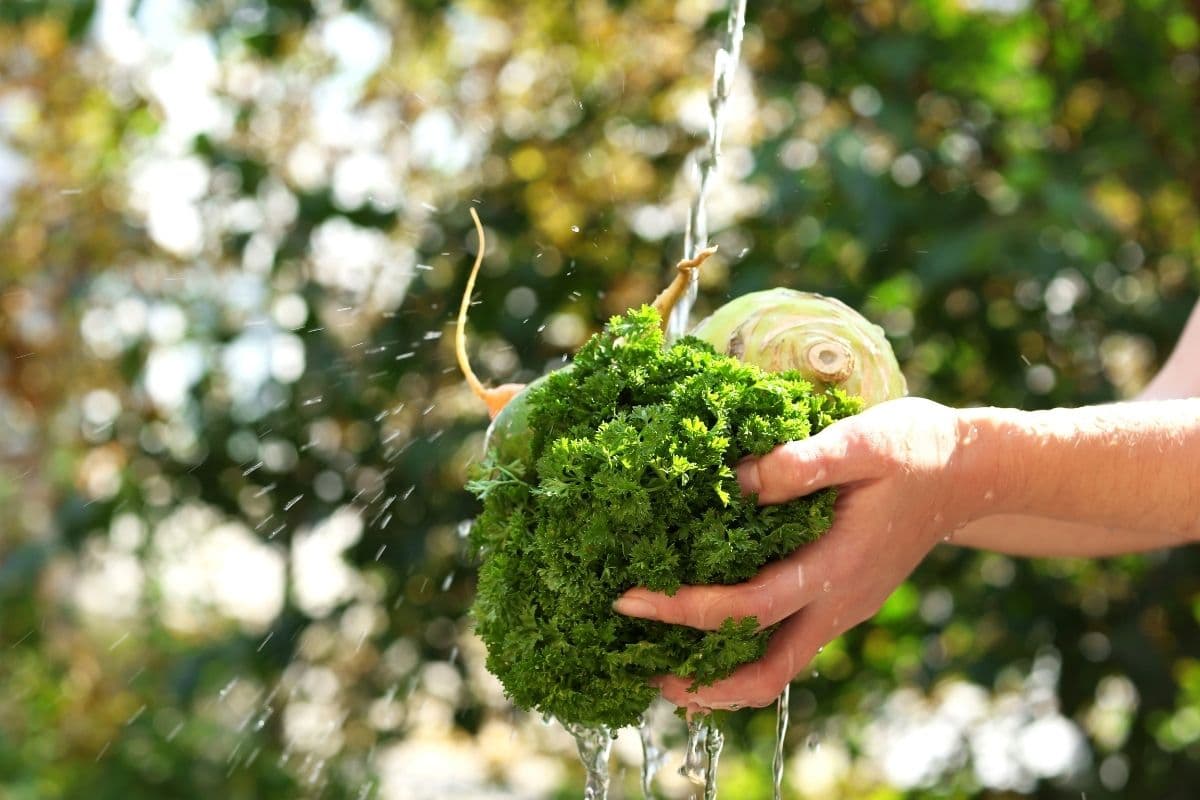
For the same reason why it is important to wear gloves when working with produce, it is always a good idea to wash produce that comes out of the garden if manure is used. The composting and curing processes are generally sufficient in getting rid of pathogens, but there may be trace amounts still left behind.
While these trace amounts may not cause harm to a healthy individual, those who have weakened immune systems should be especially careful to avoid any E. coli or Salmonella bacteria. As a general rule, consider washing any produce that comes from your garden.
The Benefits of Using Composted Chicken Manure in Your Garden
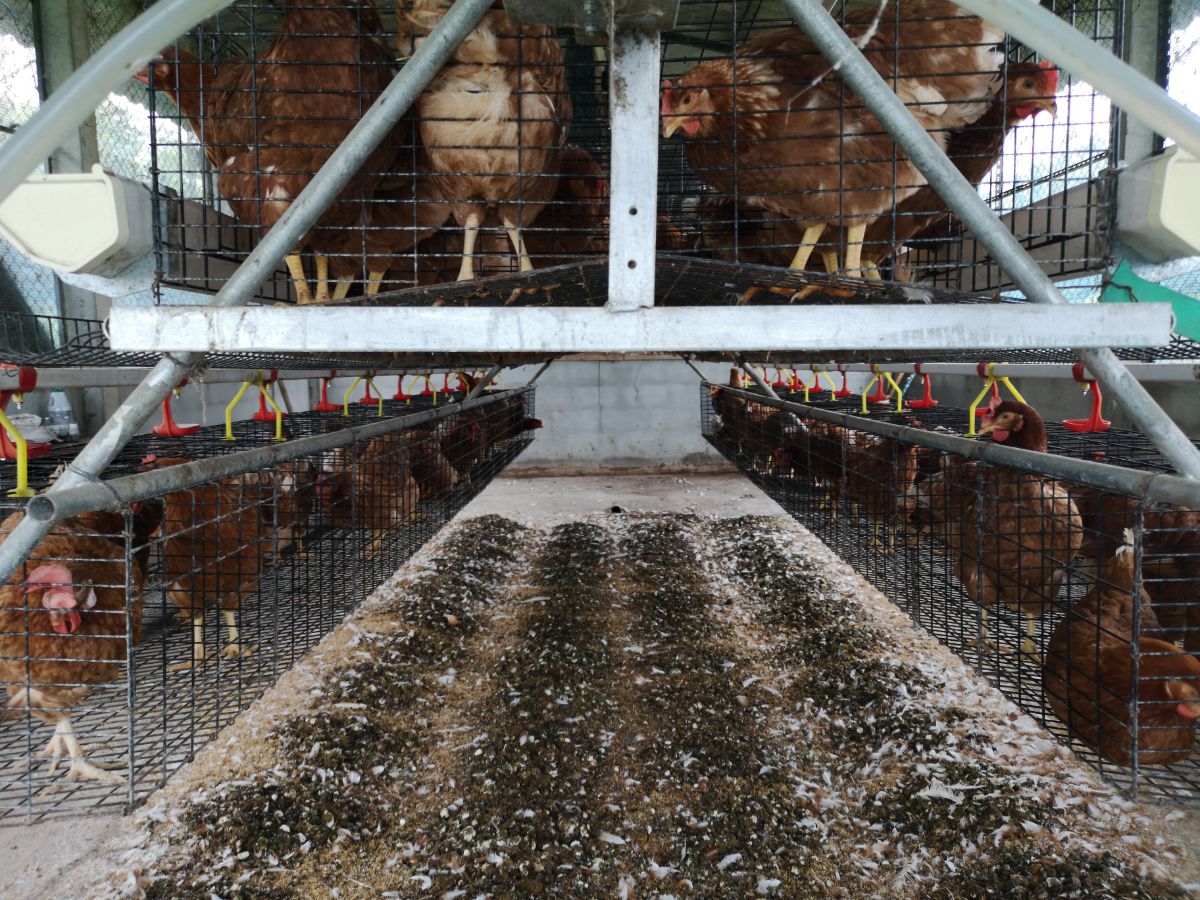
There are several reasons why you should consider using your chicken manure as compost in your garden. Particularly if you already have chickens, there are only a few steps involved in creating and using the compost, and the benefits seem to outweigh the work in most circumstances. Here are some highlighted benefits that you get from using chicken manure compost.
High in Nutrients
Homemade chicken manure compost is very high in nutrients and can greatly increase the health of plants that are grown in it. In particular, chicken manure is higher in nitrogen, potassium, phosphorus, and calcium when compared to most other types of manure and also contains magnesium and sulfur. In many cases, your chicken manure will be better for your plants than a store-bought fertilizer, and it’s cheaper too!
Many gardeners apply some kind of fertilizer or manure to their gardens to add nutrients to the soil. Instead of driving to the store to purchase fertilizer or manure, you can save money by using what you already have in your backyard—assuming you already have chickens.
As previously mentioned, chicken manure can be even better than store-bought as is. It’s not unheard of for a gardener to raise chickens for the primary purpose of creating compost with their waste—they of course get to reap the other benefits that come along with keeping chickens as well.
Allows You To Water Your Plants Less Often
An added benefit to using composted chicken manure in your garden is that you may not need to water your plants as often. Adding organic material to your garden soil can increase its water-holding capacity, meaning that water will remain in the soil for longer periods of time. In some cases, this can be bad for your plants, but in most cases, the extra availability of water simply means you don’t have to get the hose out as often.
Helps Keep Waterways Clean
By using your chicken manure as fertilizer on your garden, you may also be helping to keep your waterways clean. Not only are you using waste that would otherwise have been tossed out—potentially ending up in a waterway—but you are reducing erosion potential in the soil you add it to. When the soil is less likely to erode, there is less chance for the fertilizer and chemicals to leach into nearby waterways.
How to Use Your Composted Chicken Manure
Now that you’ve composted your chicken manure, how and when do you use it? It is generally recommended to add compost to your garden soil in the spring before planting has started. It is easiest to work the compost into the soil before planting has started; however, compost can be added afterward if necessary.
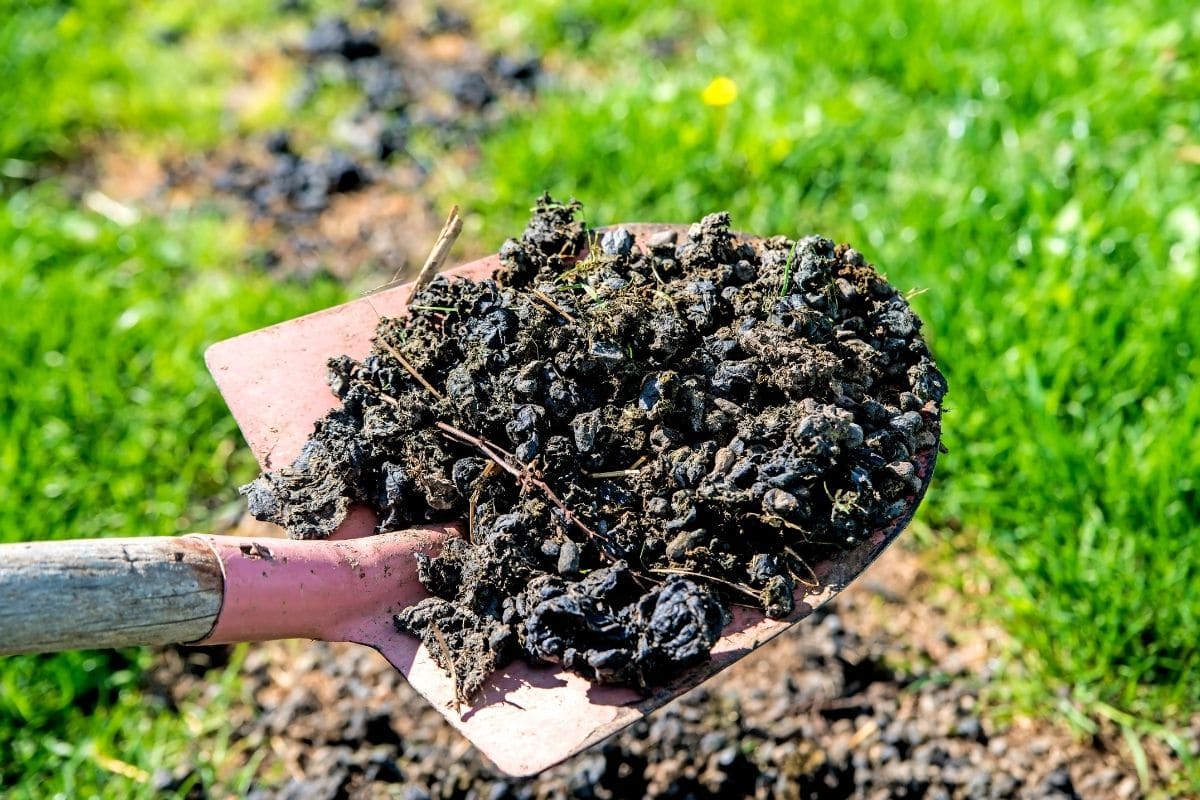
If you are adding compost before you have done your planting for the season, add around three to four inches of your compost over the soil, then use a shovel or tilling tool to work the compost into the top six inches of soil. Depending on the size of your garden, you may want to consider using a tilling machine to accomplish this task, as it can be time-consuming. Don’t forget, once you start planting in the compost/soil mixture, be sure to wear gloves, especially if your compost has not been through the curing stage yet.
If you are adding your compost to the garden after planting as occurred, you may only want to add one to two inches of compost so you don’t overwhelm your plants or cover them too much. If you can, attempt to work the compost into the soil, being careful not to harm any plants. Even if you are not able to work the compost in, the nutrients will eventually leech into the soil over time with the help of watering and rainfall.
Now that you know these top tips for composting chicken manure to use in the garden, you’re ready to go – and get planting!


