[ad_1]
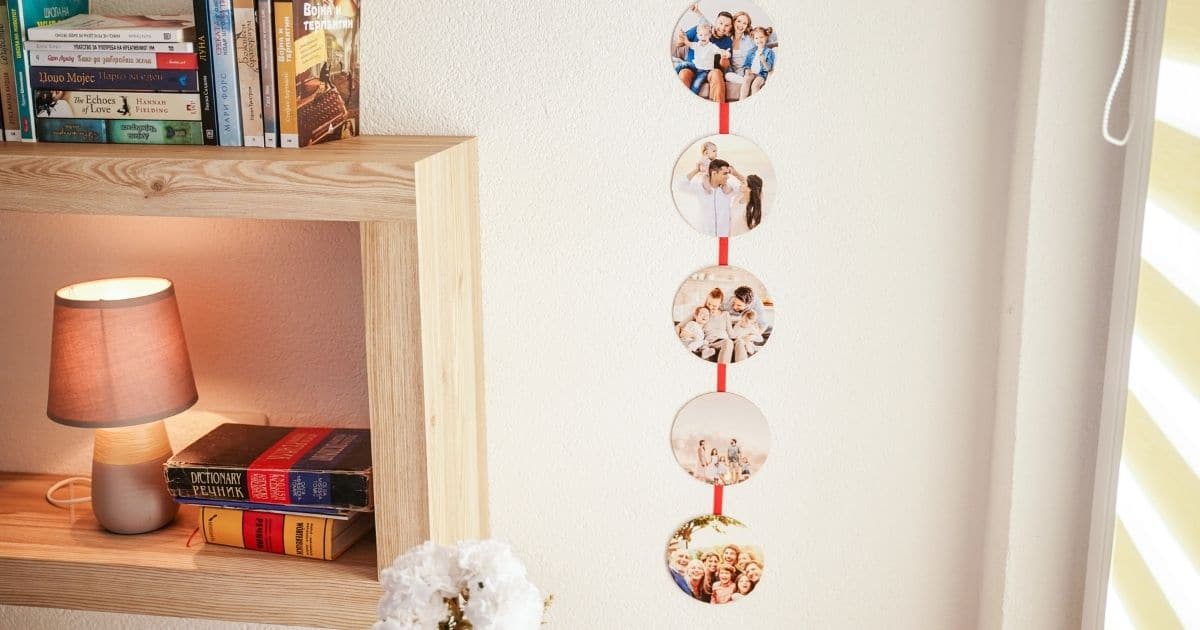
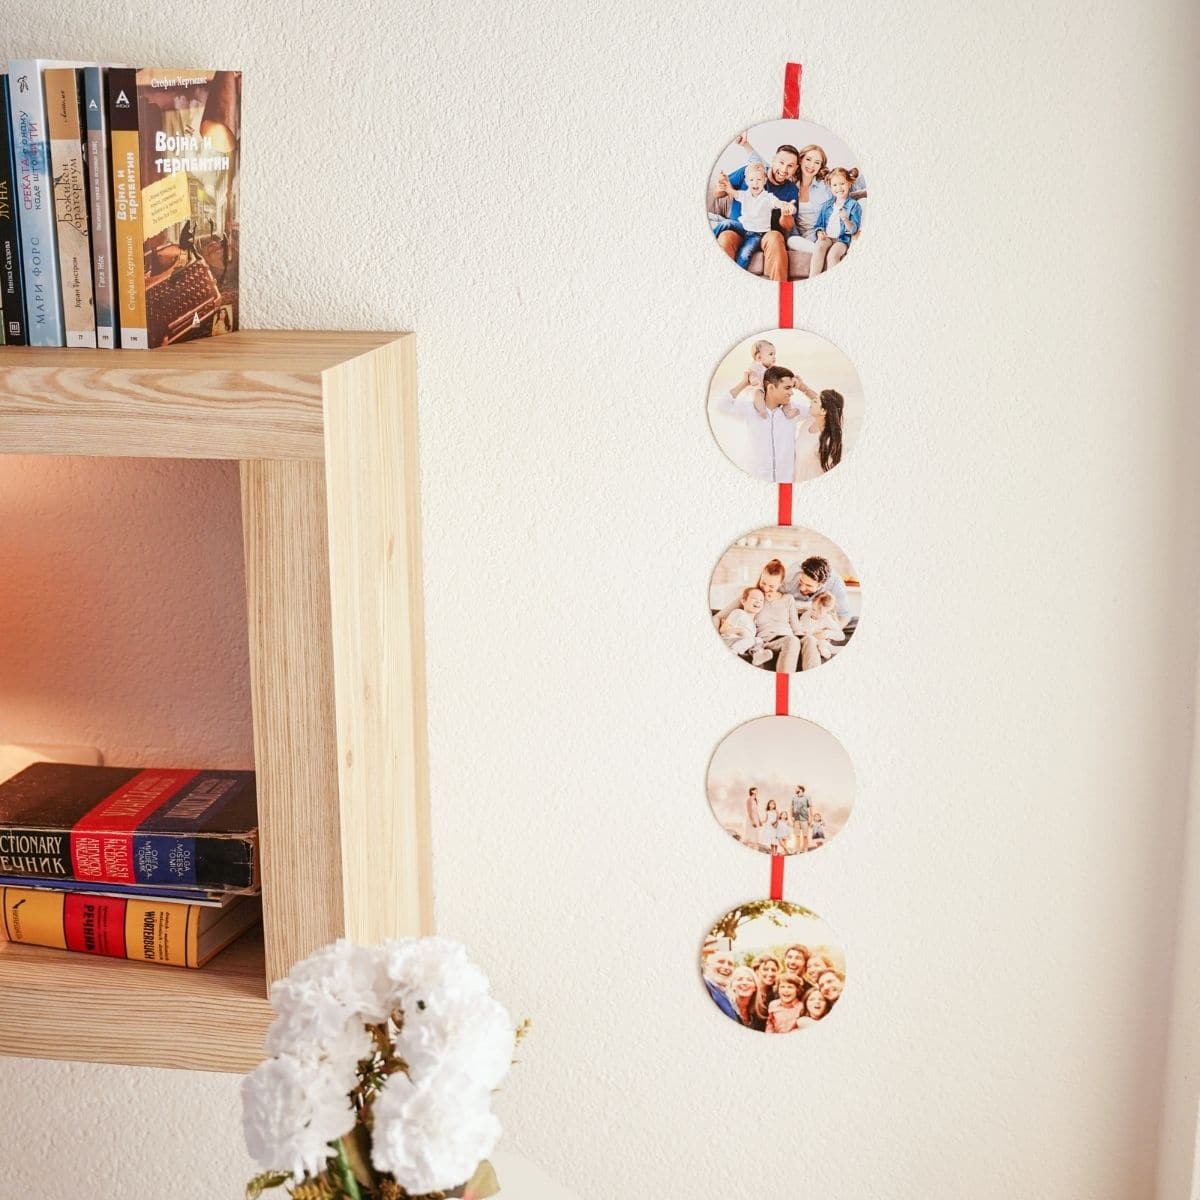
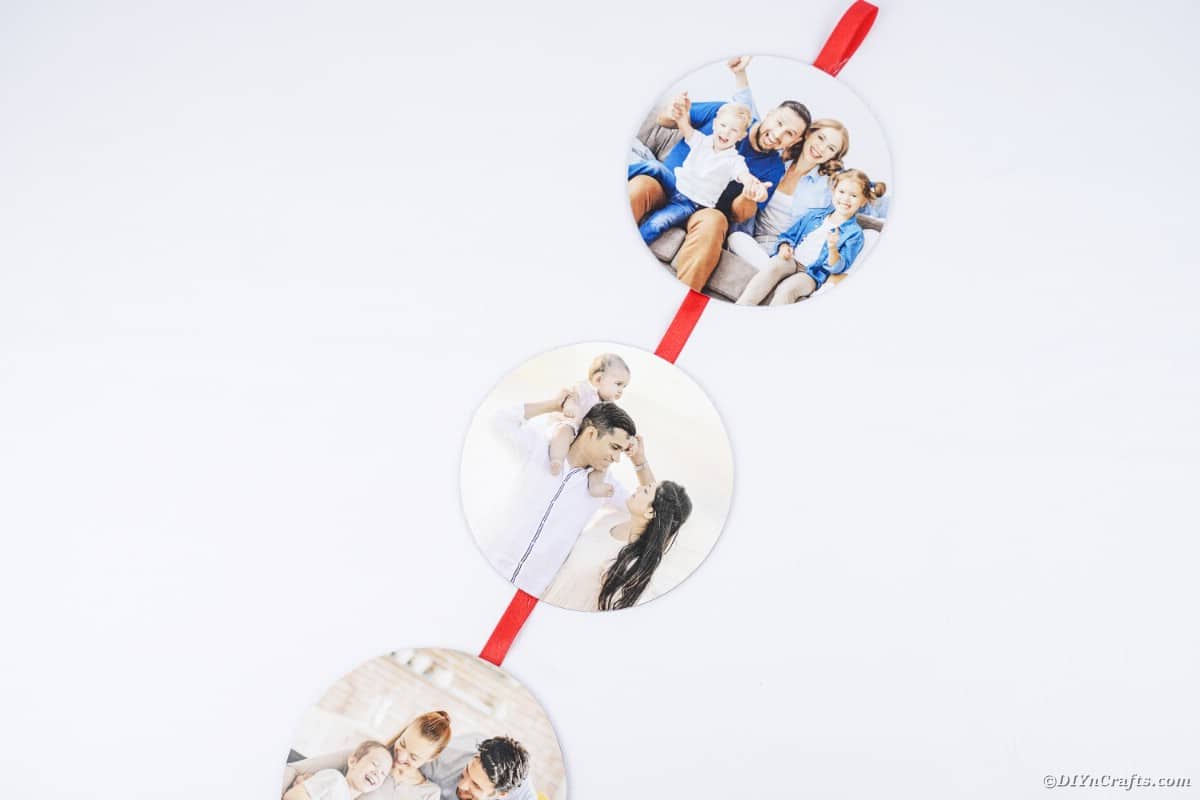
Love the look of the always-popular photo ribbons but don’t like the price? You are going to love this beautiful DIY photo ribbon made from old CDs or DVDs. It’s super easy to make, can be customized easily, and is truly beautiful. This is a fun way to create the perfect decoration or gift idea, completely customized to your preferences.
DIY Photo Ribbon
Whether you want a photo ribbon that matches the décor of your home or you want to make a gift for friends, family, or a special occasion, this is exactly what you are looking for. You only need four real supplies – hot glue, ribbon, and old CDs, plus a few pictures printed out on paper. It is easy enough for kids to make on their own with little assistance, and can be made with tons of different options of ribbon or twine.
We’ve made tons of creations using upcycled items, including old CDs and DVDs. Some others you might like include this cute little owl messenger that is ideal for hanging in the kitchen or in a bedroom. CDs can be used for the base of tons of items, but I love when I can do something that is useful like that!
What Can I Use for the Ribbon?
Obviously, you can use any ribbon you want. I like the idea of a thicker or sturdier ribbon that will have a wide enough base to glue the CD in place securely. Below though, are some more ideas for what you can use as the base for your photo holder.
- Thick ribbon
- Twine
- Rope
- Burlap
- Lace
How do I Seal the Pictures Against Damage?
You want to use something to seal the images so that they are water-resistant and to help prevent damage. You can use Mod Podge which is easily found at the craft stores and in the craft section of some dollar stores. Alternately, you can use a spray sealant. You can find the sealant at craft stores, some big box stores, and hardware stores. Below are some sealants we recommend.
How do I Attach the CDs to the Ribbon?
As you are creating the photo ribbon, you need to attach the ribbon to the disks. You can use hot glue to attach the ribbon or you can use a metal punch. Once the hole is made, you can thread the ribbon through the hole.
I prefer the hot glue method as it is the easiest and most handy since I already have it on hand. If you don’t like using hot glue, you can also use any good sticky craft glue or something like Gorilla glue that is known to stick well for longer.
Can I Decorate the Ribbon?
Of course! While I like the plain rustic look to the ribbon alone, you can definitely decorate a bit more. Just add a few beads, glitter, sequins, or even some lace around the edges. It’s easy to turn it into something sparkly or to add little things like beach-themed beads or appliques along the ribbon to match the theme of the images. You can even do this with holiday images and match the ribbon accessories to the holiday itself.
Where Can I Get Old CDs or DVDs to Use in Crafting?
Many people have a lot of old CDs and DVDs lying around that they no longer need. However, if you do not have any on hand to use, you can ask family and friends if they have any. You may even find that sometimes the library has the disks that they will give away or have for sale when they have their book sales. Old CDs and DVDs can also be found at the thrift store.
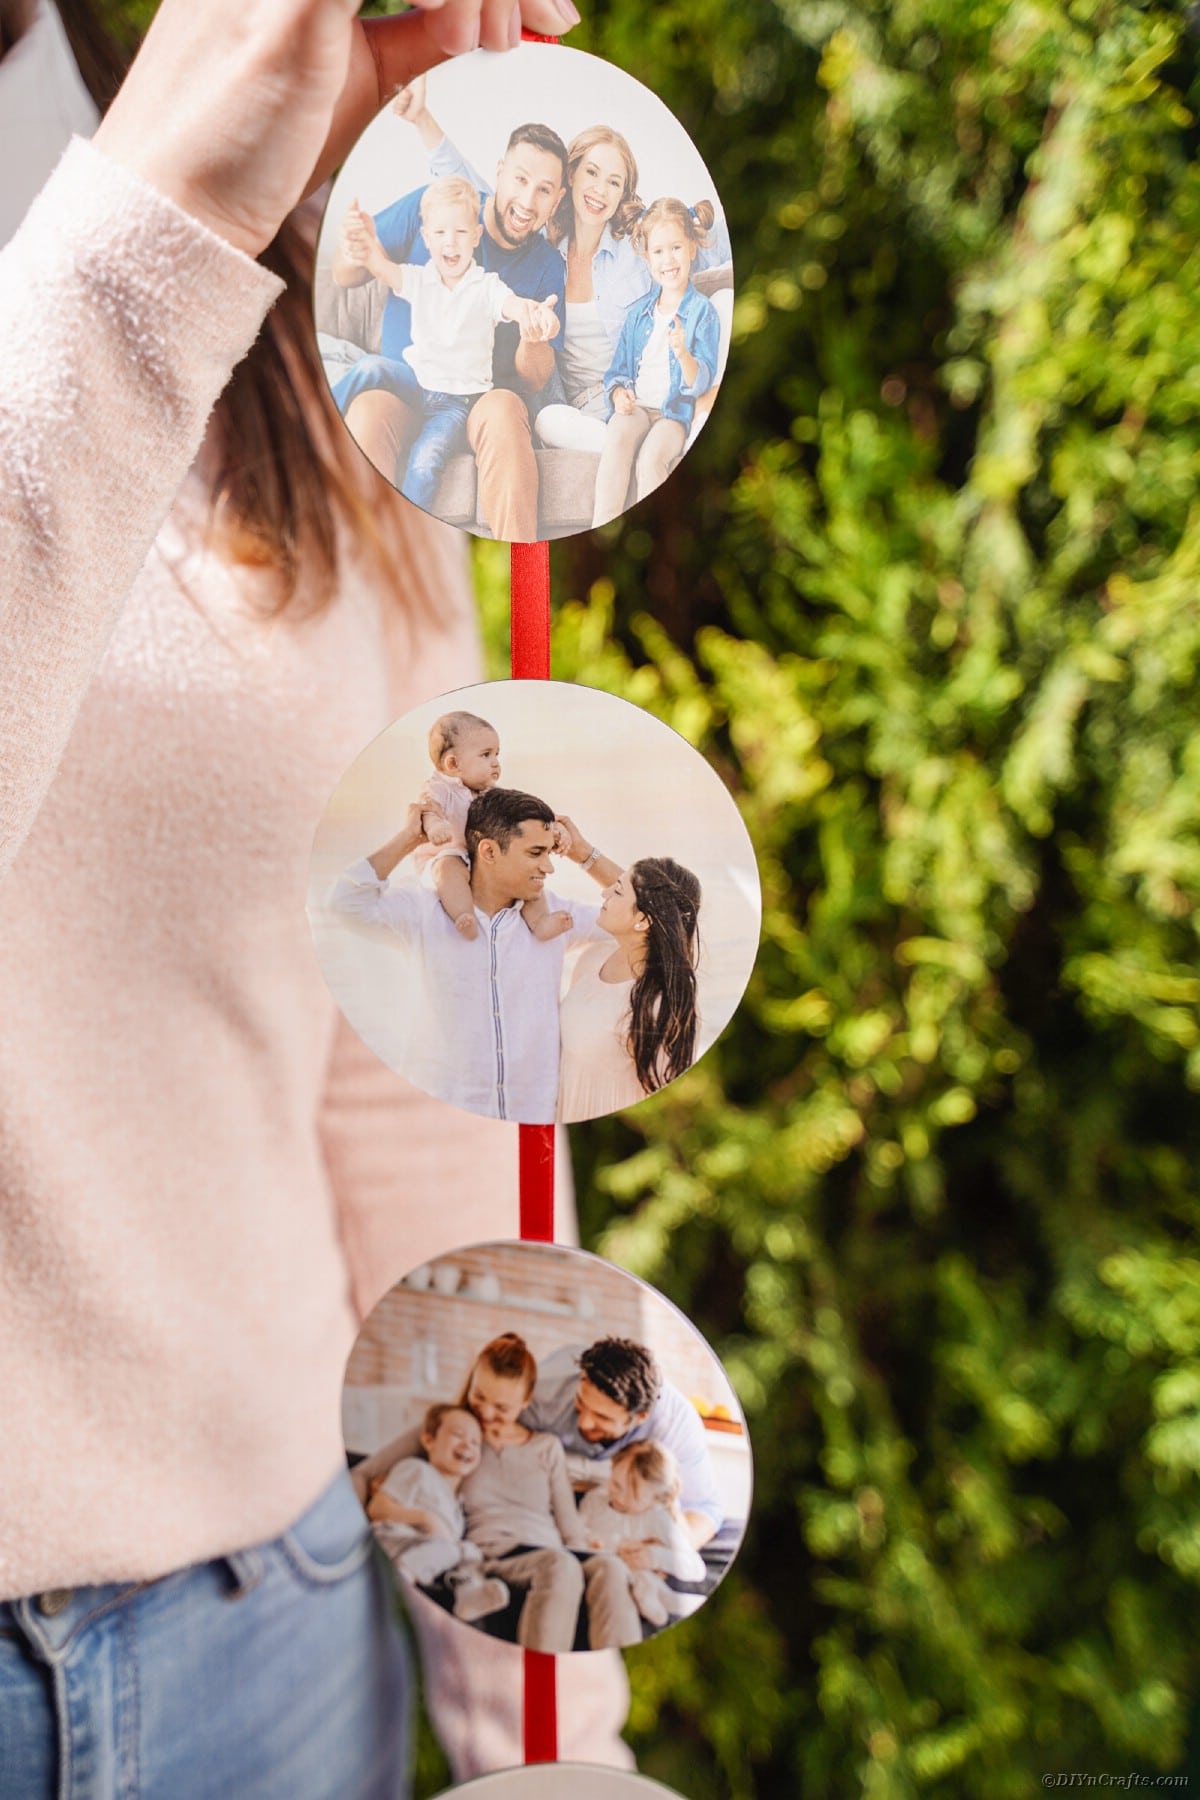
How do I Add Pictures to Old CDs or DVDs?
Once you have prepared the disks, you want to cut the image to size. Then you are ready to add the image to the disk. You can simply glue the image on or use Mod podge to hold the image in place. You can also use transfer paper to get the image onto the disk. It’s actually fairly simple to do and easy enough kids can do it on their own. There will be more details below in a step-by-step tutorial.
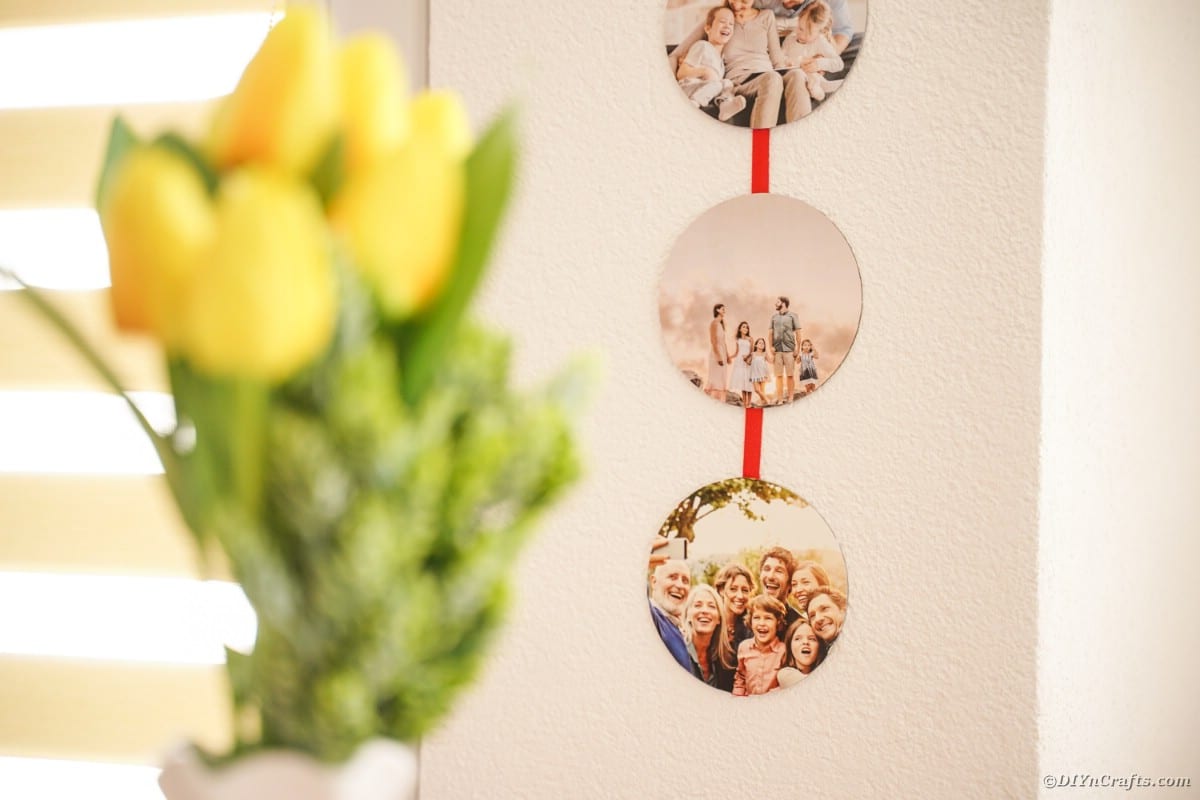
Supplies Needed

How to Make an Upcycled CD Photo Ribbon
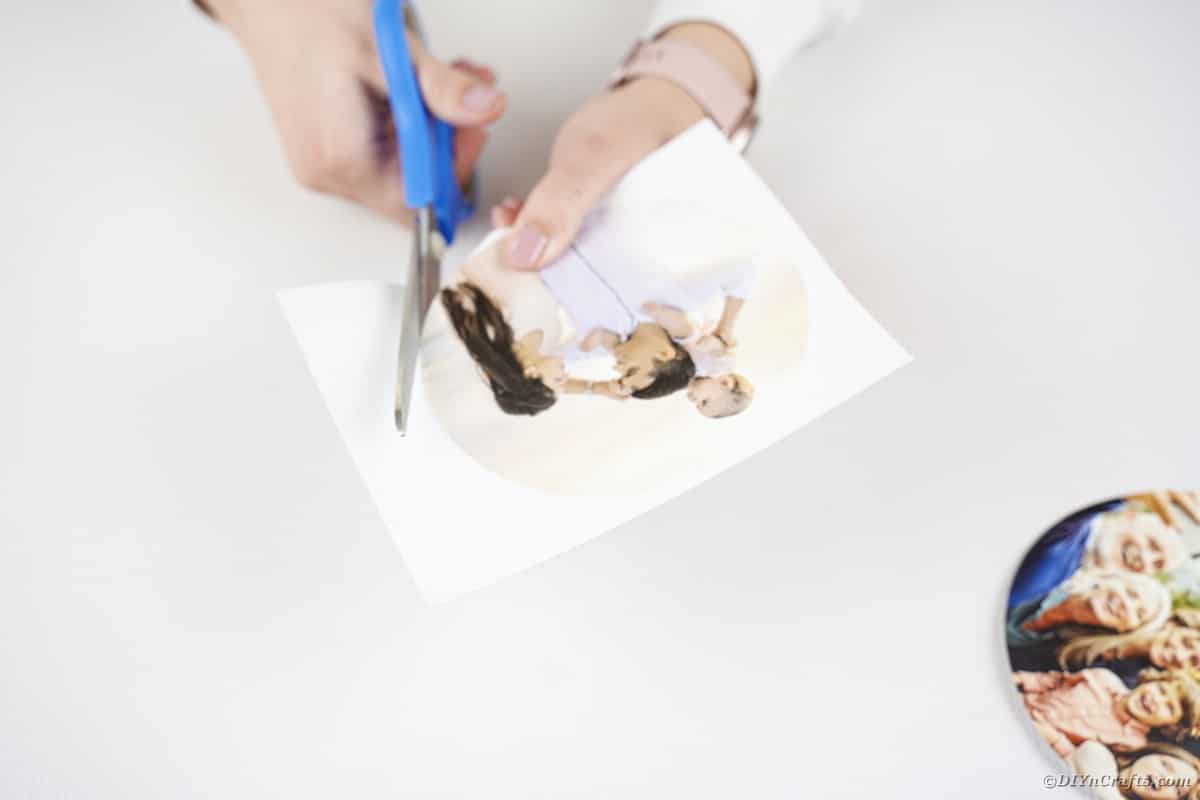
Start by choosing the images you want to display. Print those out onto paper. I prefer using basic cardstock or copy paper, but you can also use photo paper if you want. It’s just a bit more expensive.
Cut out the pictures using the CD to trace the right size and shape. You can also measure the CD before you print the image and have it print out in a circle so it’s super easy to cut out.
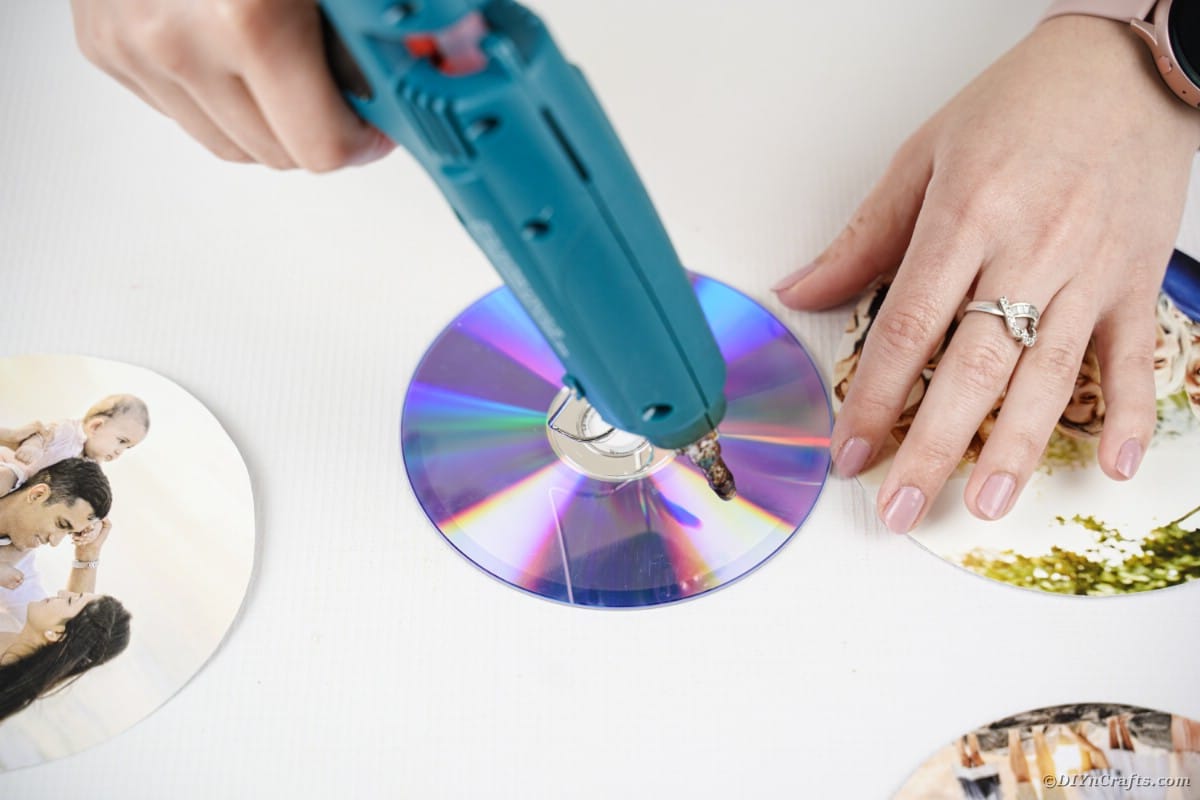
Attach the printed pictures to the CD with hot glue or craft glue making sure it is sealed especially well around the edges and center of the CD.
Choose the ribbon or twine you want as the hanger, and cut a length that will hold all of your images with a few inches between each image.
You can pin the ribbon to the wall as is, or you can add a loop to the end so it can slip over a hook easily.
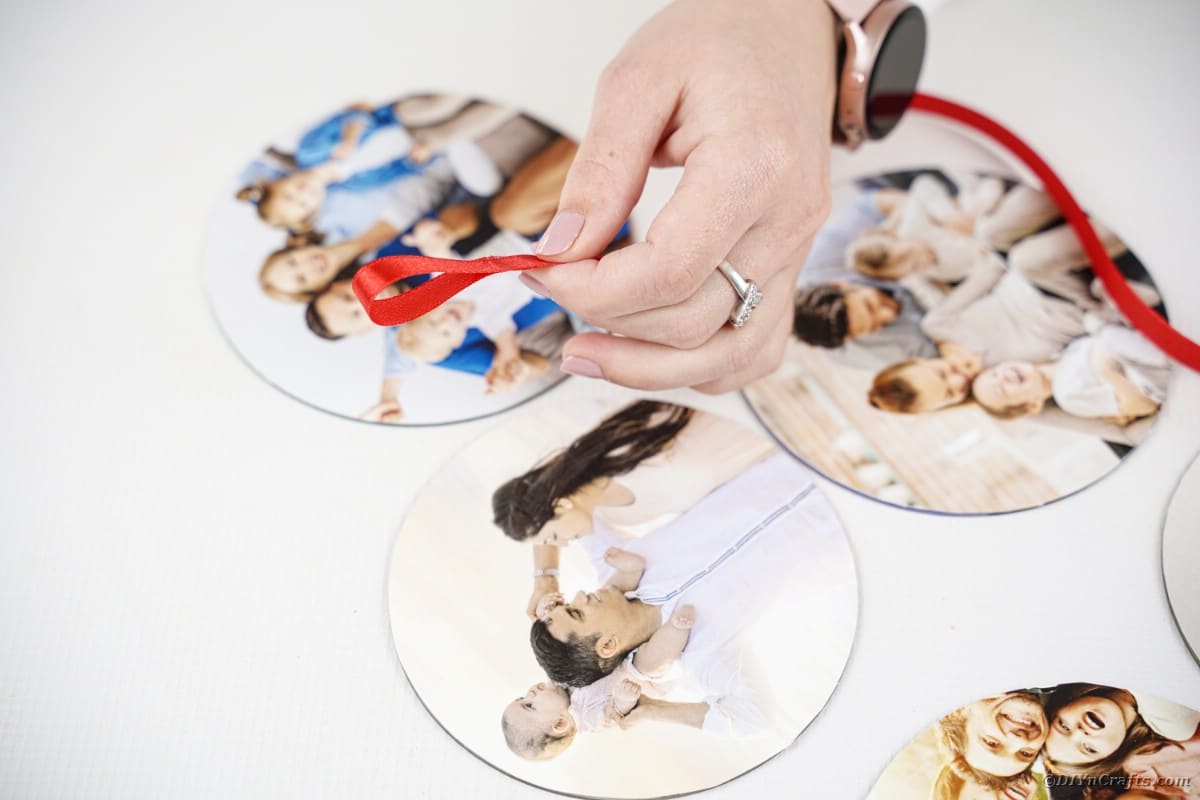
Add glue directly to the ribbon where the CDs will be placed.
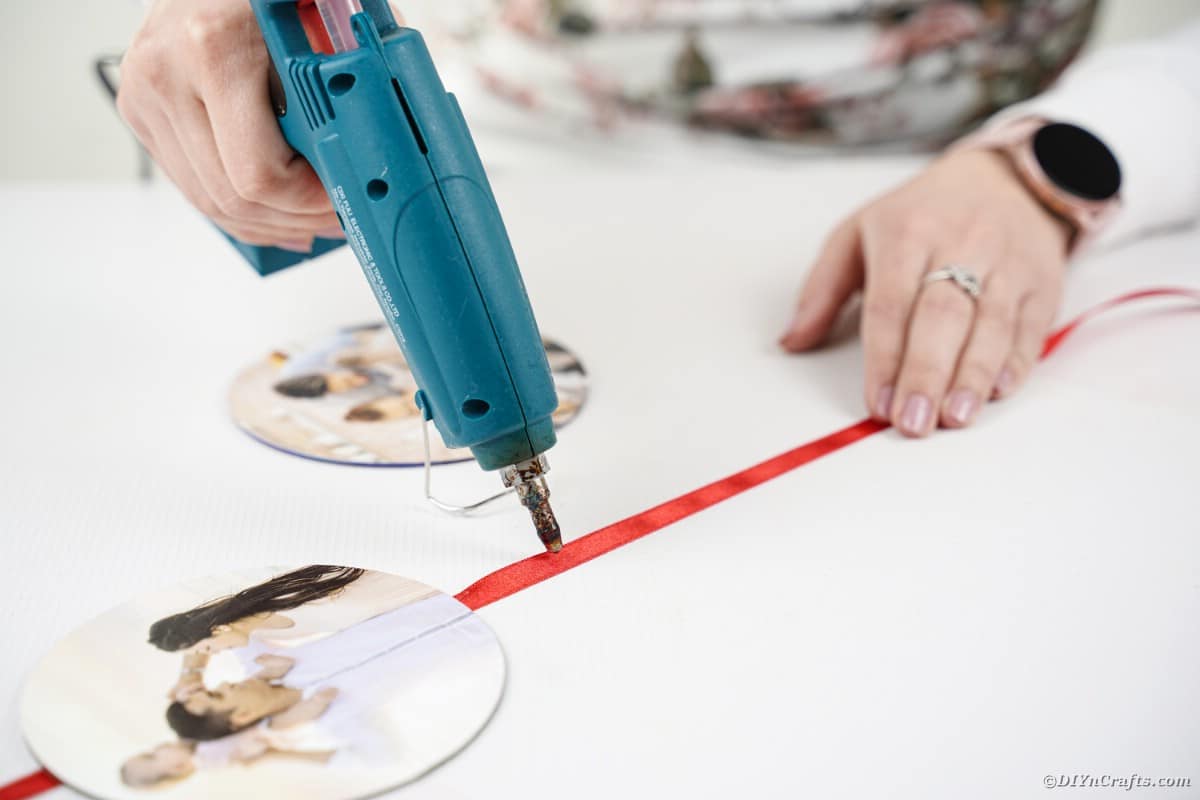
Glue the CDs every few inches of the ribbon then trim the end off at the bottom if desired.
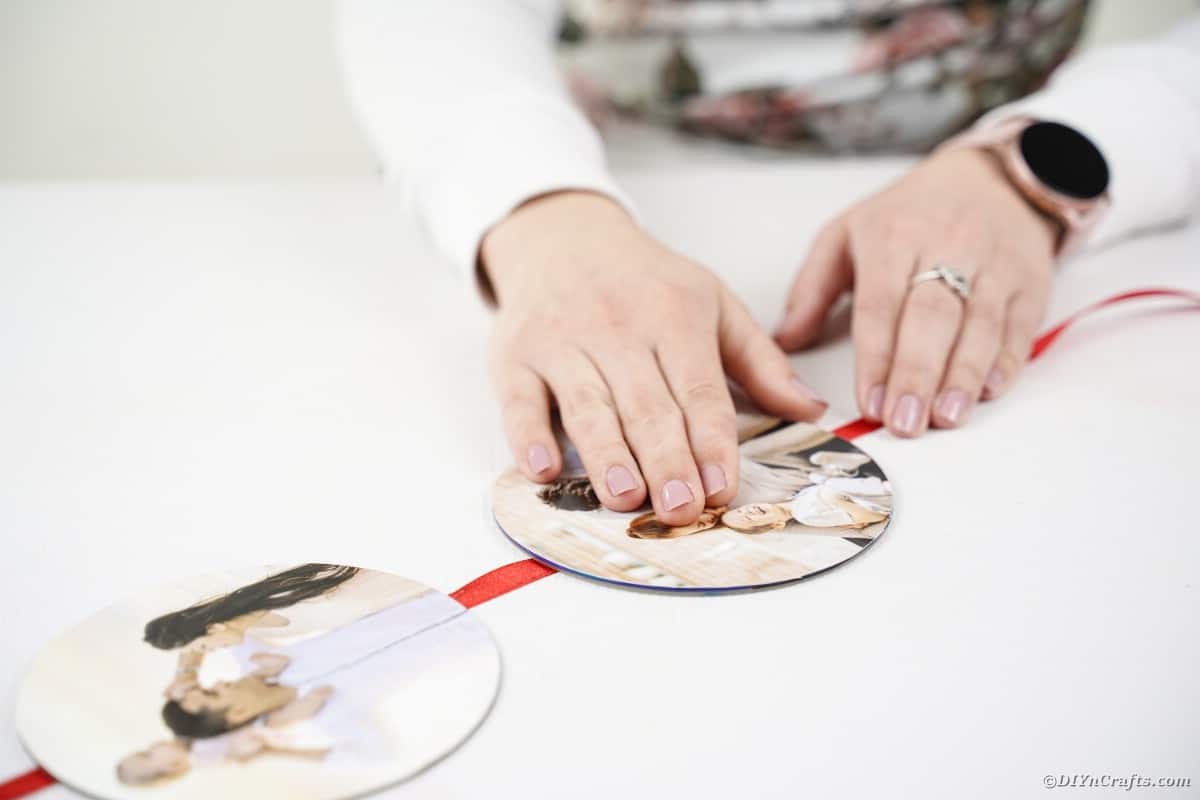
Add other embellishments like beads, sequins, or lace onto the ribbon if desired then hang it on the wall or tuck away in a box and gift to friends and family!
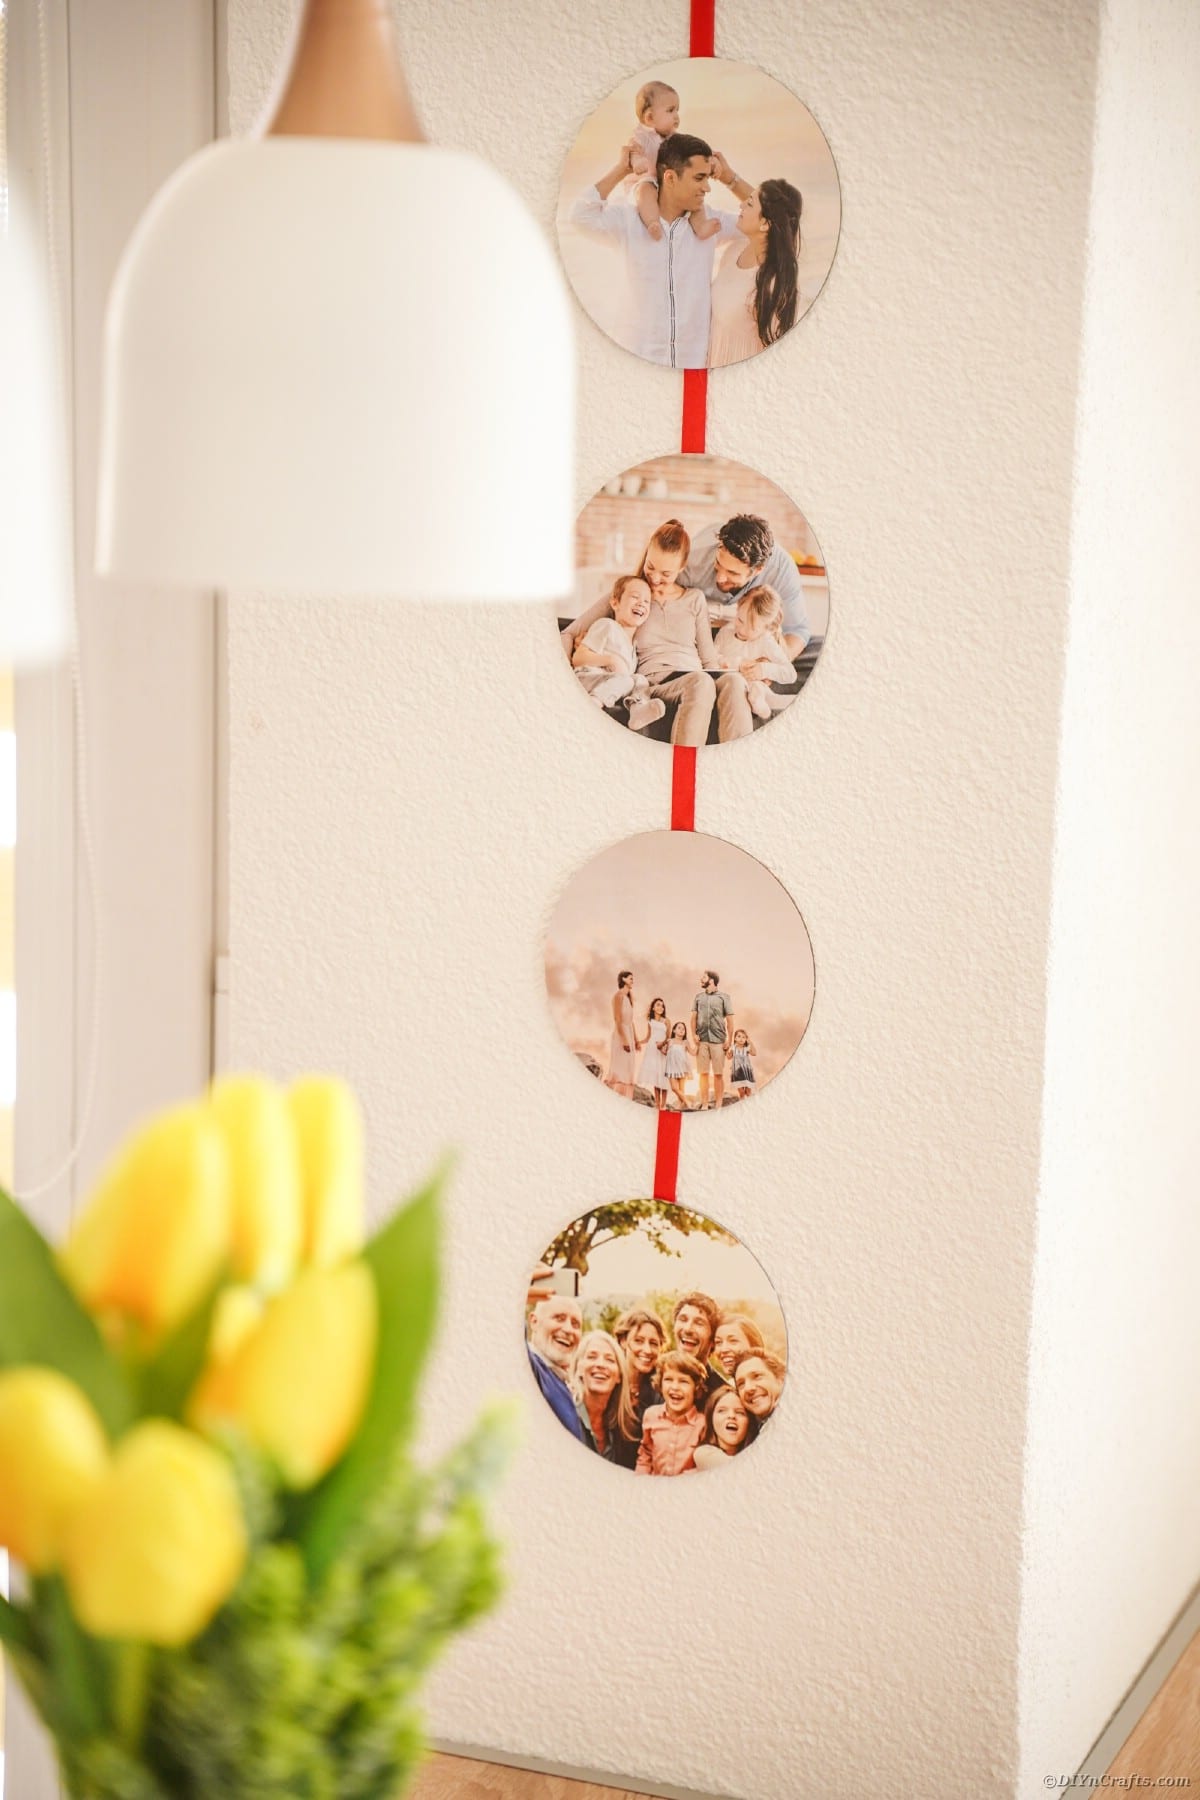
More Fun Upcycled CD Craft Ideas
If you have more CDs or DVDs hanging around, you should check out some of the other craft ideas below. They are tons of fun ideas that can turn that trash into something totally new and fun! Get busy crafting to turn what you thought was trash into something new and fun to decorate with around the house.
Yield: 1
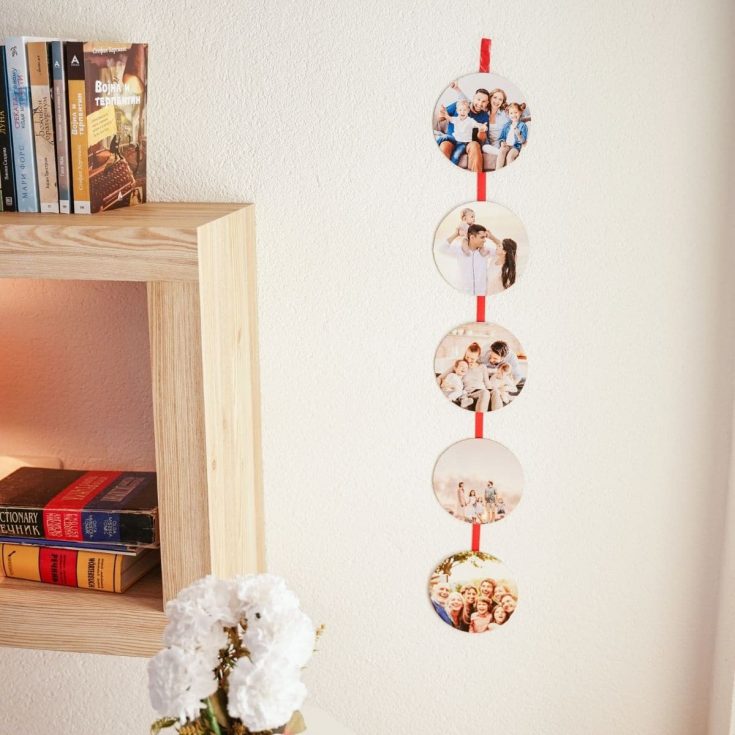
Turn those old CDs and DVDs from trash into treasure. Hang them on ribbon as a cute photo ribbon to display your family pictures!
Prep Time
5 minutes
Active Time
15 minutes
Total Time
20 minutes
Difficulty
Easy
Estimated Cost
$1
Notes
Use cardstock, craft paper, or photo paper to print the images.
Recommended Products
As an Amazon Associate and member of other affiliate programs, I earn from qualifying purchases.
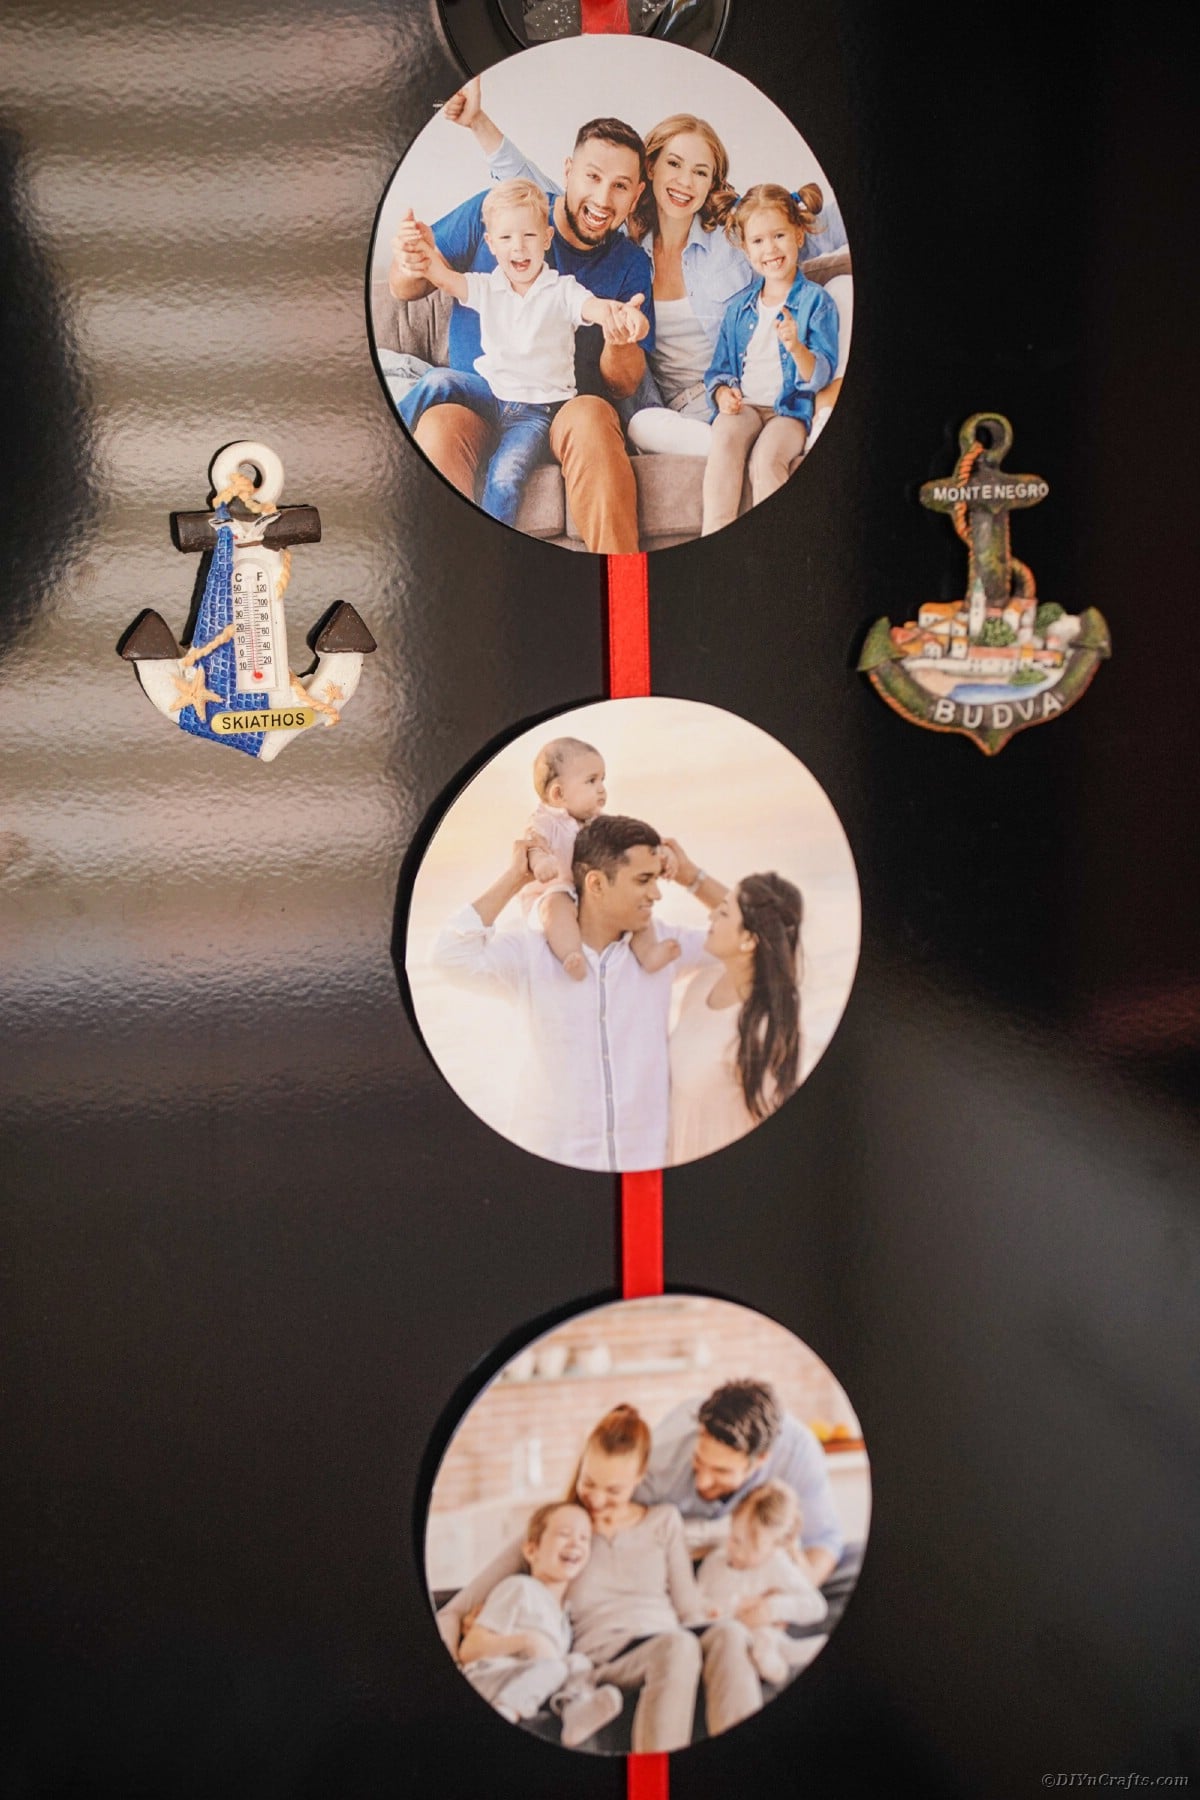
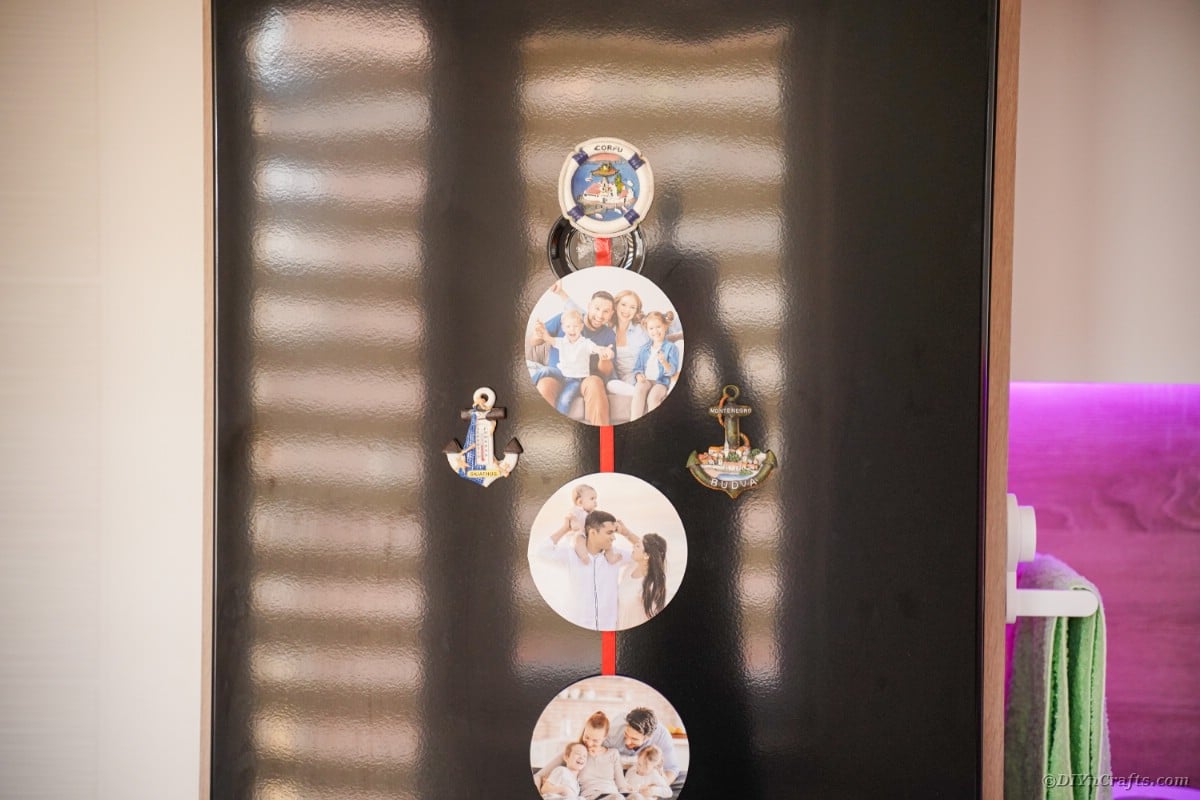
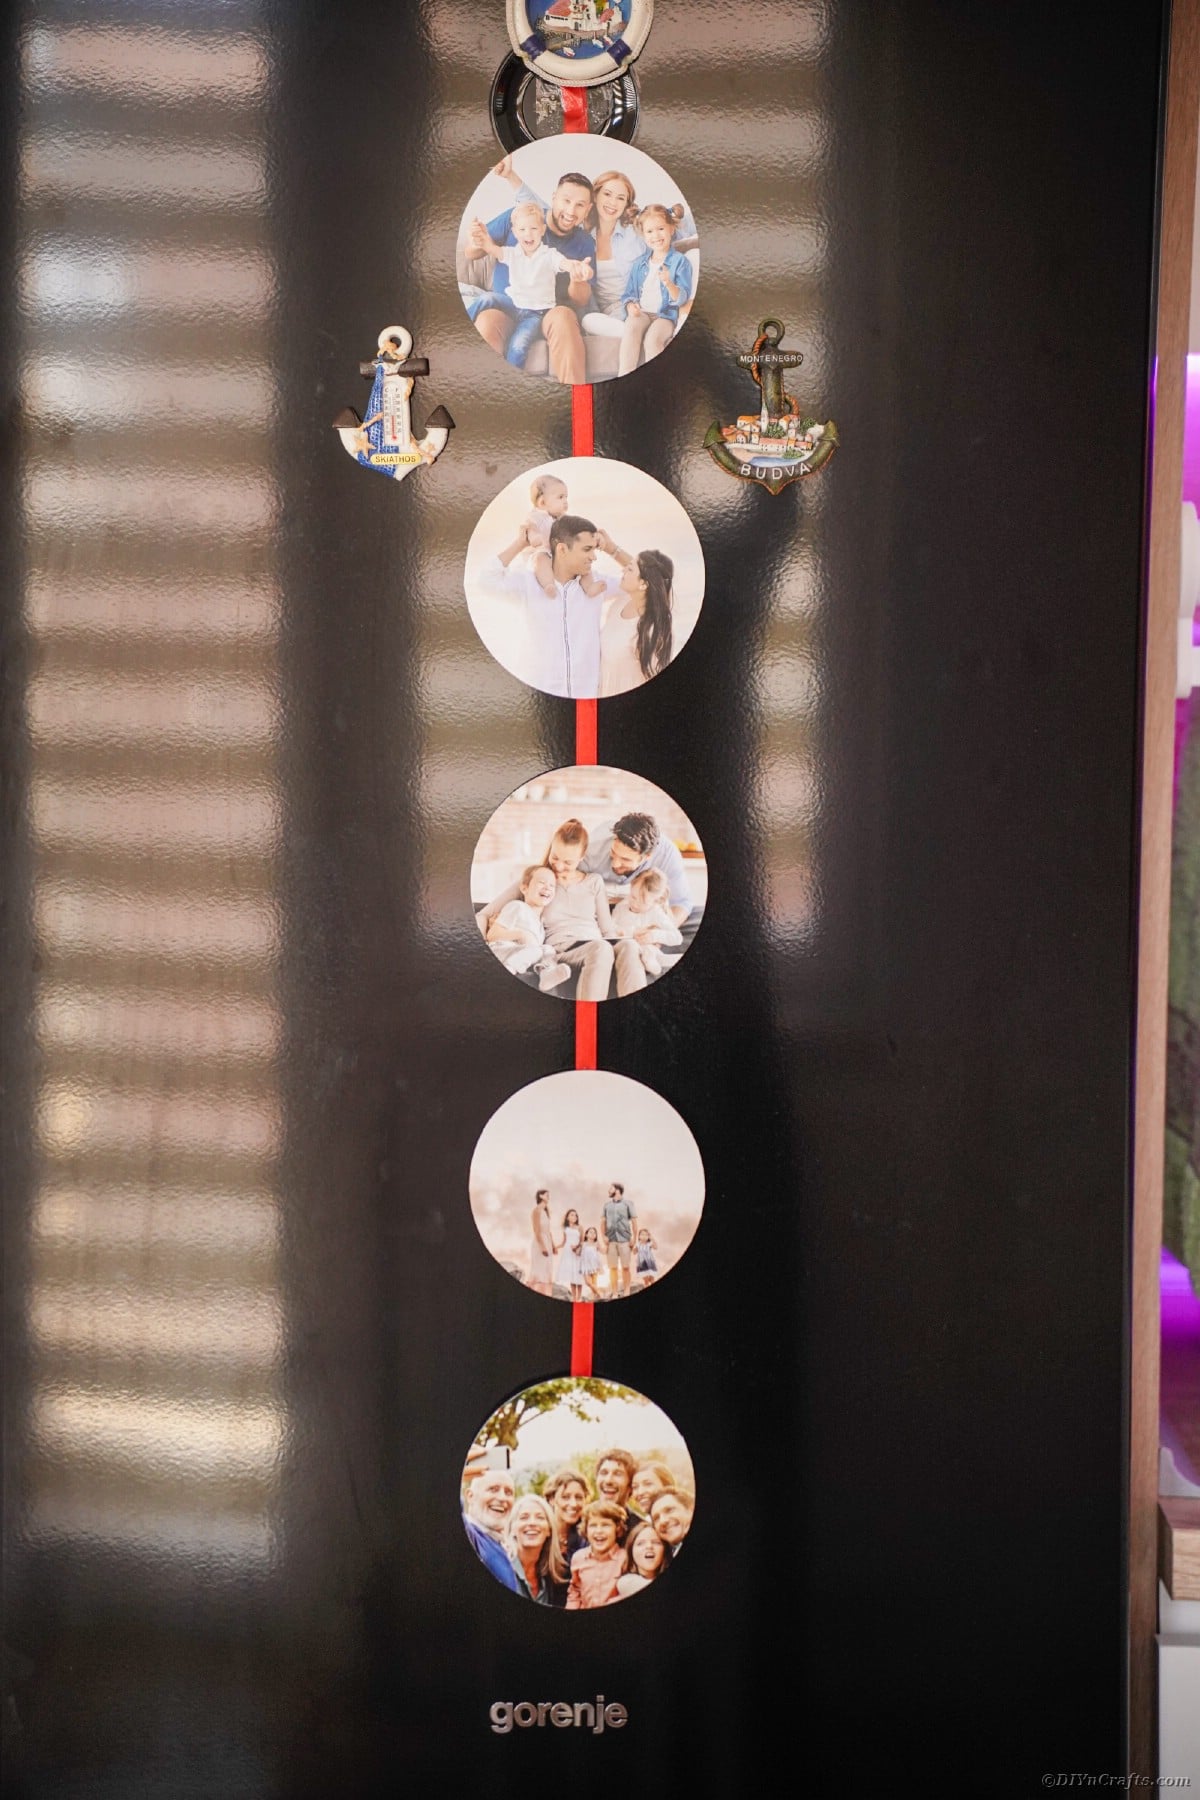
Hang this on your refrigerator with magnets.
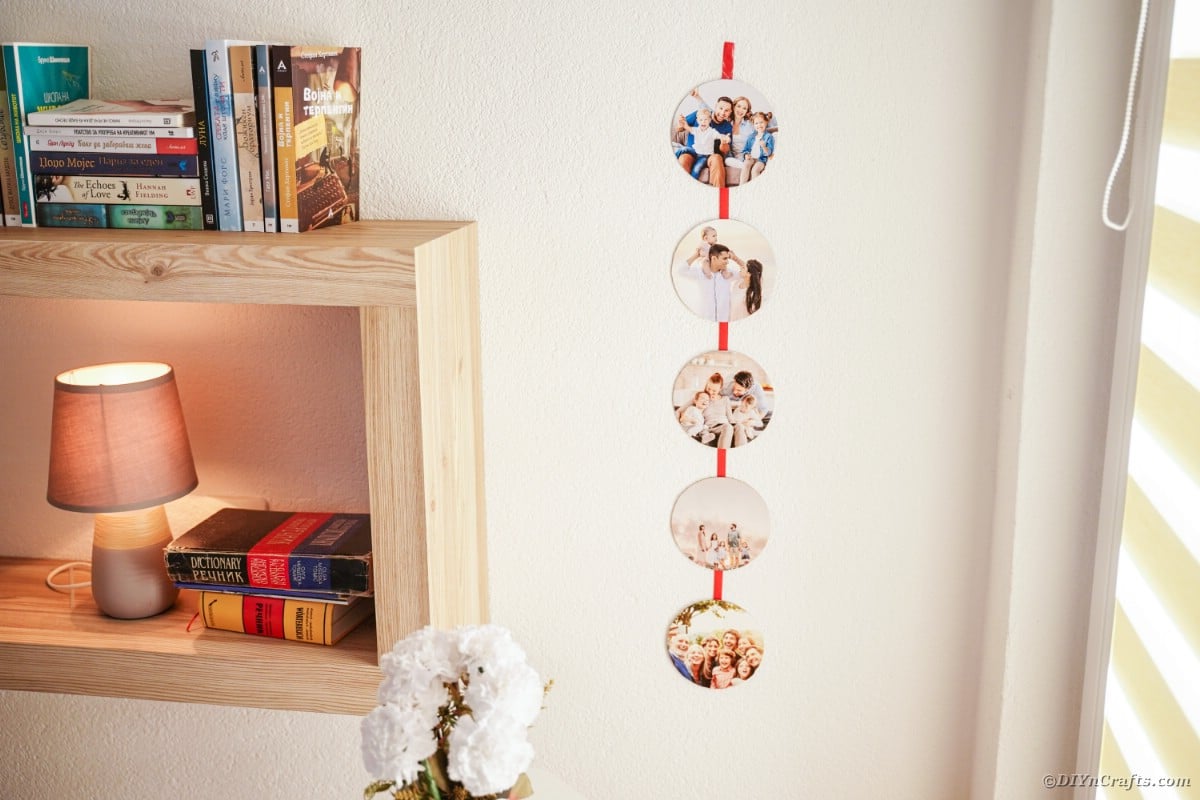
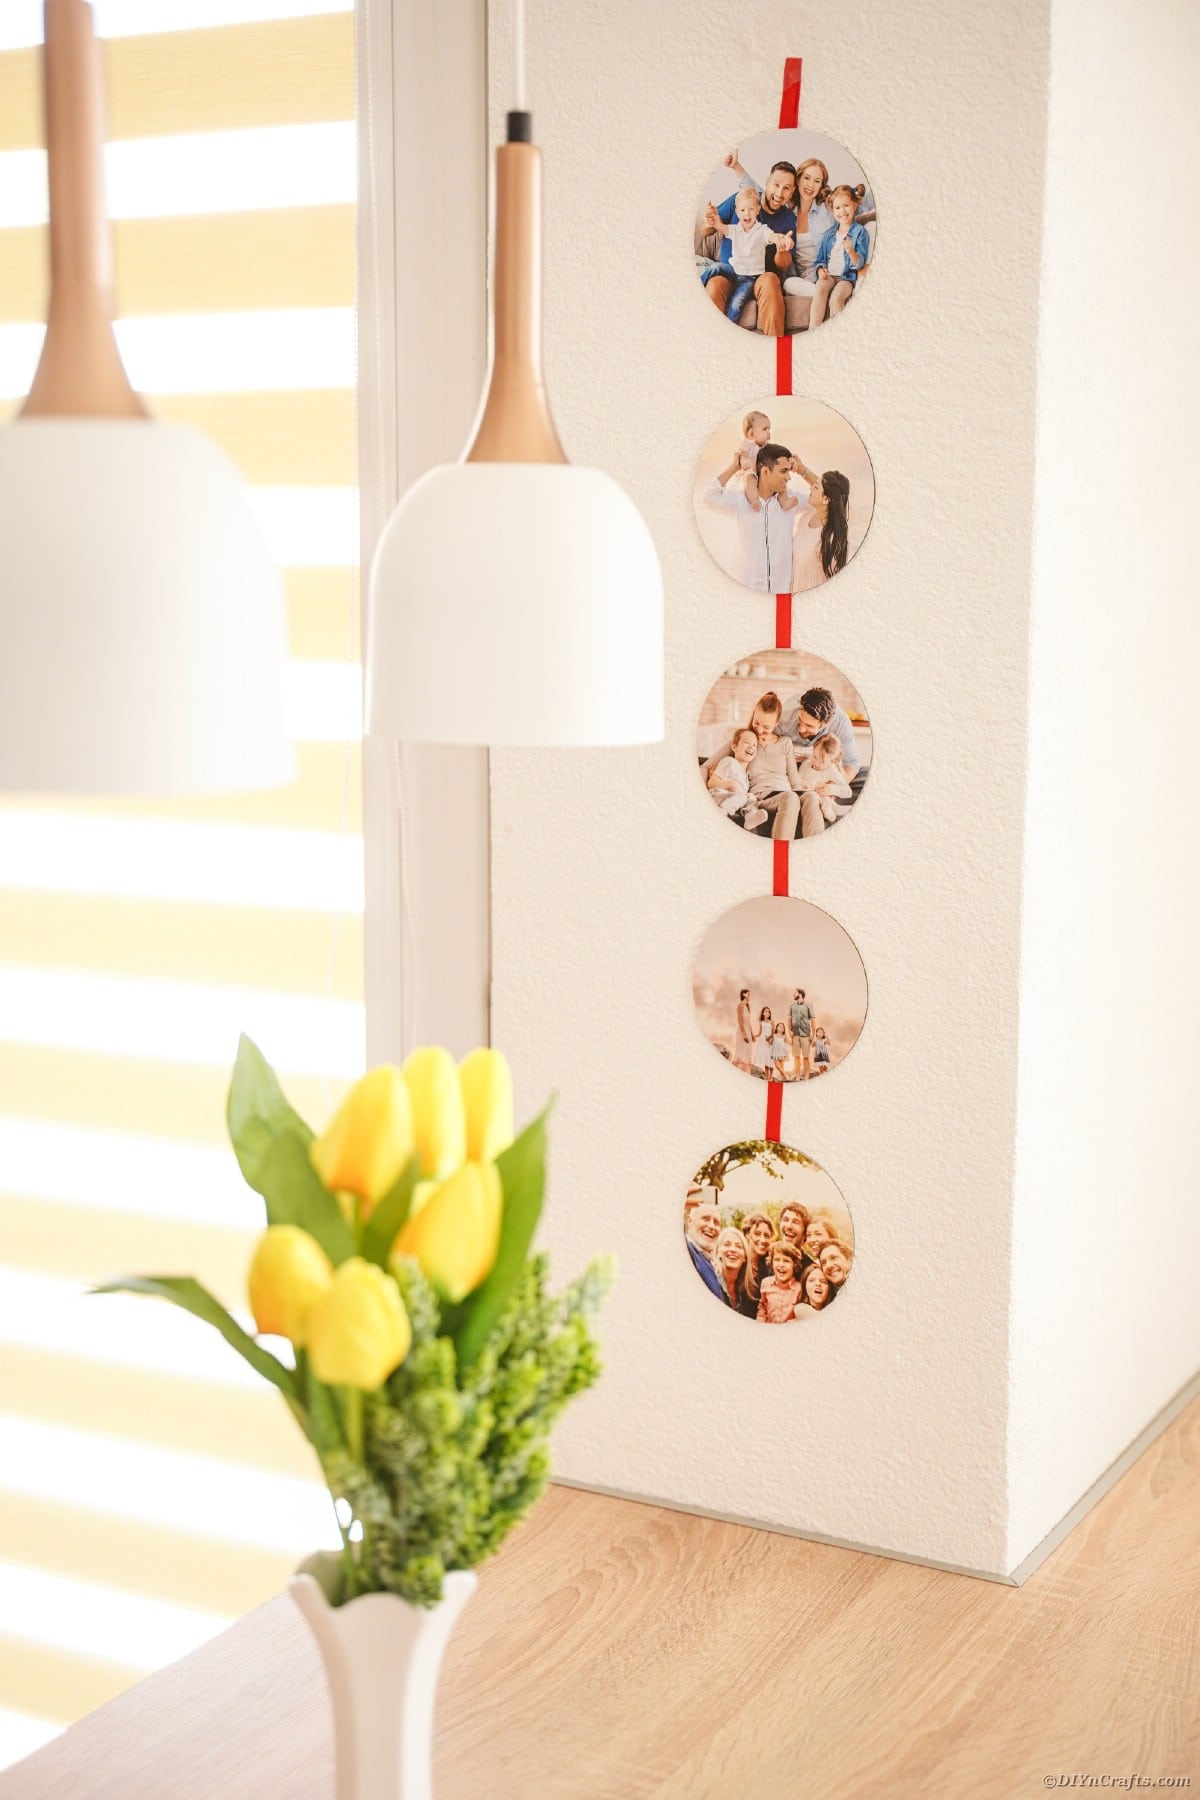
Or tack against the wall in your living room.
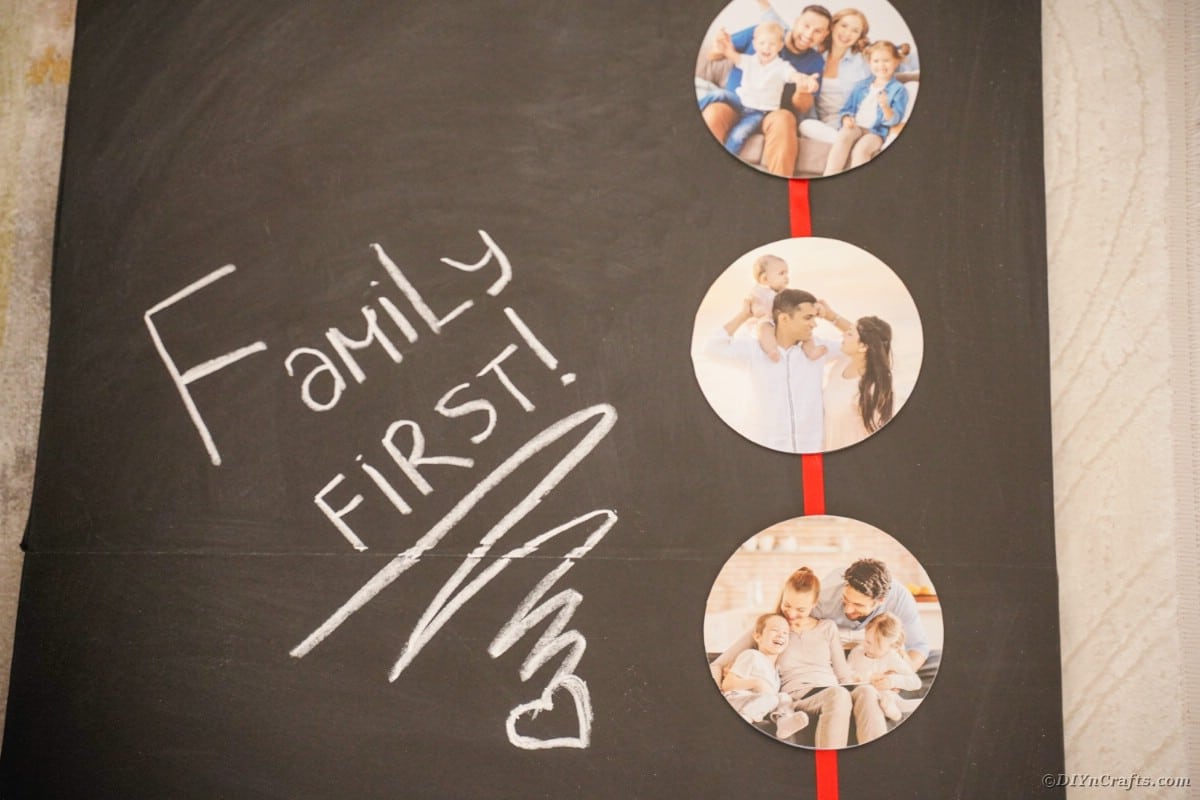
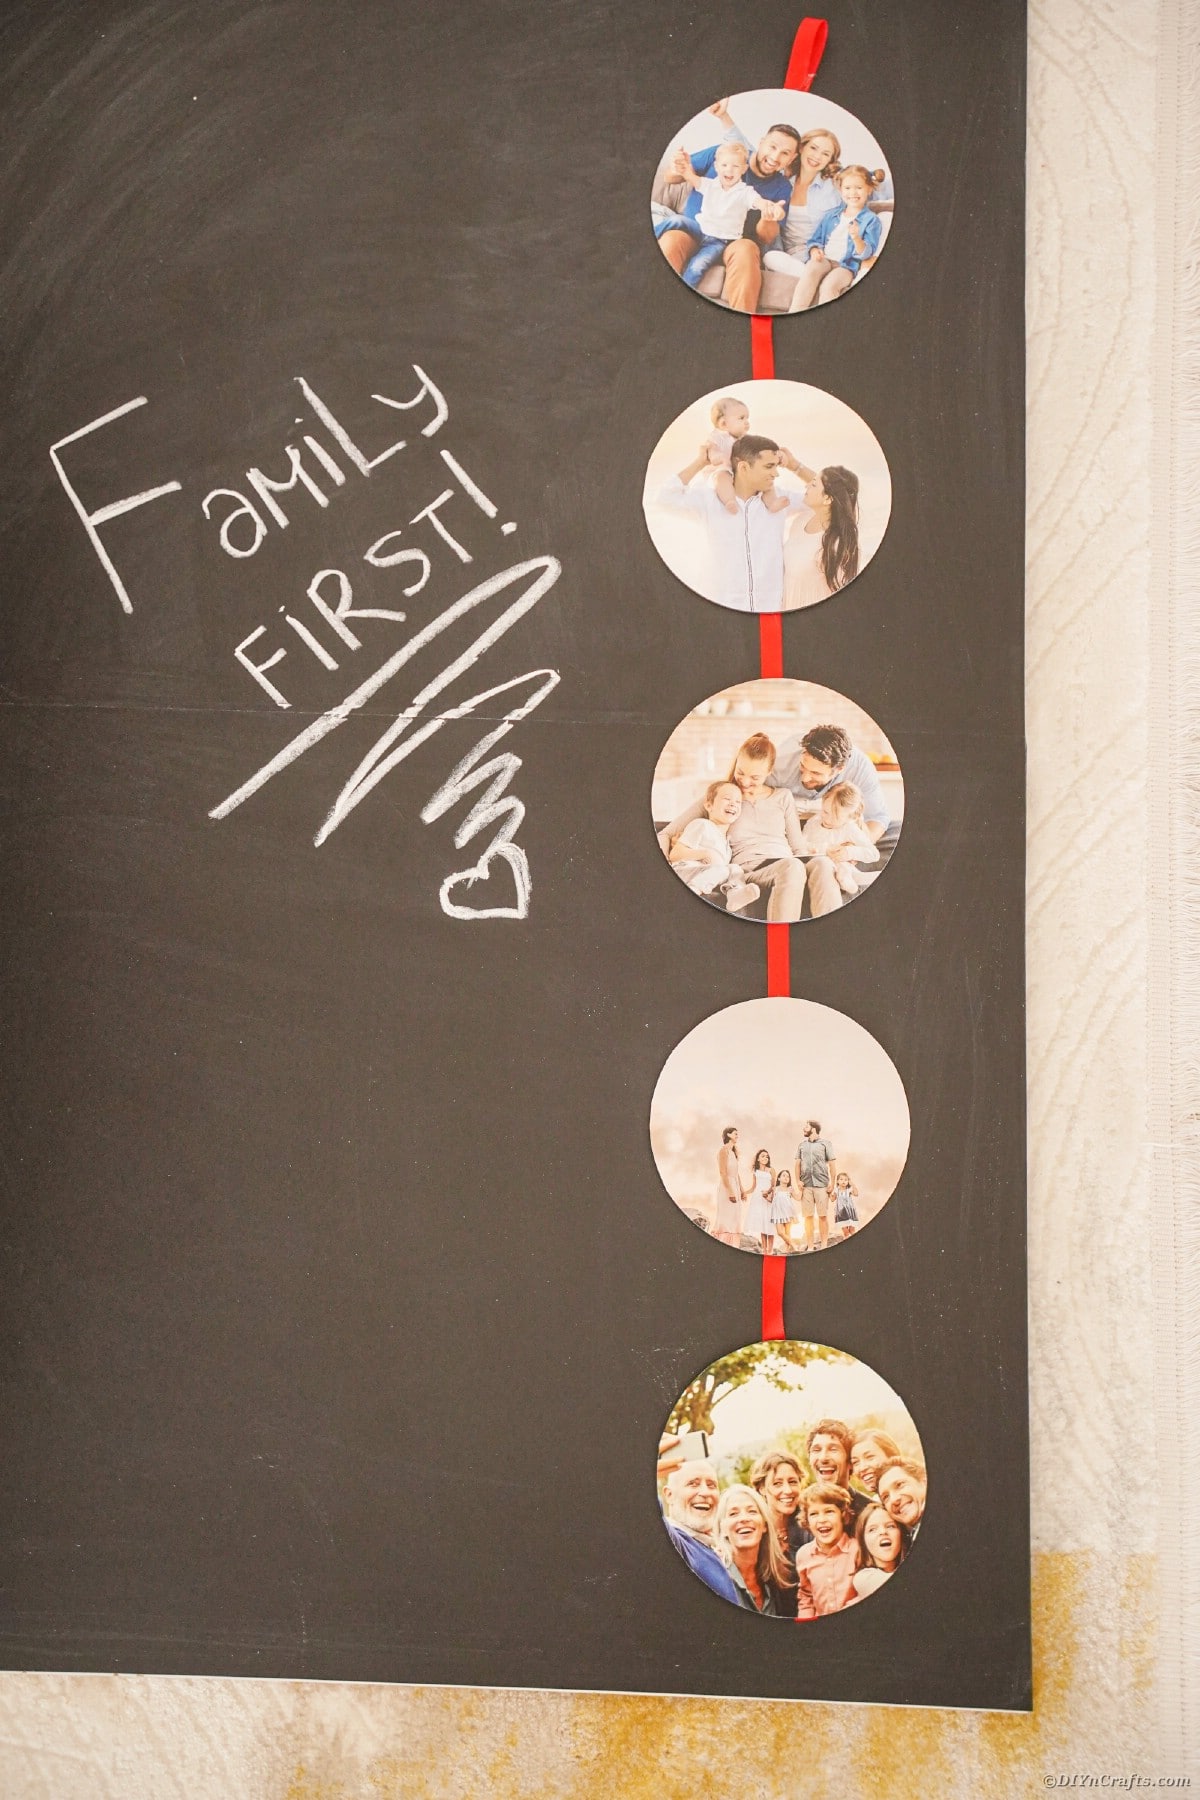
Customize for holidays, events, or family members to create unique picture displays throughout your home.
[ad_2]
Source link

