[ad_1]
Things are progressing so nicely in the master bathroom! In fact, they’ll start on the drywall TODAY! And when drywall goes up, that’s when it really starts to feel less like a construction zone and more like a real room nearing completion.
But as of this morning, this is what it looked like…

The Hardi Board is on the floor, and as soon as the seams are taped, the floor will be ready for tile.
The vanity wall needs four more junction boxes for the sconces, and then it’s ready for drywall.
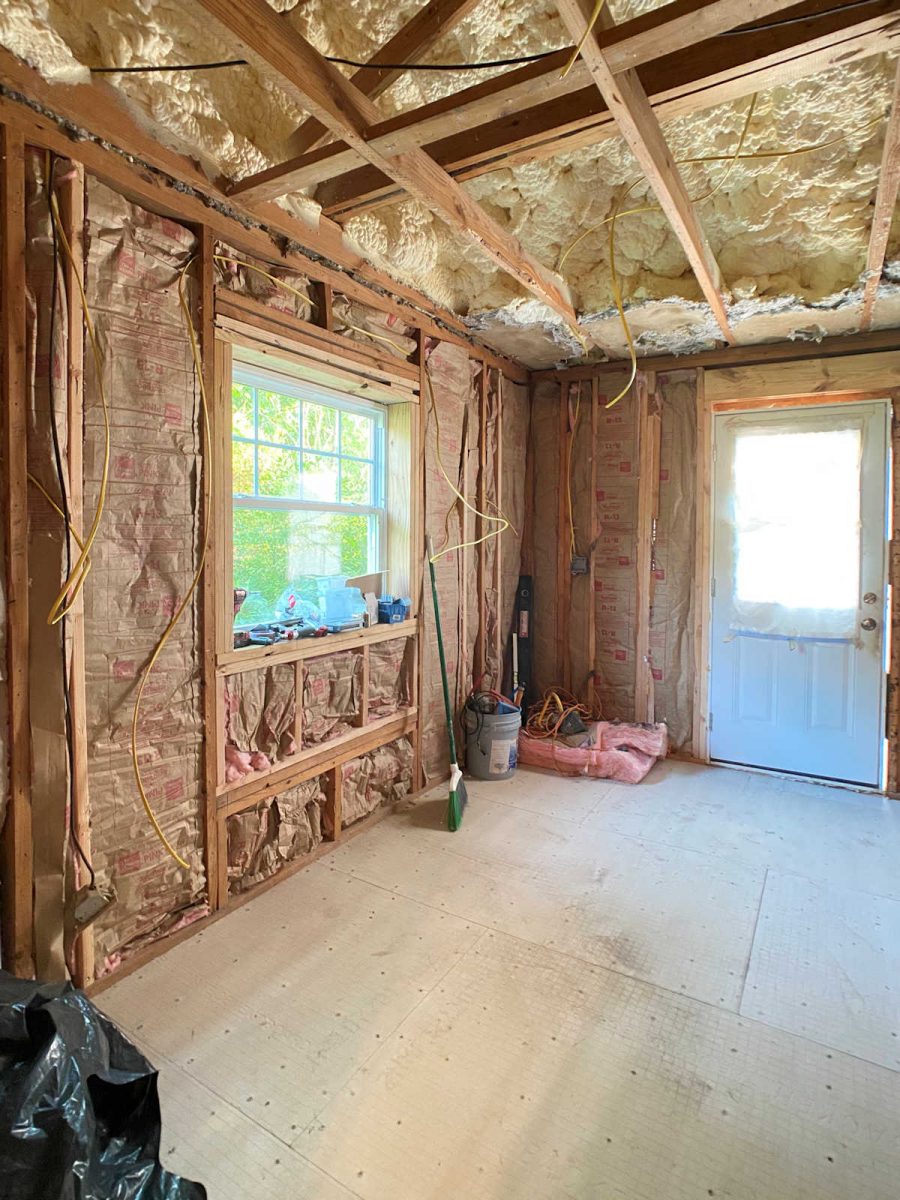
The exterior door that will eventually be an interior door leading to the master bedroom has been moved over so that it’s even with the door on the other side that leads to the home gym. And they went ahead and put the framing in for the future pocket door.
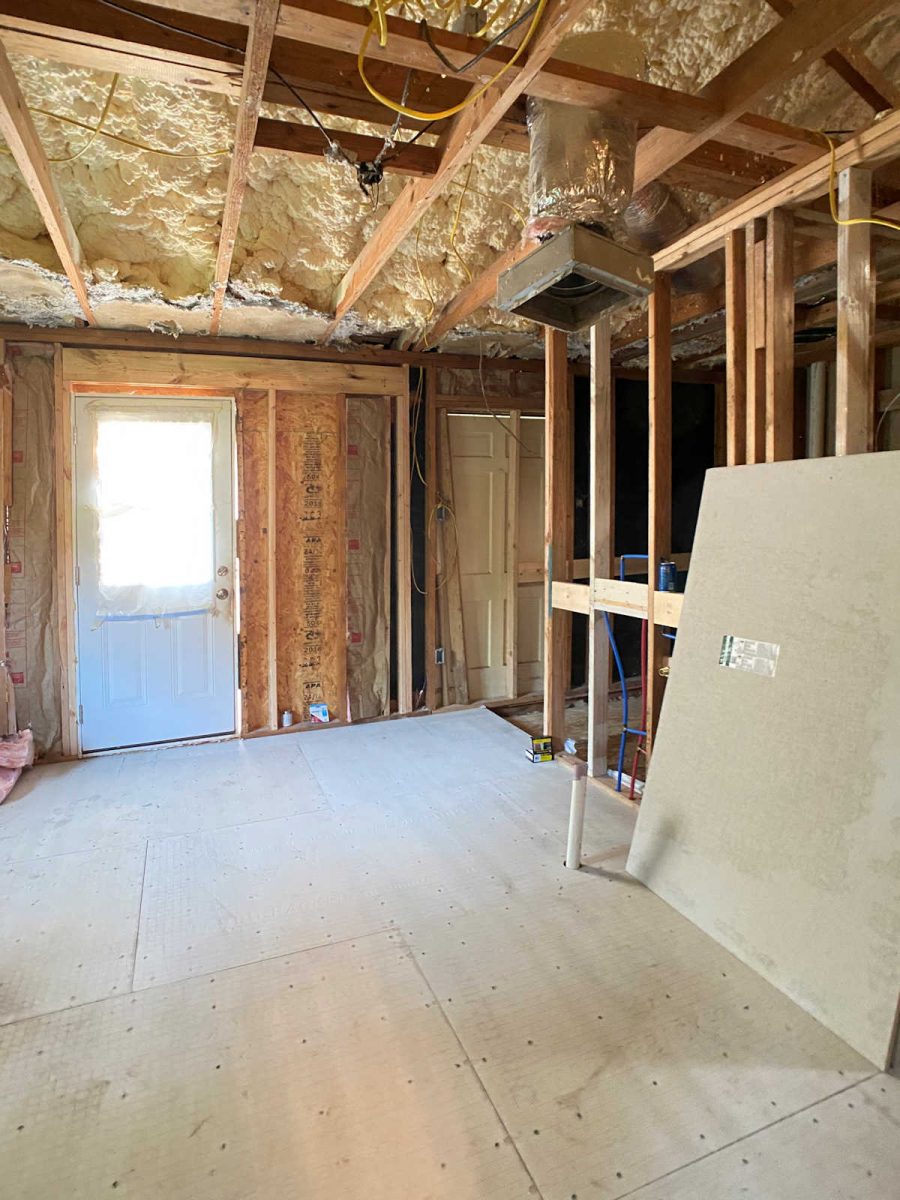
I had them do this now because I was afraid that if we waited until we do the bedroom addition to frame for the pocket door, there would be a real chance that the master bathroom walls might get damaged. That’s precisely what happened when I had the exterior door removed from the breakfast room and replaced with a pocket door. The breakfast room walls now have damaged areas in the drywall from having to remove studs and reframe that doorway. So hopefully by doing this framing in advance, we can avoid damage to the bathroom walls in the future.
All of the plumbing for the shower, toilet, and tub has now been roughed in, and these areas are ready for drywall/Hardi Board.

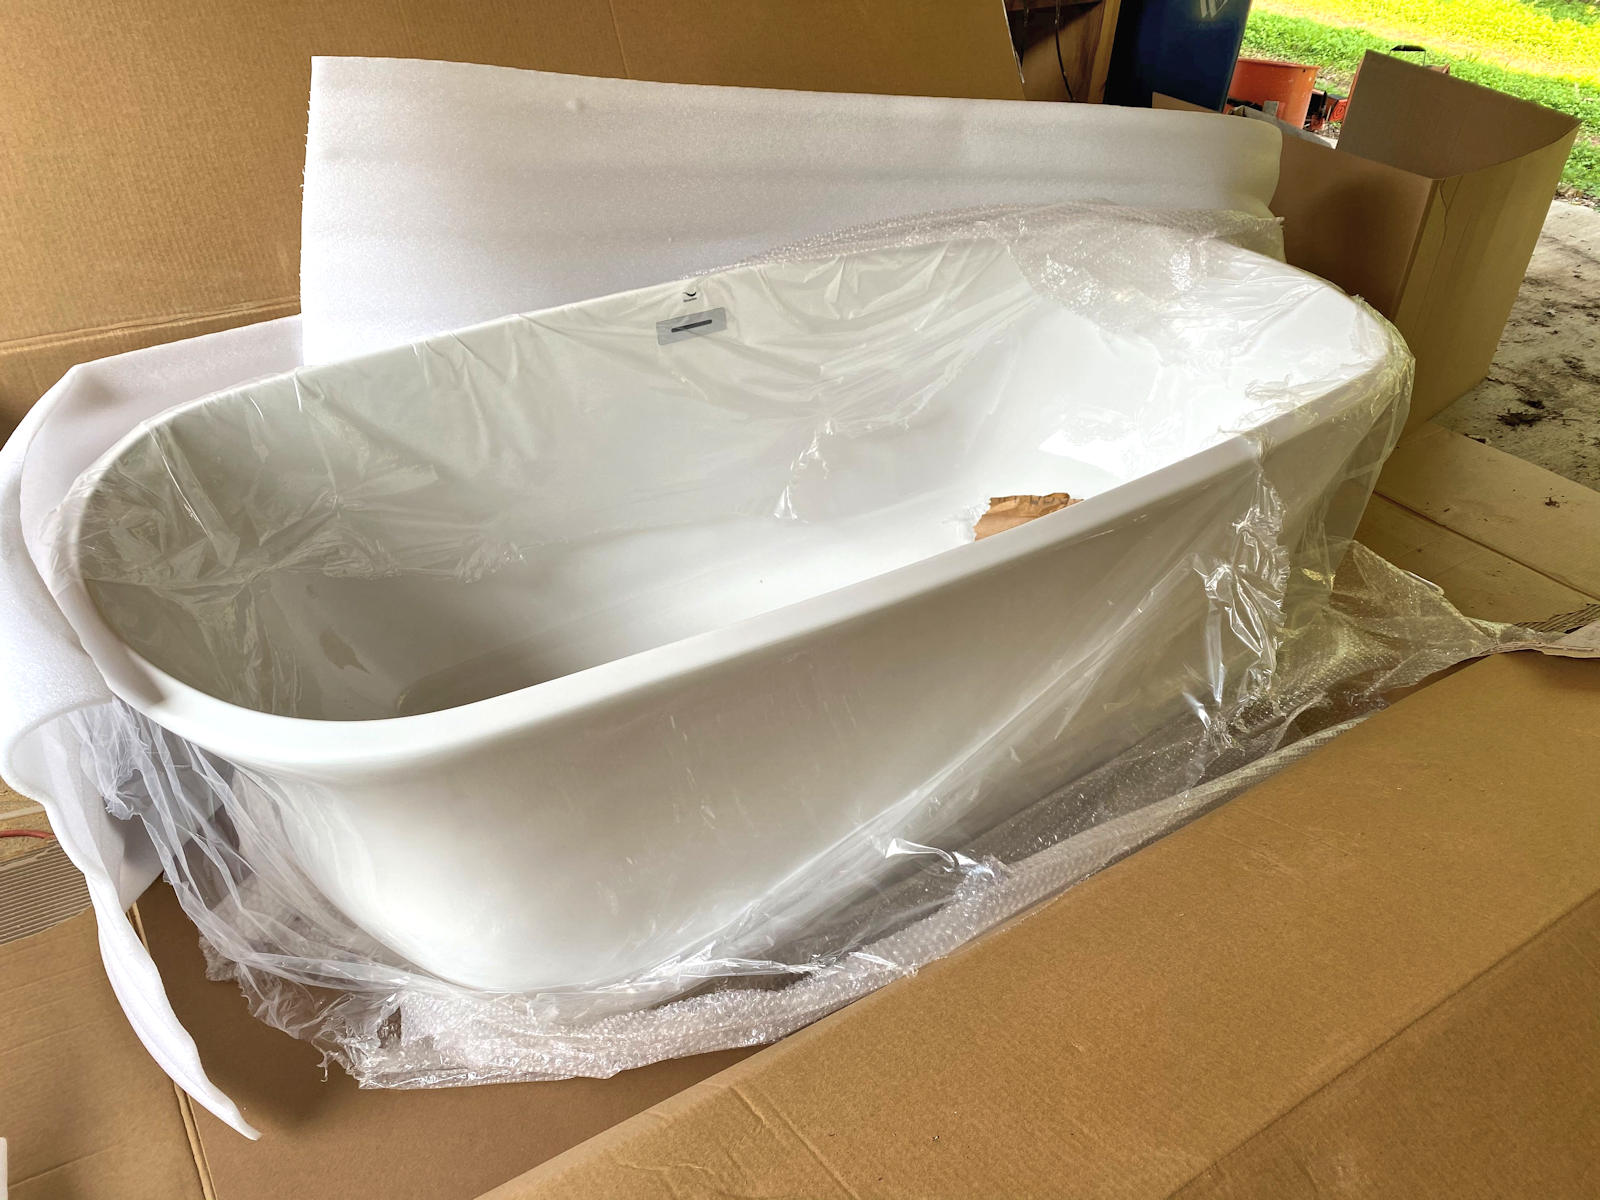
And my bathtub was finally delivered this week! Y’all, it is so pretty. This bathtub is so me. I looked at probably 100 bathtubs before finding this one. Most of the freestanding tubs I found were either too traditional, like the traditional claw foot tubs and slipper tubs, or they were way too modern for my taste. When I saw this one, I knew it was the perfect blend of modern (it’s a freestanding acrylic tub) and traditional (with the gently curved sides).
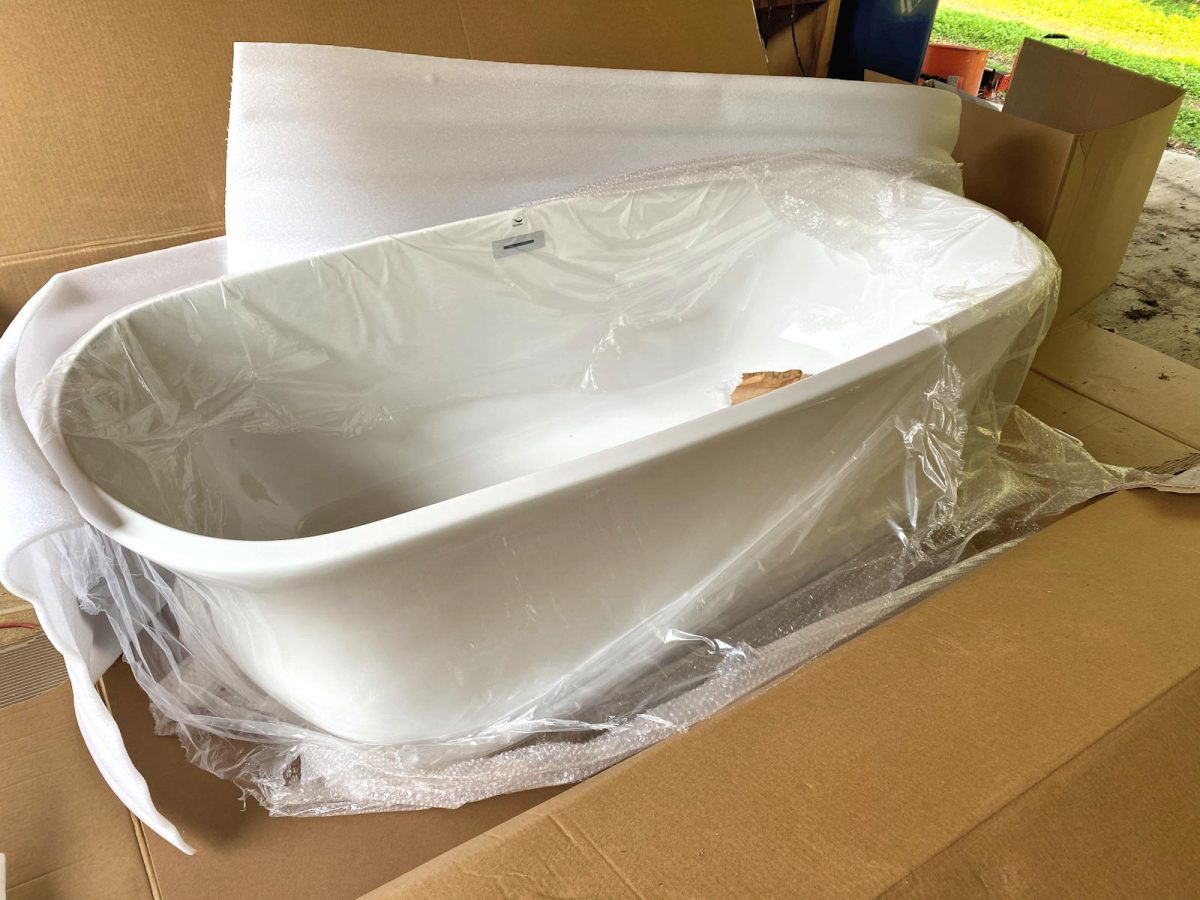
I can’t wait to see it in place!
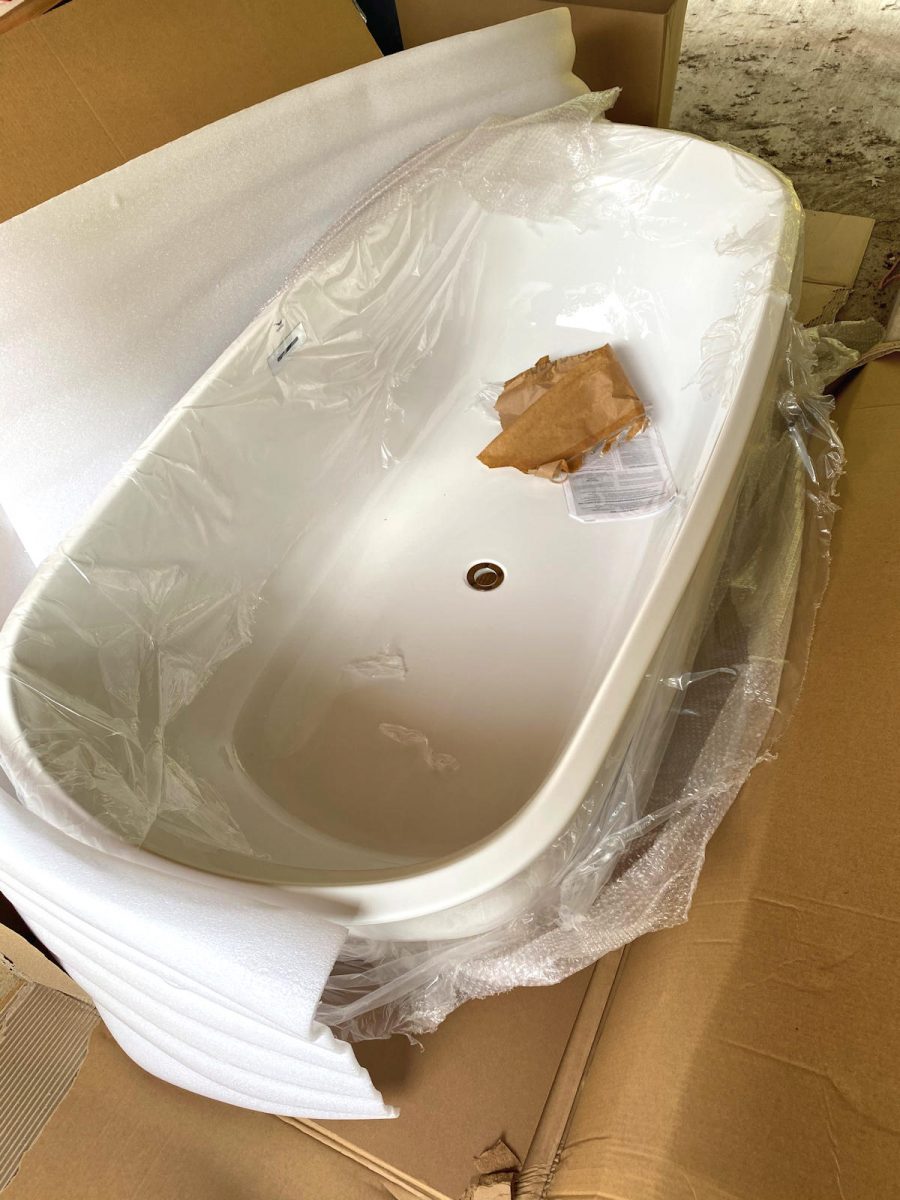
The shower pan still needs to be done, but of course, this is where they’ve run into problems with availability of supplies. Ugh. Evidently the vinyl that’s used to create the shower pan is in pretty short supply (and high demand) in the area right now, so finding it has been a challenge. But I’m confident it’ll all work out…eventually. ? Until they find what they need to complete the shower pan, the shower floor is about a 2.5-inch step down from the main bathroom floor. The finished shower pan will be completely even with the main bathroom floor for a curbless and easy entrance for Matt.


And this glimpse into the home gym will give you insight into why I haven’t been working on this room. ?
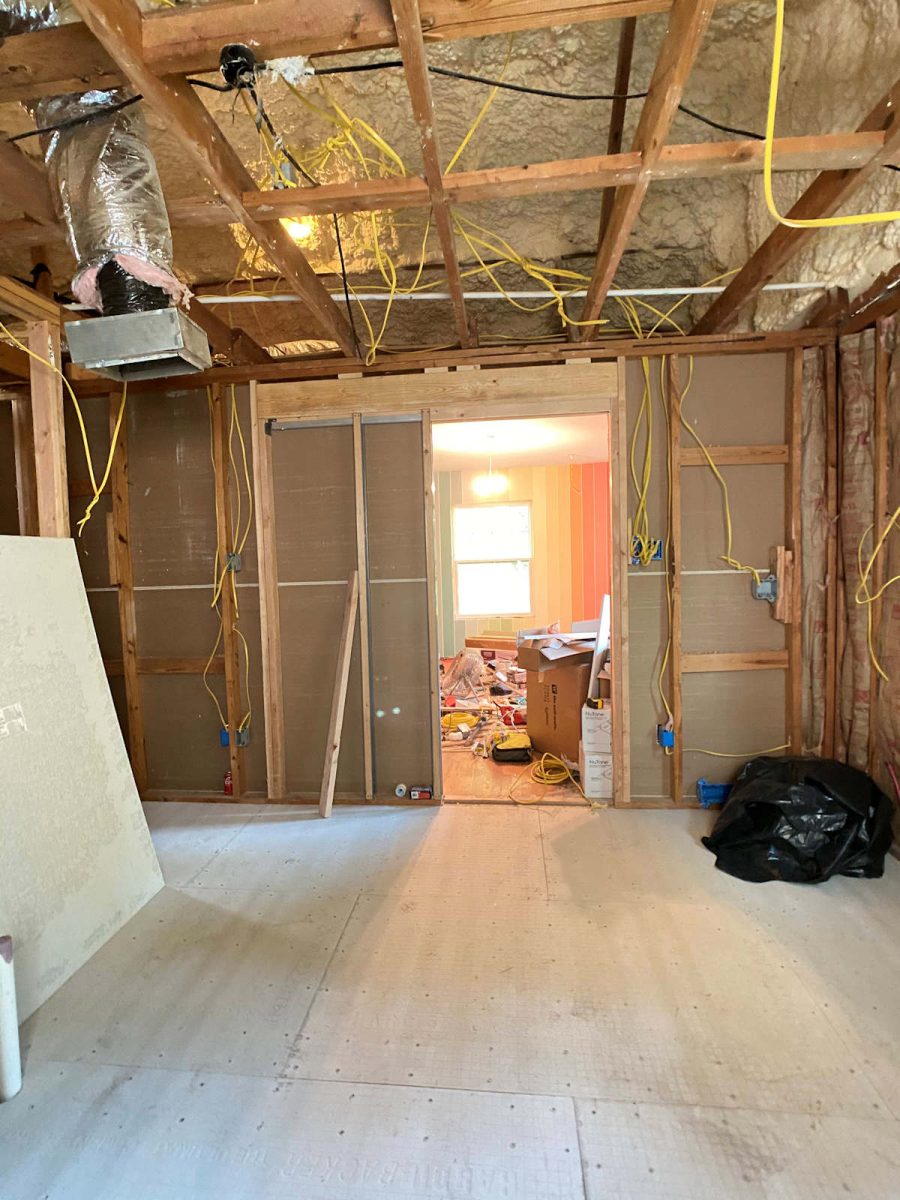
It has become the repository for their tools, all of the plumbing parts and fixtures for the bathroom, other supplies (like rolls of insulation) for the bathroom, etc. So obviously, they get priority right now. I’ll just stay out of their hair as long as they need to use that room for their stuff.
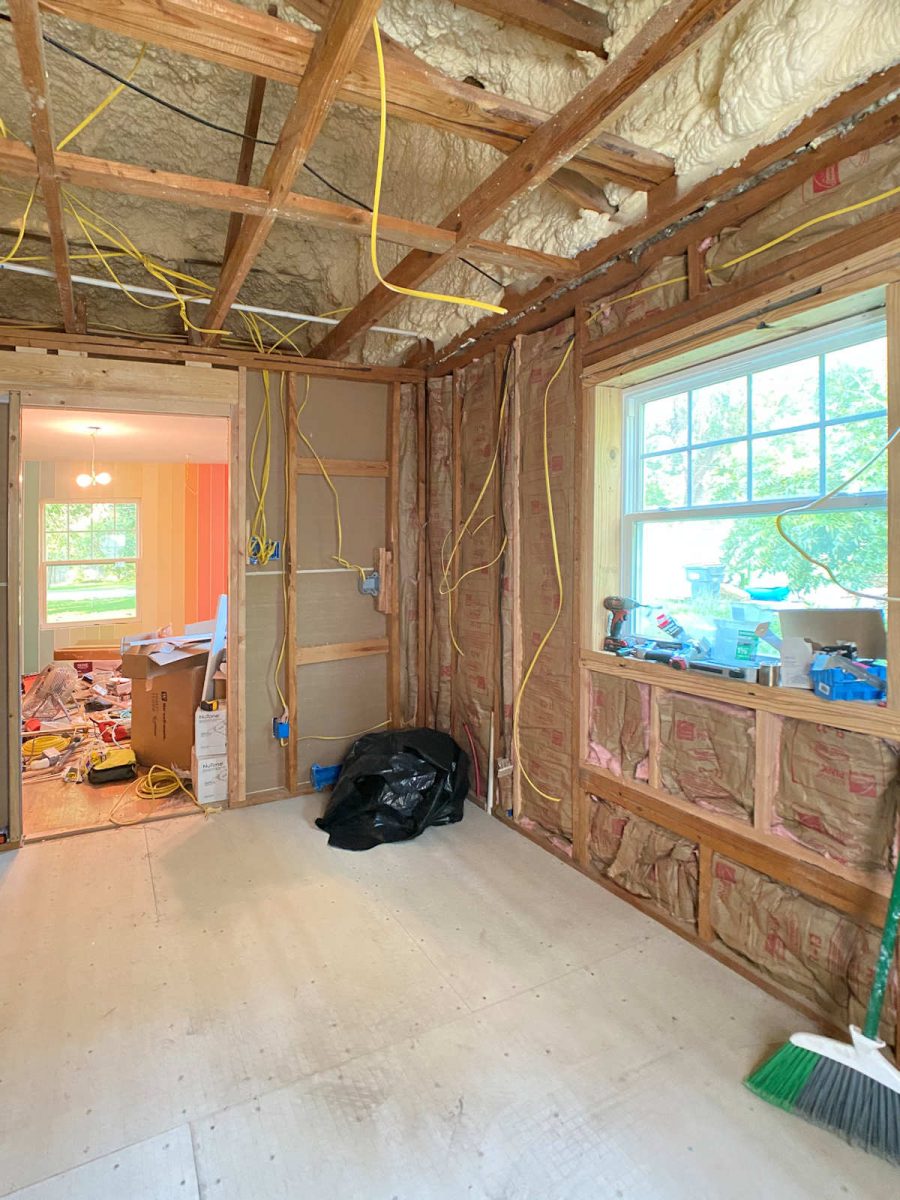
So that about covers all of the progress so far. Now I’ll share some decisions about design issues I’ve shared with y’all in past posts.
About that chandelier above the tub
First, there’s the issue of the chandelier above the tub. I’ve really wrestled with this because I want a bubble chandelier over my tub so badly.
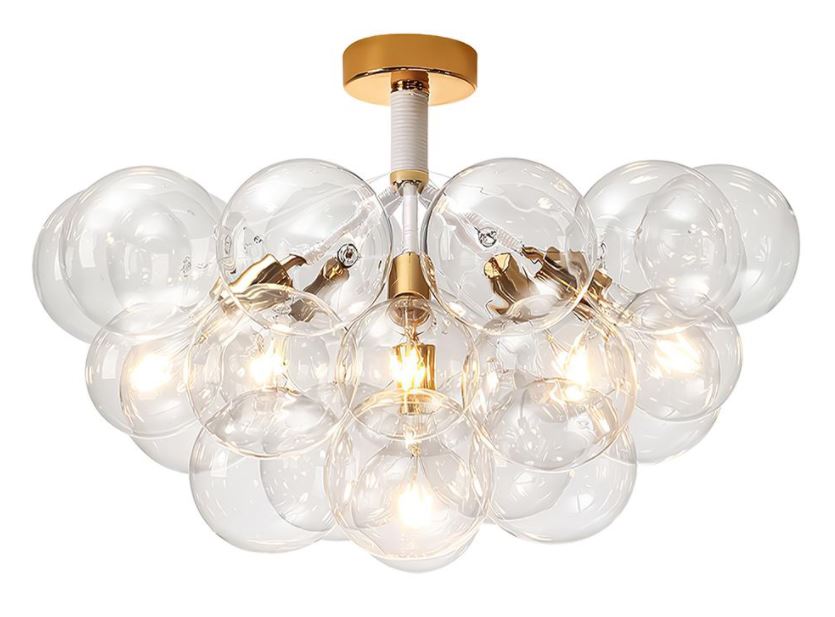
The comments on the topic (I wrote about it here) were pretty split, with some people saying they could never do it knowing it’s against building code, and others saying that they’d do it regardless.
I think the majority of people fall into that second camp. And every time I scroll through Instagram lately, I see more bathroom reveals with chandeliers over the tub. And these are coming from seasoned interior designers, too. As I was scrolling through Instagram on Monday, I saw three brand new bathroom reveals, two from seasoned interior designers and one from a blogger, and all three had chandeliers over the tubs.
I’m not exactly going to say, “Forget the code, I’m installing a chandelier!” But I have an idea for something that will keep everything within the building code while still giving me the look of the bubble chandelier that I wanted. Rather than try to explain my plan, I’ll wait and show you, but I’m pretty excited to see if I can pull this off.
So the bottom line is that I’m saying yes to the look of a chandelier above my tub, and it will be hardwired, and it will give me light above the tub, but it will also meet building code…if I can pull it off.
About the vanity design
I really wrestled with this as well, because I really wanted that pretty window seat under the window. And the majority of those of you who commented seemed to love that idea as well. But in the end (and after reading and considering all of your comments), I’ve decided to leave both sink areas open underneath, and add as much storage as I can on either side (including the area under the window).
On my side, I’m going to make a little upholstered stool that I can pull out and pull over the Matt’s side so I can sit down while I helping him. That’ll give me enough symmetry for my peace of mind, it’ll fill up the area under my sink with something that’s actually pretty and useful, while also giving me a useful place to sit when need be. As much as I’d love that window seat, there’s no way I can have the areas under both sinks open AND have a window seat also. That would leave virtually no room for actual storage.
About the shower controls
I decided to do one shower head instead of two, and the control will be just inside the shower to the right (so on the back side of the wall between the shower and tub).
The reason I went back to one shower head is because the whole purpose for this shower is to give Matt plenty of room to move around, plenty of elbow room, etc. If I put two shower heads in there, that means that Matt will be shoved over to one side or the other to be below the stream of water. In the end, that didn’t make much sense to me. So to keep things as roomy as possible for him, we’ll have one shower head right in the center of the wall, along with an adjustable handheld just to the right side of that.
So that’s it for now! Things are really moving along, and I’ll be to the pretty stuff before to long!

Addicted 2 Decorating is where I share my DIY and decorating journey as I remodel and decorate the 1948 fixer upper that my husband, Matt, and I bought in 2013. Matt has M.S. and is unable to do physical work, so I do the majority of the work on the house by myself. You can learn more about me here.
I hope you’ll join me on my DIY and decorating journey! If you want to follow my projects and progress, you can subscribe below and have each new post delivered to your email inbox. That way you’ll never miss a thing!
[ad_2]
Source link

