[ad_1]
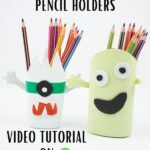
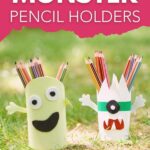
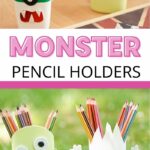
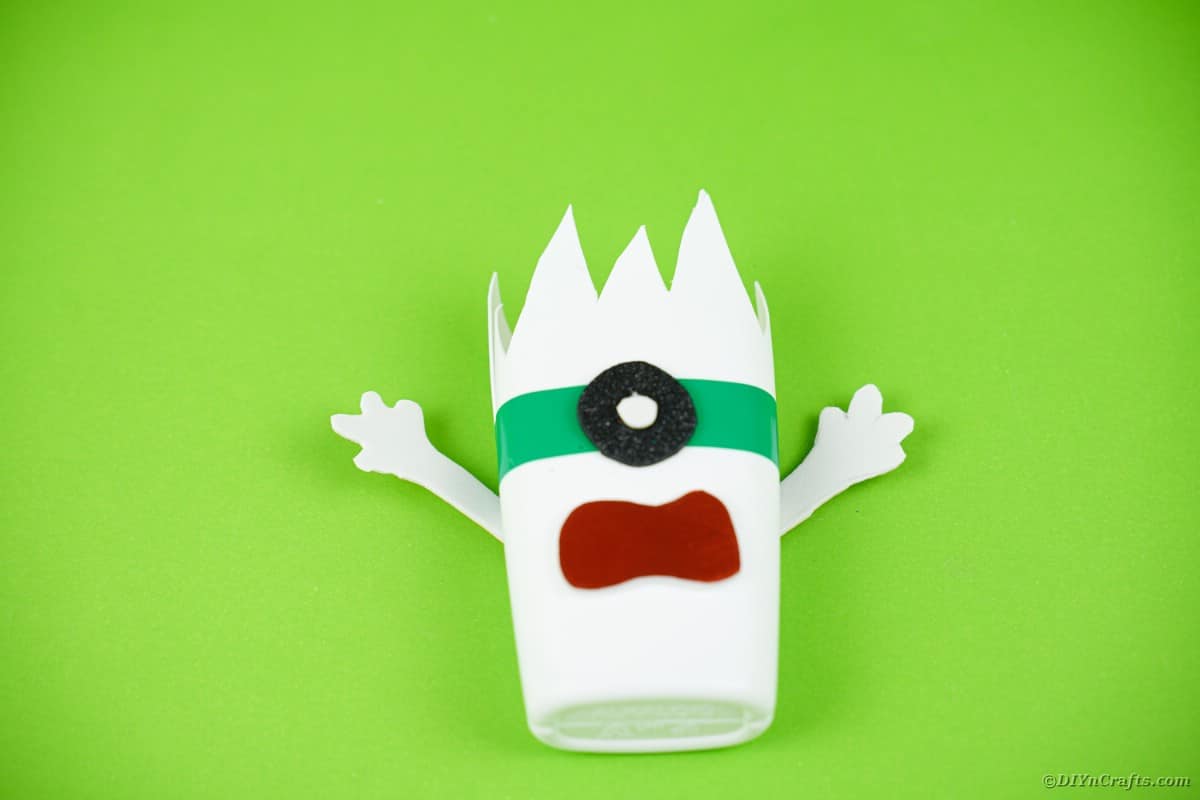
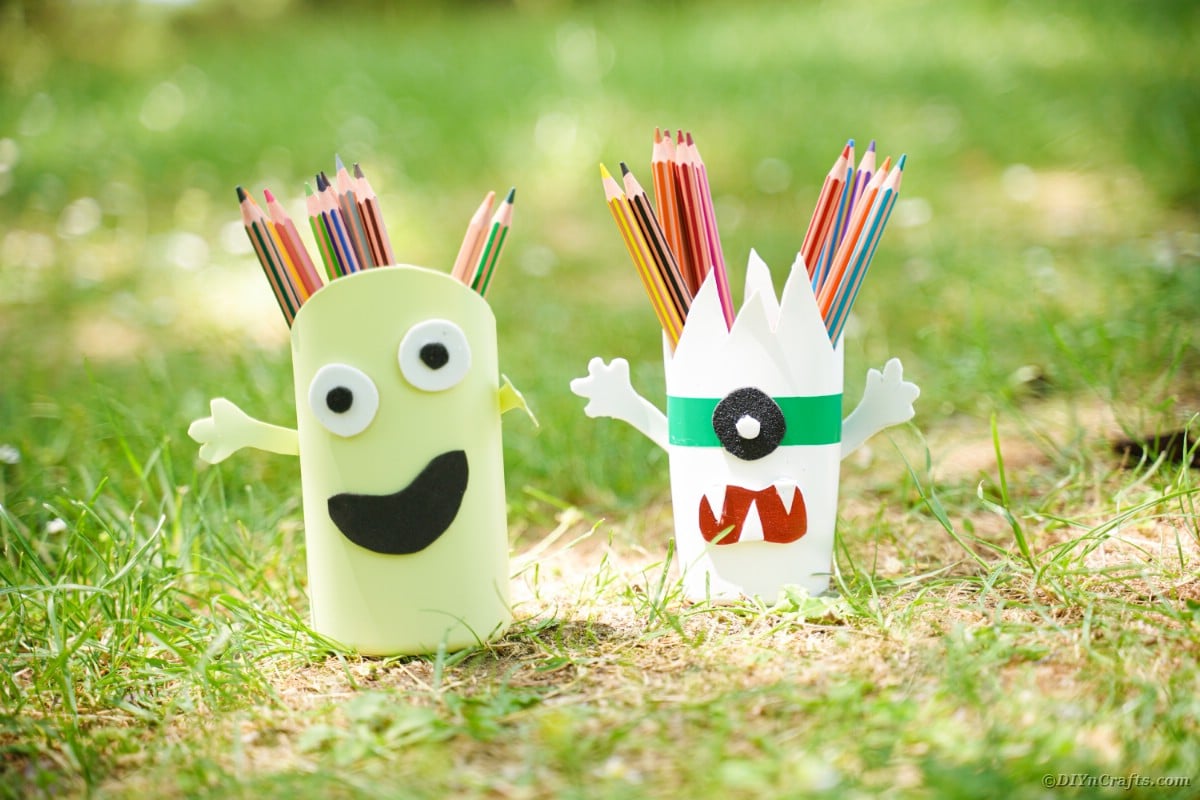
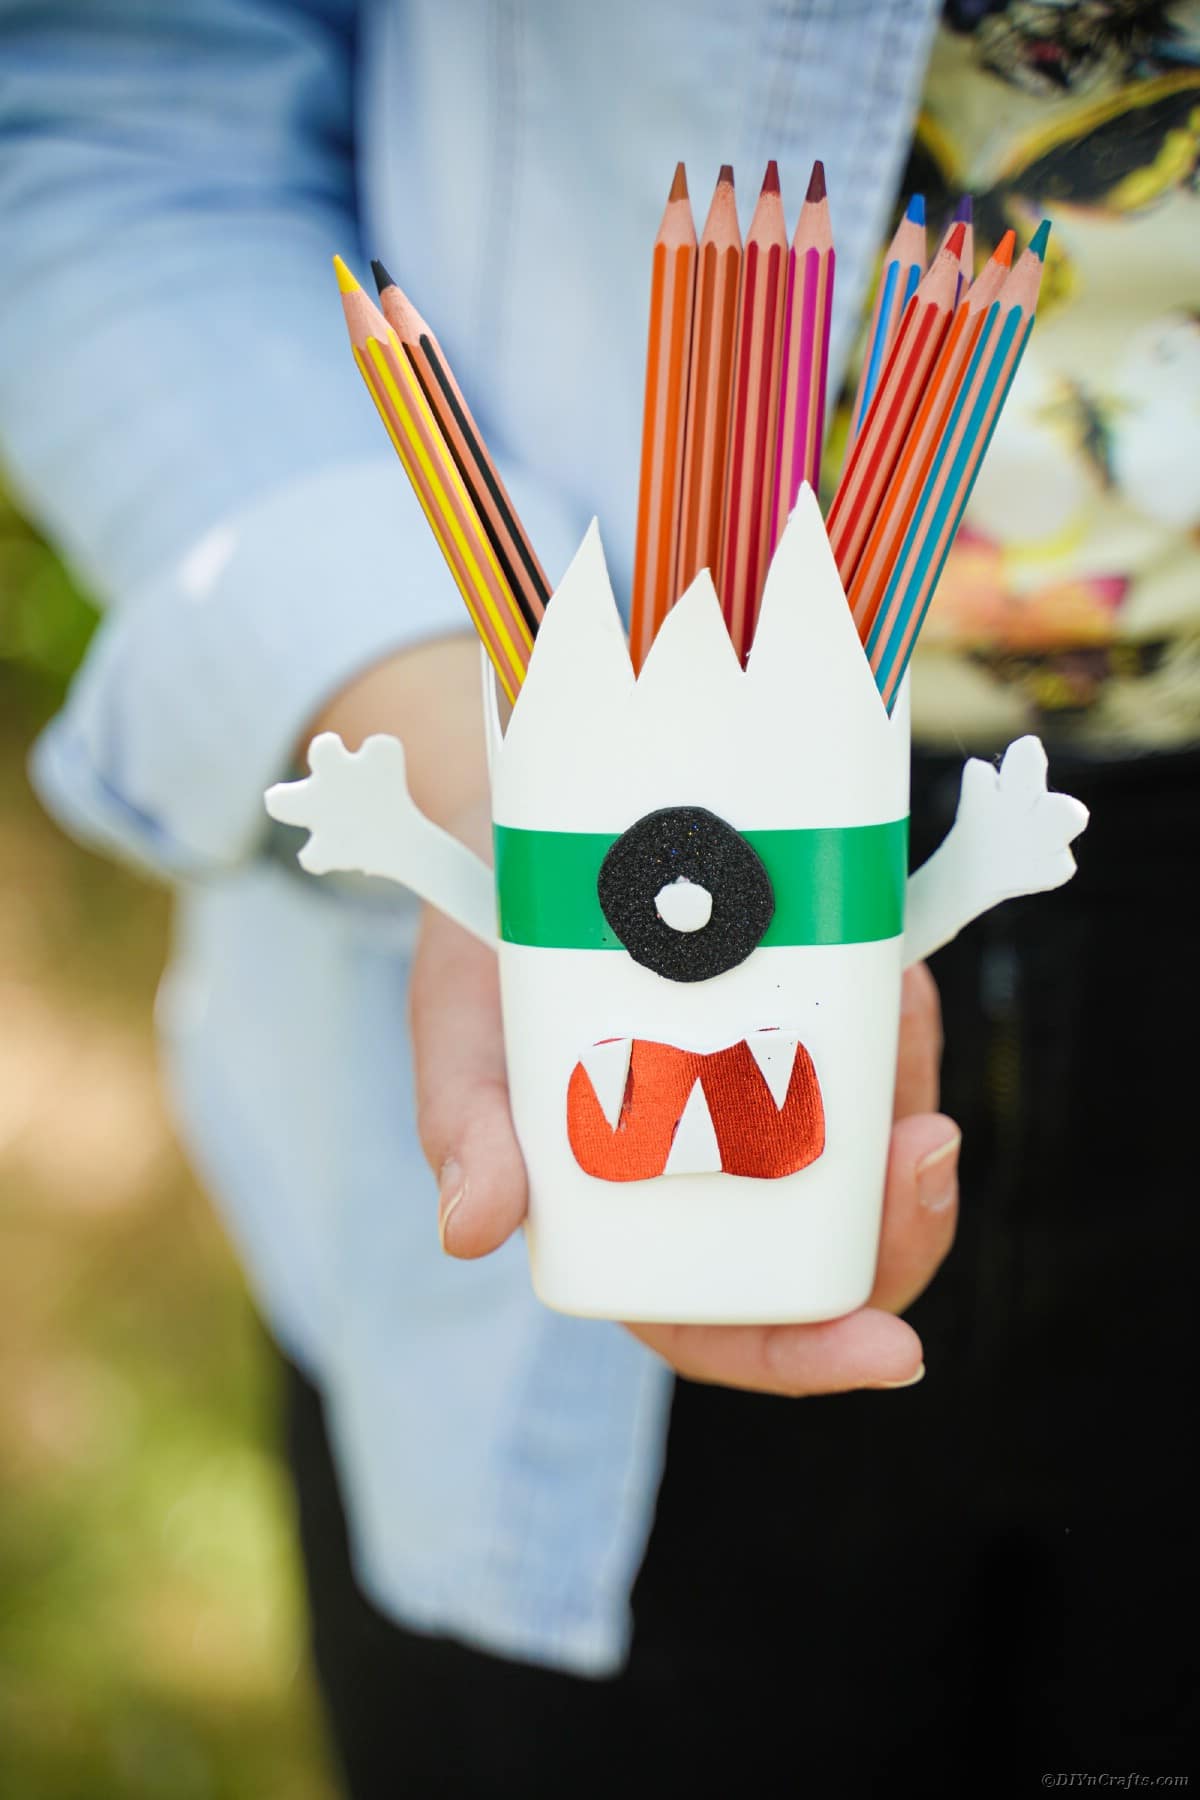
Monsters are everywhere around Halloween but they don’t need to be scary. Make your monsters not just cute but fun! This easy upcycled bottle craft makes the most adorable little monster pencil holders for kids’ desks. There is just something fun about having something on their desk for the Halloween season, and this is both cute and functional. Make your own in a variety of styles and use it for all kinds of things around the house!
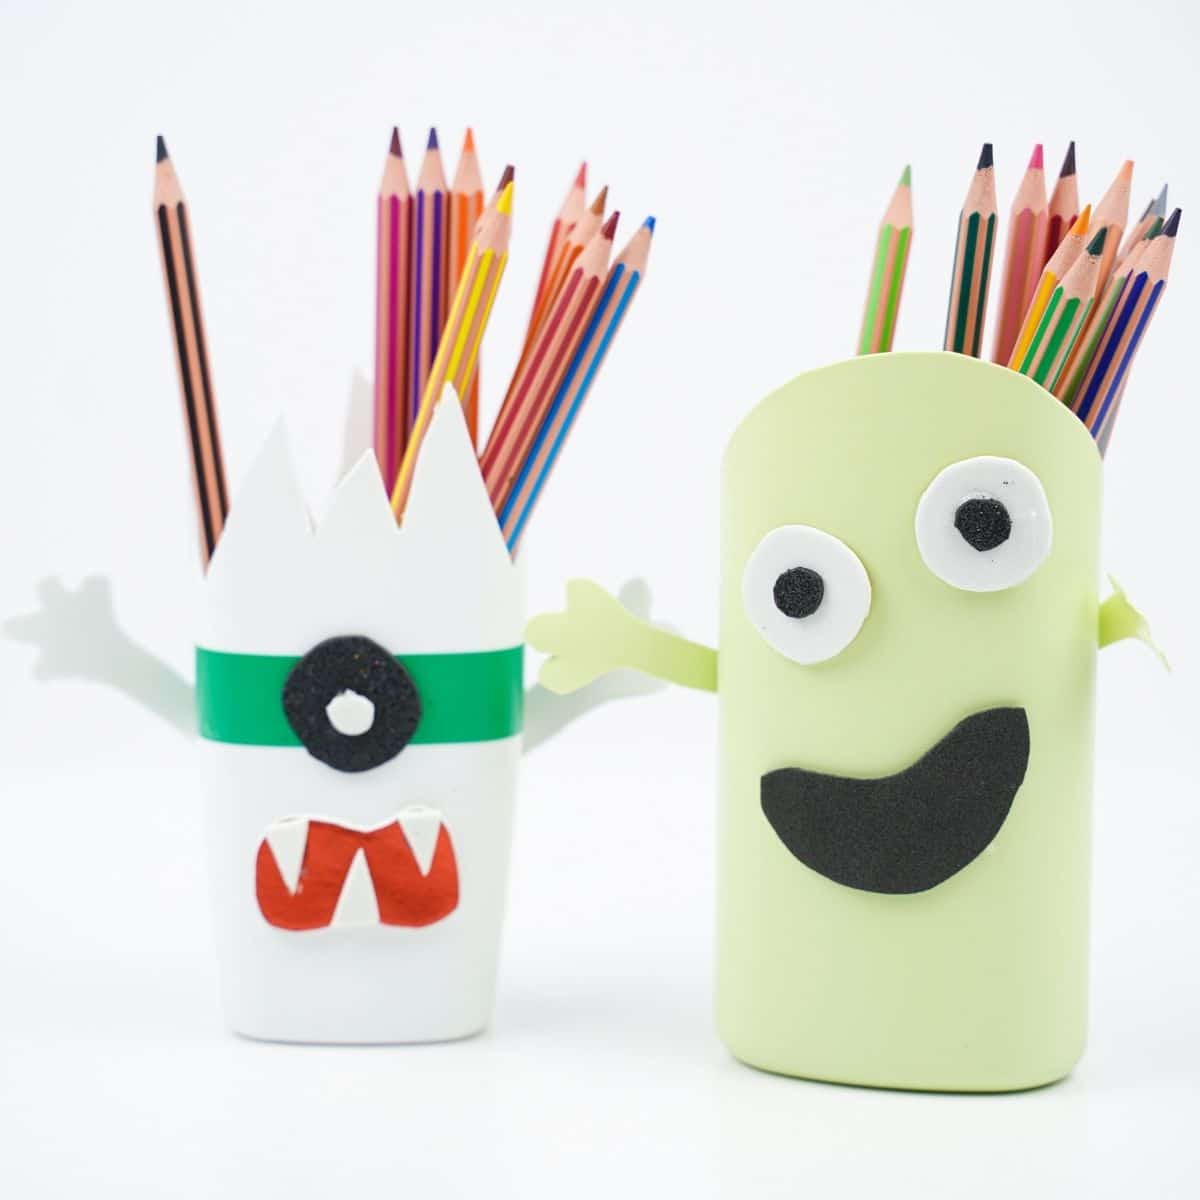
Monster Pencil Holders
I hate throwing anything away that could potentially be used for something new. My family used to call me a hoarder until they realized how handy my little projects could be for everyone. This idea was inspired by seeing an empty shampoo bottle on a counter and trying to figure out how to make it used for something new and fun. A pencil holder that looks like a monster sounded great. Kids would love it, and it would be a fun way to put that bottle to use.
I’ve made an effort to turn monsters into fun instead of scary things lately. From the funny upcycled old book monster to the cute little pom pom monsters, I knew I could add some cute things to my decorations around Halloween that wouldn’t be so scary. Clothespin monsters are another fun idea that the kids enjoyed, and of course, I loved adding little egg carton monster treat boxes to my kid’s goody bags. So many great ideas to add to your Halloween!
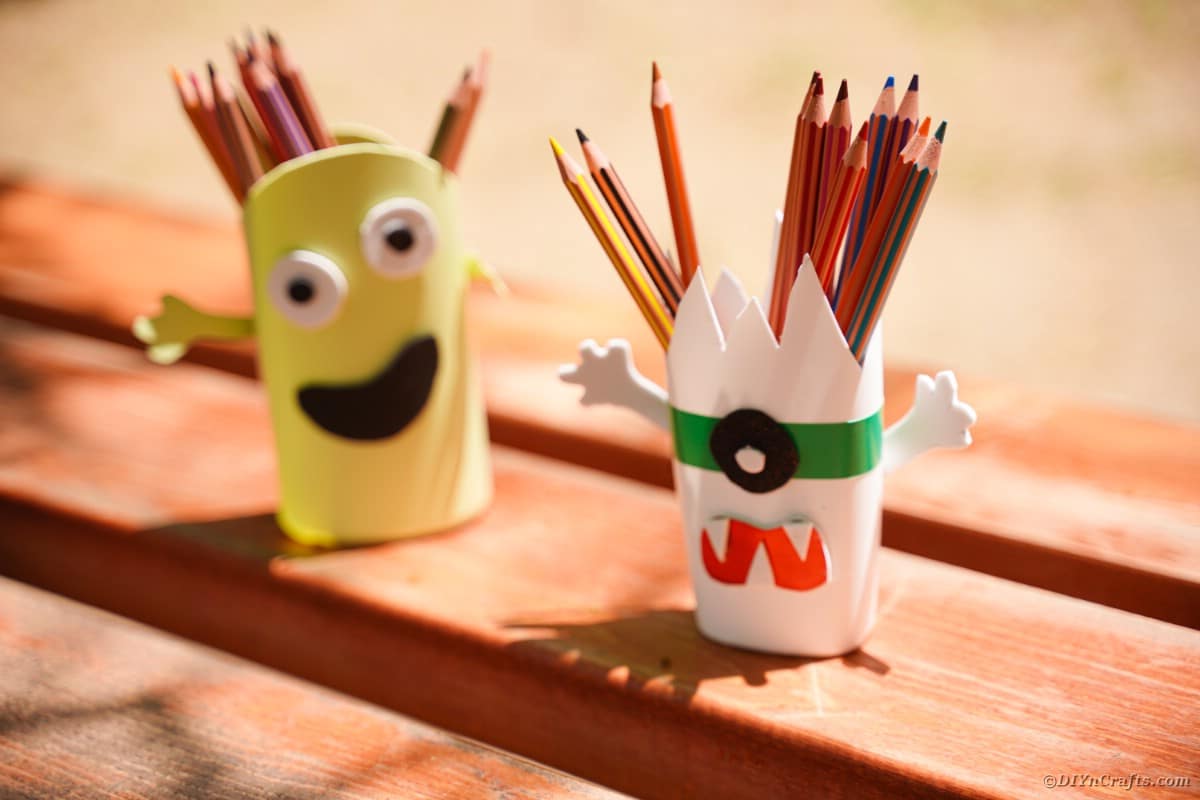
What Bottles are Best for These Containers?
Frankly, nothing works better than a shampoo bottle. The flat bottom and rounded bottle make it ideal for holding pencils or pens. Plus, the plastic is thin enough to easily cut but also not so sharp around the edges that you worry about it cutting you. Lotion bottles, conditioner bottles, and body wash bottles are also great for this project. I just stay away from any of the super hard plastic since it can be really brittle and harder to cut.
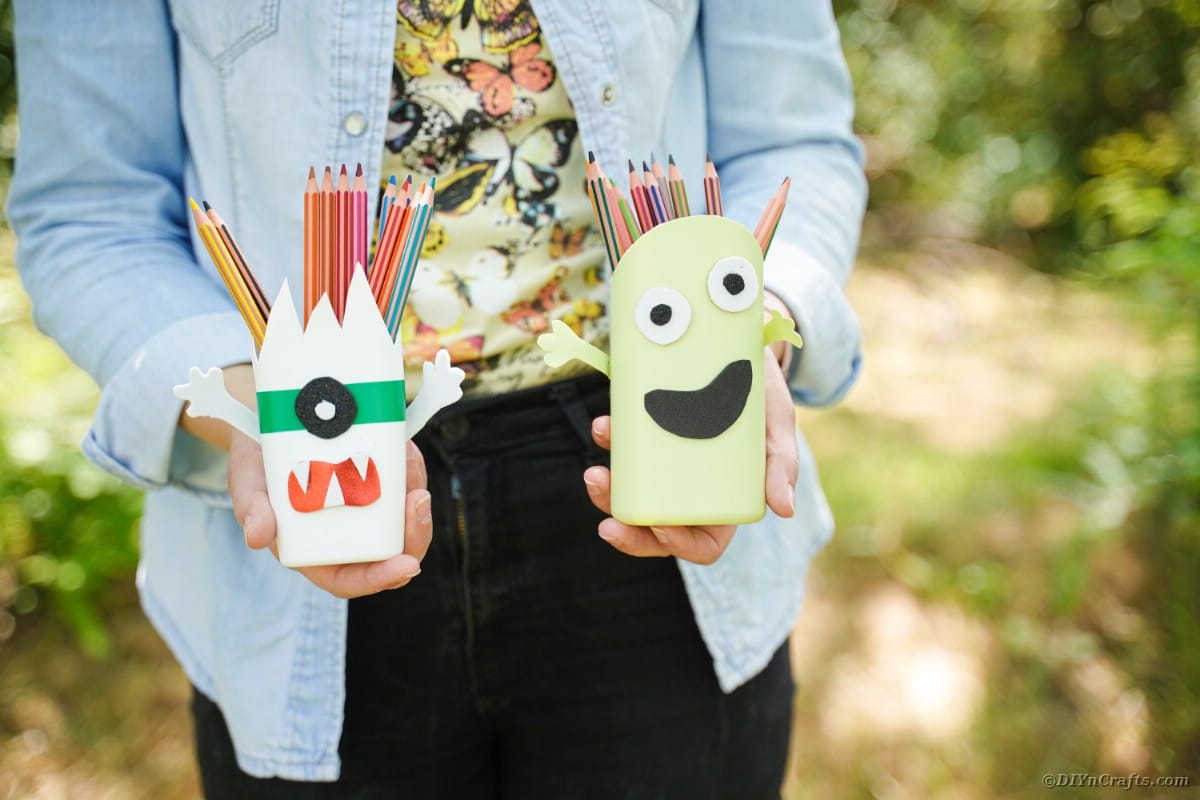
What is a Safe Way for Kids to Cut the Bottles?
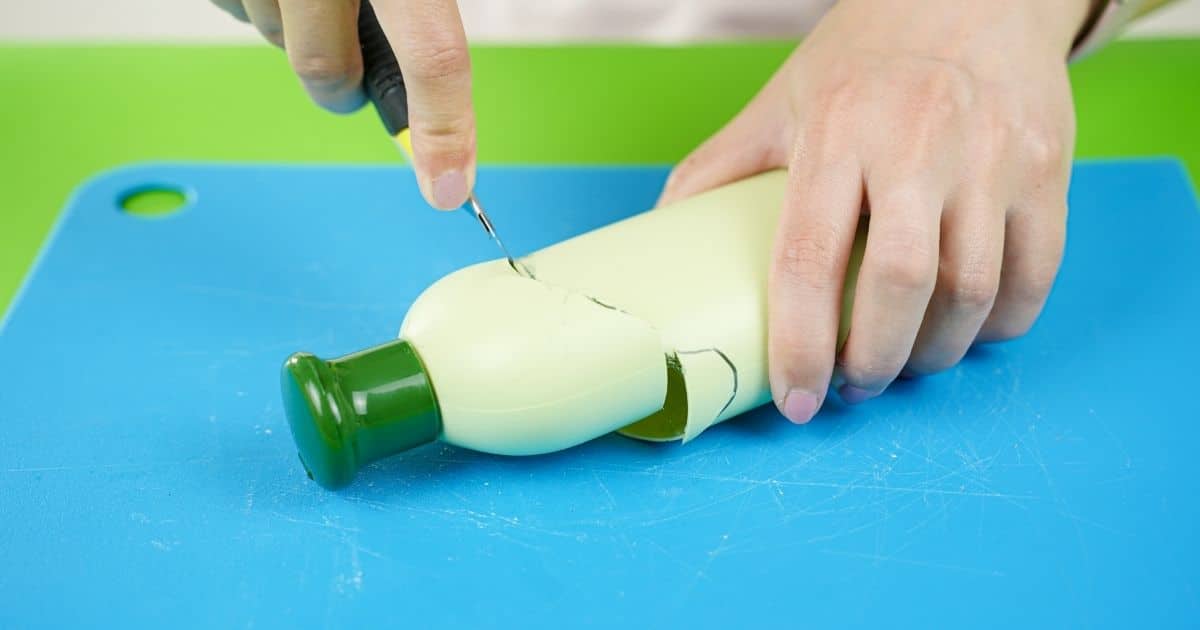
When working with kids, it is probably best for you to cut these yourself and let the kids do all of the decorating. Some bottles will cut with kids scissors, but usually you will find the need for a craft knife for the initial cuts on the plastic. Most scissors won’t work well for that but you can usually get away with a craft knife or a kitchen knife doing it for you.
Instead of having the kids cut the bottles, have them prepared ahead of time and just let the kids do the decorating with tape, paper, and other additions. Lay them out on a table with the bottles ready at each place setting and stacks of supplies in the center of the table. This makes it super easy for the kids to reach and grab what they want while keeping things mostly organized.
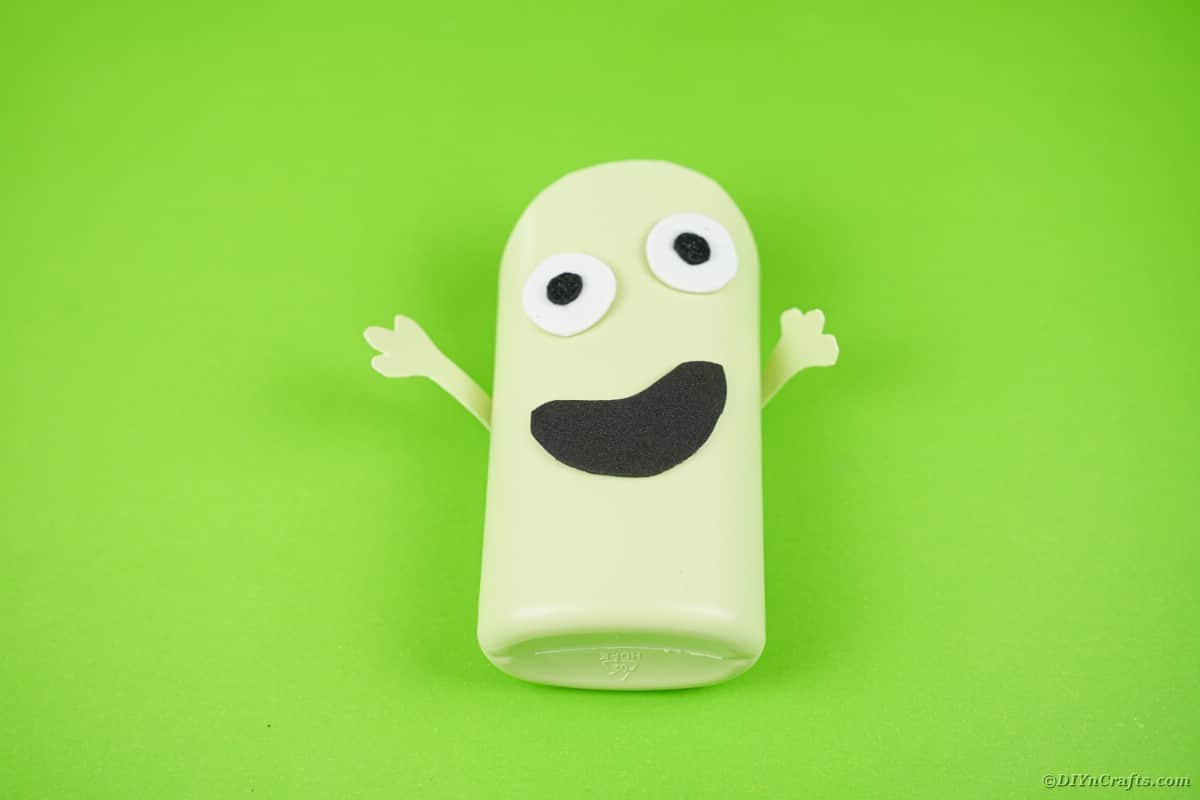
How Can I Customize My Monster?
I created a pretty simple monster for this example, but you can add so many amazing additions to your monster! These little pencil holders are great for tons of different uses, so customize each one to make it look even more unique and fun. Below are some of my favorite ideas for making your monster look even cooler!
- Paint the bottle with stripes or polka dots.
- Use different colors of washi tape to add stripes or even clothing to the bottle.
- Glue on buttons or beads for eyes instead of foam paper.
- Add a few pieces of yarn around the top to give your monster crazy hair.
- Glue on sequins to create a dress or shirt.
- Spray with glitter spray to add a fun sparkly monster look.
Where Can I Use These Monster Containers?
I initially made these just for holding pencils on the kids desks. That doesn’t mean they can’t be used for tons of other cool ideas around the house. Add them to your dining table to hold rolled napkins or utensils for a Halloween party. Perhaps, you might put them on your bathroom counter to hold things like makeup brushes or even your toothbrush and toothpaste. They are super cute and also handy. You don’t have to hesitate at all to make dozens and tuck them around your house to hold things or even just as part of your Halloween decor.
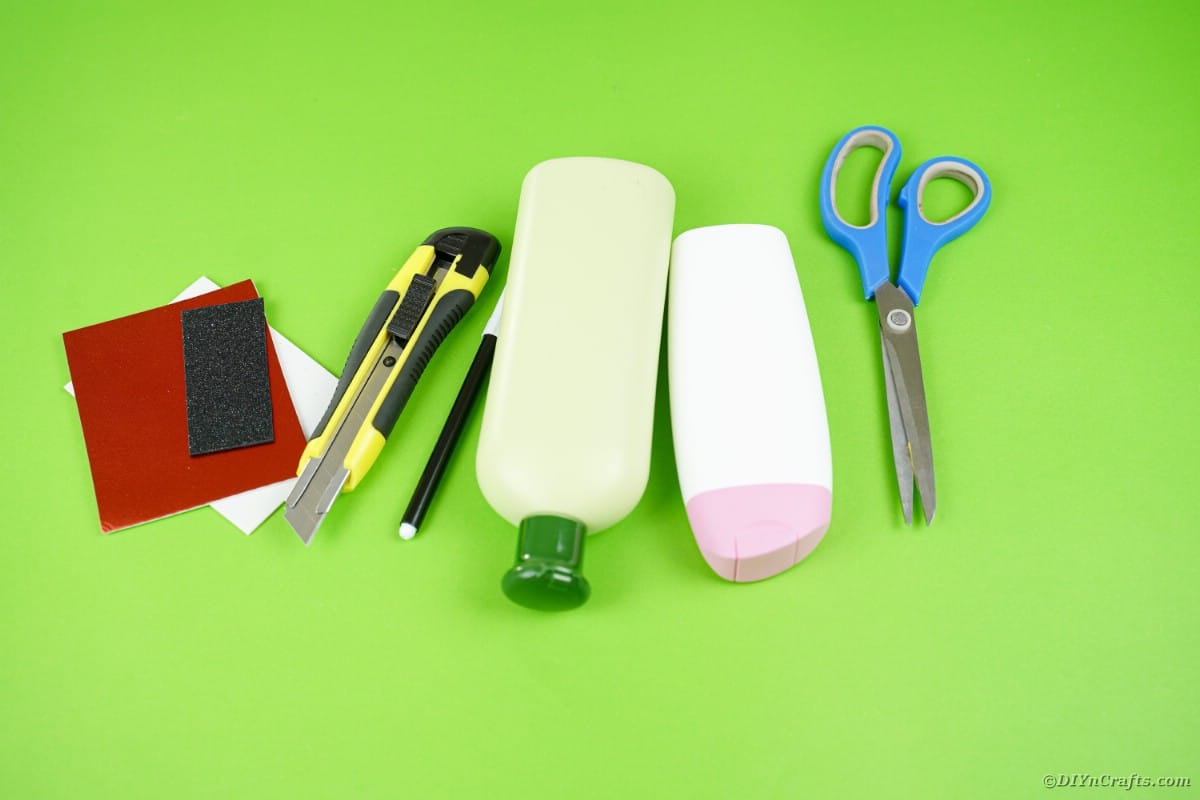
Supplies Needed
How to Make a Monster Pencil Holder with Upcycled Bottles
Clean an empty lotion or shampoo bottle and remove the label from the outside.
Draw a jagged line around the bottle, about 3/4 of the way up the bottle.
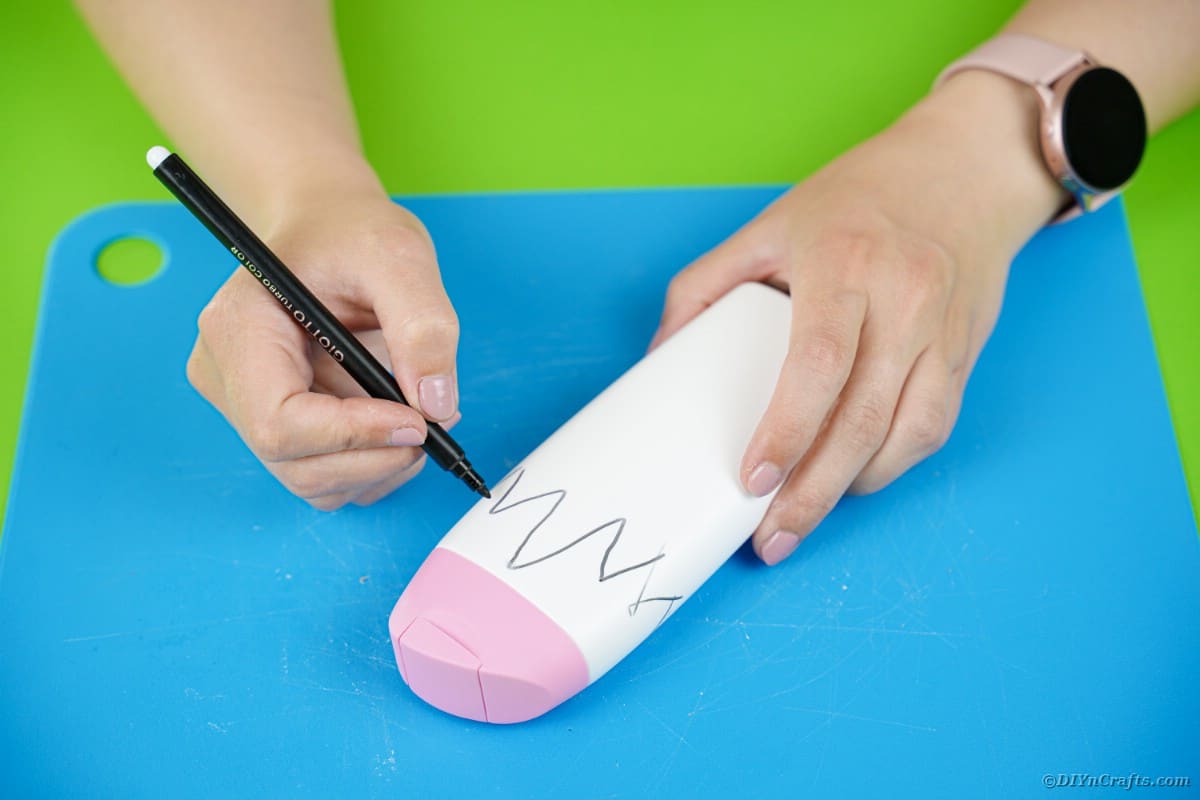
Use a craft knife or scissors to cut the top off and discard it.
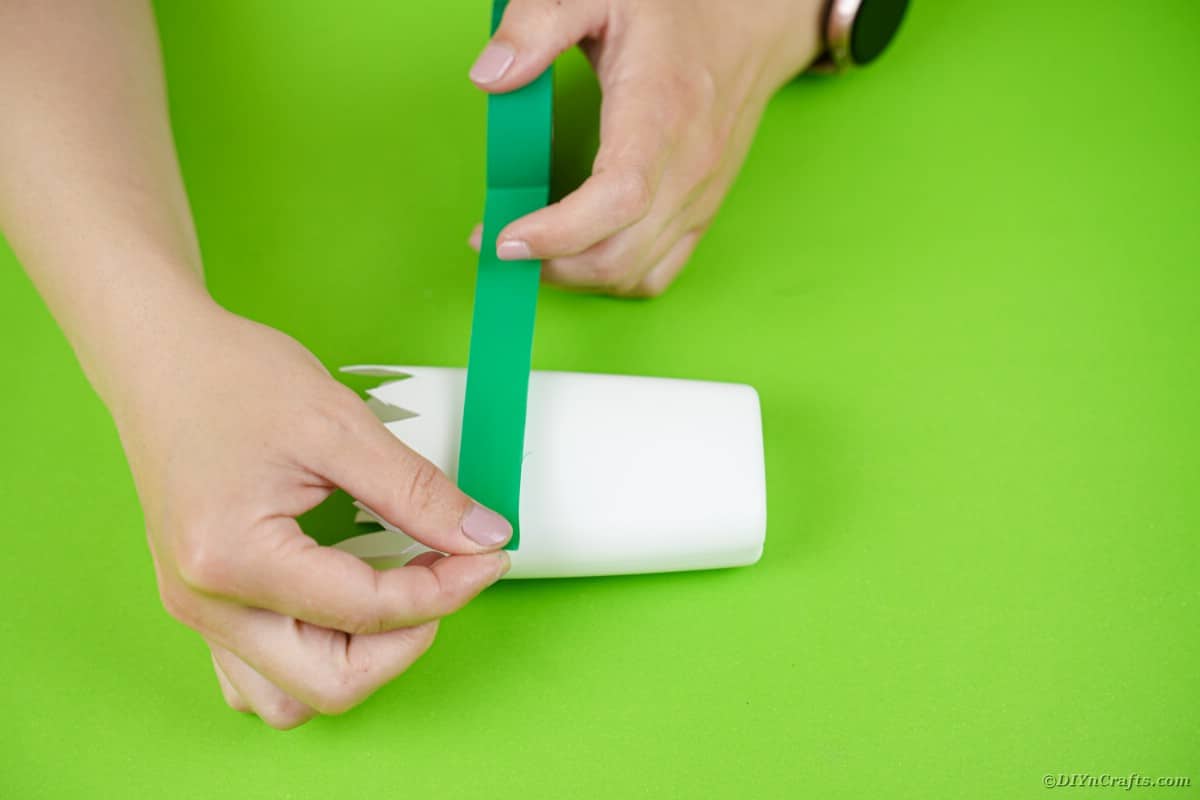
Wrap colored washi tape around the top of one bottle.
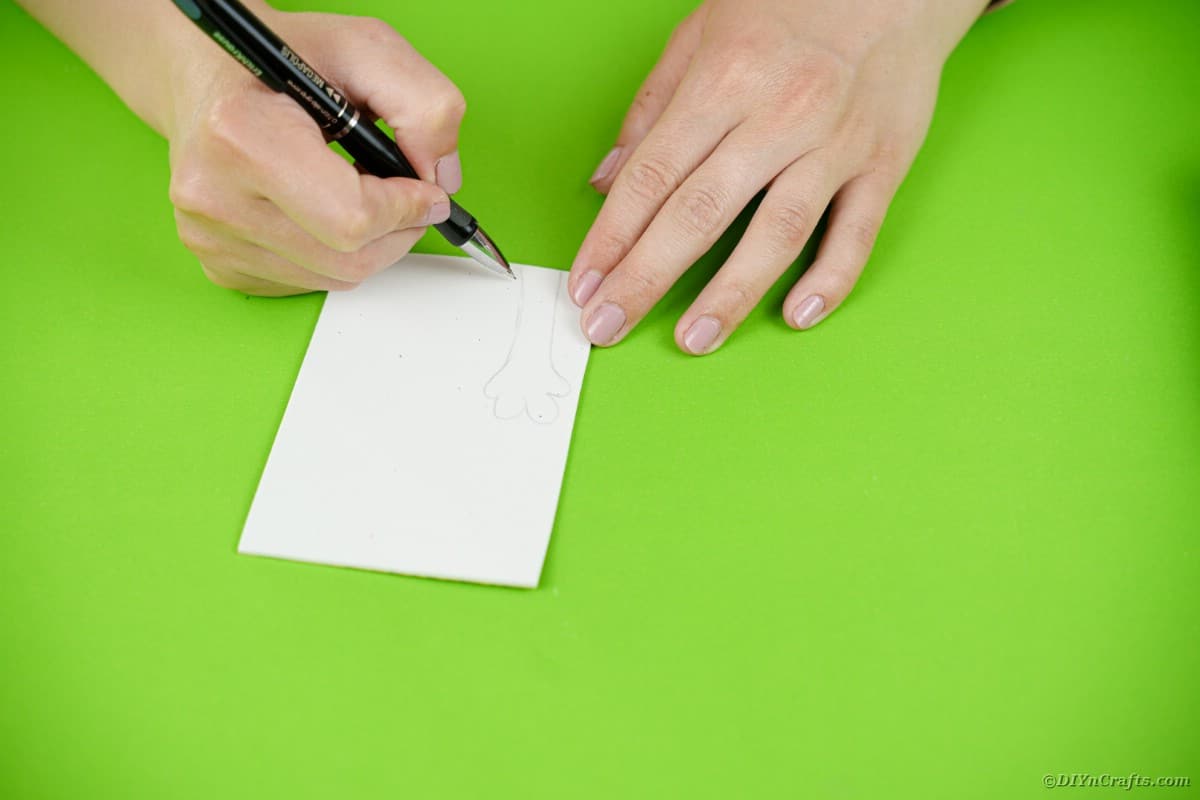
On craft paper, draw hand and arm shapes, then cut those out.
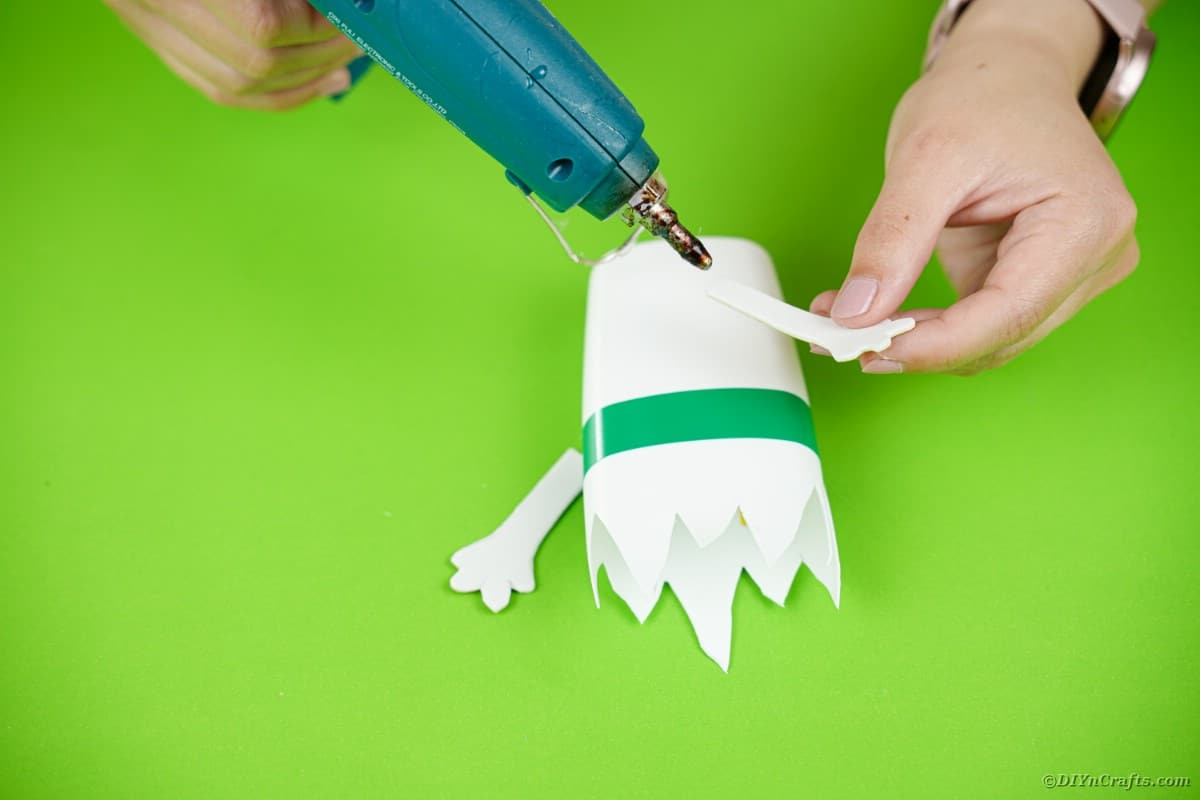
Glue the arms on either side of the washi tape on the bottle.
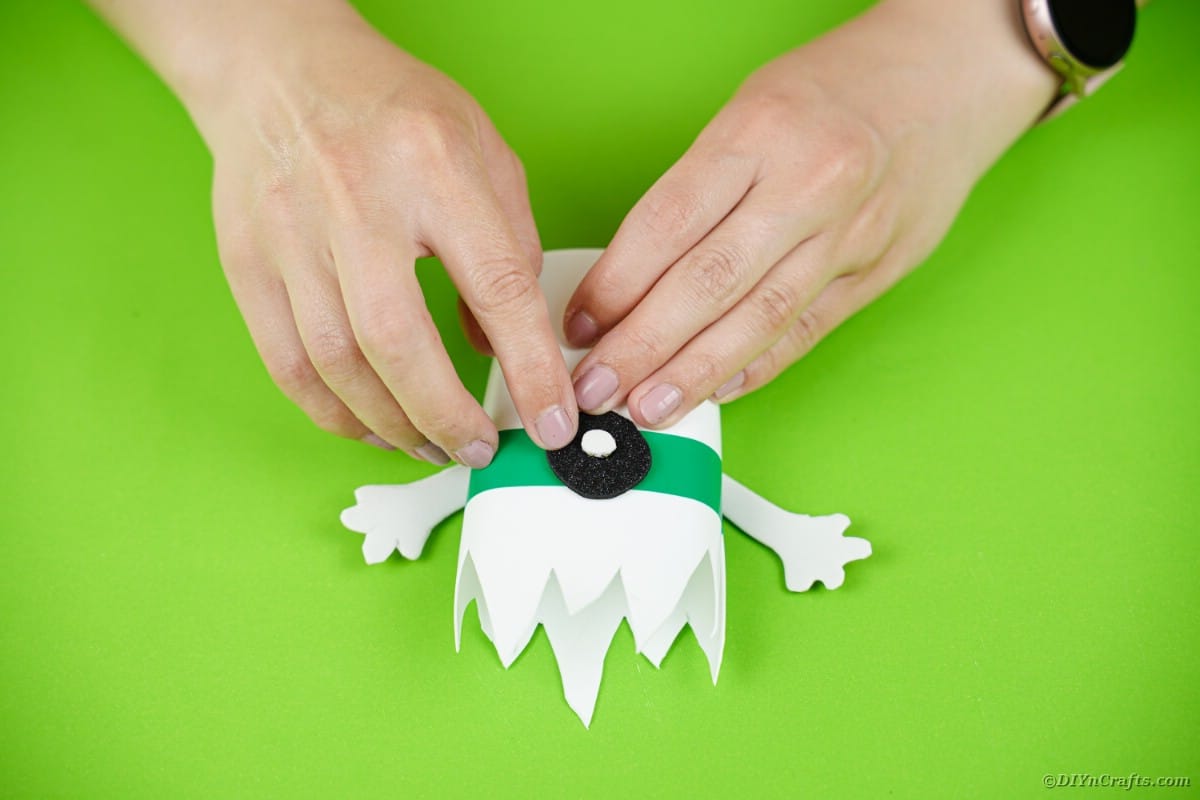
Cut a small circle from the foam paper.
Stick the foam paper circle onto the center of the washi tape.
Cut out a small white circle and glue to the middle of the glitter foam circle.
Draw a mouth shape on the back of the red paper and cut it out.
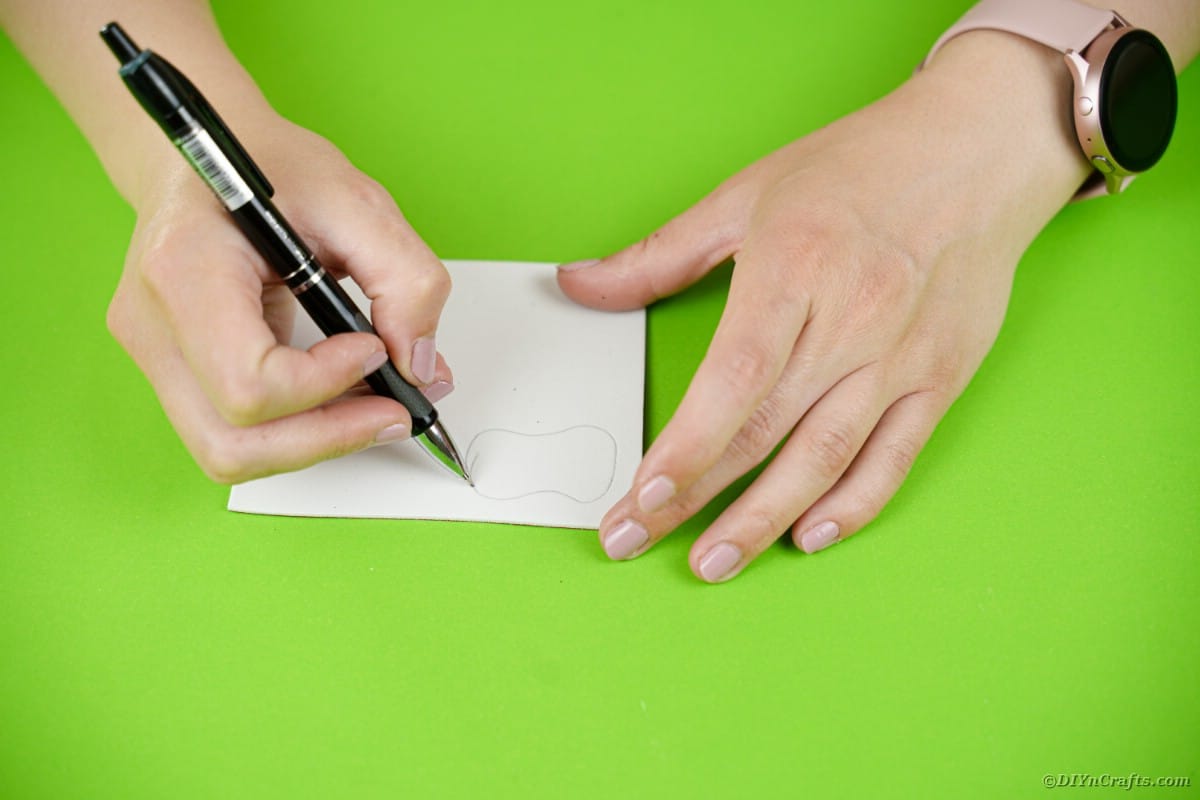
Glue the mouth toward the bottom of the bottle, below the eye.
Cut out white triangles and attach them to the mouth as teeth.
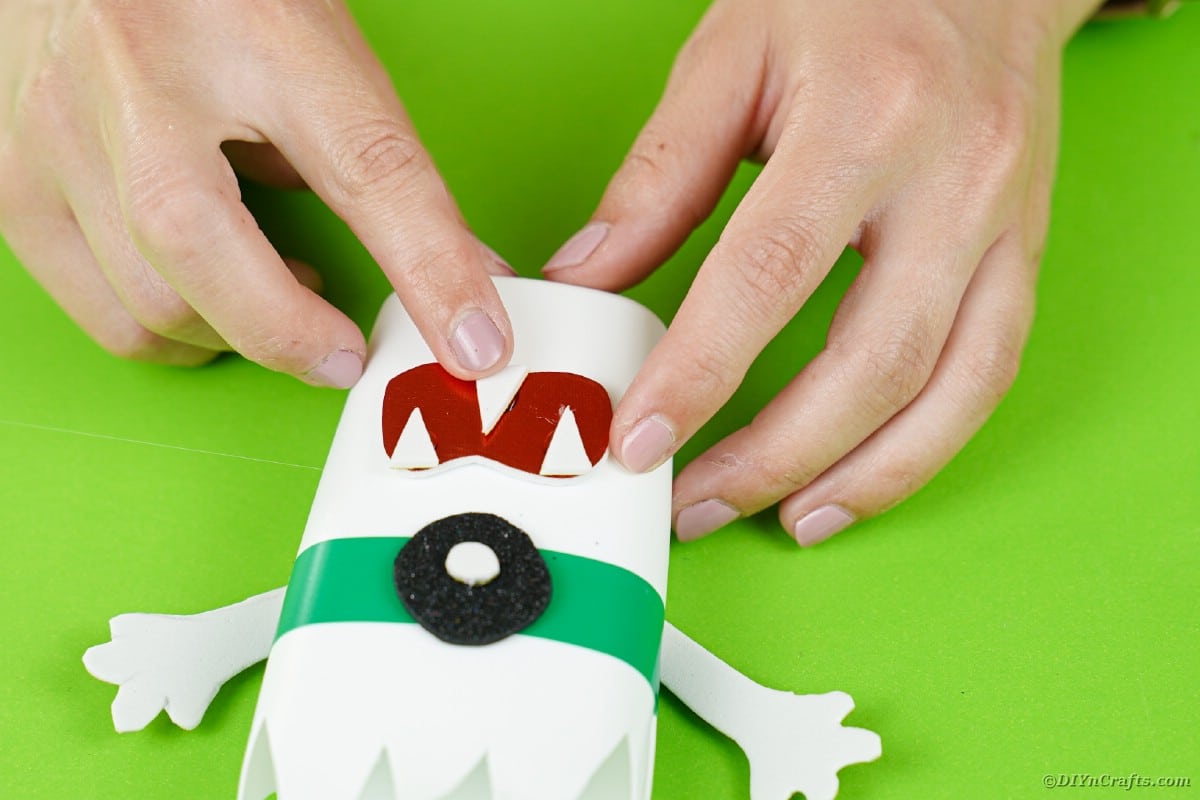
Cut a smooth line across the top of a second bottle.
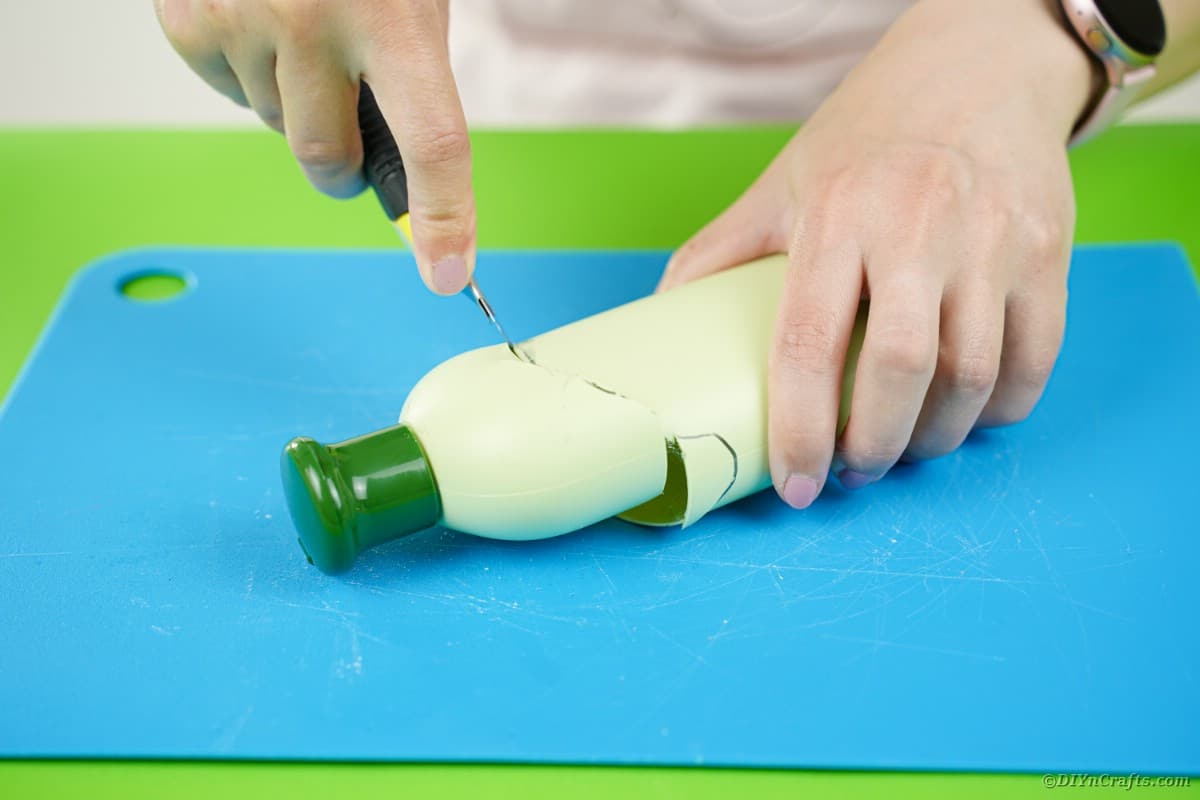
Use part of the discarded top of the bottle to cut out two arms.
Attach the arms to the sides of the bottle.
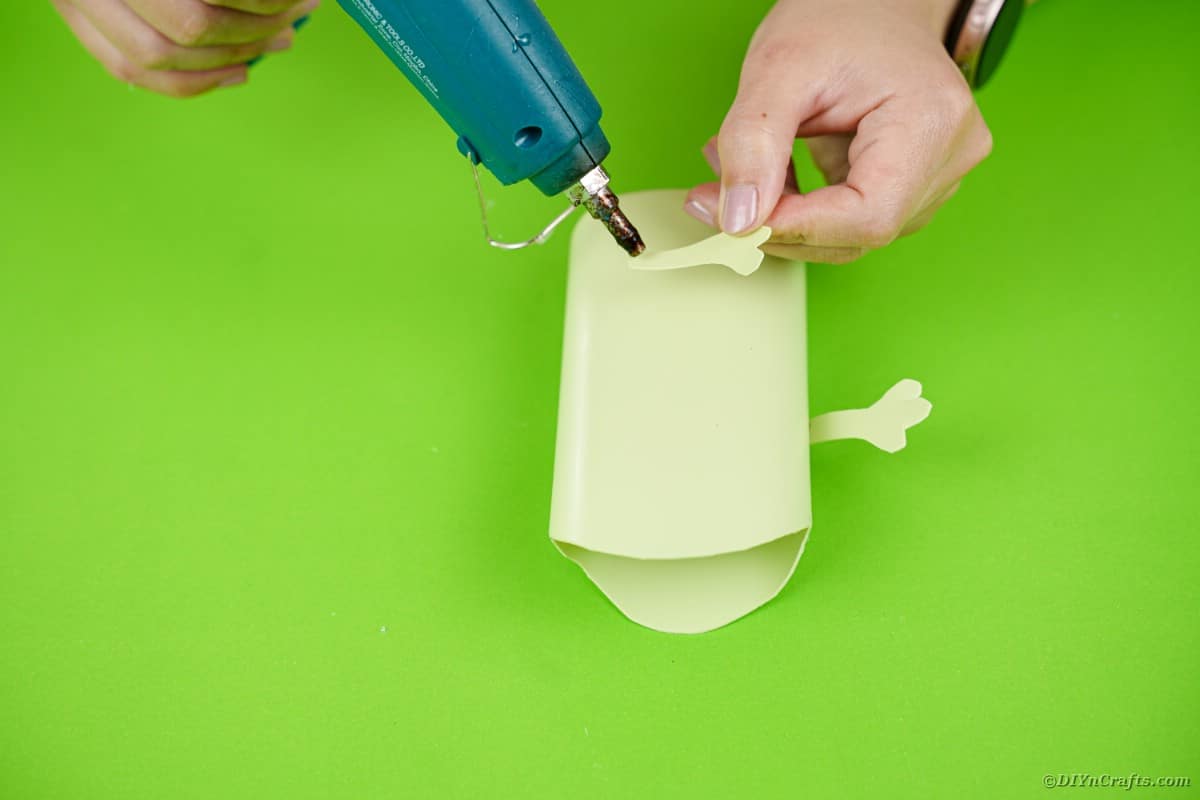
Use the bottle lid to trace two circles on foam or craft paper.
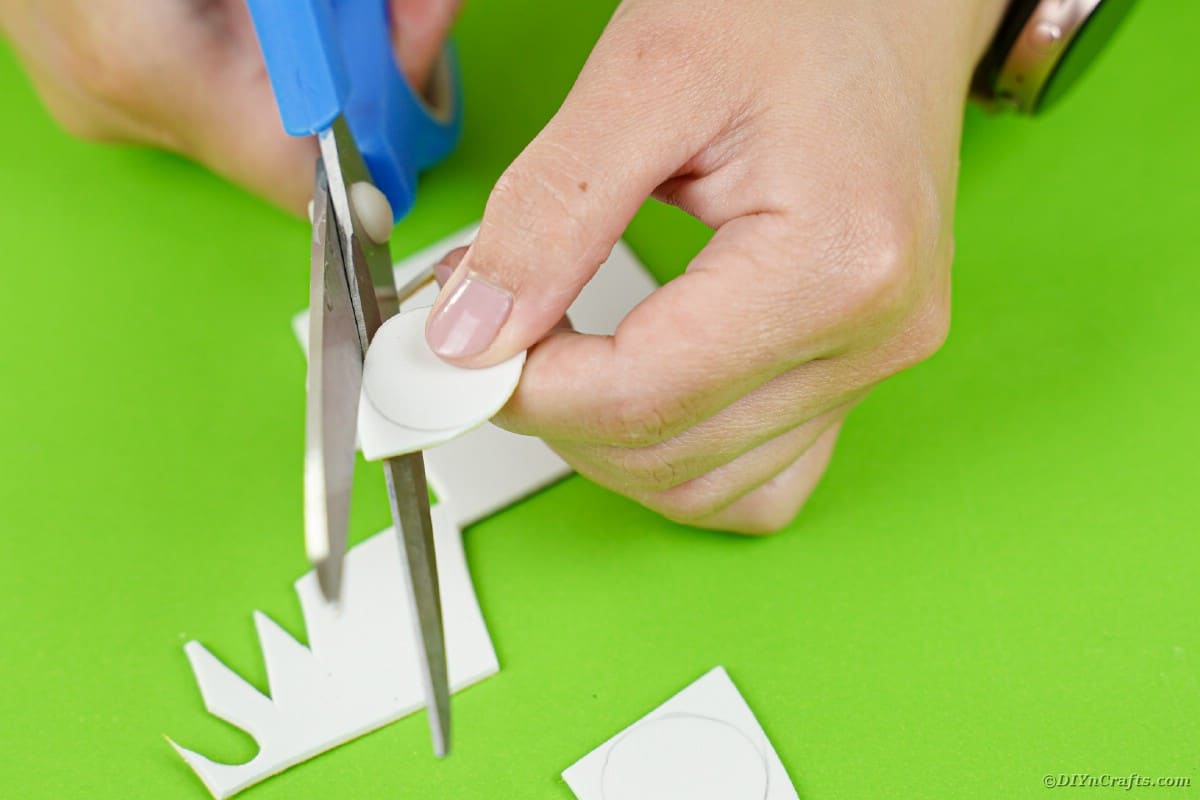
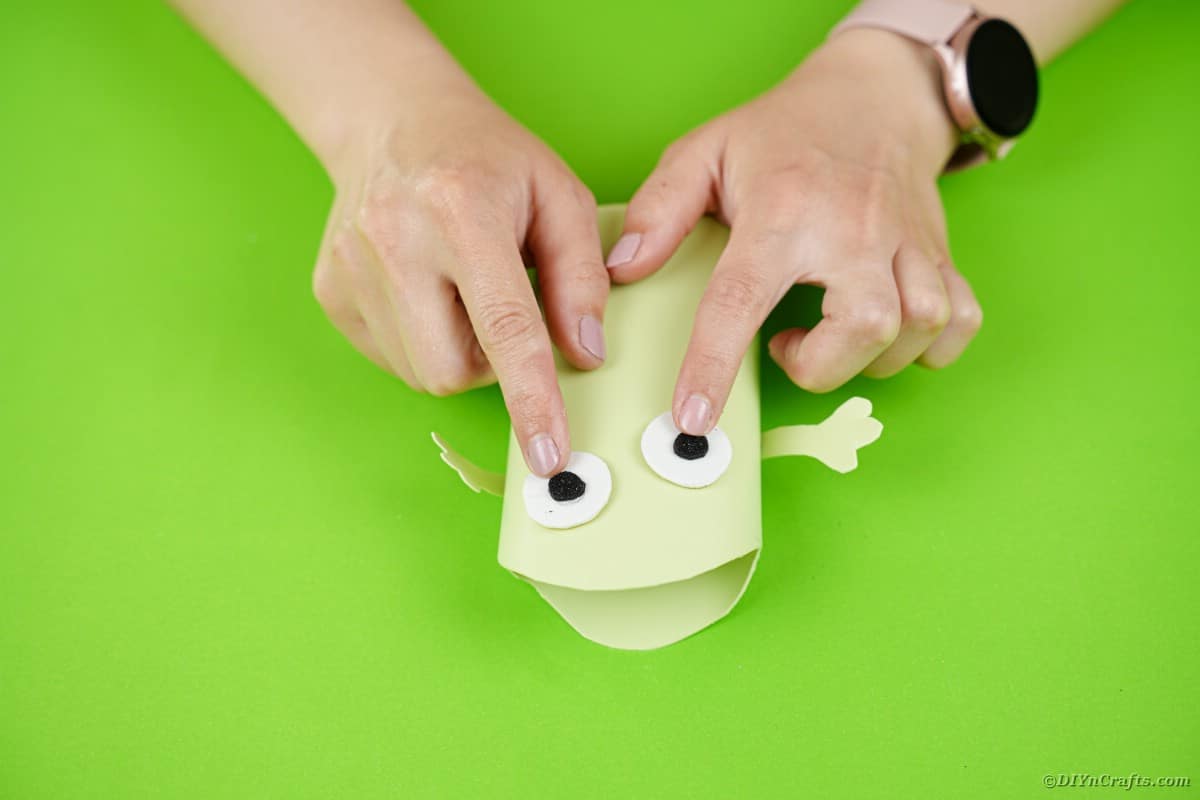
Cut out the eyes and then add two smaller circles to the center to create eyes.
Glue the eyes onto the top half of the bottle.
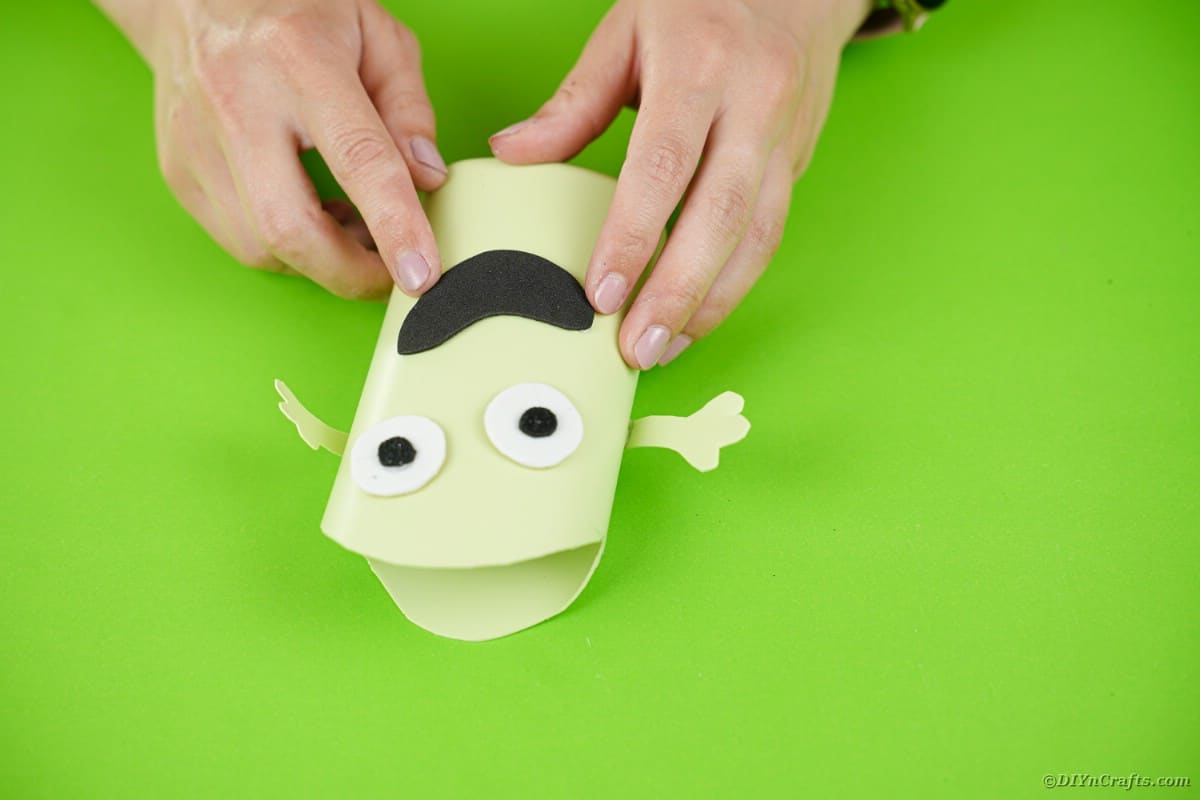
Cut out a black mouth shape and glue onto the bottle.
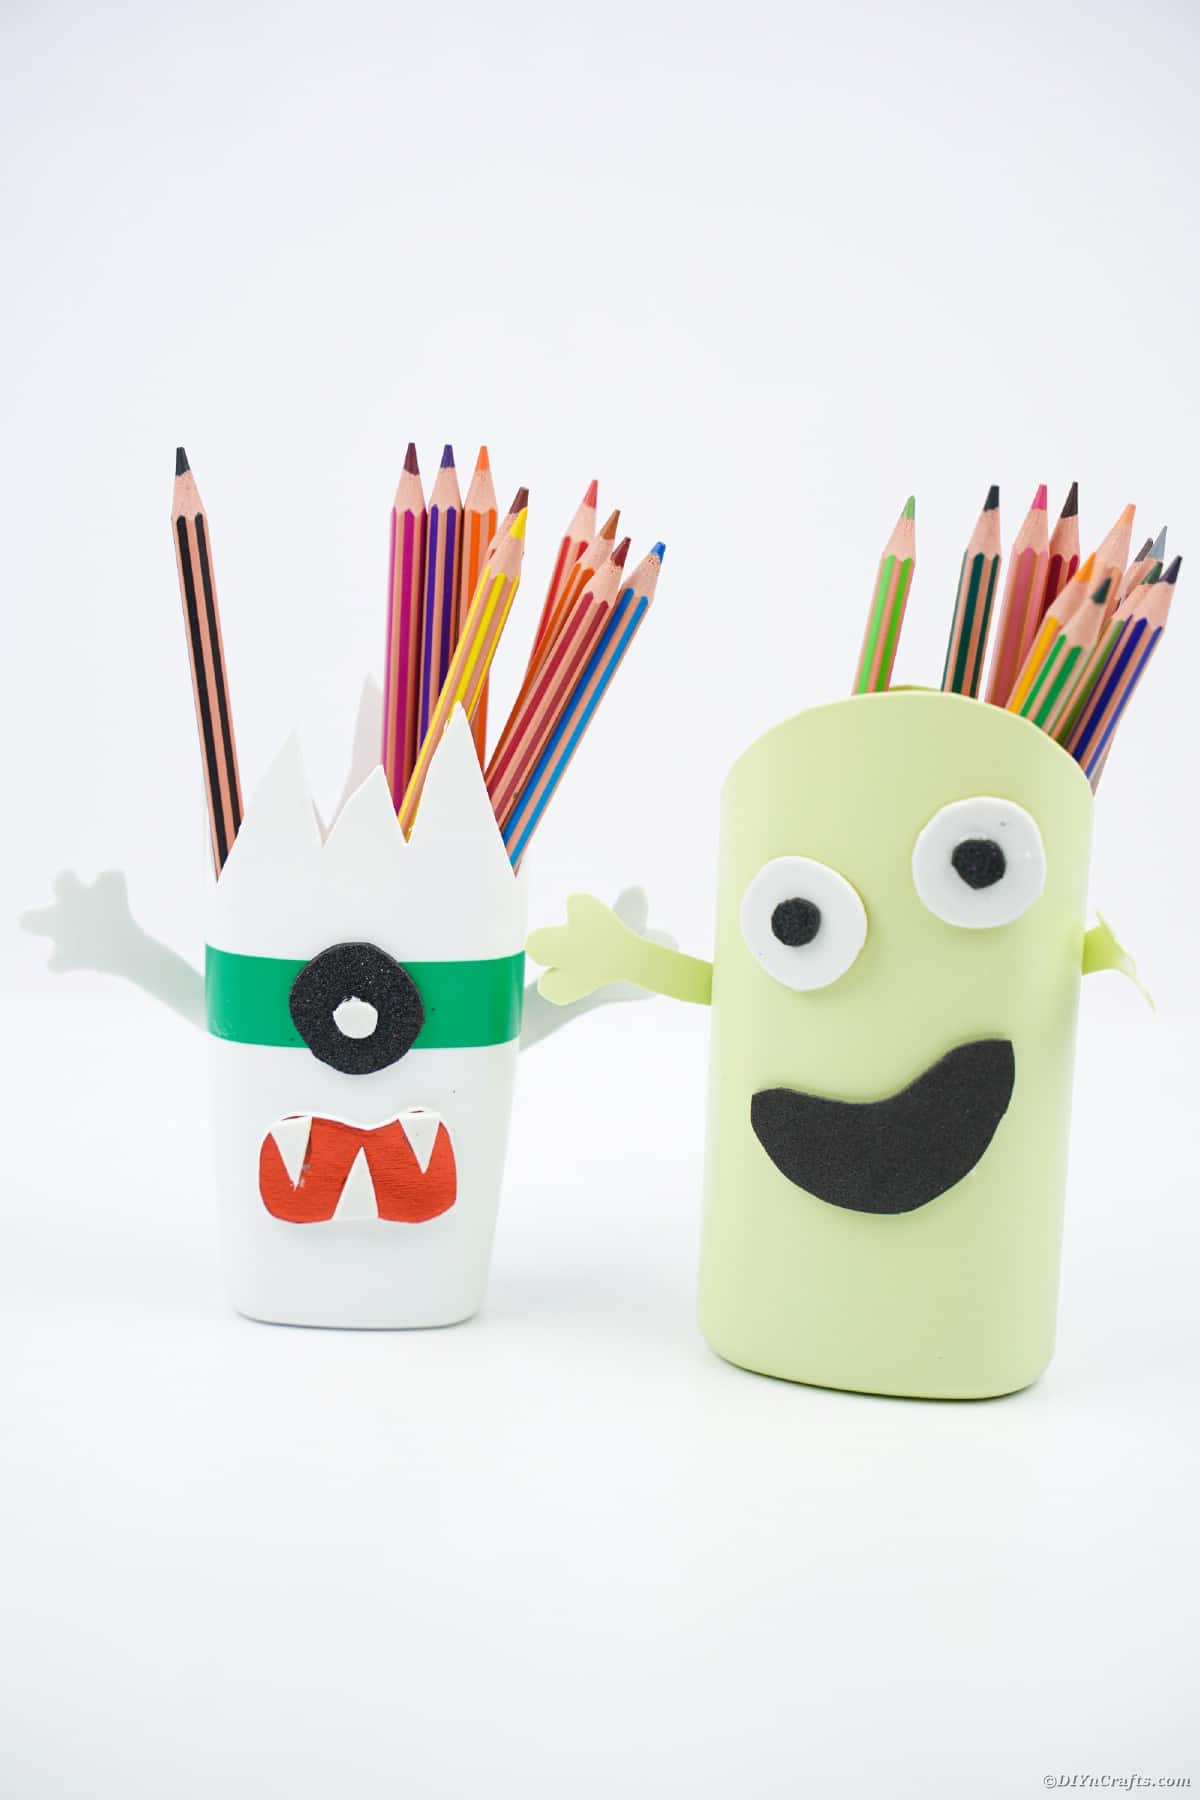
Fill with pens, pencils, or markers and add to desks or Halloween tables.
More Fun Halloween Craft Ideas
Halloween is one of my favorite things to decorate and create fun ideas for adding to my home. That means there are tons of great ideas here already for you to check out. I absolutely love upcycling and making things from scratch. The list below are just a few more of my favorite ideas that are sure to be great for adding to your Halloween collection.
Crafting Tip
I stock my craft closet with tons of supplies I pick up from Dollar Tree online. You can pick out great supplies and have them shipped directly to your door in bulk. This saves both time and money!
Yield: 2
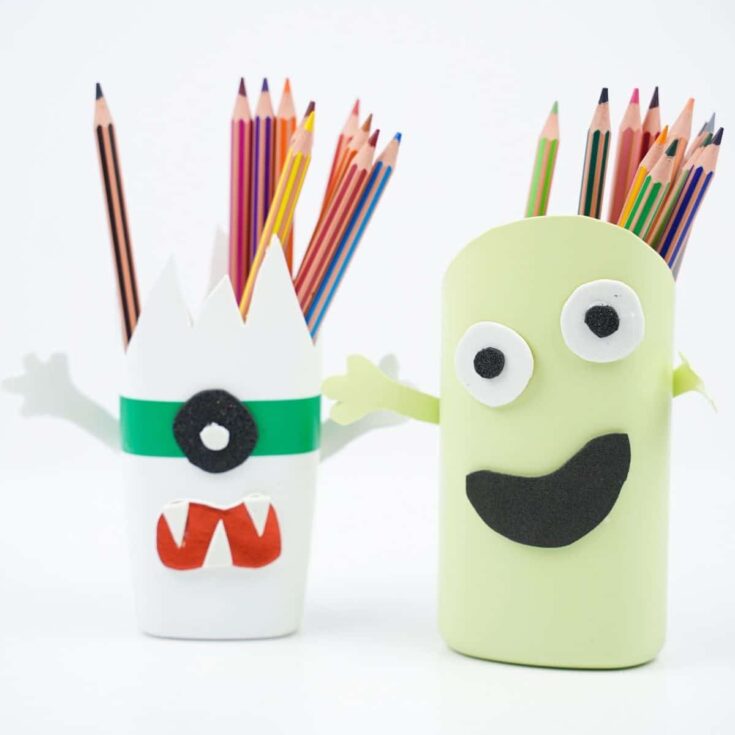
Turn those empty shampoo bottles into these great upcycled bottle monster pencil holders in just a few minutes. A super cute Halloween kids craft that is also useful!
Active Time
10 minutes
Total Time
10 minutes
Difficulty
Easy
Estimated Cost
$0
Instructions
- Clean an empty lotion or shampoo bottle and remove the label from the outside.
- Draw a jagged line around the bottle, about 3/4 of the way up the bottle.
- Use a craft knife or scissors to cut the top off and discard it.
- Wrap colored washi tape around the top of one bottle.
- On craft paper, draw hand and arm shapes, then cut those out.
- Glue the arms on either side of the washi tape on the bottle.
- Cut a small circle from the foam paper.
- Stick the foam paper circle onto the center of the washi tape.
- Cut out a small white circle and glue to the middle of the glitter foam circle.
- Draw a mouth shape on the back of red paper and cut it out.
- Glue the mouth toward the bottom of the bottle, below the eye.
- Cut out white triangles and attach to the mouth as teeth.
- On the second bottle, use part of the discarded top of the bottle to cut out two arms.
- Attach the arms to the sides of the bottle.
- Use the bottle lid to trace two circles on foam or craft paper.
- Cut out the eyes and then add two smaller circles to the center to create eyes.
- Glue the eyes onto the top half of the bottle.
- Cut out a black mouth shape and glue onto the bottle.
- Fill with pens, pencils, or markers and add to desks or Halloween tables.
Notes
Use bottles of all sizes to create different sized containers for use around the home.
Recommended Products
As an Amazon Associate and member of other affiliate programs, I earn from qualifying purchases.
Finished Project Gallery
Add glitter or sparkles to yours to make them look a bit different.
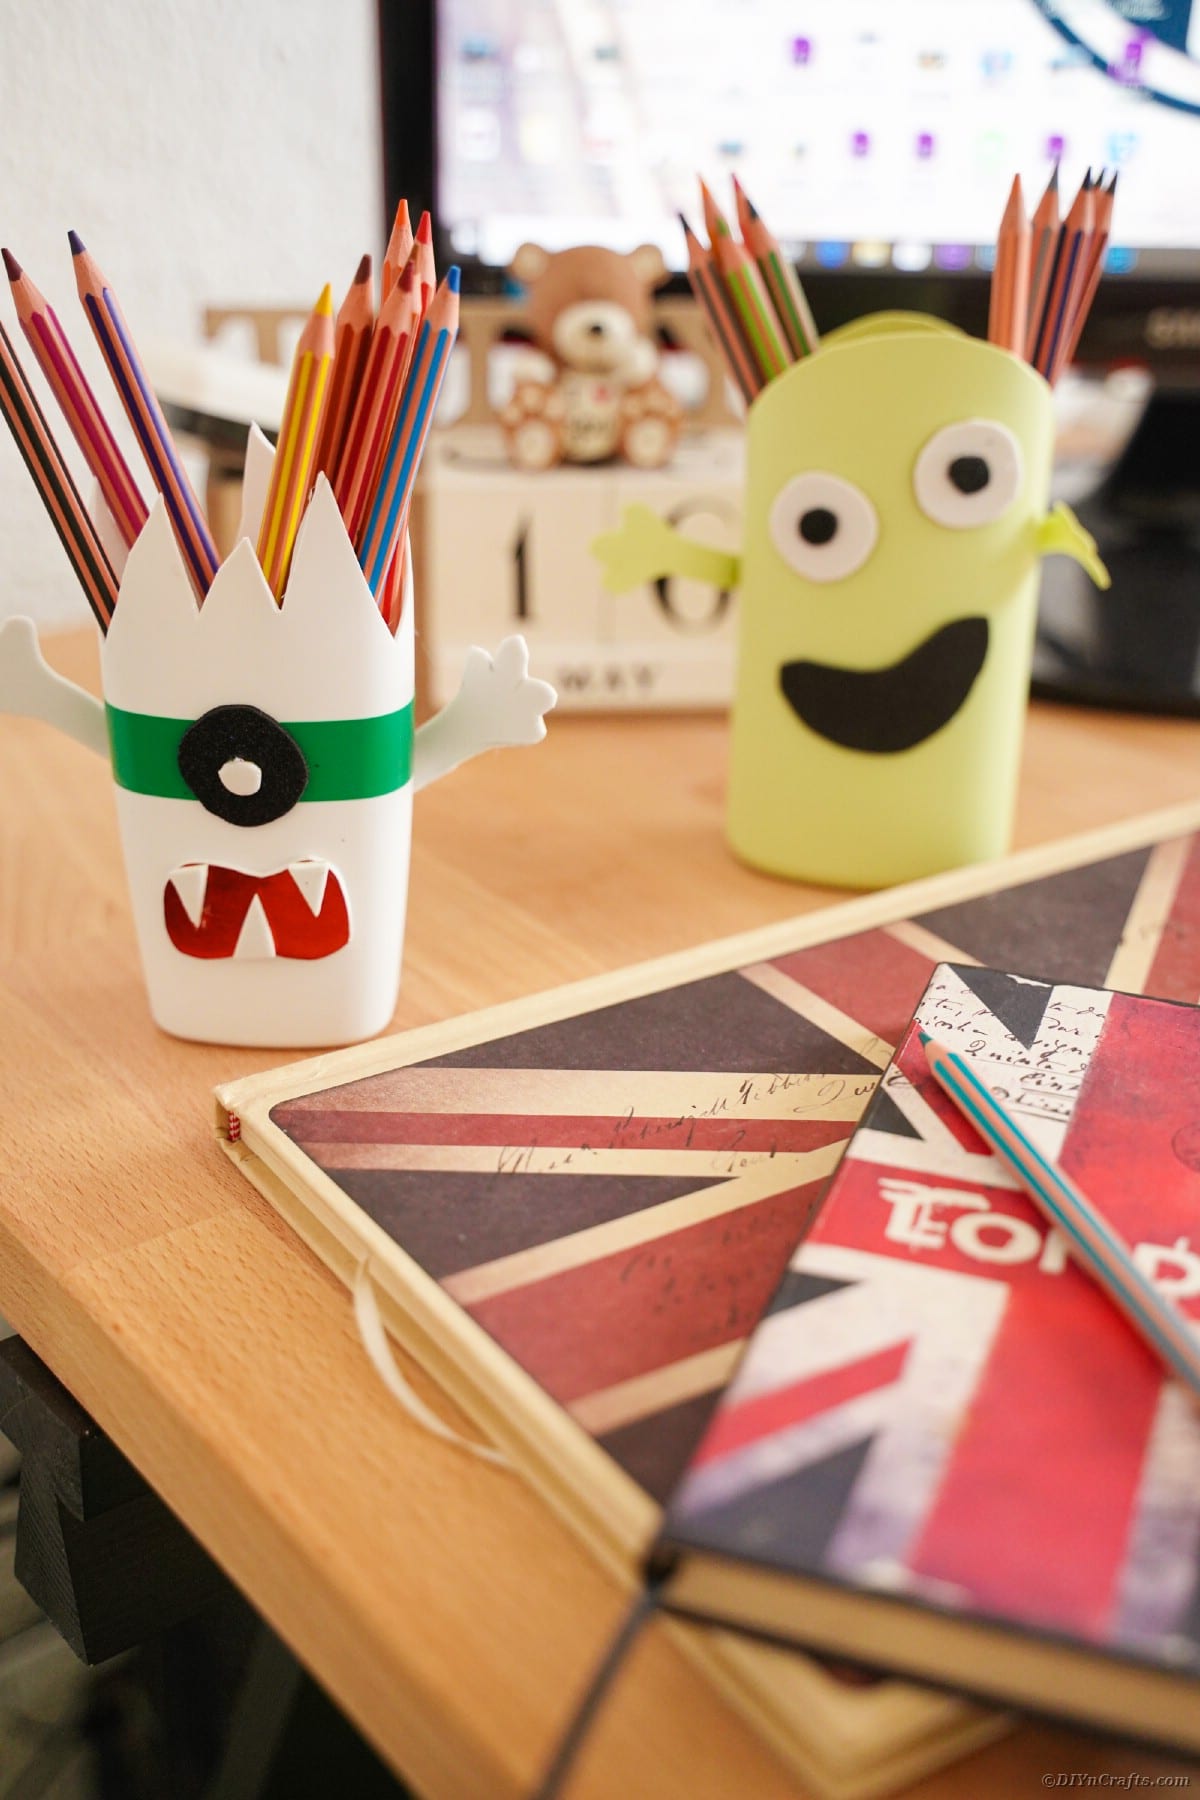
Tuck these into a basket with toys, treats, and markers for an extra special Halloween gift.
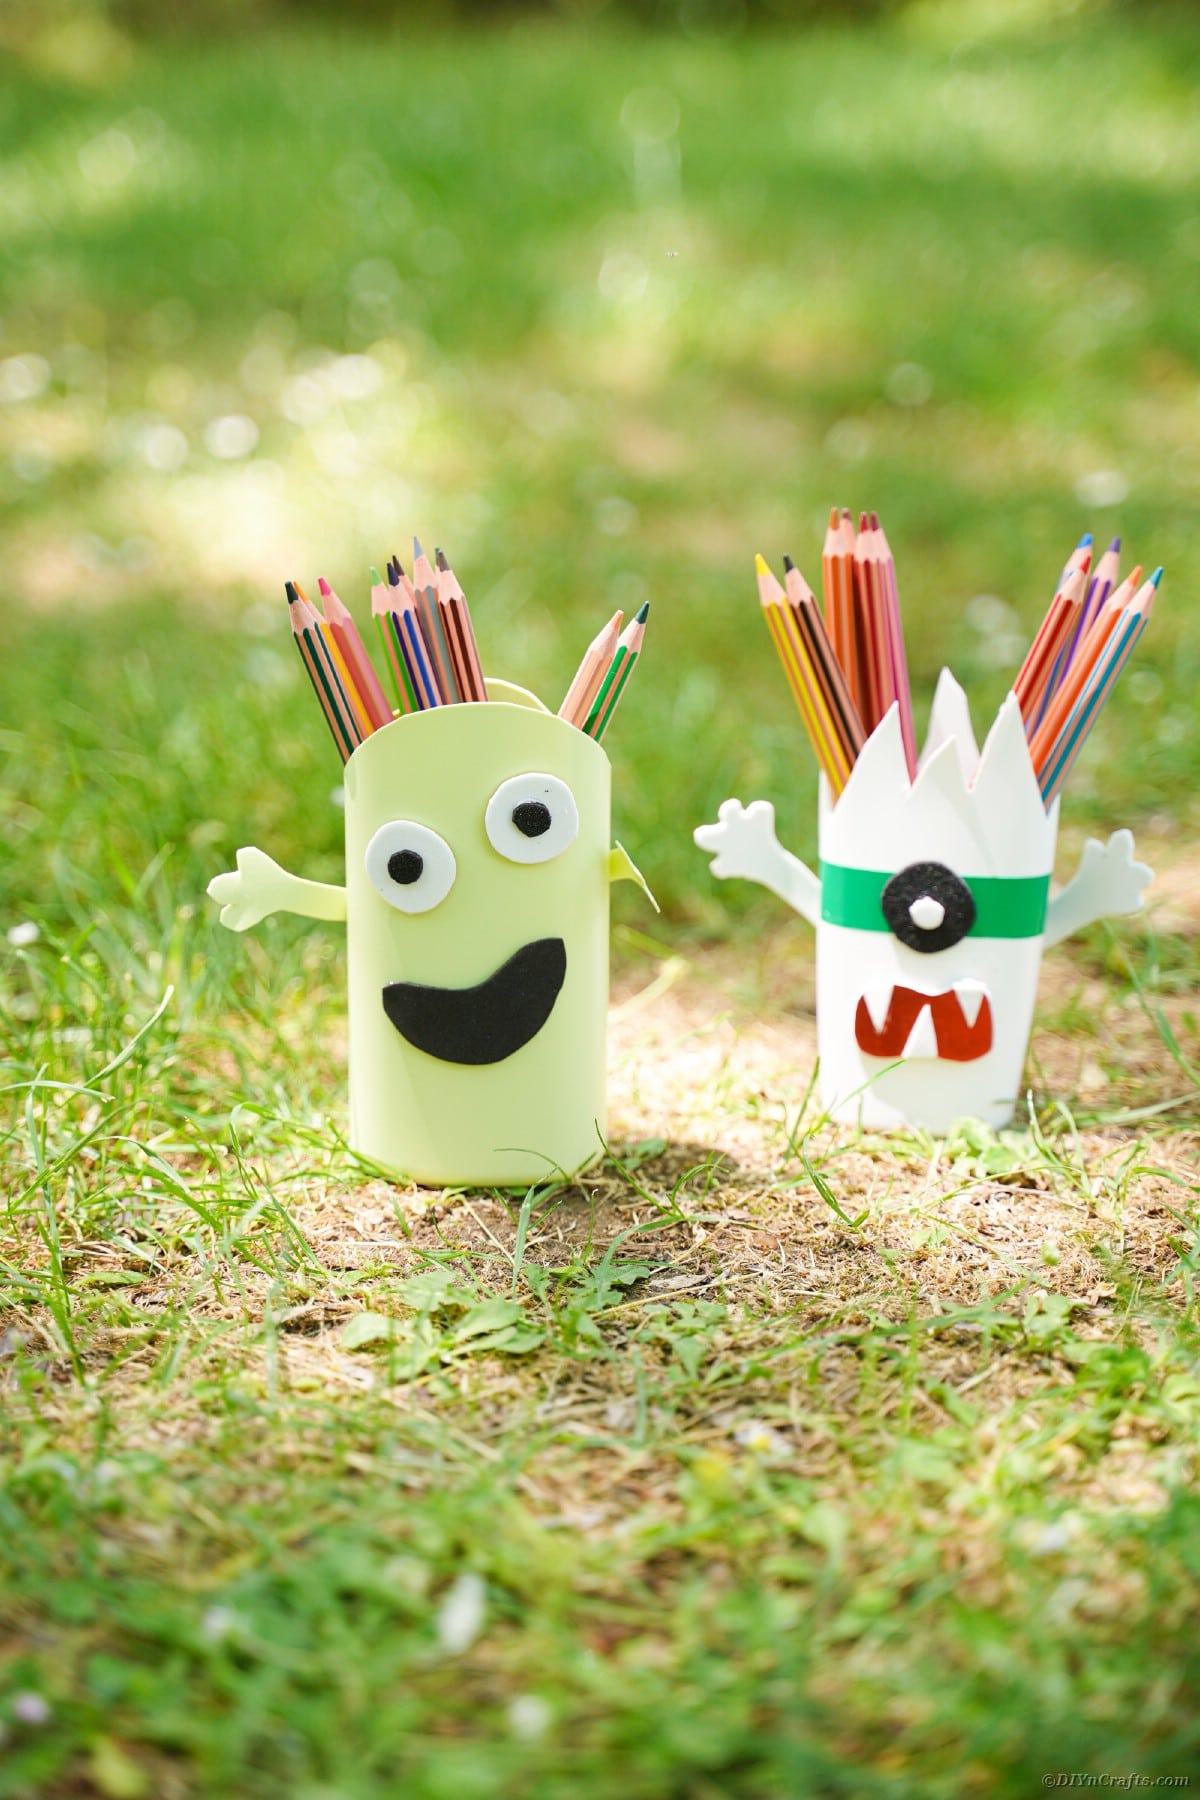
There are tons of different styles of monsters you can create with one eye, multiple eyes, or wild hair.
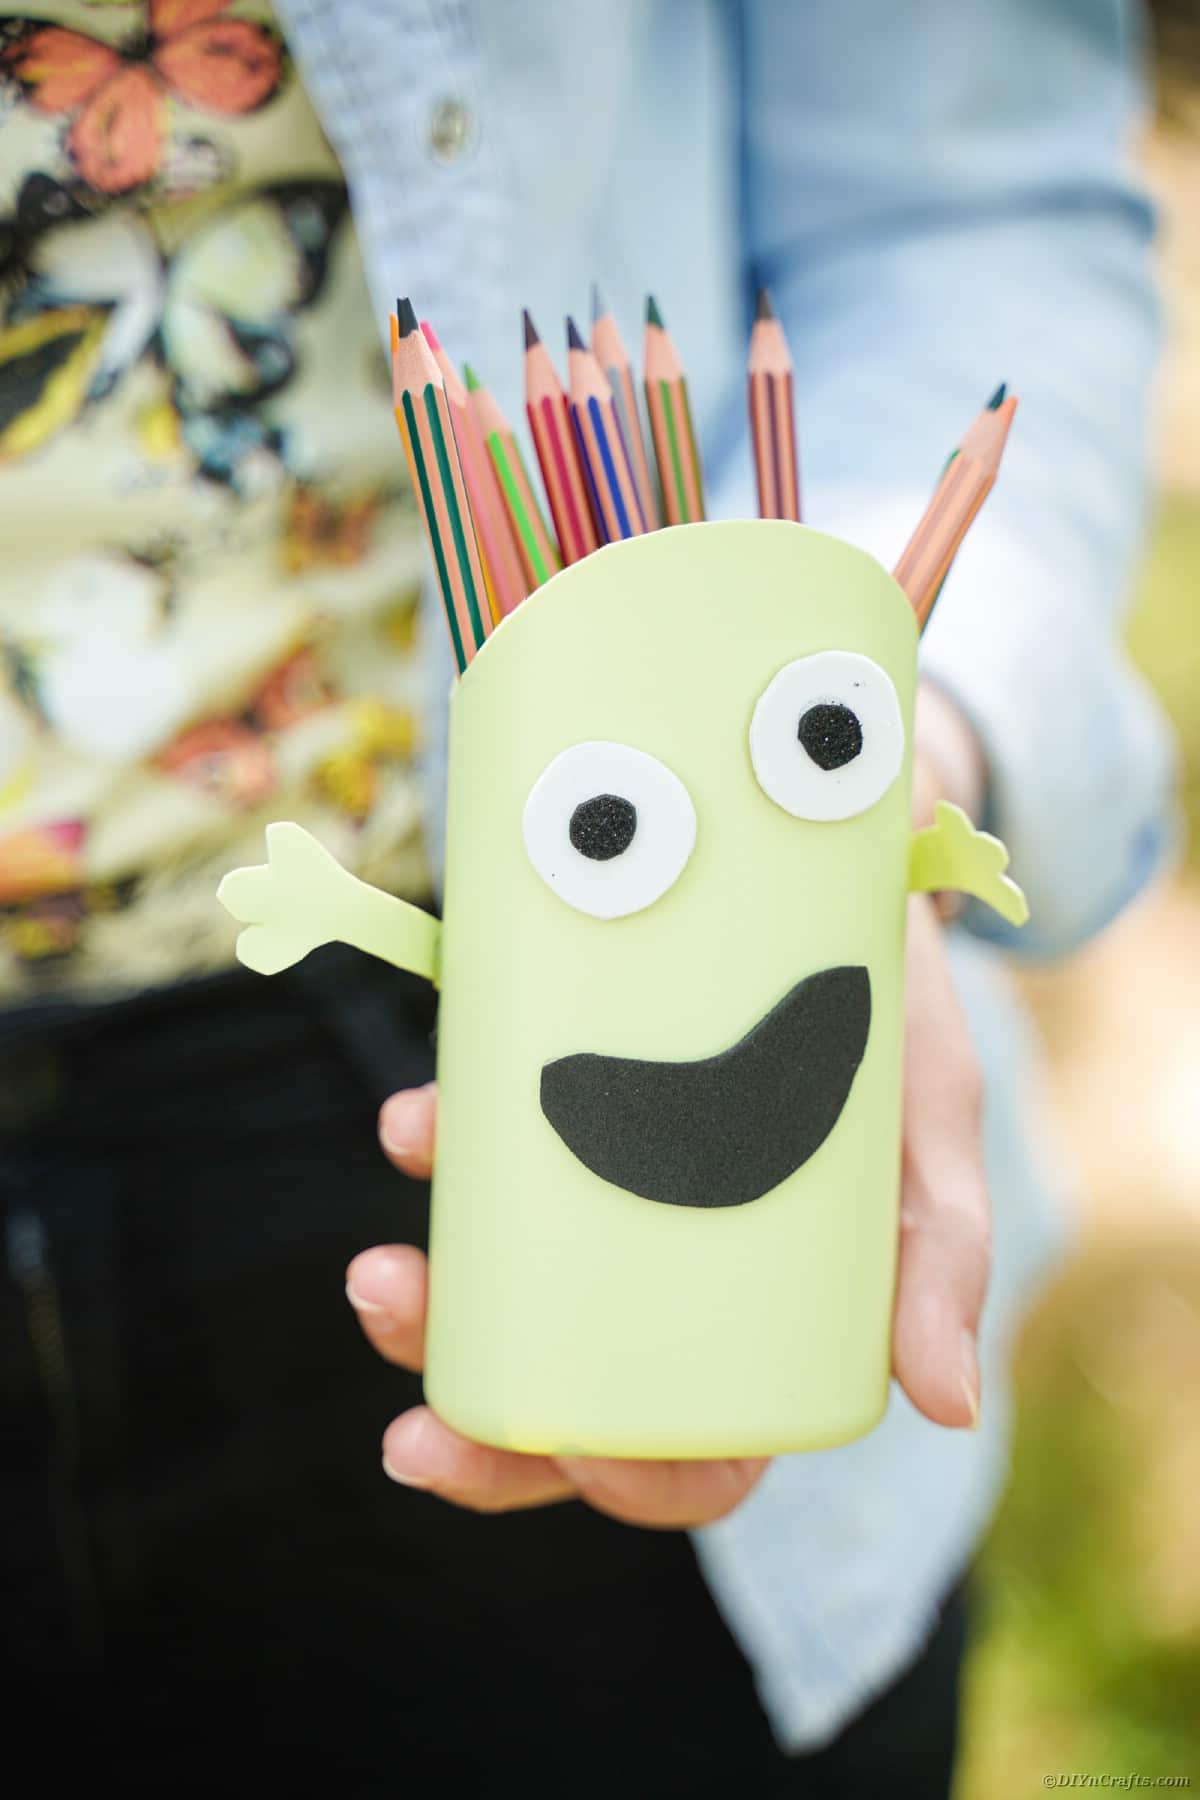
Add arms and legs or even hair to yours to create a unique look for your monster.
[ad_2]
Source link

