[ad_1]
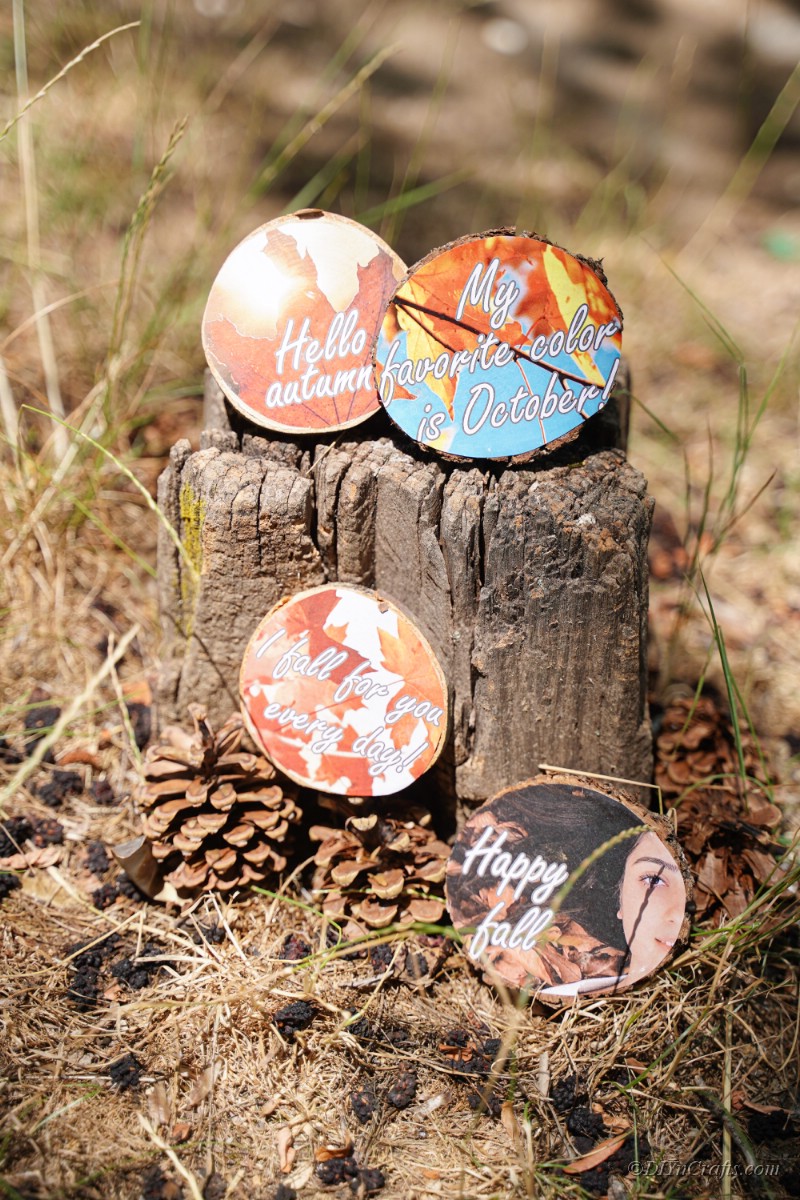
These rustic upcycled wood slice fall photo decorations perfectly encapsulate our favorite season! Display these incredibly easy, adorable crafts all over your home this autumn! With hardly any craft supplies, you’re well on your way to making a trendy and fun piece of fall decor you can show off everywhere. What’s our favorite thing about these little wood tree slice photo crafts? You can use any picture you’d like to customize them with!
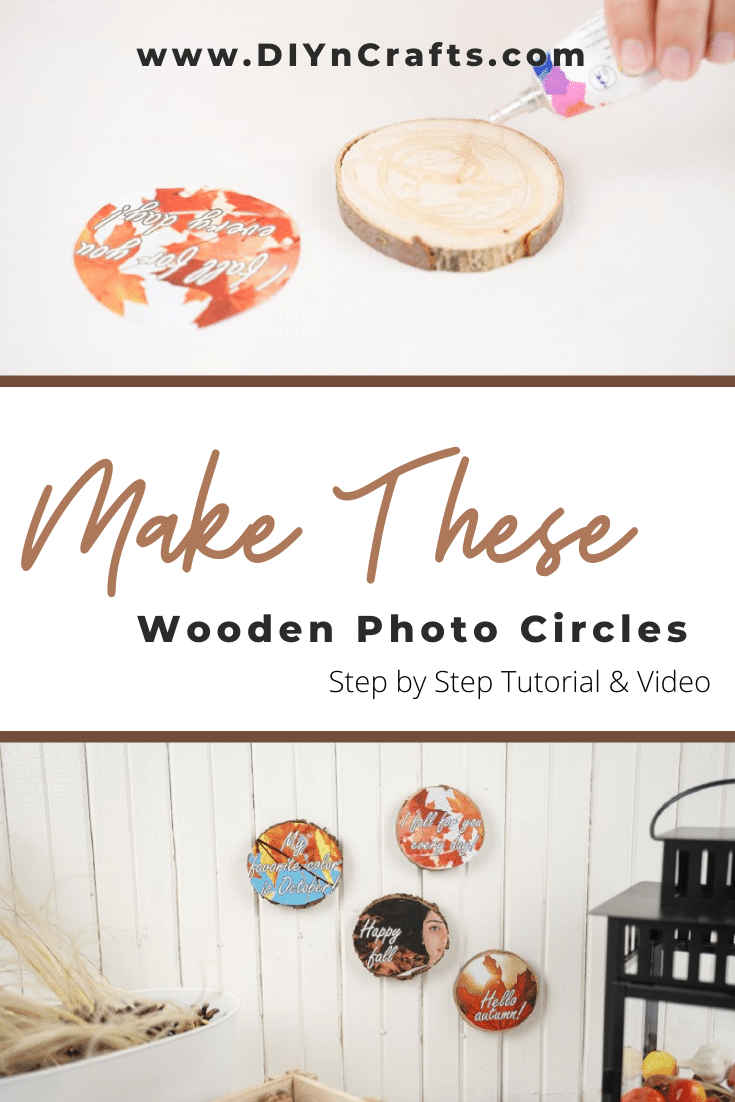
DIY Homemade Wooden Circles With Fall Pictures
Make some lovely eye-catching fall decor that’s good enough to gift! Seriously, I love the trendy style and personality of these little wood slice pictures, and they couldn’t be cheaper to make than this!
Finding something like in a store is usually an expensive endeavor. Luckily, they’re a lot easier to make yourself than you might have realized! There’s nothing wrong with crafting done simply, just check out this adorable scarecrow made from a jar. A perfect addition to your fall decor!
We’ll cover some must-know tips, and advice in creating these lovely autumn-themed decorative crafts. Don’t forget to check out our step-by-step instructions below featuring a video, and pictures you can use to follow along. Before we get started though, there’s probably a good chance you’ve seen something like this before! That’s because what we’re doing is essentially a really basic form of decoupage, or adhering paper to other materials. It’s become kind of a lost art form, but nonetheless creates a stunning effect that allows your design sense to flourish!
Interested in seeing what else you can do with odds and ends around the house? This rustic fall leaves upcycled jar lantern is an incredible example of how you can upcycle into some awesome decorations!
Where Can I Find Those Round Slices of Wood?
This may very well be the piece of supplies you’re least likely to have on hand! There are a few easy, and not so easy ways to get your hands on these should you go looking for them. The first and most obvious is to survey your property for any arm-width tree trunks that are on their way out. Once they’ve been safely fell, you can carefully use a table saw to cut them into roughly 1/2 in pieces. If you’re not experienced with using a saw, find help from someone who can operate this tool safely.
On the other hand, you could opt for the much simpler option and purchase them online or in-store! Crafting stores are carrying more and more natural mediums in their supply sections year after year. In fact, I’d be surprised if you went looking for these and came back empty-handed! Luckily, they’re cheap and plentiful to buy online as well! Order in bulk online, and you won’t have to worry about running out of these things. I buy my wood slices on Amazon in bulk so I can make something any time I want!
Lastly, I’d recommend finding ones with a ‘live edge’. That is to say with the bark still on. It creates a natural contrast between the paper photograph and the wood, making for a visually interesting and cozy piece of decor you’ll love.
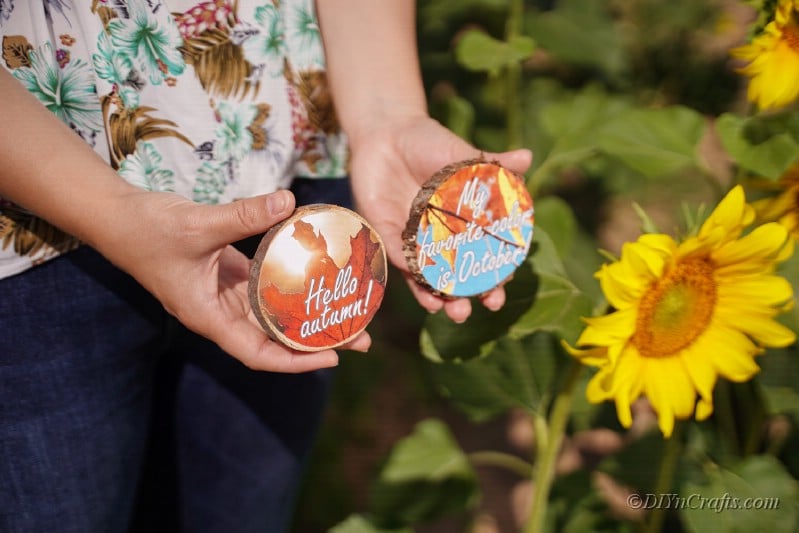
What’s the Best Way to Attach The Picture?
In our step-by-step instructions, you’ll see that we opted for craft glue. The bottom line is, that is absolutely the quickest way to adhere your photo to the slice of wood. After applying a moderate amount of glue, simply brush over it with a cheap craft brush you can discard later. The last thing you’d want to do is mix it up with your painting supplies! If spread properly, this should hold the picture in place without too much blotchy-ness showing through the picture.
If you’re particularly concerned about how it might look using glue, there are lots of available substitutes! I’d personally like to recommend Mod Podge. It’s an all-in-one glue, sealer, and finisher that will adhere your picture to the piece of wood perfectly.
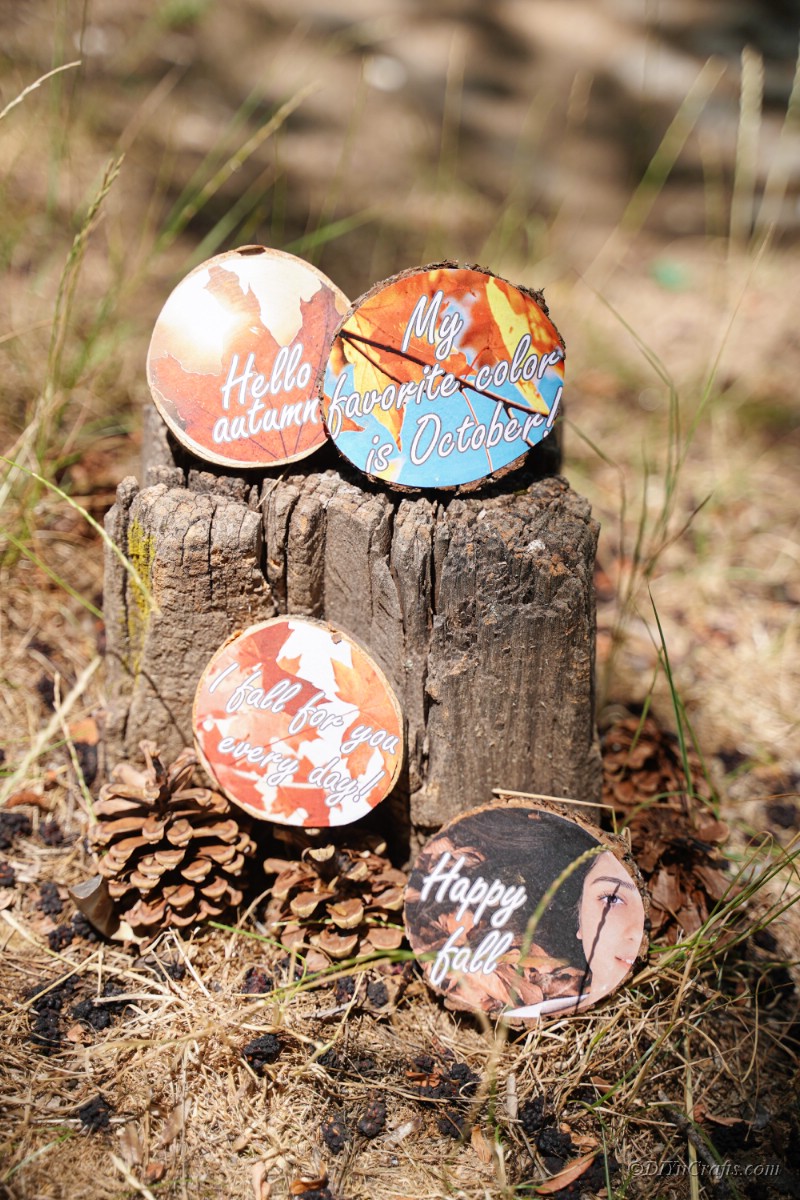
Where do I Find Pictures for This Craft?
There are a lot of great options for finding a picture or pictures to put onto your wood slices. First and foremost, you can make your own with digital clipart or free resources using programs like Canva or PicMonkey online. Otherwise, there are some great ways to find images to use and print off for this purpose. Below are some favorites that can work with a bit of adjustment. Just cut into the size needed and attach.
- Fall napkins
- Greeting cards
- Wrapping paper
- Gift bags
- Printed family photographs
- Kids handmade artwork
- Coloring book pages
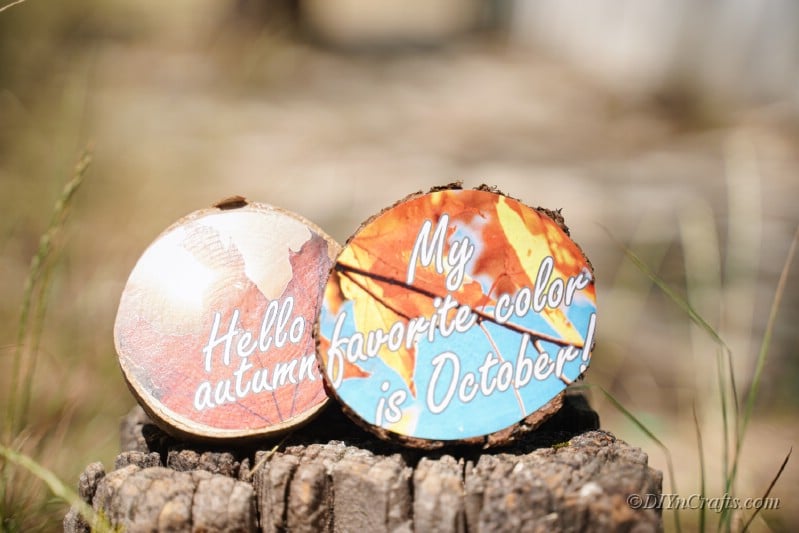
Use your imagination and add something unique to the images like the various fall greetings or quotes shown on ours. You can even customize these to match your home decor or fall theme with bright or muted colors to suit your preferences.
Supplies Needed
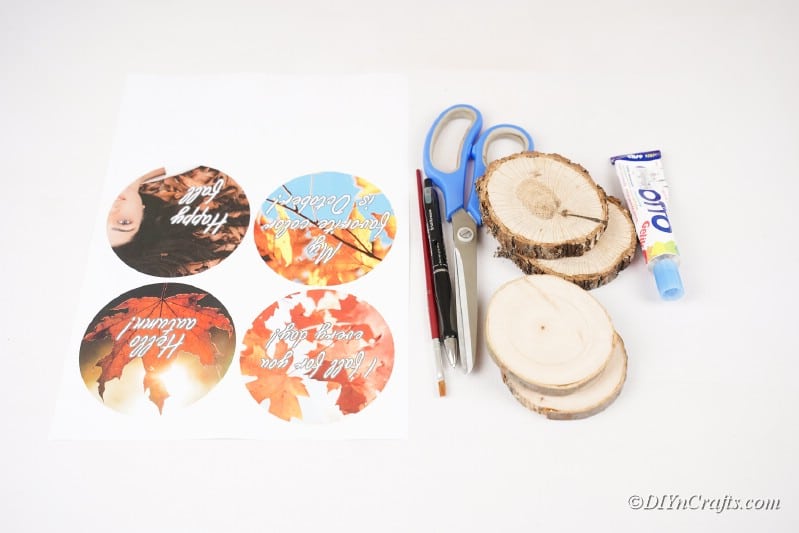
How to Make Wood Slice Fall Photo Decor
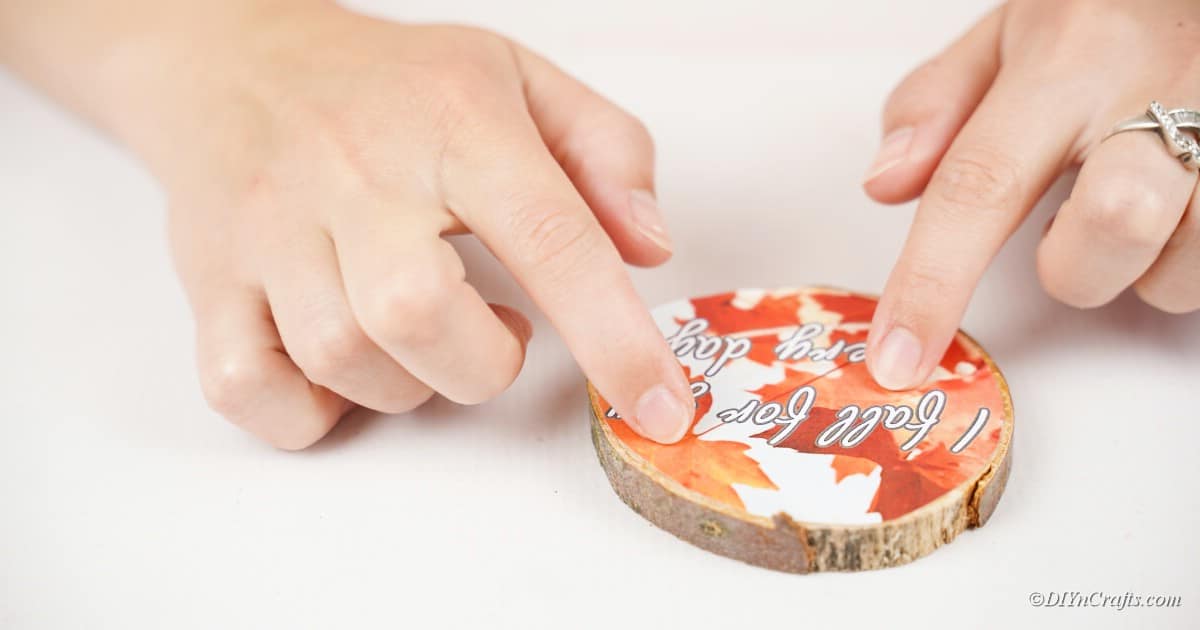
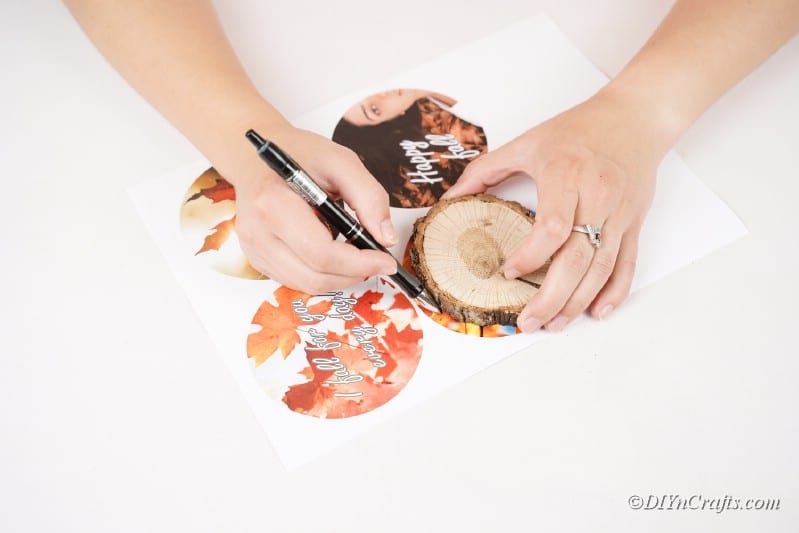
Begin by tracing the outline of the wood slice onto the pictures. I measured ahead of time so mine printed out just a little larger than the actual slices of wood.
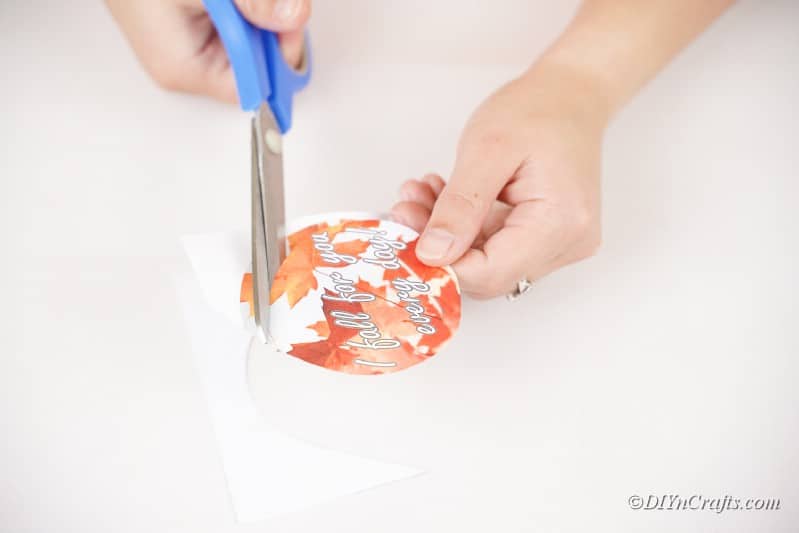
Cut out one picture per wood slice you will be making.
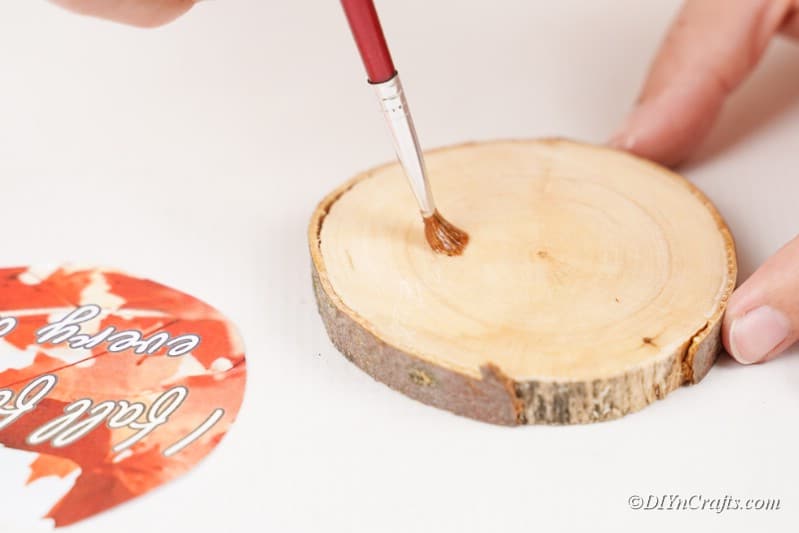
Next, if using Mod Podge, you will brush it directly onto the wood slice as shown. Cover the entire piece so the picture seals nicely.
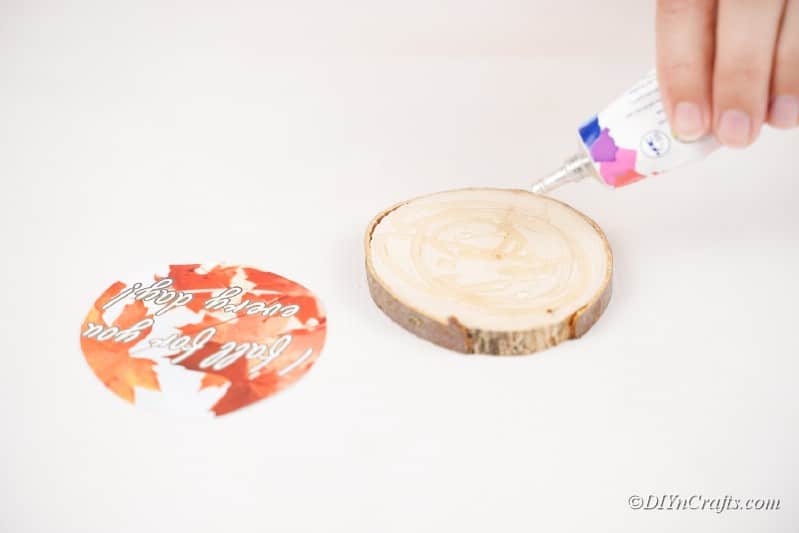
If using craft glue, you can either place dots of it all around the wood slice, or you can brush it on as above so it coats the entire thing.
Repeat this process again for each subsequent piece of wood depending on how many photos, and slices of wood you may have!
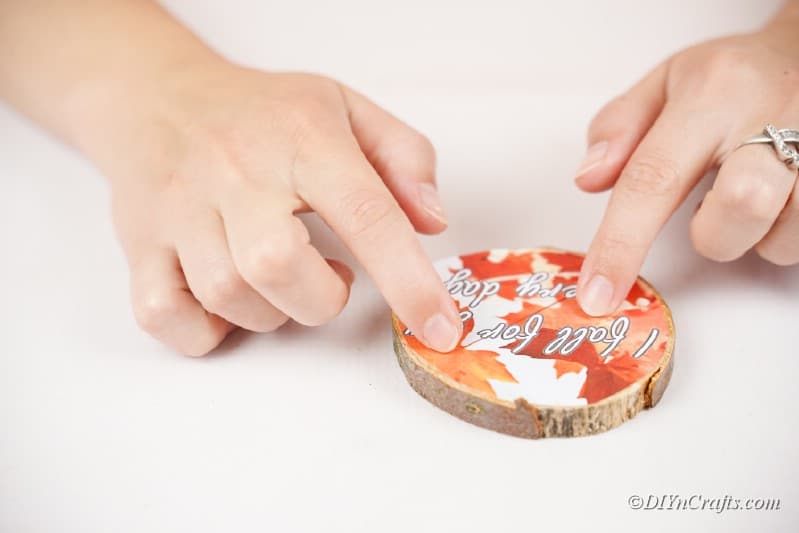
Once the images are in place, you may wish to add a second layer of Mod Podge over the top to seal it in place. Then you can display the images wherever you wish!
More Fall Decor Ideas
Want to add more fun stuff to your fall decorating this year? Check out some of our favorite projects below. Cheap and easy fall homemade crafts anyone can make and you’ll be proud to display in your home!
Yield: 4
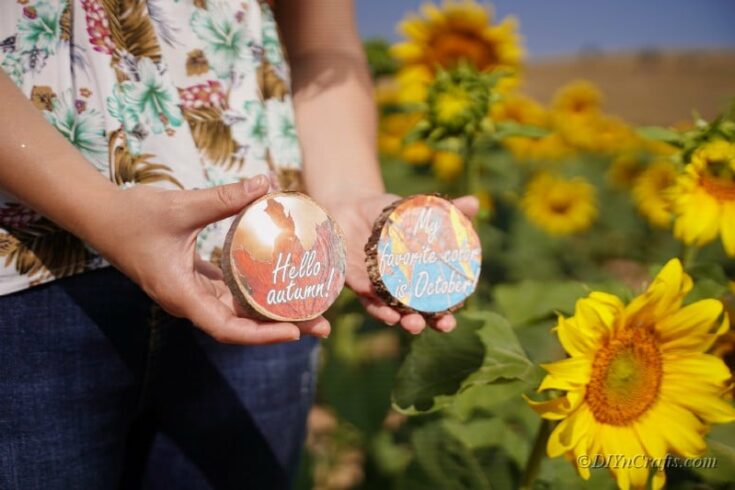
Make a batch of these adorable upcycled wood slice fall photo decorations to place on your wall to celebrate the fall season in style!
Prep Time
10 minutes
Active Time
15 minutes
Total Time
25 minutes
Difficulty
Easy
Estimated Cost
$10
Notes
Mod Podge or glue can be used to create these awesome decorations! It all depends on personal preference. If you want to have the best chance at preserving your pieces, Mod Podge is a great option!
Recommended Products
As an Amazon Associate and member of other affiliate programs, I earn from qualifying purchases.
Finished Product Gallery
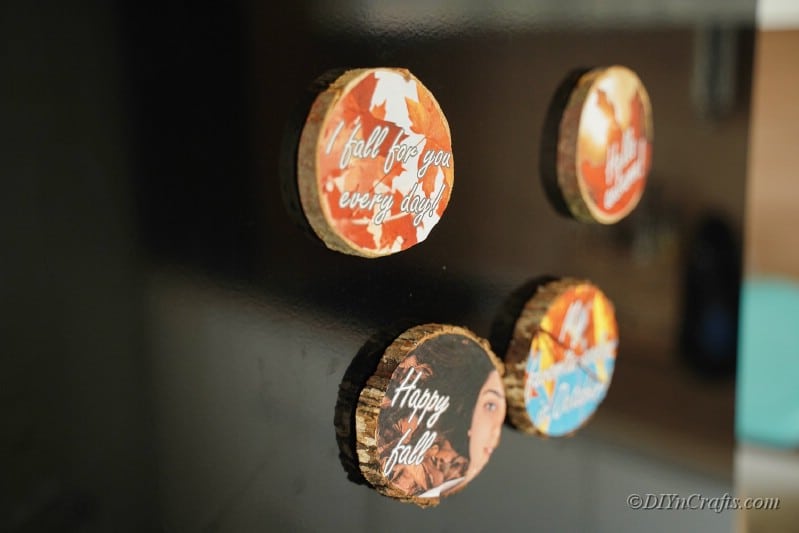
Enjoy applying your favorite pictures to these adorable little display crafts!
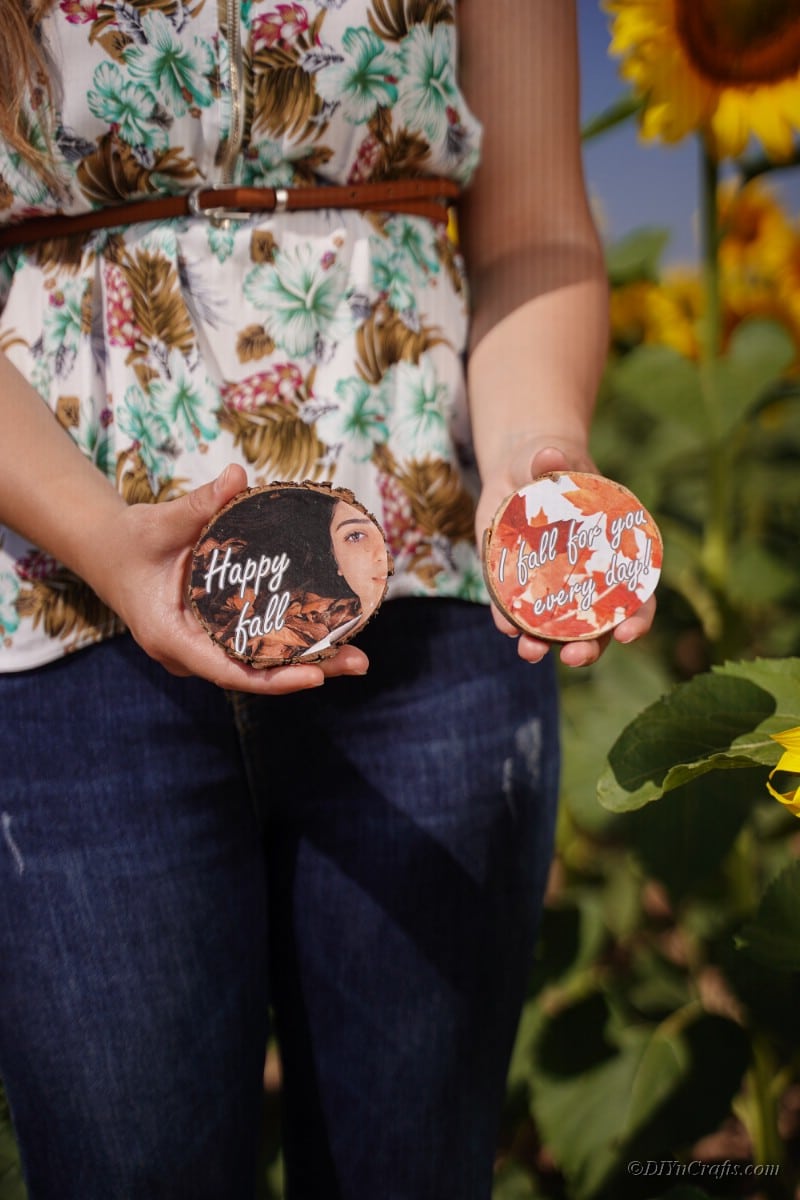
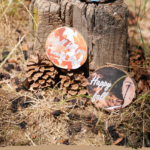
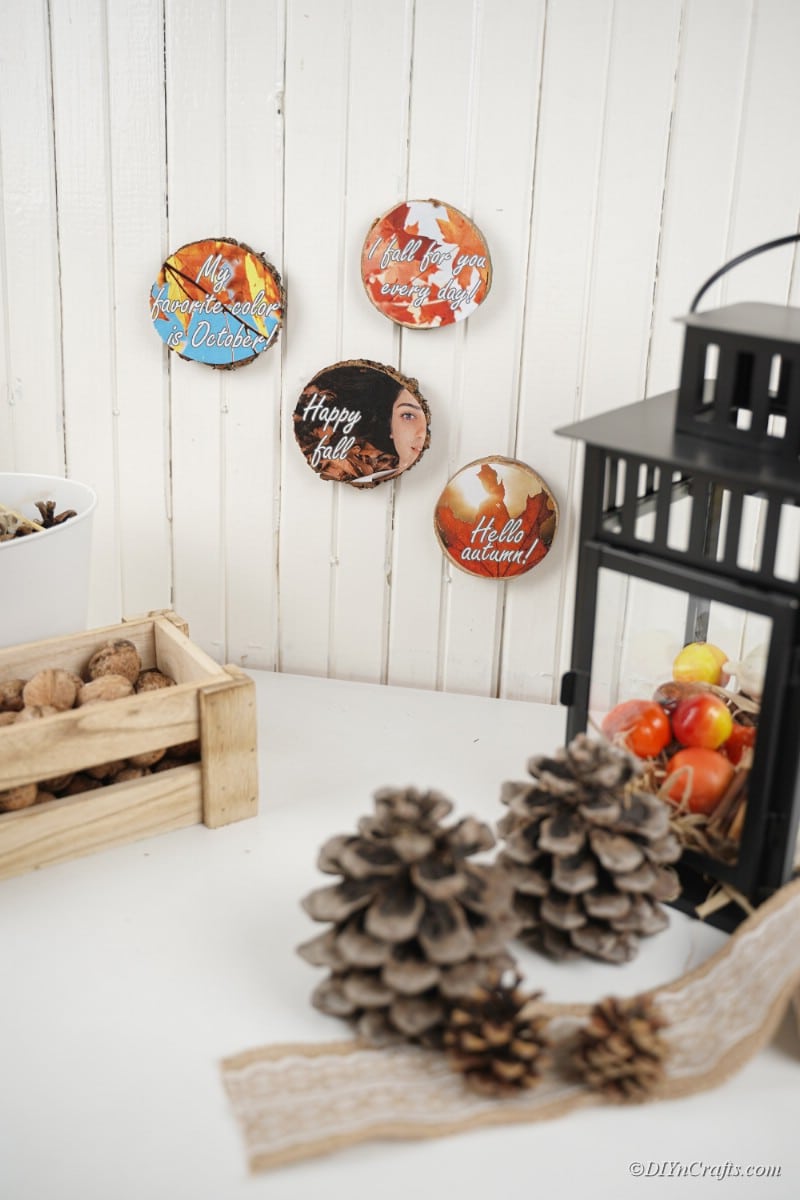
Display these trendy looking decorations anywhere you’d like! They go perfectly as decorative photo displays for pictures of friends and family, or for showing off some seasonal quotes!
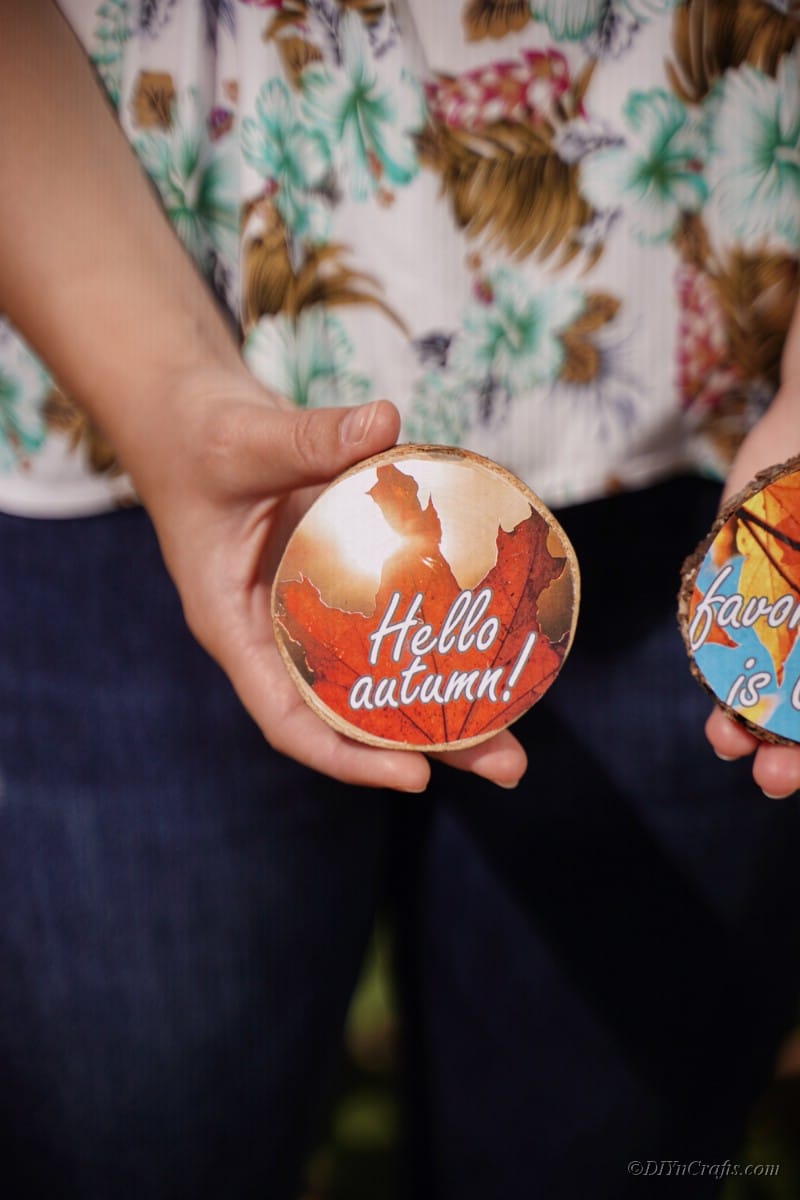
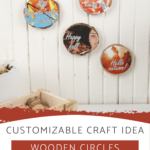
Bonus tip! One decorating idea with these wood pictures would be to hang them! Do this simply by taking a power drill and making a clean hold through the top 3rd of your slice of wood, just big enough for a piece of string to fit into. Next, hang it wherever you’d like them displayed!
[ad_2]
Source link

