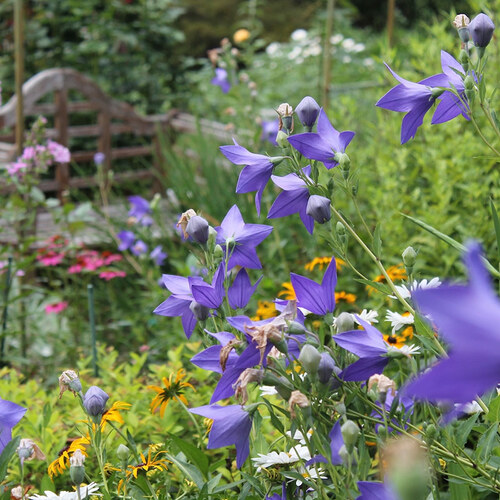
These are long-lived, evergreen plants with basal clumps of long stalked leaves, divided fanwise into leaflets. Flowers which appear in December and persist until April, are cream colored with many stamens and dangle above upper foliage. If planted in warmer climates, make sure ample water is available and mulch well to keep roots cool. Best grown in cooler areas. Both flower and foliage nice in arrangements.
Google Plant Images: click here!
Characteristics
Cultivar: n/a
Family: Ranunculaceae
Size: Height: 1.5 ft. to 1.5 ft.
Width: 1 ft. to 1 ft.
Plant Category: ground covers, perennials,
Plant Characteristics: high maintenance,
Foliage Characteristics: deciduous,
Flower Characteristics: long lasting, showy,
Flower Color: creams, greens, pinks, whites,
Tolerances: deer, slope,
Requirements
Bloomtime Range: not applicable
USDA Hardiness Zone: 4 to 8
AHS Heat Zone: 1 to 1
Light Range: Shade to Part Sun
pH Range: 6.5 to 8
Soil Range: Sandy Loam to Clay Loam
Water Range: Normal to Moist
Plant Care
 Fertilizing
How-to : Fertilization for Annuals and Perennials
Annuals and perennials may be fertilized using: 1.water-soluble, quick release fertilizers; 2. temperature controlled slow-release fertilizers; or 3. organic fertilizers such as fish emulsion. Water soluble fertilizers are generally used every two weeks during the growing season or per label instructions. Controlled, slow-release fertilizers are worked into the soil ususally only once during the growing season or per label directions. For organic fertilizers such as fish emulsion, follow label directions as they may vary per product.
 Light
Light
Conditions : Full to Partial Shade
Full shade means there is little or no light in the growing zone. Shade can be the result of a mature stand of trees or shadows cast by a house or building. Plants that require full shade are usually susceptible to sunburn. Full shade beneath trees may pose additional problems; not only is there no light, but competition for water, nutrients and root space.
Partial shade means that an area receives filtered light, often through tall branches of an open growing tree. Root competition is usually less. Partial shade can also be achieved by locating a plant beneath an arbor or lathe-like structure. Shadier sides of a building are normally the northern or northeastern sides. These sides also tend to be a little cooler. It is not uncommon for plants that can tolerate full sun or some sun in cooler climates to require some shade in warmer climates due to stress placed on the plant from reduced moisture and excessive heat.
Conditions : Types of Pruning
Types of pruning include: pinching, thinning, shearing and rejuvenating.
Pinching is removing the stem tips of a young plant to promote branching. Doing this avoids the need for more severe pruning later on.
Thinning involves removing whole branches back to the trunk. This may be done to open up the interior of a plant to let more light in and to increase air circulation that can cut down on plant disease. The best way to begin thinning is to begin by removing dead or diseased wood.
Shearing is leveling the surface of a shrub using hand or electric shears. This is done to maintain the desired shape of a hedge or topiary.
Rejuvenating is removal of old branches or the overall reduction of the size of a shrub to restore its original form and size. It is recommended that you do not remove more than one third of a plant at a time. Remember to remove branches from the inside of the plant as well as the outside. When rejuvenating plants with canes, such as nandina, cut back canes at various heights so that plant will have a more natural look.
 Watering
Tools : Watering Aides
No gardener depends 100% on natural rainfall. Even the most water conscious garden appreciates the proper hose, watering can or wand.
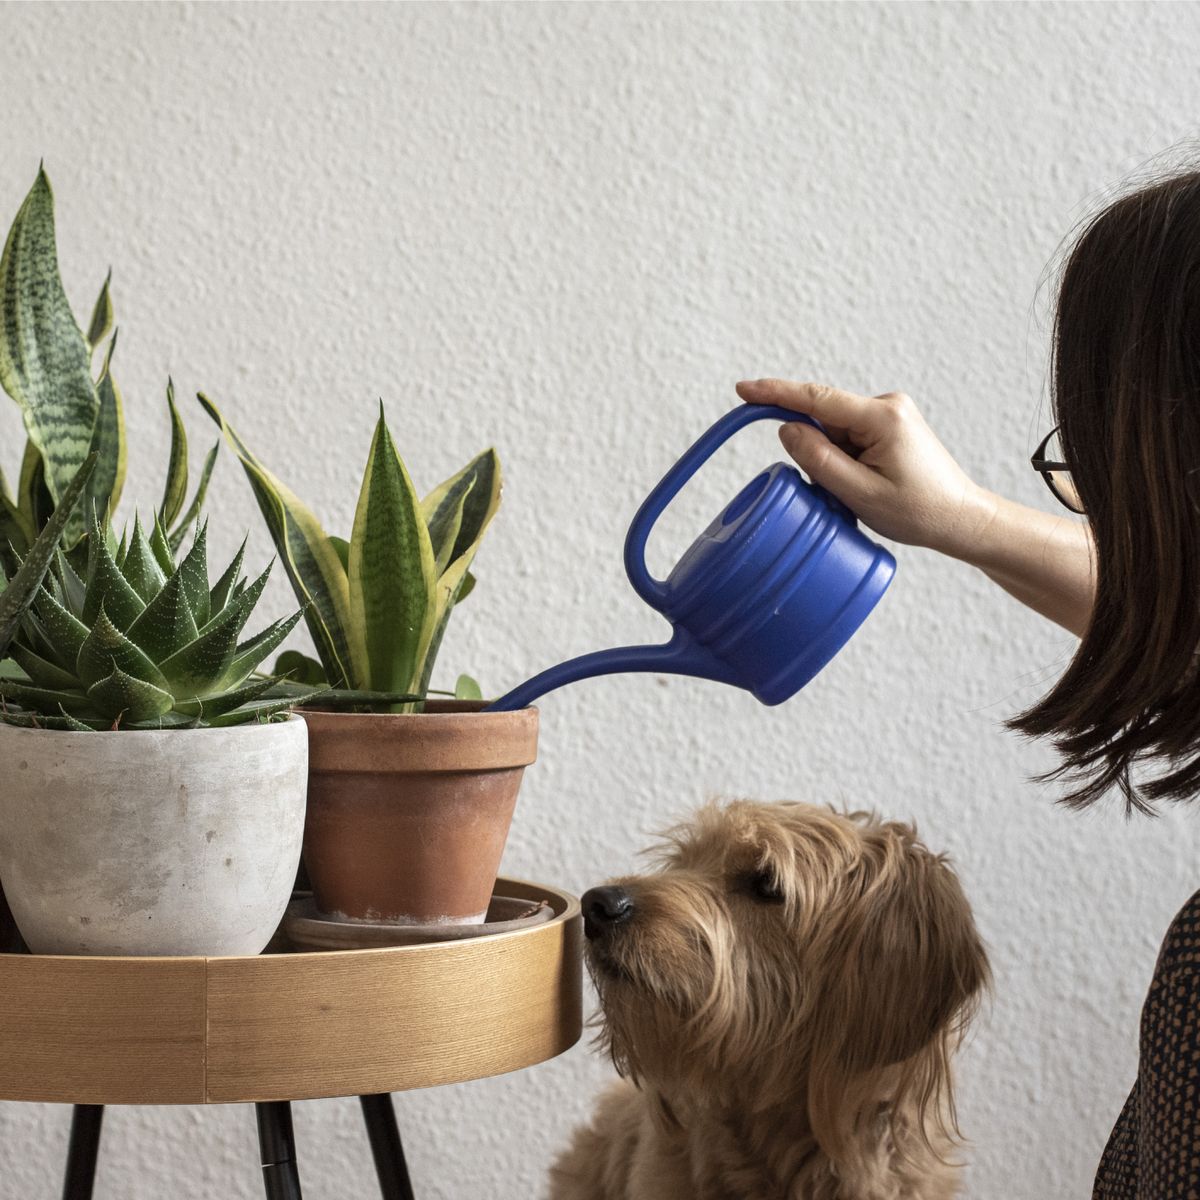
- Watering Cans: Whether you choose plastic of galvanized makes no difference, but do look for generous capacity and a design that is balanced when filled with water. A 2 gallon can (which holds 18 lbs. of water) is preferred by most gardeners and is best suited for outdoor use. Indoor cans should be relatively smaller with narrower spouts and roses (the filter head).
- Watering Hose: When purchasing a hose, look for one that is double-walled, as it will resist kinking. Quick coupler links are nice to have on ends of hoses to make altering length fast. To extend the life of your hose, keep it wound around a reel and stored in a shady area. Prior to winter freezes, drain hose.
- Sprayers: Are commonly thought of as devices for applying chemicals, but can really be a step saver for watering houseplants or small pots of annuals rather that dragging out a hose or making numerous trips with a watering can. The backpack sprayer is best suited for this. Take care not to use any kind of chemical in tanks used for watering!
- Sprinklers: Attached to the ends of garden hoses, these act as an economical irrigation system. Standing Spike Sprinklers are usually intended for lawns and deliver water in a circular pattern. Rotating Sprinklers deliver a circle of water and are perfect for lawns, shrubs and flower beds. Pulse-jet sprinklers cover large areas of ground in a pulsating, circular pattern. The head usually sits up on a tall stem, except for when watering lawns. Oscillating sprinklers are best for watering at ground level in a rectangular pattern.
Conditions : Normal Watering for Outdoor Plants
Normal watering means that soil should be kept evenly moist and watered regularly, as conditions require. Most plants like 1 inch of water a week during the growing season, but take care not to over water. The first two years after a plant is installed, regular watering is important for establishment. The first year is critical. It is better to water once a week and water deeply, than to water frequently for a few minutes.
 Planting
How-to : Preparing Garden Beds
Use a soil testing kit to determine the acidity or alkalinity of the soil before beginning any garden bed preparation. This will help you determine which plants are best suited for your site. Check soil drainage and correct drainage where standing water remains. Clear weeds and debris from planting areas and continue to remove weeds as soon as they come up.
A week to 10 days before planting, add 2 to 4 inches of aged manure or compost and work into the planting site to improve fertility and increase water retention and drainage. If soil composition is weak, a layer of topsoil should be considered as well. No matter if your soil is sand or clay, it can be improved by adding the same thing: organic matter. The more, the better; work deep into the soil. Prepare beds to an 18 inch deep for perennials. This will seem like a tremendous amount of work now, but will greatly pay off later. Besides, this is not something that is easily done later, once plants have been established.
How-to : Pinching and Thinning Perennials
Once you plant a perennial, it does not mean that you will enjoy years of maintenance-free gardening. Perennials need to be cared for just like any other plant. One thing that distinguishes perennials is that they tend to be active growers that have to be thinned out occasionally or they will loose vigor.
As perennials establish, it is important to prune them back and thin them out occasionally. This will prevent them from completely taking over an area to the exclusion of other plants, and also will increase air circulation thereby reducing the incidence of diseases like botrytis and powdery mildew.
Many species also flower abundantly and produce ample seed. As blooms fade it is advisable to deadhead your plant; that is, to remove spent flowers before they form seed. This will prevent your plants from seeding all over the garden and will conserve the considerable energy it takes the plant to produce seed.
As perennials mature, they may form a dense root mass that eventually leads to a less vigorous plant. It is advisable to occasionally thin out a stand of such perennials. By dividing the root system, you can make new plants to plant in another area of the garden or give away. Also root pruning will stimulate new growth and rejuvenate the plant. Most perennials may be successfully divided in either spring or fall. Do a little homework; some perennials do have a preference.
How-to : Planting Perennials
Determine appropriate perennials for your garden by considering sun and shade through the day, exposure, water requirements, climate, soil makeup, seasonal color desired, and position of other garden plants and trees.
The best times to plant are spring and fall, when soil is workable and out of danger of frost. Fall plantings have the advantage that roots can develop and not have to compete with developing top growth as in the spring. Spring is more desirable for perennials that dislike wet conditions or for colder areas, allowing full establishment before first winter. Planting in summer or winter is not advisable for most plants, unless planting a more established sized plant.
To plant container-grown plants: Prepare planting holes with appropriate depth and space between. Water the plant thoroughly and let the excess water drain before carefully removing from the container. Carefully loosen the root ball and place the plant in the hole, working soil around the roots as you fill. If the plant is extremely root bound, separate roots with fingers. A few slits made with a pocket knife are okay, but should be kept to a minimum. Continue filling in soil and water thoroughly, protecting from direct sun until stable.
To plant bare-root plants: Plant as soon as possible after purchase. Prepare suitable planting holes, spread roots and work soil among roots as you fill in. Water well and protect from direct sun until stable.
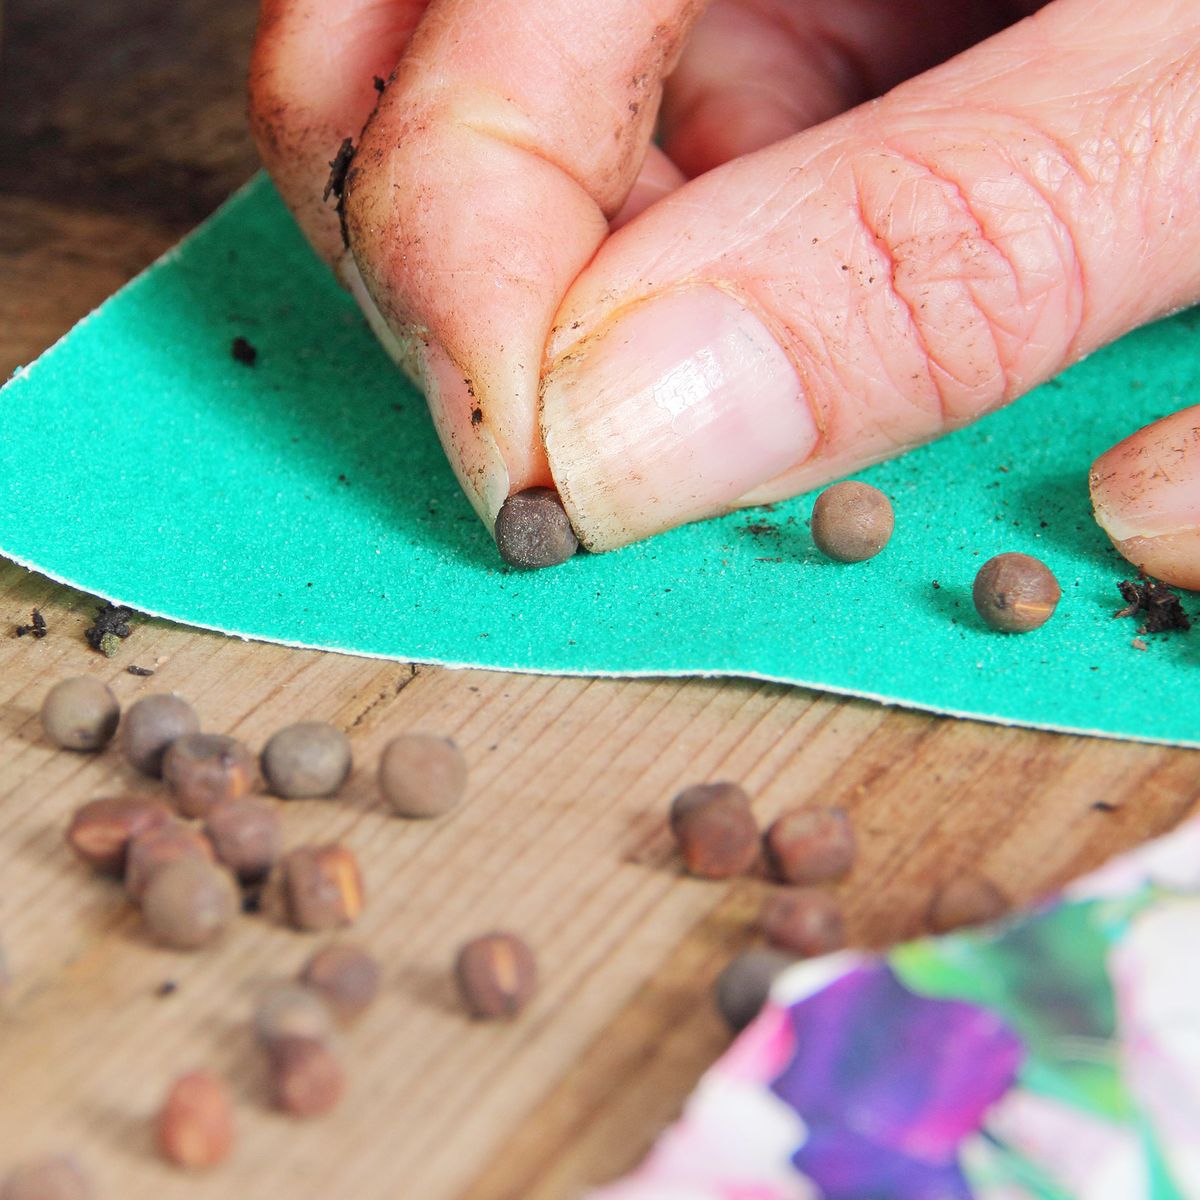
To plant seedlings: A number of perennials produce self-sown seedlings that can be transplanted. You may also start your own seedling bed for transplanting. Prepare suitable planting holes, spacing appropriately for plant development. Gently lift the seedling and as much surrounding soil as possible with your garden trowel, and replant it immediately, firming soil with fingertips and water well. Shade from direct sun and water regularly until stable.
 Problems
Pest : Slugs and Snails
Slugs and snails favor moist climates and are mollusks, not insects. They can be voracious feeders, eating just about anything that is not woody or highly scented. They may eat holes in leaves, strip entire stems, or completely devour seedlings and tender transplants, leaving behind tell-tale silvery, slimy trails.
Prevention and control: Keep your garden as clean as possible, eliminating hiding places such as leaf debris, over-turned pots, and tarps. Groundcover in shady places and heavy mulches provide protection from the elements and can be favorite hiding places. In the spring, patrol for and destroy eggs (clusters of small translucent spheres) and adults during dusk and dawn. Set out beer traps from late spring through fall.
Many chemical controls are available on the market, but can be poisonous and deadly for children and pets; take care when using them – always read the label first!
Pest : Aphids
Aphids are small, soft-bodied, slow-moving insects that suck fluids from plants. Aphids come in many colors, ranging from green to brown to black, and they may have wings. They attack a wide range of plant species causing stunting, deformed leaves and buds. They can transmit harmful plant viruses with their piercing/sucking mouthparts. Aphids, generally, are merely a nuisance, since it takes many of them to cause serious plant damage. However aphids do produce a sweet substance called honeydew (coveted by ants) which can lead to an unattractive black surface growth called sooty mold.
Aphids can increase quickly in numbers and each female can produce up to 250 live nymphs in the course of a month without mating. Aphids often appear when the environment changes – spring & fall. They’re often massed at the tips of branches feeding on succulent tissue. Aphids are attracted to the color yellow and will often hitchhike on yellow clothing.
Prevention and Control: Keep weeds to an absolute minimum, especially around desirable plants. On edibles, wash off infected area of plant. Lady bugs and lacewings will feed on aphids in the garden. There are various products – organic and inorganic – that can be used to control aphids. Seek the recommendation of a professional and follow all label procedures to a tee.
Fungi : Leaf Spots
Leaf spots are caused by fungi or bacteria. Brown or black spots and patches may be either ragged or circular, with a water soaked or yellow-edged appearance. Insects, rain, dirty garden tools, or even people can help its spread.
Prevention and Control: Remove infected leaves when the plant is dry. Leaves that collect around the base of the plant should be raked up and disposed of. Avoid overhead irrigation if possible; water should be directed at soil level. For fungal leaf spots, use a recommended fungicide according to label directions.
Weeds : Preventing Weeds and Grass
Weeds rob your plants of water, nutrients and light. They can harbor pests and diseases. Before planting, remove weeds either by hand or by spraying an herbicide according to label directions. Another alternative is to lay plastic over the area for a couple of months to kill grass and weeds.
You may apply a pre-emergent herbicide prior to planting, but be sure that it is labeled for the plants you are wishing to grow. Existing beds may be spot sprayed with a nonselective herbicide, but be careful to shield those plants you do not want to kill. Non-selective means that it will kill everything it comes in contact with.
Mulch plants with a 3 inch layer of pinestraw, pulverized bark, or compost. Mulch conserves moisture, keeps weeds down, and makes it easier to pull when necessary.
Porous landscape or open weave fabric works too, allowing air and water to be exchanged.
Miscellaneous
Glossary : Deciduous
Deciduous refers to those plants that lose their leaves or needles at the end of the growing season.
Glossary : Perennial
Perennial: traditionally a non-woody plant that lives for two or more growing seasons.
Glossary : pH
pH, means the potential of Hydrogen, is the measure of alkalinity or acidity. In horticulture, pH refers to the pH of soil. The scale measures from 0, most acid, to 14, most alkaline. Seven is neutral. Most plants prefer a range between 5.5 and about 6.7, an acid range, but there are plenty of other plants that like soil more alkaline, or above 7. A pH of 7 is where the plant can most easily absorb the most nutrients in the soil. Some plants prefer more or less of certain nutrients, and therefore do better at a certain pH.
Glossary : Heat Zone
The 12 zones of the AHS Heat Zone map indicate the average number of days each year that a given region experiences “”heat days”” or temperatures over 86 degrees F(30 degrees Celsius). That is the point at which plants begin suffering physiological damage from heat. The zones range from Zone 1 (less than one heat day) to Zone 12 (more than 210 heat days). The AHS Heat Zone, which deals with heat tolerance, should not be confused with the USDA Hardiness Zone system which deals with cold tolerance. For example: Seattle, Washington has a USDA Hardiness Zone of 8, the same as Charleston, South Carolina; however Seattle’s Heat Zone is 2 where Charleston’s Heat Zone is 11. What this says is that winter temperature in the two cities may be similar, but because Charleston has significantly warmer weather for a longer period of time, plant selection based on heat tolerance is a factor to consider.
Glossary : Plant Characteristics
Plant characteristics define the plant, enabling a search that finds specific types of plants such as bulbs, trees, shrubs, grass, perennials, etc.
Glossary : Flower Characteristics
Flower characteristics can vary greatly and may help you decide on a “”look or feel”” for your garden. If you’re looking for fragrance or large, showy flowers, click these boxes and possibilities that fit your cultural conditions will be shown. If you have no preference, leave boxes unchecked to return a greater number of possibilities.
Glossary : Foliage Characteristics
By searching foliage characteristics, you will have the opportunity to look for foliage with distinguishable features such as variegated leaves, aromatic foliage, or unusual texture, color or shape. This field will be most helpful to you if you are looking for accent plants. If you have no preference, leave this field blank to return a larger selection of plants.
Glossary : Soil Types
A soil type is defined by granule size, drainage, and amount of organic material in the soil. The three main soil types are sand, loam and clay. Sand has the largest particle size, no organic matter, little to no fertility, and drains rapidly. Clay, at the opposite end of the spectrum, has the smallest particle size, can be rich in organic matter, fertility and moisture, but is often unworkable because particles are held together too tightly, resulting in poor drainage when wet, or is brick-like when dry. The optimum soil type is loam, which is the happy median between sand and clay: It is high in organic matter, nutrient-rich, and has the perfect water holding capacity.
You will often hear loam referred to as a sandy loam (having more sand, yet still plenty of organic matter) or a clay loam (heavier on the clay, yet workable with good drainage.) The addition of organic matter to either sand or clay will result in a loamy soil. Still not sure if your soil is a sand, clay, or loam? Try this simple test. Squeeze a handfull of slightly moist, not wet, soil in your hand. If it forms a tight ball and does not fall apart when gently tapped with a finger, your soil is more than likely clay. If soil does not form a ball or crumbles before it is tapped, it is sand to very sandy loam. If soil forms a ball, then crumbles readily when lightly tapped, it’s a loam. Several quick, light taps could mean a clay loam.


