[ad_1]
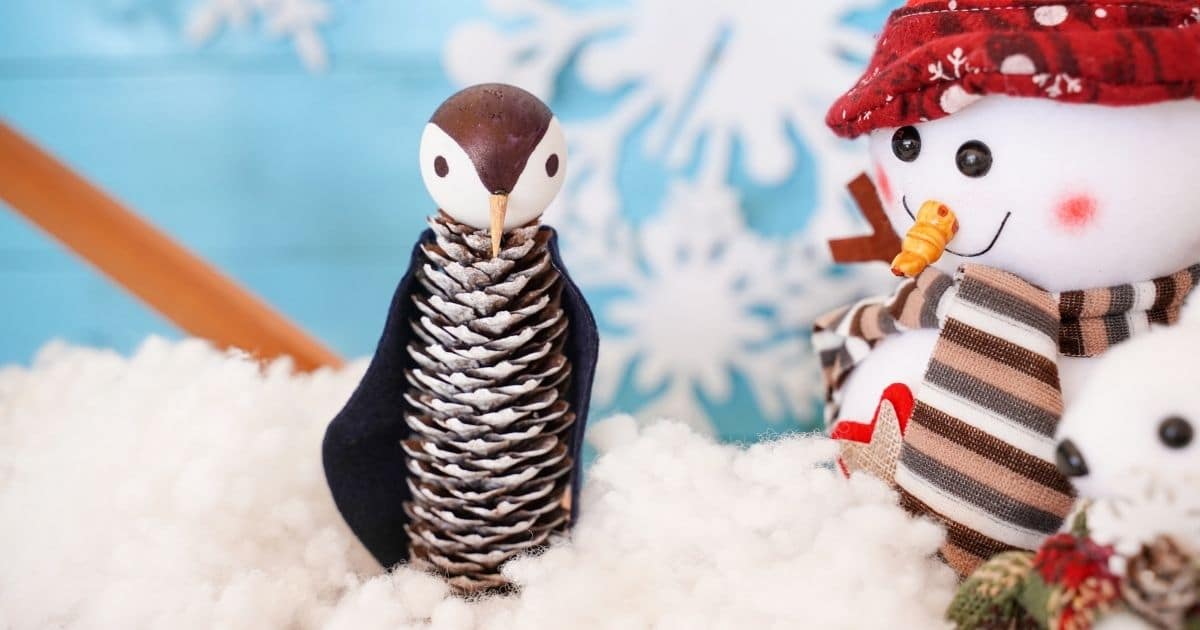
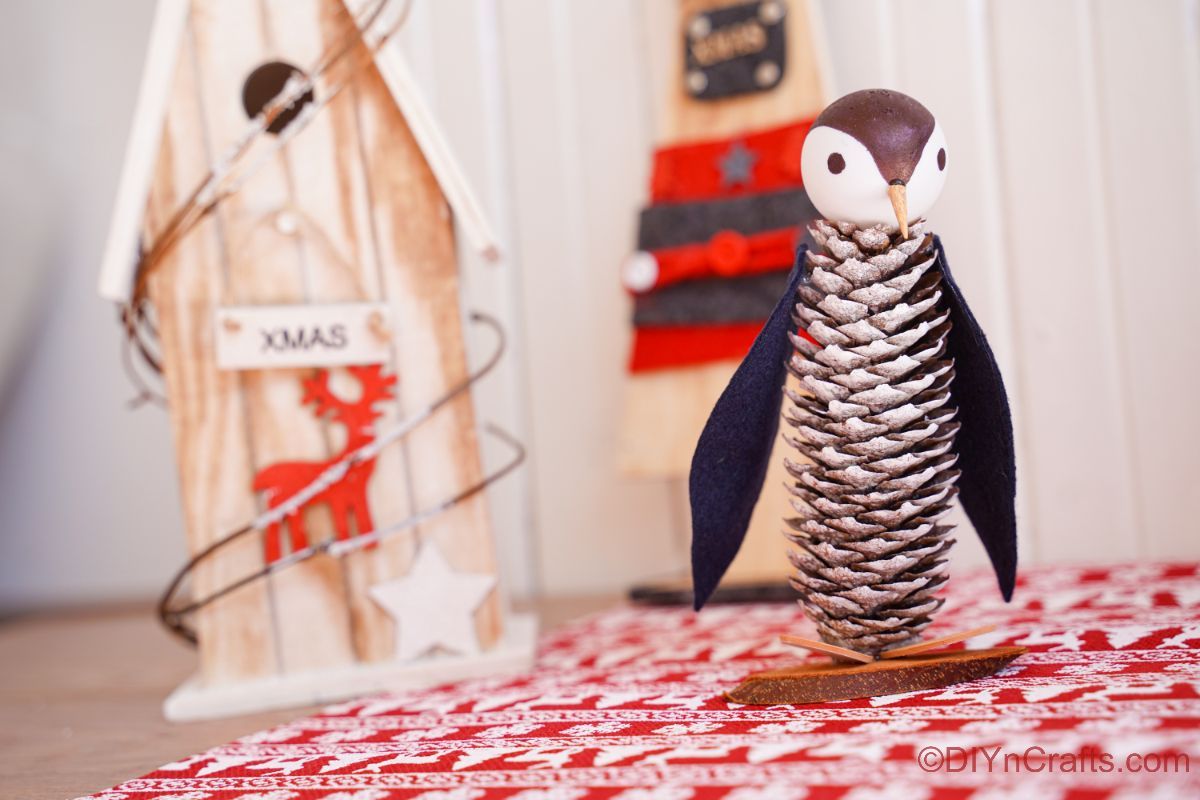
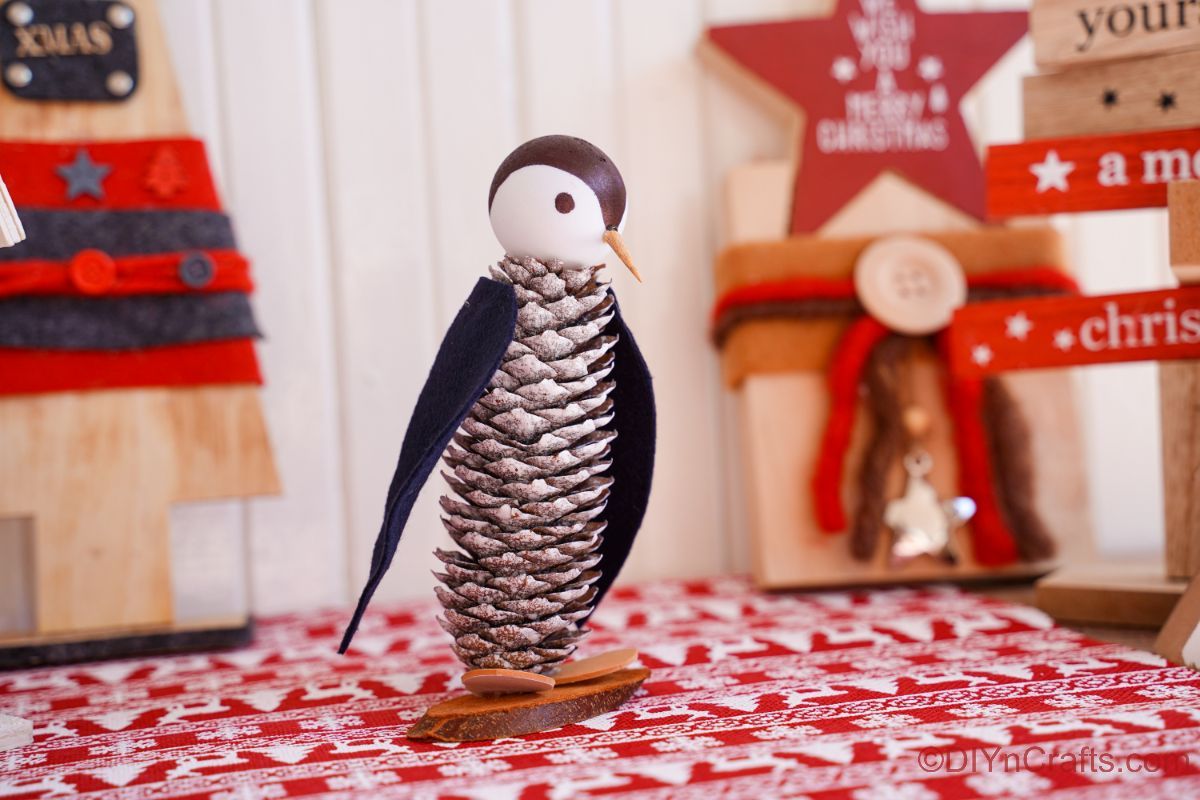
Looking for a simple and fun penguin kids’ craft? This one couldn’t be easier. Kids will love to make this adorable pinecone penguin and it will look adorable around the house during the holidays. It’s one of those fun little rustic projects that is ideal for making after a winter nature walk outside with the kids.
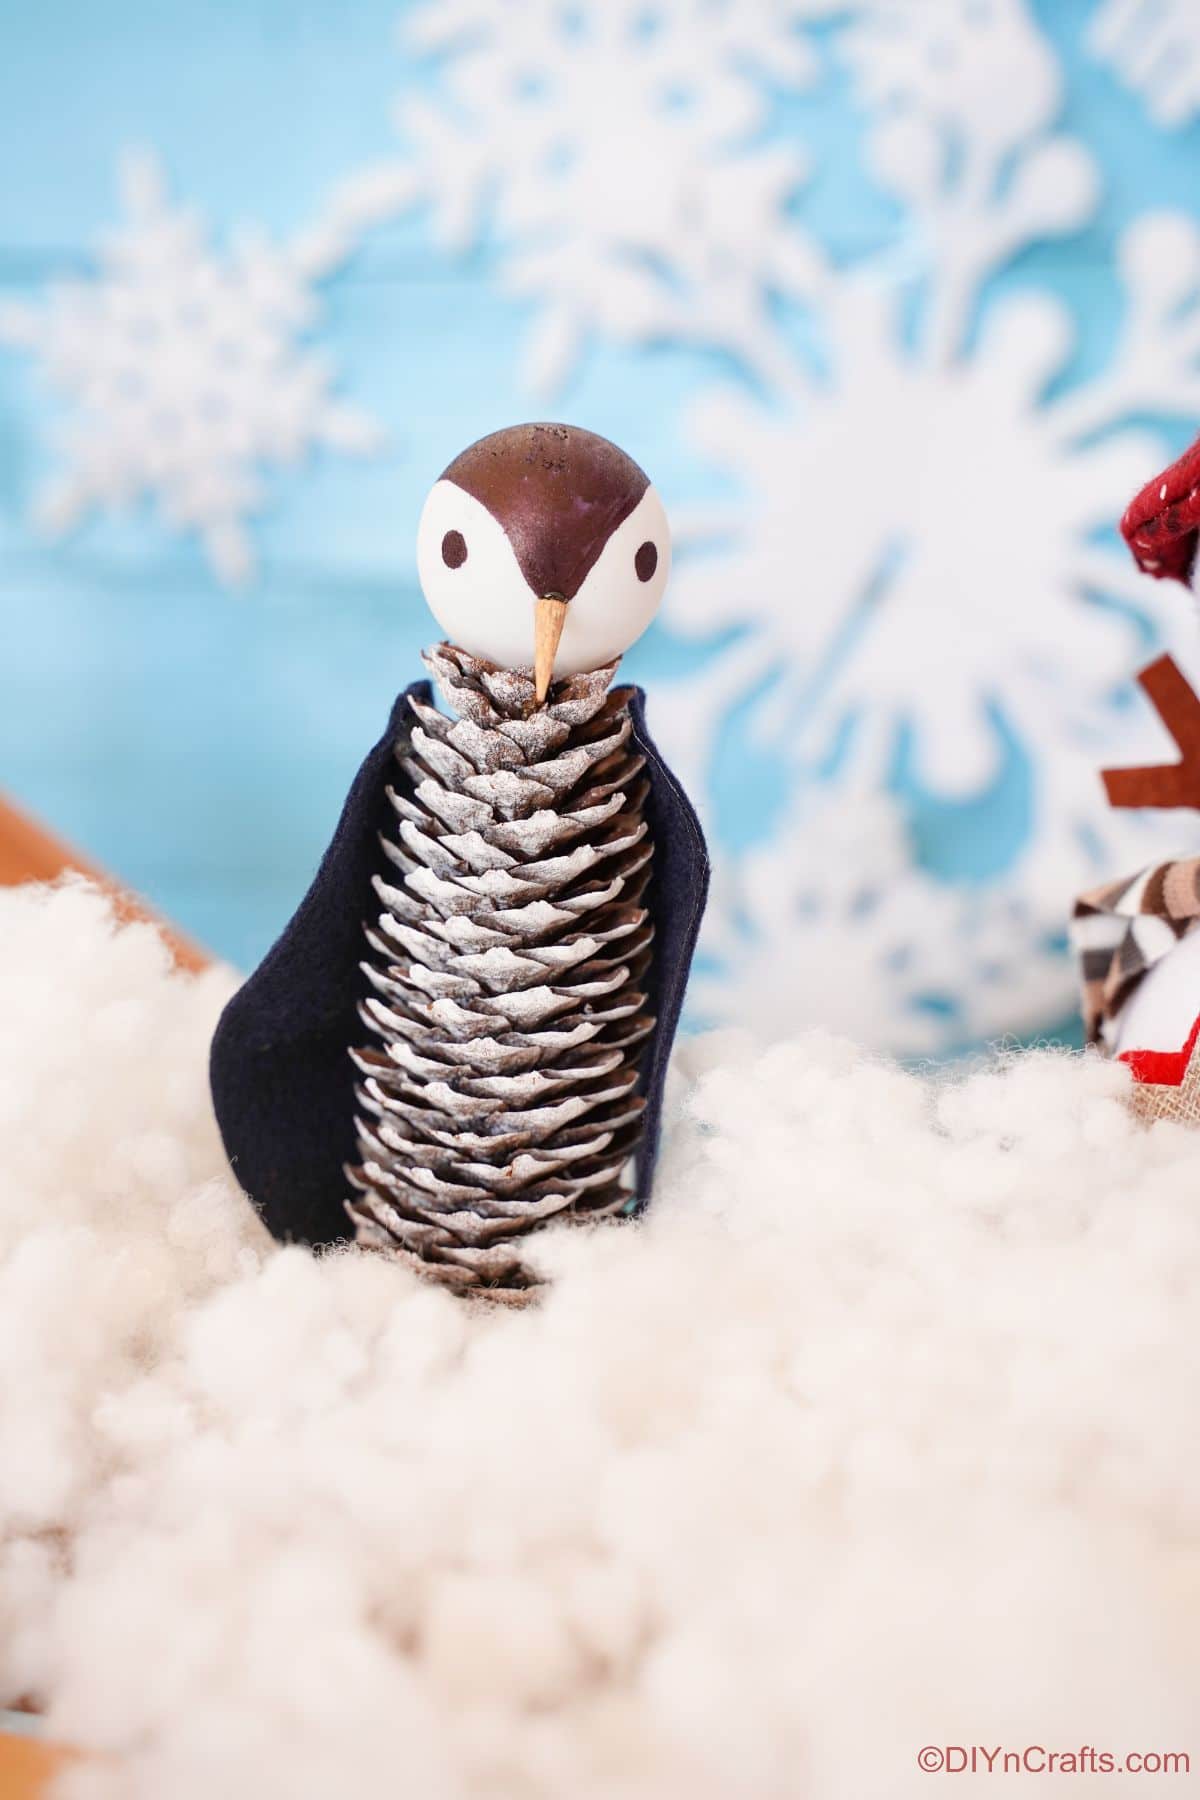
Pinecone Penguin Kids Craft
With just a few craft supplies, you can make this craft that can be used as part of your holiday decoration or as a toy. The pinecone makes this penguin as cute as can be. Using mostly natural or recycled materials, this penguin is so much fun to make!
Pinecones are one of my favorite craft supplies because, in our area, they are FREE since I can gather them from my own backyard. As the base of a little critter or animal, they are super fun for the kids to make, and they turn out just adorable. If you are interested in something else to do with your pinecones, check out this pinecone bear, pinecone owl, pinecone mouse, pinecone hedgehog, and even this adorable pinecone Christmas tree!
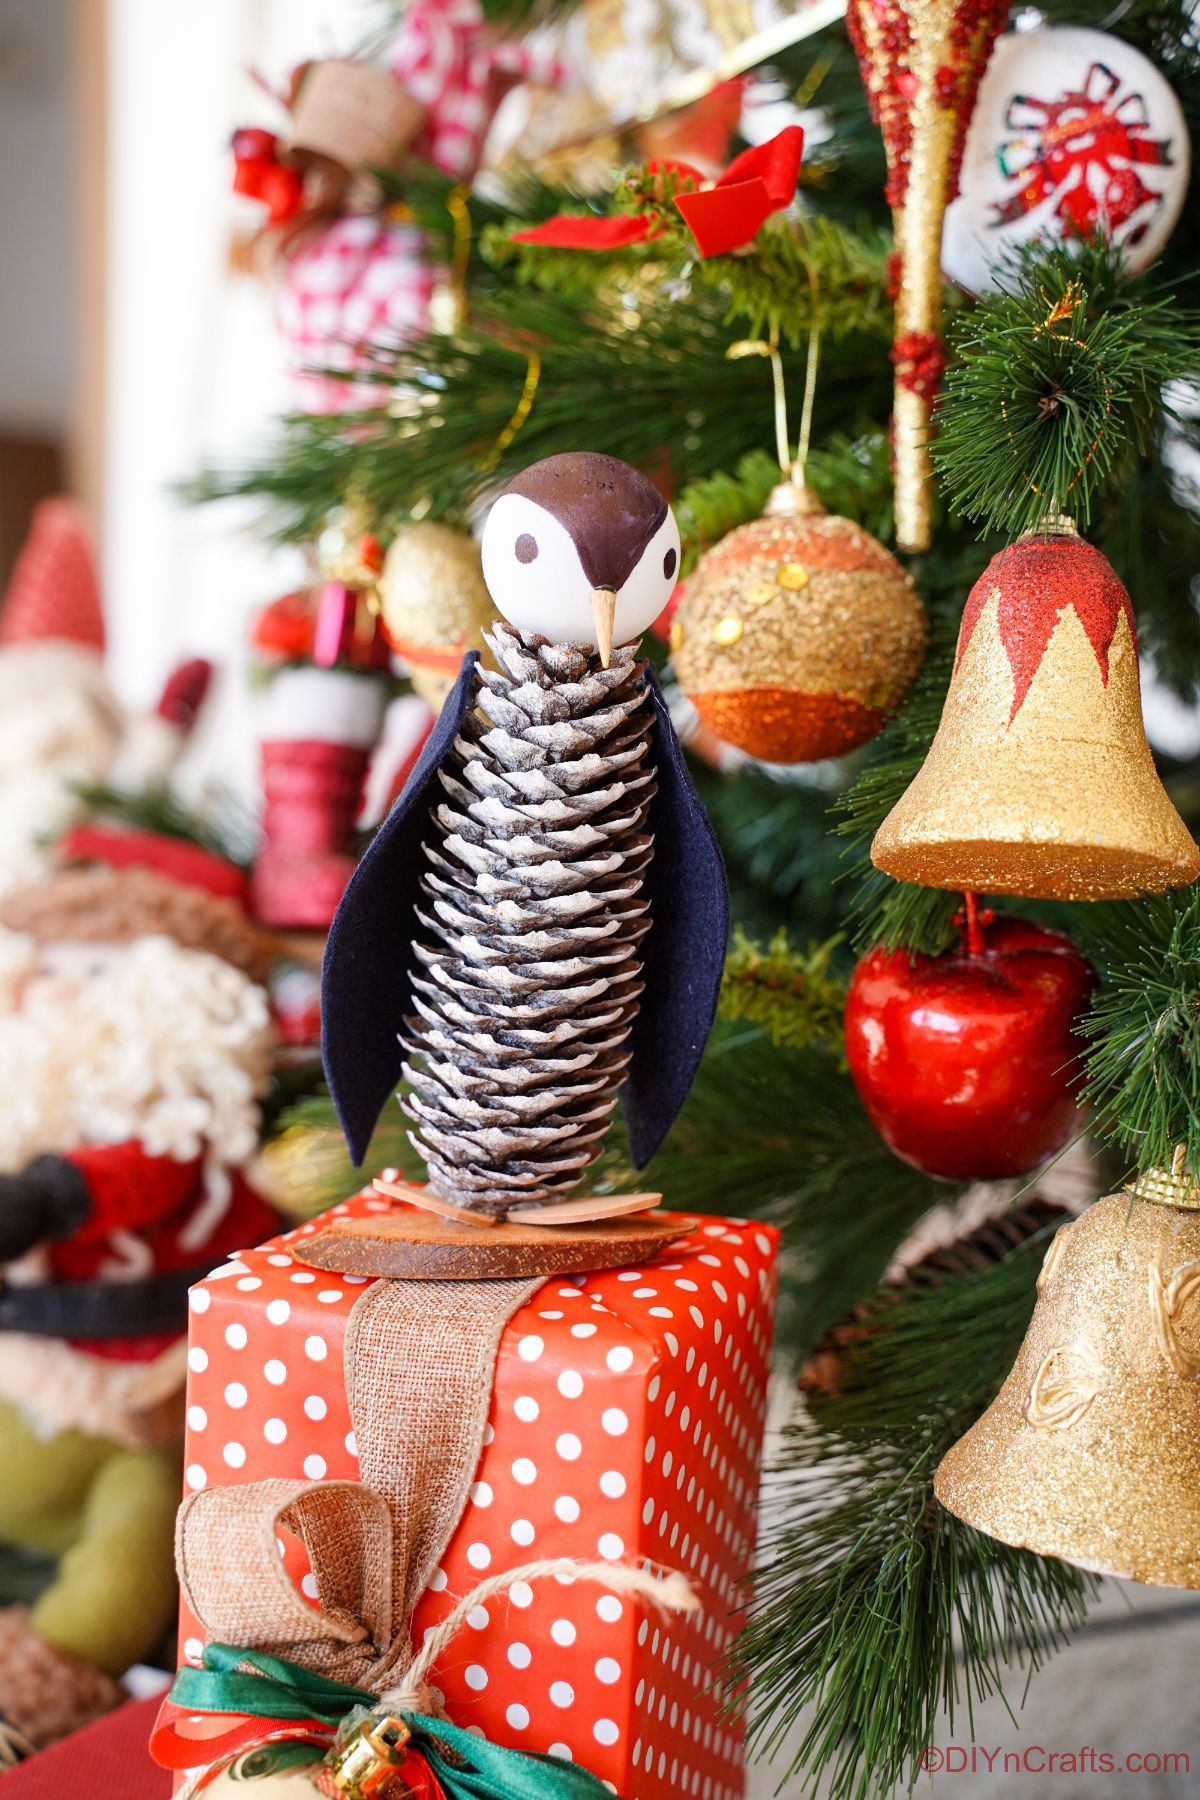
What Should I Use for the Penguin Head?
The best thing to use for the penguin’s head is a large wooden bead. This is the easiest to work with. You can also use a plastic ball or even a foam ball. Ping pong balls are great since they are easy to paint and affordable. Of course, you can use anything that is small and round and can be painted to create the penguin face.
How Do I Keep The Penguin Stable to Stand?
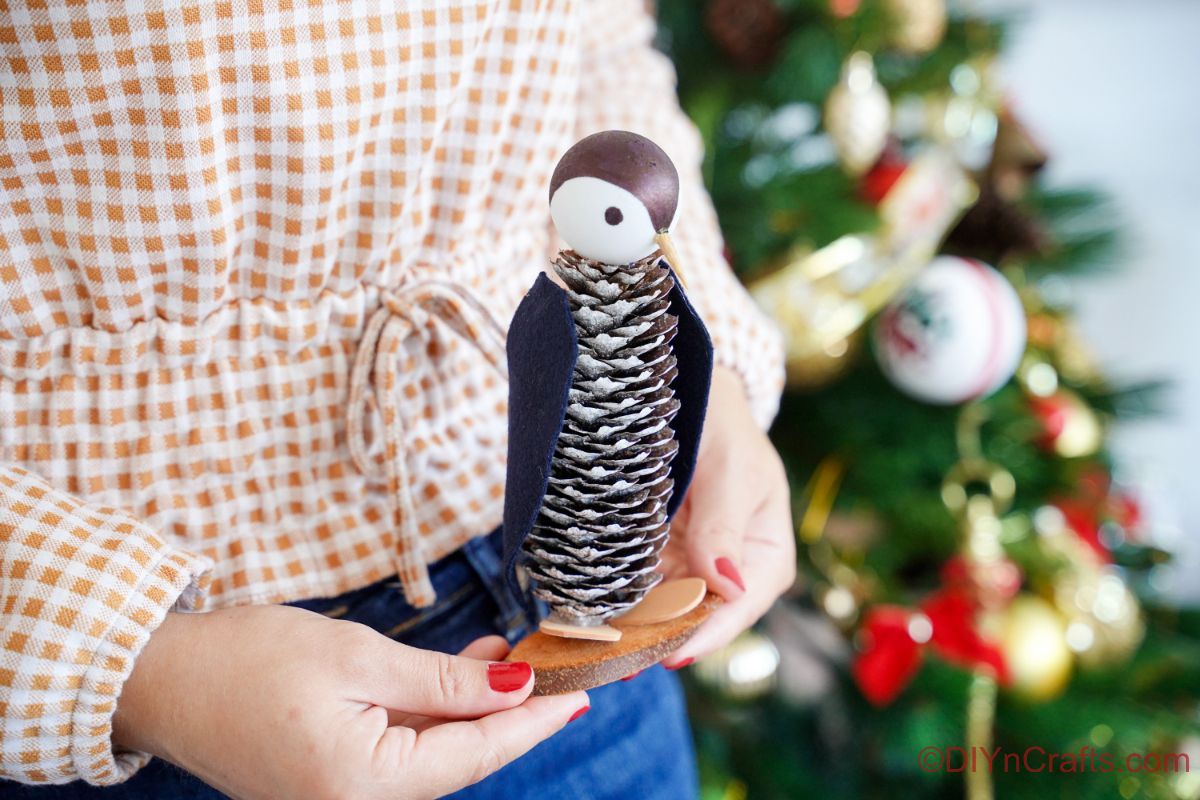
There are a few ideas that work well for making sure your pinecone penguin is stable and can stand on a shelf easily. I glued the feet of my penguin onto a wood slice that I already had on hand. If you don’t have this on hand, you can use one of the ideas below instead.
- Cardboard
- Cardstock
- Plastic lid
- Marson jar lid
- Any wood scrap
You just want something that is flat on the bottom and heavy enough to hold up the penguin without it toppling over on the shelf. You could even glue it to scrap metal or something like a broken spatula base. Get creative and repurpose items you already have on hand.
What Can I Use For the Penguin Feet?
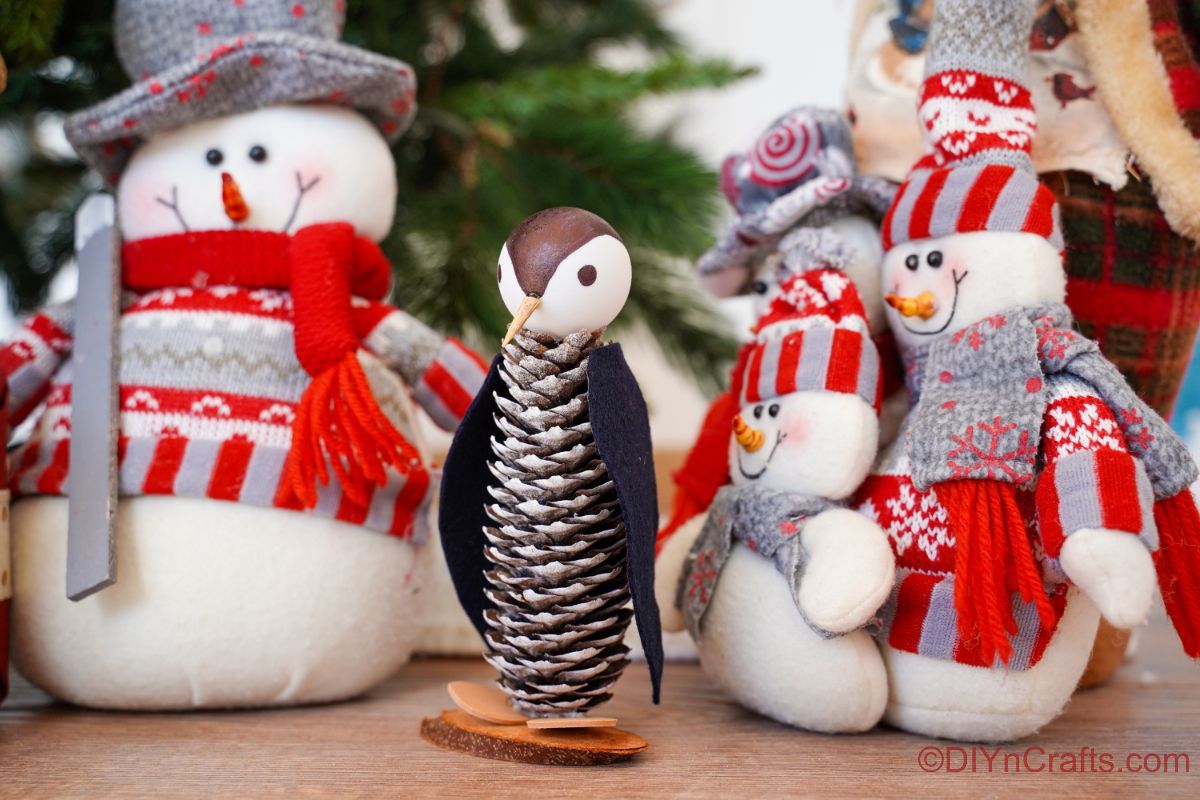
For the pinecone penguin feet, you can use any number of items you already have on hand. I used foam paper since it was already on hand and super easy to cut into shape. Of course, you can get creative and use that or any number of items listed below instead.
- Cardboard, cardstock, scrapbook paper, construction paper, or poster board.
- Pipe cleaners formed into the shape of feet.
- Plastic, metal, or upcycled items from around the house like broken forks, spatulas, pieces of food containers, etc.
- Stickers that look like feet placed over paper, etc.
- Twigs that are painted yellow and glued into a foot shape.
There is no single option for creating your penguin. Instead, you can get super creative and add unique looks to your bird with a slightly different option for the feet, face, and even added decorations on the pinecone.
How Can I Use This?
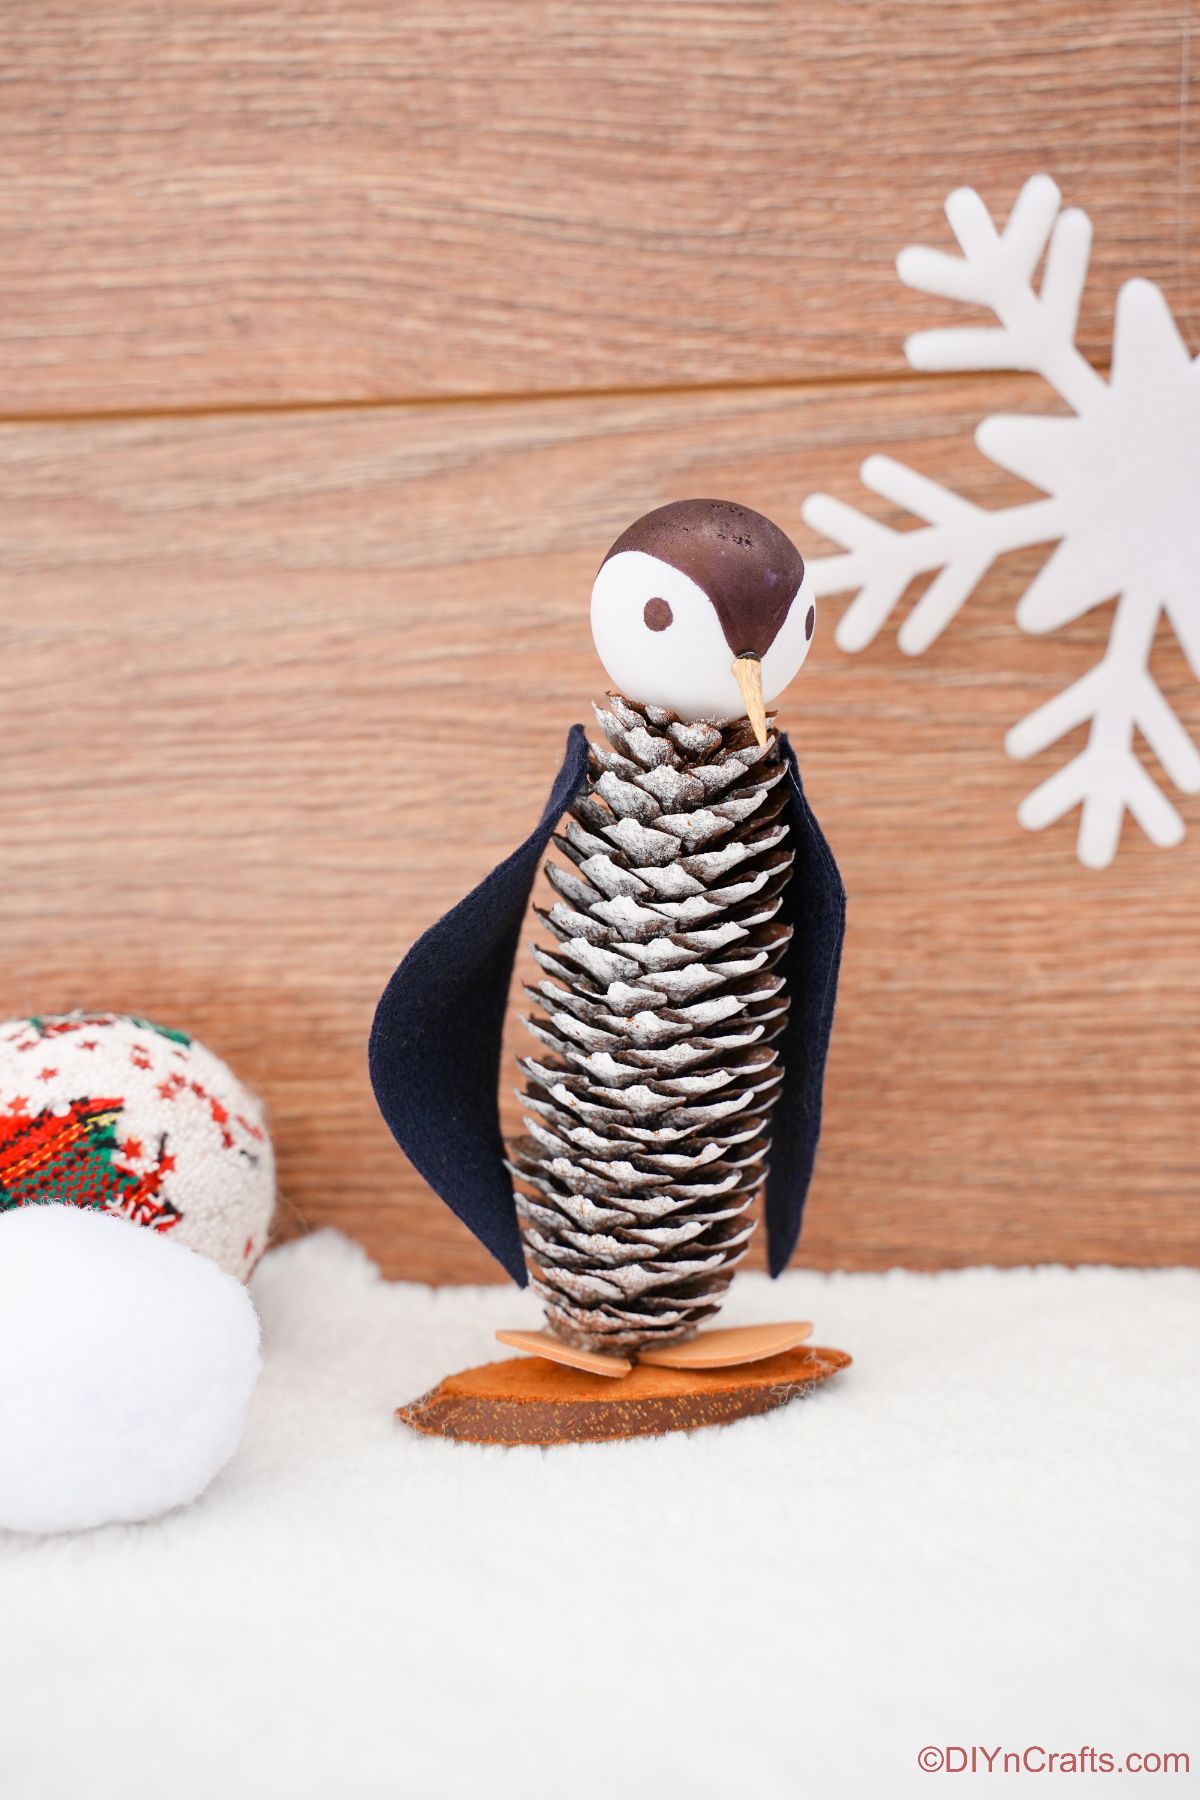
I love this penguin craft because there are so many ways to use it. You can use it as a cute holiday decoration. If you have seen the rustic Santa workshop craft we made, you can use these cute penguins as part of the house. He can sit outside of it as part of a winter scene.
You can also use this as part of a teaching moment with your kids or in a homeschool classroom. It’s the perfect addition to a penguin unit study or a fun way to get kids to become excited about the arctic creatures. It works great for any arctic course study, or even to use as a prop when reading a book about penguins.
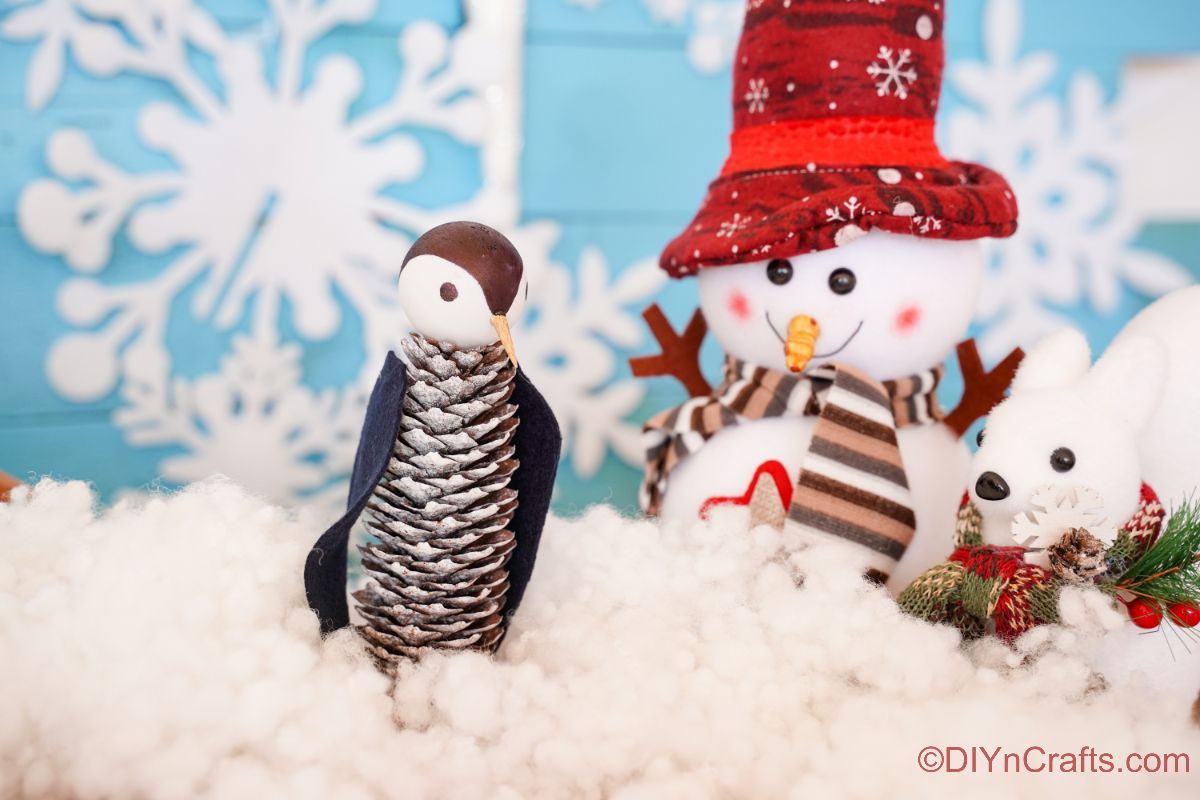
Kids will love to use this penguin as part of creative play too. It would be perfect for pretend playtime or inside a diorama, they have made of the arctic or even a zoo scene. Kids can act out arctic scenes or just use them while playing with other toys and figures.
Can Kids Make This With Me?
This penguin kids’ craft is a fun way to craft with the kids. It is simple enough for kids to do with you, and they will need very little supervision. However, if the kids are making this craft, you will need to change the way you glue things together. Either have them use a non-toxic kid-safe glue, or handle the glue gun yourself and just let them do the decorating, painting, and such to avoid an injury from the hot glue.
You can use other types of glue for the craft such as school glue, tacky glue, or similar kid-safe items. It may not be as strong and could fall apart, so you’ll want to keep that in mind if used as decor. You want to also make sure you are giving the glue time to dry since traditional glue does not dry as fast as the glue gun does.
Do I Need to Clean the Pinecones First?
You always want to clean the pinecone first. When you find pine cones outside they can carry dirt and debris inside of them. They can also still have small bugs that you don’t want to bring inside the house or have in your craft. It is best to clean the pine cone before you use it for this adorable penguin craft.
If you are using store-bought pine cones, like ones that you can get from the craft store, you can usually skip this step, however, if you decided to still clean it, it wouldn’t be a bad idea.
I prefer filling a bucket with 1 gallon of water and a capful of bleach for sanitizing and killing anything inside them. You can also do so with 1/4 cup vinegar in 1 gallon of water if you prefer to avoid using bleach.
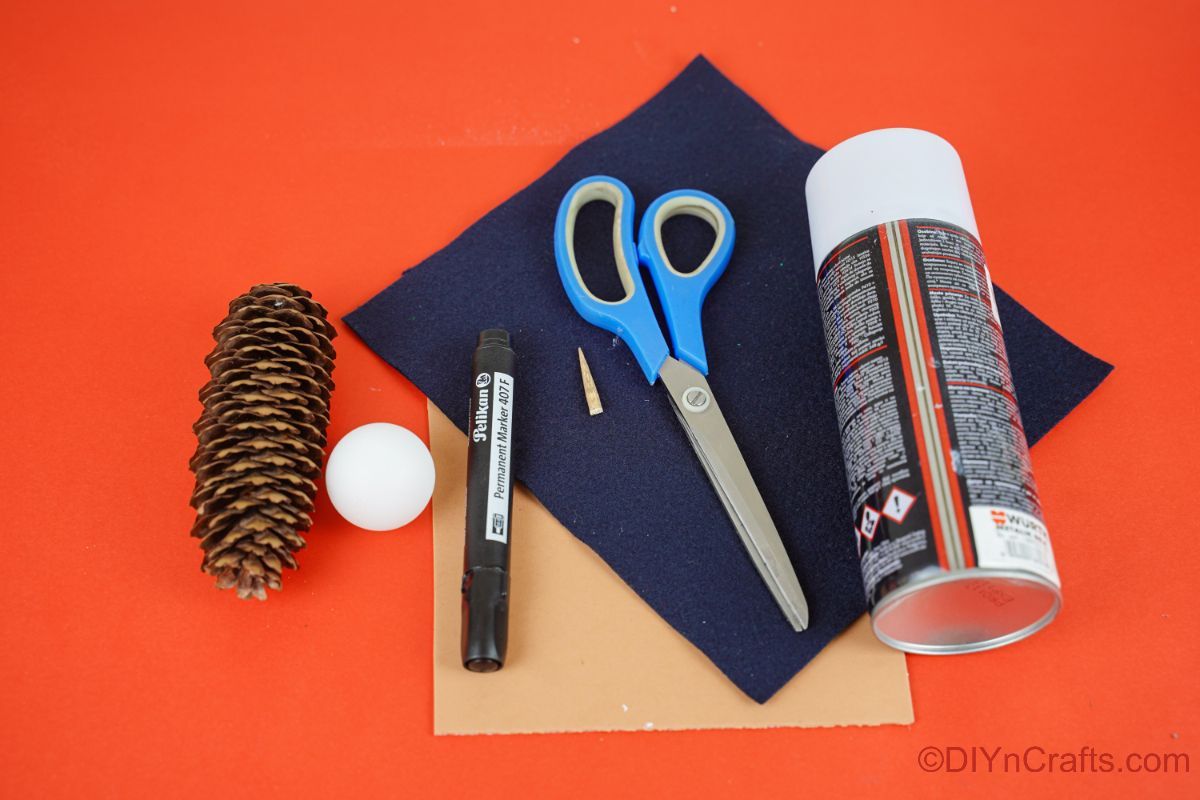
Supplies Needed
How to Make a Pinecone Penguin
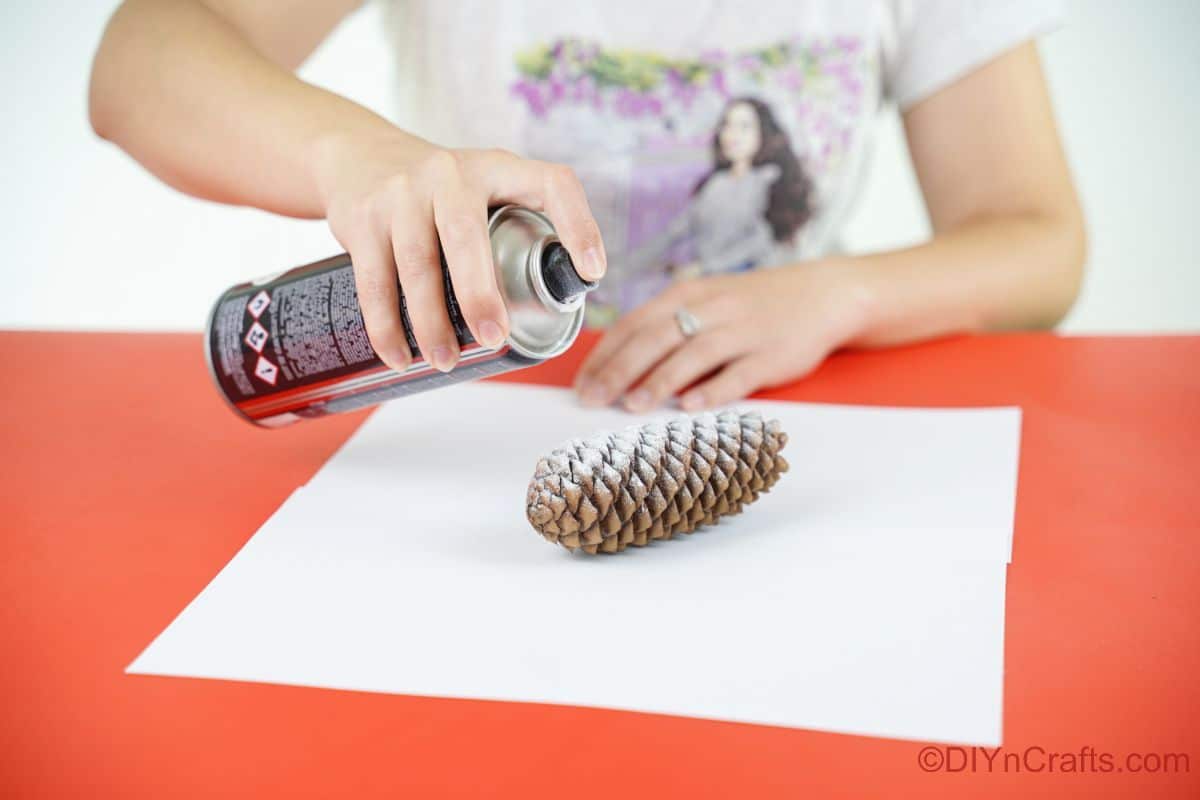
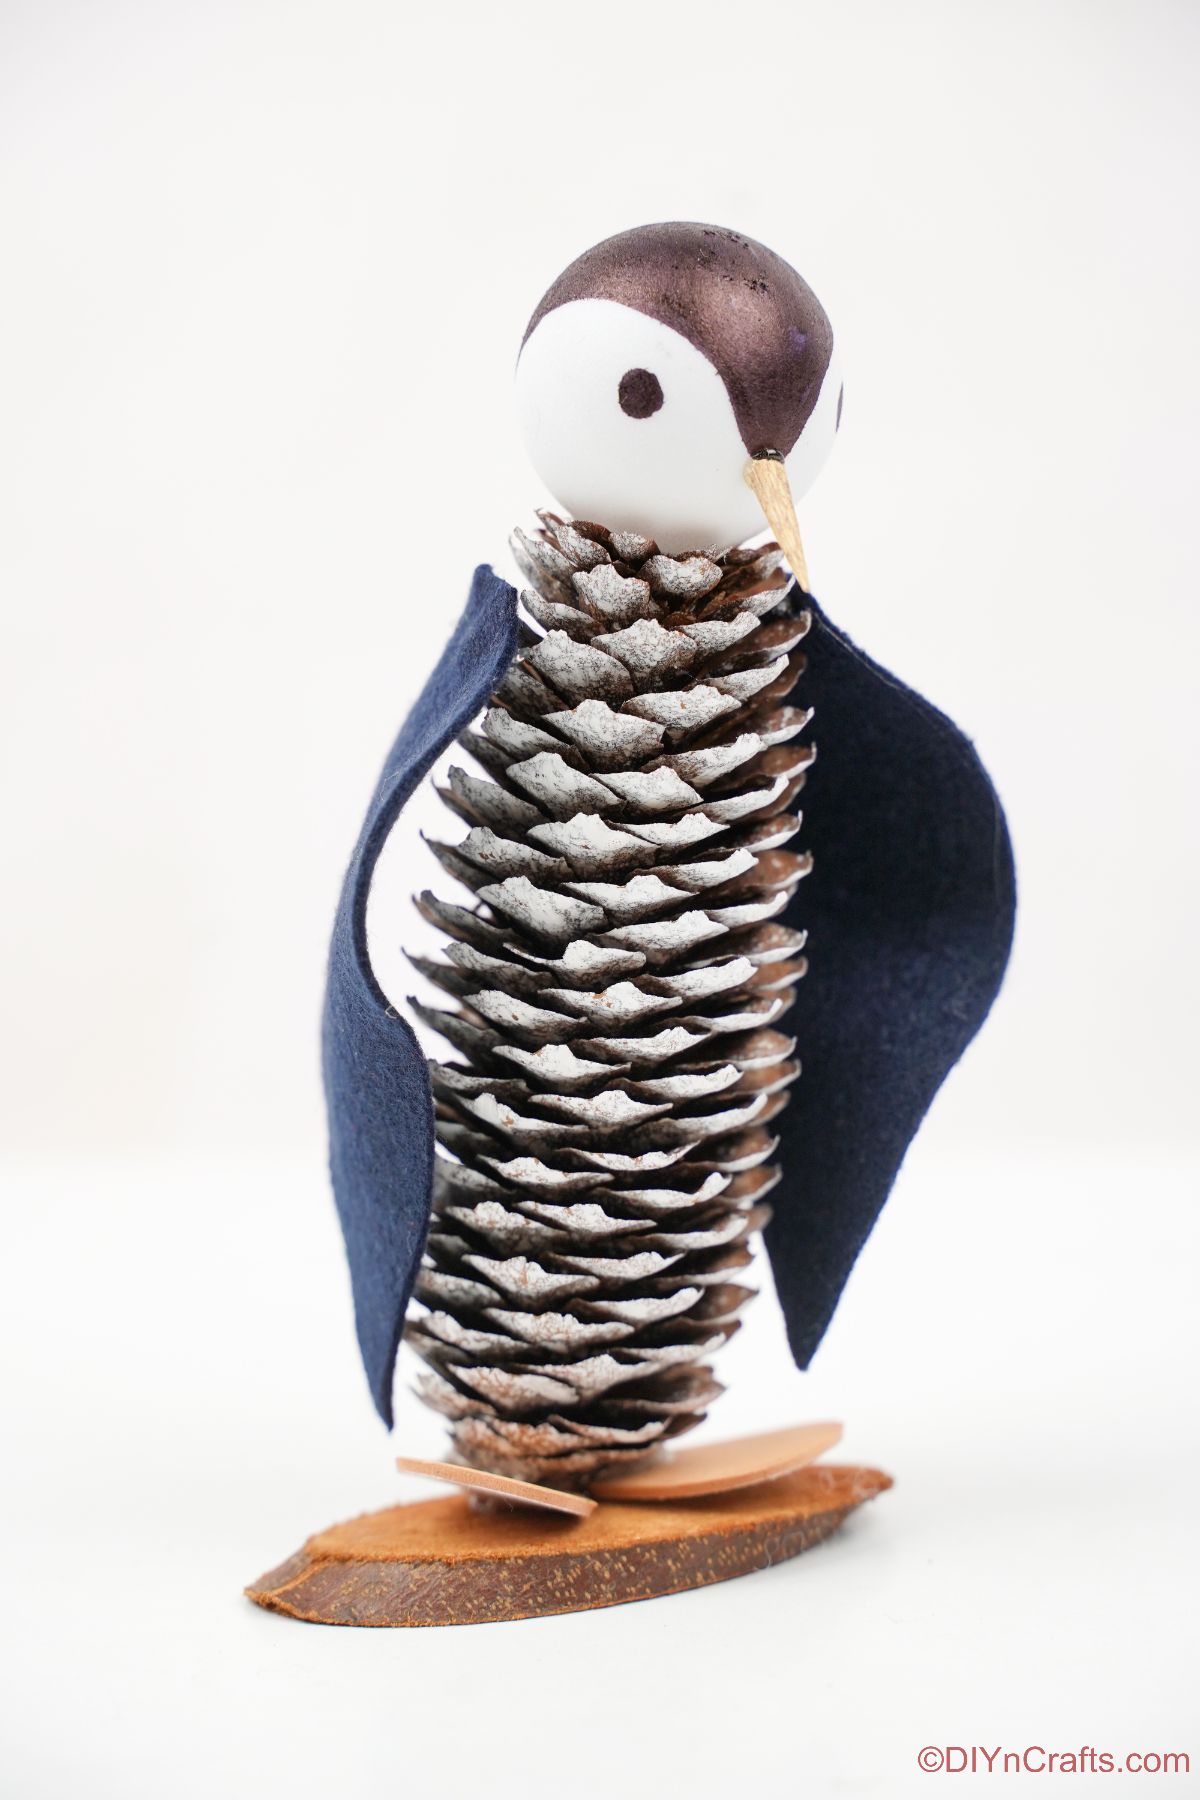
In a well-ventilated area, spray the pinecone with white spray paint, just to add a bit of white to the edges but not to coat the entire pinecone. Set it aside to dry.
Using a black marker, draw a “v-shape” onto the bead or ball and color it in to create the penguin head. Add two small black circles for the eyes.
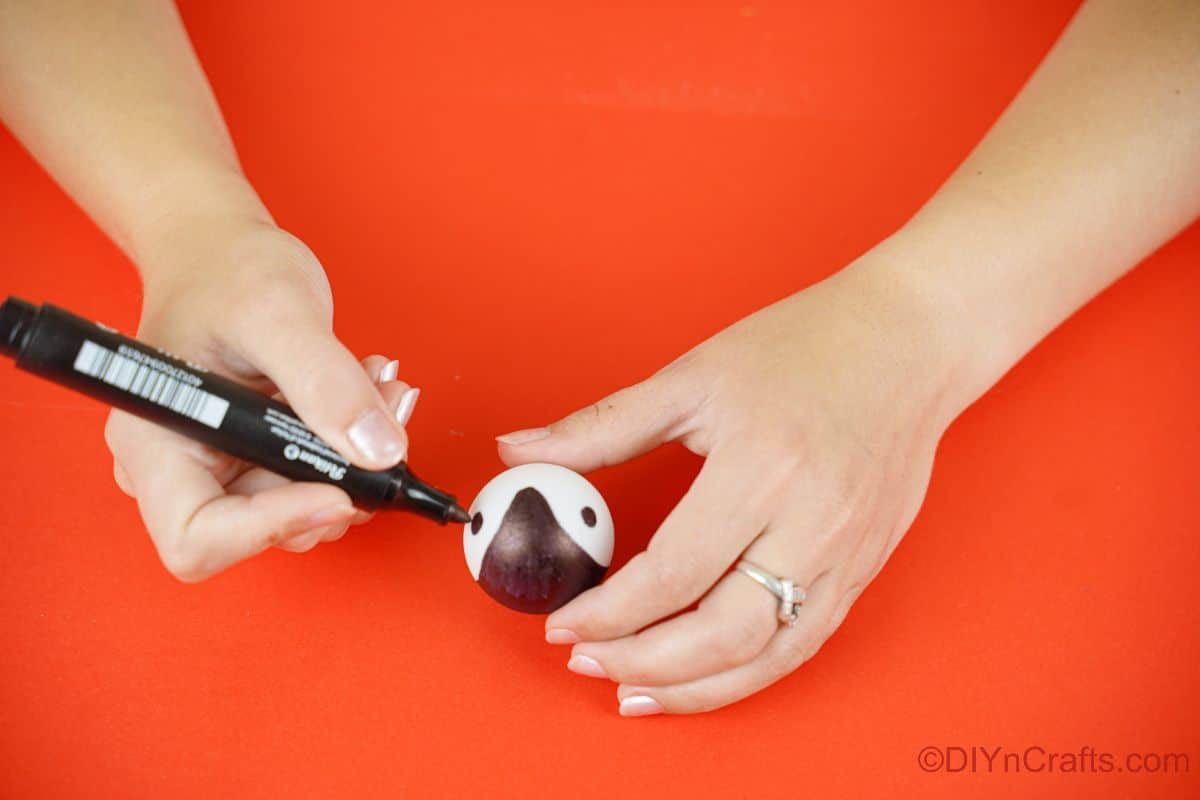
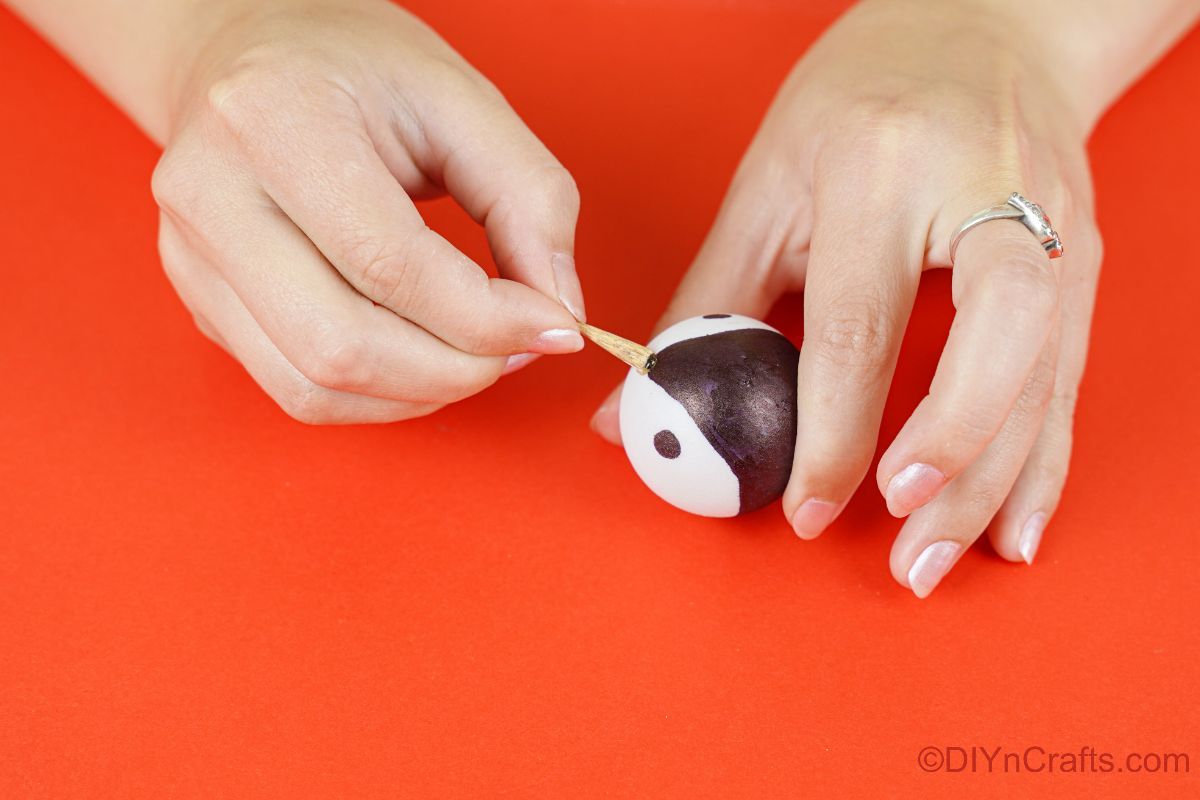
Glue the small stick or toothpick below the eyes to create the penguin nose then set this aside.
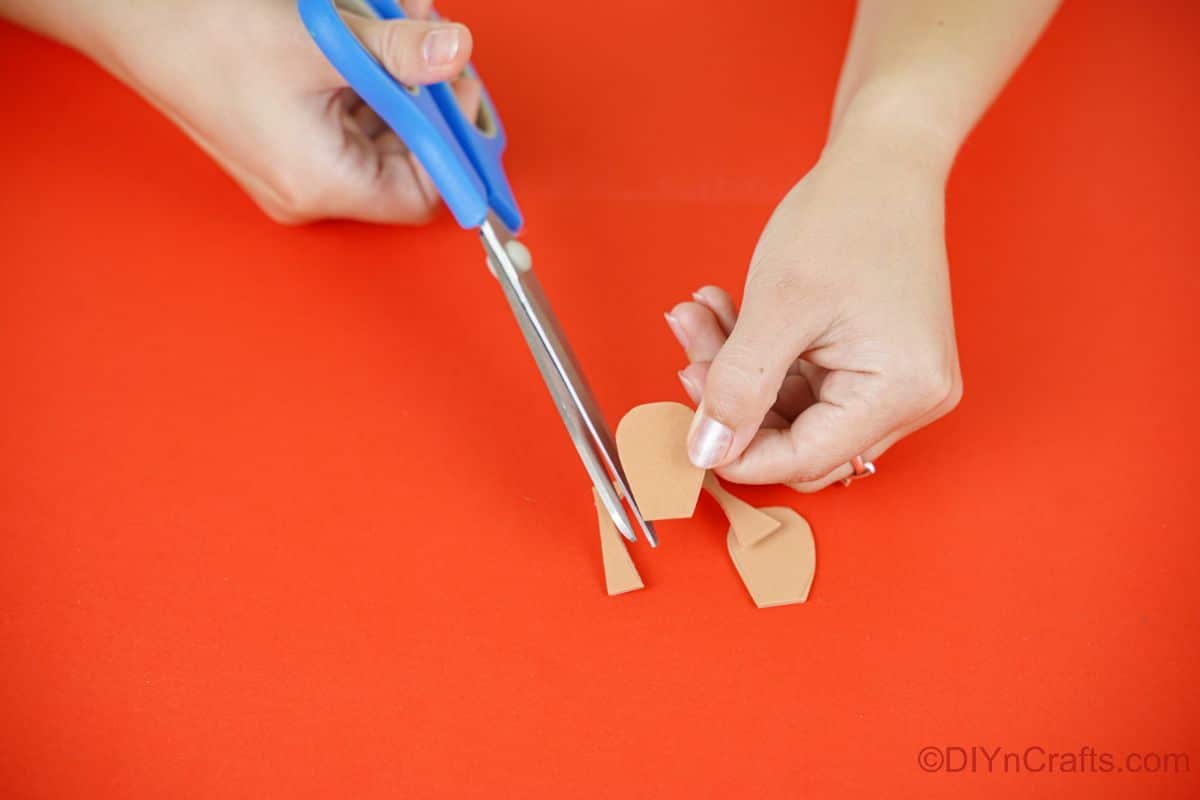
On a piece of foam paper, draw then cut out two feet.
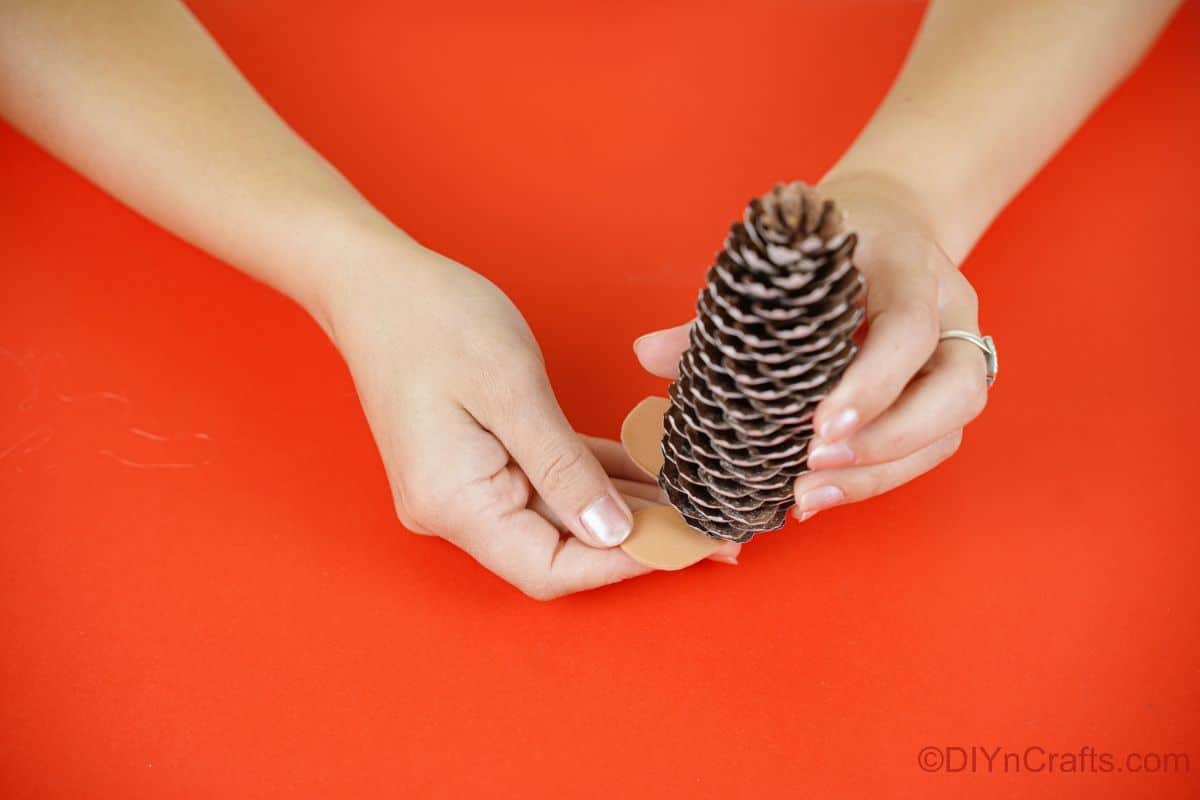
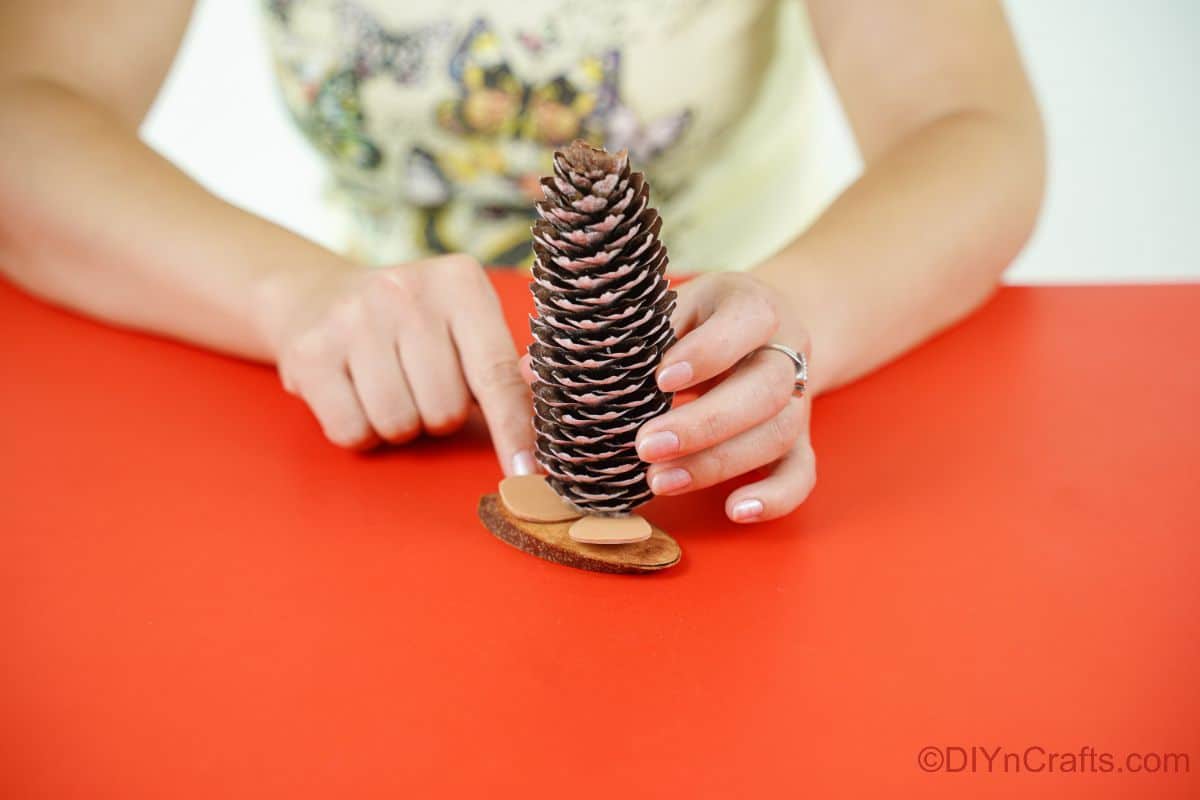
Glue the now dry pinecone on top of the feet.
Then, glue the feet and the pinecone together onto the top of a wood slice.
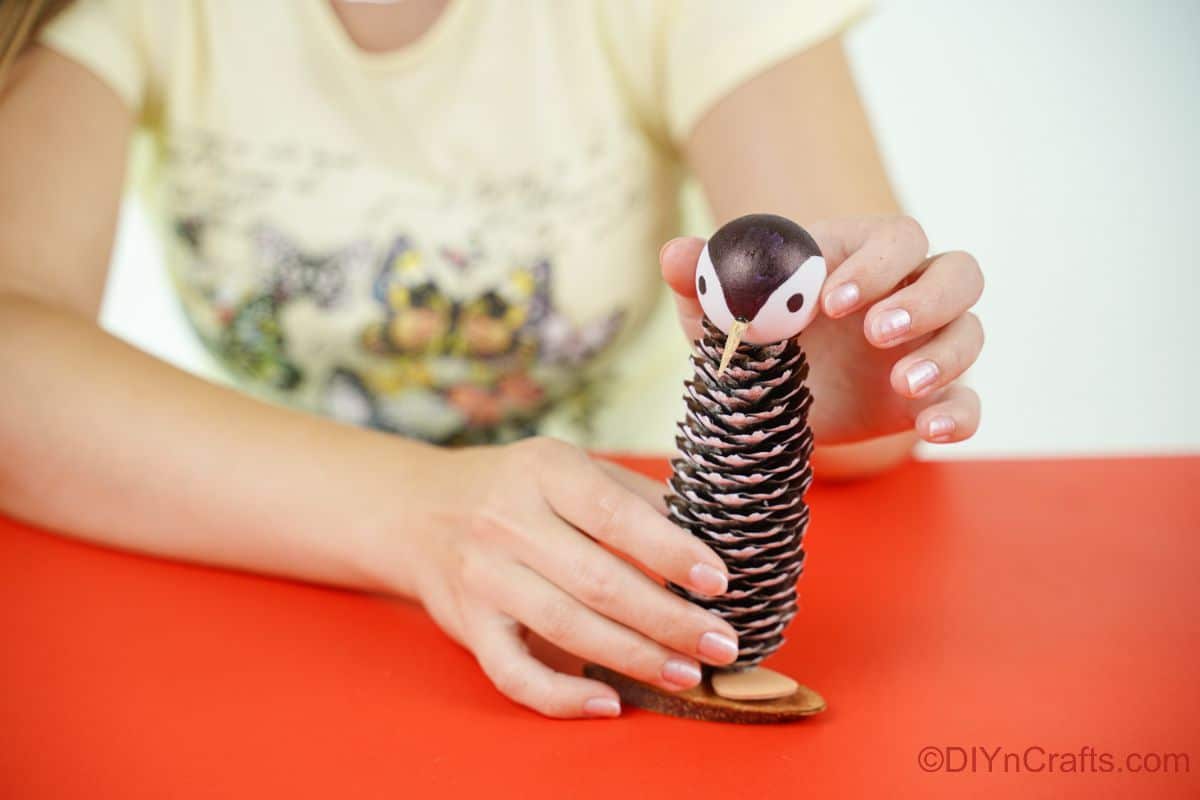
Attach the painted, and now dry, bead to the top of the penguin creating the full body.
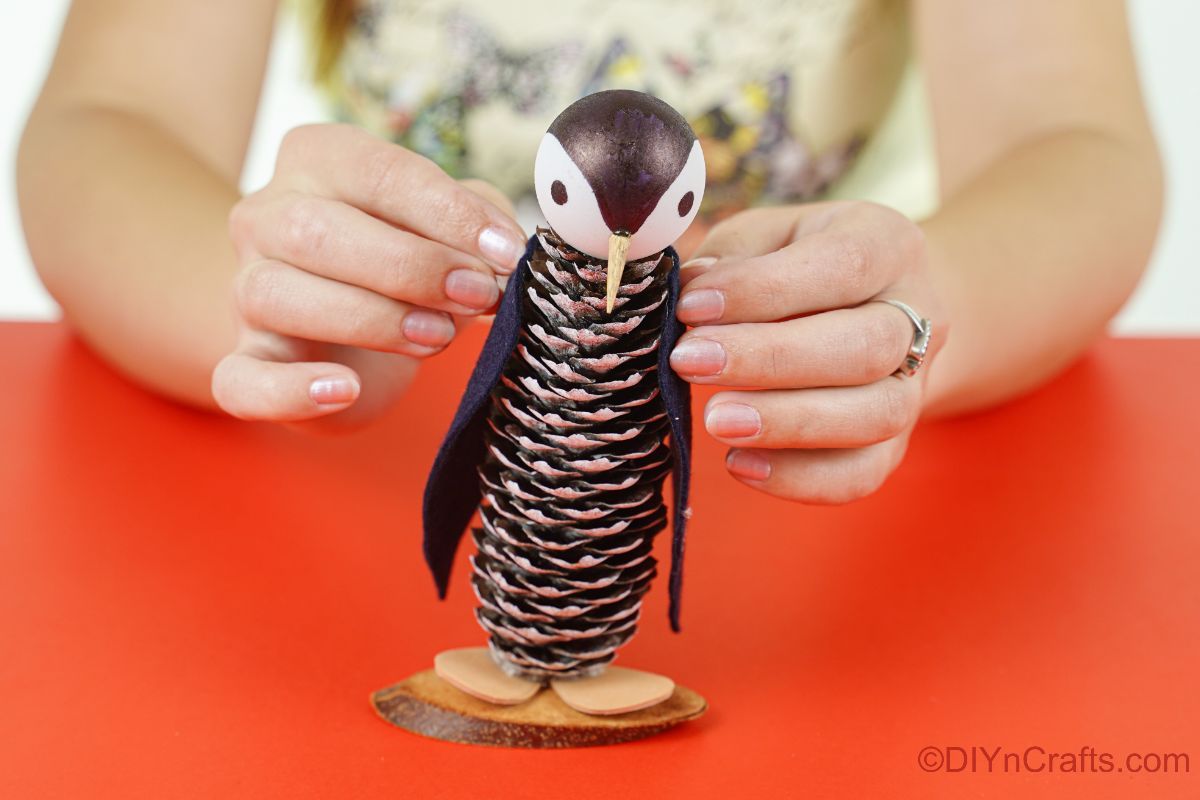
Cut out two wing shapes from a piece of black felt and glue one on each side of the penguin’s body.
More Penguin Craft Ideas
If you love penguins, then below are some great ideas that add more of them to your crafting project list. Make your own unique versions and add to your holiday decor or just have fun with the crafting. Bookmark these, print the tutorials, or pin them to your favorite crafting Pinterest boards.
Yield: 1
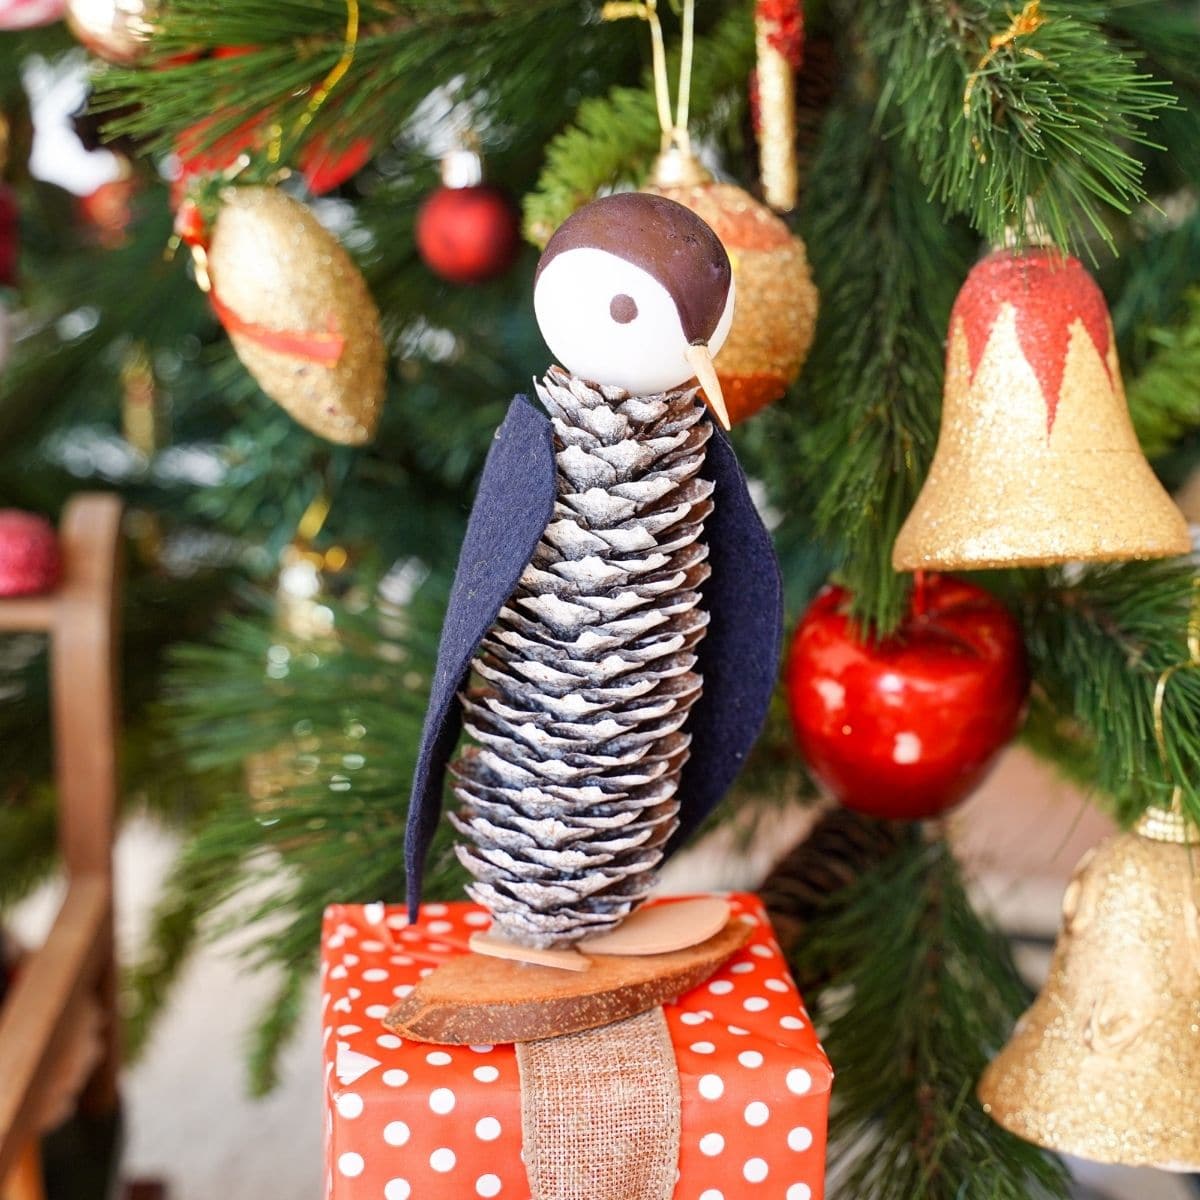
What a fun idea to make these rustic pinecone penguin kids’ crafts to add to your holiday decor! Simple nature-inspired project!
Active Time
20 minutes
Total Time
20 minutes
Difficulty
Easy
Estimated Cost
$0
Notes
Customize your penguin with a hat or scarf for a different look.
Recommended Products
As an Amazon Associate and member of other affiliate programs, I earn from qualifying purchases.
Finished Project Gallery
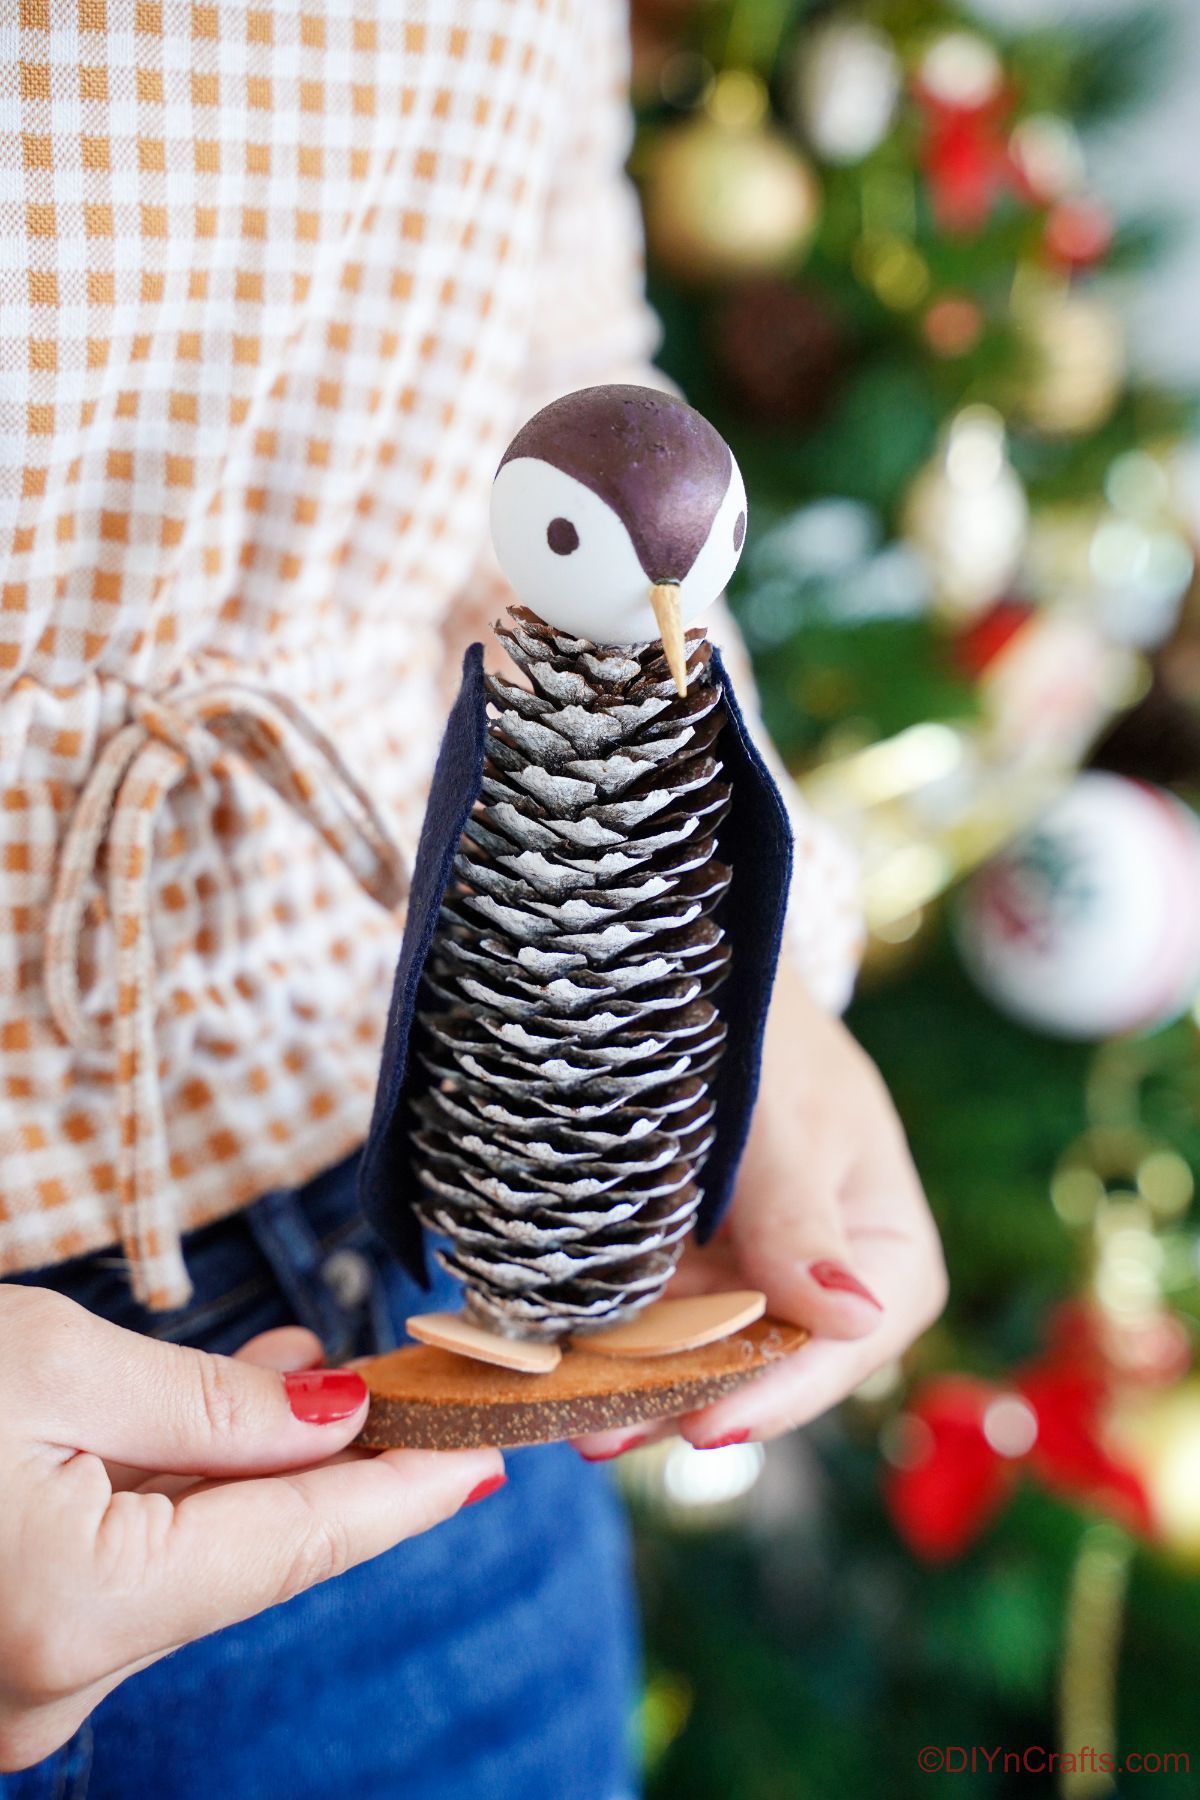
Add glitter to make your penguin sparkle.
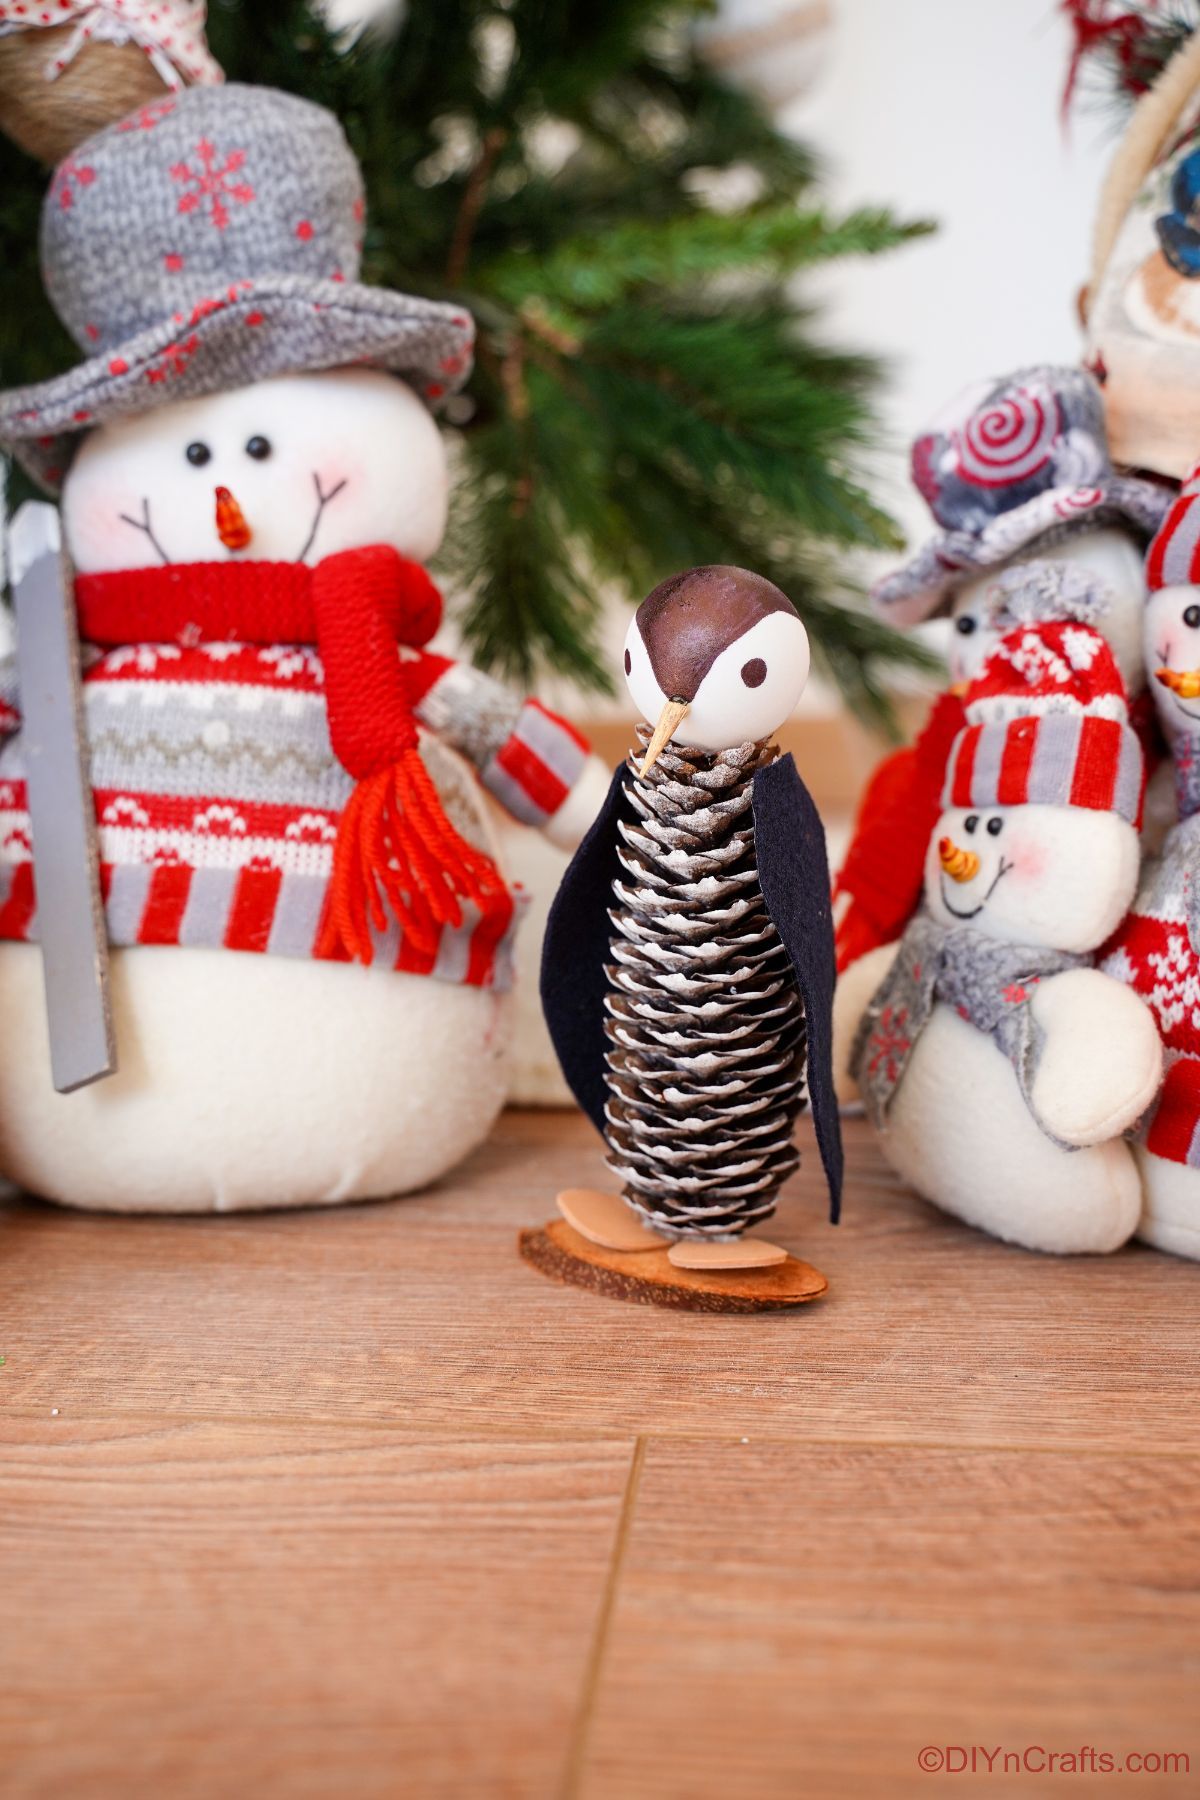
Use this as part of your winter village!
[ad_2]
Source link

