[ad_1]
Today is the third and final post where I”m showing the pictures I took on the day that we closed on our house, and comparing them to those same views today in February 2022. If you missed Part 1 and Part 2, you can find them here:
Today’s tour may not be quite as exciting because I’m focusing on the hallway bathroom, guest bedroom (which we’re using as our main bedroom right now), home gym, and master bathroom. Of those four rooms, only one is completely finished with no pending projects. The guest bedroom is finished for the most part, but there are two things that need attention. And then the home gym and master bathroom are both far from finished. But we’ll take a look anyway. So let’s get started!
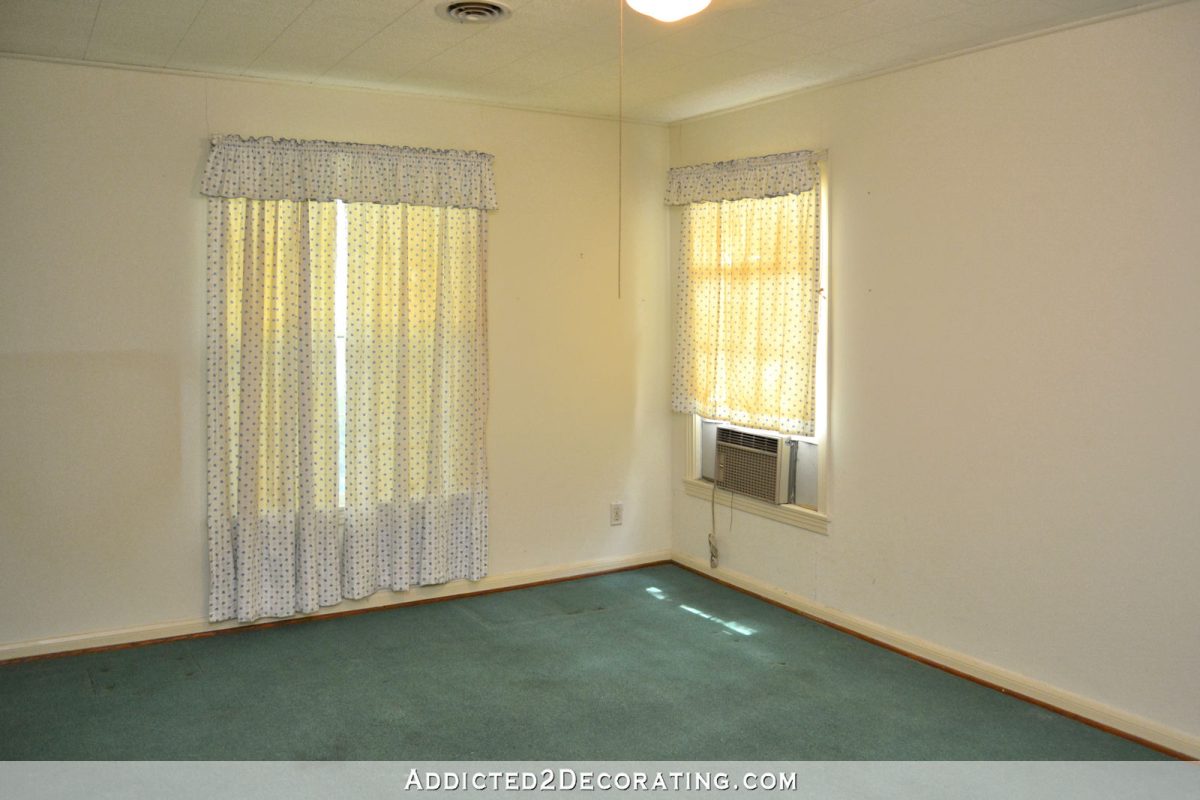
We’ll start with the guest bedroom. This was the original view of the guest bedroom from the hallway. There was a door leading to the front porch on the left, and a second window on the right. I had both of those closed up so that I could have enough room to build new closets for the room.

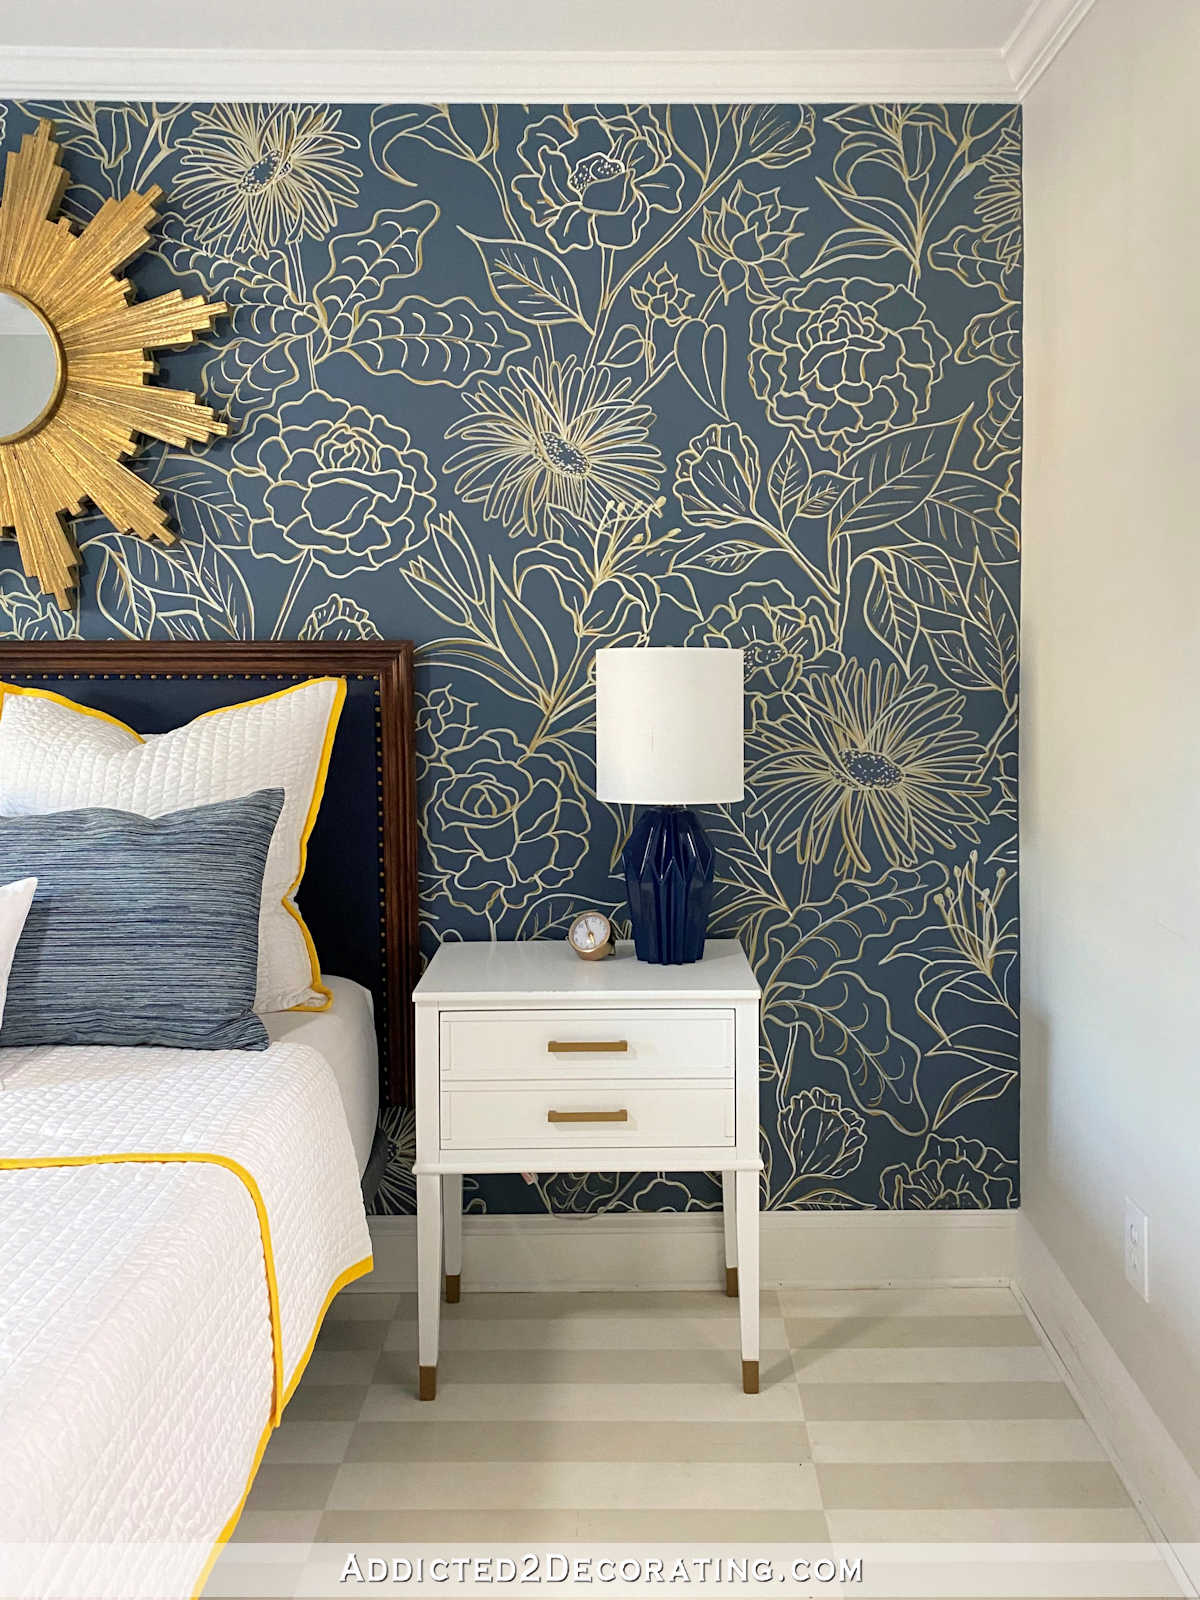
And here’s what that view looks like today.

That side window was on a part of the house that has stone on the exterior, so that wasn’t really a DIY project. I had to hire stonemasons to fill in the area with extra stone that I had on hand.
And while it was sad to lose that extra natural light in the room, it was worth hit to have the much-needed closet space.
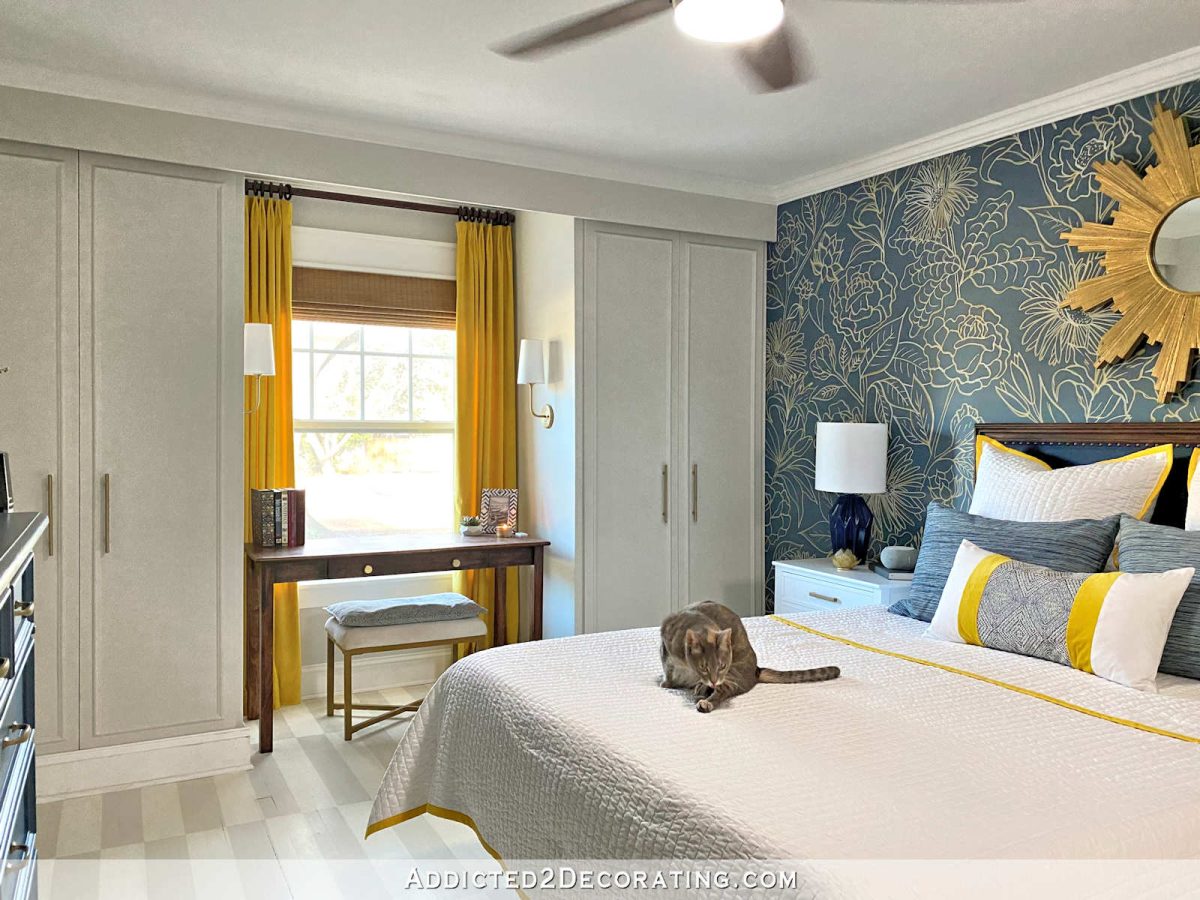
The original closet was tiny, and was located on the wall where the bed is now located.
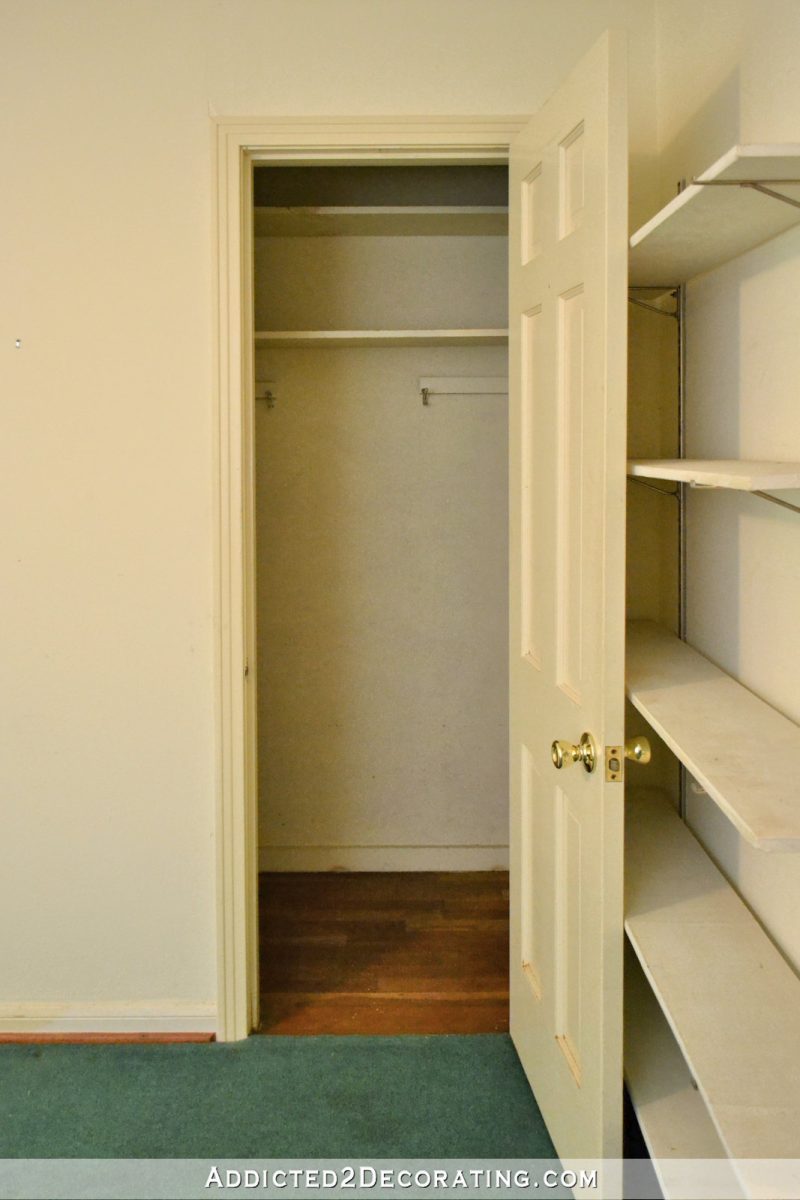
If that closet were still there, it would be to the right of the bed. But I had the doorway to the closet drywalled over, and then the closet space was opened into the home gym, which you’ll see further down in this post.
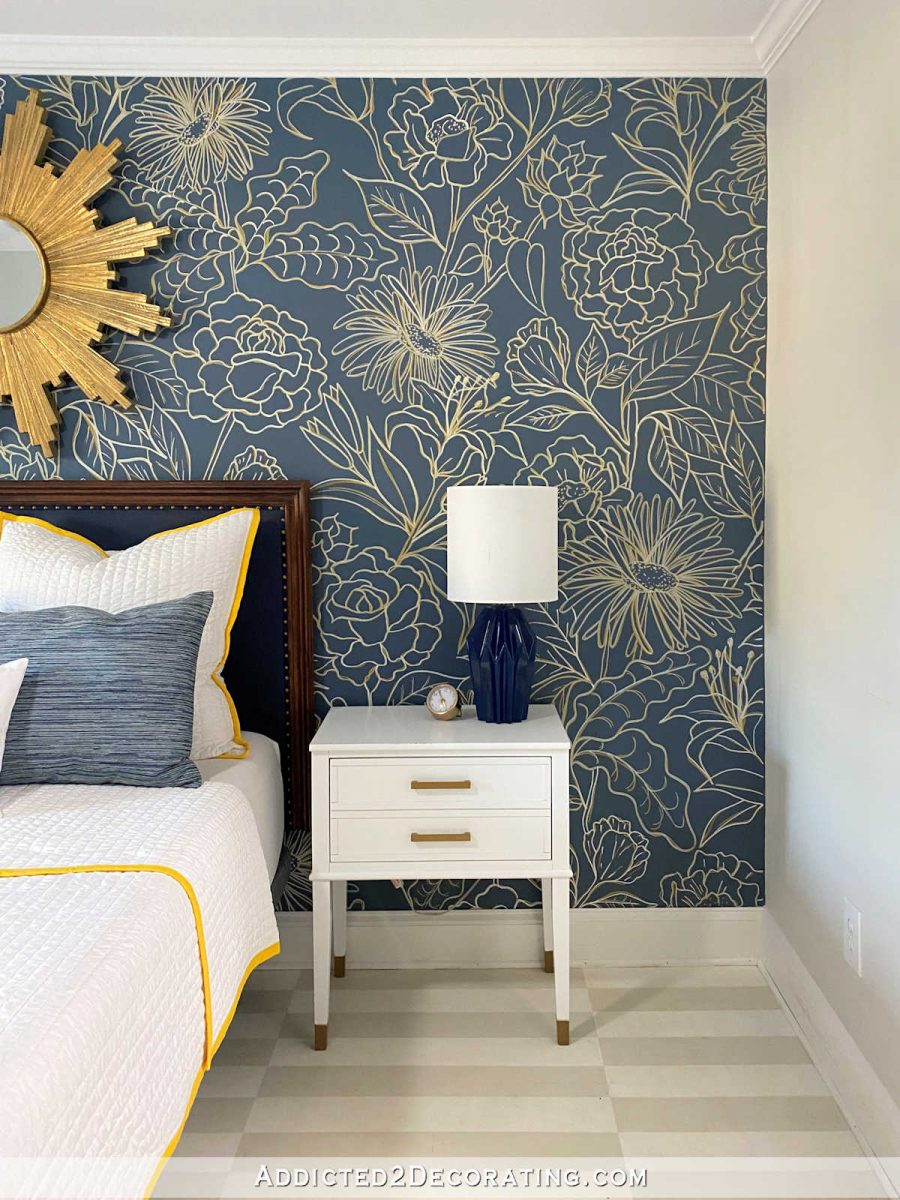
This is the view looking back towards the door into the room…almost. The door is just to the right of where this photo cuts off. The window showing is the one that was covered over to provide closet space.

And today, that looks like this…
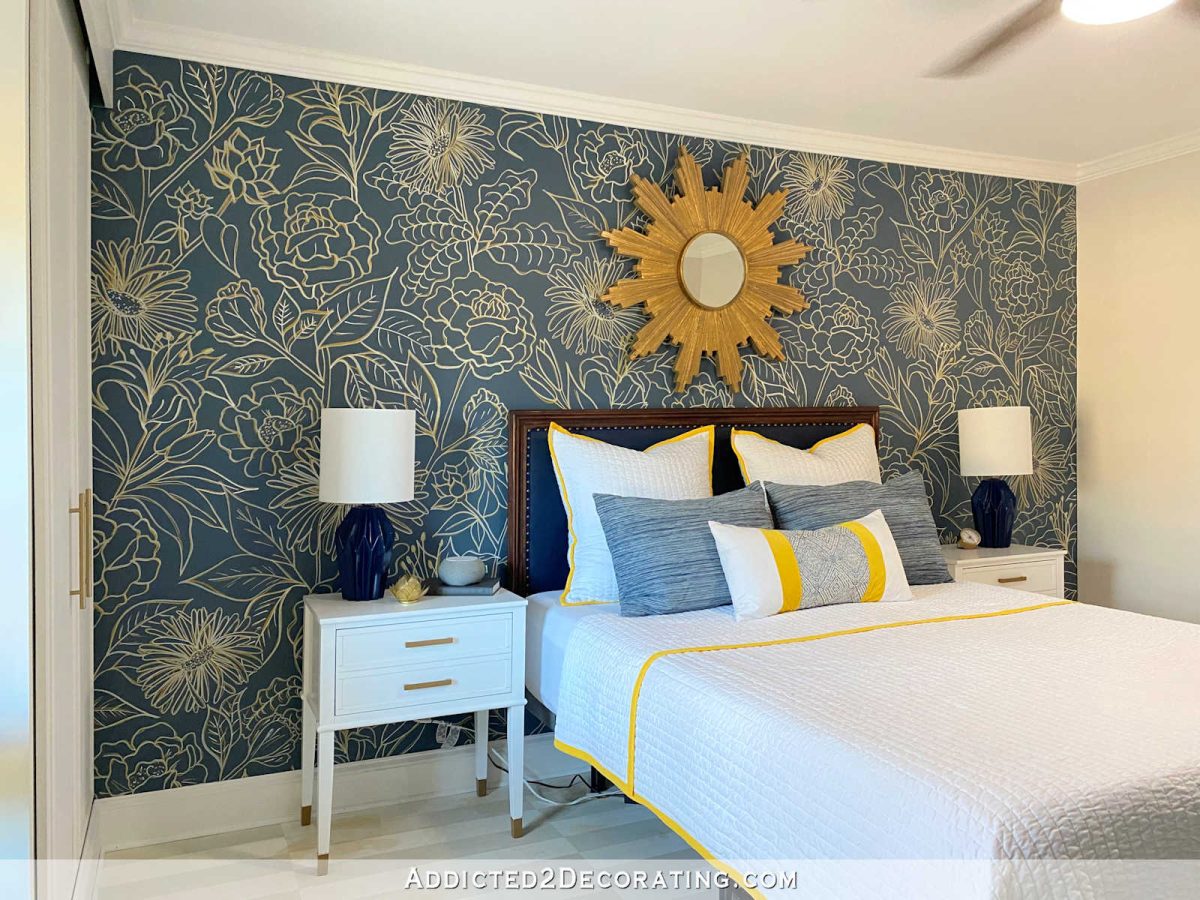
You can see in that photo above one of the projects that still needs to be done in this room. When we finally did move into this room (after using the breakfast room as a temporary bedroom while this room was under construction), we got rid of our old mattress and purchased an adjustable bed. Unfortunately, the new adjustable bed didn’t work with the old bed base (the stained wood base that matched the headboard). So now I have to figure out what I want to do. Add a bedskirt? Build a new bed base that fits the adjustable bed? I haven’t decided yet. So it’s left in this unfinished state that makes it look like the bed is floating. ?
And this is the wall directly opposite the one remaining window in the room. You can see the hallway and the hallway bathroom directly ahead.

And here’s that same view today. I had to laugh about the fact that only one of the bathroom doors is visible, so it looks like there’s only a single super narrow door on the bathroom. ?

To help you get your bearings, just on the other side of the wall to the right is the entryway and living room.
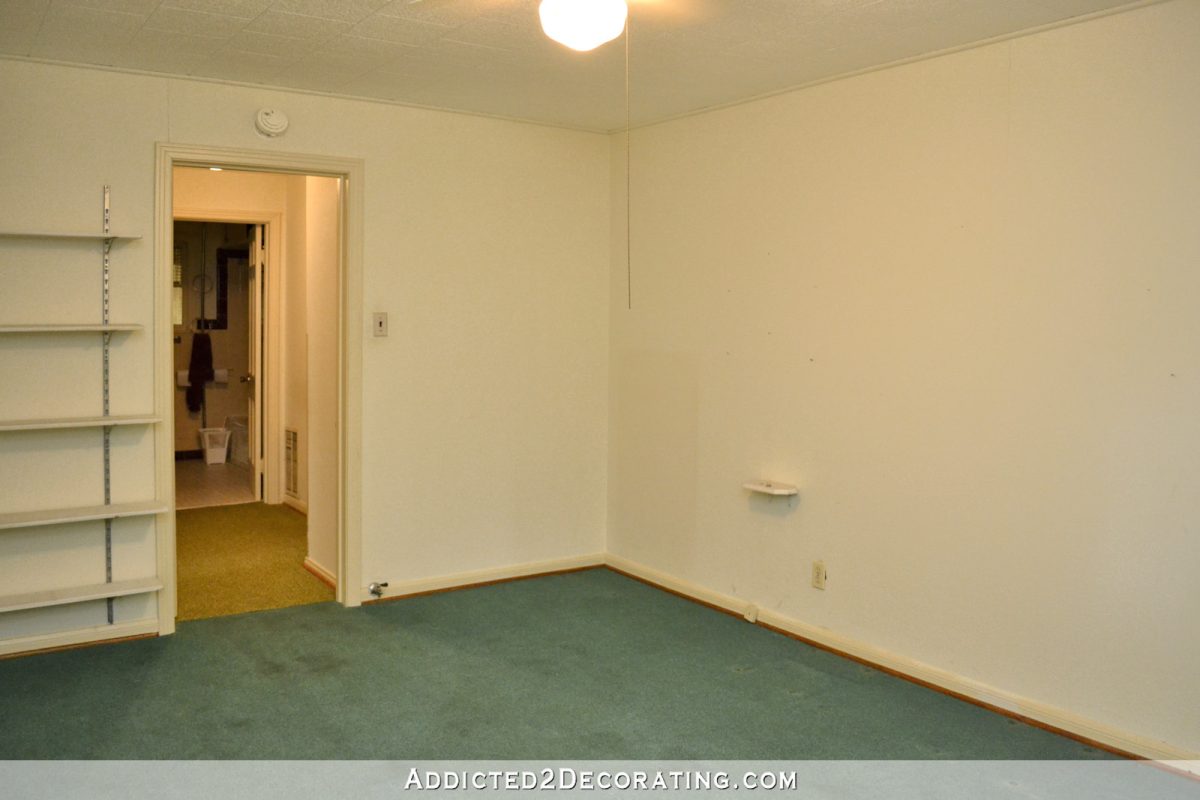
And today, that looks like this…
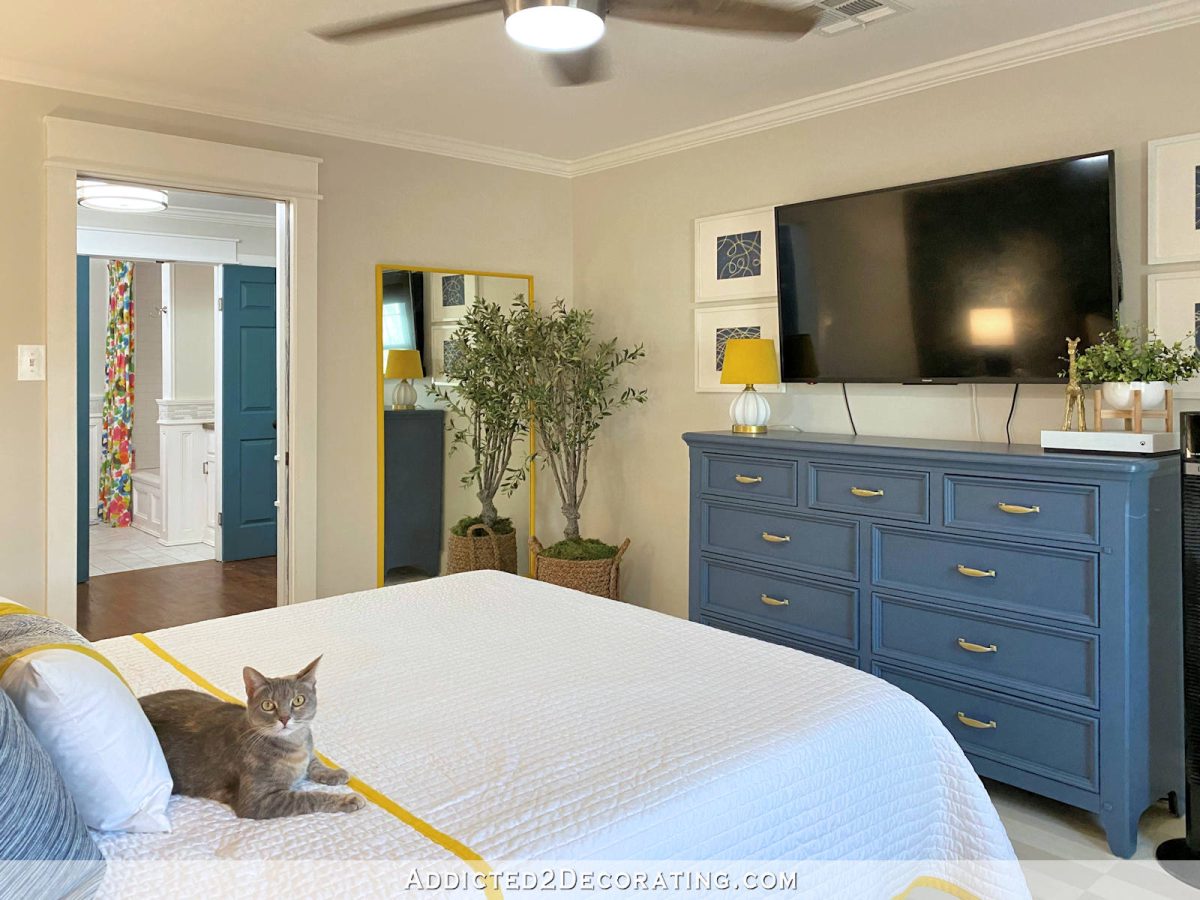
And you can see the second project that needs my attention on that wall. The TV that was originally in this room when I finished the room stopped working a couple of months back, so Matt took that opportunity to lobby for a larger TV. His efforts convinced me, but I only got the TV hung on the wall last week. I still haven’t dealt with the cords. I came *this close* to photoshopping out those cords, but you know what? This is real life. Things change. Our homes have to evolve. And projects don’t always get our immediate attention. So sometimes we have to live for a while with floating beds and exposed TV cords. And that’s okay. ::)
And now we’re back around to that exterior door that led to the front porch.
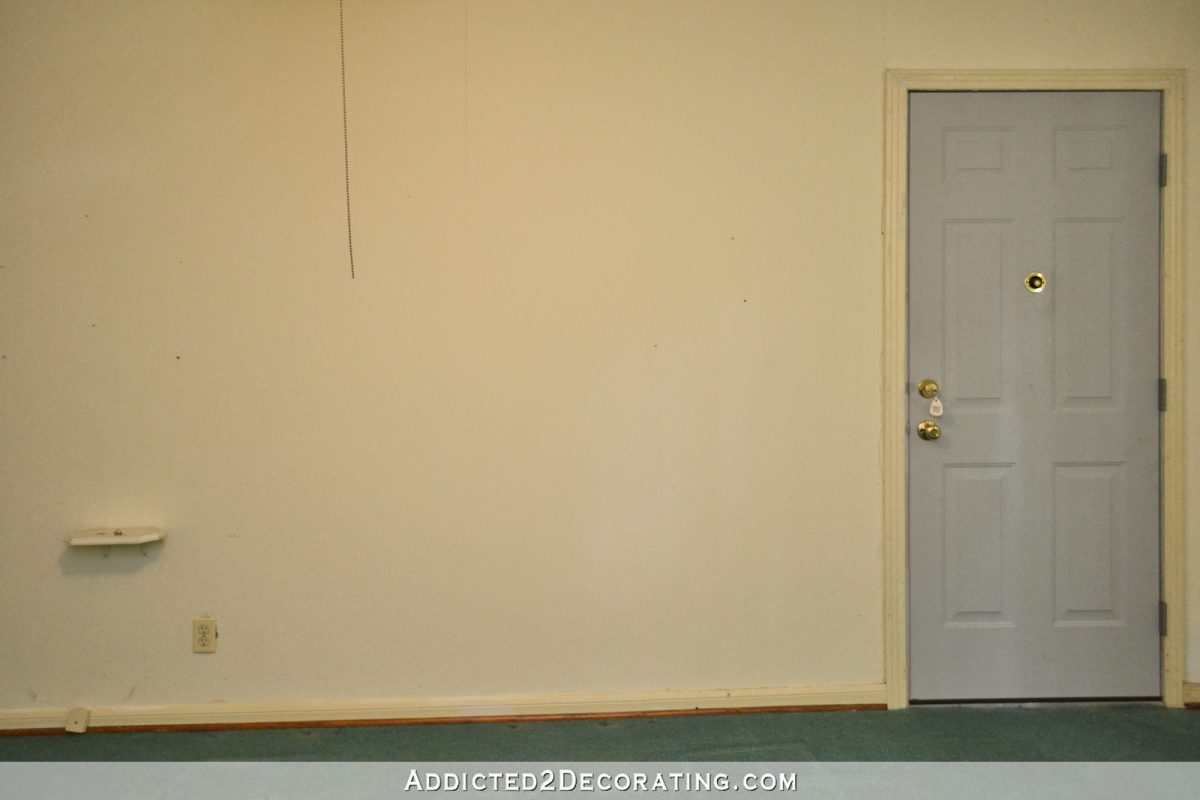
That’s gone today, and there’s a closet in that space.
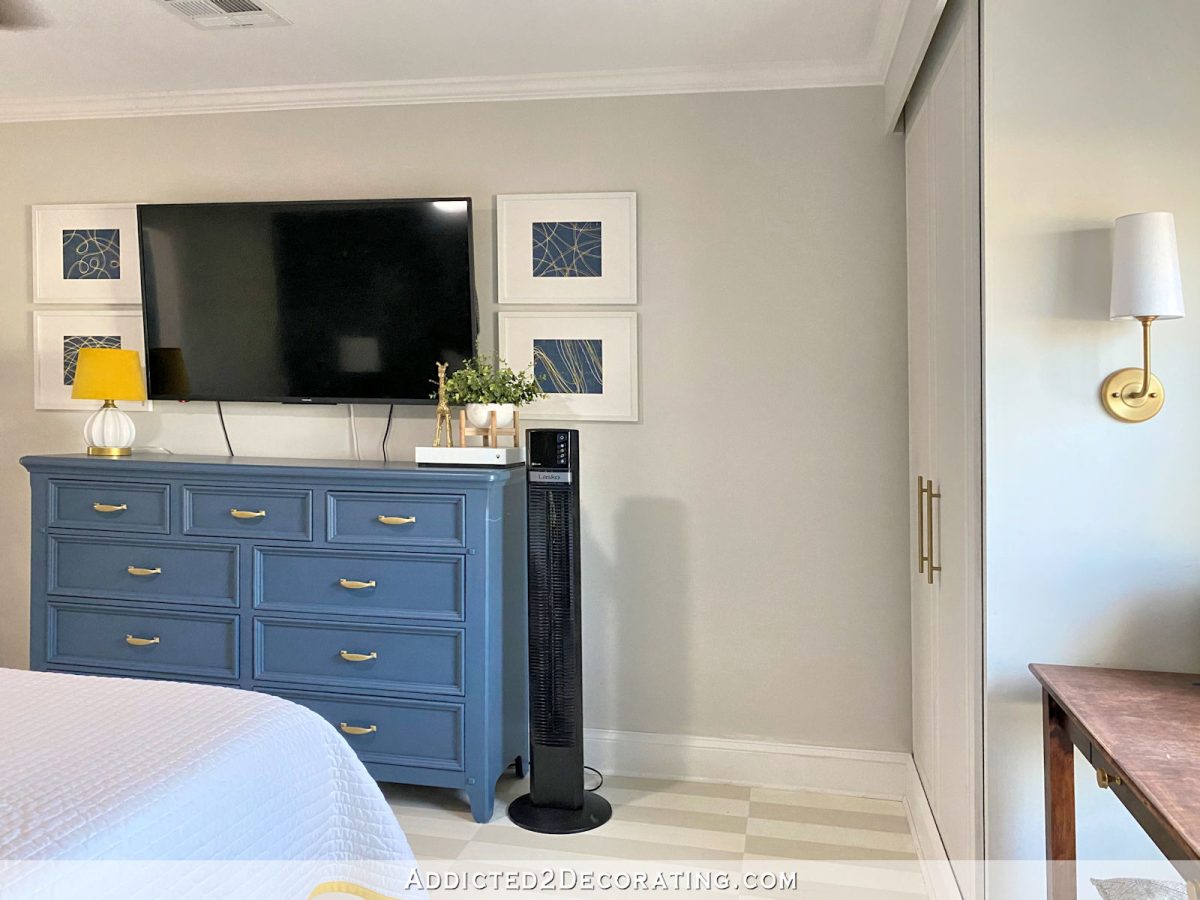
I would also like to do something a little more exciting on the TV wall in the future. That wall just seems so blah and unexciting to me. It needs…more. I’m not sure what, but it needs some spicing up. But that’s very low on the list of priorities right now.
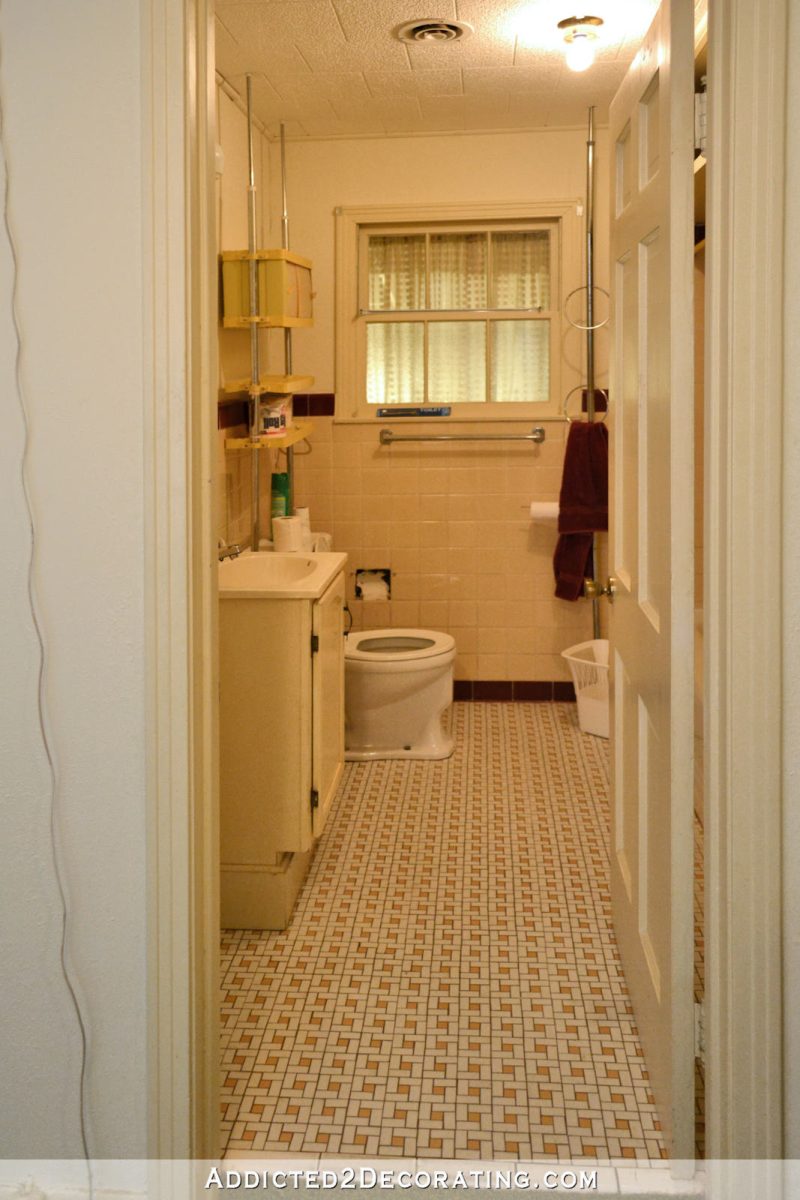
And now we can look at the hallway bathroom, which is just across the hallway from the guest bedroom. This was the original view from the hallway into the bathroom…
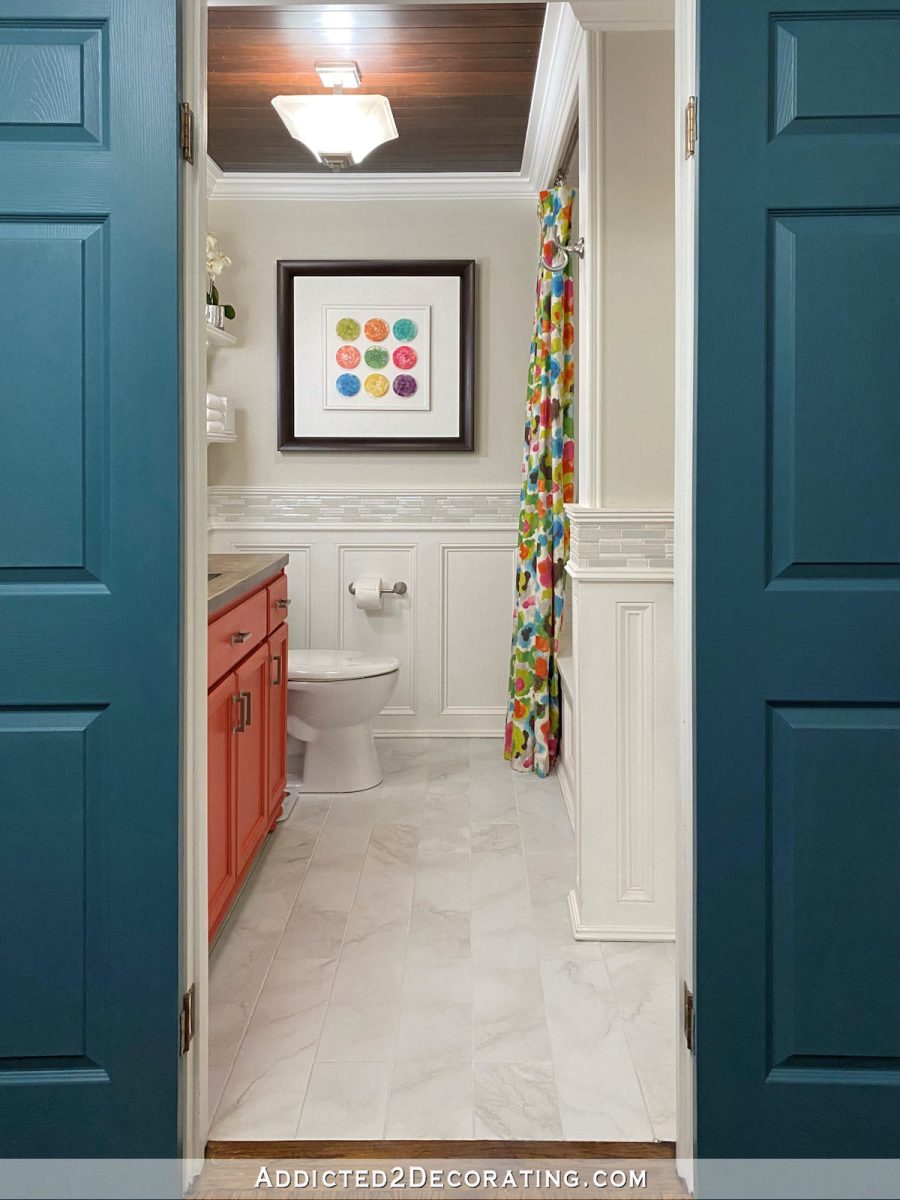
And today, that same view looks like this…
The original bathroom had a window in it, and at one time it was an exterior window. But by the time we got our hands on this house, a previous owner had added a huge sunroom onto the back of the house. So that rendered this window useless, as it just looked into another room of the house. (Just on the other side of that wall with the window is where our washer and dryer sit.)
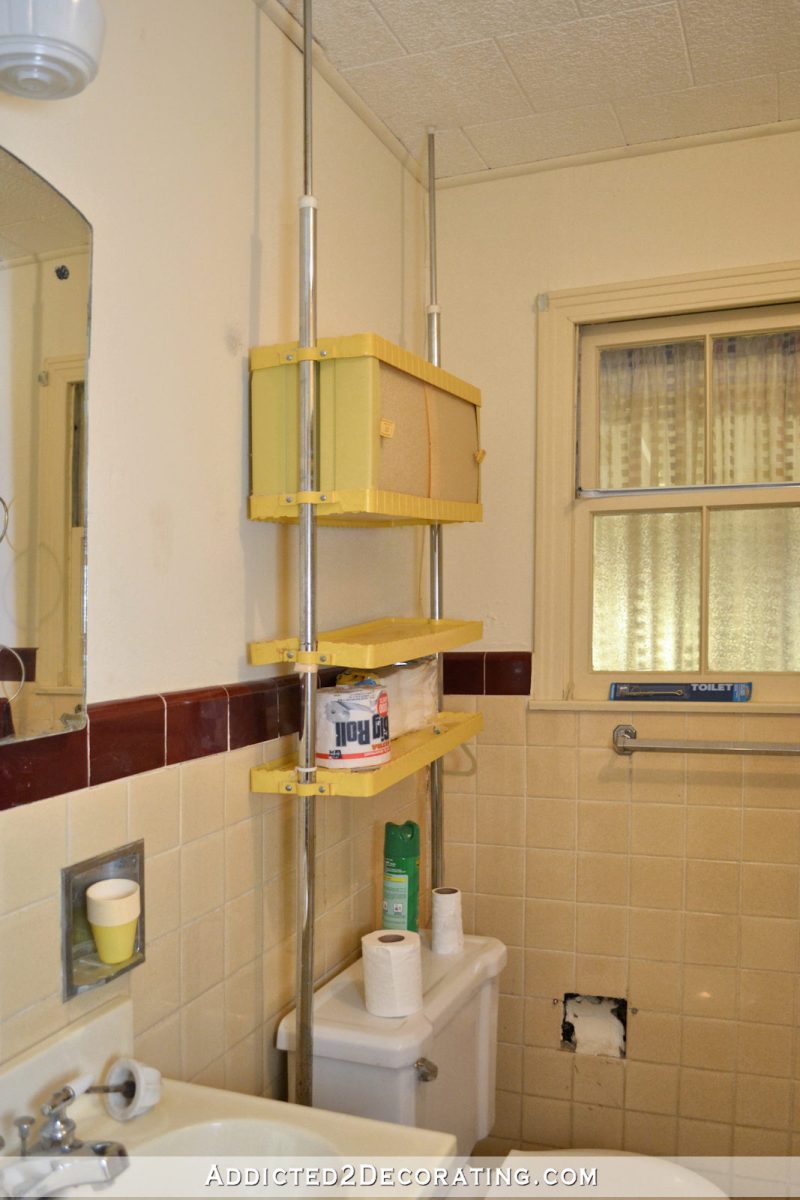
So I removed the window and drywalled over it. I do miss the natural light from the sunroom, but with our future plans, having a window right there wouldn’t make any sense. It would eventually look into a hallway that leads to our future master bedroom.
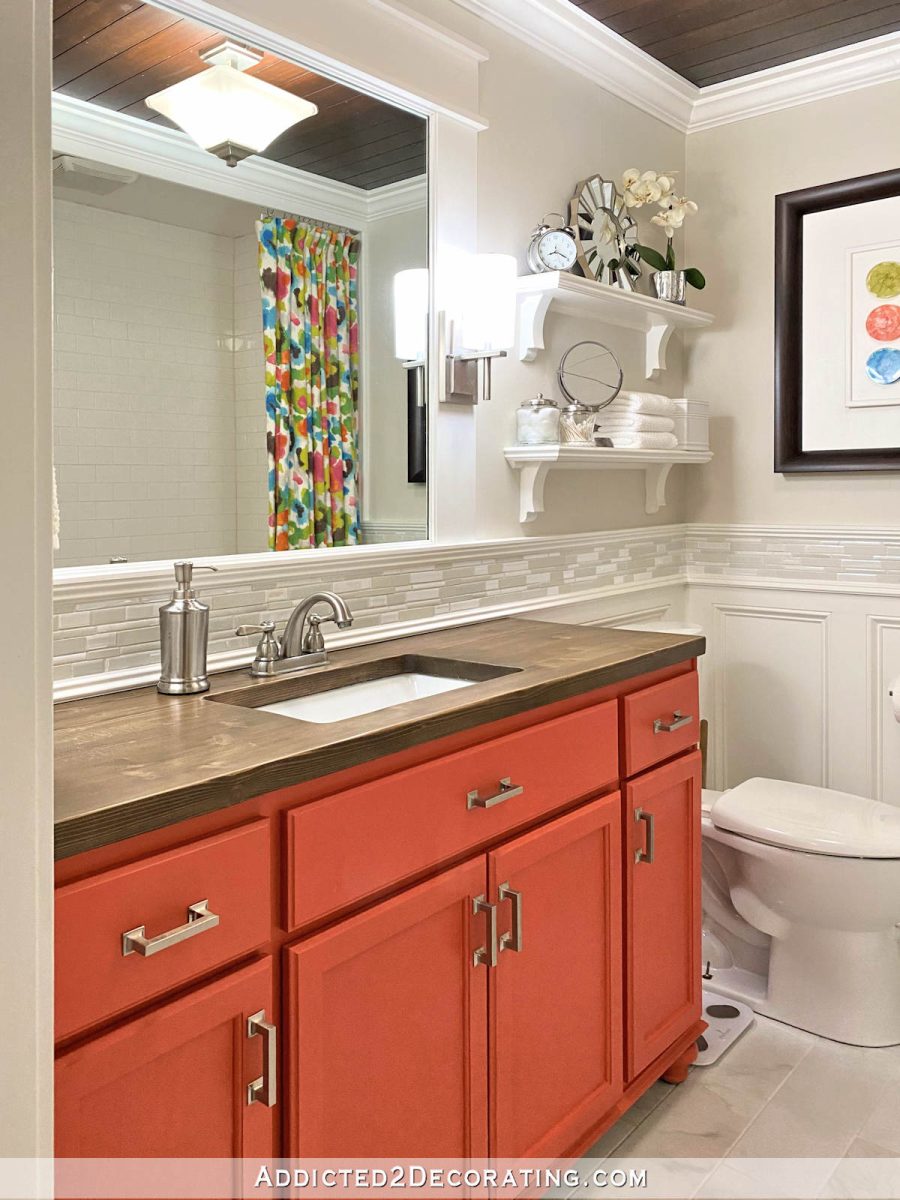
The original bathroom had an incredibly tiny vanity with a light above it that was operated with a pull chain. I couldn’t even reach the pull chain. ?

The new setup, with a much larger vanity and light that turn off and on using a switch that’s well within my reach, works much better for me. ?
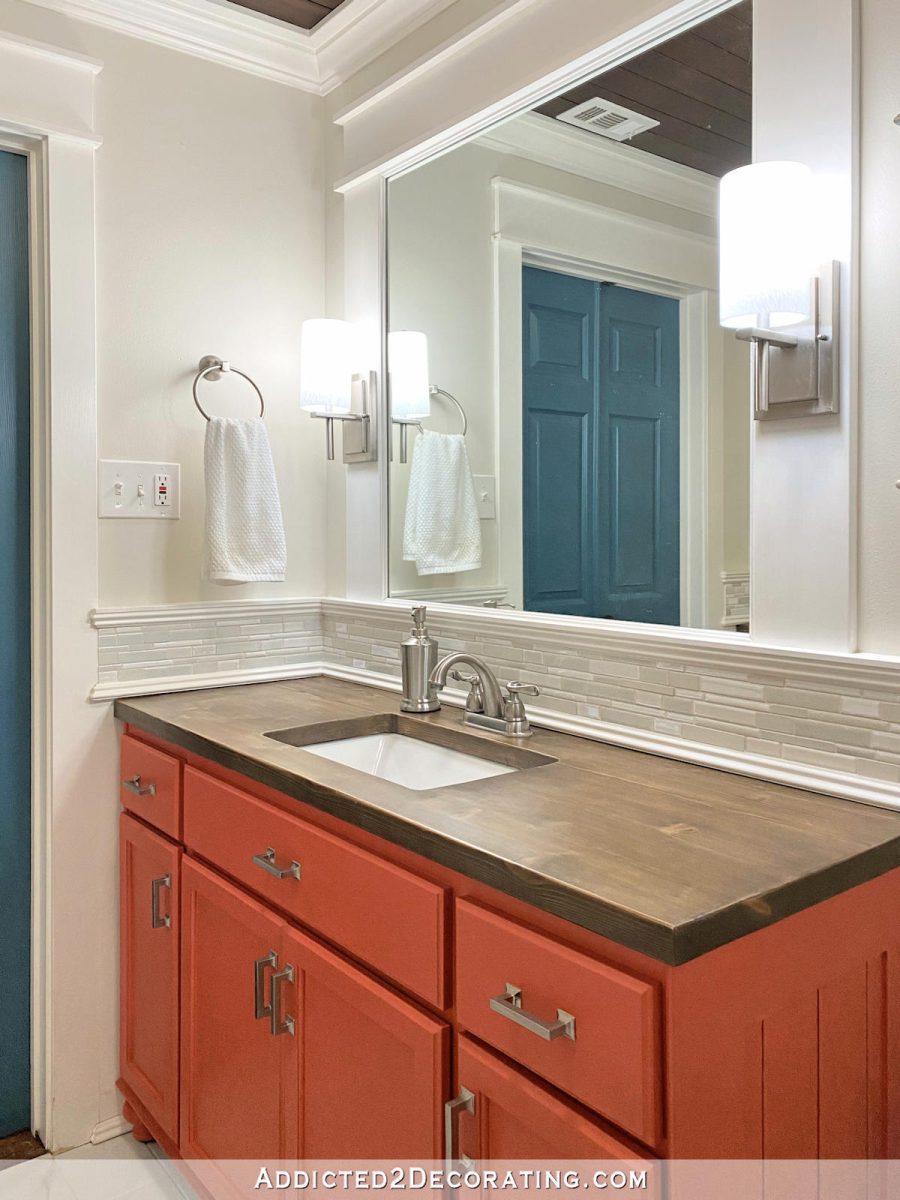
Here’s a full view of that tiny vanity.
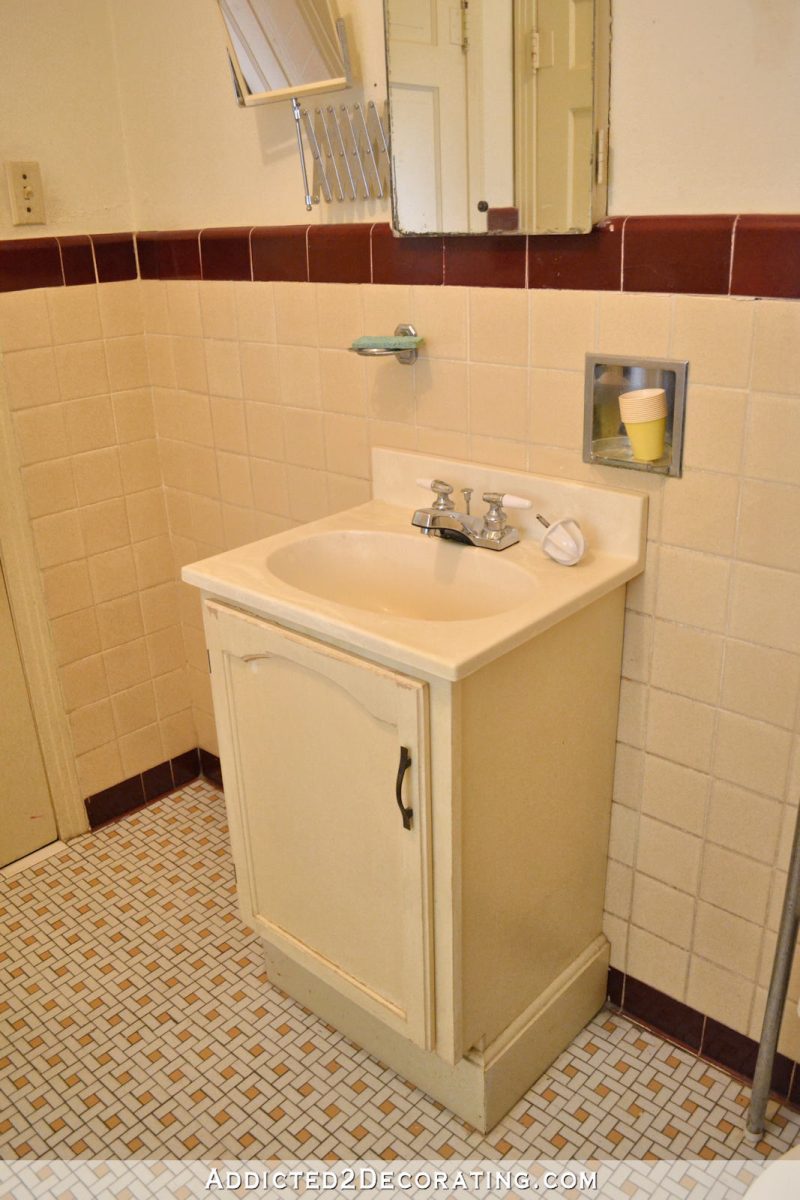
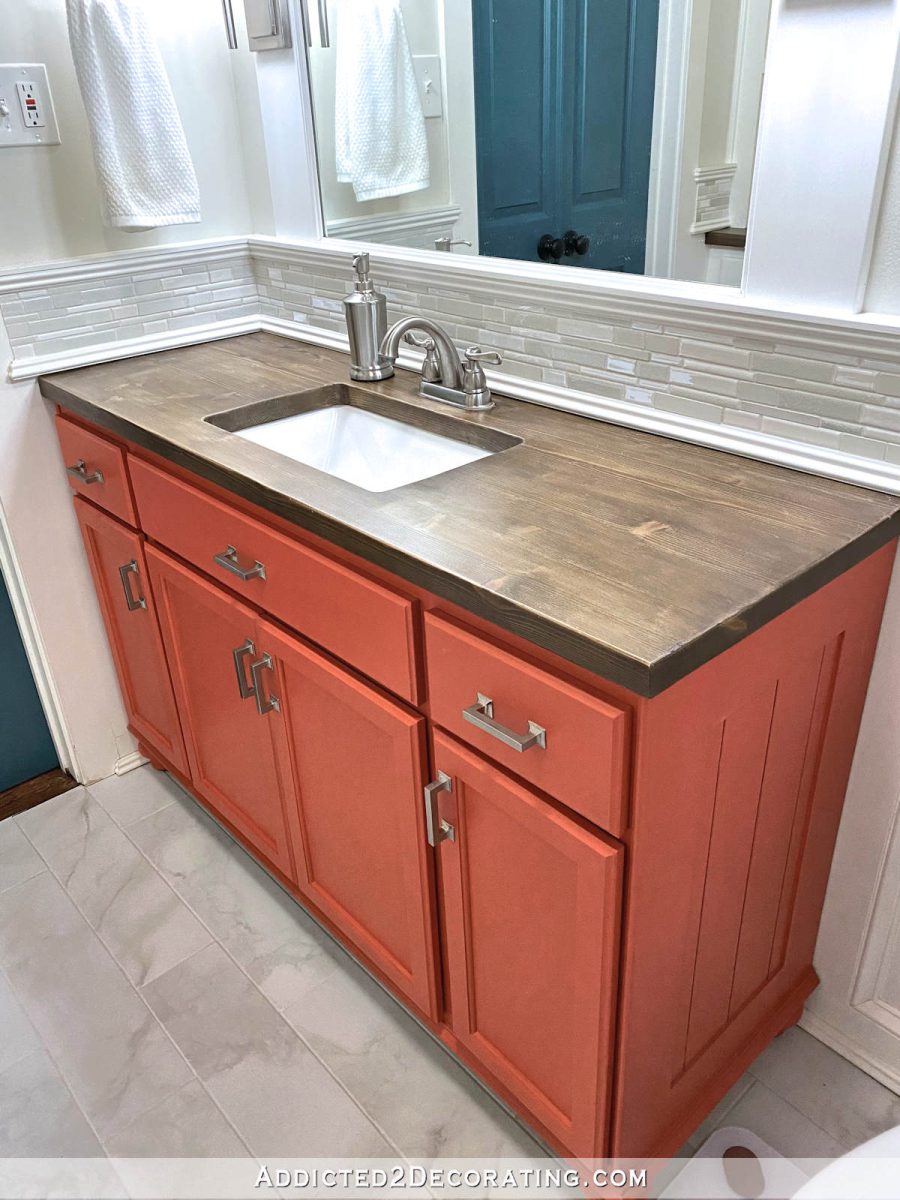
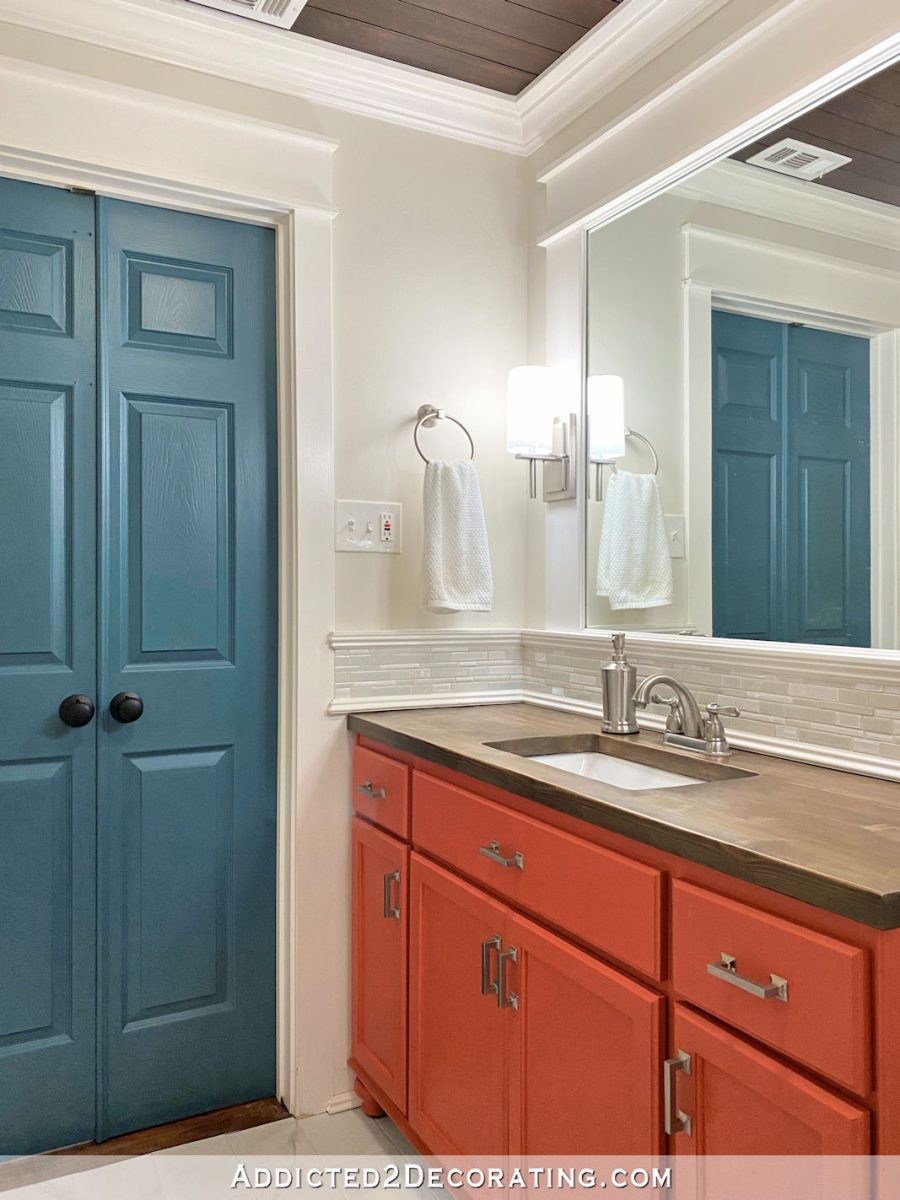
And here’s the much larger one that I built using unfinished stock cabinets from Home Depot.
The bathroom had a linen closet that I found very hard to access. The main bathroom door opened into the tiny room, and if the door was open, it hid the linen closet. So you had to come into the bathroom, close the door, and then open the door to the linen closet to access anything stored in there.
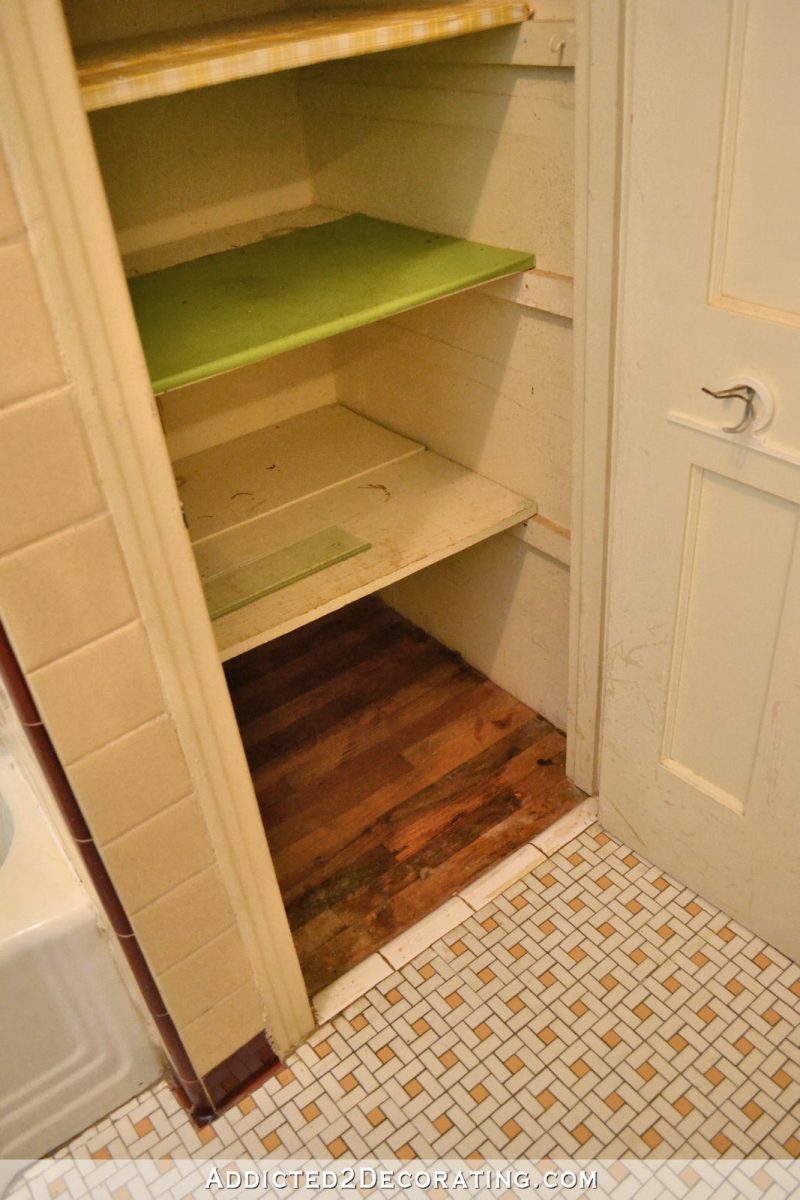
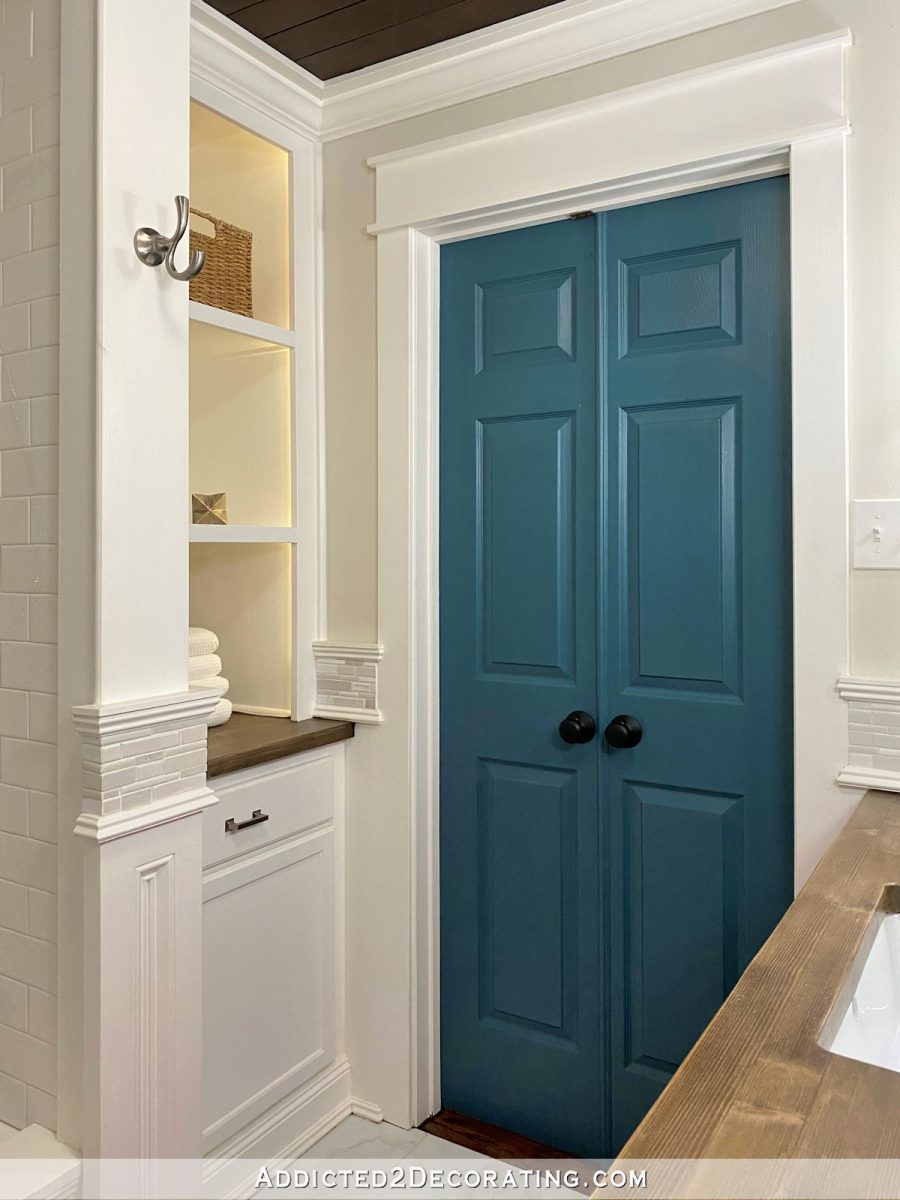
Not only did I widen the doorway and add double doors that swing out into the hallway, but I also replaced the linen closet with a lower cabinet on bottom and open shelves on the top.
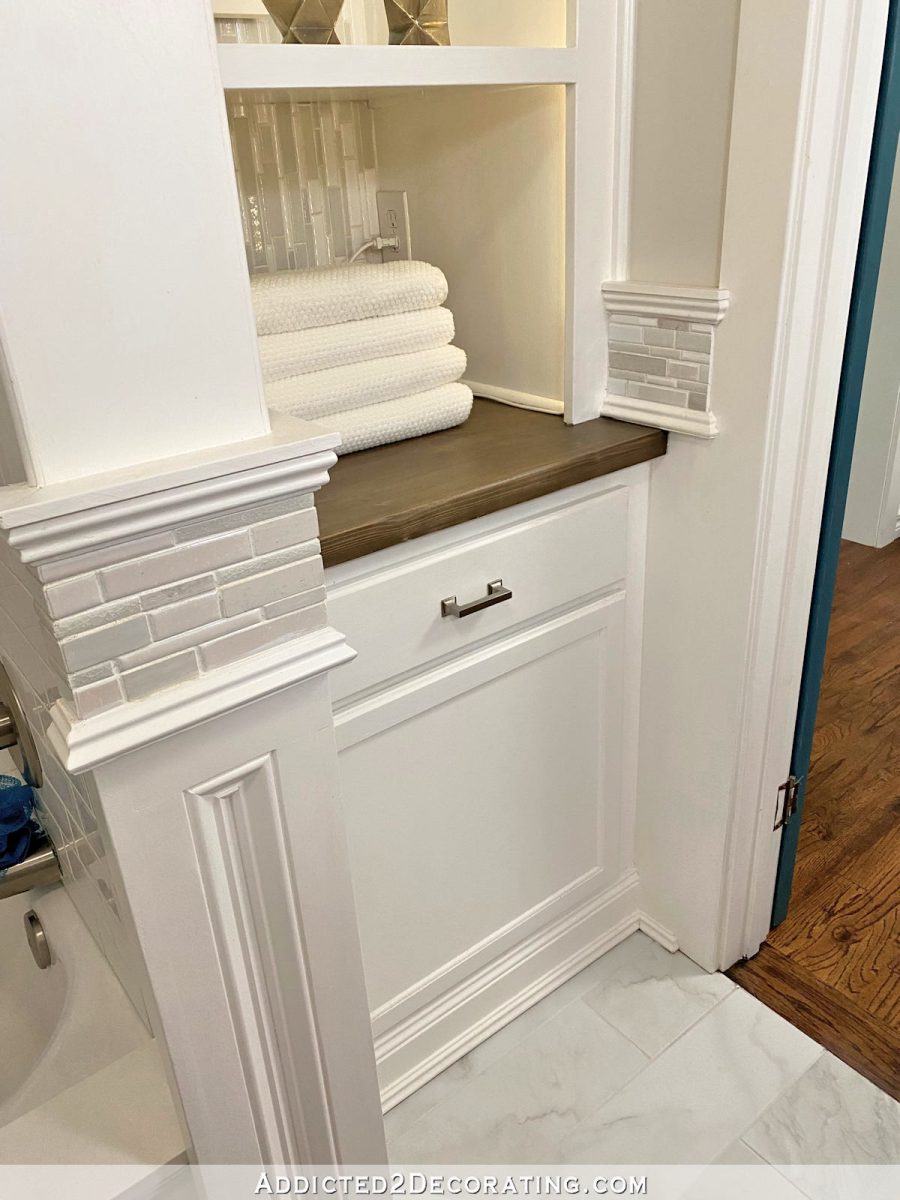
Here’s another view of the previous linen closet placement. You can see the bathroom door just to the right.

And today, it’s nice and open. And everything is still fully accessible even when the bathroom doors are open since they swing out into the hallway.
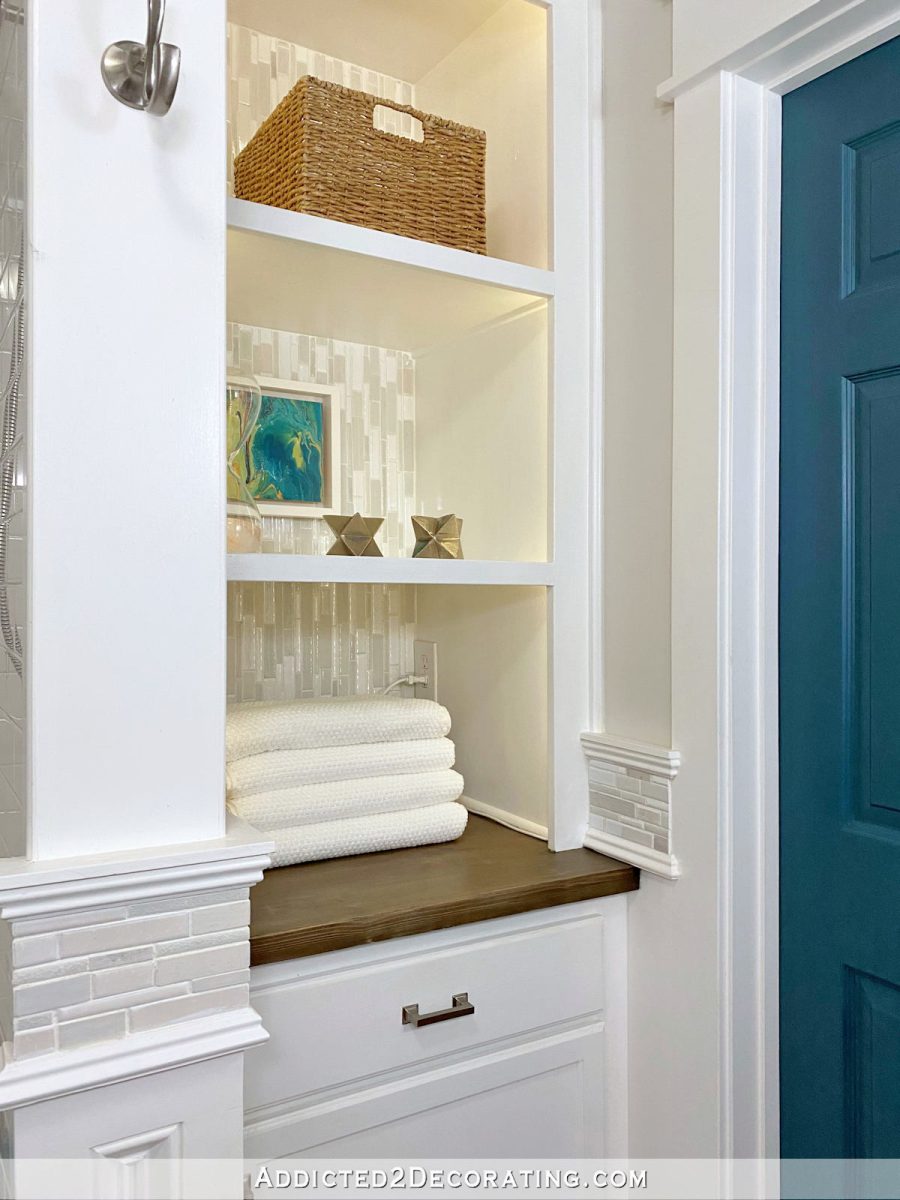
And then here’s a view of the linen closet on the left and the bathroom door on the right. Again, that original bathroom door swung into the bathroom. It made the room feel tiny.

And here’s that same area today with the more accessible storage and the double doors that open out into the hallway.
And then we’ve come back around to the other side of the door with the vanity. There was originally a wall furnace to the left of the vanity.
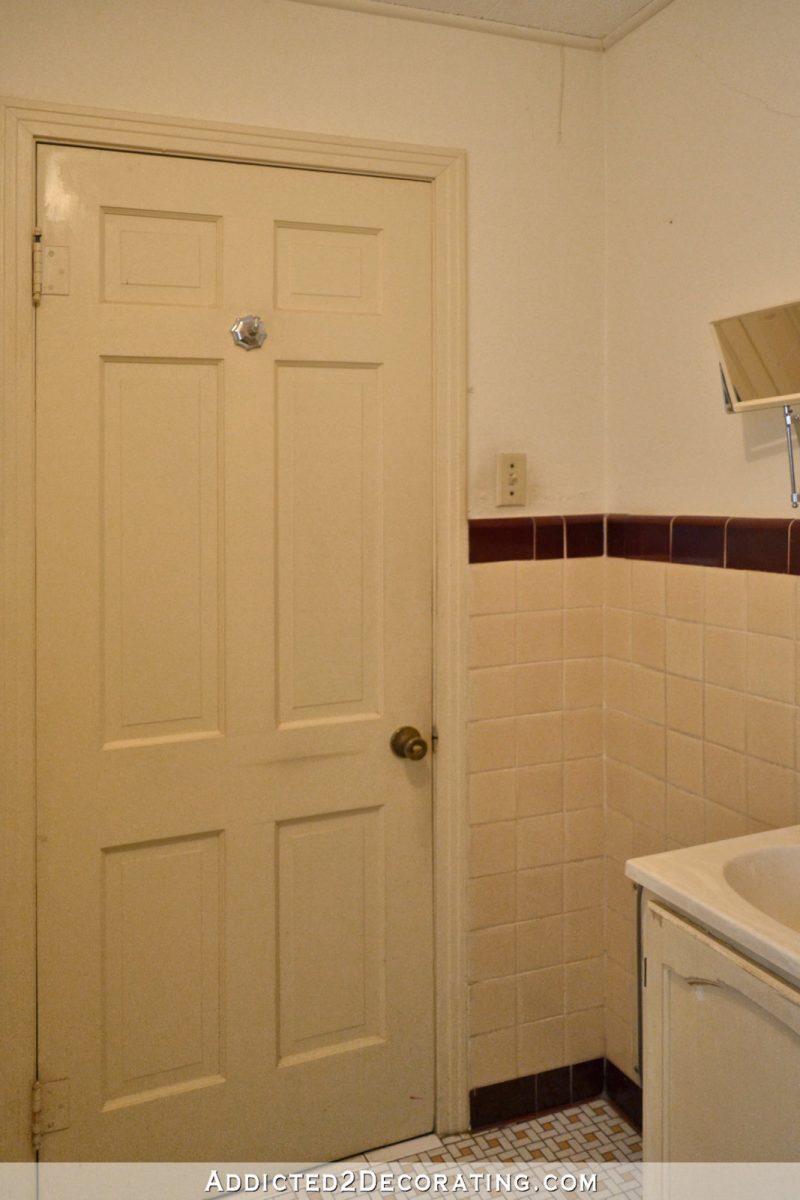
I removed that to have more space for the vanity.
Now let’s move on to the home gym. This is where things get a little less exciting since these next two rooms aren’t even finished yet. But let’s take a look at the progress so far.
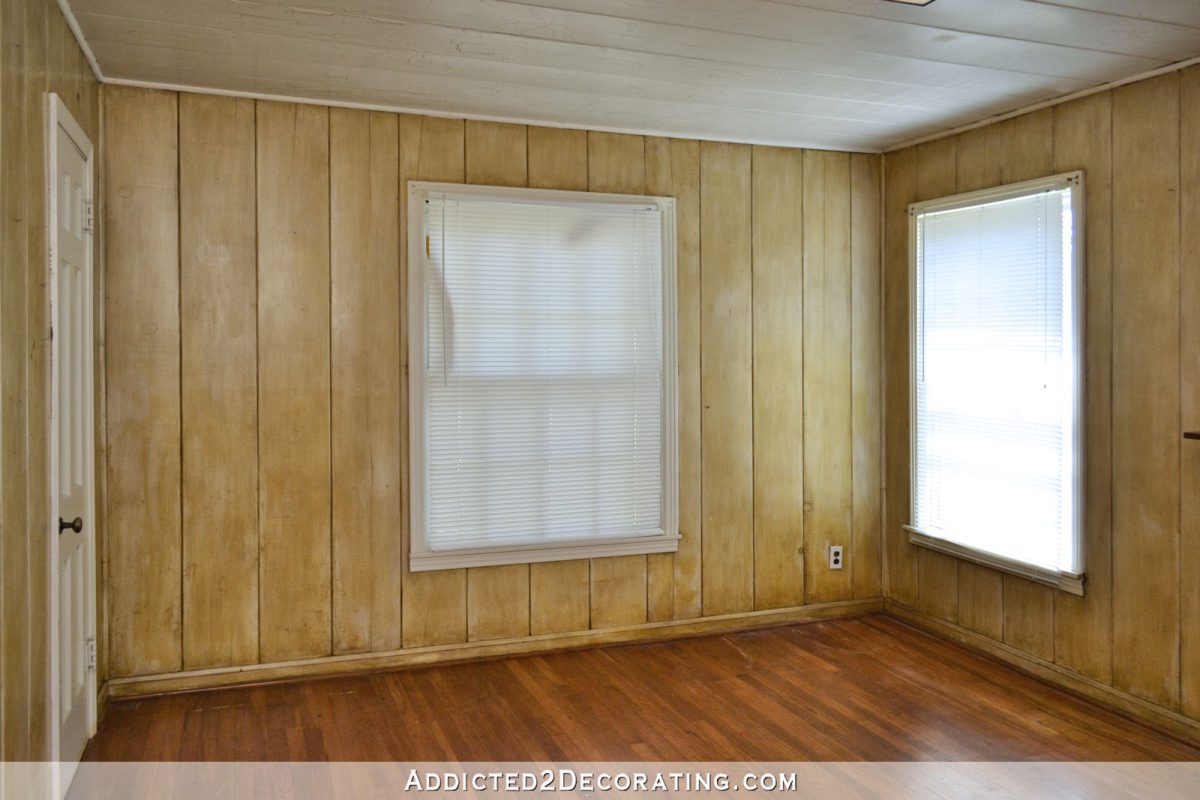
The original room was covered in wood shiplap (the real stuff) — the walls, the ceiling.
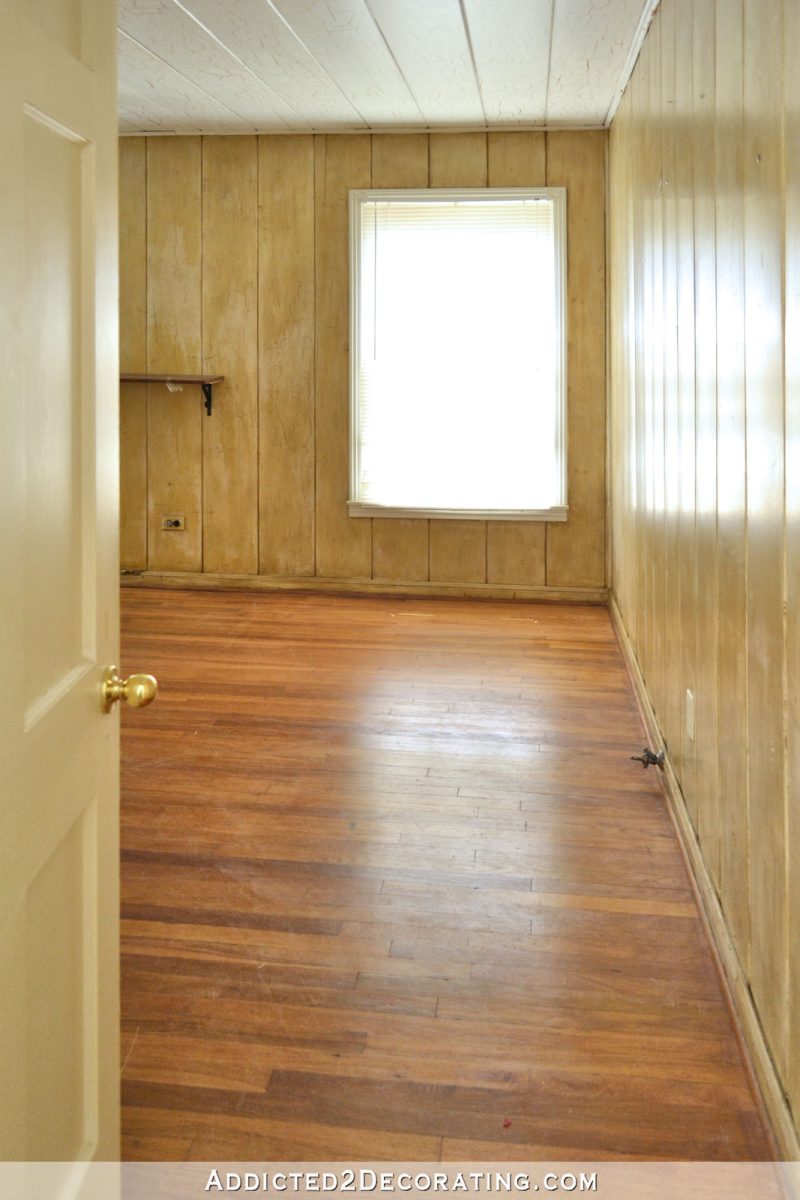
I’m not really a shiplap kind of person, so I had all of that removed and the room drywalled. And if you look at the floor in this picture below, you can also see how much this “entry” into the room was lengthened when the wall of the hallway was moved (making the hallway smaller) in order to square up the room next door (the new master bathroom). All of that unfinished flooring is new, so this area was extended probably 3.5 to 4 feet.

We kept all of the windows in this room just as they were. I mean, we have new windows now, but they’re the same size, same placement as before. So none of that changed.

And this room is the absolute brightest of all of our rooms. That corner of the room on the left faces north, and this room lights up like the surface of the sun in the mornings. I’m always tricked into thinking I’ve left lights on in here, which is funny because this room has no lights at the moment. ?
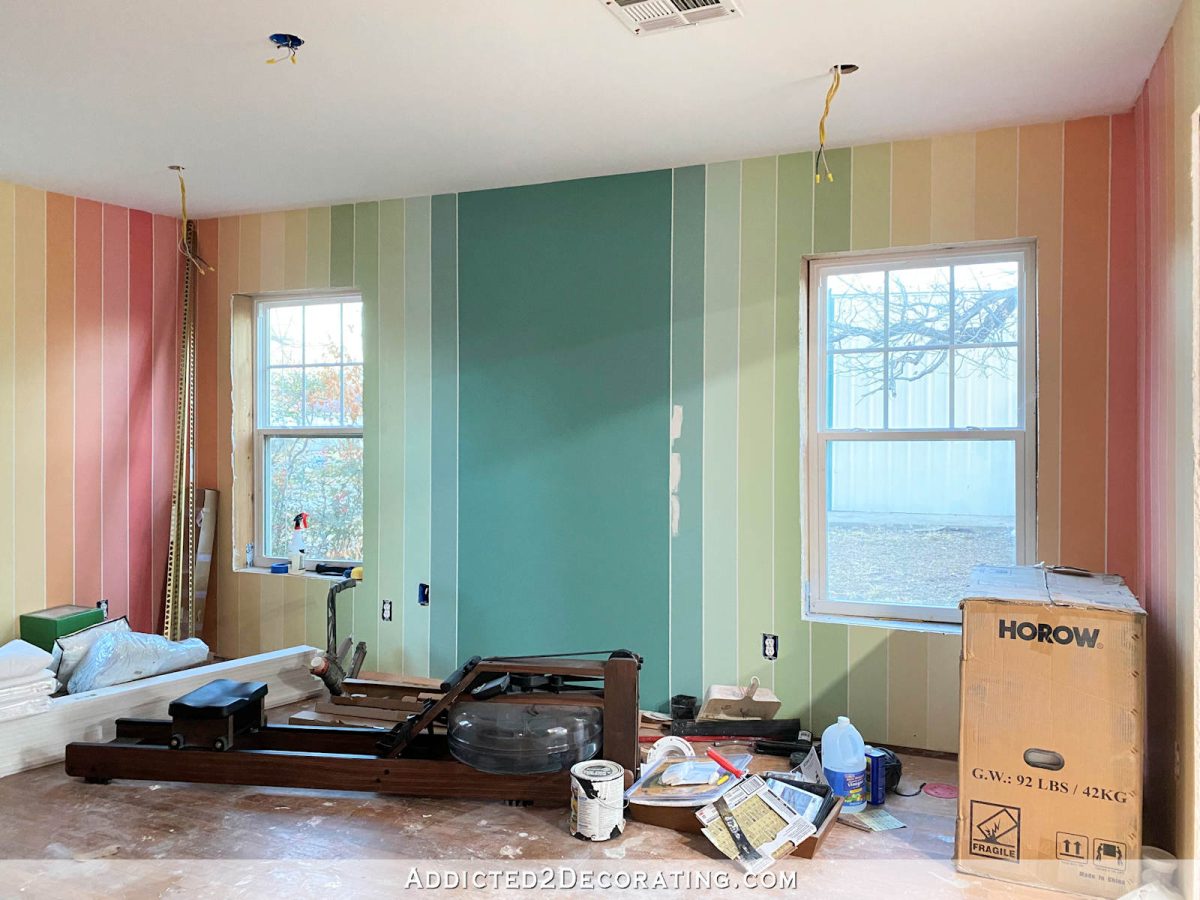
This big window on the left is on the front of the house (just to help you get your bearings again).
And it looks like this today…
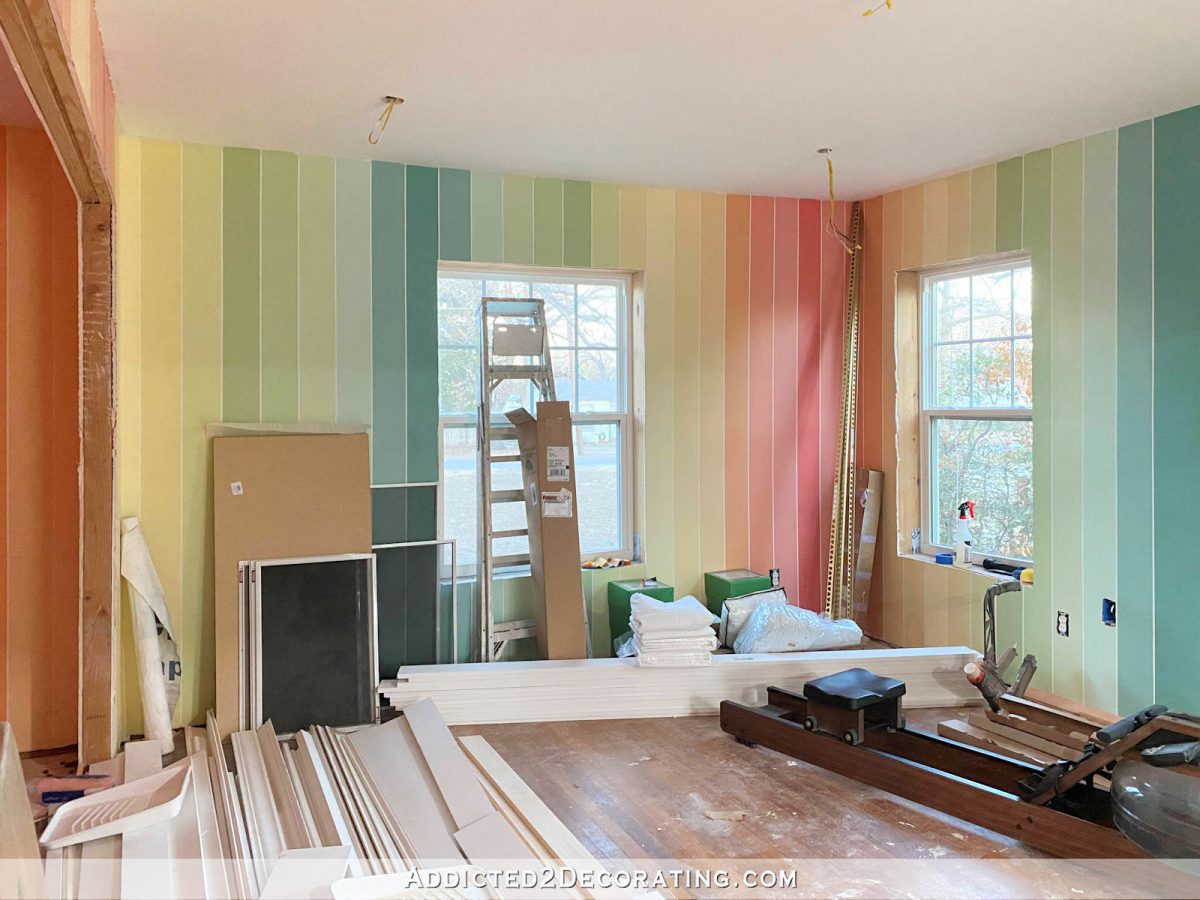
Here’s the straight-on view of that front window. You can see the small closet door on the left.

And today, that closet area has been opened up completely.
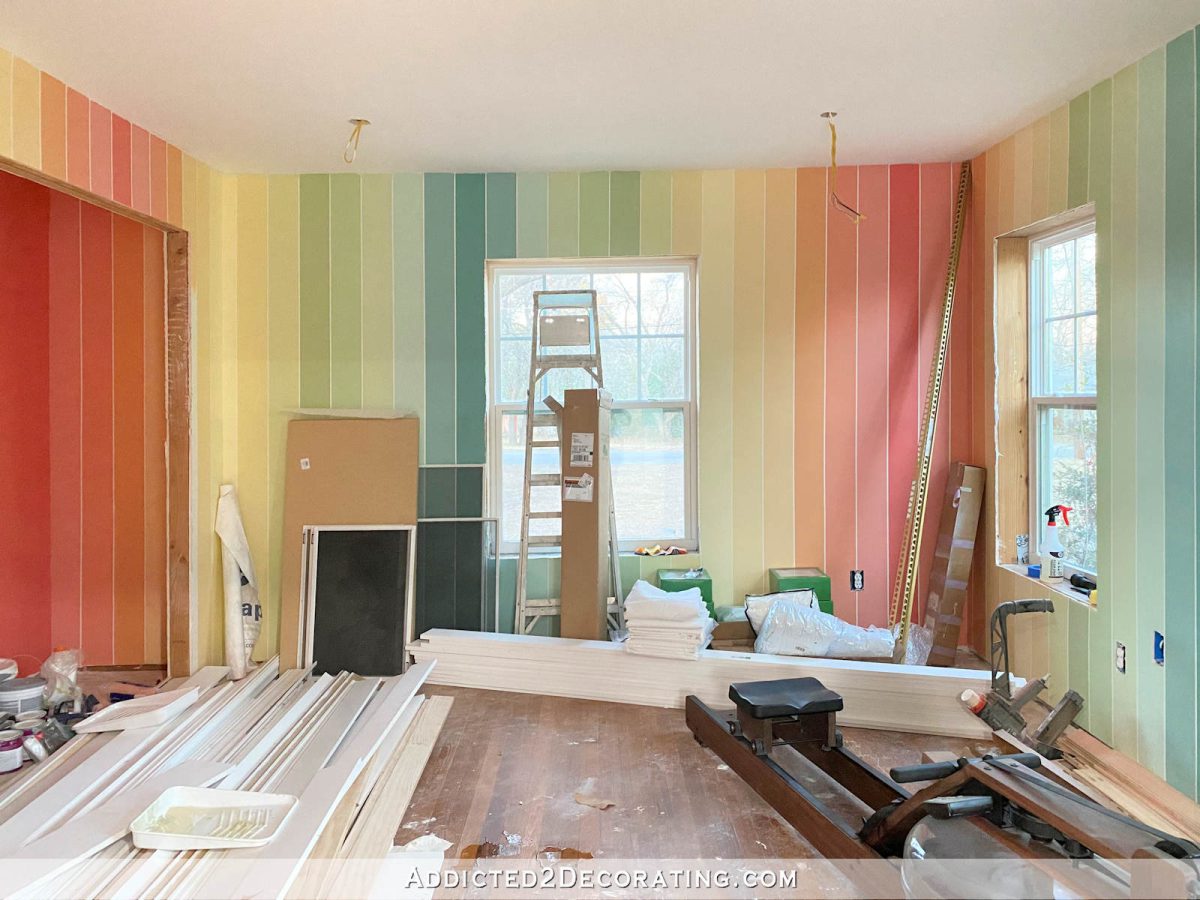
The wall where you see the closet door below was divided into two closets — one closet for the guest bedroom, and the other closet for this room.
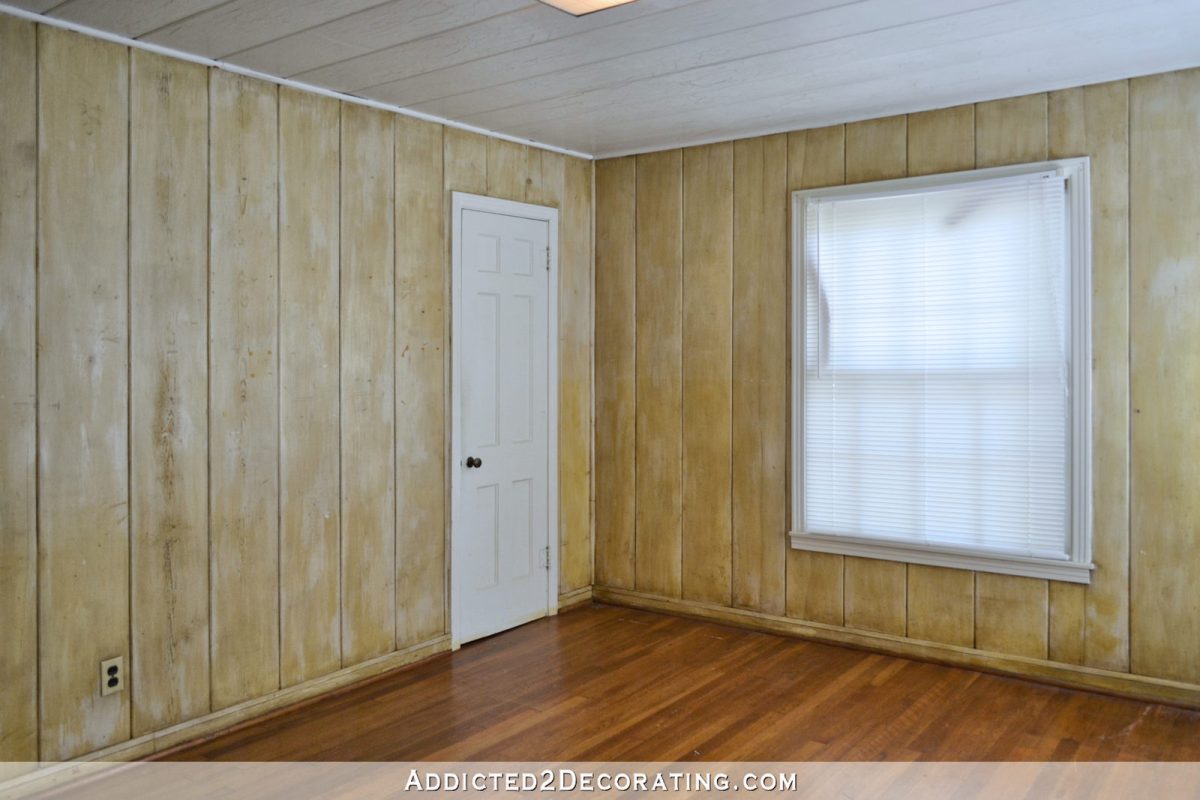
After drywalling over the closet door in the guest bedroom, I had both of the closets opened up to this room. That’s how I now have this very wide closet space (which will stay opened up like this as long as we’re using it as a home gym) inside this one room now.

And then that brings us back around to the entrance into this room. You can see that the entrance into this room used to be about 34 inches.

And now from almost the same view, you can’t even see the door since it was moved back into space that used to be the hallway. But you can see where the original stained wood floor meets the new unfinished floor below. The doorway originally sat right where those two floorings meet.

This left wall (i.e., the wall to the right as you enter the room) used to be a completely solid wall because the master bedroom sat on the other side of that wall. The original master bedroom was accessible via the hallway, of course.
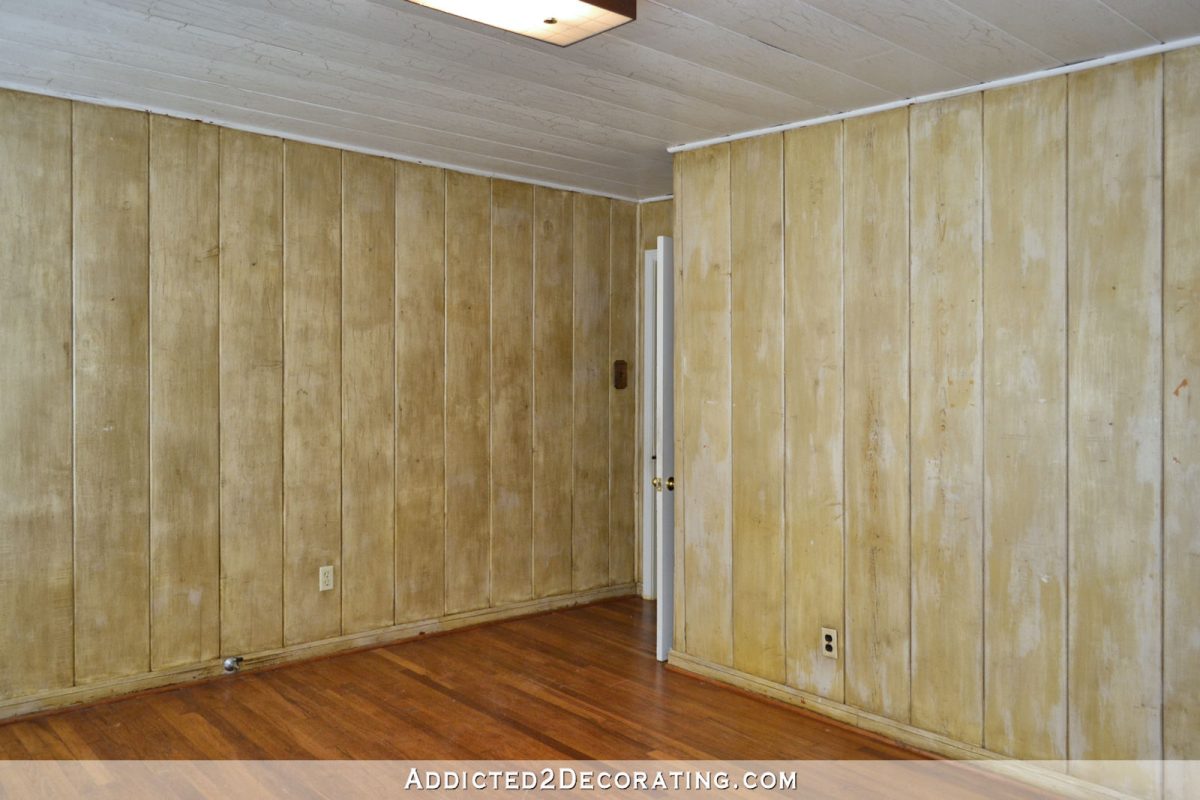
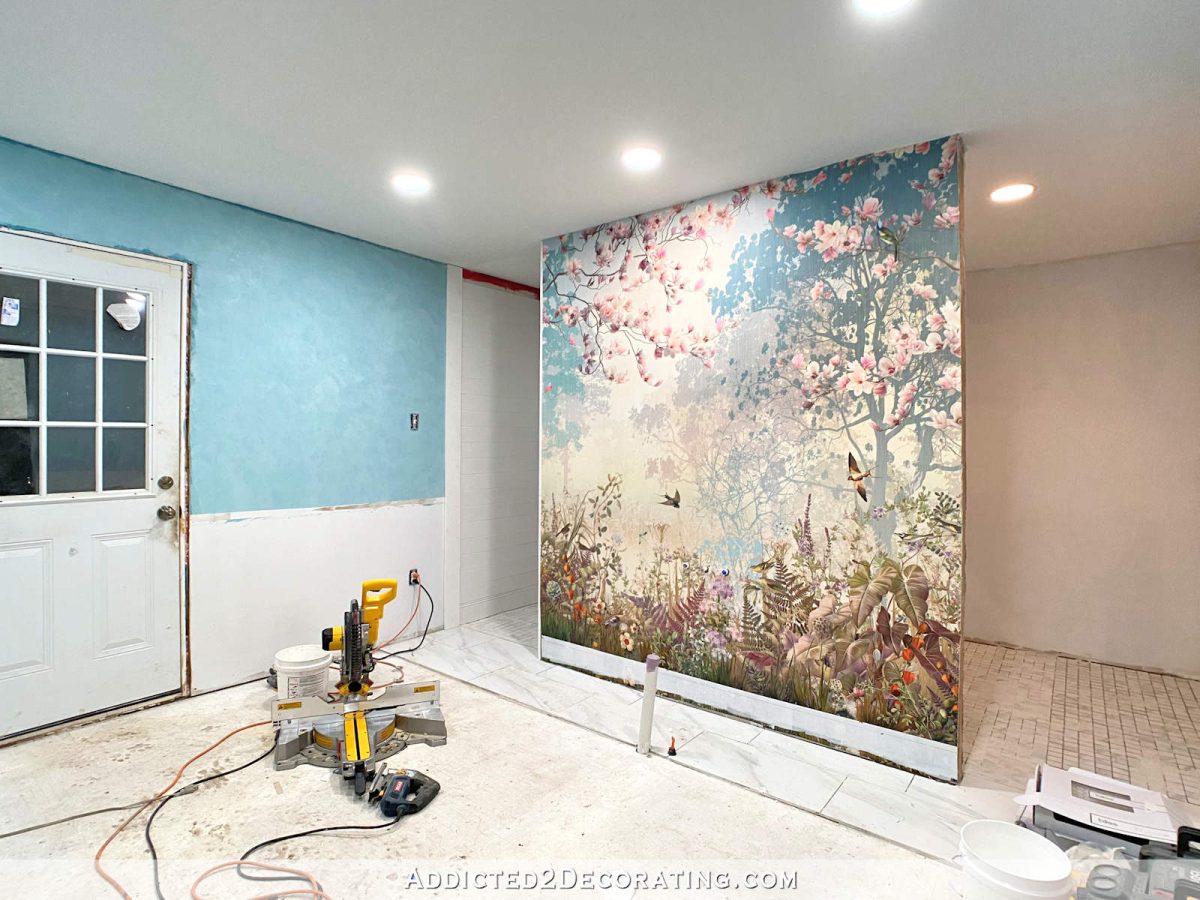
And now that original doorway into what was the master bedroom has been covered over, and that room is being turned into our master bathroom. For now, the only access into the new master bathroom is through the home gym. It’s a bit unorthodox, I know. But it is what it is for now. ?
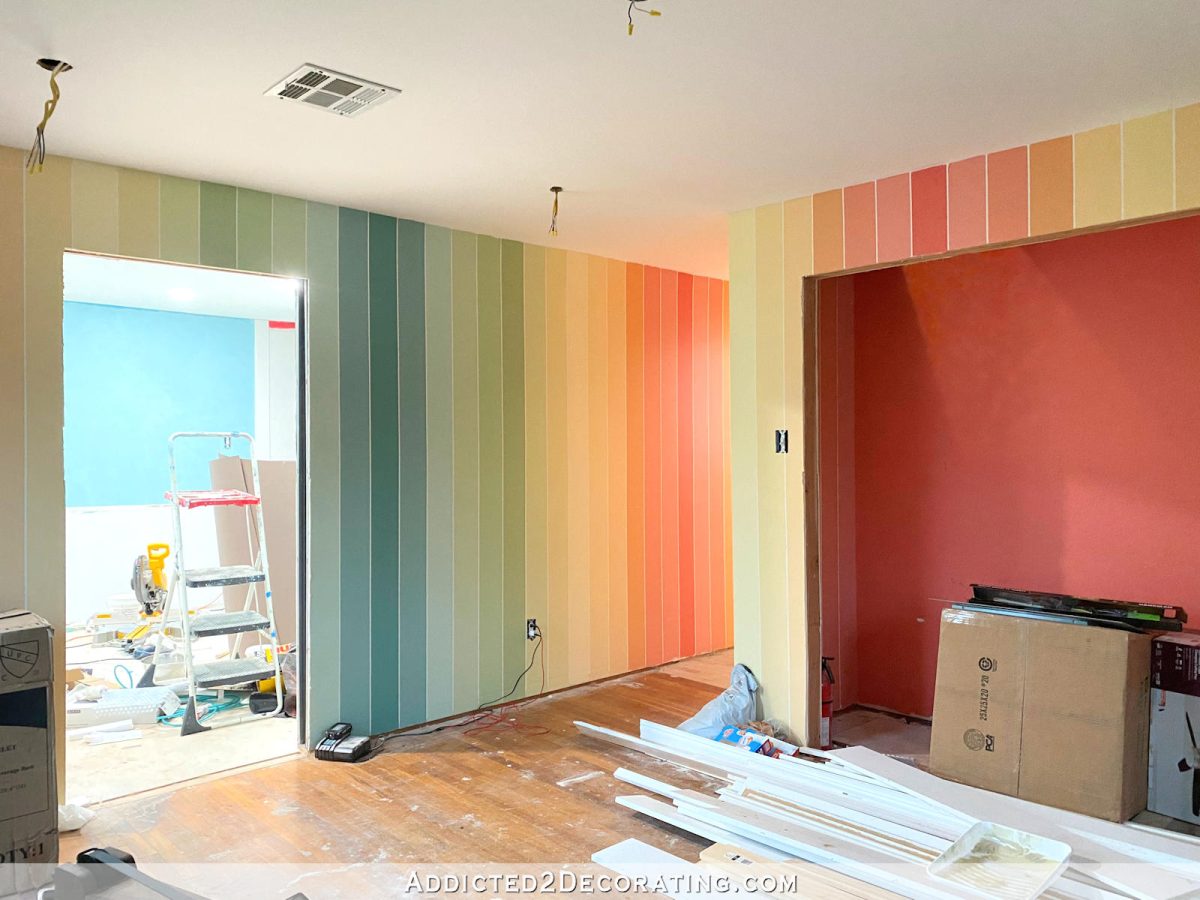
So that brings us into the room that used to be the master bedroom, and is now being converted into our master bathroom. The original view while standing in the doorway that led to the hallway, and looking over to the right, used to look like this…

It’s difficult to get that same exact view today because I’d be standing in the toilet area of the new bathroom and seeing mostly that short wall of the water closet. So I stepped forward just a little bit so you could get a better idea of what it looks like today. It’s not the same angle, but it’s similar.
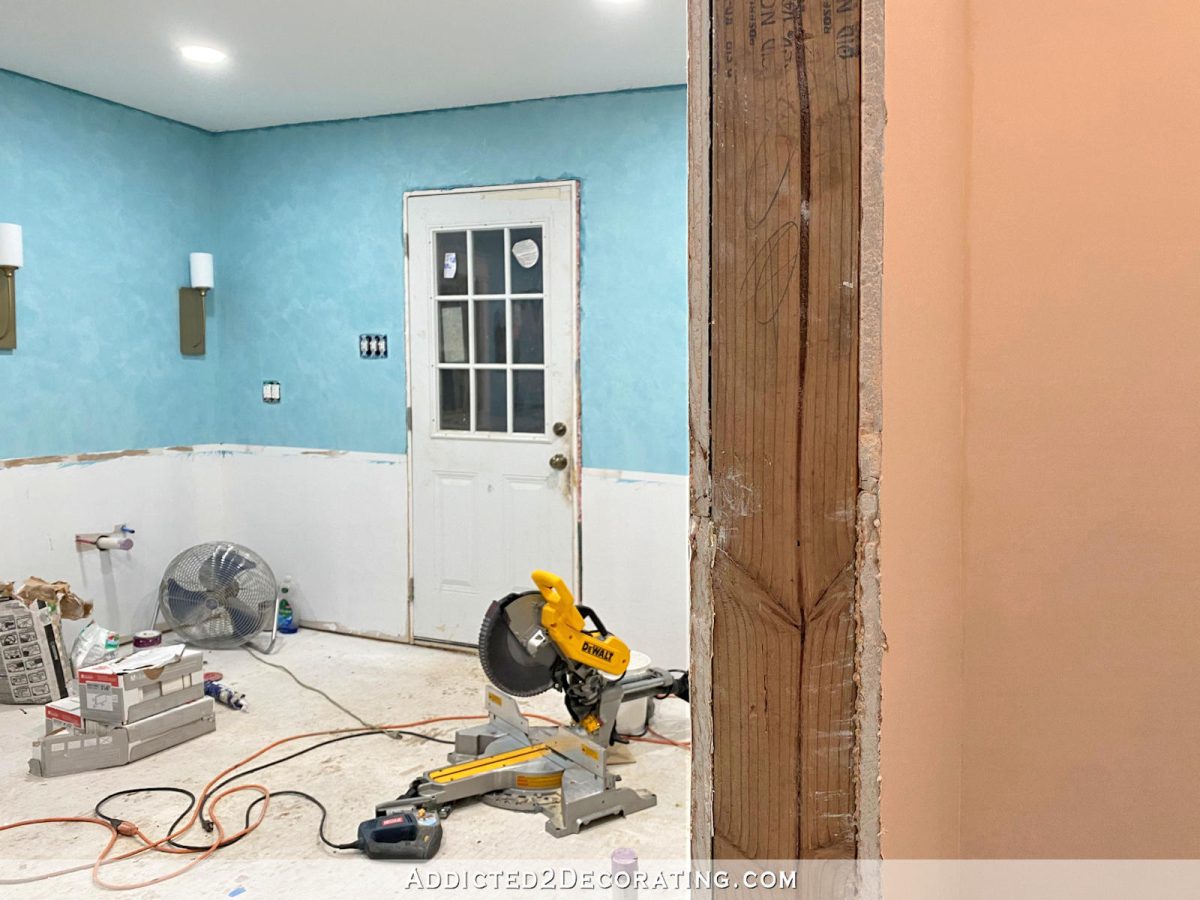
And in the original room, if I stood with my back to the wall that separates this room from the home gym and looked towards the back yard, this is the view. That’s the original “master bathroom” (a term I use lightly) on the right, and the window that we had replaced with a door on the left. The door that is partially visible on the far right is the walk-in closet.
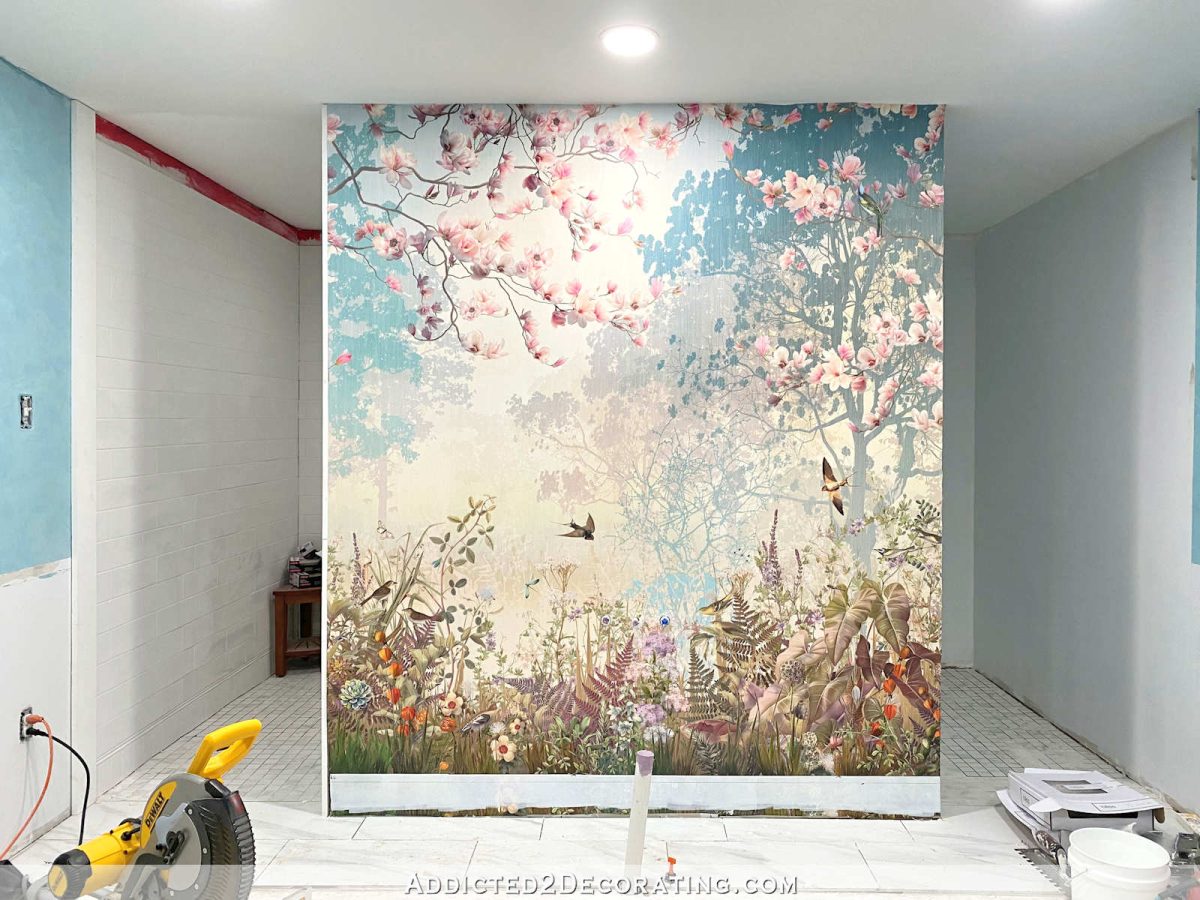
And this is that angle today. That original bathroom is still there (and will eventually be torn down completely), but the doorway leading to that room is covered over with concrete board and tile and is now the wall of the shower. Before having that original bathroom cut off completely (there’s literally no way to access that room now), we made sure that all of the water and gas was completely cut off to the room so we wouldn’t have to worry about burst pipes, leaks, etc.

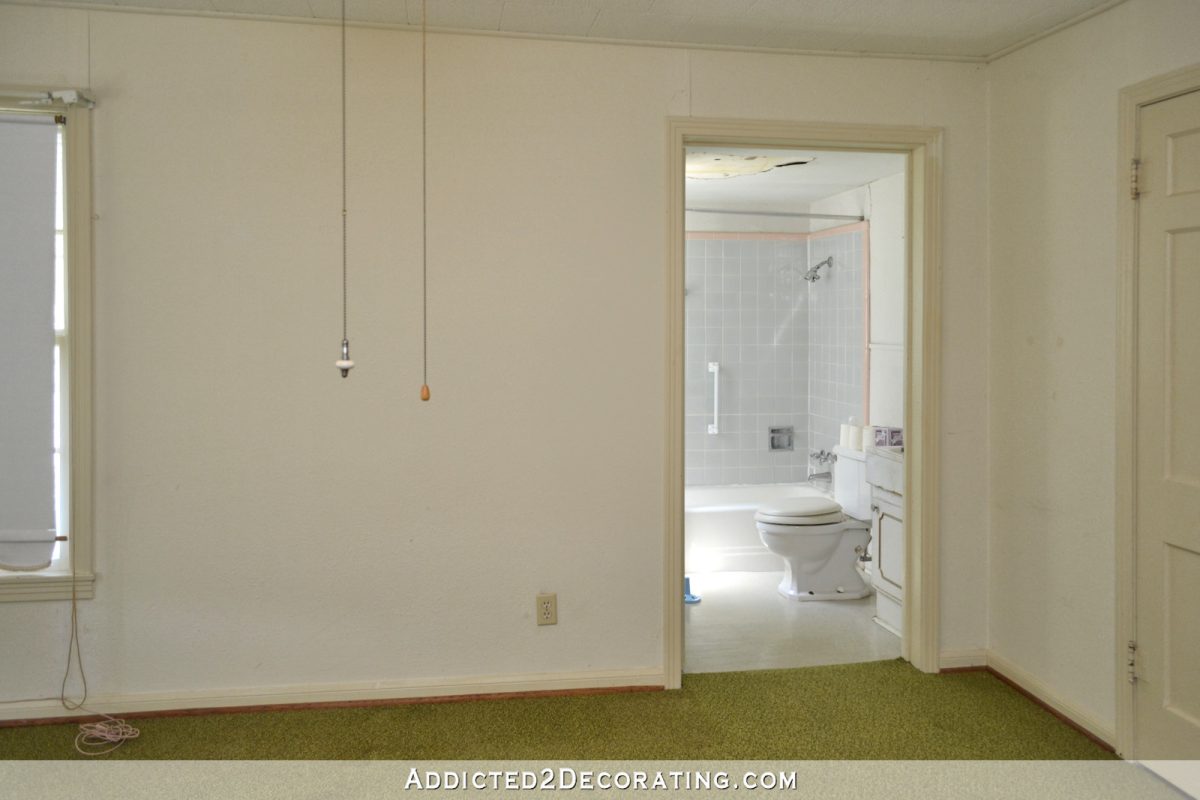
Here’s a better view of the original bathroom and the door to the walk-in closet.
The current shower takes up all of the space covered by the original walk-in closet, plus some. If the doorway into the original bathroom were still visible today, it would be just inside the shower. So the current shower takes up the fill width of the original bathroom plus the depth of the original walk-in closet.
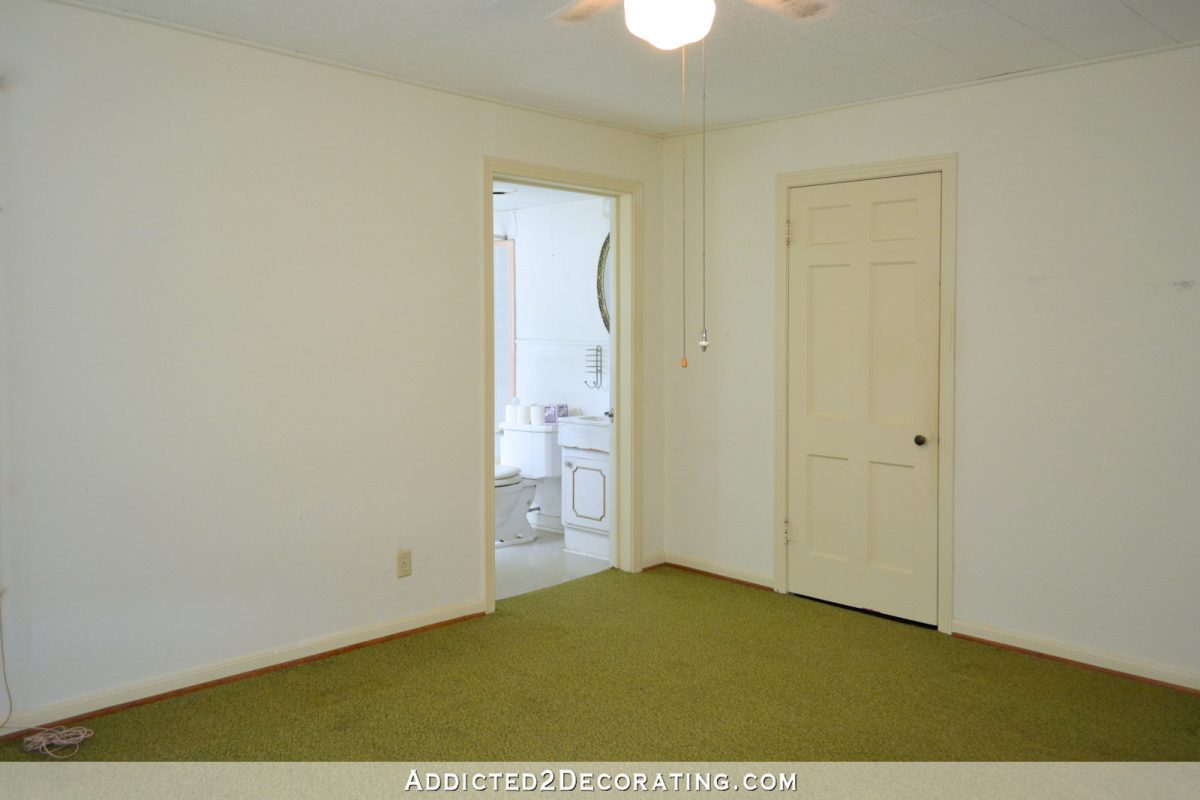
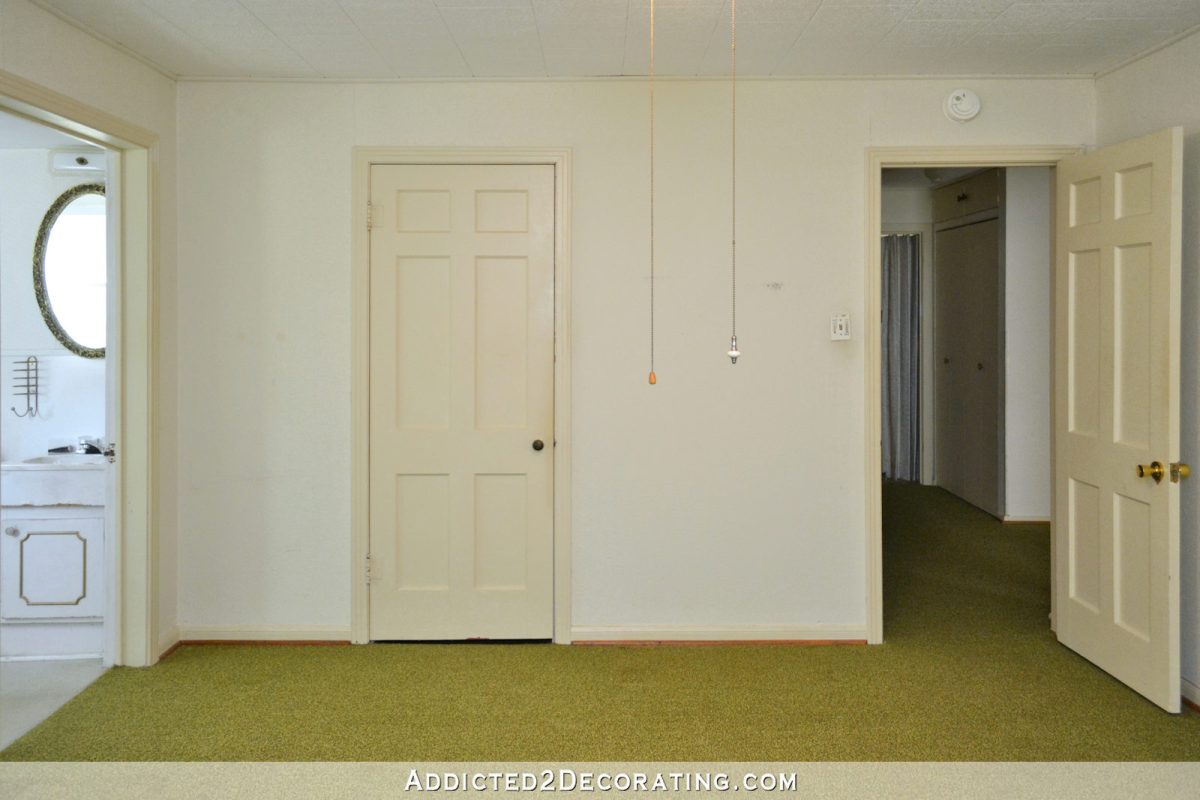
And here’s a look back at the original entrance into this room. There’s the walk-in closet door on the left, and the bedroom door on the right that leads into the wallway. From Part 2 of this tour, you’ll recognize the original closet in the hallway that I replaced with built-in cabinets, and you’ll recognize the accordion separator in the doorway that now leads into the music room.
So after removing the wall that separated the walk-in closet from the bedroom, and then pushing back and closing in that wall so that there was no more access into this room from the hallway, that same view looks like this today…
And here’s one more of the walk-in closet, the doorway into the bedroom from the hallway, and the solid wall on the right.

And today, those areas are shower, water closet, and what was a solid wall on the right now has a doorway into the home gym.

Here’s a better view of that previously solid wall that separated this bedroom from the neighboring bedroom (which will be our home gym).

And the new entrance into the home gym.

And yet another view of that wall…

From this angle you can see the doorway in relation to the mural wall on the left and the vanity wall on the right.

And we’ve worked our way back around to what I would call the main wall in the original bedroom. The wall with the window is what was straight ahead from the original doorway into this bedroom (i.e., the doorway leading to the hallway).

And today, that is the wall where our vanities will go.

And here’s one final picture of that wall taken straight on, with the original window on the right, and a solid wall on the left.
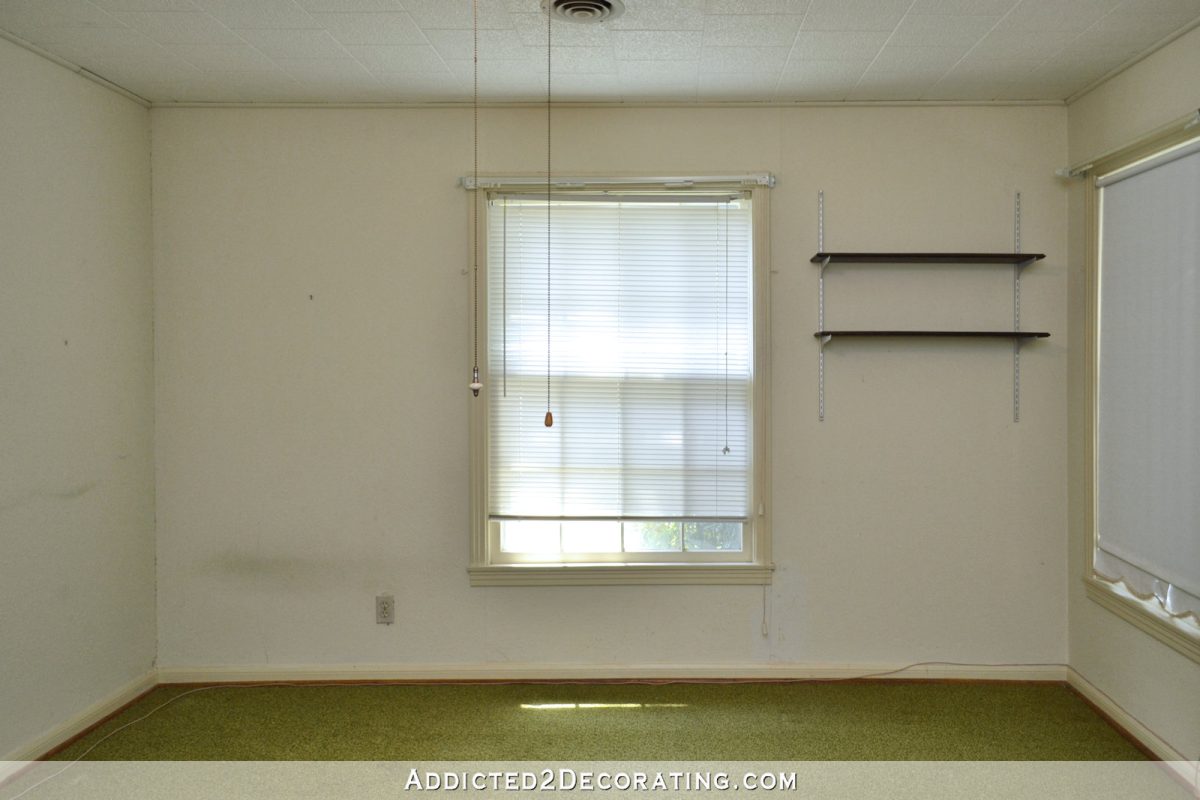
And today, that window on the right has been replaced with a door that leads to our back yard, and the door on the left has the doorway leading to the home gym (although it’s just out of visibility in the photo below).
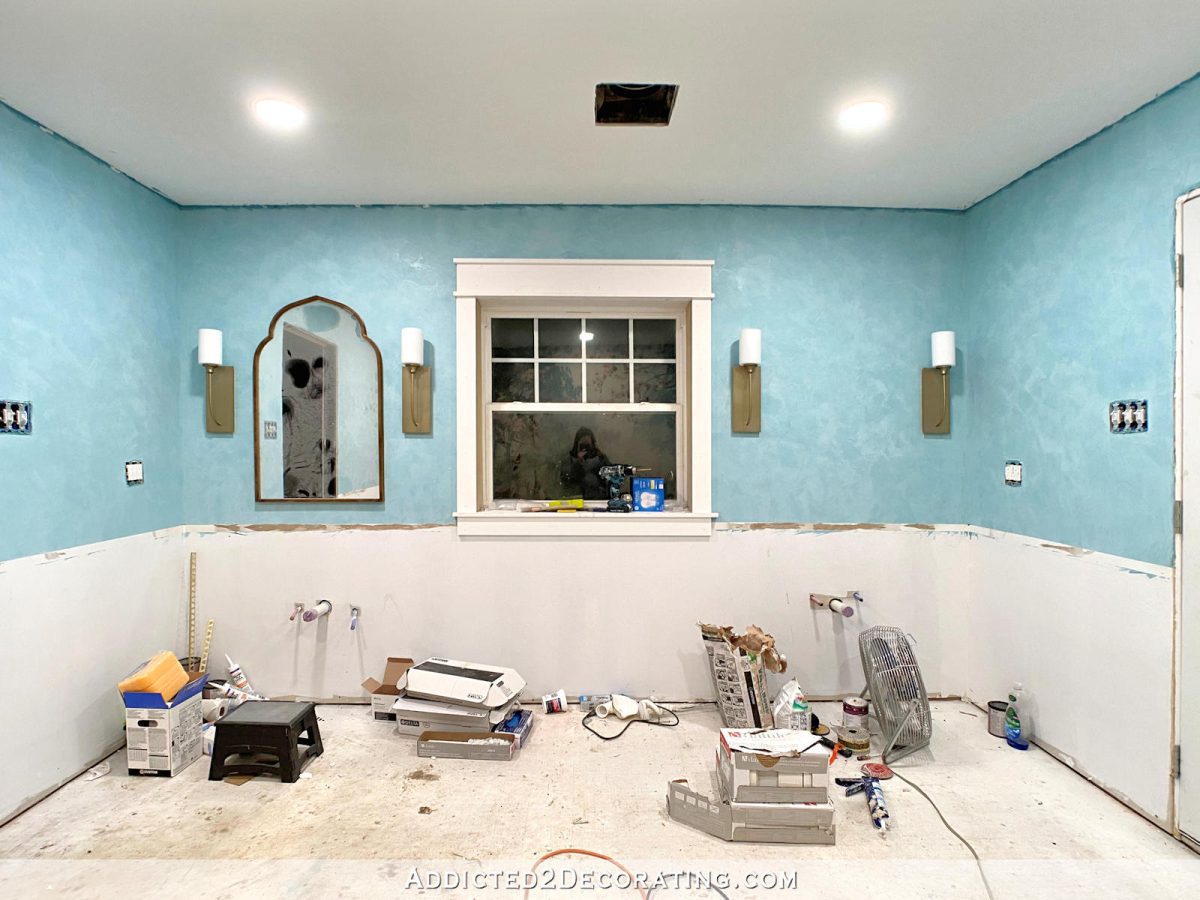
And if you’re new here, and wondering where in the heck our master bedroom is, well…we don’t have one right now. ? That will be part of an addition that we have planned for the future. But when it does happen, that doorway on the right that currently leads out to the back yard will actually lead directly into our new bedroom. We don’t have a set date for that addition, but hopefully it won’t be too long! Until then, Matt and I are comfy in our guest bedroom, and once this bathroom is finished, we can easily access it through the home gym.
So that wraps up the tour for now! I hope you enjoyed looking back at these old photos and comparing them to what these same angles look like today.
I didn’t include the studio or the exterior this time, so I might do a post later in the summer to include those. The exterior of our house has gone through quite a transformation, as has the garage-turned-studio. So I’ll show y’all those areas a little later this year.

Addicted 2 Decorating is where I share my DIY and decorating journey as I remodel and decorate the 1948 fixer upper that my husband, Matt, and I bought in 2013. Matt has M.S. and is unable to do physical work, so I do the majority of the work on the house by myself. You can learn more about me here.
I hope you’ll join me on my DIY and decorating journey! If you want to follow my projects and progress, you can subscribe below and have each new post delivered to your email inbox. That way you’ll never miss a thing!
[ad_2]
Source link

