Here in my little corner of the Northeast, the dominant color of the early spring landscape is yellow, in the form of blossom-laden branches of forsythia and the trumpet-like coronas and petal-like tepals of daffodils.
A hardy bulb for USDA Hardiness Zones 3 to 9, the daffodil, Narcissus, often sprouts from the snow-covered ground alongside other intrepid early-season companions, like the crocus, Siberian squill, and snowdrop.
We link to vendors to help you find relevant products. If you buy from one of our links, we may earn a commission.
The Narcissus genus contains more than 50 species and has been extensively hybridized, resulting in a varied color palette that includes not only yellow but orange, pink, white, and bicolor combinations as well.
In our daffodil growing guide, you’ll find all you need to know to plant and care for bulbs of your own.
Now, we’ll zero in on one aspect of daffodil care – fertilizing.
Here’s what we’ll cover:
Let’s start with a little background.
Daffodils 101
A daffodil is a “tunicate” bulb, meaning it has a tunic, or papery covering. It is a miraculous, self-contained package of plant tissue with a built-in urge to wake from winter sleep bursting with energy, ready to sprout foliage and bloom.
Daffodils are sold at the end of summer for fall sowing. Overwintering provides the chill they need to stimulate spring blooming.
However, as potted spring flowers are popular gifts at Easter time, many bulbs are planted in late spring after a potted present has finished blooming.
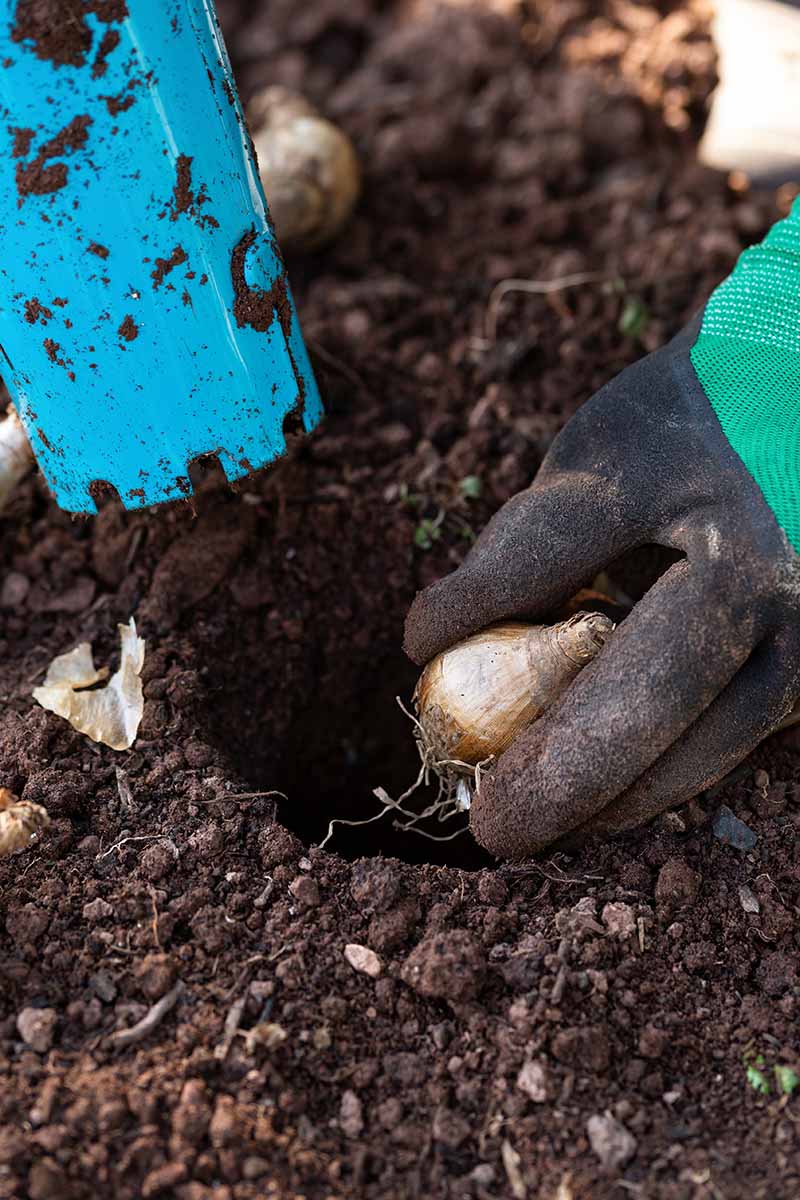
A bulb is planted at a depth that is two to three times its height. Such a deep placement helps prevent “heaving” or rising up from the ground during winter freezing and thawing. It also provides insulation from the summer heat.
Cultural requirements include a full sun to part shade placement. The soil should be organically-rich loam that drains well and has a slightly acidic pH of 6.0 to 7.0.
Narcissus naturalizes readily by producing “offsets” that can be divided from the main bulb for transplanting.
By nature, a daffodil is not what we call a “heavy feeder,” or consumer of excessive quantities of nutrients.
However, even light feeders require key macronutrients, nitrogen (N), phosphorus (P), and potassium (K), and micronutrients like calcium, copper, and zinc.
They play a crucial role in photosynthesis, the amazing conversion of sunlight to energy that produces vegetative and reproductive growth.
When growing daffodils, it is useful to take a soil sample from a depth of six to eight inches. It can reveal the type of earth, pH, and nutrient load present in the growing environment.
Knowing this plant’s nature and the soil characteristics in your garden can help to answer questions like, “Should I fertilize?”
To Apply or Not Apply Fertilizer
A dormant daffodil bulb purchased in the fall contains all it needs to bloom the following spring.
During the spring growing period, the leaves absorb the sunlight needed for photosynthesis. Post-bloom, they continue to absorb sunlight until they shrivel up and fall off.
However, in addition to foliage above ground, there are bulbs and roots below.
As a bulb ages, the soil around it tends to decline in quality. Nutrients are depleted and compaction may occur, reducing the flow of oxygen and water, and inhibiting nutrient uptake.
Therefore, even if a soil test indicates the right mix for growing daffodils, its composition will undoubtedly change for the worse over time unless you find a way to restore its quality.
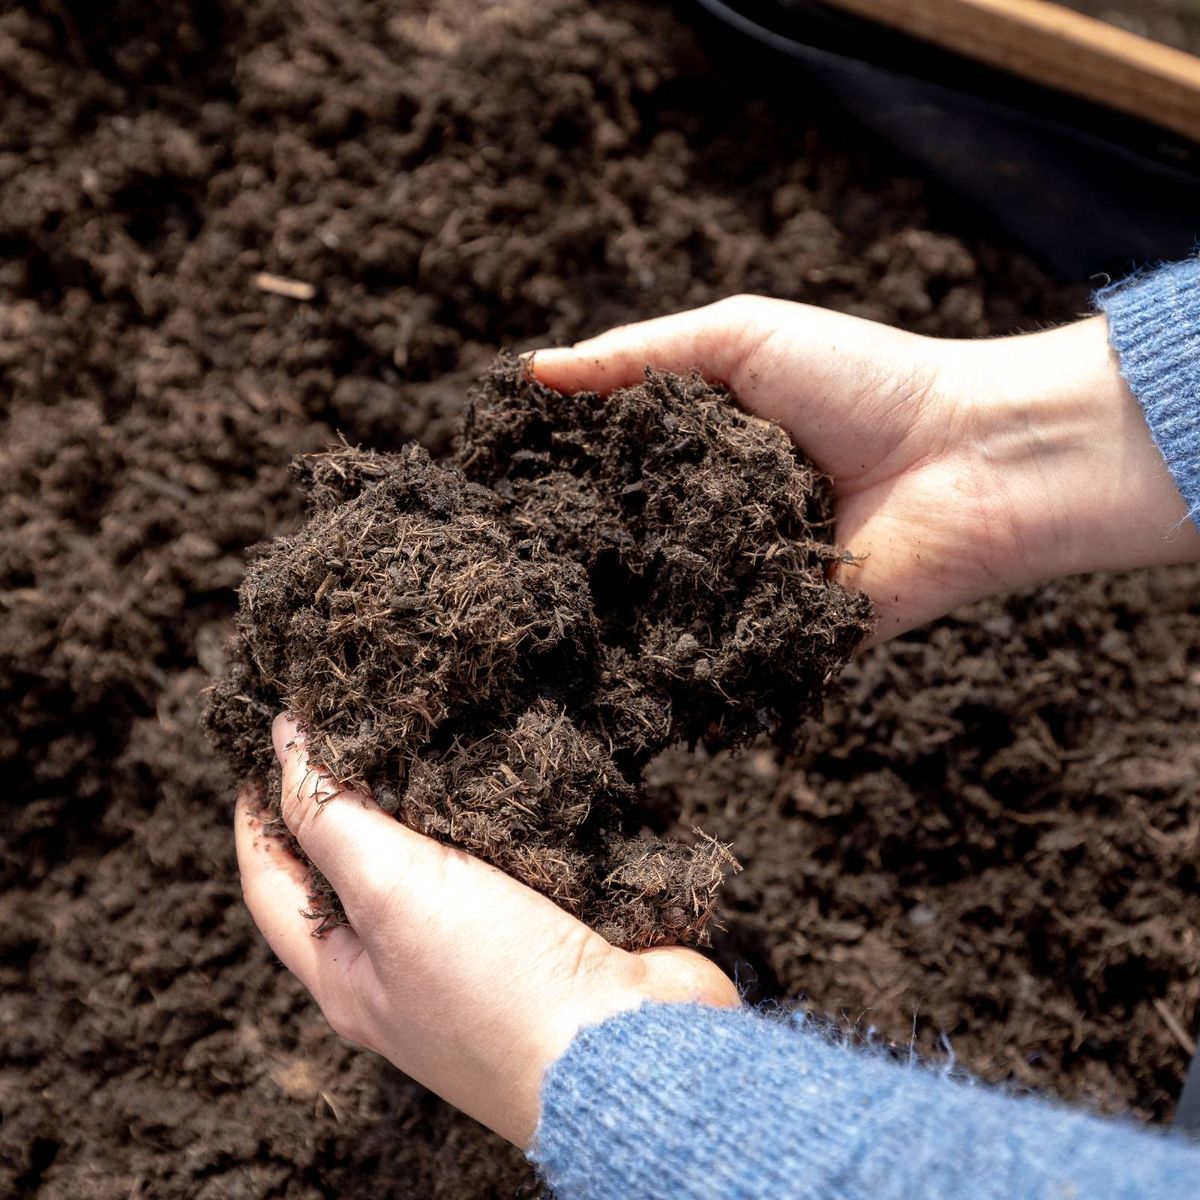
Organically-rich amendments, such as compost, mulch, or worm castings added to the soil around daffodils post-bloom makes a rejuvenating side dressing.
Another option is to fertilize with an organic or chemical product comprised of growth-supporting ingredients.
Fertilizing offers several key benefits:
- Support of strong root growth.
- Improvement of the soil structure so that food, oxygen, and water flow freely.
- Soil nutrient augmentation.
For those of us who don’t have large-scale gardens and/or easy access to organically-rich amendments, a package of fertilizer, especially a granular product that requires no mixing, can be a no-fuss way to support daffodil growth.
Let’s learn more.
Consider the Options
Fertilizers may be soluble or insoluble, and home gardening products often contain multiple ingredients.
Soluble types are liquids or powders that break down in water and make nutrients available quickly during the current growing season.
Examples include blood meal, calcium nitrate, compost tea, fish emulsion, potash (potassium salts), and powdered bone meal, aka bone powder.
Insoluble products are granular. They do not dissolve quickly in water. Instead, they are gradually broken down by soil microbes for a slow release of food used in the following growing season.
Examples are granular bone meal and rock phosphate (phosphorite).
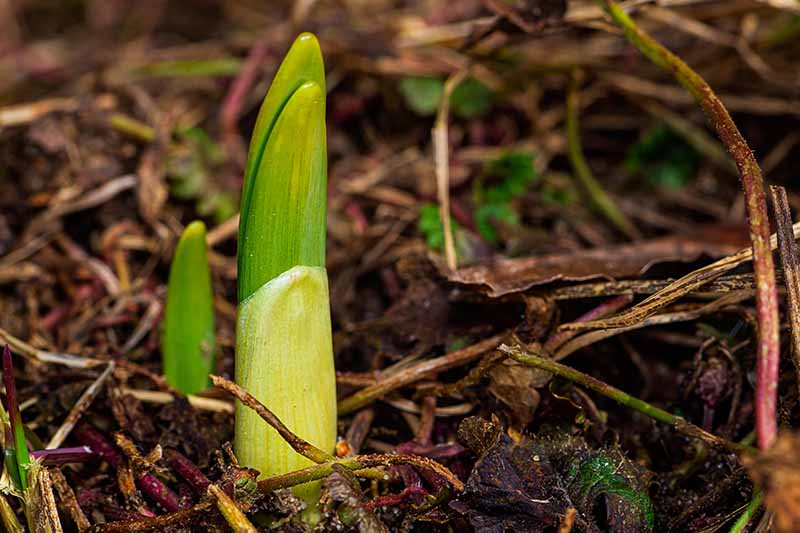
Whether you fertilize at planting time, in the spring, or in the fall, contrary to some information you may come across, the benefits are deferred to the following spring, when new shoots appear in the enriched soil.
Per Jessica Strickland, an agriculture extension agent of the North Carolina State University Cooperative Extension, Wayne County Center, there are two good options for fertilizing:
- Add a product to the planting hole that will release slowly.
- Apply a soluble quick-acting fertilizer at planting and again when shoots sprout.
Strickland recommends a complete, well-balanced 10-10-10 fertilizer that contains equal amounts of nitrogen, phosphorus, and potassium, regardless of which method you choose.
Back in the day where I come from, the stench of manure and an assortment of equally stinky products like blood meal and fish emulsion were common signs of springtime in the garden.
The idea was that when it rained, they would all be incorporated into the soil to enrich it for the current growing season.
However, for the daffodil, while these amendments are soluble and rapidly available, they are overly rich in nitrogen, tending to produce mostly leaves and few flowers. They’re better applied to plants like grass and leafy vegetables.
What daffodils need, if anything, is phosphorus.
Strickland goes on to say that if you have not tested the soil for phosphorus, but want to provide root support, you can apply phosphorus-rich bone meal in addition to a balanced fertilizer at planting time.
If you want to add bone meal to a planting hole, mix one tablespoon into the bottom inch of soil. Then add the buffer layer of soil as we did above, followed by the bulb.
It’s best to use bone meal sparingly, unless a soil test shows a phosphorus deficiency, to avoid attracting nibbling rodents.
Now, let’s find out how to apply fertilizer.
Feeding Tips
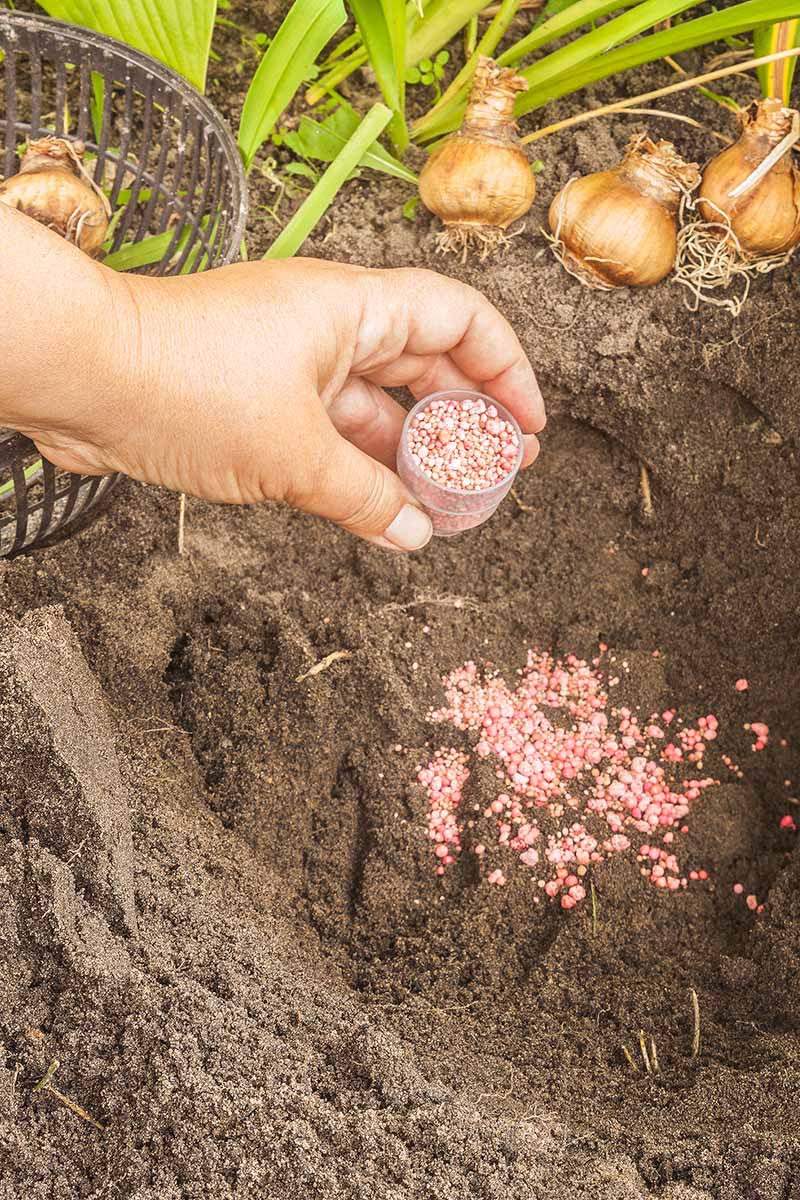
To fertilize with a slow-release granular product at planting time in either fall or spring, you’ll need to protect the bulbs from direct contact with the product to avoid burning their tender flesh.
Here’s how:
- Let’s say a bulb is two inches tall. Multiply that by three to get six inches. This is the sowing depth.
- Using a ruler, dig a hole that is eight inches deep. Yes, eight.
- Remove all of the soil.
- Return enough soil to have a seven-inch-deep hole.
- Mix the food into the soil in the bottom of the hole.
- Add another inch of soil over the fertilized layer.
- Set the bulb into the hole at the six-inch mark, backfill completely, and tamp loosely.
- Water well.
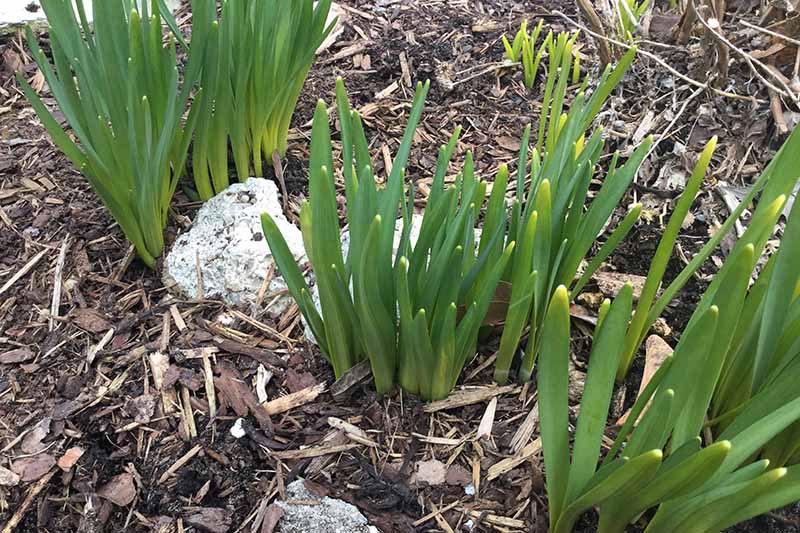
To feed mature daffodils in early spring with a granular, powdered, or liquid product, the ground must be thawed and shoots visible.
Top dress, aka broadcast spread, or sprinkle a granular or powdered product over the soil around the shoots.
Then water over the shoots to remove any product that may have landed on them to avoid burning them.
Many liquid products can be sprayed right over the new shoots, as they provide foliar feeding right through the leaves, as well as soil enrichment.
For all products, be sure to read the instructions thoroughly before application, wear gloves, and protect children and pets from exposure, as even organic products may be toxic.
Here’s a product that meets Strickland’s recommendations. It’s a well-balanced slow-release granular fertilizer from Espoma that contains bone meal.

Espoma Organic Bulb-Tone
The manufacturer recommends using it at planting time in either spring or fall and right after blooming.
At planting, add one and a half heaping teaspoons of Bulb-tone to the hole, and cover it with soil as we did above.
For established bulbs, sprinkle one and a half teaspoons of Bulb-tone around the shoots at a distance of two to three inches.
Alternatively, broadcast four pounds per 60 square feet and water it in, taking care to rinse it off the foliage.
Bulb-tone is a nontoxic, organic product with a light N-P-K formulation of 3-5-3. It won’t burn plants, boosts phosphorus, and doesn’t contain an overabundance of nitrogen.
Espoma Organic Bulb-tone is available from Espoma via Amazon in four-pound bags.
Feed in Moderation
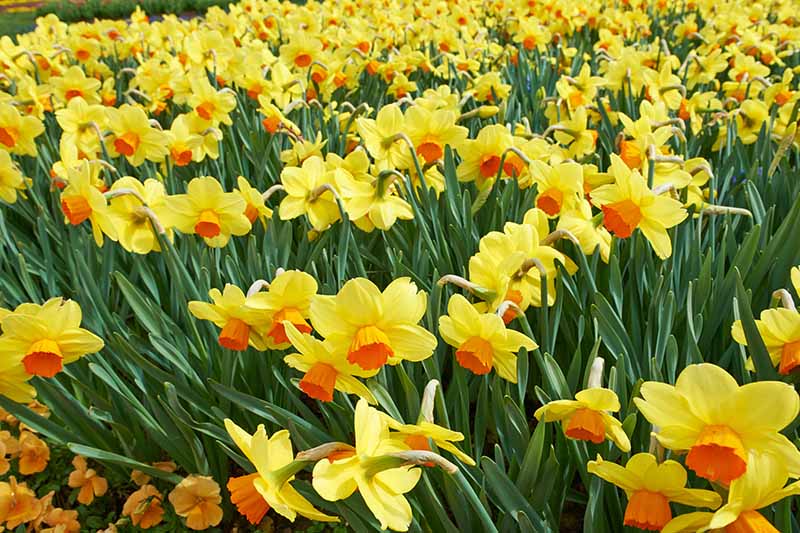
Daffodils are sure to add cheerful color to early spring gardens.
We’ve covered a lot of material. Let’s recap:
To successfully cultivate Narcissus, start with quality bulbs.
Divide mature clumps as needed to refresh them.
Meet all cultural requirements, including a sunny to partly shaded placement with organically-rich, well-draining loam that is slightly acidic.
Recognize that while a bulb is a self-contained entity primed for success, it depletes the surrounding earth over time. The addition of an organically-rich amendment or fertilizer supports healthy roots; rebuilds the soil structure for proper air, food, and water transport; and replenishes essential nutrients.
When adding fertilizer to a planting hole, be sure to incorporate it into the ground two inches below planting depth to avoid burning the bulbs.
For mature clumps of daffodils, side-dress the soil around the shoots, taking care not to let them come in contact with a granular or powdered product.
Fertilizer is an optional component of an overall plant care regimen that can be beneficial when applied judiciously.
With a self-contained daffodil bulb that feeds lightly, it’s better to err on the side of using too little than too much of a product to avoid burning and excess foliar growth.
Finally, here are two bonus tips for managing daffodils after they bloom:
- Cut spent flower stalks off at the base of the stem to prevent them from running to seed.
- Let the leaves remain attached to wither naturally.
These two actions help bulbs feed themselves and store energy for next year’s flowers.
Get ready for a sensational spring landscape!
Choose from the many delightful varieties available and add to your collection, or start a new one. We can’t wait to hear all about it in the comments section below.
If you found this guide informative and would like to read more about growing daffodils, we recommend the following:


