*This post contains affiliate links.
I love to DIY just about everything I possibly can when it comes to remodeling and decorating my house, and that includes making my own artwork and wall decor. And I love to experiment with various media to see what I can create with it.
The last several times I’ve posted pictures that show the settee wall of our music room, I’ve had people ask about the huge flower artwork that hangs over the settee.

So yesterday, I posted about it on Instagram and Facebook, and several people had no idea what that artwork was actually made of. A few said they thought it was a big tapestry. Others had no idea at all.
If you weren’t reading my blog back when I made that, and you don’t already know what it’s made of, see if you can guess before I share the details later in this post. Can you tell from that picture?
Anyway, I’ve been DIYing my own artwork and wall decor since way before the condo days, but I didn’t have a place to share my ideas pre-condo days. But ever since we lived in the condo, I’ve been blogging about all of my DIY adventures, including my attempts at making my own artwork and wall decor. So for those of you who haven’t been following along since those days, here are a few of my favorites that I’ve made over the years.
Hand-Painted Family Name Sign
When we lived in the condo, I didn’t have much money to spare for things like artwork and extras. I wanted something colorful to hang on the white subway tile wall behind the eating area banquette, so I made a custom name sign that said “The Linauers, established 2002.”
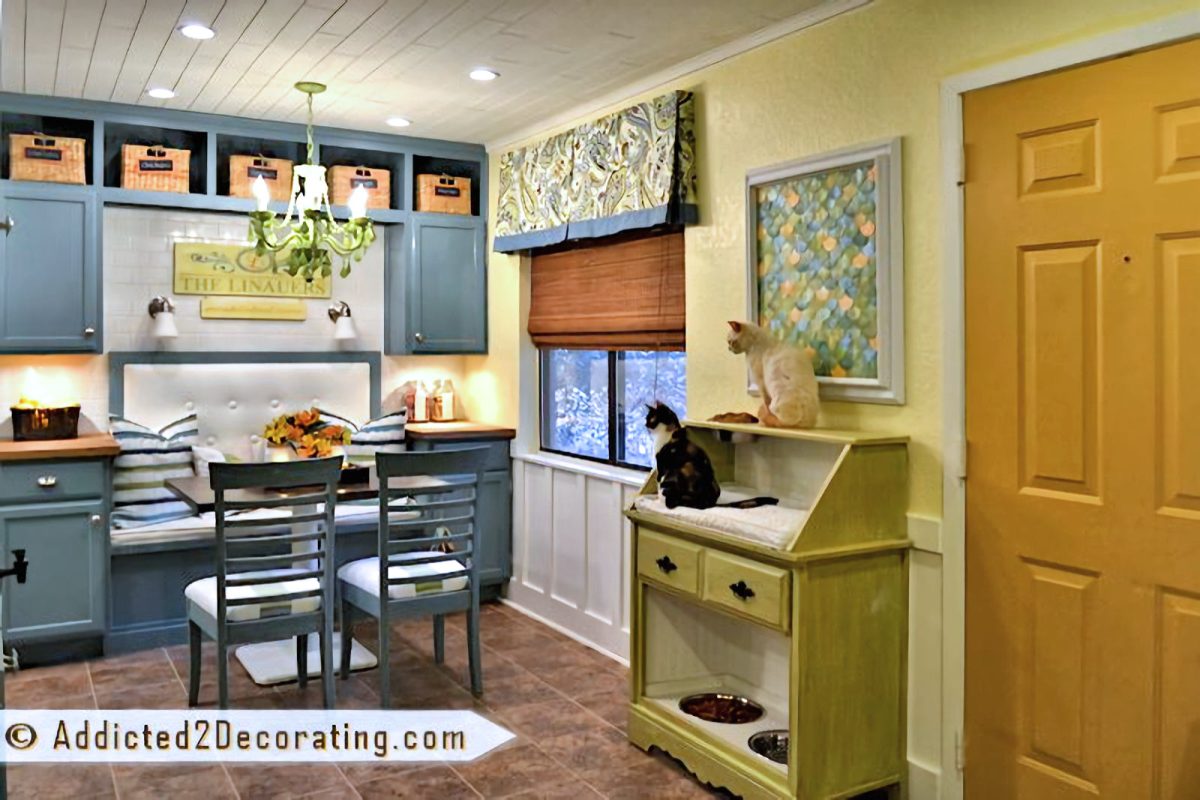
These were the days before Cricut and Silhouette machines, so I painted the whole thing by hand and used scrap wood to make it. Altogether, it probably cost a few dollars, but I was so proud of how it turned out. And I think the hand-painted design has more character than anything a Cricut or Silhouette could have produced.
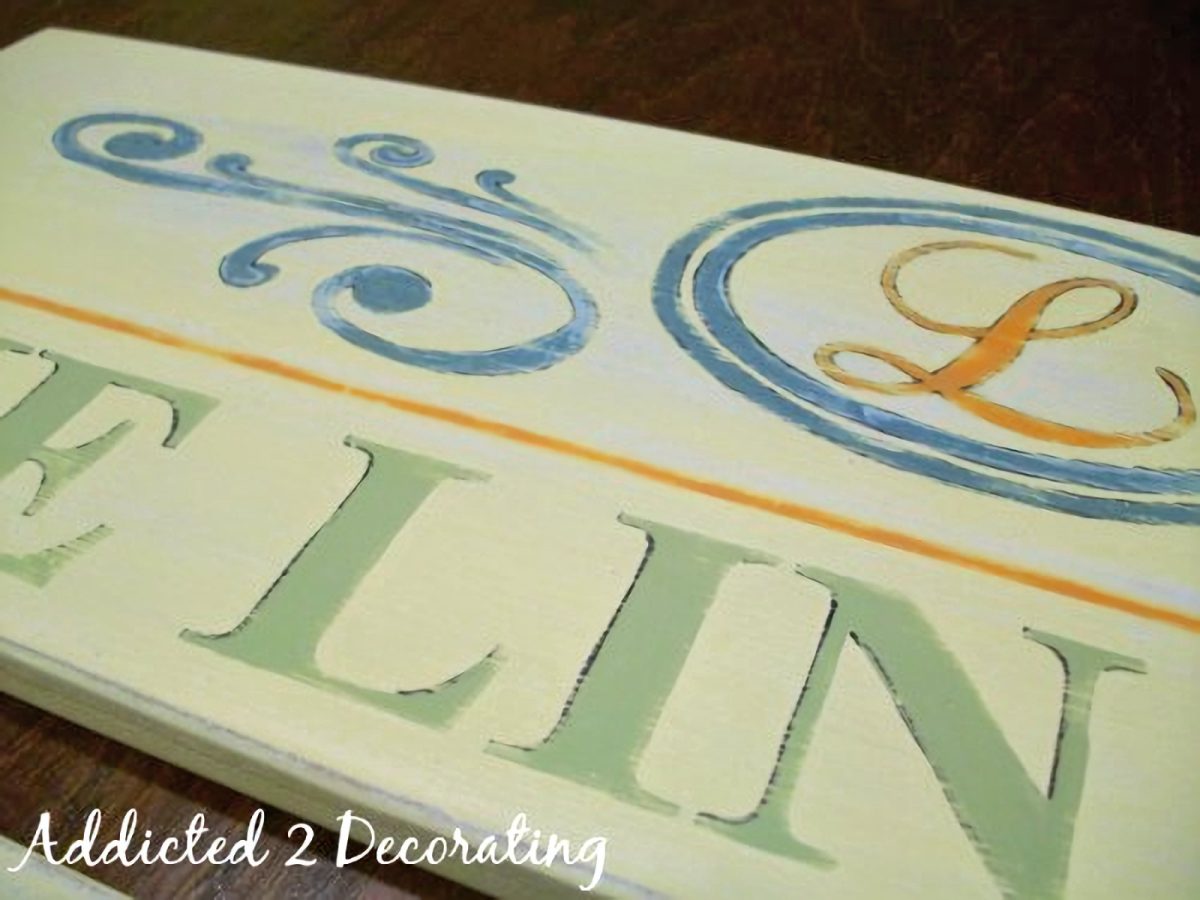
You can see the details of this DIY hand-painted family name sign here. Just a warning — my photography was horrible back then, and I used tiny pictures on my blog back then. But you can still see the process.
Iridescent “Fish Scale” Artwork
This is when I learned that my favorite kind of artwork is the kind that uses one single item used over and over and over again. In this case, the item was 200+ circles cut from watercolor paper that I had painted in various colors and brushed with iridescent paint. Then I layered them in a ‘fish scale” pattern and framed it.
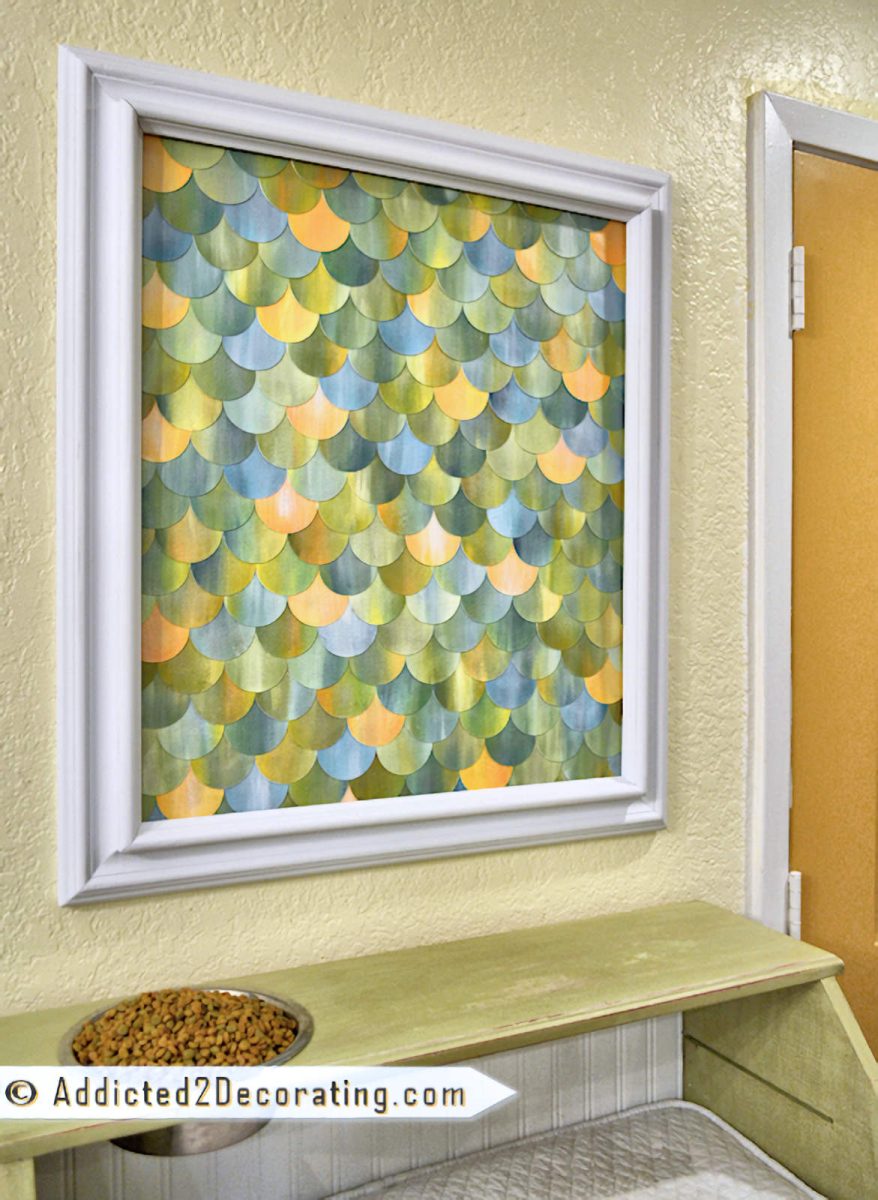
To this day, this type of artwork — the kind that uses one item over and over and over again in various arrangements — is my absolute favorite. You’ll see what I’m talking about later in this post.
You can see more of this “fish scale” artwork here.
Water Resistant Artwork From A Free Printable
This is a great DIY art project for anyone who feels like they don’t have artistic ability, but can use a saw and cut trim.
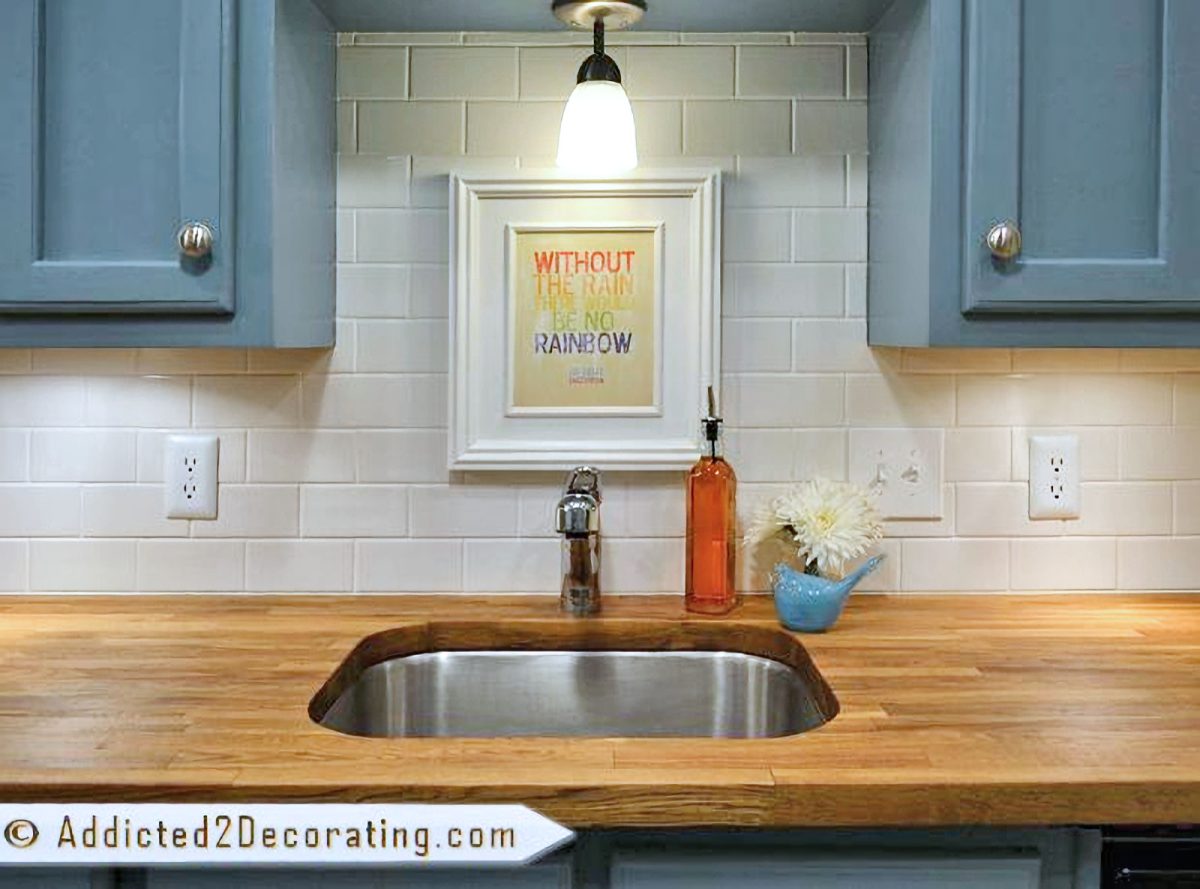
I made this artwork from a free printable that I adhered to a scrap piece of MDF (or plywood), and then framed it by layering on some wood trim. Then I coated the whole thing with water-based polyurethane so that it could stand up to splatters by the kitchen sink in the condo. It’s kind of hard to see with the light glaring off of it (this was long before I discovered my favorite General Finishes High Performance Topcoat in a matte finish), so it says “Without The Rain There Would Be No Rainbow”.
You can check out the details of this very easy DIY art project here.
Chrysanthemum Mirror Made From Plastic Spoons
This is the project that put my blog on the map. This thing went viral, and a company even copied it and sold it at stores like Horchow. True story. And it also reinforced my love for art and decor that are made from one item used over and over and over again. In this case, it was plastic spoons glued in a chrysanthemum design around a craft store mirror.
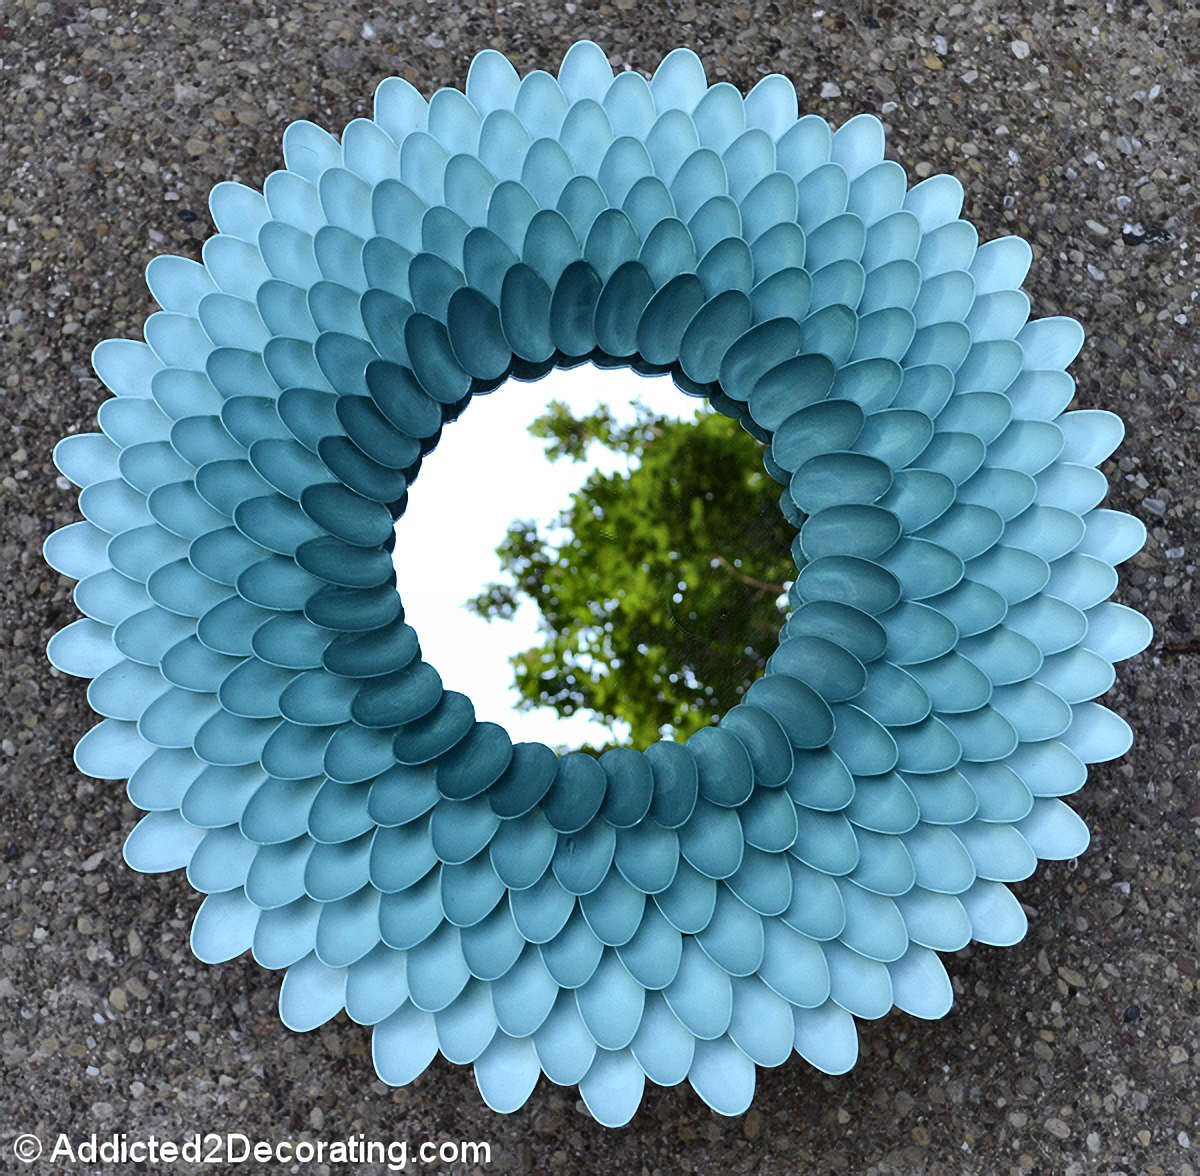
You can see the details of the DIY chrysanthemum mirror here.
Liquid Acrylic Abstract Tryptic Painting
This was one of my first attempts at liquid acrylic abstracts, and it ended up being my favorite one that I ever did. I originally made it for the entryway of our home, but this tryptic now hangs over the piano in our music room.

Fluid acrylic abstracts are fun to make, and they’re something that pretty much anyone can do. It’s a cross between artwork and and a chemistry project as you watch how the paints and additives interact with one another as the colors mix and dry.
You can see more details about how I did this fluid acrylic tryptic here, and click here to see how I made the frames.
Gradient Colorful Pinwheel Made From Wood Tasting Spoons
This is, by far, my favorite artwork I’ve ever made.
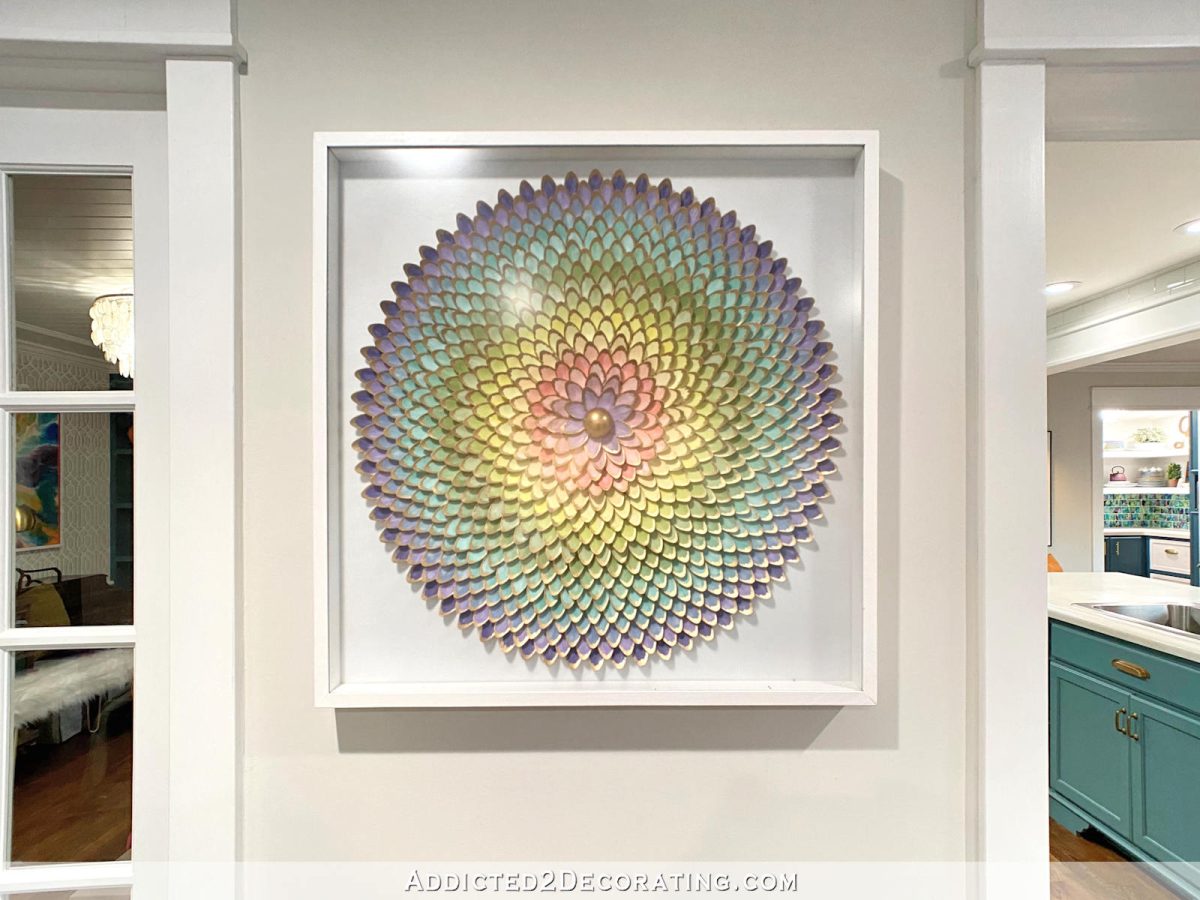
It’s kind of like the grown up version of the plastic spoon chrysanthemum, and once again, you can see my love for one item repeated hundreds of times. This one is made from about 800 small wood tasting spoons that were arranged and adhered to plywood, painted in a colorful gradient, and then each spoon tipped with gold leaf.
You can see the details of this wood spoon artwork here, and see how I made the shadow box frame for it here.
Large Textural “Pixel” Artwork Made From Wood Button Plugs
This is Matt’s favorite thing I’ve ever made — a big colorful flower. I swear to you that he says something about it at least twice a week, which I think is pretty funny.

This is made out of 6400 (yes, six thousand four hundred) wood button plugs (the kind that you use to cover/fill screw holes in wood furniture) that were adhered into a large grid, and then each button was painted so that each would be a “pixel” to create a large flower picture.
Once they were all painted, I made the frame for it, and then buried those 6400 painted wood buttons in a very thick layer of resin. In other words, not only is this the biggest artwork I’ve ever made, but it’s also the heaviest and the most expensive piece of artwork in our house. ?
You can see details of how I made this “pixel” artwork here.
Cut Glass Glitter Artwork
And that brings us to my second favorite artwork I’ve ever made. This was very simple to make, but it’s the cut glass glitter that makes it so special.

It is impossible to capture the beauty of cut glass glitter in a photo, but it is so gorgeous and shiny and glittery in person. The way it shines in the light is captivating. Those of you who have worked with cut glass glitter know what I mean, right? It’s so pretty!
You can see details of this cut glass glitter artwork here.
So by no means is this an exhaustive list of the artwork that I’ve made for our homes over the years, but these are highlights of my favorites. You can see more of my artwork and wall decor projects here — some I’m proud of and others…well…not so much. ? But even the not-so-good ones can spark a creative idea in your mind for your own home! And yes, you can do it. Just let your imagination go, and see what you can come up with.

Addicted 2 Decorating is where I share my DIY and decorating journey as I remodel and decorate the 1948 fixer upper that my husband, Matt, and I bought in 2013. Matt has M.S. and is unable to do physical work, so I do the majority of the work on the house by myself. You can learn more about me here.
I hope you’ll join me on my DIY and decorating journey! If you want to follow my projects and progress, you can subscribe below and have each new post delivered to your email inbox. That way you’ll never miss a thing!


