[ad_1]
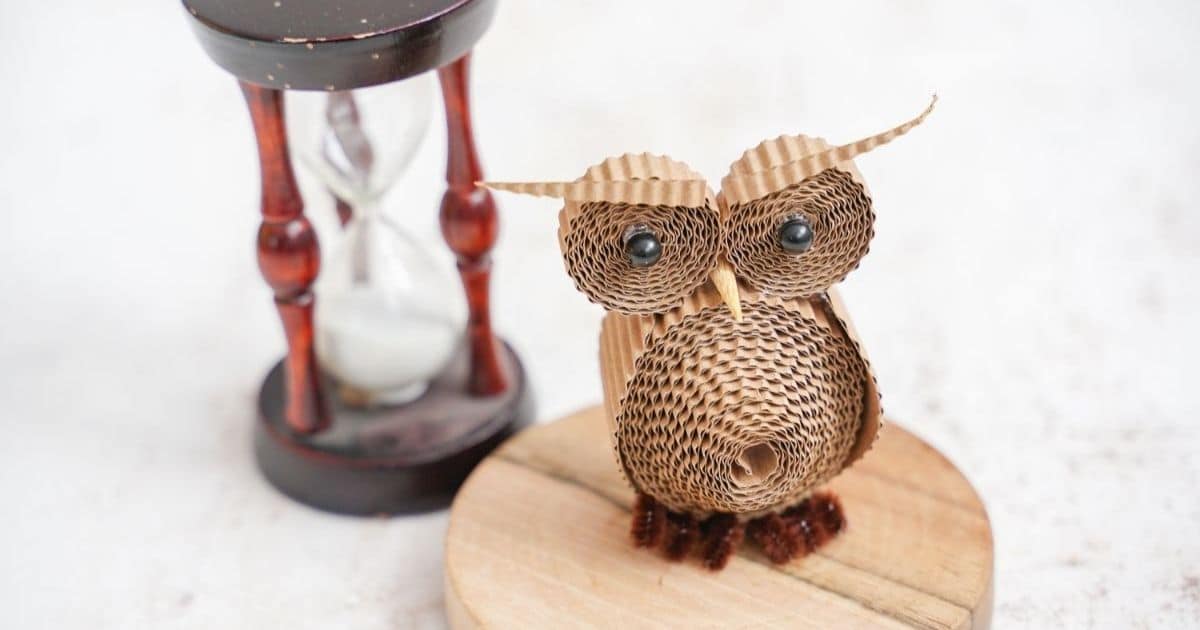
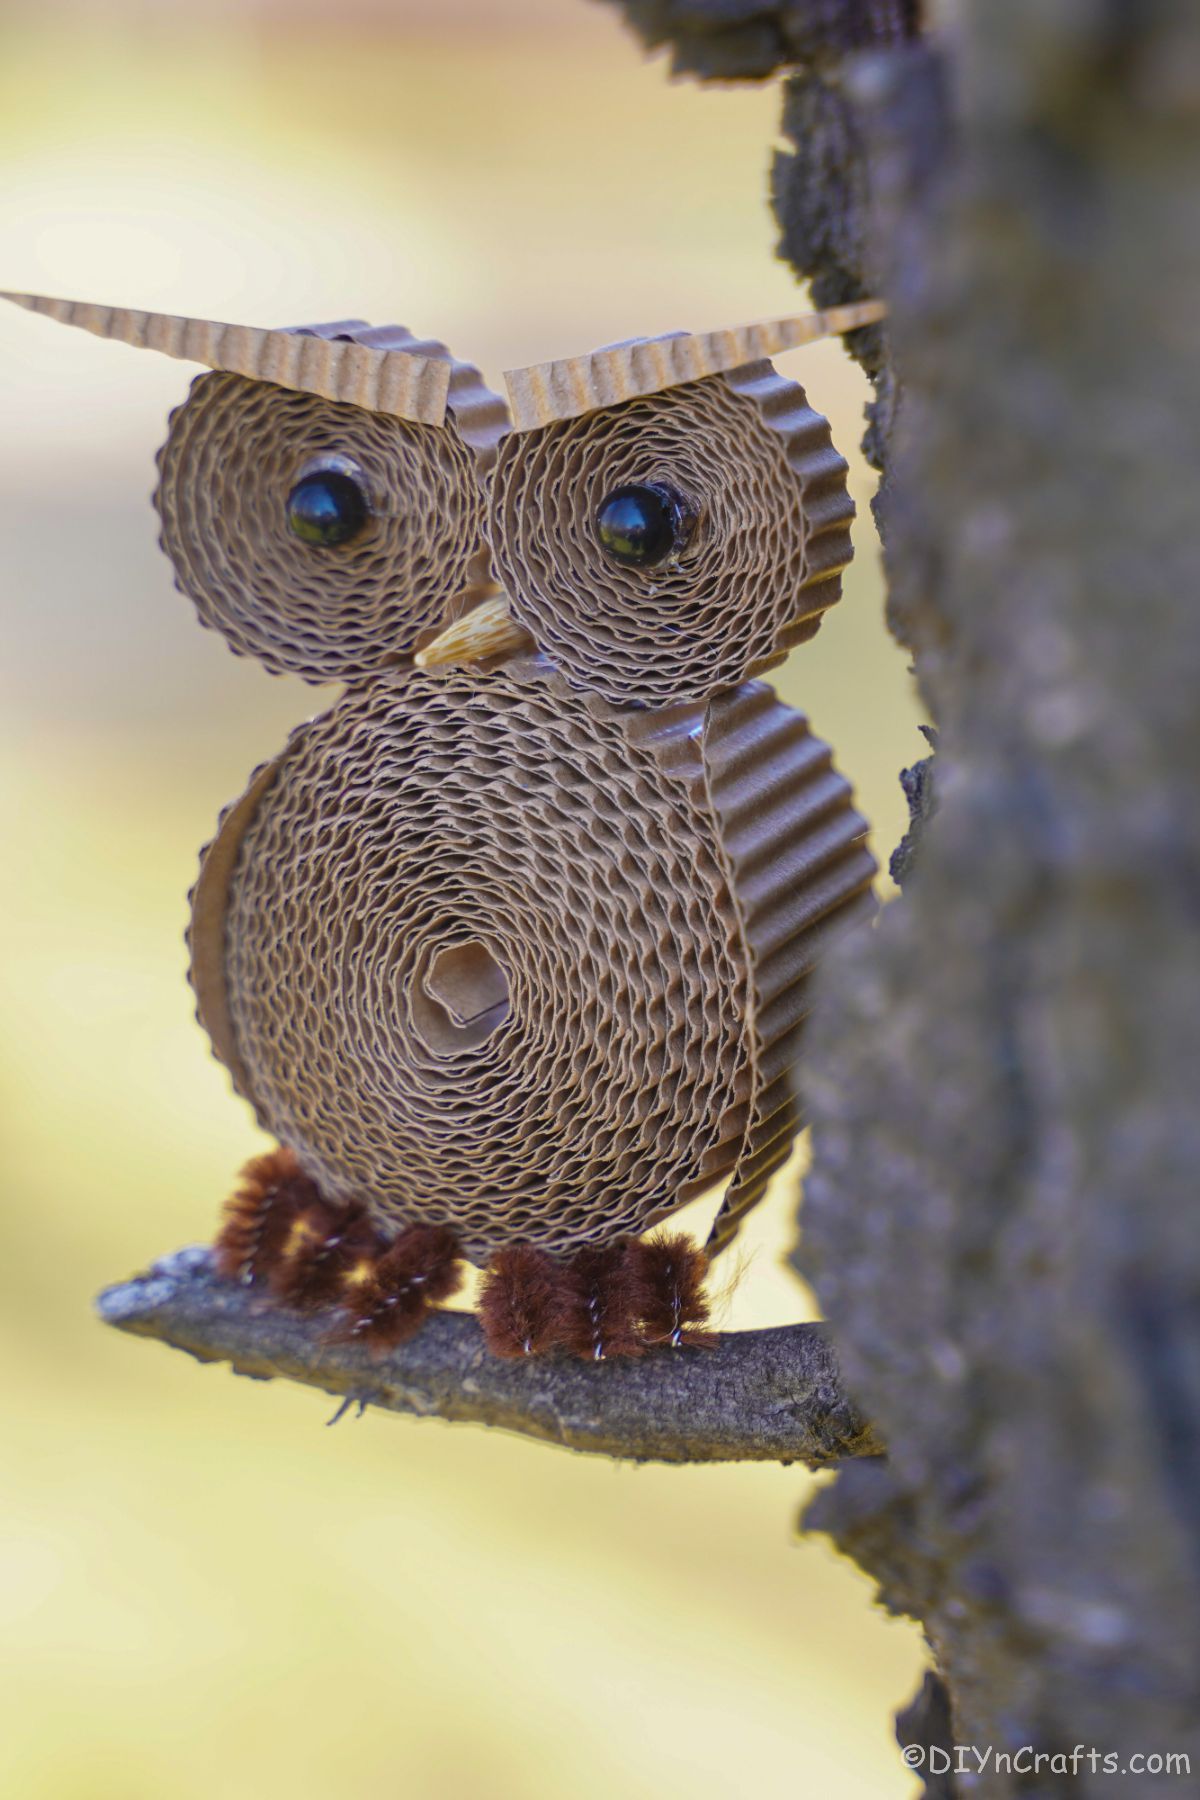
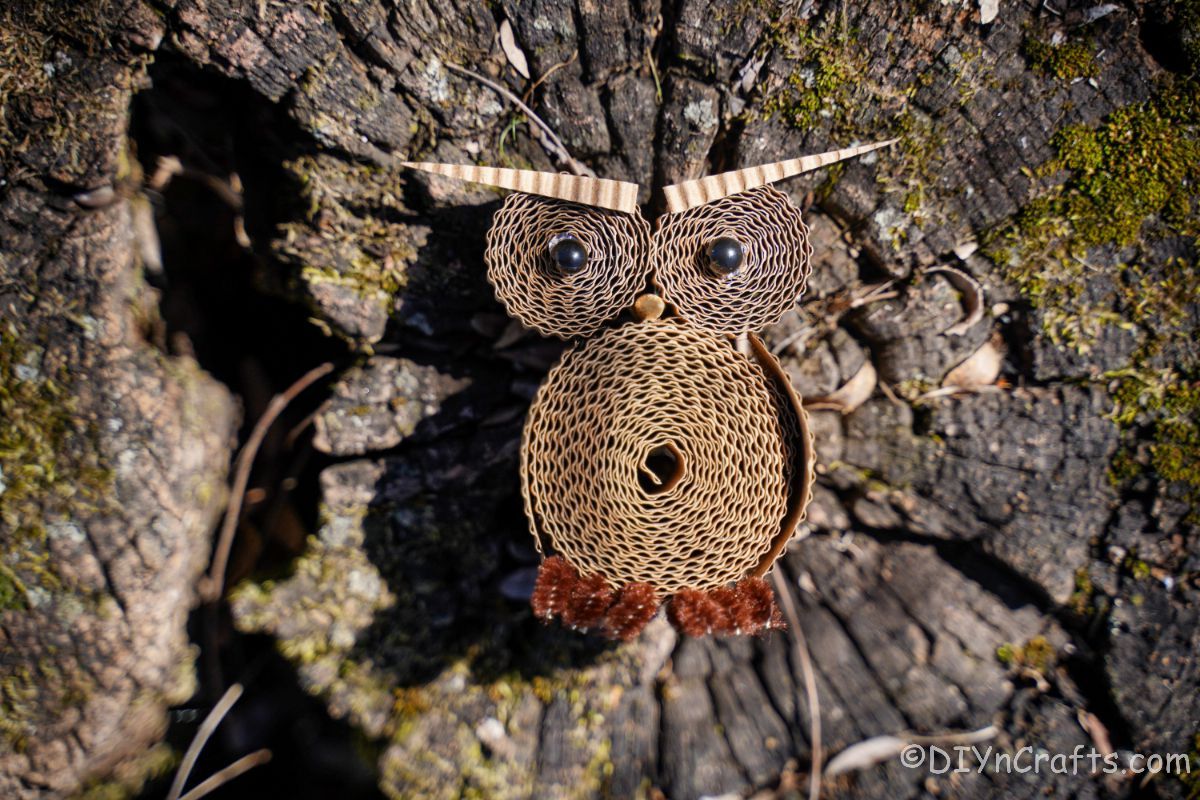
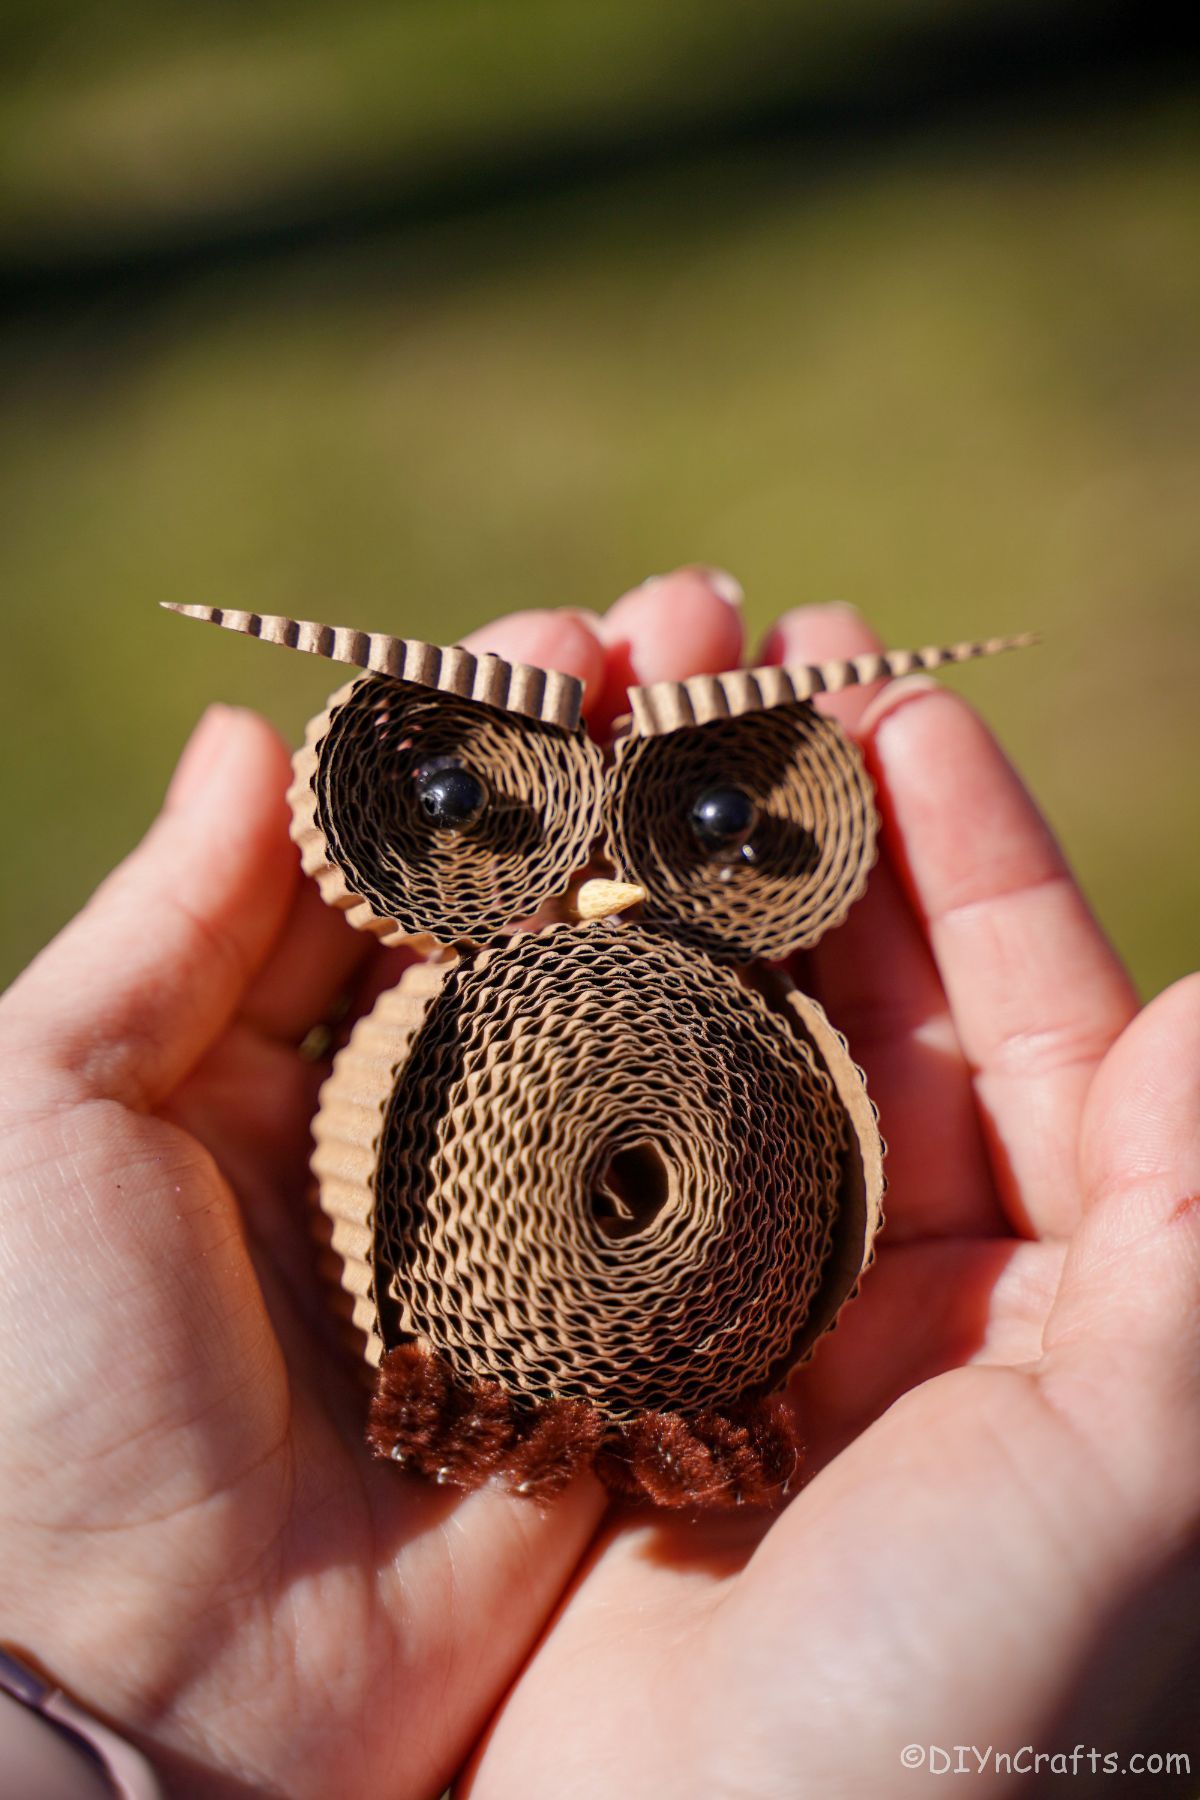
If you love rolled paper crafts, then you will absolutely adore this rolled cardboard owl idea! A rustic owl craft with simple supplies and an easy process to follow, this is a great way to use up paper, scrap cardboard, and make something truly unique. This is one craft that others won’t have in their homes and can be a fun and new idea to add decor to an owl lover’s bedroom!
Rolled Cardboard Owl
Owls are a popular decor, jewelry, and even fashion. Of course, I love adding them to crafts. Whether it is this unique rolled cardboard decoration or a few stickers on a journal, owls are a “hit” with everyone. This particular craft takes a bit of time, but the result is awesome. It’s super cute to display in a kid’s room, or small enough to stick into a gift basket for a bit of whimsy.
If you want something that can go on your front door to greet friends, you might also like this adorable burlap owl wreath! It’s so easy to make and has that same great personality and cute owl look that you love. You might also like this cute little upcycled wood owl decoration or even this wood slice owl that uses some woodburning techniques.
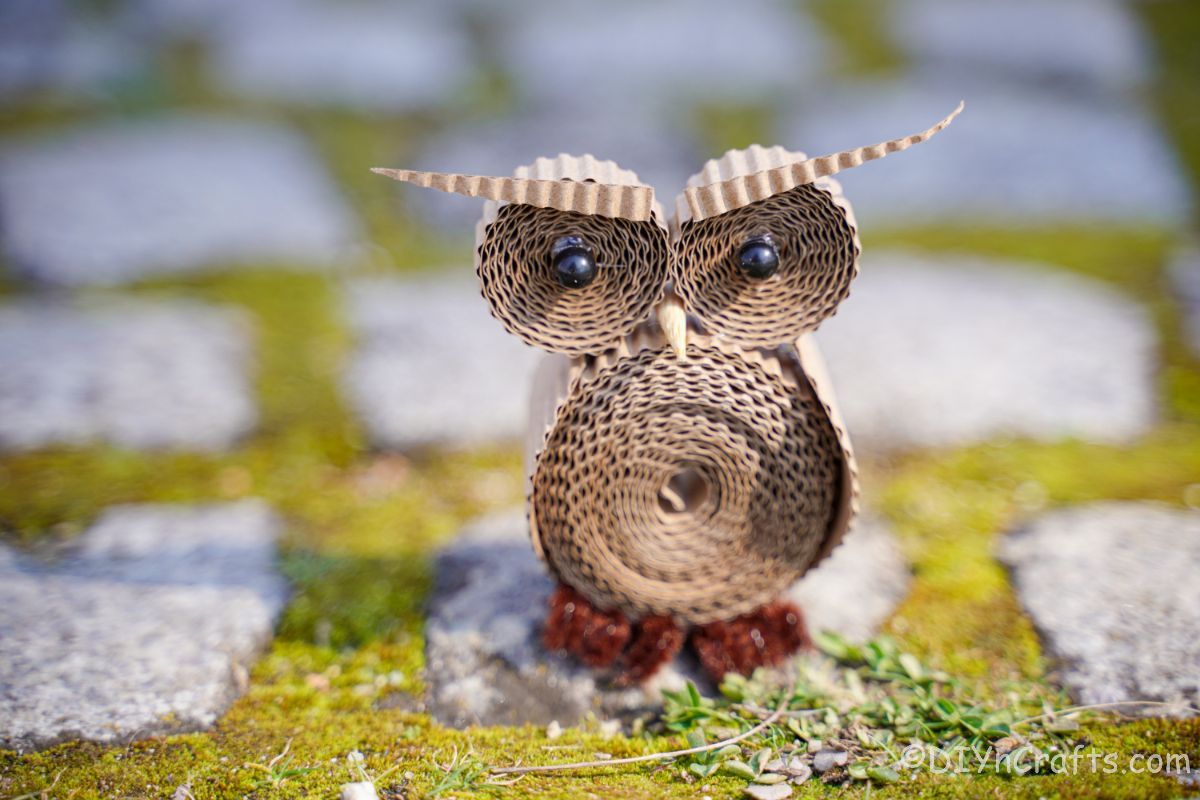
What Kind of Cardboard Should I Use for My Owl?
While I try to use what I have on hand, this is one project you may need to look around a bit to find the right cardboard. You need something that is a bit thinner and more flexible than a traditional shipping box. I found rolls of cardboard at a local shipping store that are just the right weight for this. You can also look for shipping boxes from recent purchases and test how easily they will roll into the shape needed.
You can also use cardstock for this or even posterboard if you prefer. Just remember that when rolling it the base you use will need to be flexible enough to mold into that shape that is rounded.
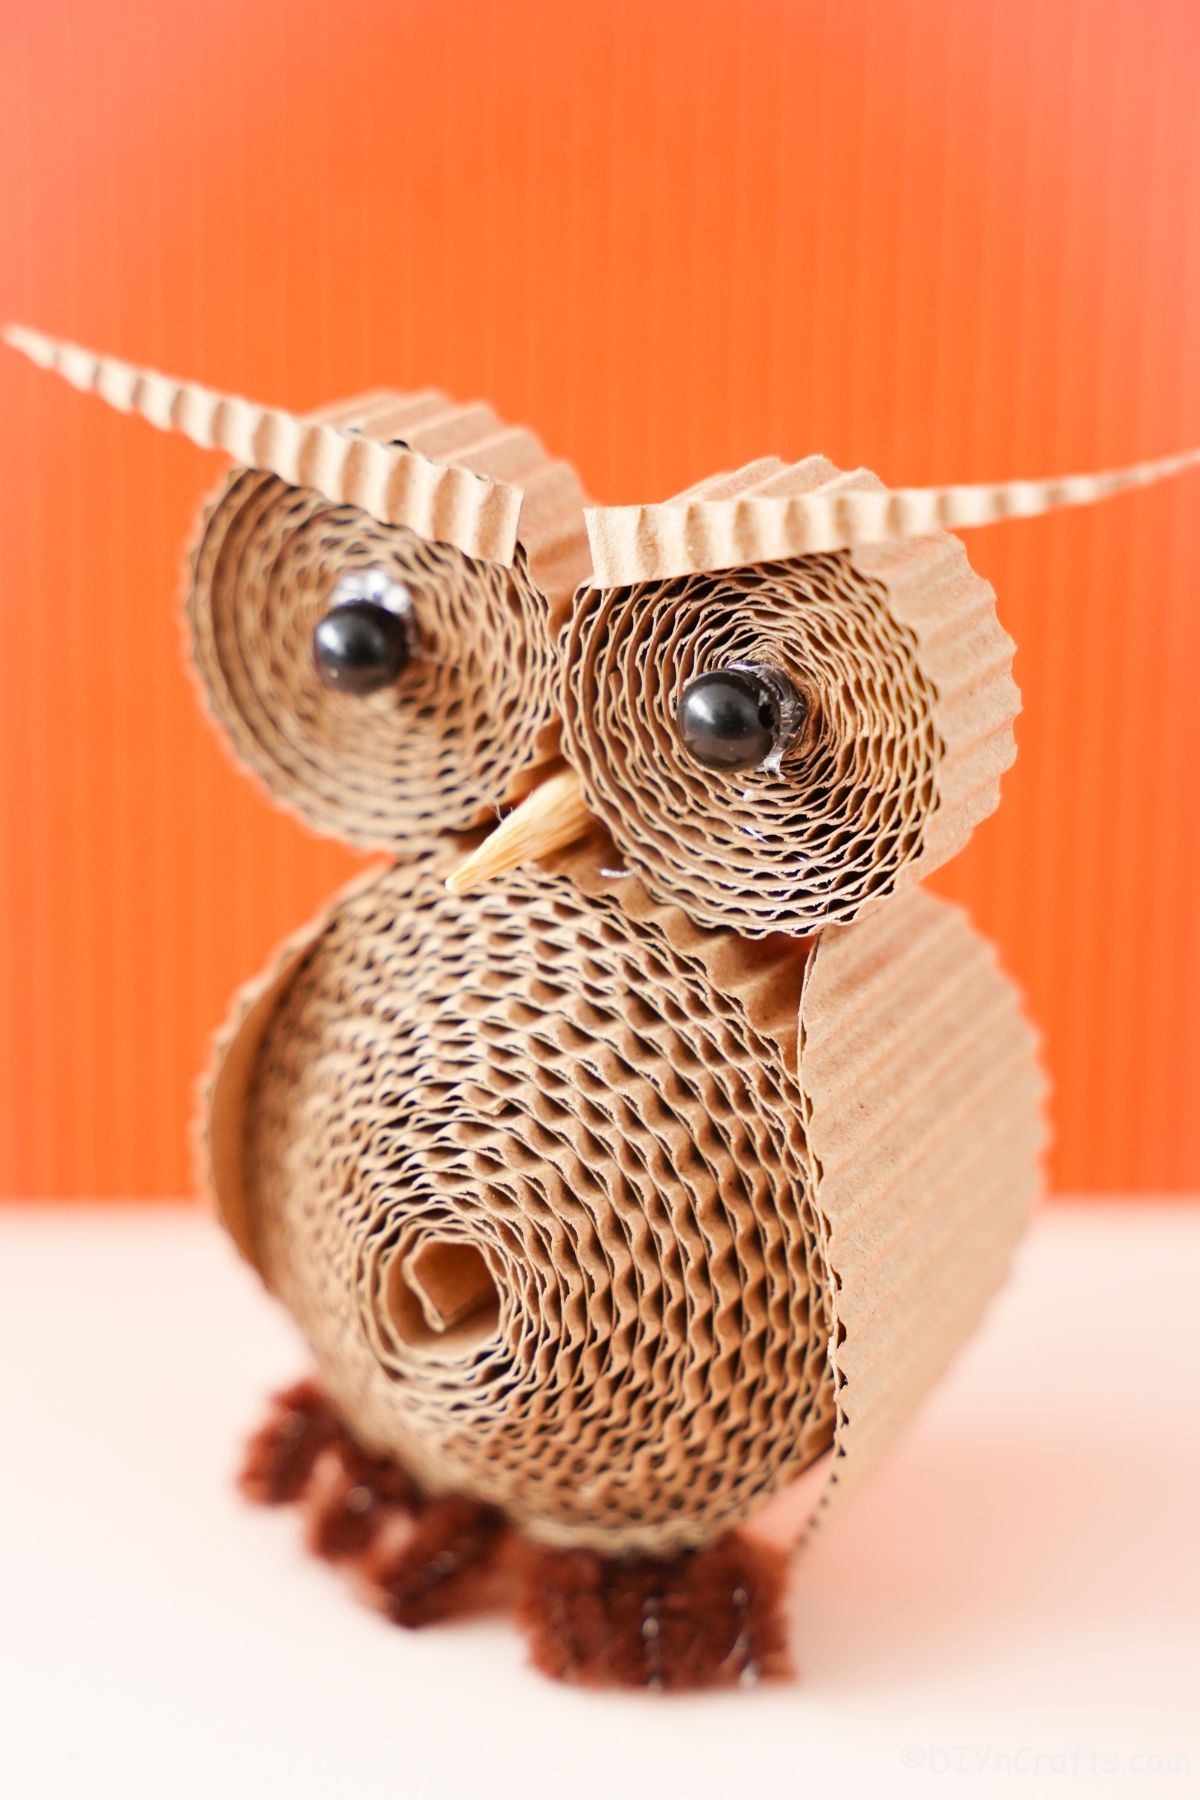
Can I Paint This Owl?
Absolutely! While the rustic look of brown cardboard is my favorite, you can definitely add a bit of paint to make it a little unique. Since it is a paper base, you will want to be careful about the type of paint that you use.
I recommend creating the owl, then using spray paint to coat in the color you want. That way you are only painting what is visible and not worrying about painting every inch of the cardboard. You could also just paint specific parts by using acrylic craft paint for the face or even along the edges to give the owl some depth.
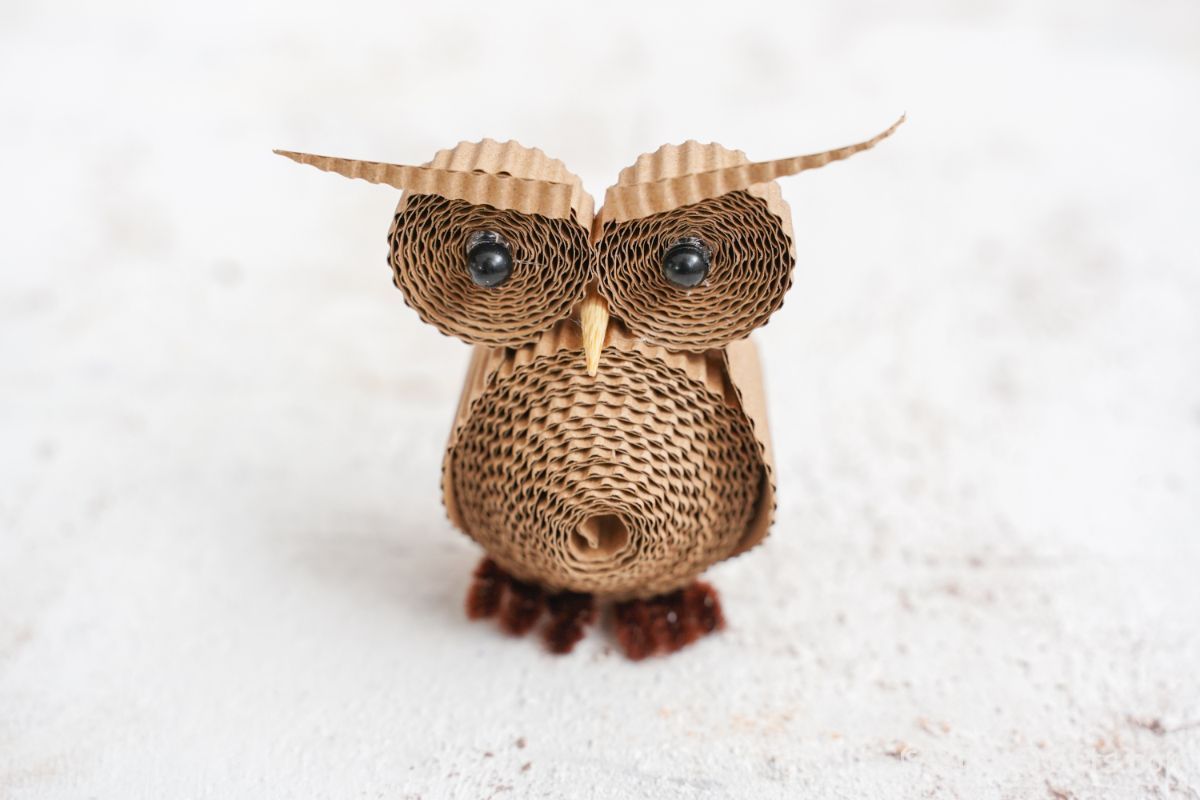
How Can I Customize This Owl Craft?
If you want to make your owl just a bit different, there are tons of ways to create a little more personality on your craft. I love the idea of making several of these and displaying them in a kid’s bedroom as a little owl family on a shelf. Below are some ideas that are tons of fun to add more personality to your owl.
- Glue on a pair of mini glasses to make your owl look studious.
- Add hats, scarves, or bows to the owl to make them look dressed up.
- Cut out cardboard feet, or even add mini-doll shoes on the bottom instead of the pipe cleaner feet.
- Use different colors of cardboard for the eyes, or even layer with different colors.
- Add sequins, beads, or glitter to make your owl sparkle.
- Glue a dowel rod to the back or bottom of the owl to use it as a garden decoration or to put it into a potted plant.
Just have fun customizing your cardboard owl and making it fit your personality and style. There is no wrong or right way to make this into a cute project for yourself or your kids to make and display.
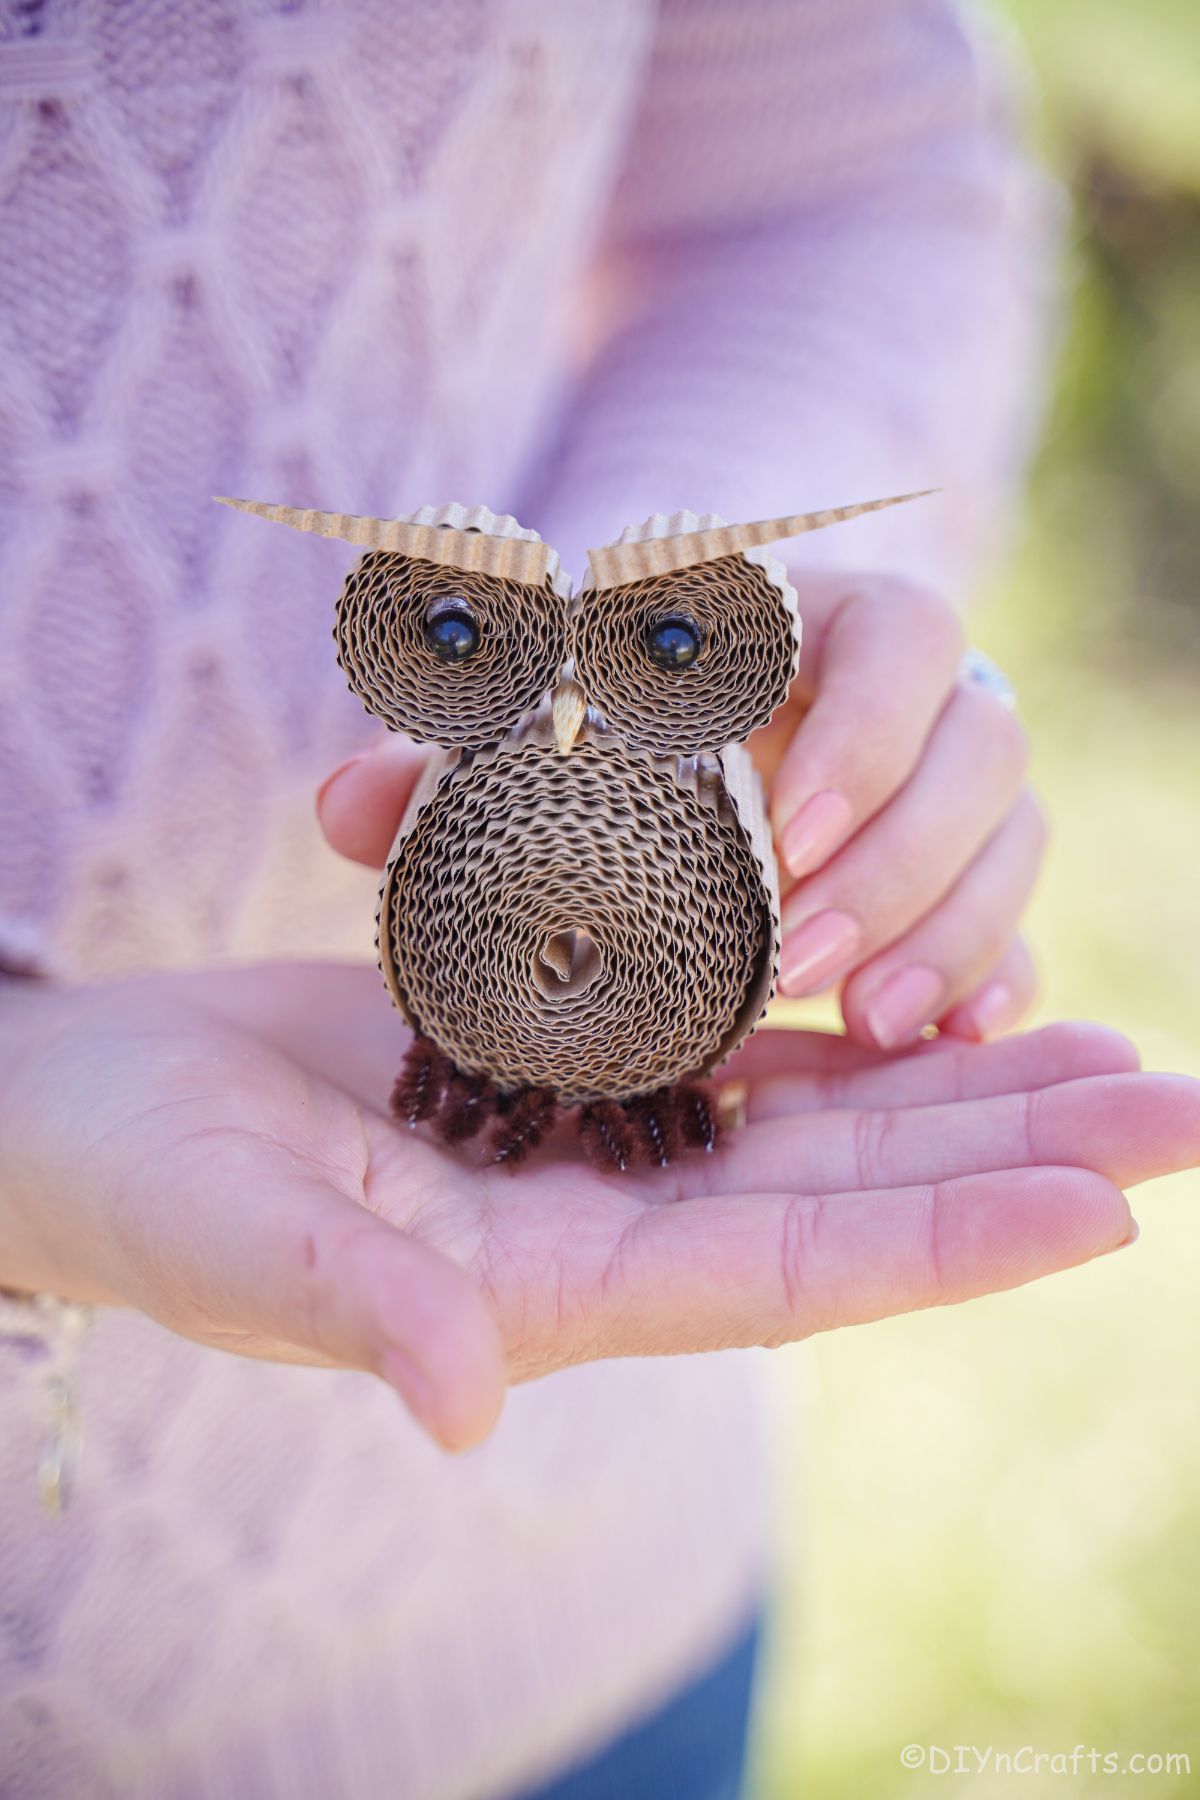
Supplies Needed
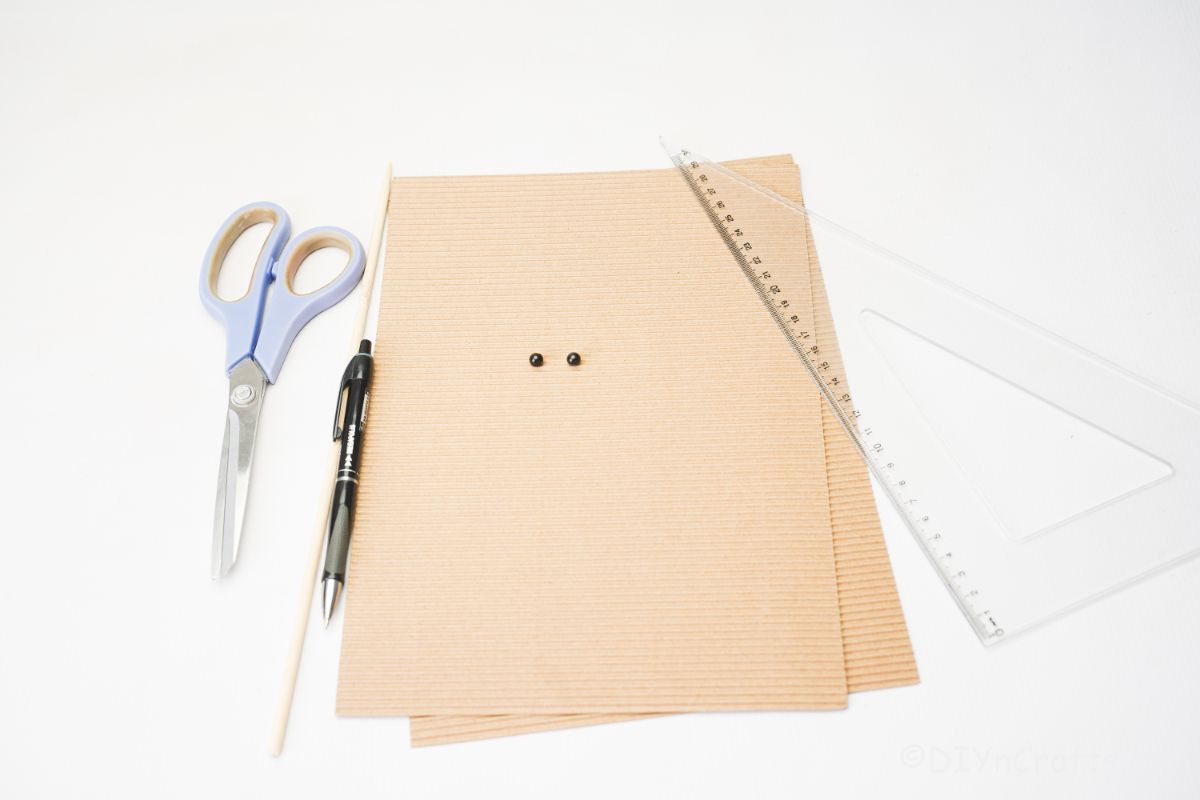
How to Make a Rolled Cardboard Owl
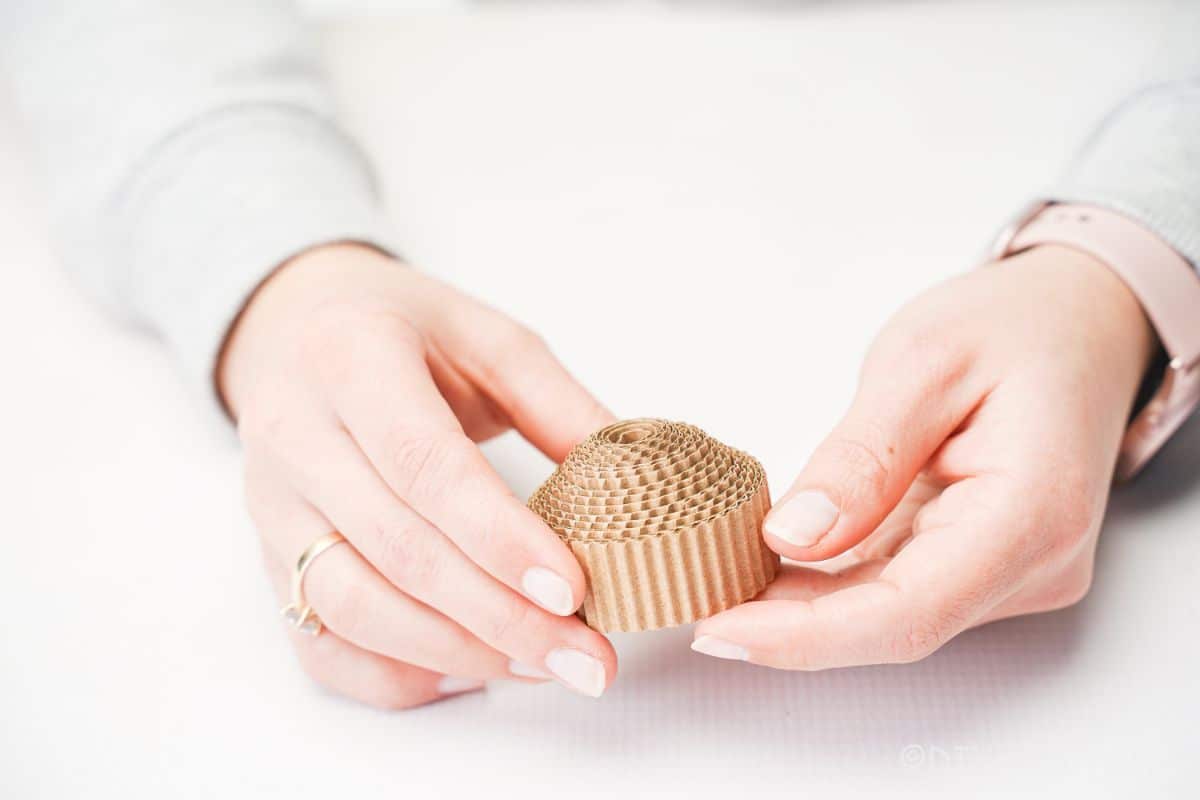
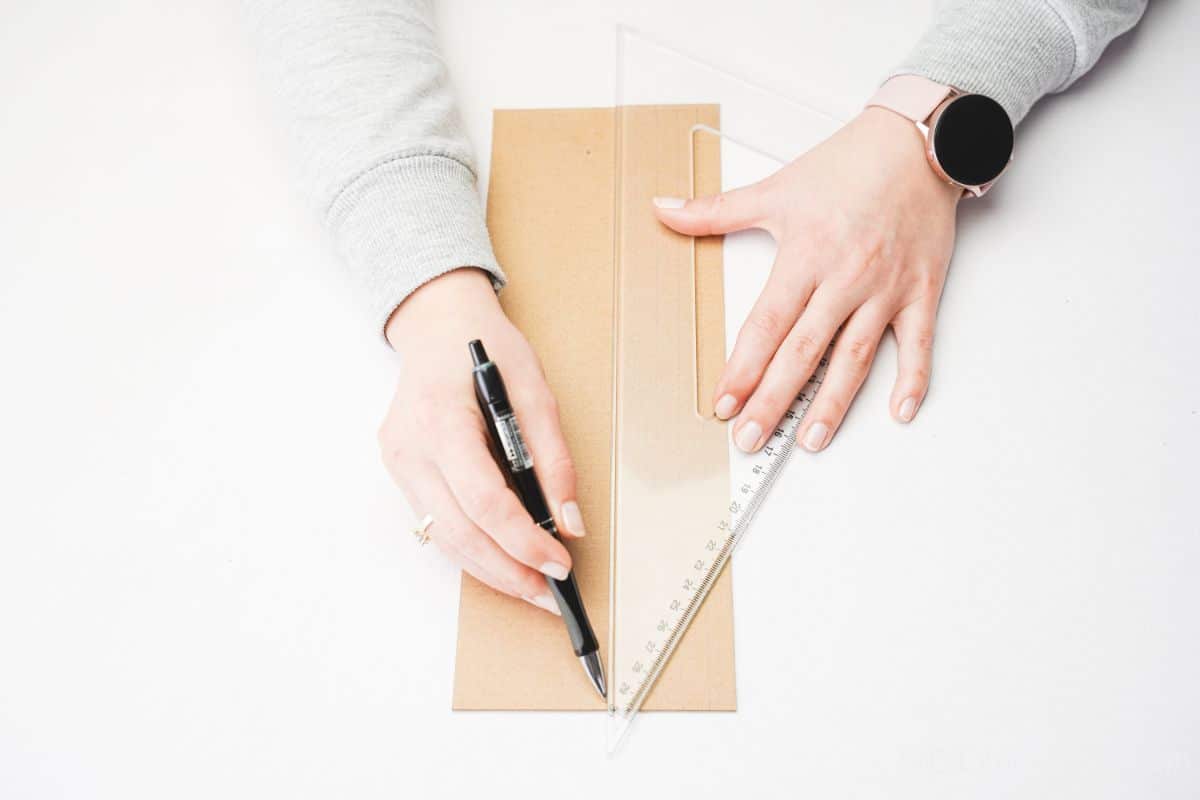
Lay the cardboard out that you will be using, and measure out 3 strips of the cardboard that are around 1″ wide.
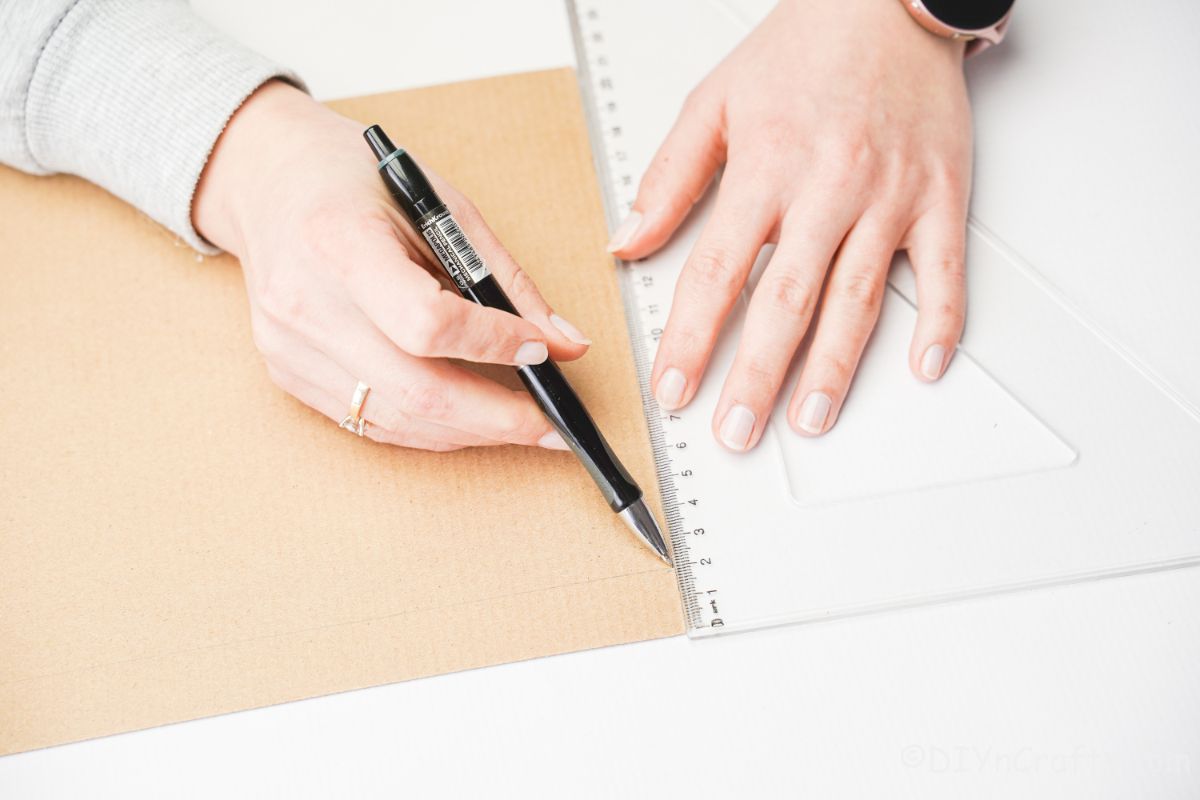
Once they have been cut, begin rolling them up. When each piece has been rolled, glue another piece to the end and continue rolling.
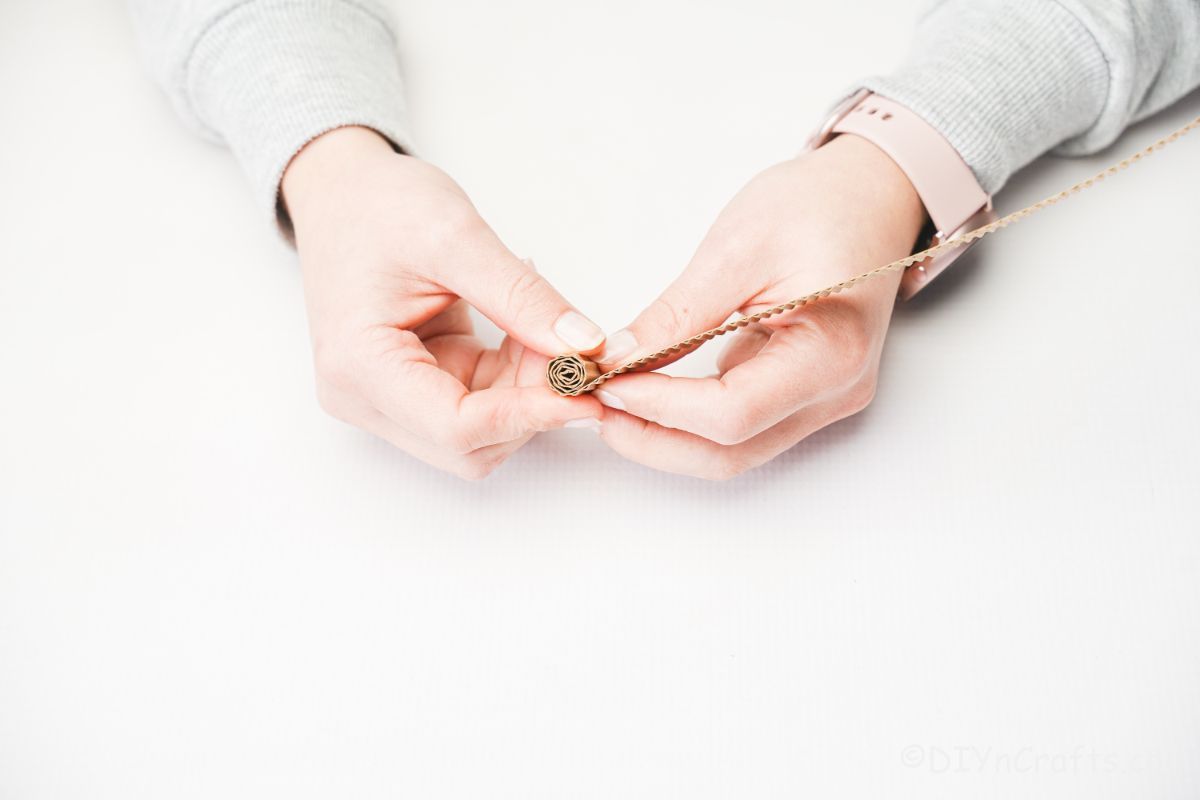
Repeat this until all three pieces of cardboard have been glued in place and secure the final end with additional glue.
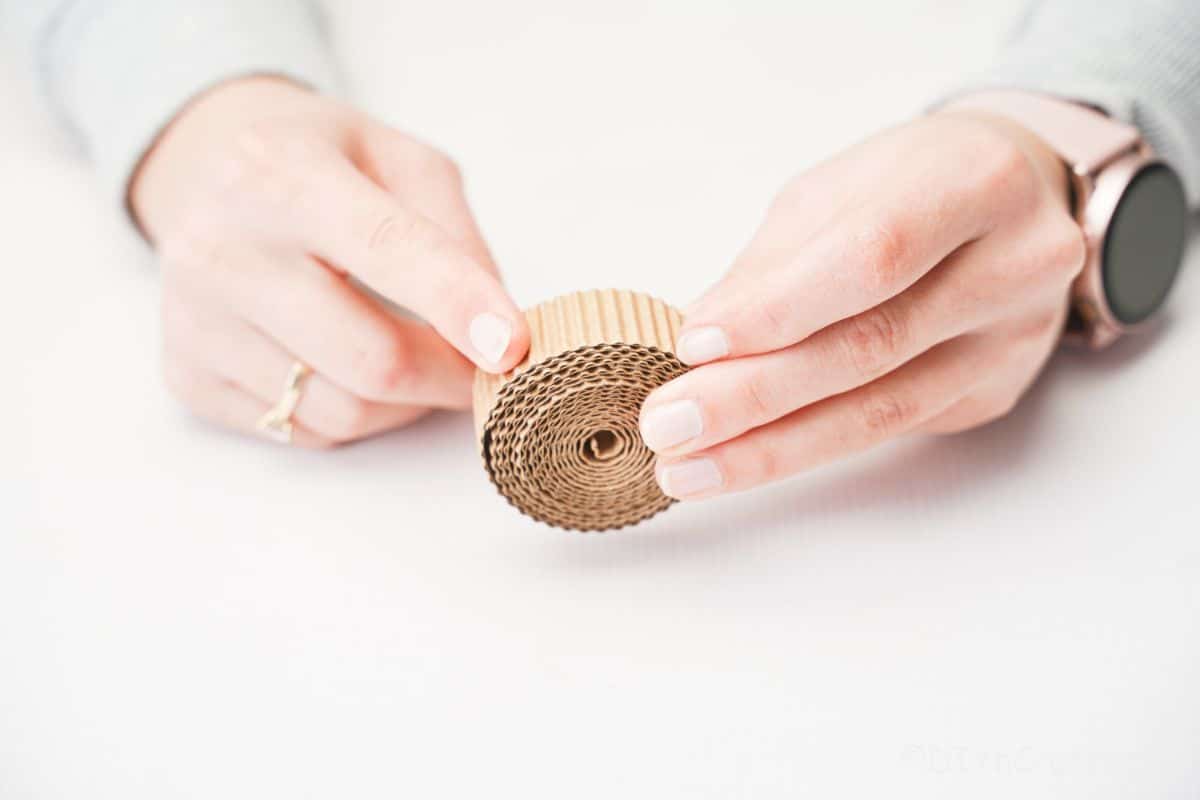
Once it has been secured, gently push the inside of the cardboard roll up to create a 3D depth effect then set this aside.
 On the same cardboard from earlier, measure and cut out 4 strips that are 1/2″ wide.
Using 2 strips, continue with the same process of rolling the cardboard around itself.
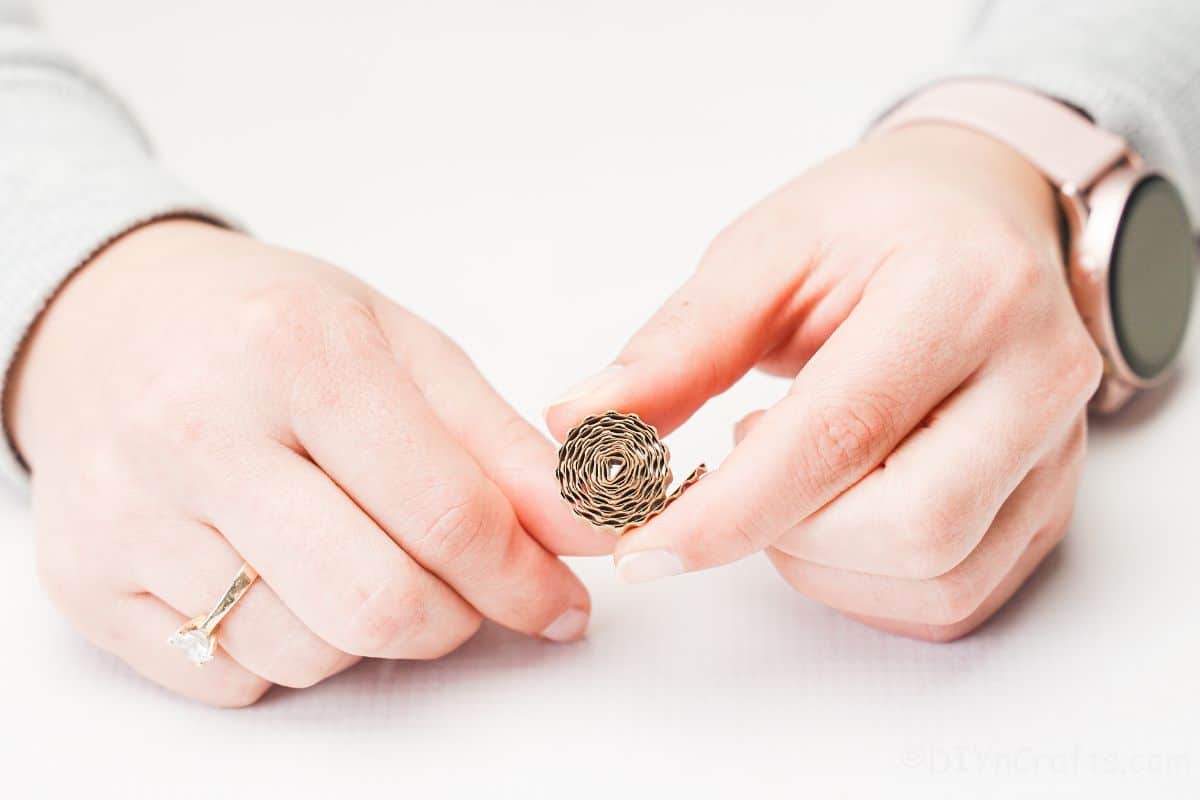
Attach the second strip with glue at the end, and then finally once wrapped around each other, secure with glue.
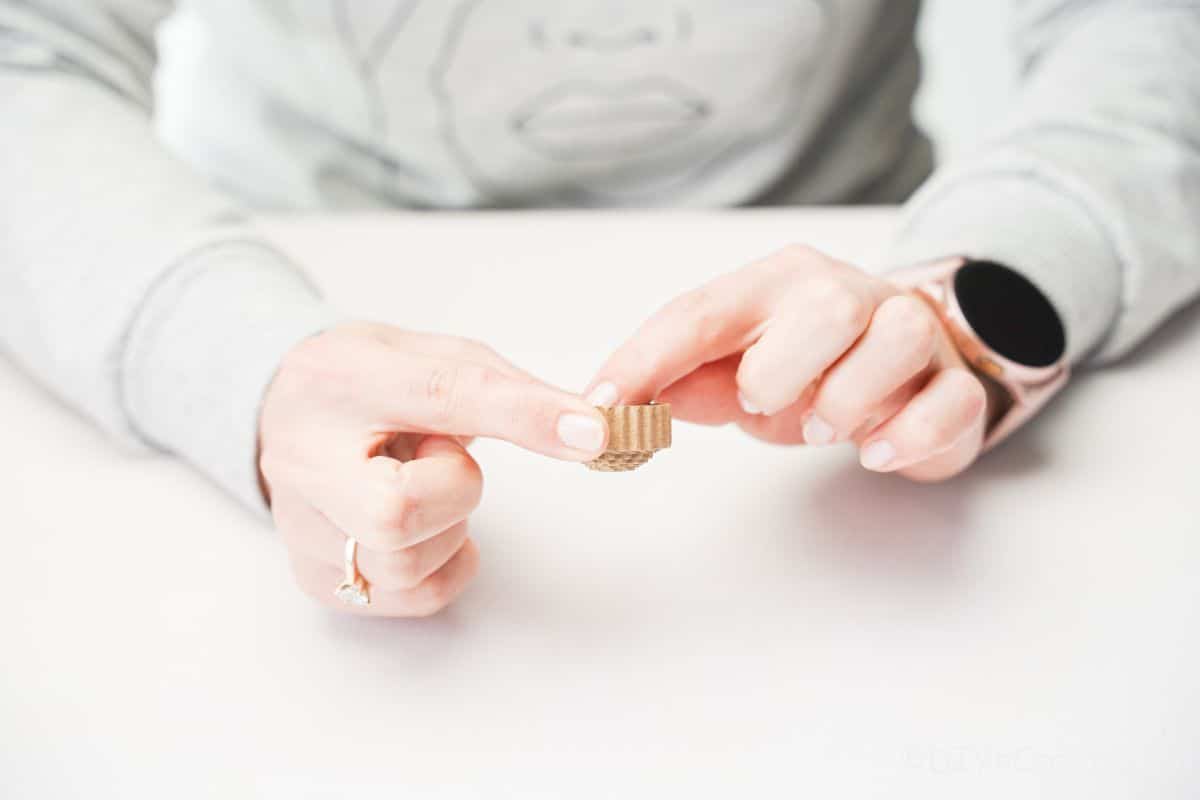
Repeat this process with the second 2 strips of 1/2″ cardboard.
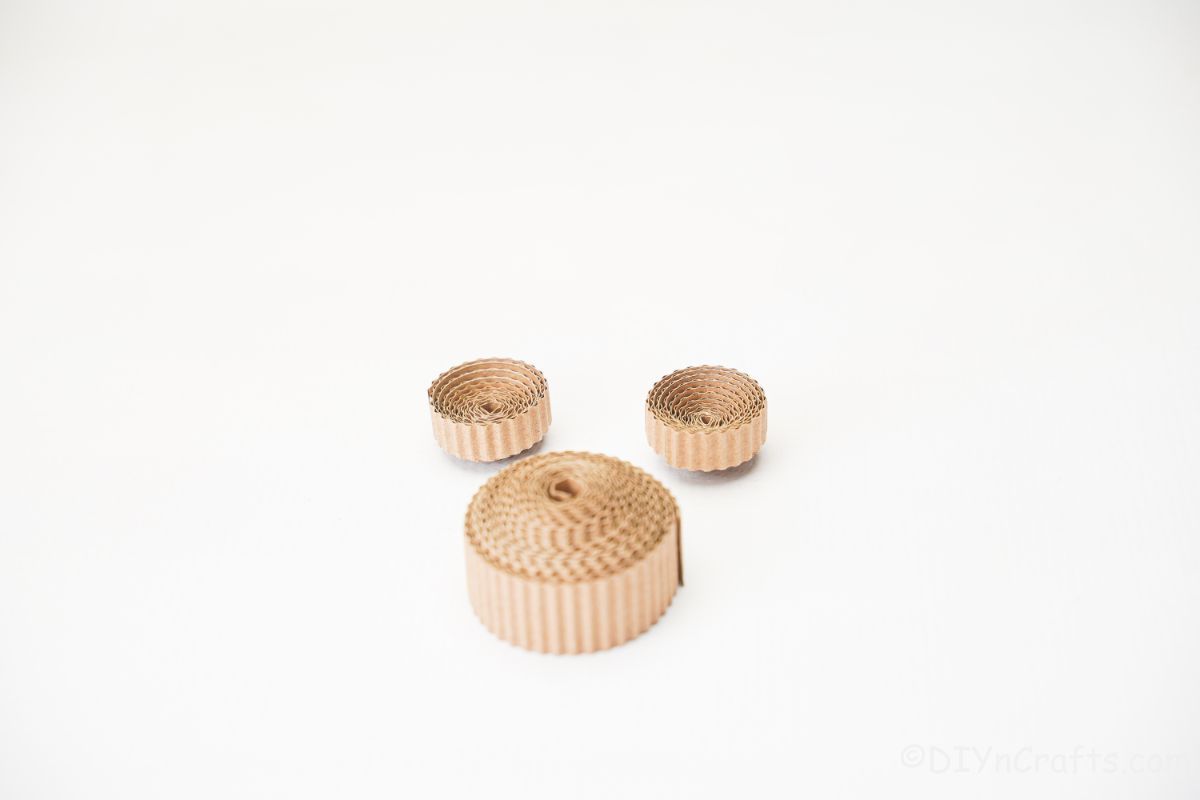
Into the center of both of these smaller circles of cardboard, glue a black bead on the center, creating eyes for the owl.
Next, glue these two circles on top of the larger rolled cardboard.
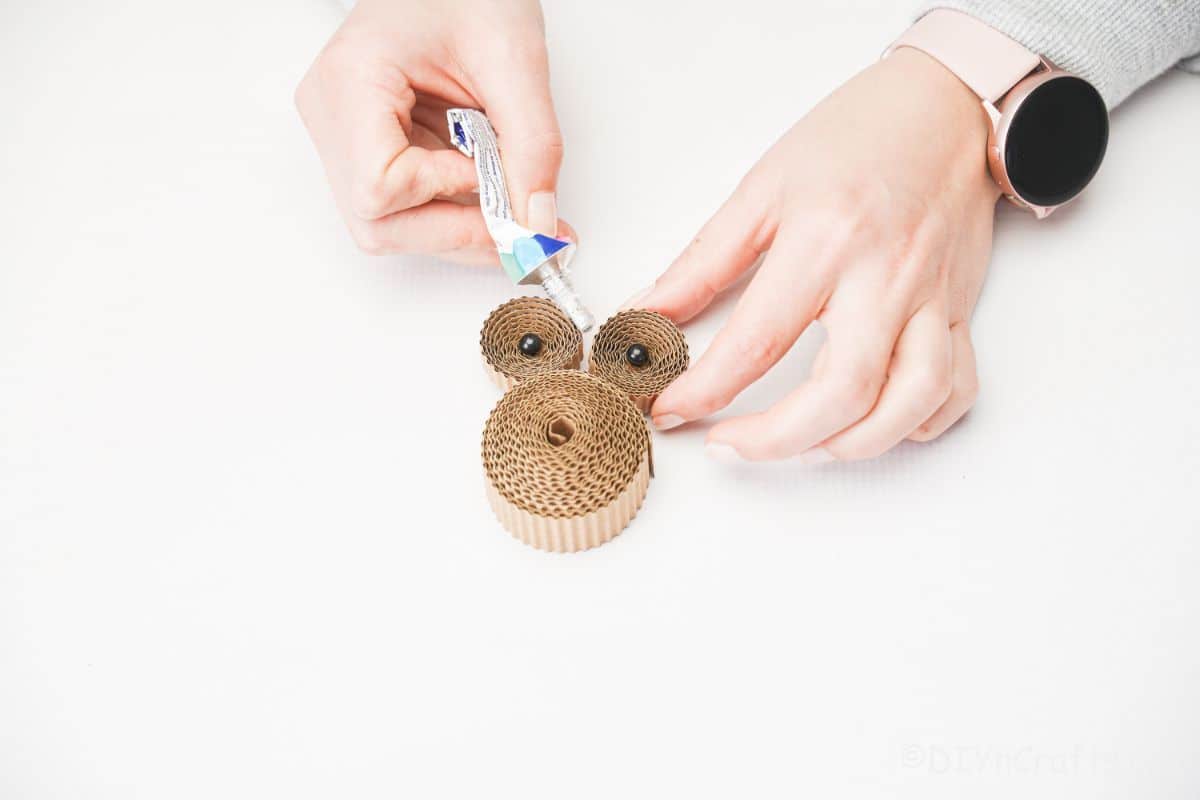
Set this aside, then cut out 2 pieces of cardboard that are 1″ long and triangle-shaped.
Glue these pieces onto the top of the eyes of your owl, at an angle, giving them eyebrows.
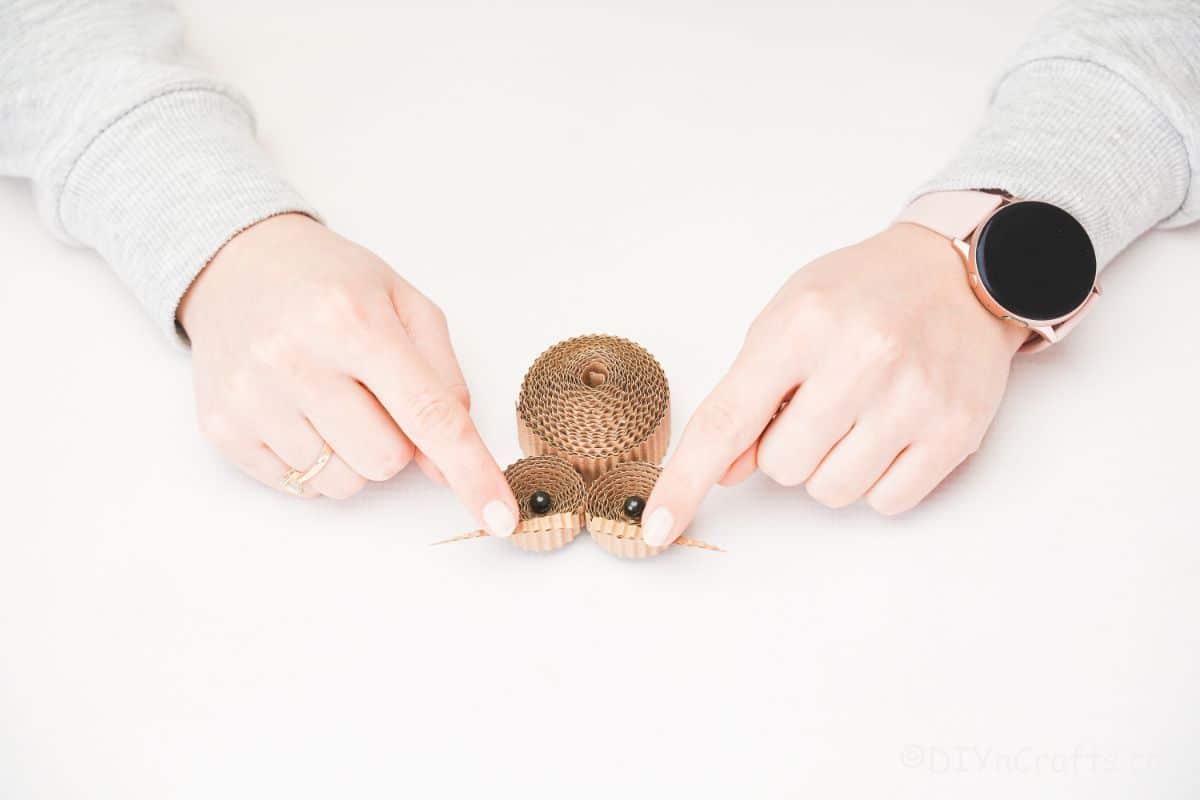
Cut out two additional pieces of cardboard in a long oval shape that looks like a wing – make these approximately 3″ tall.
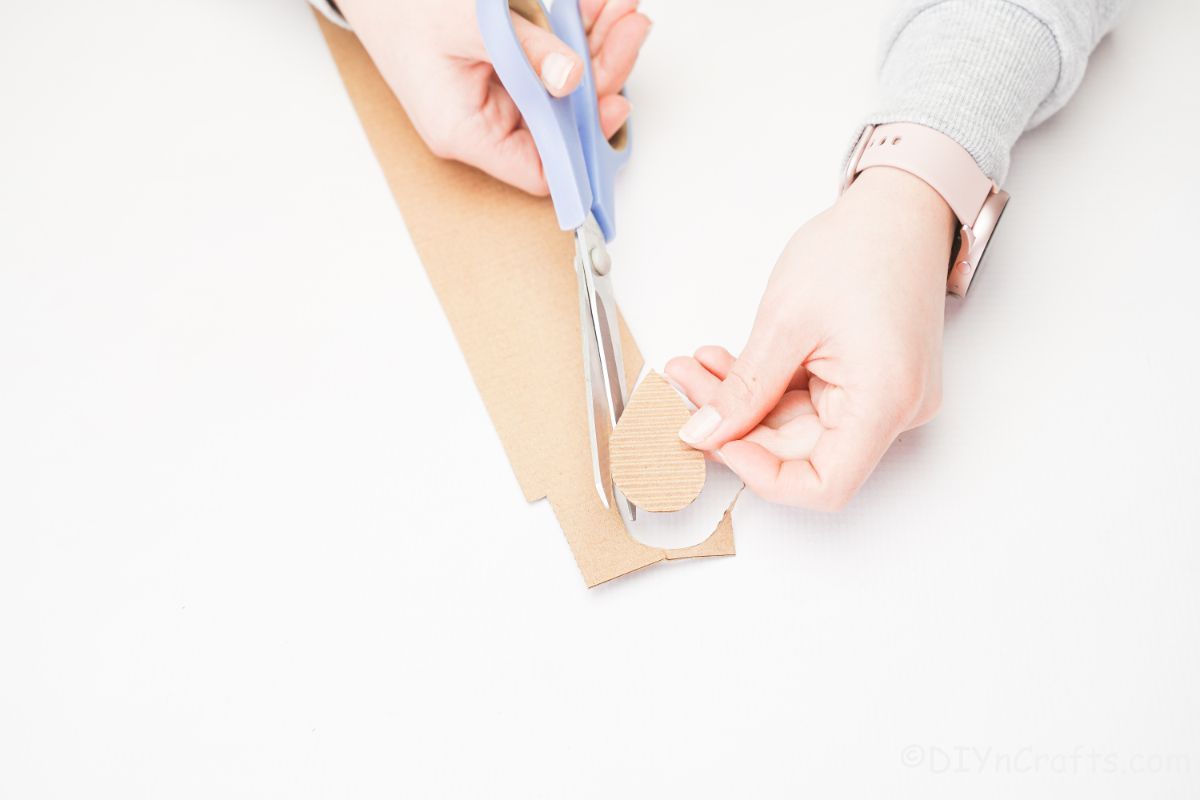
Next, you will glue one on each side of the owl’s body.
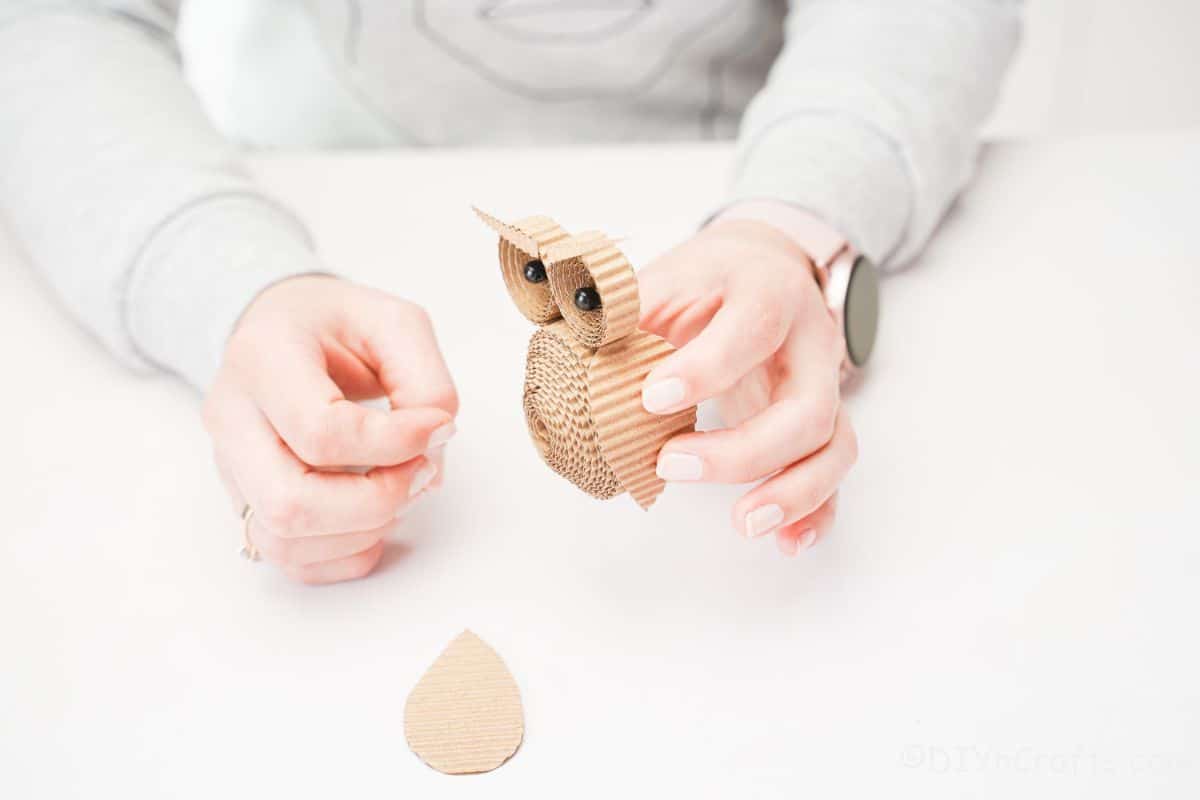
Cut a small piece of a toothpick or a dowl around 1″ long and glue it between the eyes to create the owl beak.
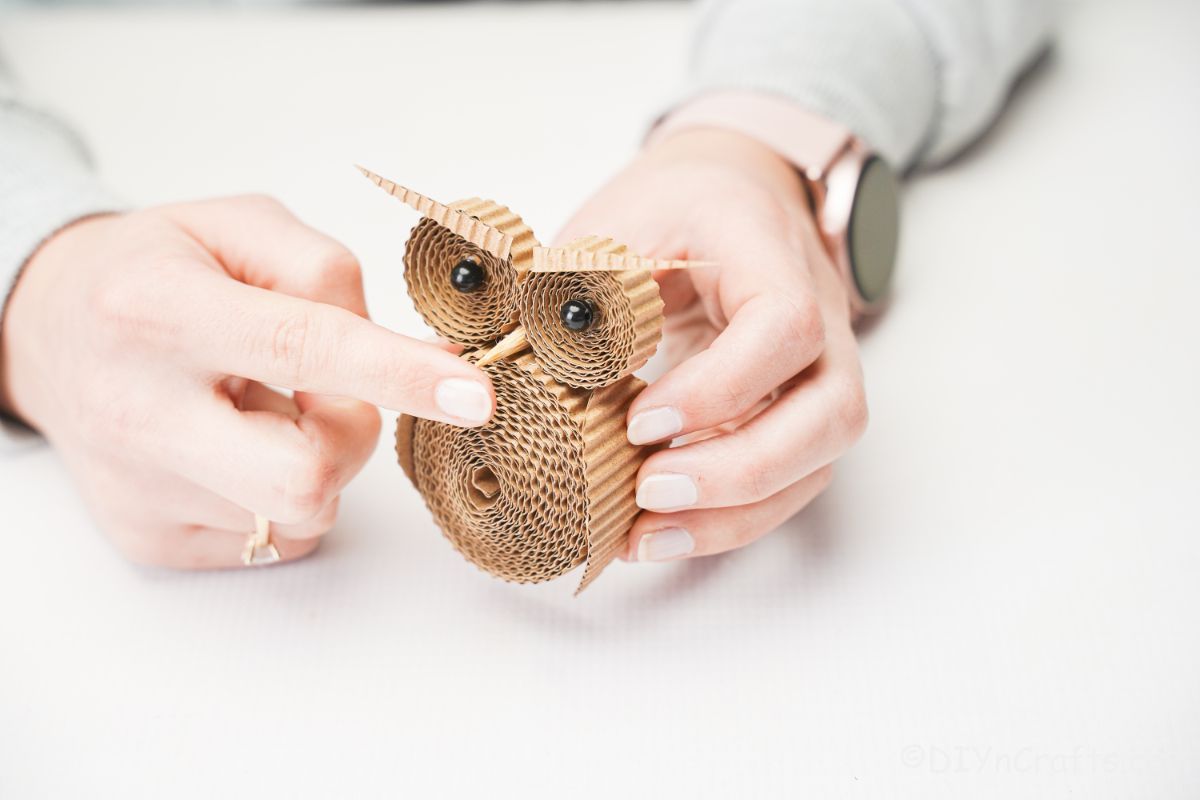
Next, cut four pieces of brown pipe cleaner into 1″ lengths.
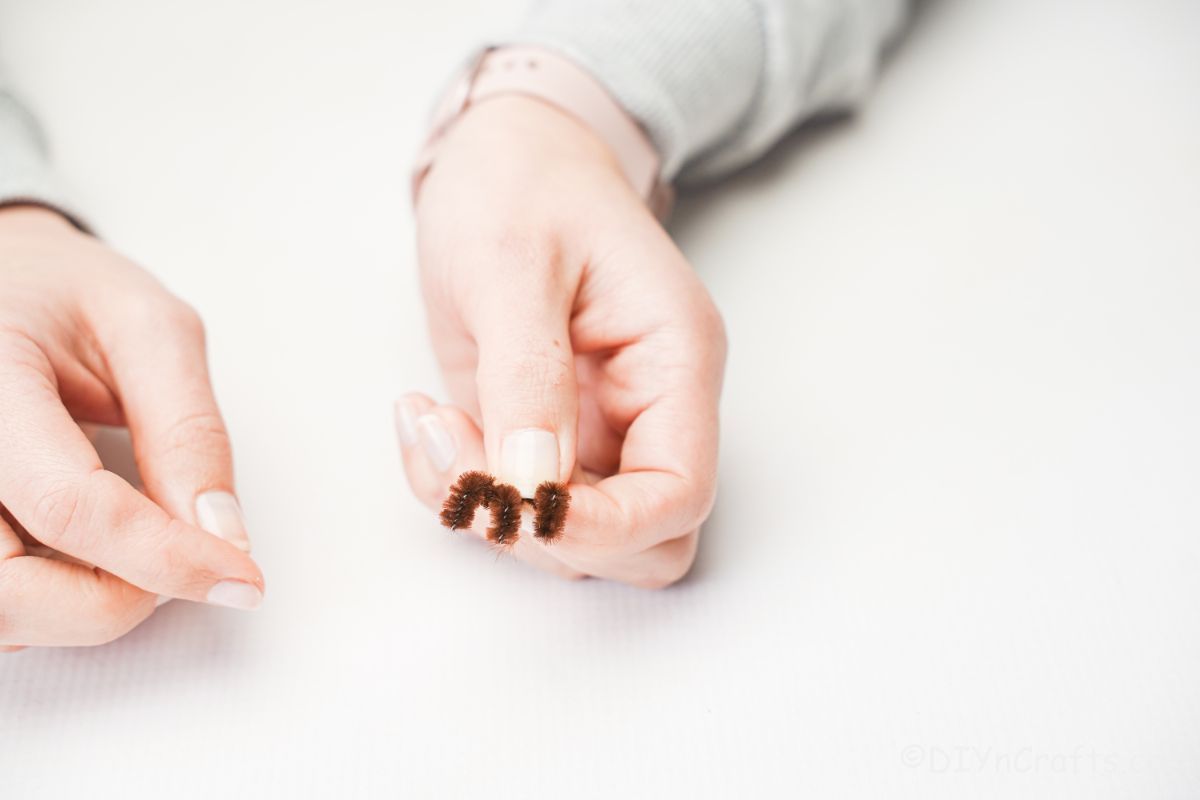
Wrap two of the pieces around each other to create a “leg”, then attach the other pieces to create toes on the legs.
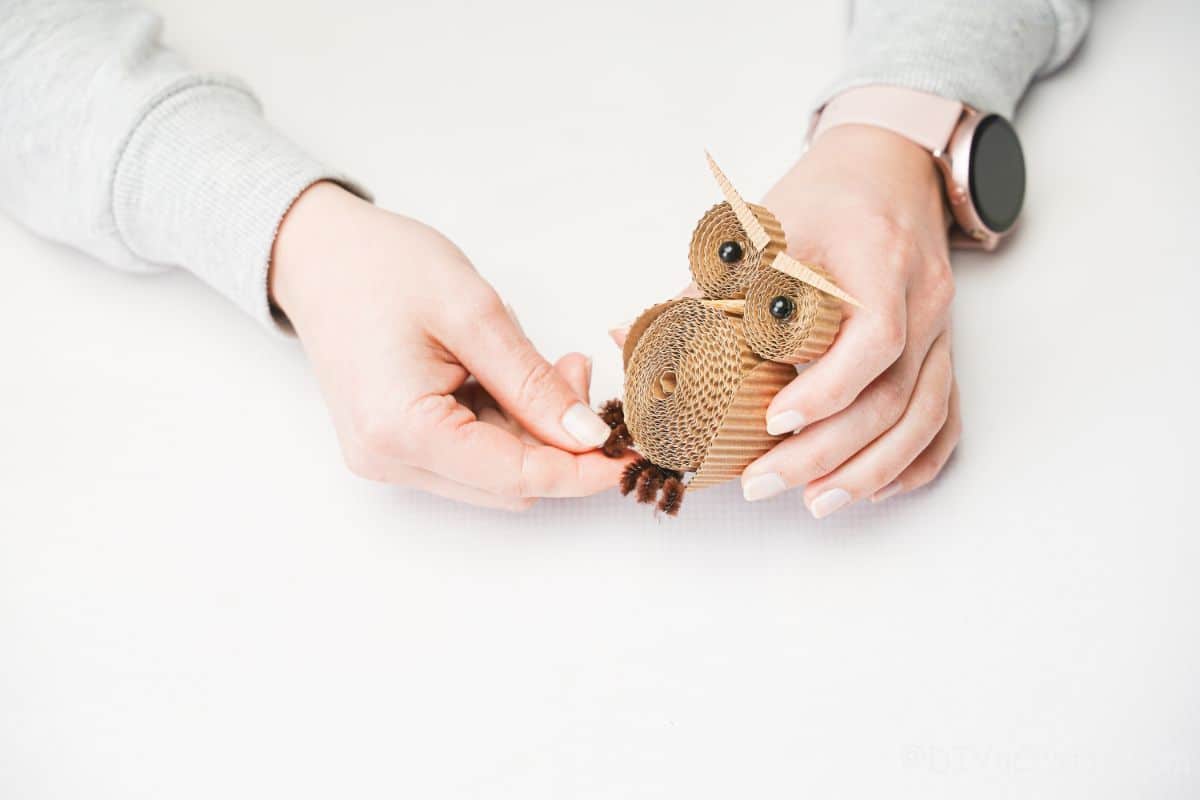
Glue the feet onto the bottom of the owl body and then add any additional embellishments you desire.
More Easy Owl Craft Ideas
If you like owls, then you will totally love these craft ideas! While the ones above are a bit more formal, these ideas are great for making with your kids. So much fun and super easy for a little additional craft to keep busy! Make sure that you bookmark the ideas and print out the tutorials to make soon!
Yield: 1
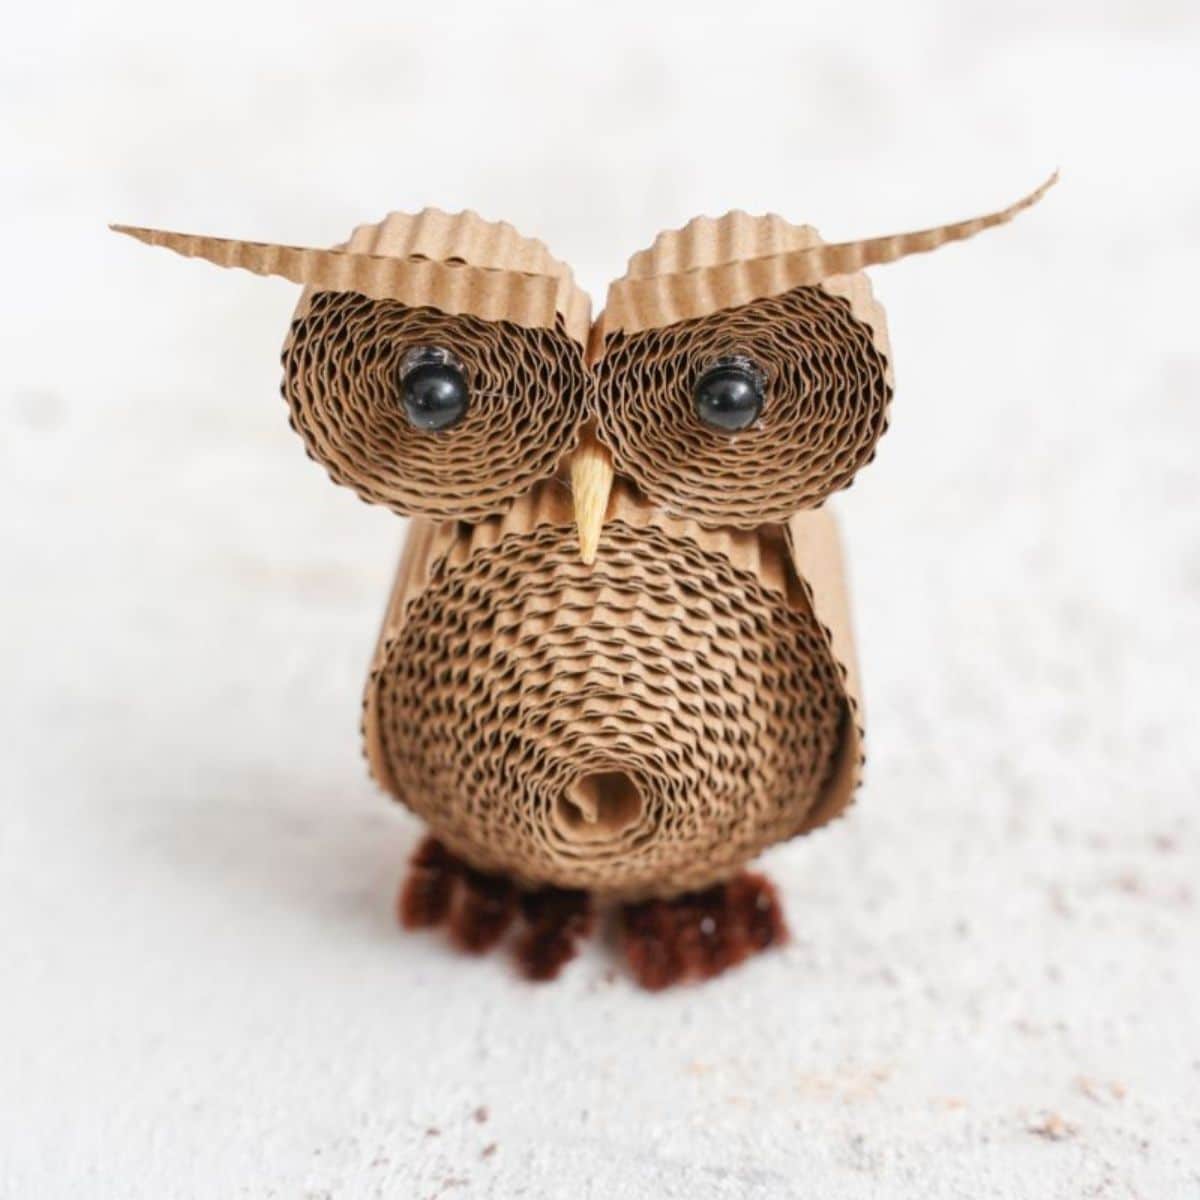
A bit of scrap cardboard or cardstock is all you need to make this rolled cardboard rustic owl craft! An adorable addition to any kids room decor!
Active Time
20 minutes
Total Time
20 minutes
Difficulty
Easy
Estimated Cost
$0
Notes
Use colored cardboard or cardstock to make your owl more unique.
Recommended Products
As an Amazon Associate and member of other affiliate programs, I earn from qualifying purchases.
Finished Project Gallery
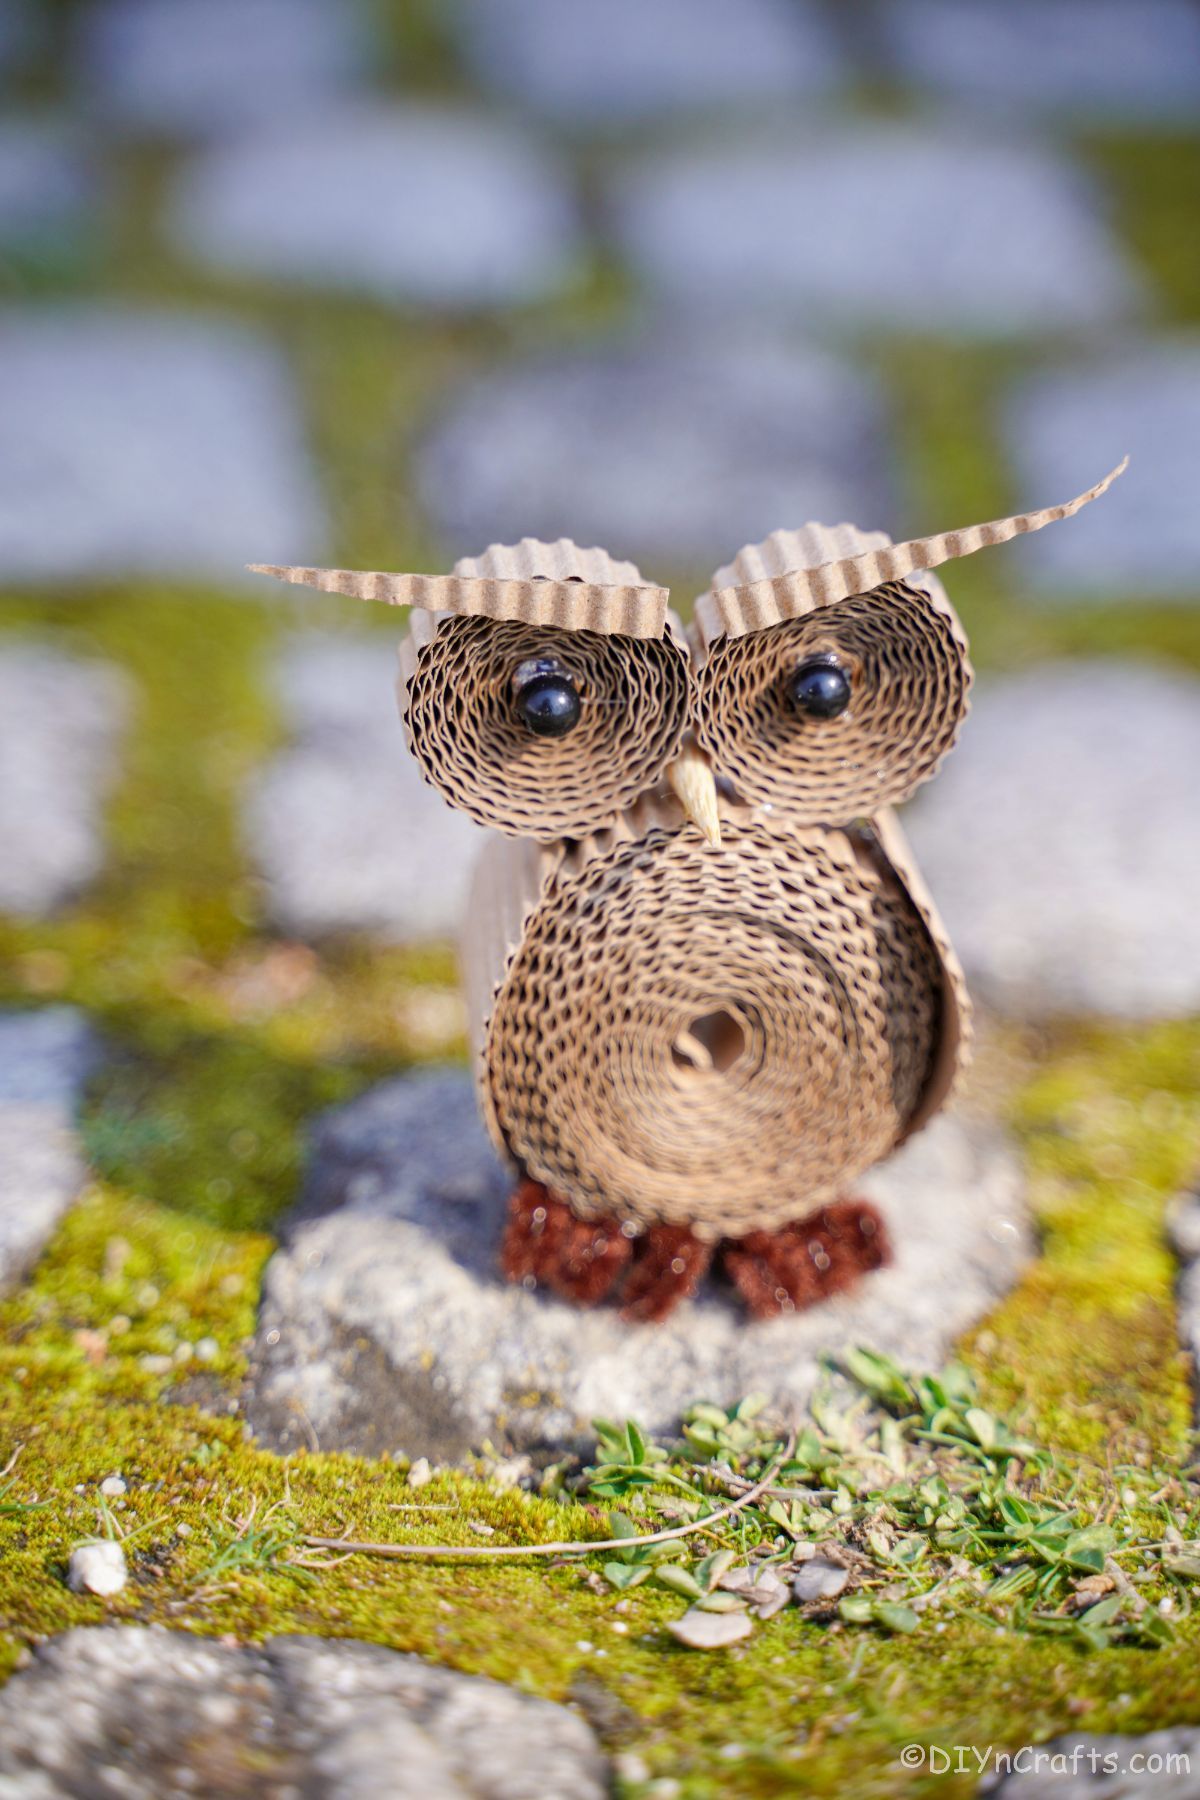
Add this to your mantle for a fun addition that is great year-round.
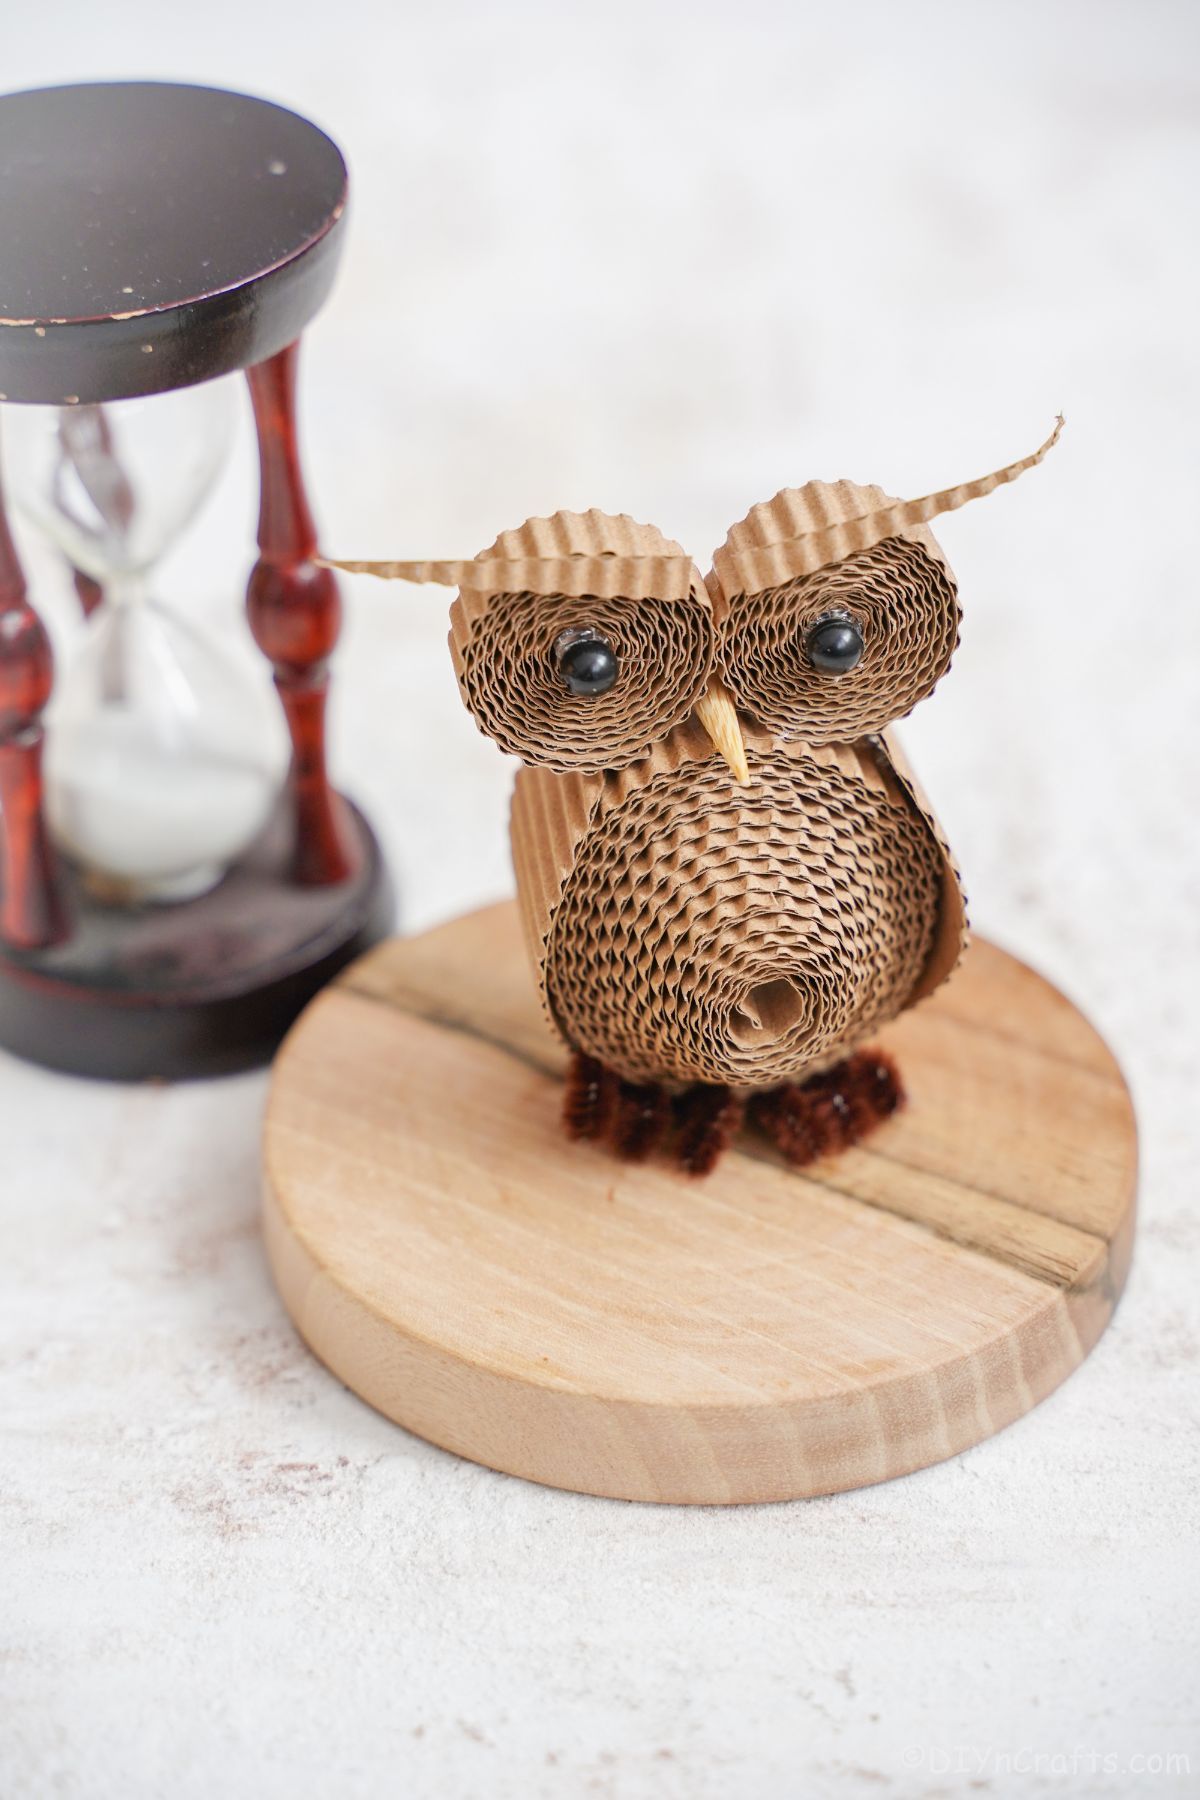
Or display it on a shelf in a kid’s room or even a baby nursery!
[ad_2]
Source link

