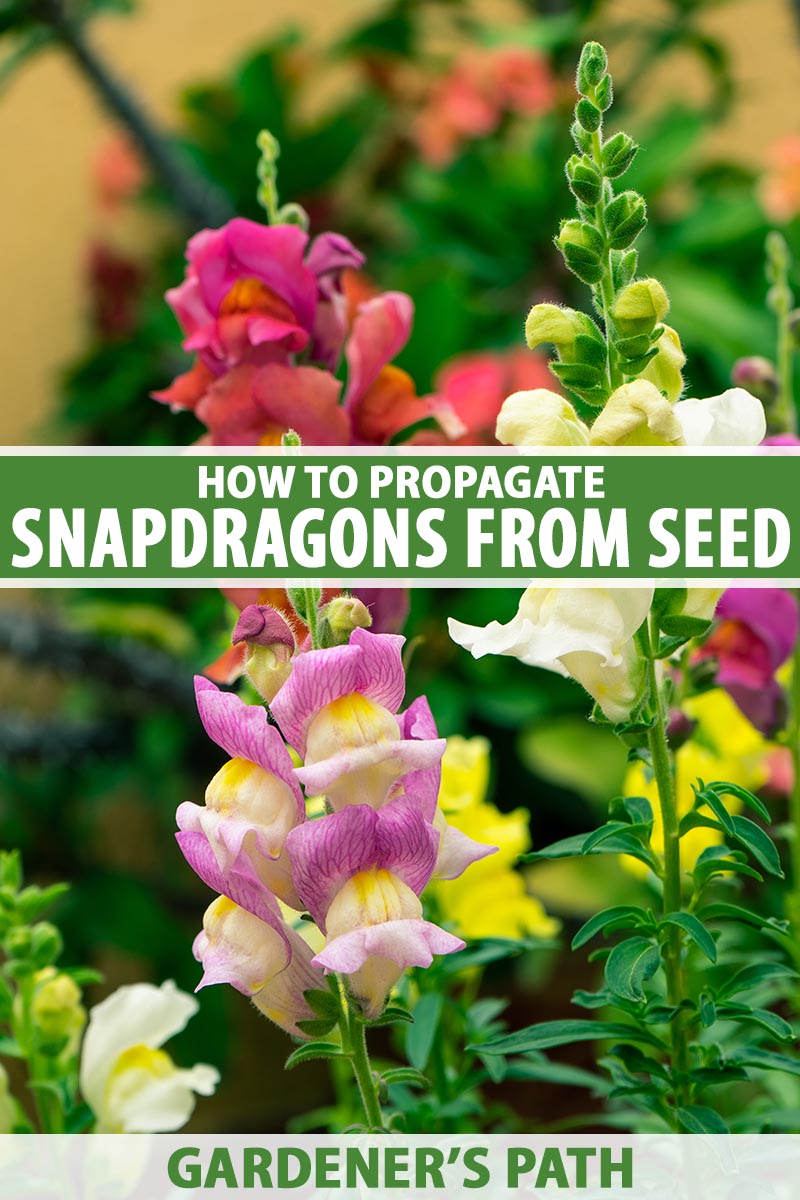
Snapdragons (Antirrhinum majus) are the life of the garden party, bringing sweet fragrance, height, bold splashes of color, and unique bloom shapes.
We link to vendors to help you find relevant products. If you buy from one of our links, we may earn a commission.
They can be grown as perennials in USDA Hardiness Zones 7-10, and annuals in other temperate areas, so they bring versatility too!
The best way to propagate them is via their tiny seeds, and we’ll discuss exactly how to do that below.
This is what we’ll cover:
How to Start Snapdragons from Seed
Snapdragons are available for purchase from any nursery or plant purveyor that sells seeds, but you can also collect them from your own plants and save them for the next season if you wish.
We cover this in detail in our guide to harvesting and saving snapdragon seeds. (coming soon!)
How to Sow Snapdragon Seeds
Snapdragons will self-seed, so if you like the location where you have some growing already, you can let them spread their seeds and hope that they come up the following season.
Direct sowing snapdragons is unreliable, so isn’t usually recommended if you’re counting on a uniform, lush bed or plot full of blooms.

If you live in Zones 7 to 10 and decide to direct sow, you can do so in the fall or spring. Pick a sunny location and prepare the soil by working it until it is soft and crumbly. Moisten the planting area with water.
Sprinkle the seeds on the surface, and keep the soil moist but not wet. Thin seedlings to six to 12 inches apart once they have two sets of true leaves.
Alternatively, you can start them indoors about eight to 10 weeks before you plan to transplant them out to the garden.
Germination tends to be better, plus starting them in advance ensures a longer blooming window since it can take two to three months for seeds to progress from germination to flowering.
The earliest time when transplanting is safe is when daytime temperatures are consistently above 50°F. Snapdragons are cool-weather-lovers and they can tolerate light frosts, but just to be safe, it’s best to plant them out after the last frost in your region.
Choose an open tray, cell tray, or three- to four-inch pot filled with a sterile, soilless seed-starting medium with a pH of 5.5 to 5.8. Moisten the soil before sowing.
To improve germination, you can chill the seeds in the fridge first, or pop the pots or trays in a location that’s 40 to 47°F for three to five days after sowing.
The seeds are tiny, and chances are you’ll end up with more than one seedling in each cell or pot. That’s okay! You can always thin them to one per cell when they have two sets of leaves.
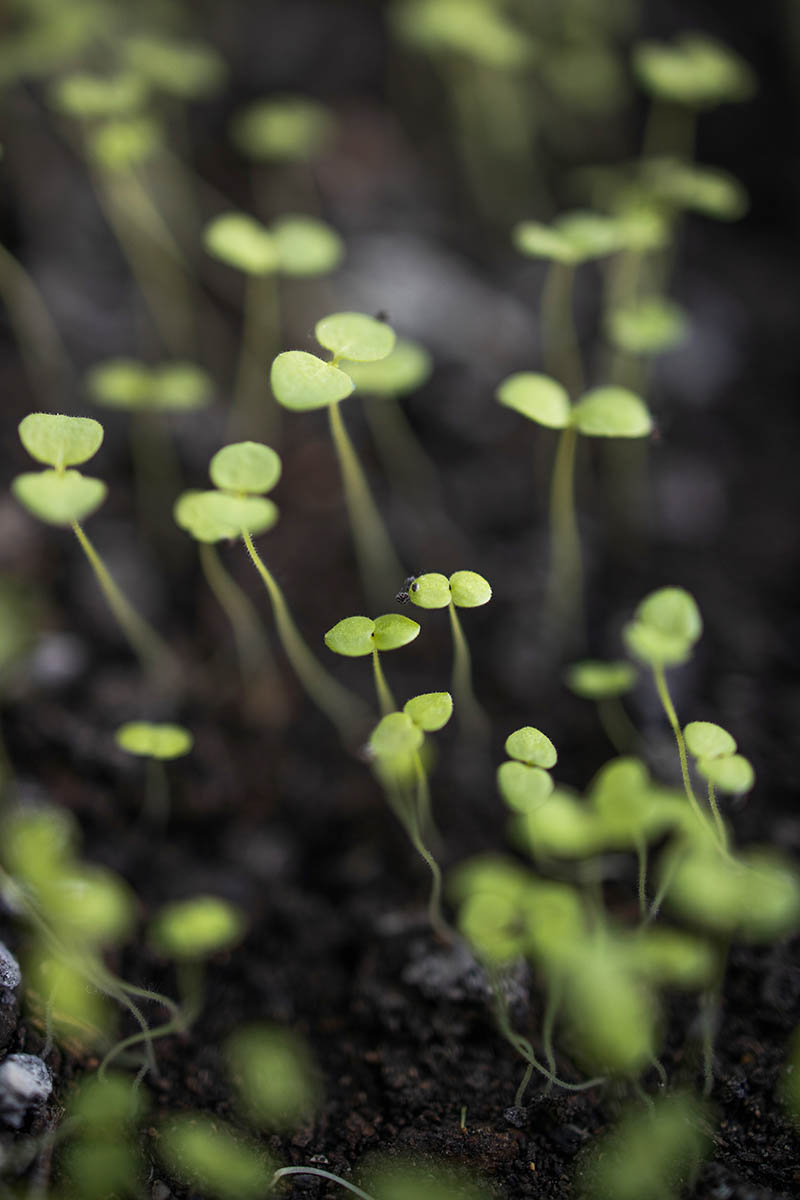
The seeds shouldn’t be covered. In fact, they need light to germinate, so make sure they get plenty of it! You can add a very thin layer of vermiculite or fine sand to preserve moisture and prevent algae and fungus gnats from turning up.
Another way to ensure moisture levels are steady is to seal the tray or pot in a clear plastic bag.
After cold stratifying, set the tray or pots in a sunny windowsill, or position them three to four inches under grow lights that are on for 16 hours per day, and off for eight hours at night. Do not use incandescent lights, as they will get too hot.
Keep the soil temperature cool, ideally between 55 and 68°F and no higher than 75°F. Do not use a heating mat! Optimal air temperatures should be around 65 to 75°F.
Radicles will emerge after four to eight days, and the seeds should be fully germinated within 10 to 14 days.
Once they’ve germinated, remove the plastic cover and mist the soil with a spray bottle to maintain moisture, slowly decreasing the amount of water you provide over time.
At this stage the plants grow best at temperatures at the cooler end of the optimal range, from 62 to 65°F. True leaves will develop in 15 to 20 days.
Snapdragons are prone to damping off, so good ventilation is important as well! Thin if seedlings are clumped closely together, and increase airflow by adding a fan to the room.
If sown in trays either with individual cells or open, transplant into three- or four-inch pots when they are big enough to handle. Be careful with the roots!
Seedling Care Tips
Start feeding seedlings at three to four weeks old with a half strength, balanced fertilizer applied with every other watering.
Miracle-Gro Indoor Liquid Plant Food, available from Home Depot, is a good option.
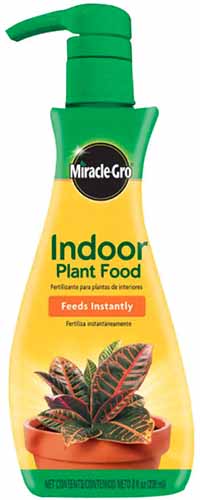
Miracle-Gro Indoor Plant Food
Allow the soil to dry a little between waterings, but provide enough water to prevent wilting.
If you notice the stems are looking feeble and elongated, they are not getting enough light.
Low light will also reduce flowering in the long run, so put them in a sunnier spot or under grow lights if they aren’t there already.
Transplanting
After the average last frost date in your area, harden the plants off so they’re ready for transplanting. Exposing the plants to cooler temperatures, between 60 and 62°F, will result in sturdier stems.
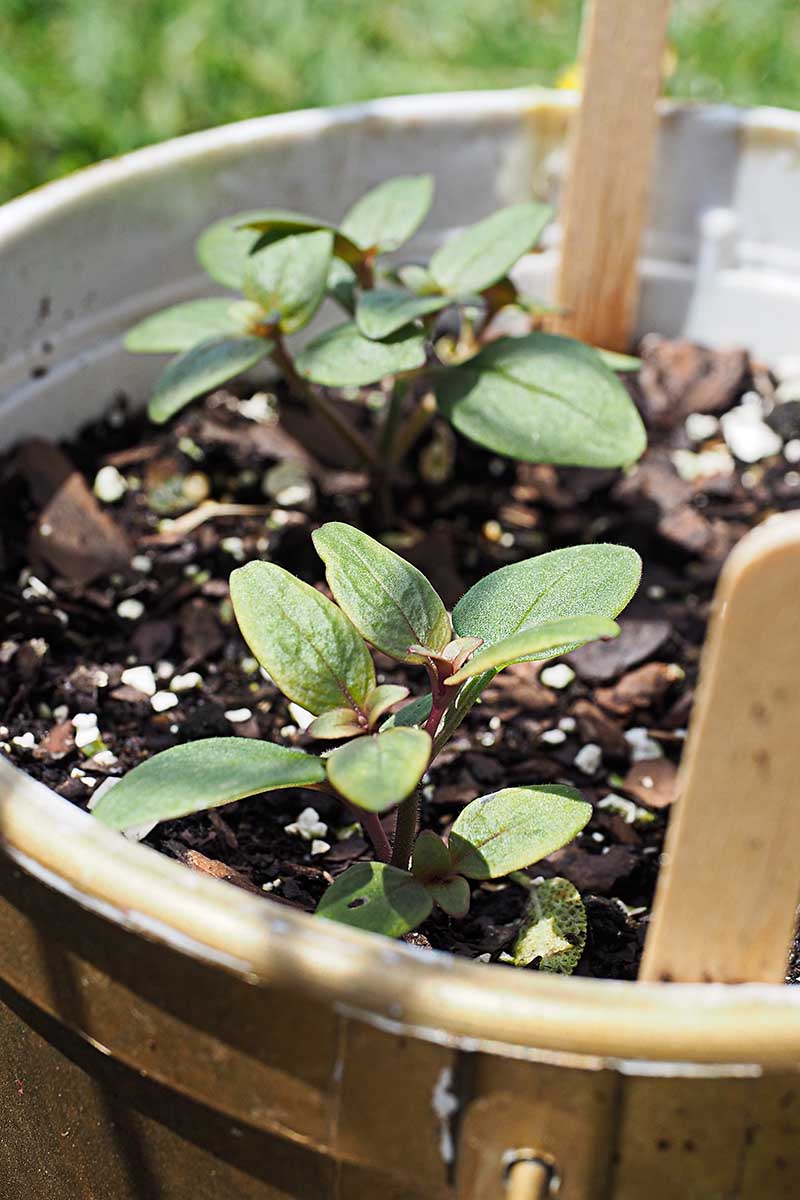
To do this, move the pots to an outside area that’s sheltered from the wind and out of full sun for a week, gradually increasing the amount of time spent outdoors each day.
Cover or bring the plants inside if there is a possibility of heavy frost in the forecast.
Transplant into well watered soil, either in-ground in a garden bed or in a larger pot with good drainage.
Pinch seedlings back when they’re three to four inches tall, to encourage branching growth.
Cool as an Antirrhinum
I think you’ll be hard-pressed to find a good reason not to include snapdragons in your garden. I can’t think of any.
They’re easy to get your hands on, whether you buy seeds or harvest them yourself. And if you decide propagation from seed isn’t for you, you can start with nursery plants or from cuttings instead!

Do you grow snapdragons from seed, and will you try to harvest them yourself this year? Let me know in the comments section below!
And stick around to explore Gardener’s Path for more in-depth snapdragon information here:


