[ad_1]
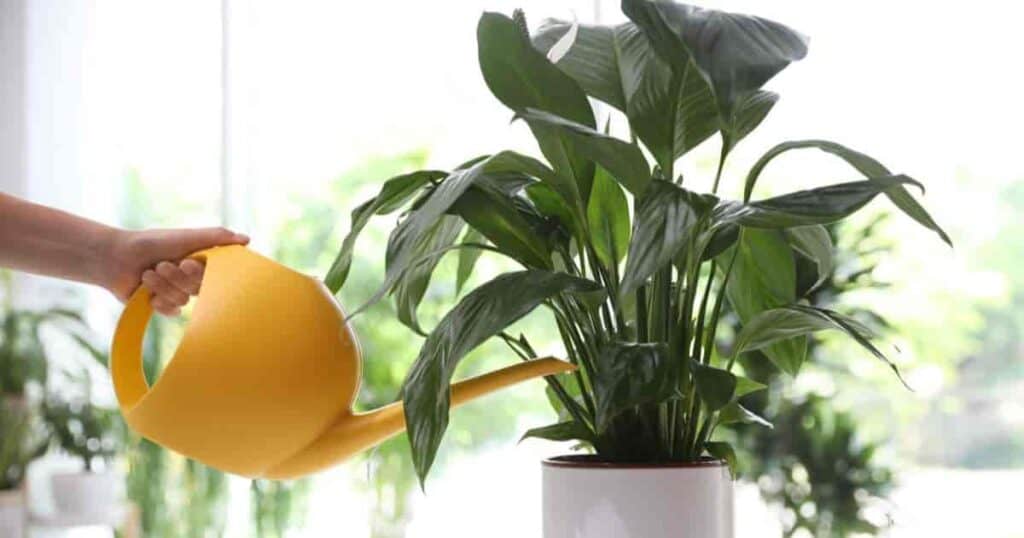
Peace lilies are a highly popular houseplant, both for their foliage and flowers.
These plants don’t require a huge amount of maintenance and are relatively resistant to pests and disease when properly tended to.
However, they’re prone to illness and infestations when improperly watered.
As overwatering is perhaps the single biggest mistake plant lovers make regularly, it’s essential to know the signs of overwatering, address them, and what to do in severe cases.
6 Signs Of Overwatered Peace Lily
The following symptoms don’t always equate to overwatering but are a good indicator.
Try to eliminate other possible causes of these signs and follow the remedies we’ve included to solve each symptom.
Soggy Soil
Perhaps the single most obvious sign of overwatering is the soil itself.
You should never see puddles forming, nor should the soil feel squishy to the touch.
Additionally, many factors affect how much and how often your plant will drink, so watering on a schedule is one of the worst things you can do.
The soak-and-dry method is perhaps the most effective way to water plants, with few exceptions.
Follow these steps:
- Simply stick your finger in the soil to judge how far down it feels dry.
- Water for peace lilies when it feels dry 2″ inches down.
- Always water slowly, working your way around the pot and doing your best not to get the leaves wet.
- Stop watering when you see moisture seeping from the drainage holes, or the surface can no longer absorb at the same speed you’re pouring.
Yellowing Leaves
In the language of plants, this sign is the equivalent of a human saying, “I don’t feel so well.”
However, it’s not difficult to verify this is being caused by overwatering by checking the soil when you see yellowing leaves.
Some other common causes of yellow leaves include the following:
- Sunburn
- Infestations
- Root rot
Follow the soil care guide below once you confirm the problem is being caused by overwatering.
Chances are, many of the leaves will regain their color, but some may be too far gone and will need to be pruned away.
Blisters
When you spend too long in a tub or pool, your skin will become so saturated that it wrinkles.
Plants suffer a similar condition called edema, in which the roots are drawing more water than the plant can use.
As a result, the excess water fills leaf cells until they burst, causing blister-like abscesses that can be found mainly on the undersides of the leaves.
This is one of those conditions where you will likely need to repot the plant.
The blisters can eventually burst, and you may find it necessary to prune away the worst leaves.
Brown Or Black Leaf Tips
Commonly associated with chemical burns from fertilizers or sunburn, brown to black lea tips may also be related to overwatering.
Unfortunately, this damage cannot be reversed. Some yellowing and black means that part of the plant has turned necrotic.
The only treatment for this symptom is to remove the damaged leaves.
Fungus Gnats Or Oddly-Tinted Soil
Fungus gnats are tiny insects that serve as pollinators for some plants but are largely pests.
These little guys can be a sign of overwatering, as the larvae feed on soil-based fungi.
Depending on the fungus, you might not be able to see it, or you might see a greenish tint or gray to white cottony film on the surface.
These problems can often be solved using a neem soil soak and possibly also fungicide (although neem oil will kill some forms of fungus).
Root Rot
Root rot is the worst-case scenario, and it can kill your plant if left untreated.
In addition to yellowed, droopy leaves, you’ll likely smell a foul odor coming from the soil.
Either bacteria or fungus may cause root rot, so you can’t rely on fungicides to treat it.
You’ll have to dig up the plant, remove the damaged roots, sterilize the surviving roots, and plant it in a fresh pot with fresh soil to treat root rot.
Note that neem soil soaks have been known to help fight off both bacterial and fungal root rot in its early stages but will not be able to save a plant once the condition begins to worsen.
How To Treat Severe Overwatering?
In most of the above cases, you can stop watering to allow the soil to dry out, but what happens when the damage is a bit more severe, or the plant has been overwatered repeatedly?
Treating severe overwatering means acting fast and completely repotting the plant.
Step 1: Remove The Wet Soil
Tip the pot over and slide the plant out, gently removing as much dirt from the roots as possible.
Now is a good time to check for root rot and treat it, if necessary.
It’s often good to let the plant dry out a little for 8 hours (or overnight) in a warm, dry spot.
Step 2: Prepare A New Container
If your old pot has adequate drainage holes, you can soak it in a solution of 1 part bleach to 9 parts water for 30 minutes and allow it to dry.
Otherwise, you’ll want to get a new container, making sure the drainage holes are large enough and that the pot isn’t too big or small for your plant.
To help ensure the best drainage, ad a ½ to 1” inch layer of gravel or aquarium stones to the bottom of the pot.
Step 3: Prepare The Soil
Here are the steps to prepare the soil:
- Now you’ll want to add some fresh soil to the container. Don’t use the old soil, as it’s likely contaminated.
- Mix some perlite or coarse sand into the soil to help ensure it remains loose, as compacted soil can contribute to overwatering issues.
- Add the soil to the container and give it a light watering.
You only need enough to get the soil slightly damp to help things settle.
Step 4: Replant Your Peace Lily
Once the pot and soil are ready, you can replant your lily.
Ensure it’s planted at the same depth as before and give it another light watering.
Note that the plant needs LESS water if you group it with other plants, as over 97% percent of the water it absorbs is used in transpiration (essentially sweating to improve local humidity levels).
Grouped plants share the benefits of transpiration, reducing the amount of water they need.
As long as you use the soak-and-dry method to water your peace lily, overwatering should become a thing of the past.
[ad_2]
Source link


 + Planting String of Watermelon Succulents
  with Garden Answer


