Learn how to paint a dresser the correct way! It also happens to be the EASY way! And learn mistakes to avoid when painting furniture.
I originally wrote this tutorial in 2015, but updated it in June 2022 because this is STILL a method I often use to paint furniture. And we still have this painted dresser that is holding up perfectly 7 years later. So I absolutely stand by this tutorial that I wrote back in 2015.
Before we talk about the correct way to paint furniture, let’s talk about the wrong way to do it. The wrong way is easy to sum up–DO NOT PAINT YOUR FURNITURE WITH LATEX PAINT. You know that leftover wall paint in your garage? That’s most likely latex paint and you don’t want to paint your furniture with it. Why? It will peel and will not hold up well. AND you will have tons of brush strokes, which is just not cool. The dresser that I purchased to rescue and restore had been painted with latex paint, and look at what happened to it. You know how the Nike slogan is “Just do it.” Well, when it comes to latex paint and furniture, your slogan should be “Just don’tdo it.”
This post contains affiliate links for your convenience. Click here for my full disclosure policy .
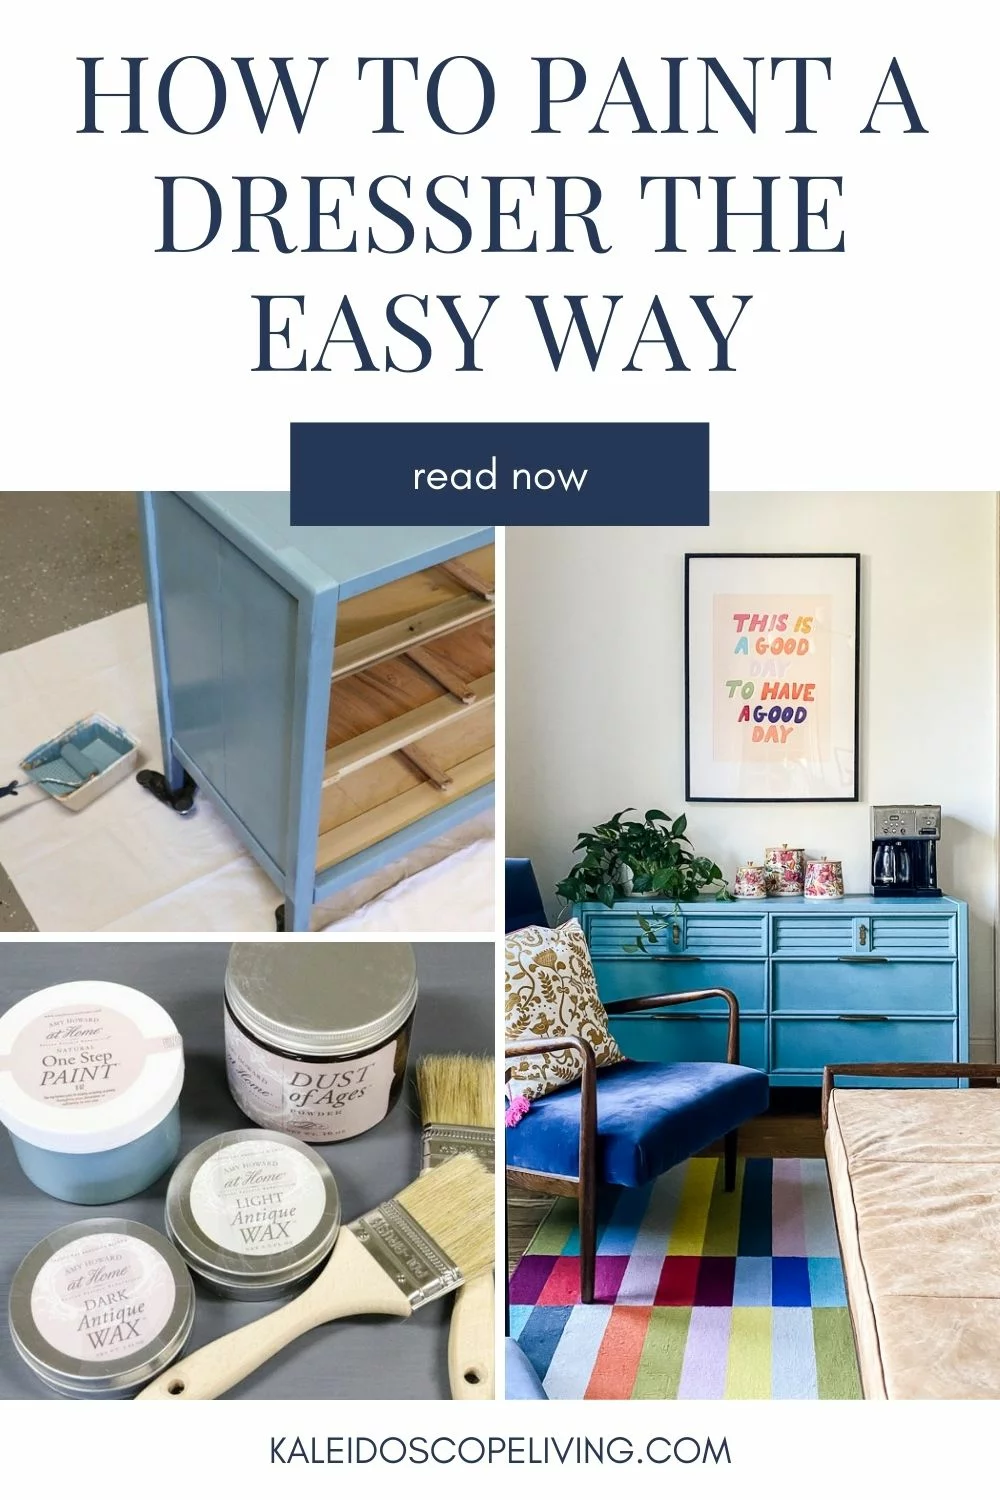
Now, let’s take a step back and look at the charming dresser I snagged for a deal a couple of weeks ago. I loved the simplicity of it and was crazy about the unique drawer hardware. I was less crazy about the color of it and the condition it was in. But I knew I could restore this beauty using the Amy Howard at Home paint line 🙂
The most important step in DIY painted furniture projects is choosing the correct paint. The Amy Howard at Home paint line was developed by long-time furniture designer and manufacturer Amy Howard. These artisan quality paint products allow you to rescue, restore and redecorate old or forgotten pieces of furniture for very little money!
The signature product of Amy Howard at Home is the One Step Paint , a new and revolutionary chalk-based paint that allows you to transform existing furniture or cabinetry in a single step – no stripping, sanding or priming ( much like this method I use for painting cabinets )– and achieve the coveted antique look that usually comes at a high price.
How to Paint a Dresser
Materials Needed
Steps
1) Remove your hardware. Then sand any really rough spots on your piece, as needed. You do NOT need to sand your entire piece. Just knock down any really rough areas quickly. I spent about 2 minutes spot sanding.
2) Next, clean your piece with Simple Green. After you have cleaned it with Simple Green, spray your piece down with water and dry it with paper towels to ensure there is no Simple Green residue remaining on the piece, as it could interfere with paint adhesion.
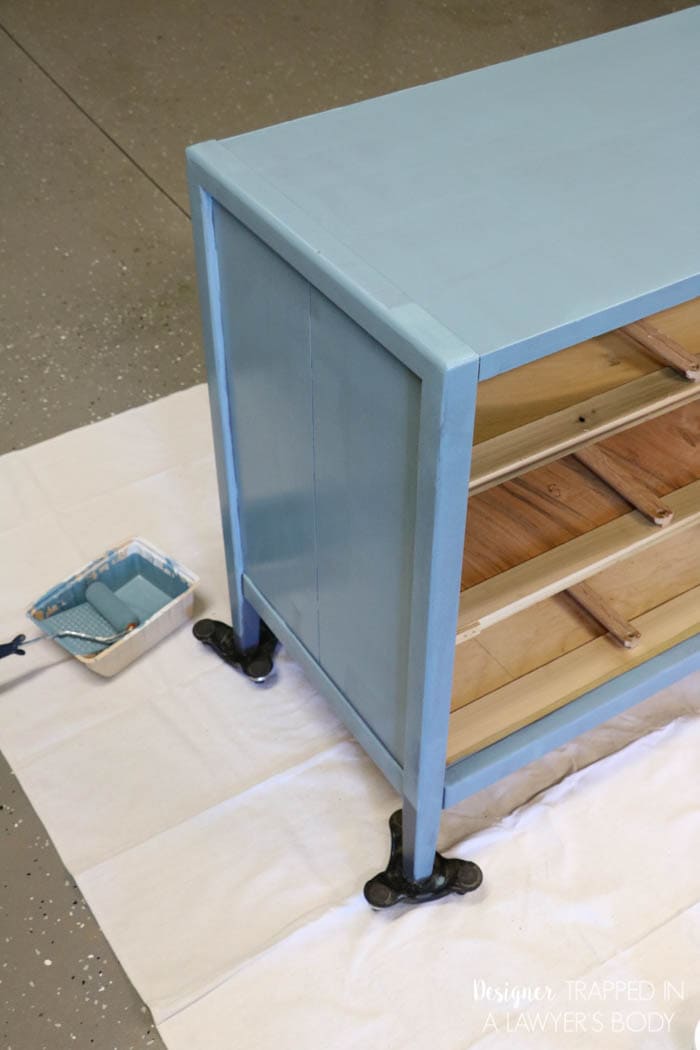
3) Believe it or not, you are now ready to paint your piece. That’s right–you don’t have to prime if you are using Amy Howard One Step Paint . Isn’t that AWESOME?! Better yet, this paint is chalk-based paint, so it goes on smoothly and dries very, very quickly. I use a foam roller to cover the large surface areas and my Amy Howard boars hair brushes for the detail work. I applied two coats of the One Step Paint in the Vintage Affliction Color. It only took me one 8-ounce container of paint to complete my project!
4) Once your piece has good coverage and is dry, you are ready to apply your antiquing wax.
Light Antique Wax will give a slight dark tint to your painted piece to help you achieve some depth and interest and a realistic antique look. Use it first.
After loading your brush with the wax, offload extra wax on a piece of scrap cardboard. Then use very light “x” motion strokes to cover your entire piece.
After your light antique wax has dried to the point of becoming slightly tacky (which takes only a couple of minutes–I did not film the drying time in the video so don’t be confused!), apply your Dark Antique Wax . This will darken your piece and is best used when a heavily distressed, antiqued, “grunge” look is desired. I only wanted to darken the edges and corners of my piece, so I applied very, very little. I started on the edges/corners and feathered in toward the center of the piece just a bit.
Below is a video of just how simple it is to apply your waxes!
5) Next is my favorite part! Apply your Dust of Ages . Dust of Ages is a special detail that makes Amy Howard’s finishes authentic and unique. The powder aids in polishing wax topcoats to a subtle sheen, and settles into crevices as if collected over hundreds of years. The added interest it provides is exquisite and it’s so fun to work with. Simply load some on your brush and spread it over your piece. After your surface has been completely covered, wipe off the excess with a clean lint-free rag–this will polish the edges into a beautiful sheen.
6) If necessary, clean your hardware. I find that Bar Keeper’s Friend is very effective AND inexpensive.
That’s it! Super easy. I completed my entire dresser in a couple of hours, including the time it took the paint to dry. See what I mean?! The Amy Howard at Home paint line is amazing. No stripping or priming is required, so you can complete a complete furniture makeover quickly. And the One Step Paint is incredibly durable. You won’t have peeling and chipping like you would with latex paint!
The Before & After
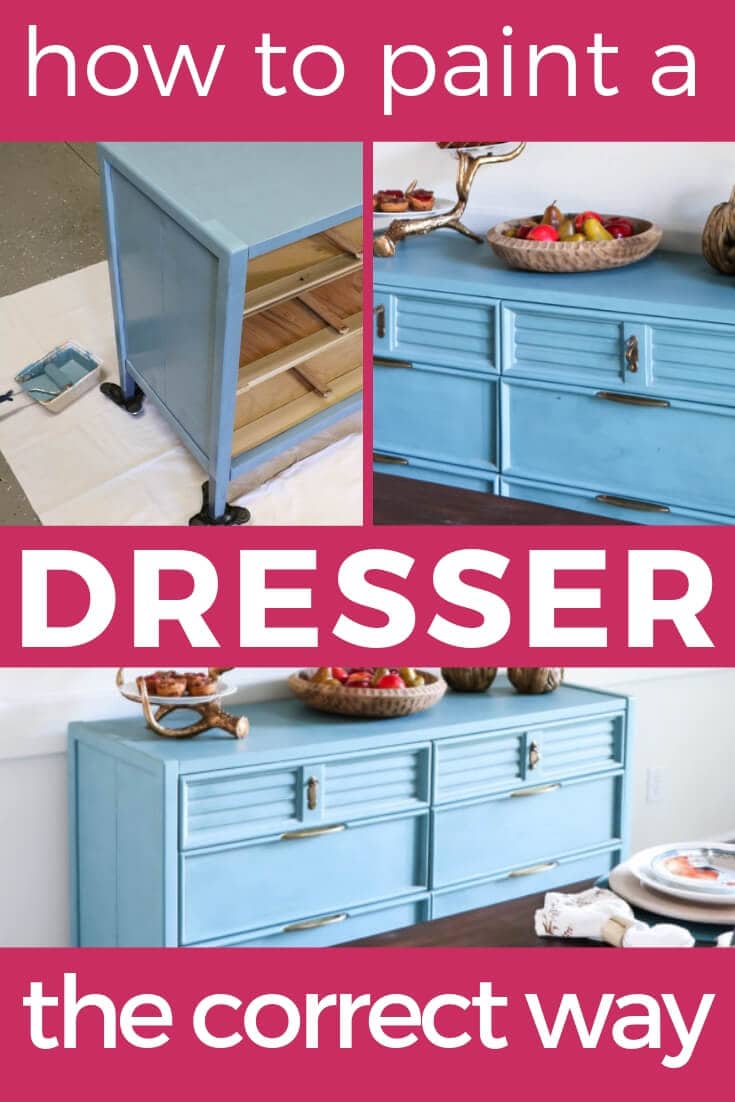
I originally placed this beautiful piece in our dining room, which you can see more of in this post ! And in our new house , we are using it as a “coffee bar” of sorts in this little nook off of our kitchen . The paint on the dresser still looks PERFECT more than 7 years later!
It’s so good! I can’t tell you how well this paint holds up year after year! It also cleans easily.
Other posts you may enjoy:
Wondering how I approach transforming rooms and spaces in our home? Check out Designer in a Binder® .
And if you want exclusive content and behind-the-scenes sneak peeks, be sure to subscribe before you head out!

