Well, I had to get back to work yesterday. After our amazing week last week (I updated Friday’s post yesterday to share the rest of our week), it was so hard to switch gears and get back to work on the master bathroom. But I forced myself, and got quite a bit done. I’m still focusing on the toilet area and trying to get the walls done in there so that I can move on to building the cabinet that will go against the far wall in that area.
If you’ll remember, my final decision regarding the walls in this area was to add the judges paneling style of wainscoting like I have in the hallway bathroom…
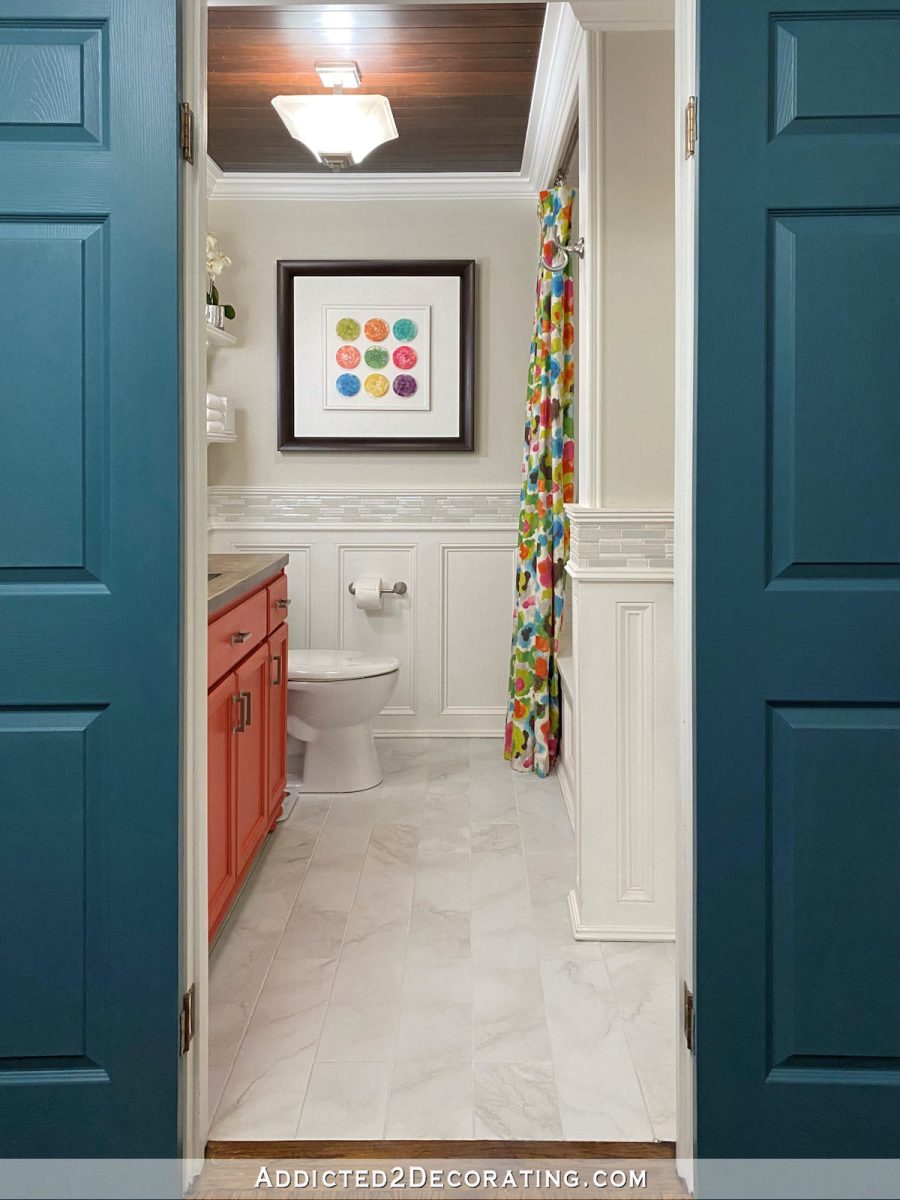
Except that in this area, the paneling would go from floor to ceiling. In the main area of the bathroom, I’ll add this same style of wainscoting, but it’ll only cover the lower half of the walls underneath the blue upper walls.
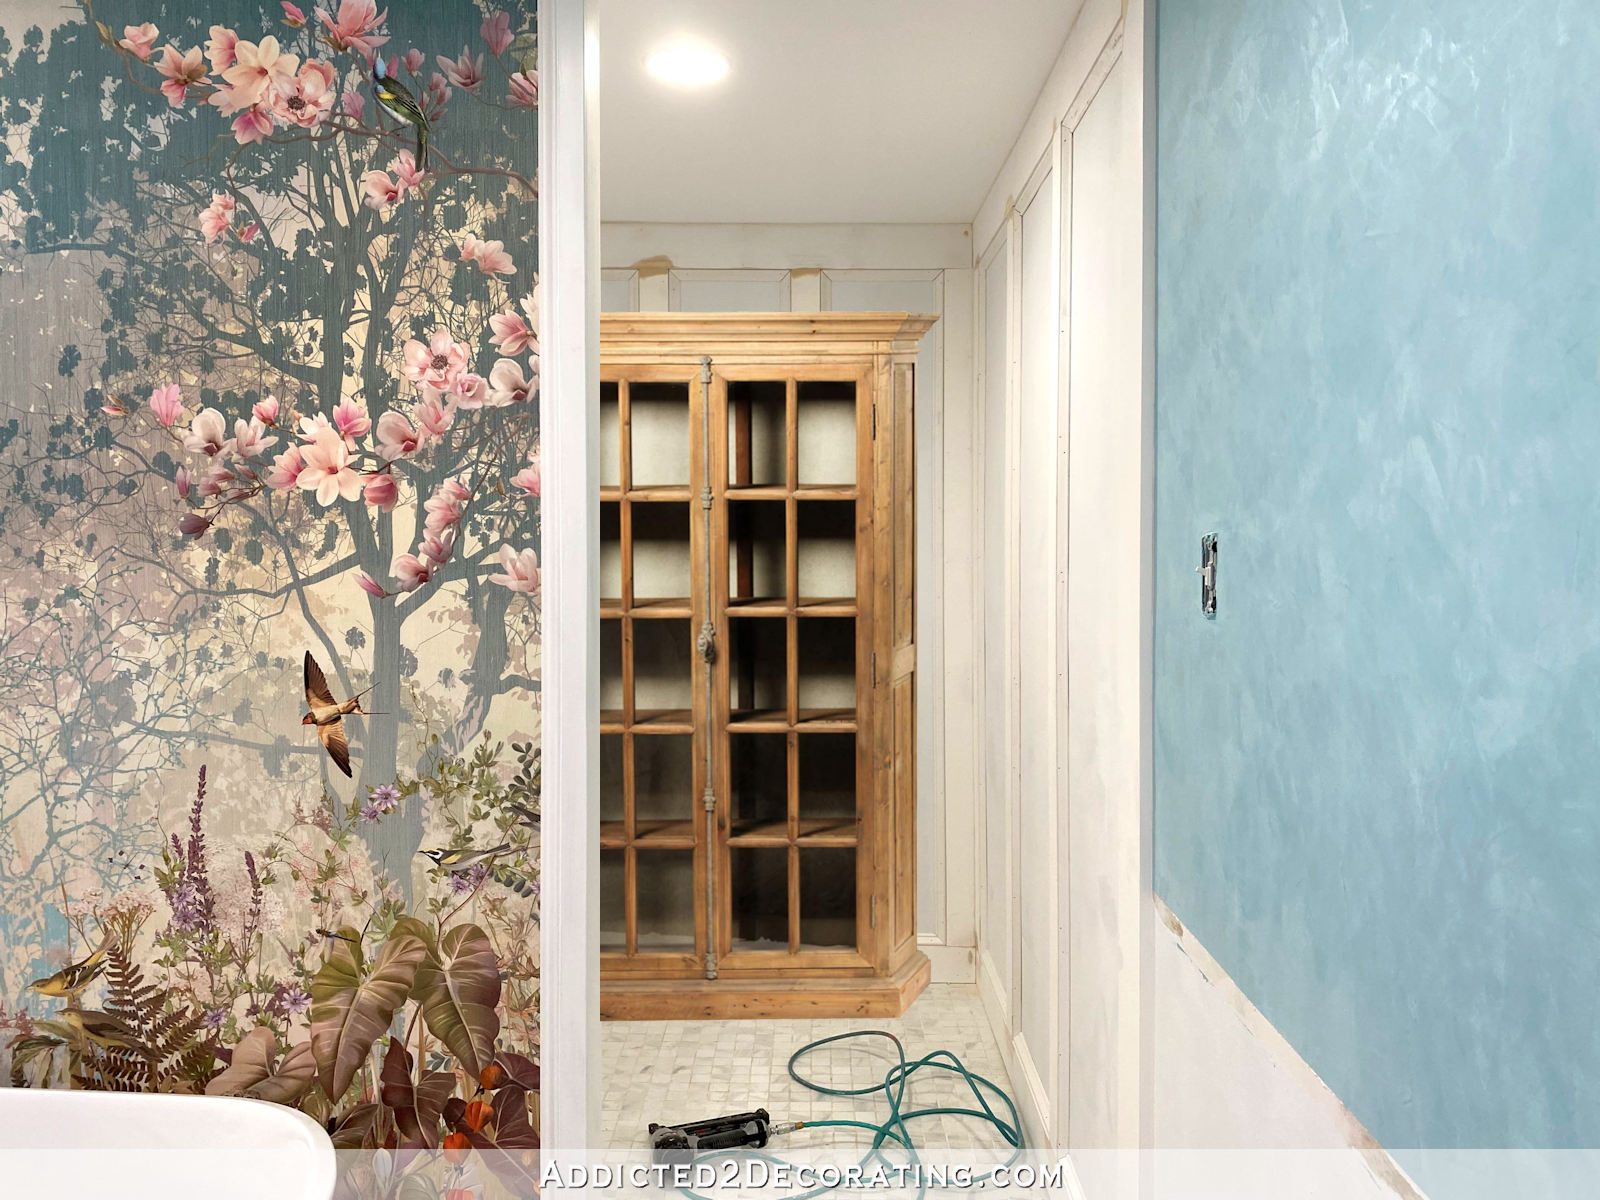
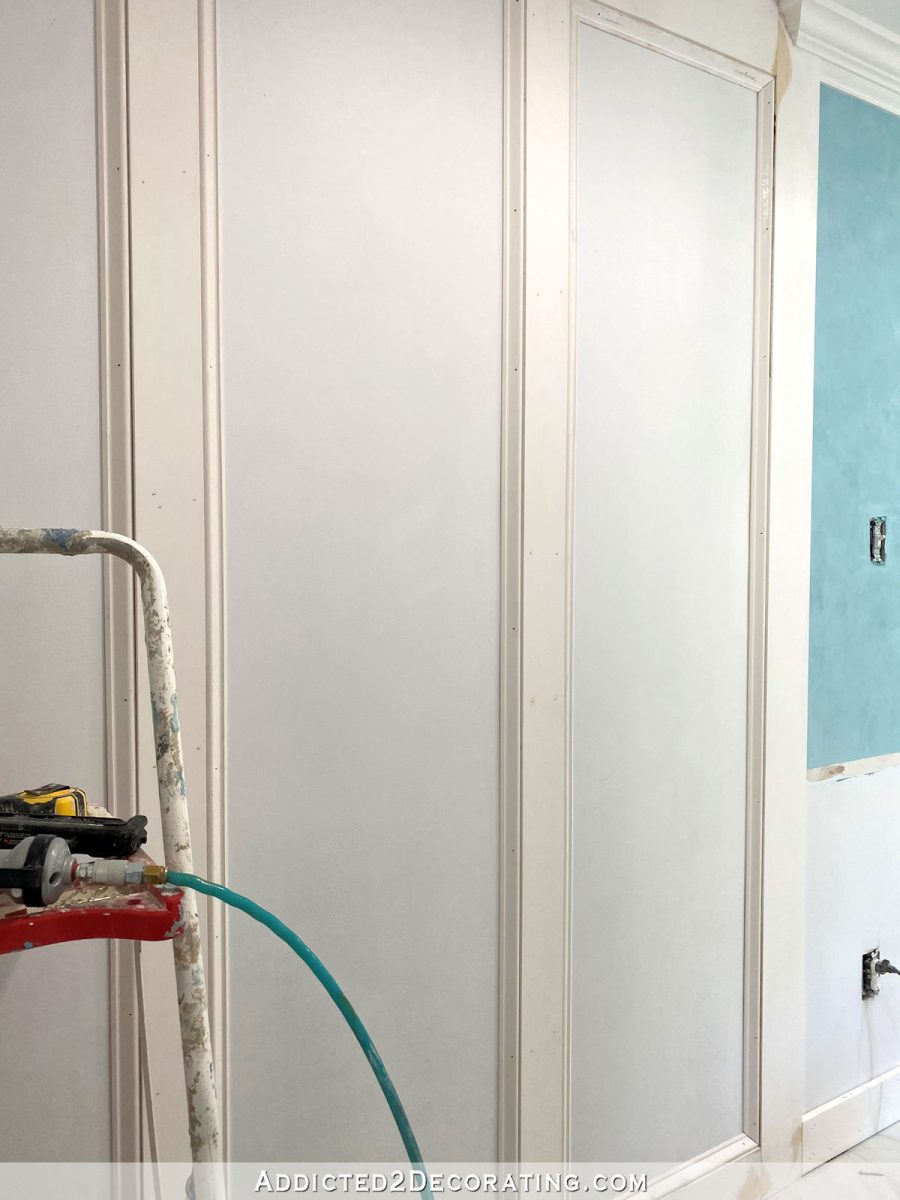
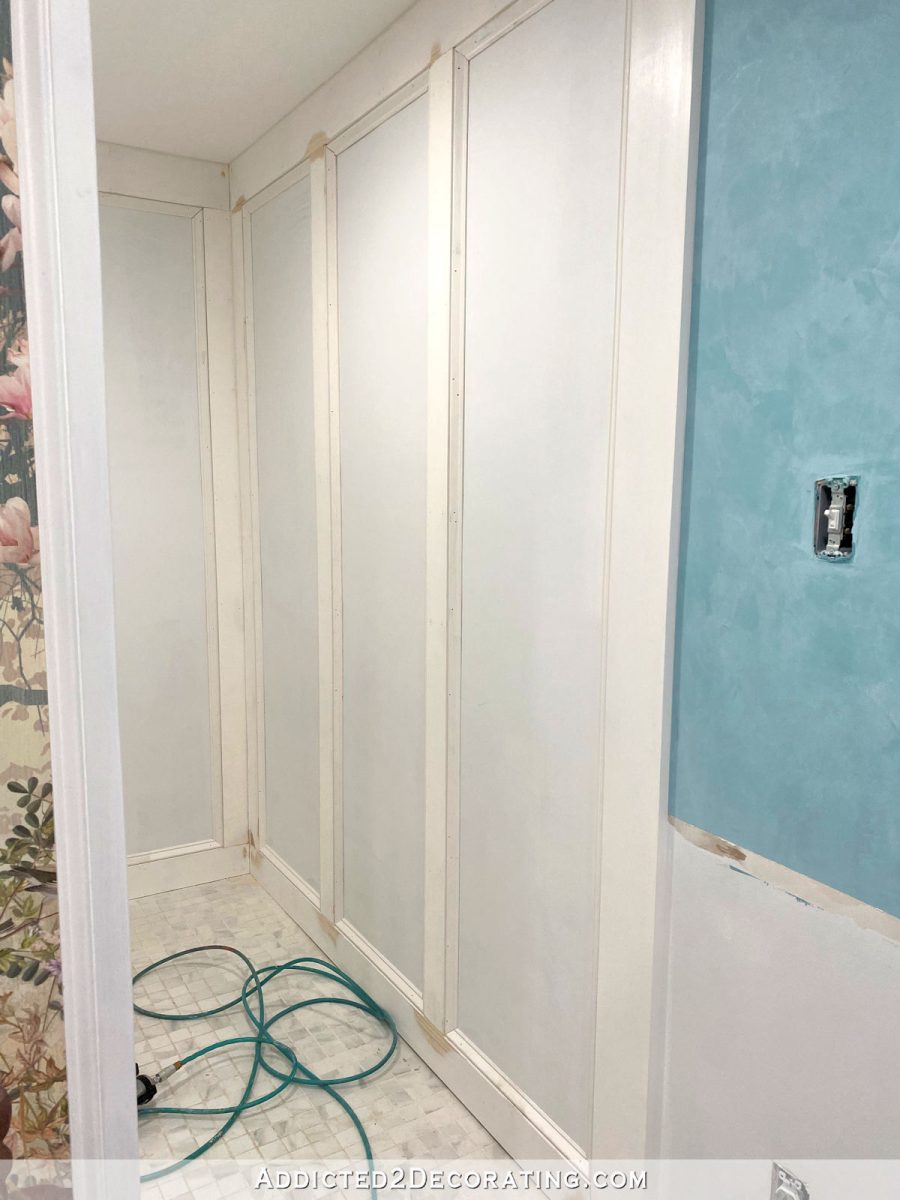
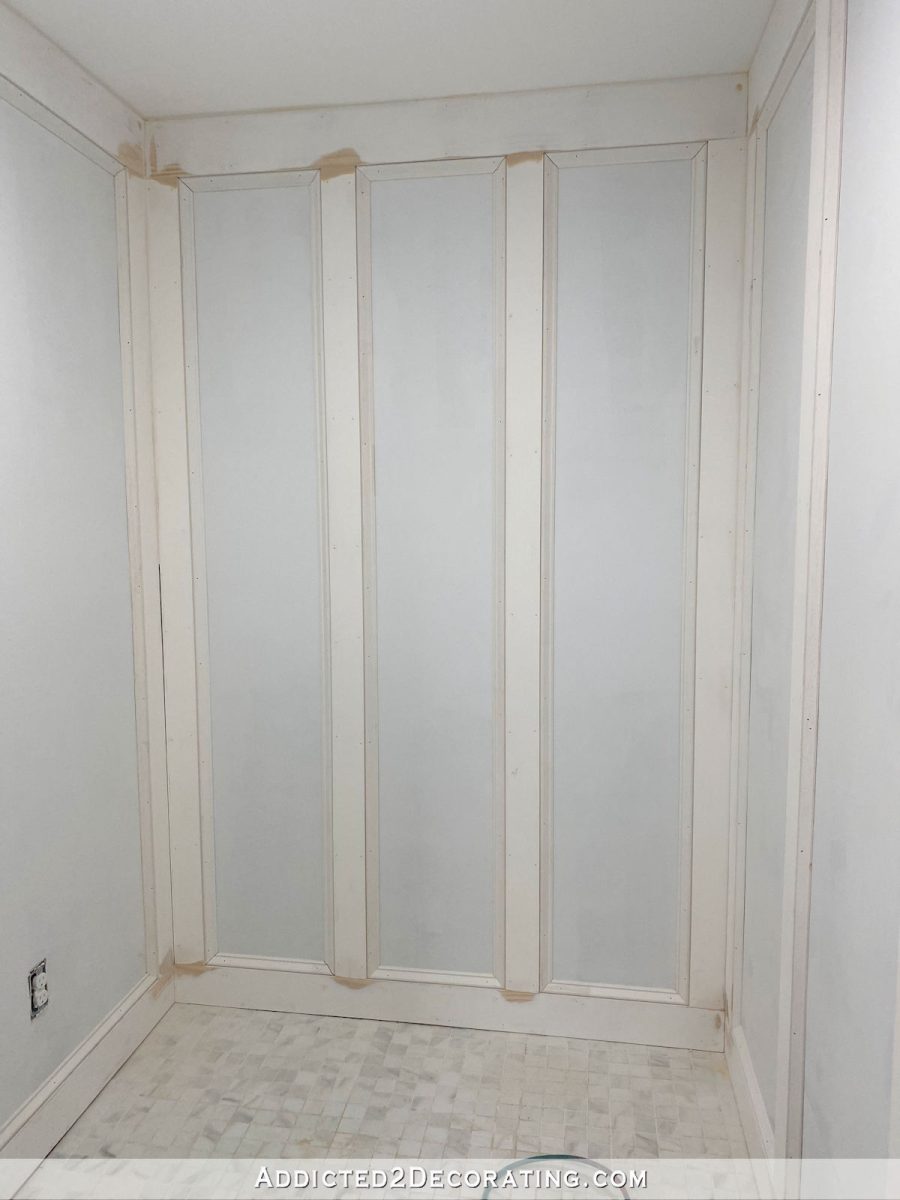
I had already attached all of the boards to the walls before last week, so I spent yesterday afternoon attaching all of the trim that forms the panels. For this, I used base cap molding, and I attached it along the edges of each of the boards.

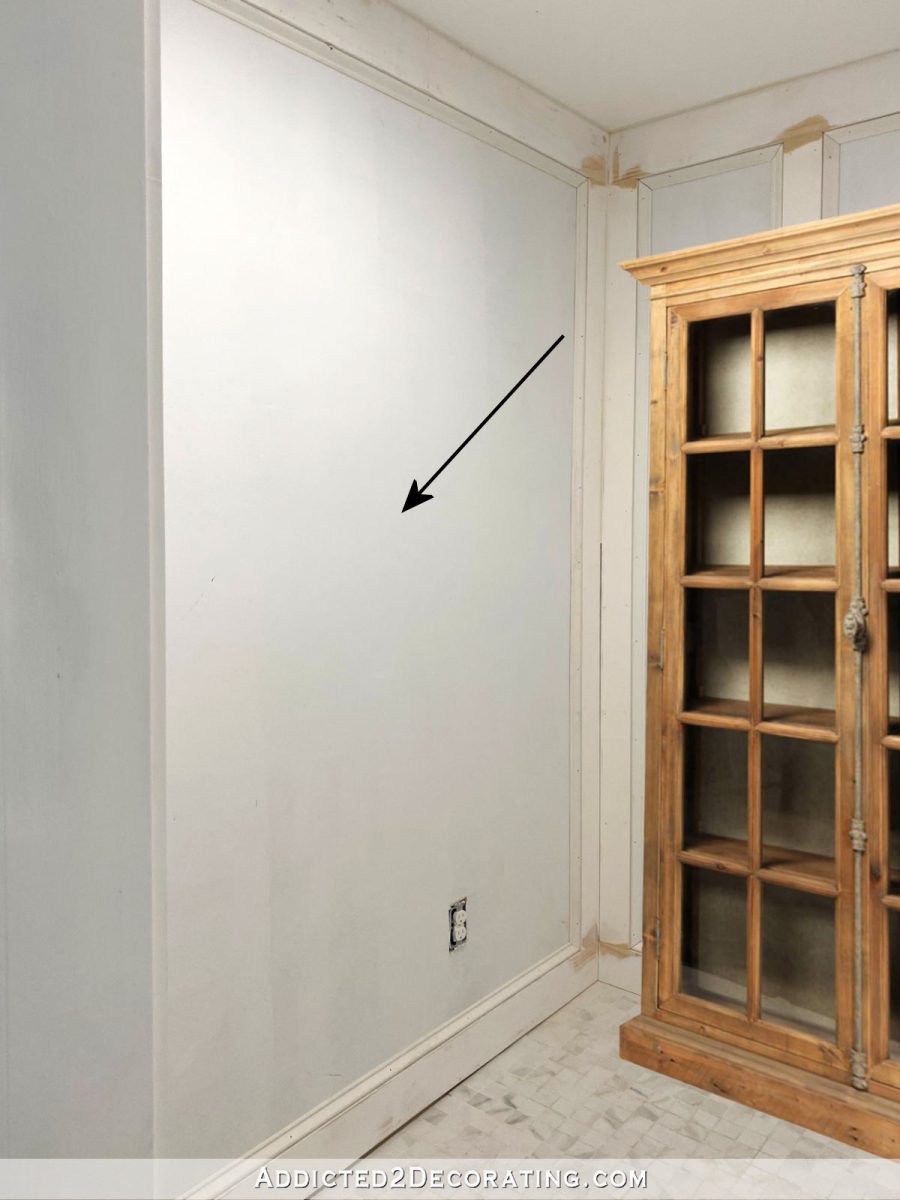
This area is pretty small, making it difficult to take pictures in here, but this is what the panels on this wall looked like once they were all trimmed out, but before all of the finishing steps — wood filling, sanding, caulking, priming, and painting.
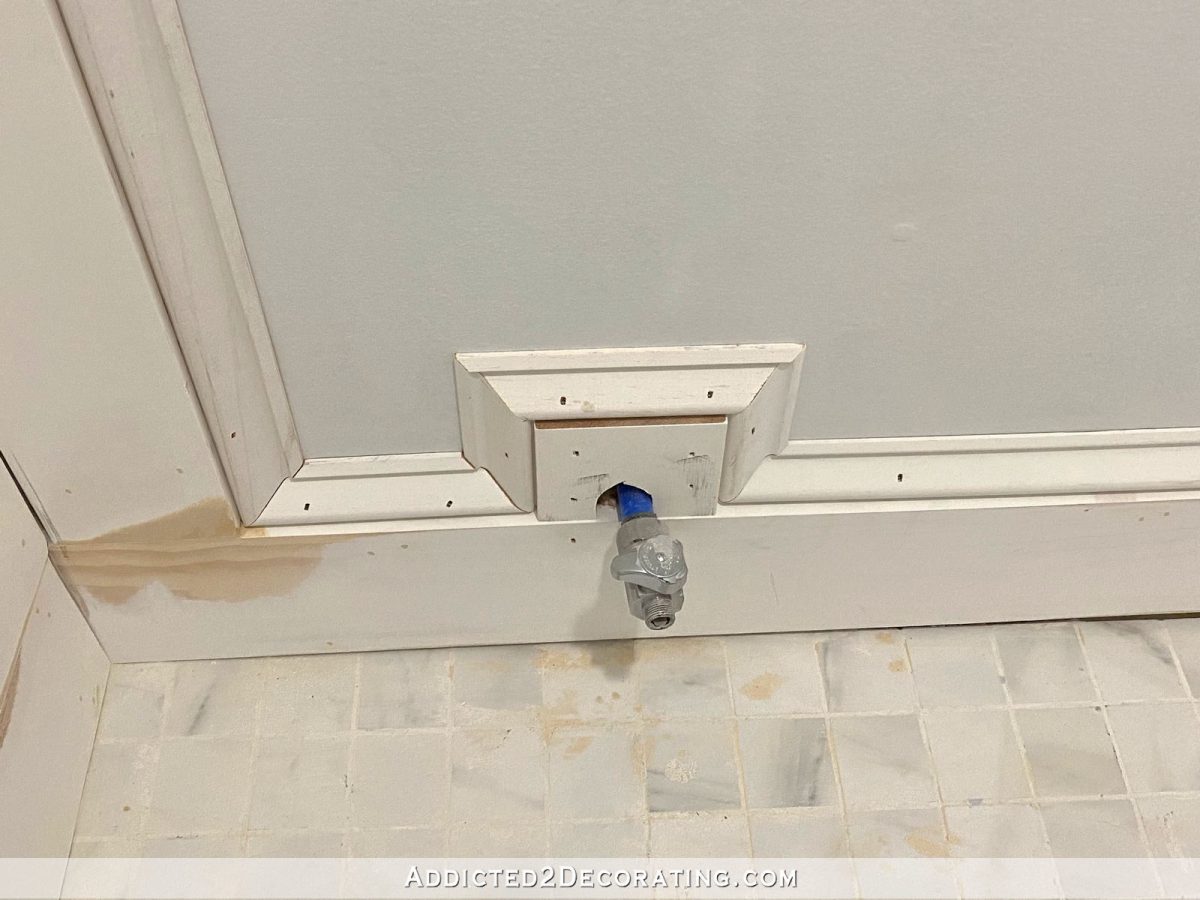
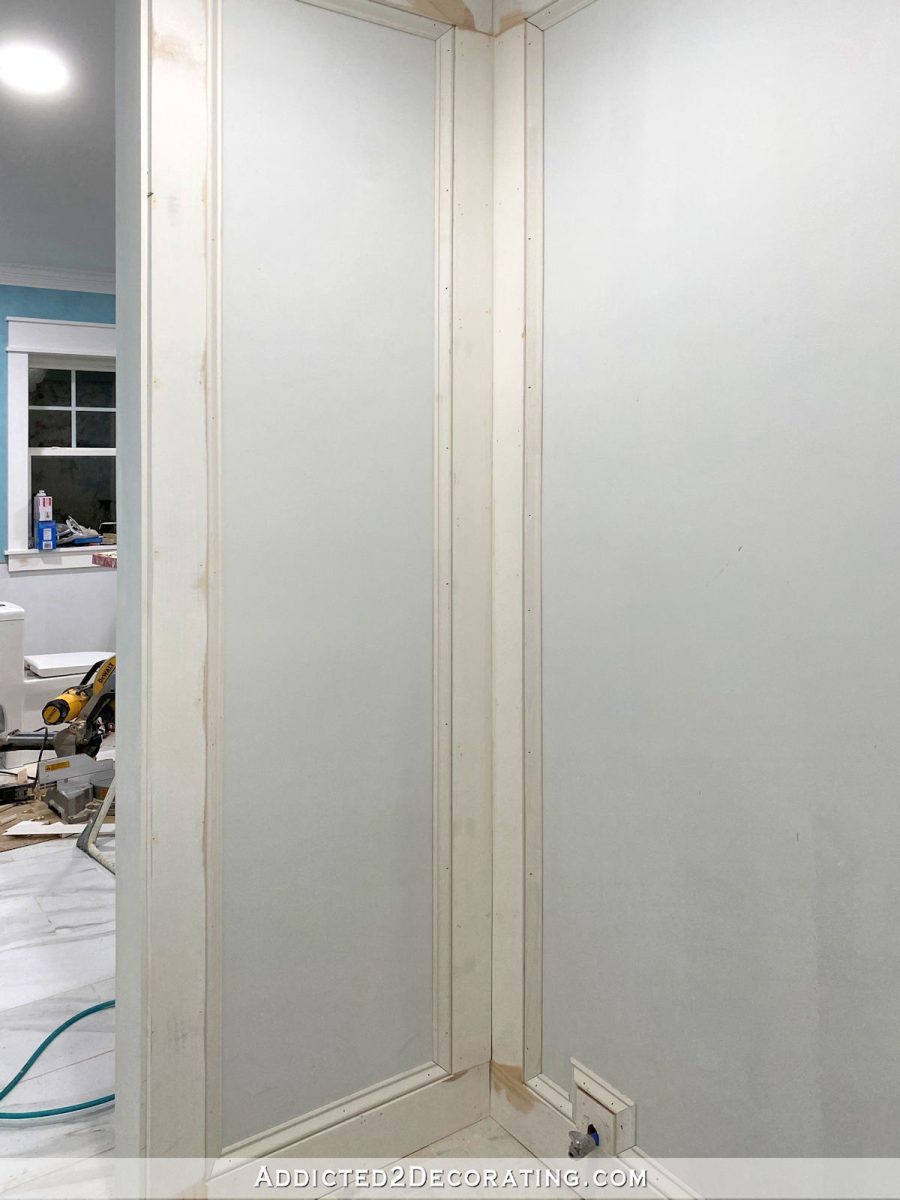
I had to get a little creative around the water supply for the toilet. Once all of the paneling has been finished, I’ll add hinged round wall plate (is that called an escutcheon?) between that water supply valve and the wall to cover up the hole.
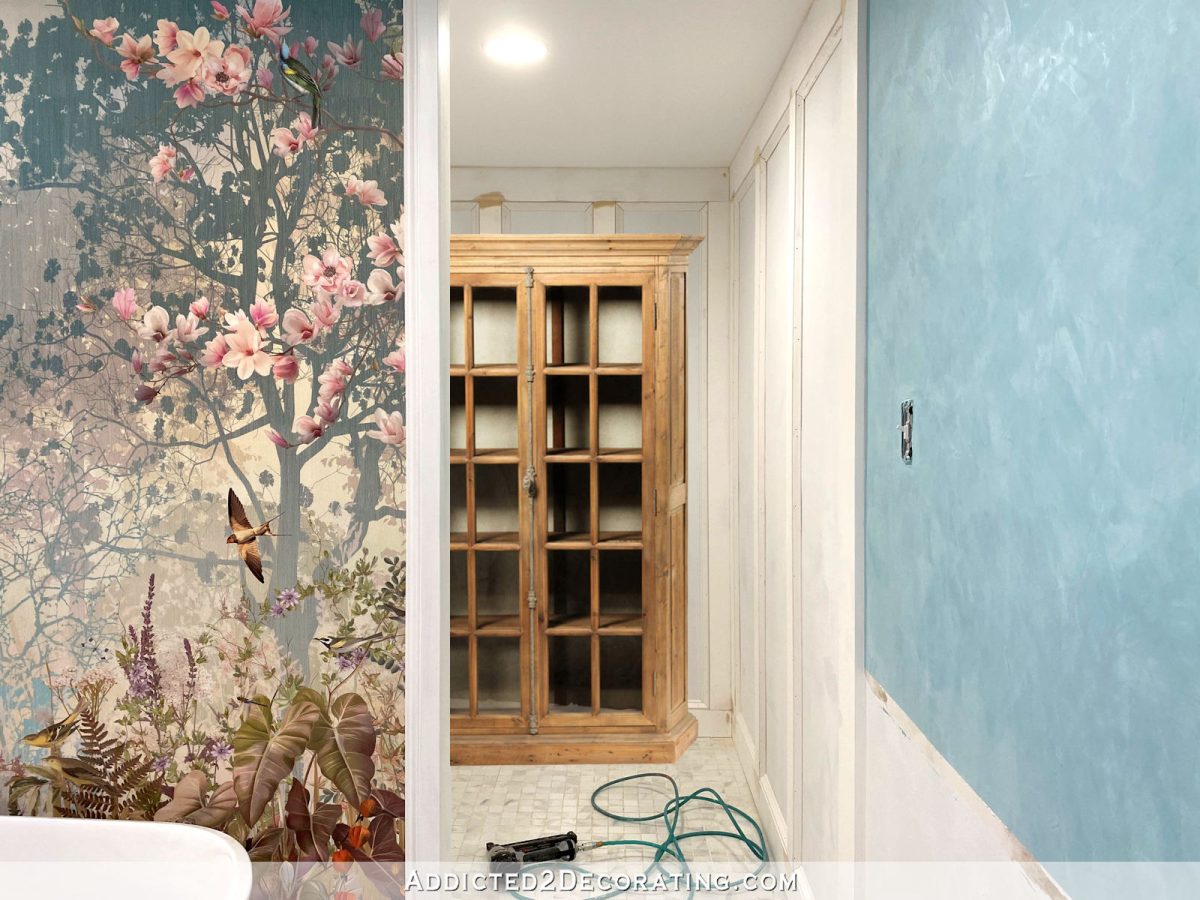
It’s still looking pretty rough…and dingy. Once it’s painted, it’ll be the same color as the trim surrounding the mural, which you can see in the photo below. It’s quite a bit brighter and whiter than the paneling appears now.
Of course, this back wall will mostly be covered with a cabinet that I’m going to build. I had originally planned on doing a built-in cabinet covering the entire wall. But I later changed my mind and decided to build a freestanding cabinet that is a separate piece of furniture. That way, if I ever want this area for something else, the cabinet can be moved out and used somewhere else.
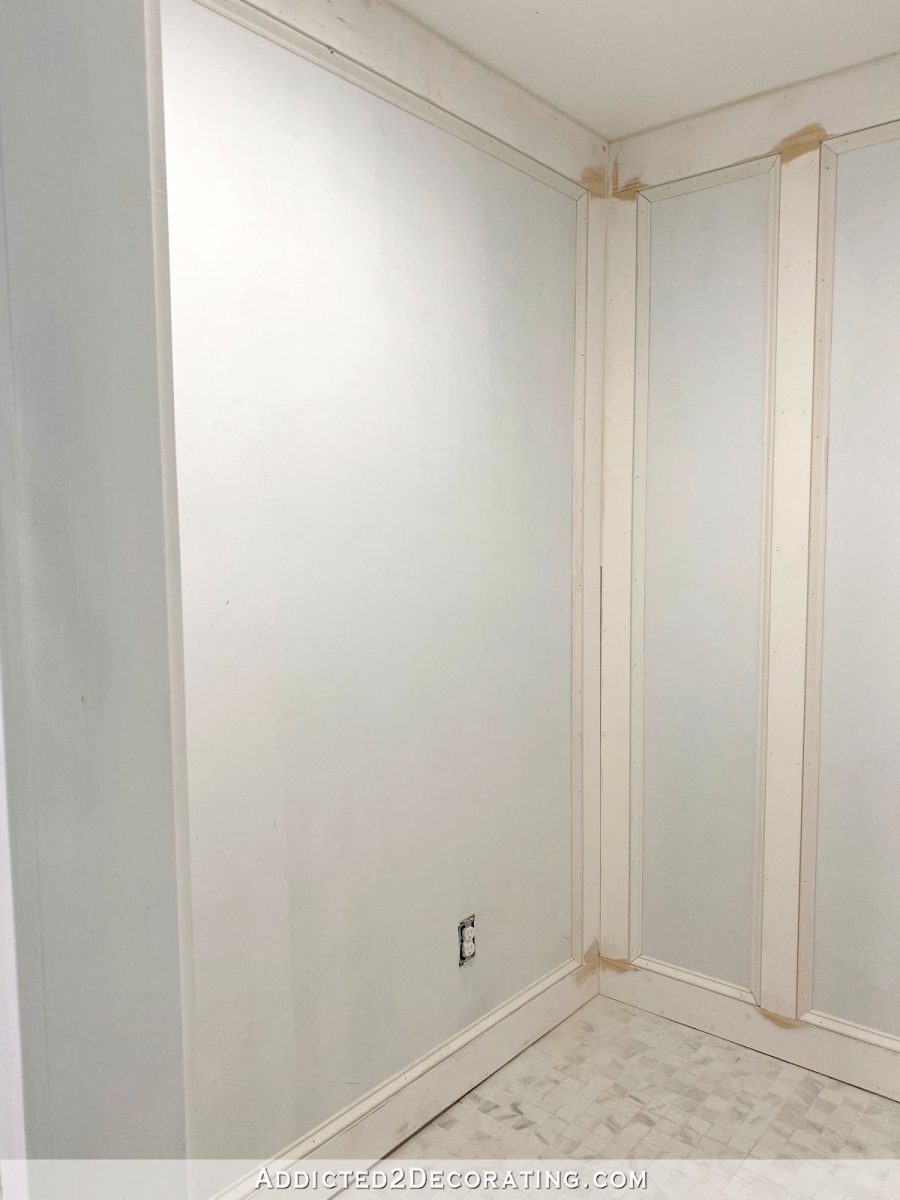
And then on the wall where the toilet goes, I just did one large frame rather than separating it into three frames. The placement of the toilet didn’t allow for three evenly spaced frames, and since that wall doesn’t really show from the main area of the bathroom (you can only see a small sliver of it if you’re standing right in the doorway between the bathroom and the home gym), I have another idea for this wall.
So here’s a general idea of what a cabinet will look like on that far wall of the toilet area…
My cabinet won’t be natural wood, though. Since I’ll be using the French doors that I took off of the pantry to build the cabinet, and since they’re already painted (and they’re pine), I’m just going to have to paint the cabinet. I was originally thinking of painting the cabinet a light pink from the mural, but I think I’ll stick with a color that’s similar (just a tad darker) than the blue wall color, and then I want to paint this one panel one of the pinks from the mural…
I don’t want anything too bright or saturated, so I think I’ll go for a pink like this flower…
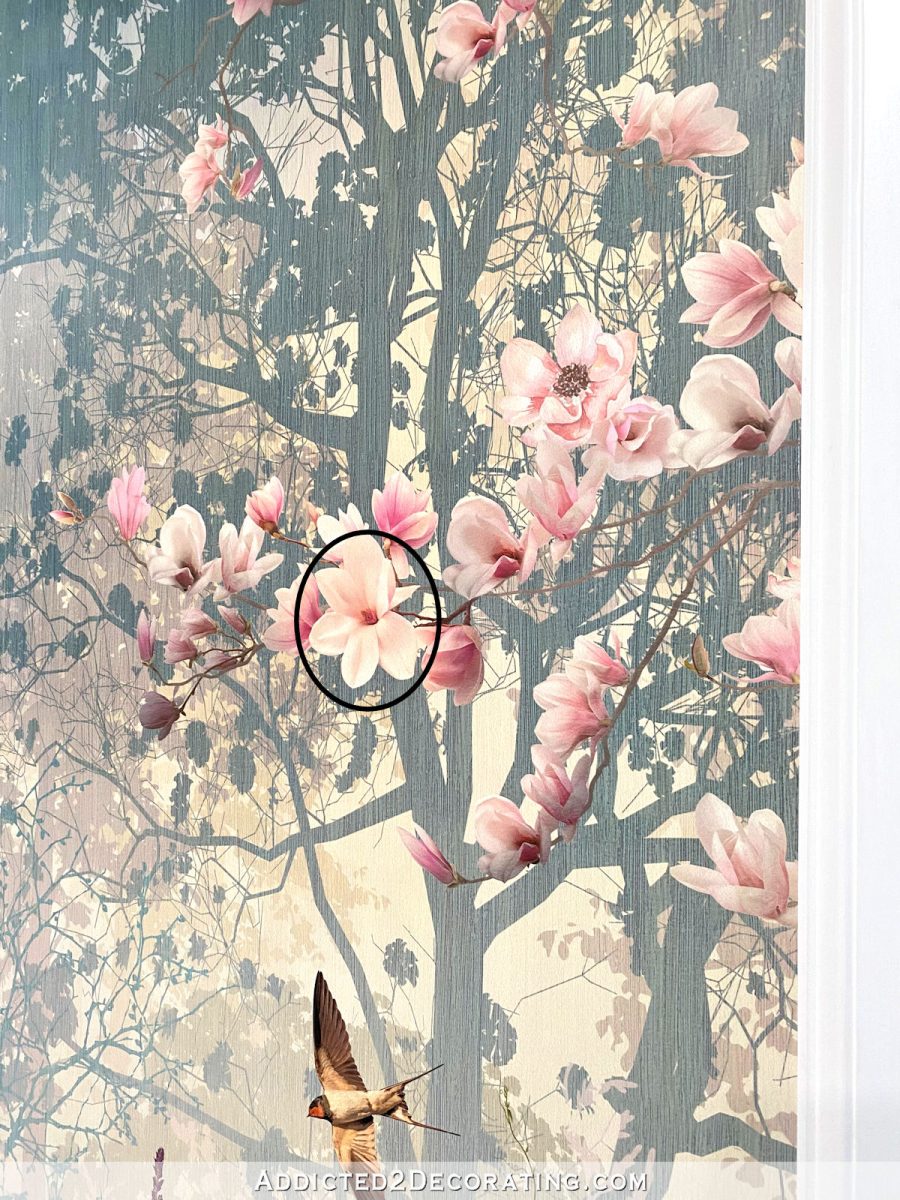
And then that pink will serve as a very pretty backdrop for what I plan to put on that wall. But that’s a story for another day. ? For now, I have a ton of wood filling, sanding, and caulking to do!

Addicted 2 Decorating is where I share my DIY and decorating journey as I remodel and decorate the 1948 fixer upper that my husband, Matt, and I bought in 2013. Matt has M.S. and is unable to do physical work, so I do the majority of the work on the house by myself. You can learn more about me here.
I hope you’ll join me on my DIY and decorating journey! If you want to follow my projects and progress, you can subscribe below and have each new post delivered to your email inbox. That way you’ll never miss a thing!

