[ad_1]
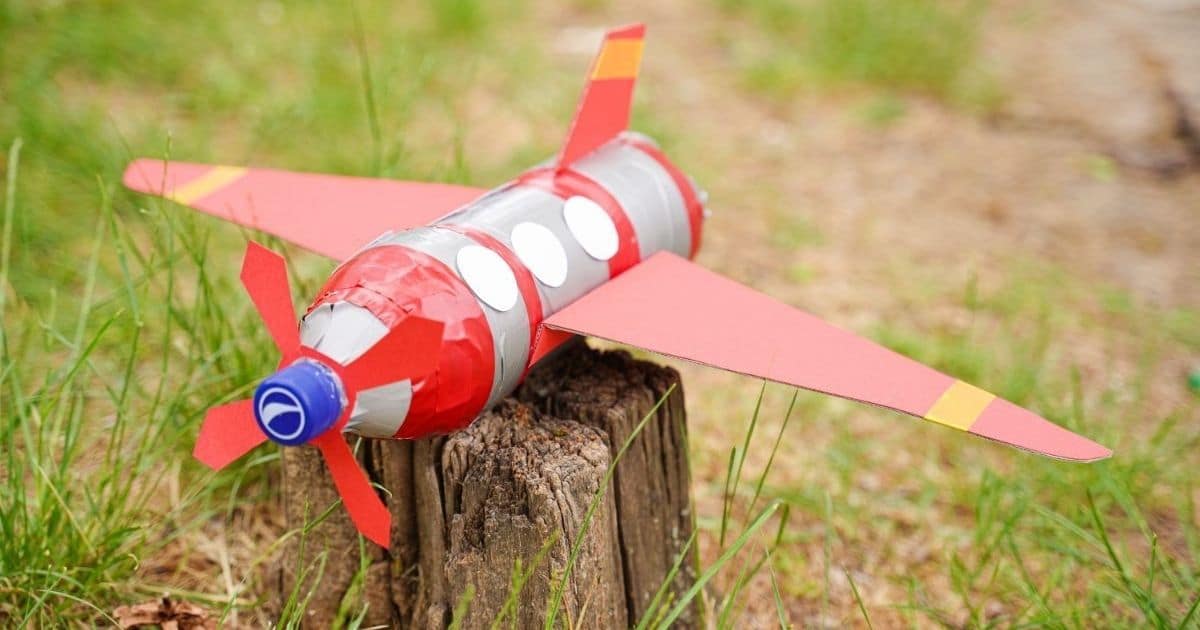
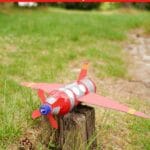
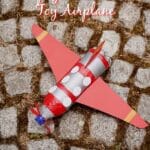
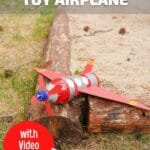
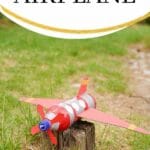
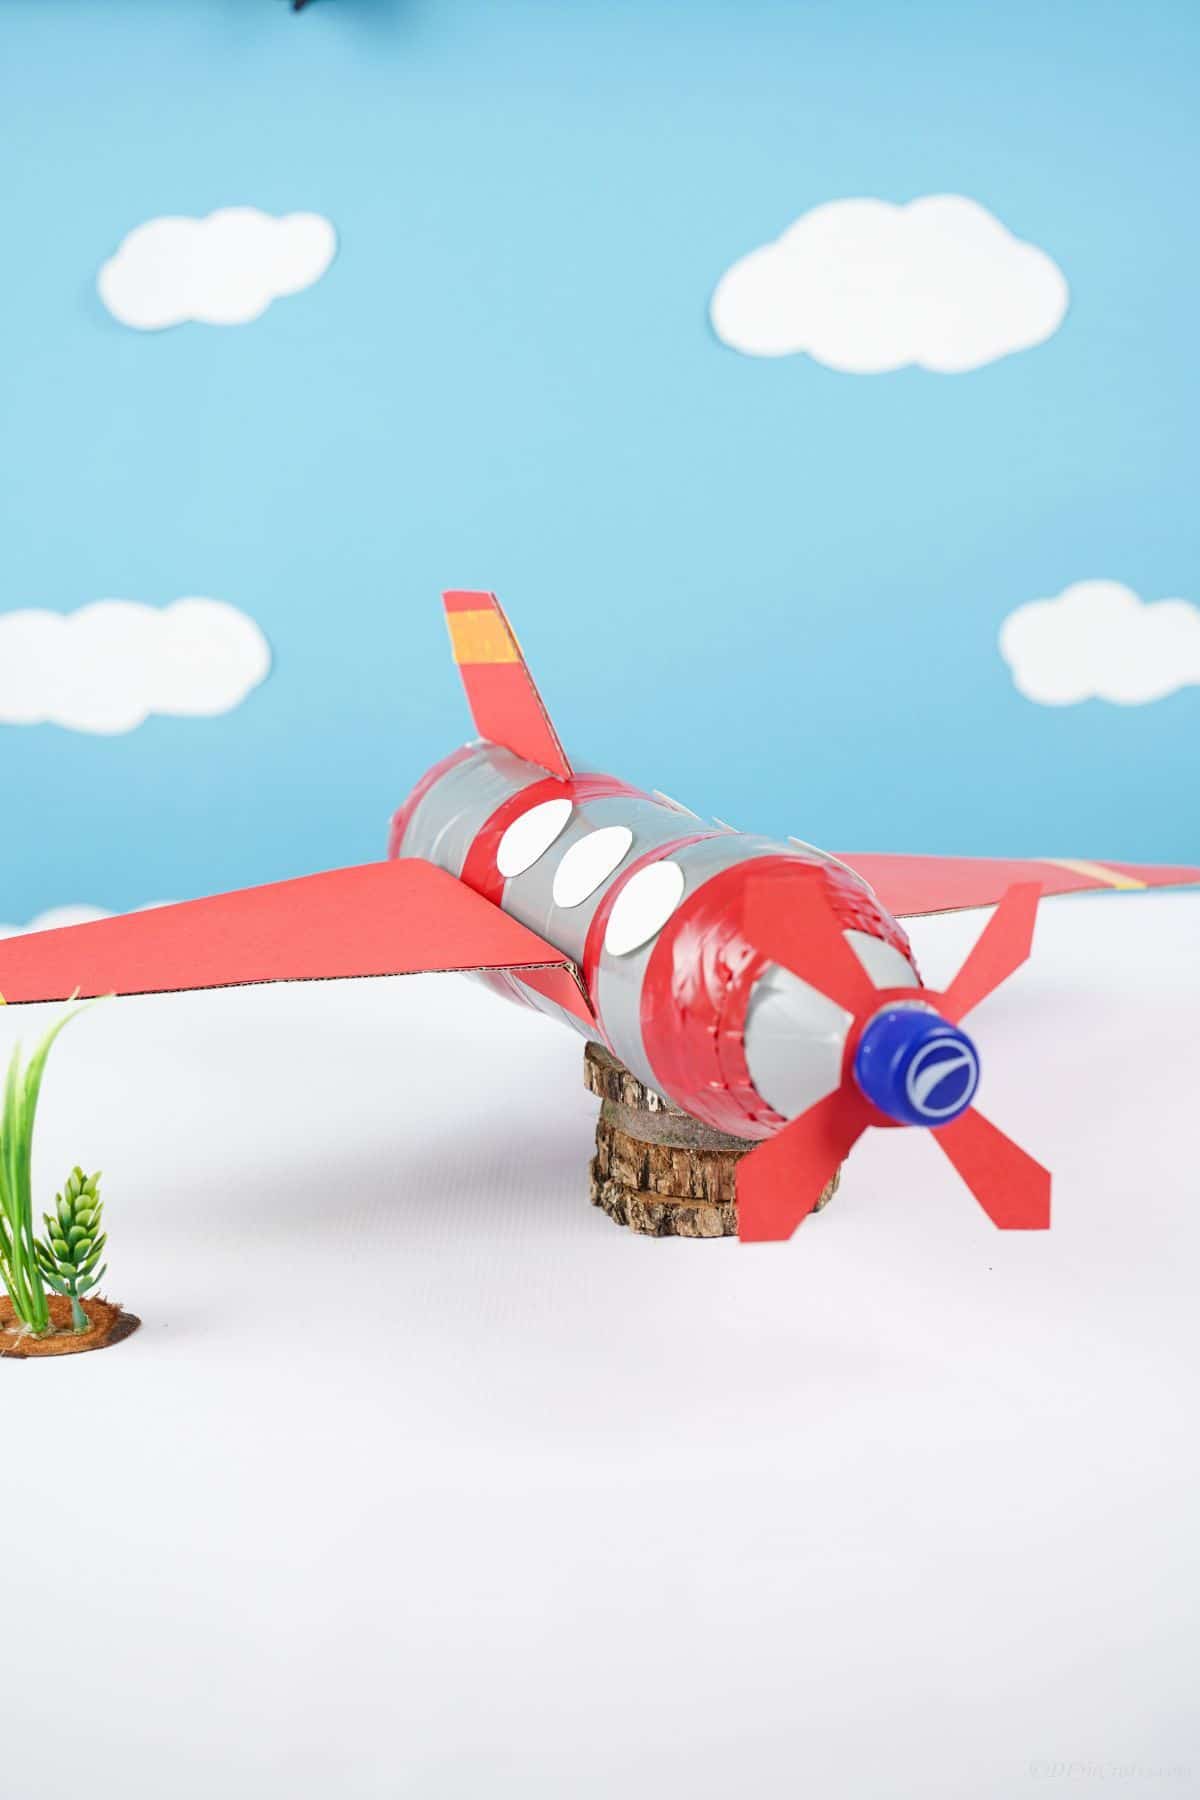
With this simple tutorial, you can turn recycled plastic bottles into toy airplanes! This is a great activity for kids, and it teaches them about recycling and upcycling. Plus, the plastic bottle airplane is a lot of fun to fly your very own toy airplane around the house or yard. Be a kid again or make it for your kids and have fun with this cool and easy-to-make project.
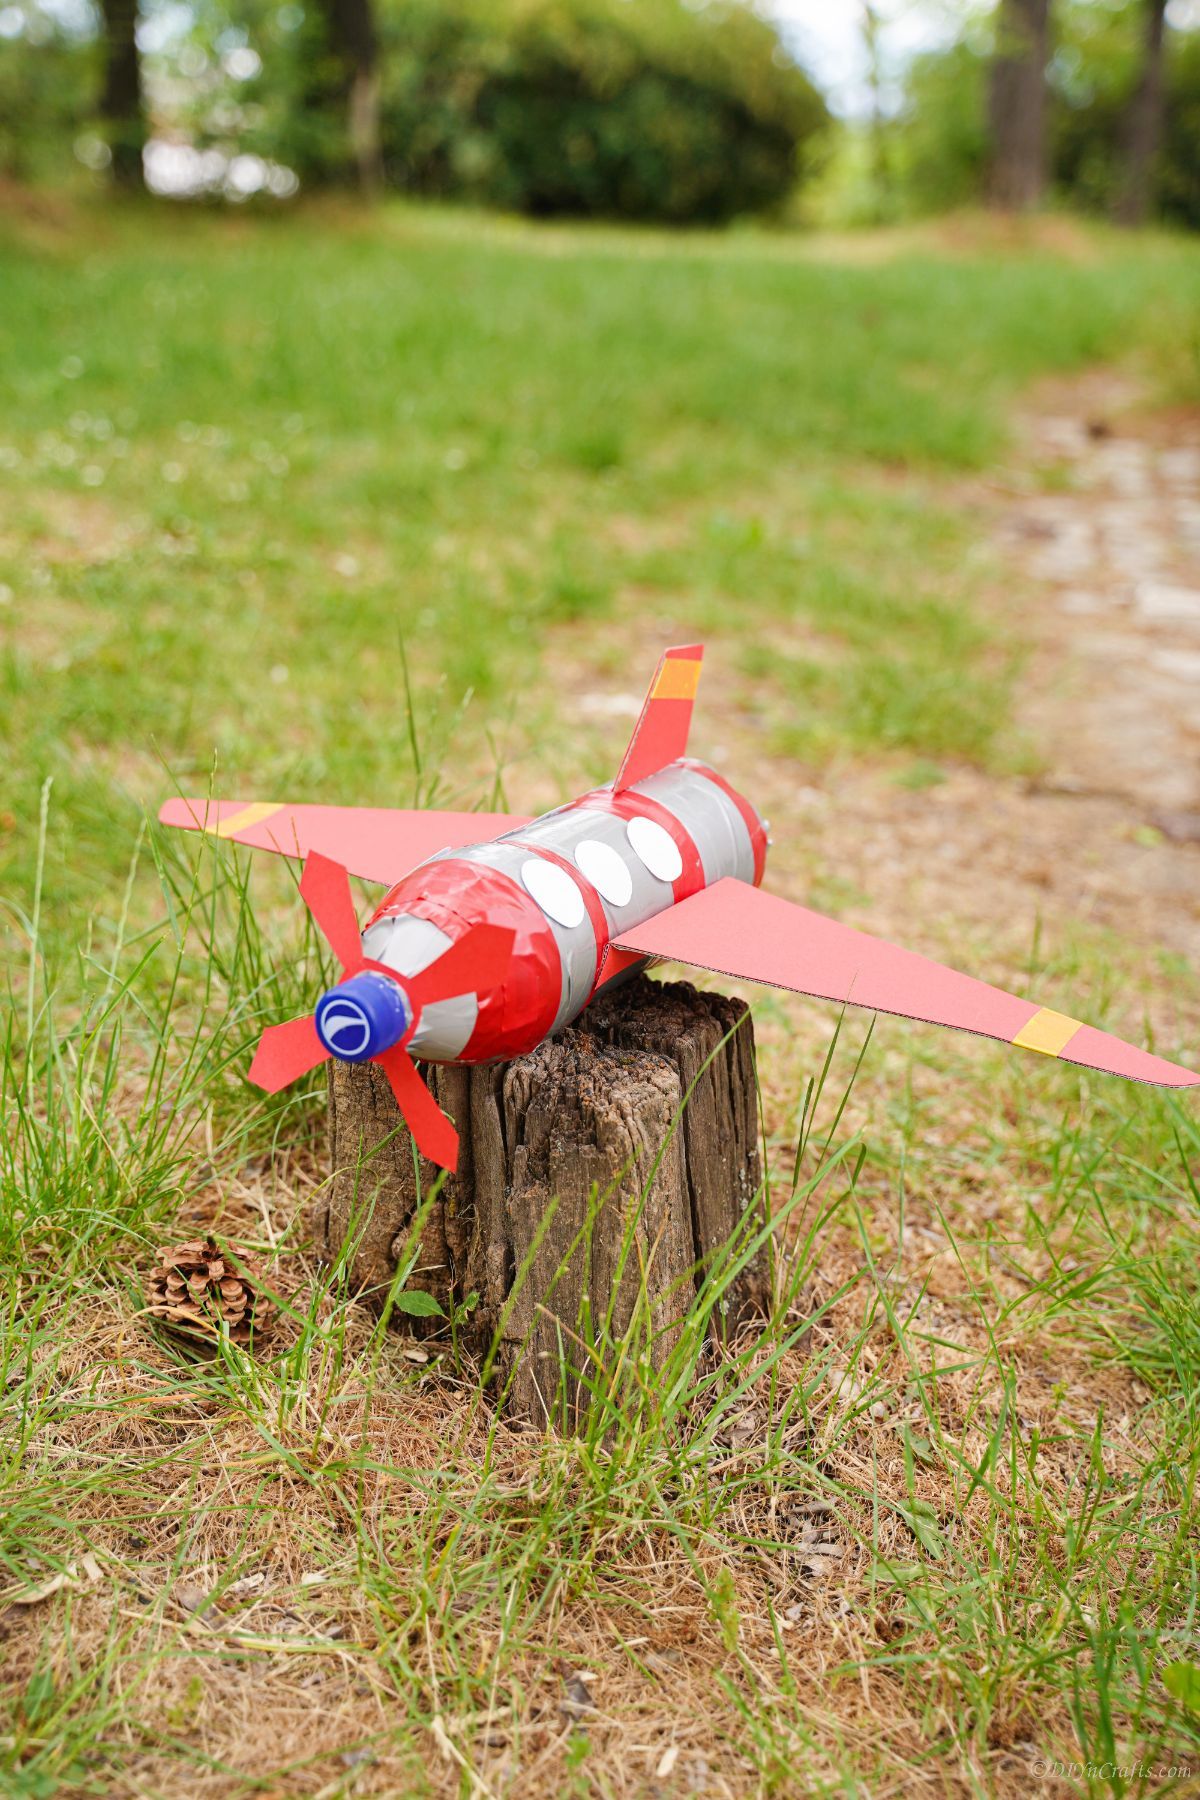
Plastic Bottle Airplane
What kid doesn’t love airplanes? With this airplane, not only can the kids make the airplane, but then they get to play with it. Your children will love learning how to make these planes and then flying them around the house. The best part is that these planes are environmentally friendly and help reduce waste.
Kids can play around the house and run around outside with their planes. This is a great activity that not only lets kids get creative, but also gives the kids some fun, active outside time. If you want more homemade or DIY toys for your kids, don’t worry, we have you covered! Here is a list of DIY wooden toys for kids, but you can also set them up to make one or all of these adorable popsicle stick craft ideas.
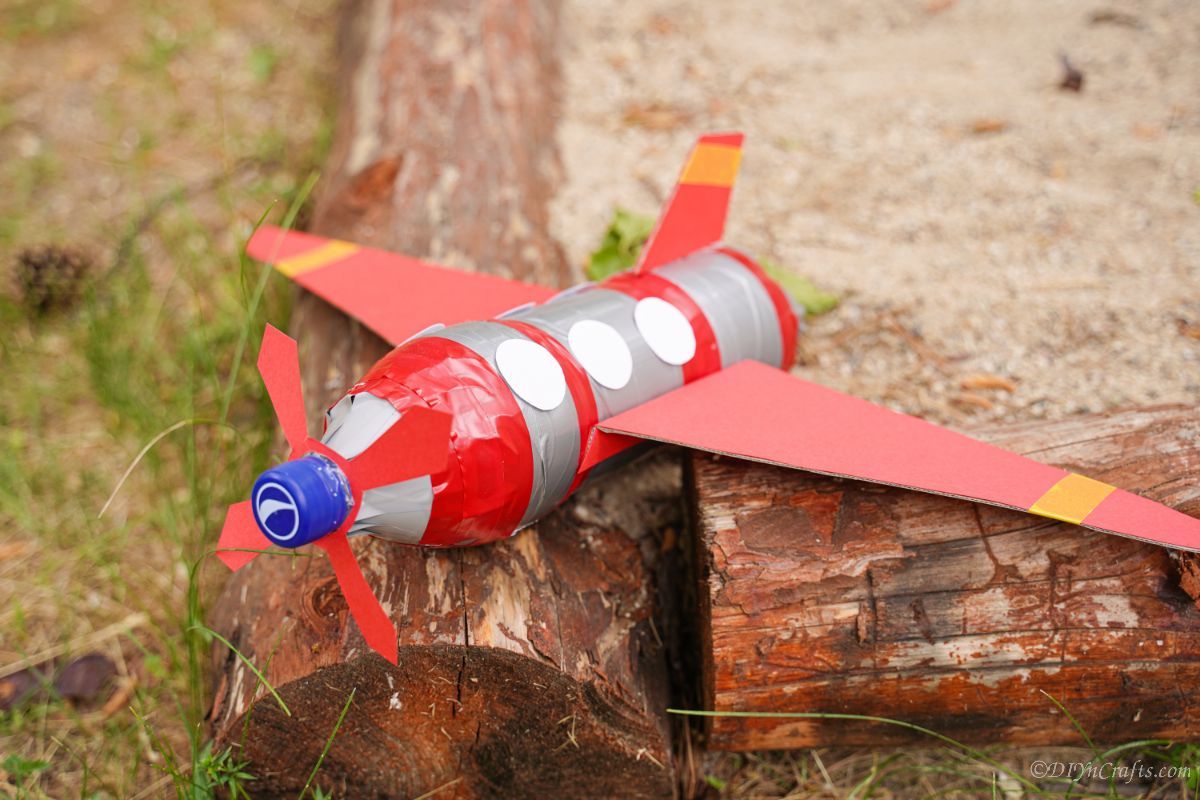
What Should I Make the Wings From?
There are a few ways that you can make the wings. You can use paper since that is something that most people have on hand, but it will be flimsier. I used cardboard pieces cut into wing shapes. This offers the most stability to the plane while still using something you likely already have on hand.
Cardstock or scrap plastic, like from school folders, can also be used for a lighter wing. In a pinch, you could cut up another bottle and turn the pieces into wings and rudders on the plane.
Since you are making this plastic bottle airplane, kids will hope it will fly. In that case, think about what will be light enough for the plane to fly and strong enough to hold the plane up while it glides. Mix and match different items until you get the desired effect you want for your own airplane.
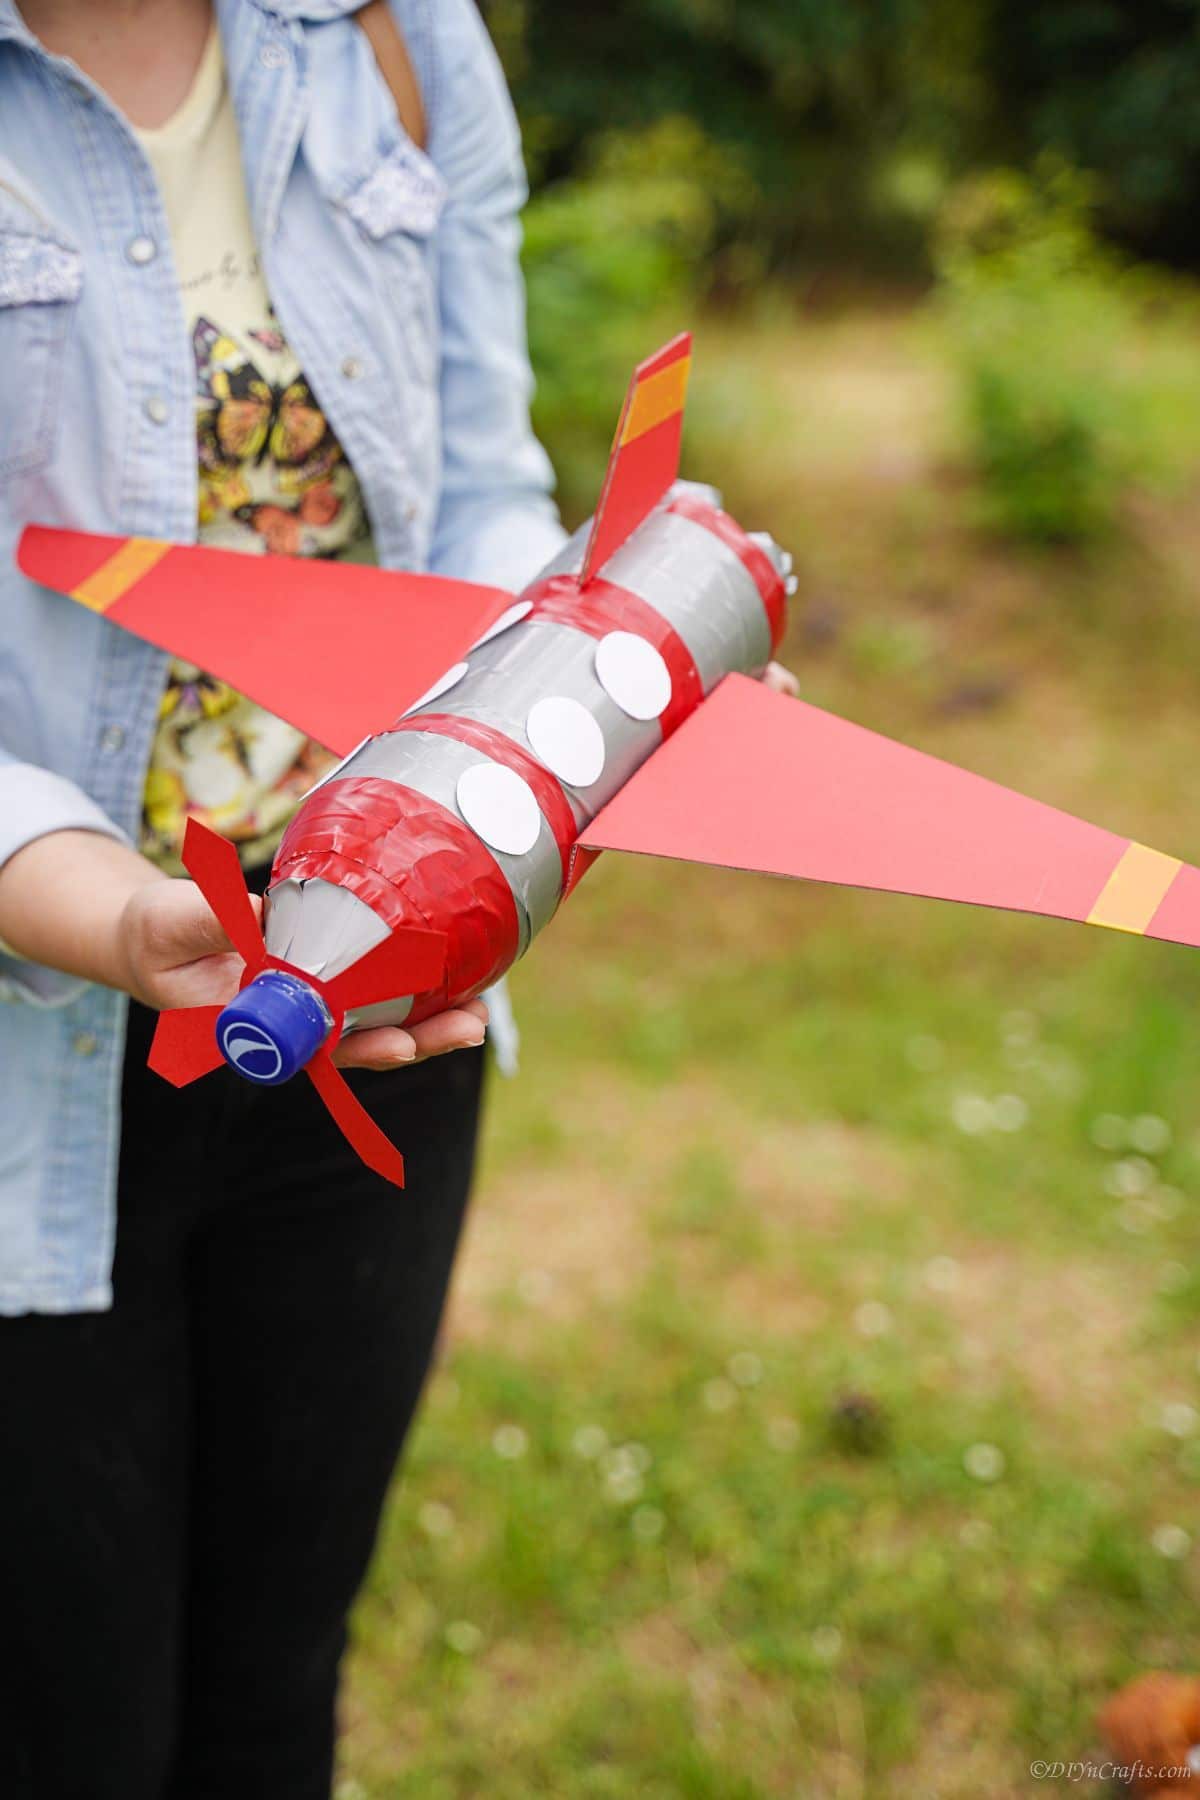
Can This Really Fly?
There is nothing that propels the airplane. So to make this plane fly it is by throwing it like a paper airplane. This will let the plane glide along.
The other way to make the plane fly is by kid power. That means the kids can hold it as they run around the yard.
So, to answer the question, yes, it can fly, but it is not automatic and does not have an engine. It’s mostly a fun project for kids to use in pretend playtime or with their toys. It can be a great idea to add to your accessories for action figures or dolls to use as their own airplane in pretend play.
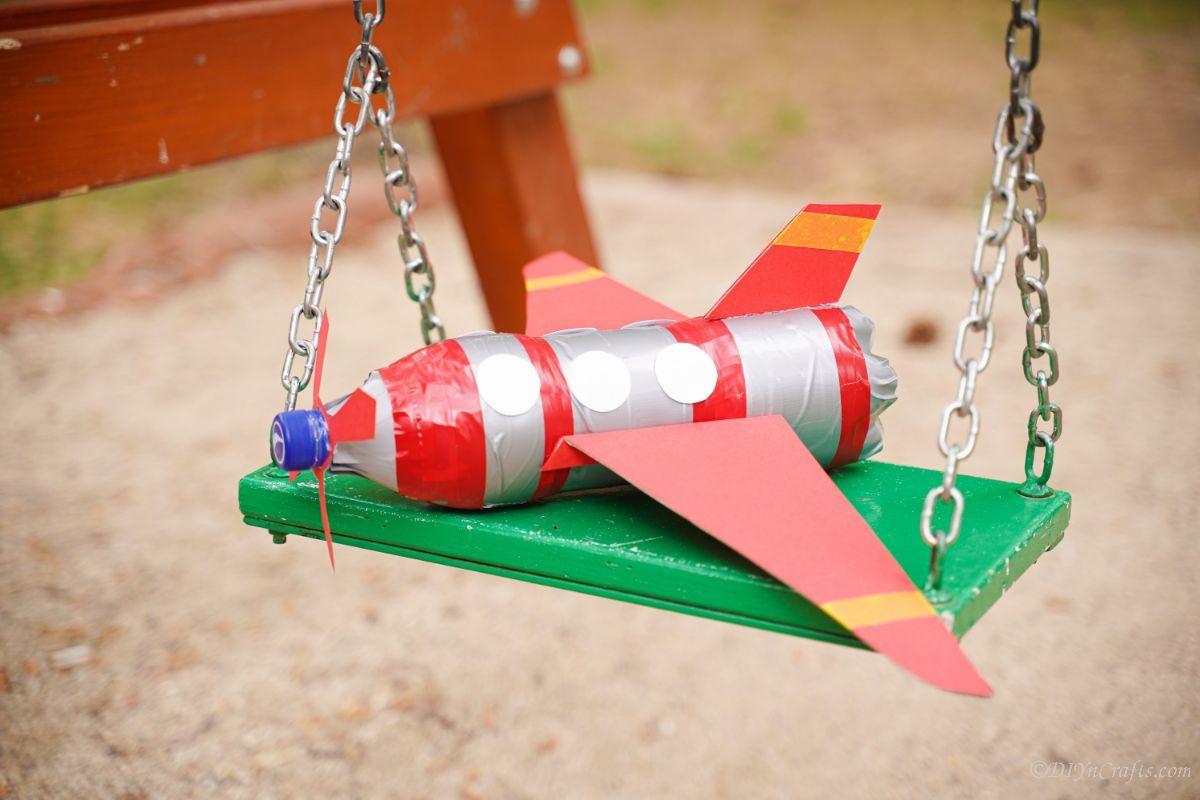
How Else Can I Decorate My Plastic Bottle Airplane?
One of the best things about this project is that it is super versatile and easy for you to customize. From changing the colors used to adding unique signs or slogans, the pretend airplane is an empty slate to show your personality. Below are some ideas that work great for this project.
- Use different colors of tape and cardstock to coat the bottle and wings.
- Paint the bottle instead of covering it with tape. It can be white, gold, silver, blue, red, or whatever color you prefer.
- Add stripes to the wings using washi tape or paint.
- Draw or cut out paper to create doors on the sides of the airplane.
- Attach wheels underneath using plastic and cardboard to create your own.
- Make it more like a fighter plane and add names to the sides or a slogan to the side.
- Give your airplane a brand name or logo on the side.
Don’t forget the little details on the plane. You can make this as simple or as uniquely complicated as you want. If making with kids, I recommend sitting several options for supplies out and letting them pick and choose what to use.
Supplies Needed
How to Make a Plastic Bottle Airplane
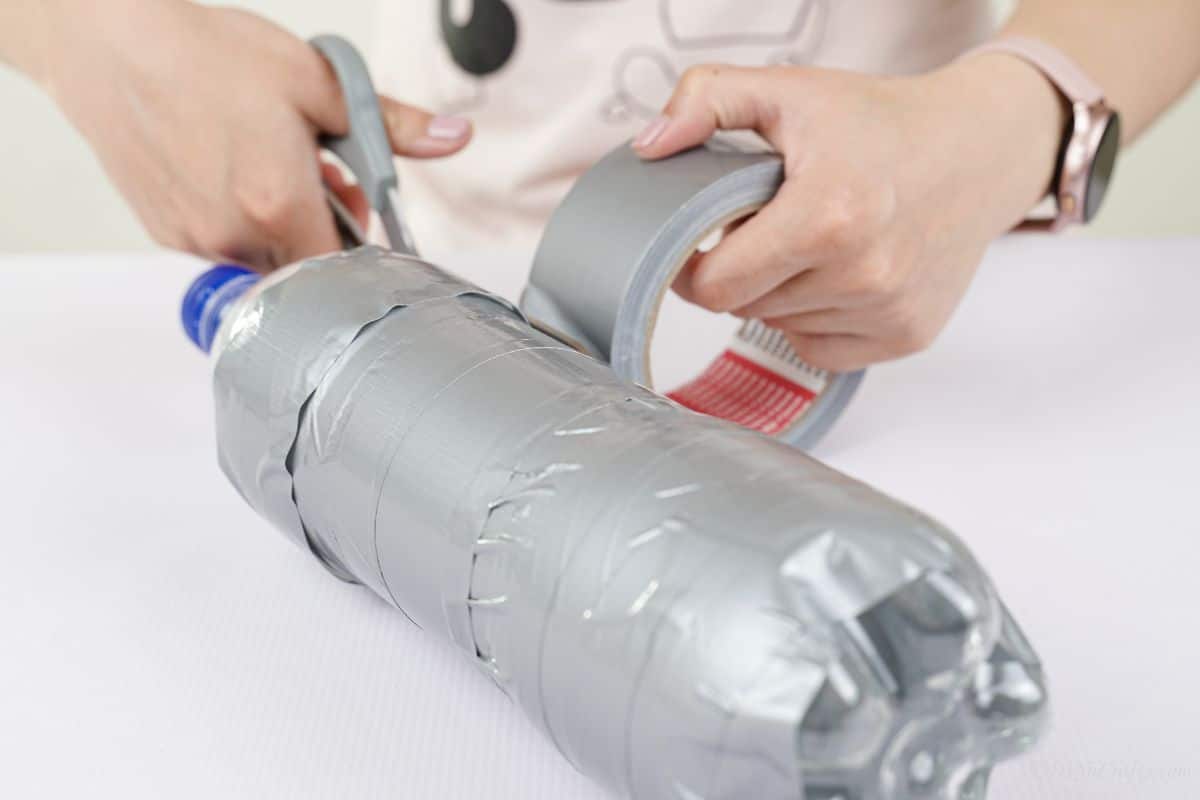
Rinse out the bottle you are using and let it dry completely. Remove any labels or glue from the outside of the bottle, then cover it from neck to base in silver tape. I used duck tape, but this can be done with electrical tape or washi tape. You can also simply paint the bottle.
Once you have it covered, start at the top of the middle of the bottle – just where it begins to curve upward, and cover that with red-tape from the edge up to around the neck, just below where the lid screws into place.
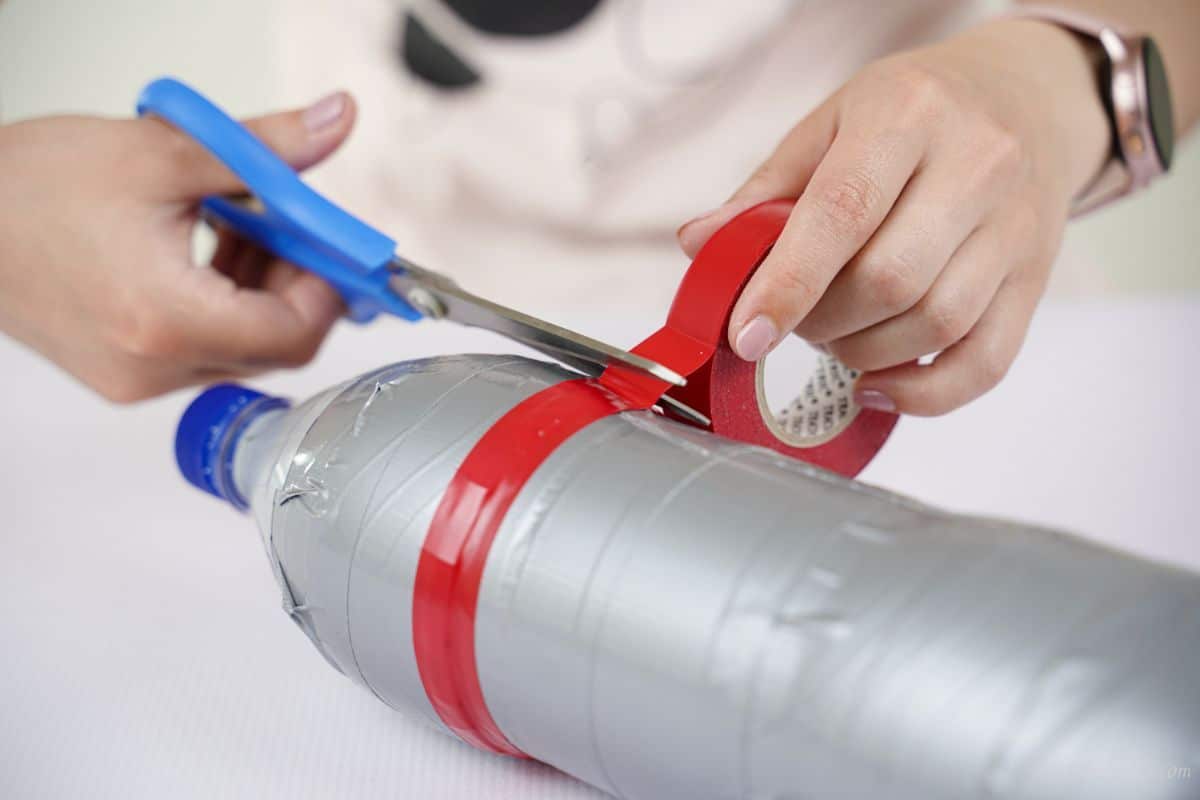
You’ll have one red stripe at the back end of the bottle, and 1 or 2 sections of red on the front. You can add more or less if you prefer.
Next, measure out a square of red cardstock that is approximately 4″ wide.
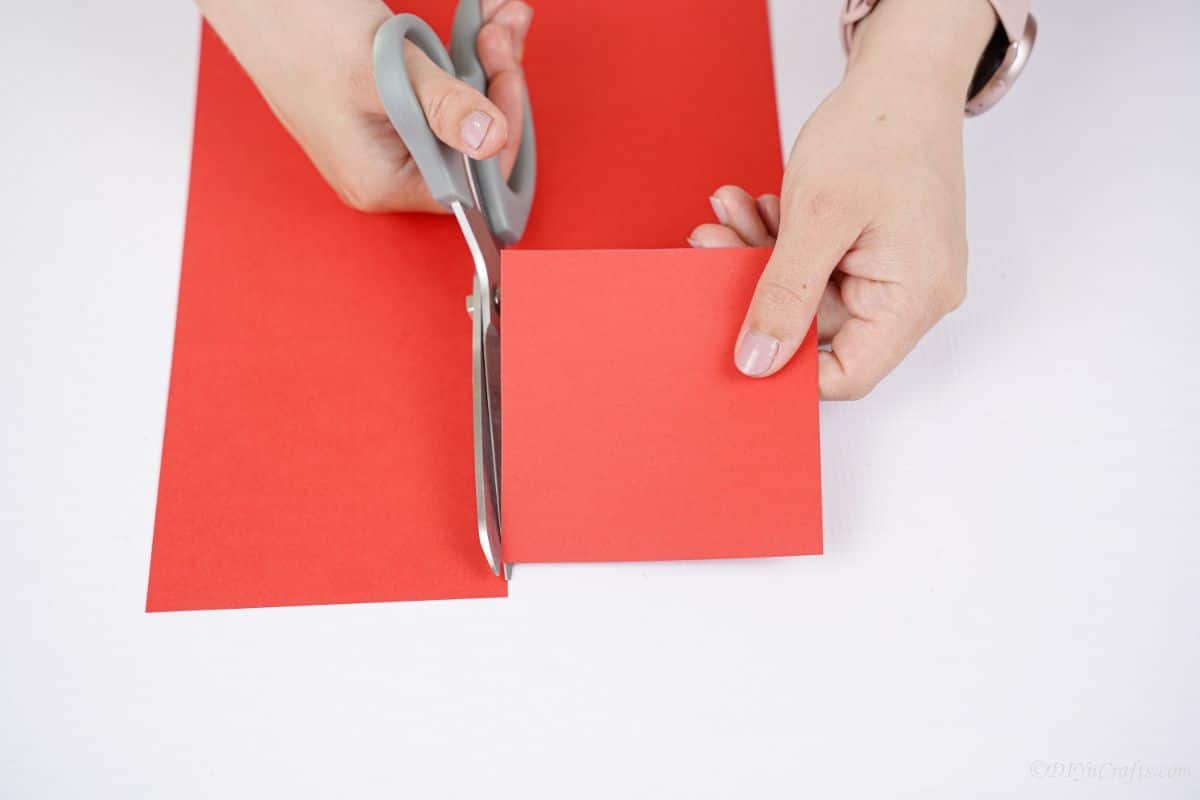
In the middle of this square of paper, place the lid from the bottle. From the edge of the lid, draw four propellors, or 8 lines creating them.
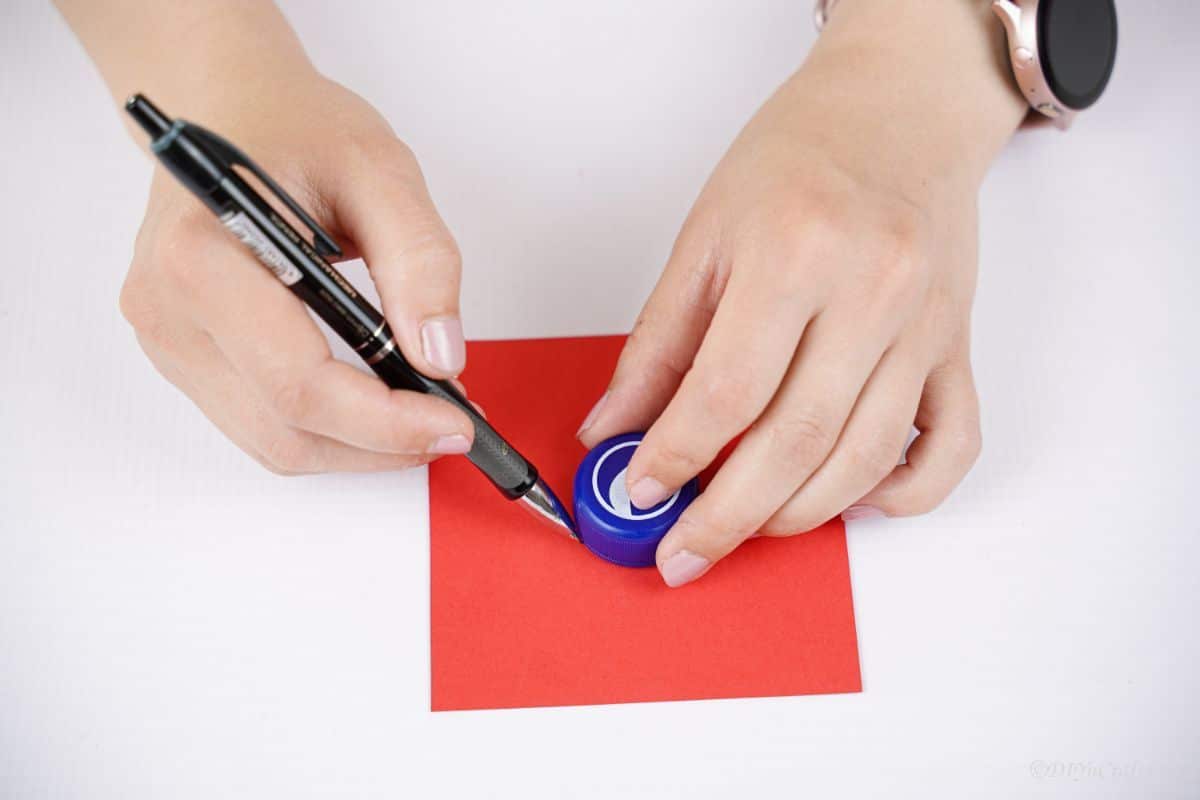
Cut between the lines and around to create the propellor shape.
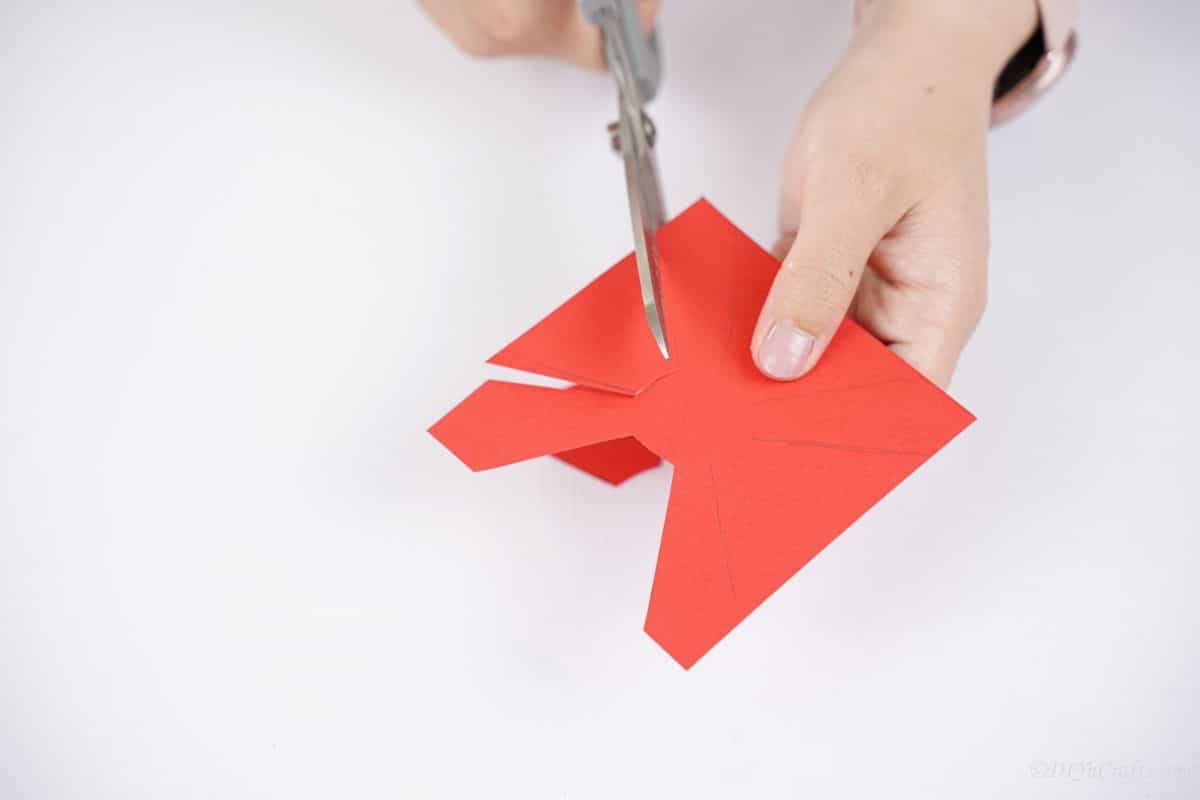
Next, cut slits into the center circle, but do not cut completely through or out. You want it to stay intact but have an opening in the center.
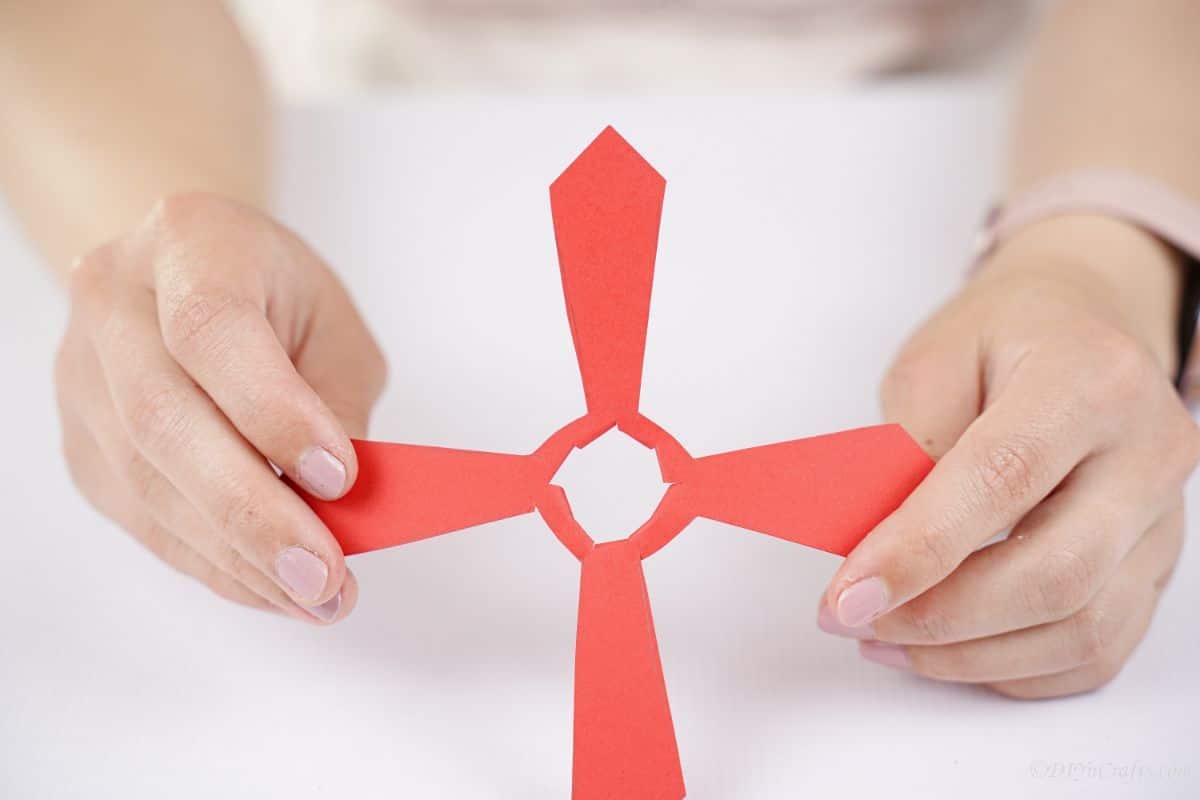
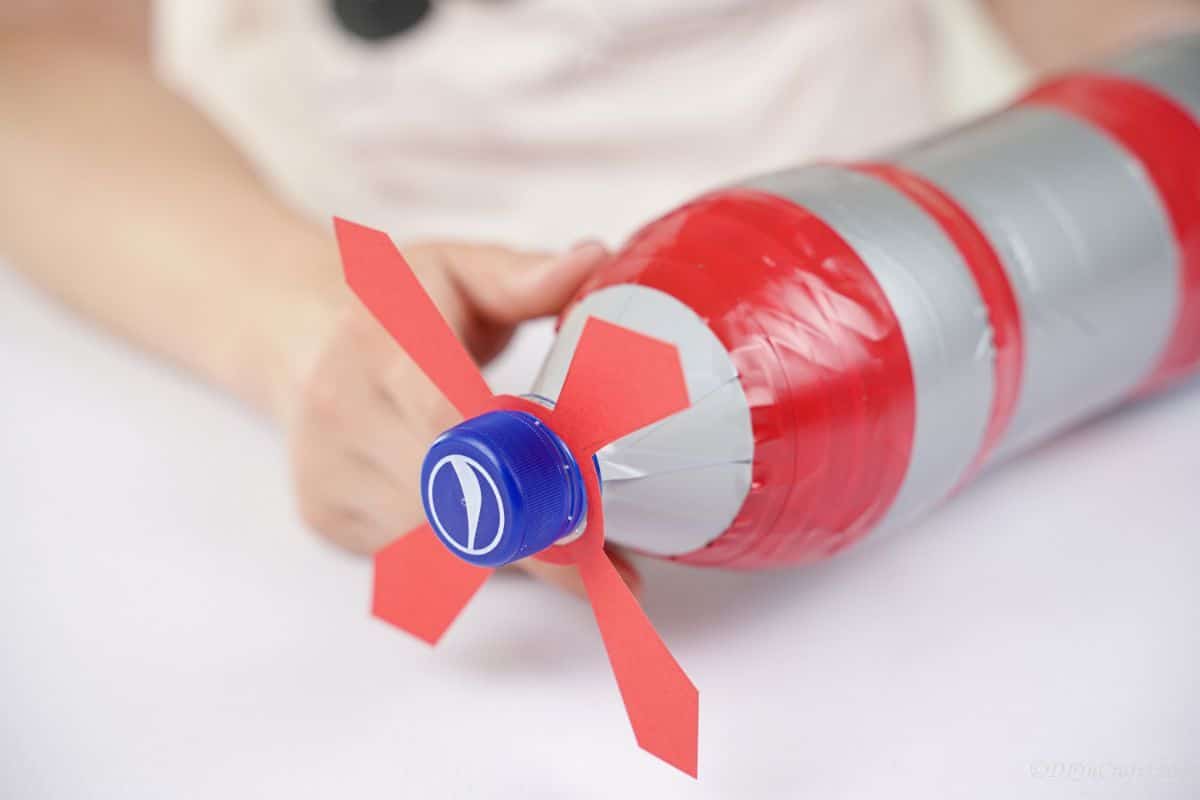
Slide this over the open neck of the bottle where the lid goes, then screw the lid in place so that the propellor piece is behind the lid but on the end of the “nose” of the plane.
Set aside the bottle, and begin making the wings. Carefully draw a wing shape onto a piece of cardboard with one end being narrow and one wide.
Cut this out and use it as a template to create the other wing in matching size.
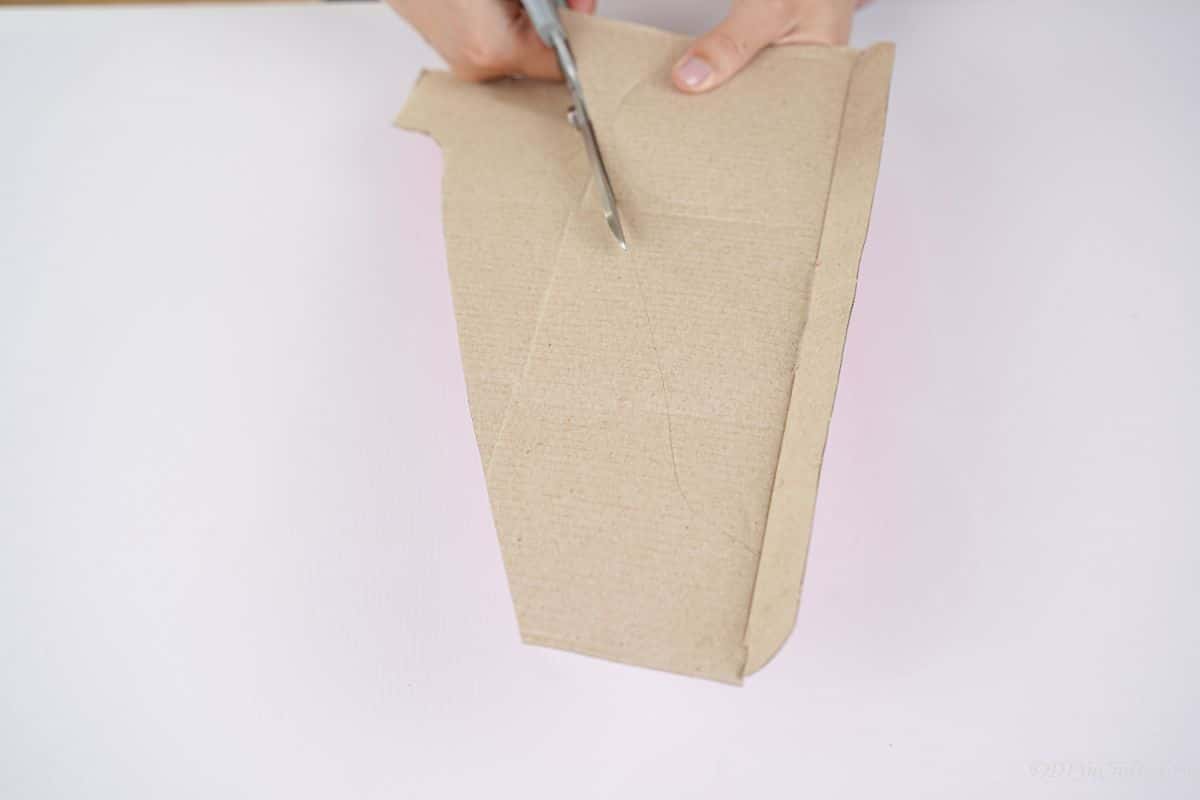
Now, glue red cardstock over the cardboard on the side that will be facing upwards.
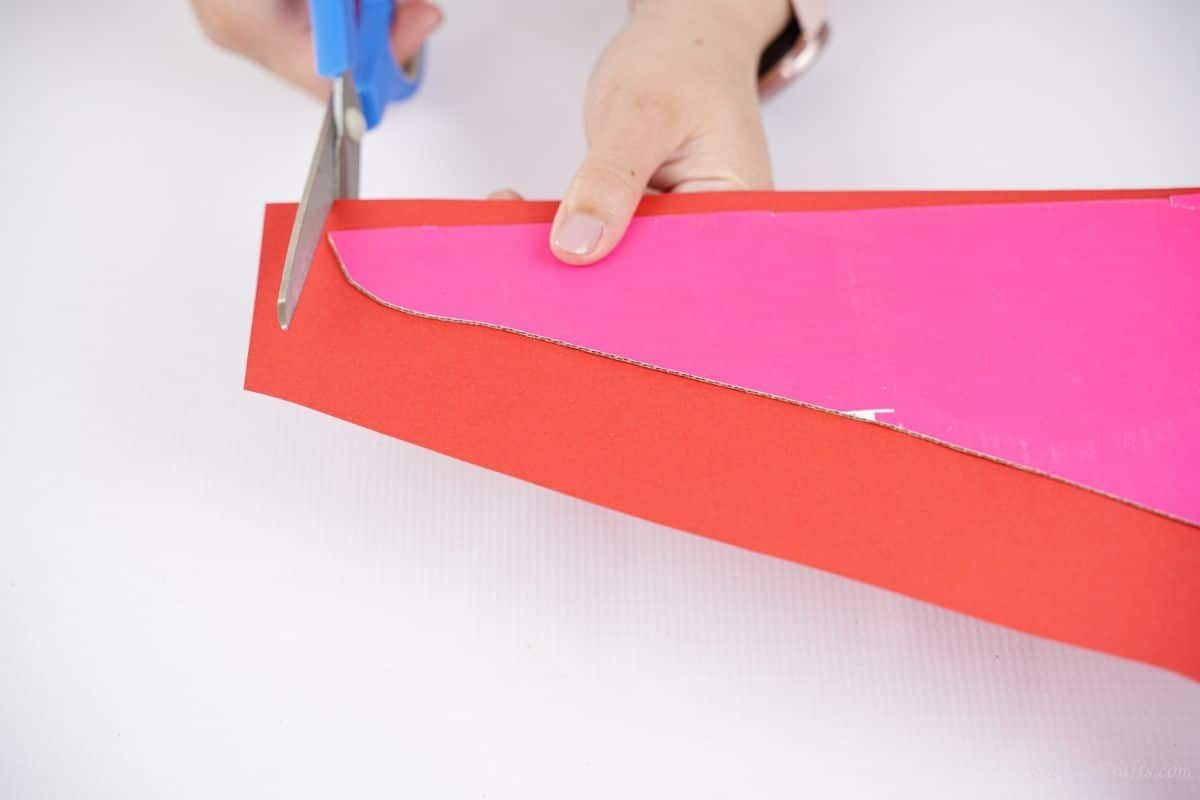
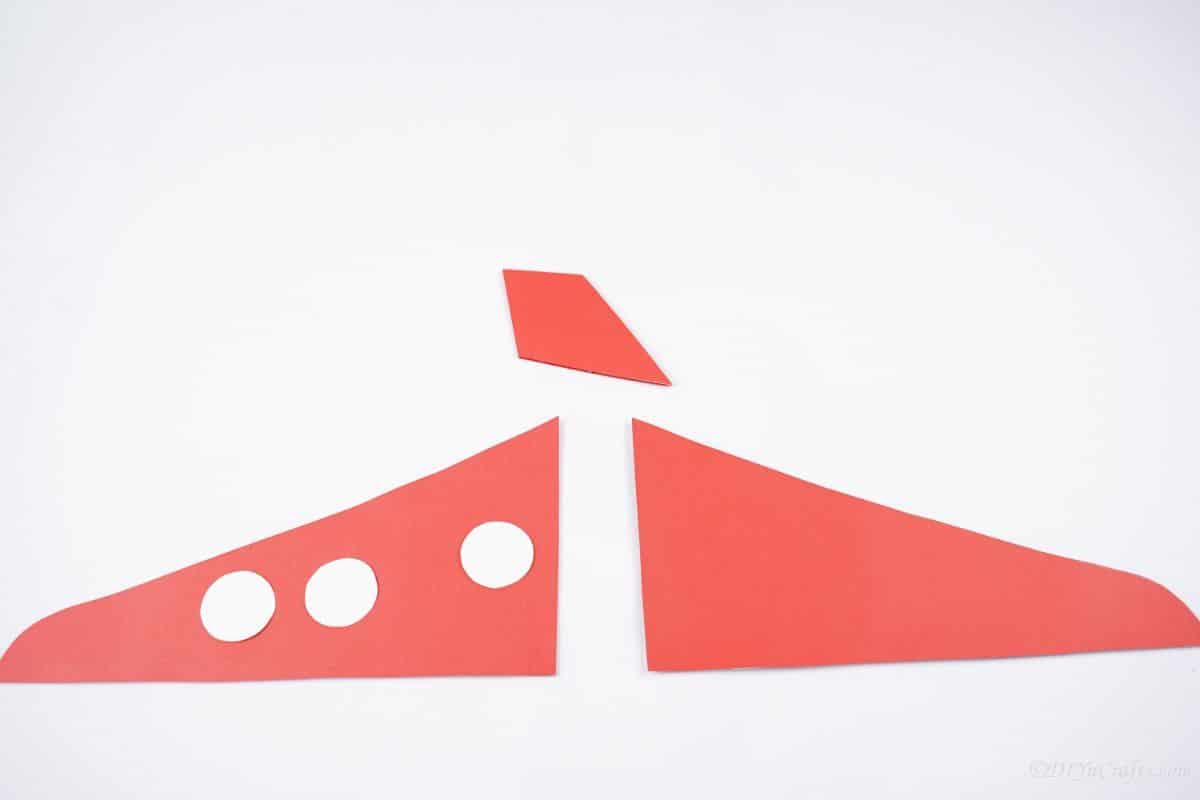
Cut out a small diamond shape piece to use as the rudder. It should be wide on one end and narrow on the other, but also have a bit of a point at both ends so the top can fold over and fit onto the top of the plane.
Glue red cardstock on both sides of the rudder and set it aside.
Then, cut out 6 to 8 circles of white paper around 1″ wide. These will be used as windows on the sides of the plane.
To add the rudder to the top, fold over the wide end so it creates a space to glue in place. You can also cut a slit in the top of the plan and slide the edge through that then glue it around to hold it in place.
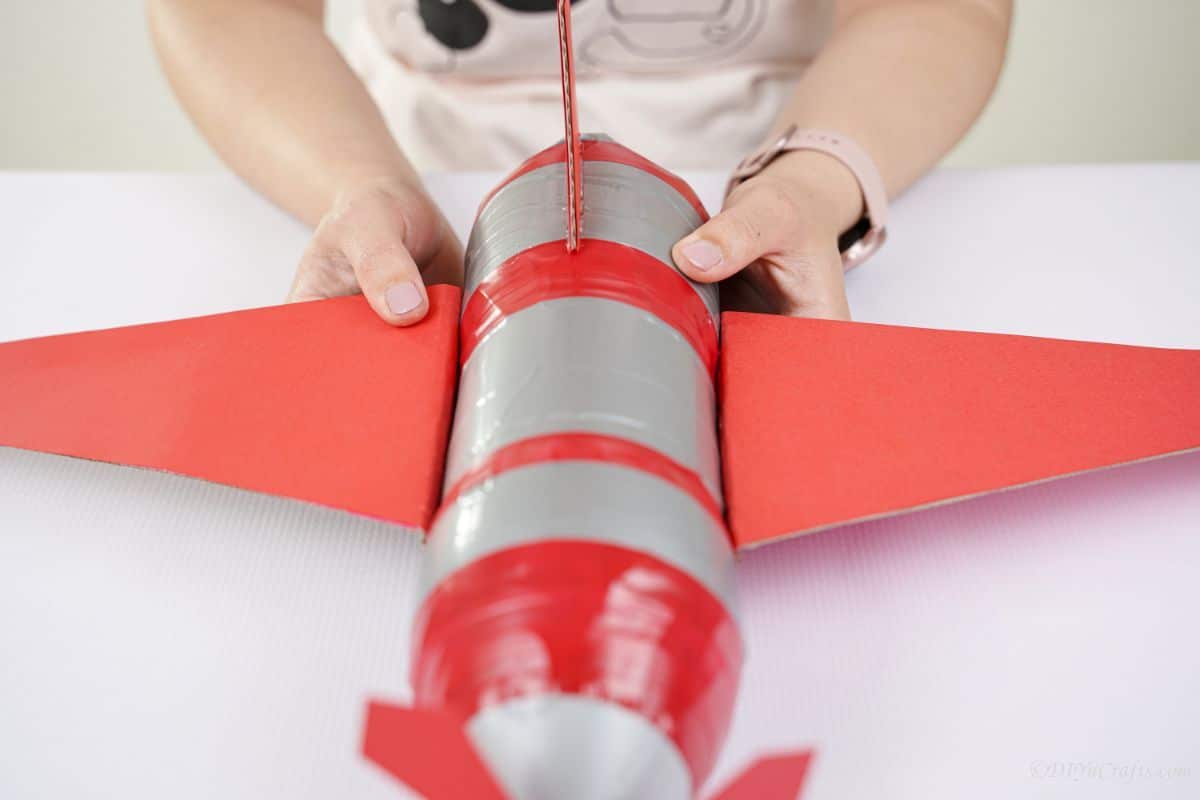
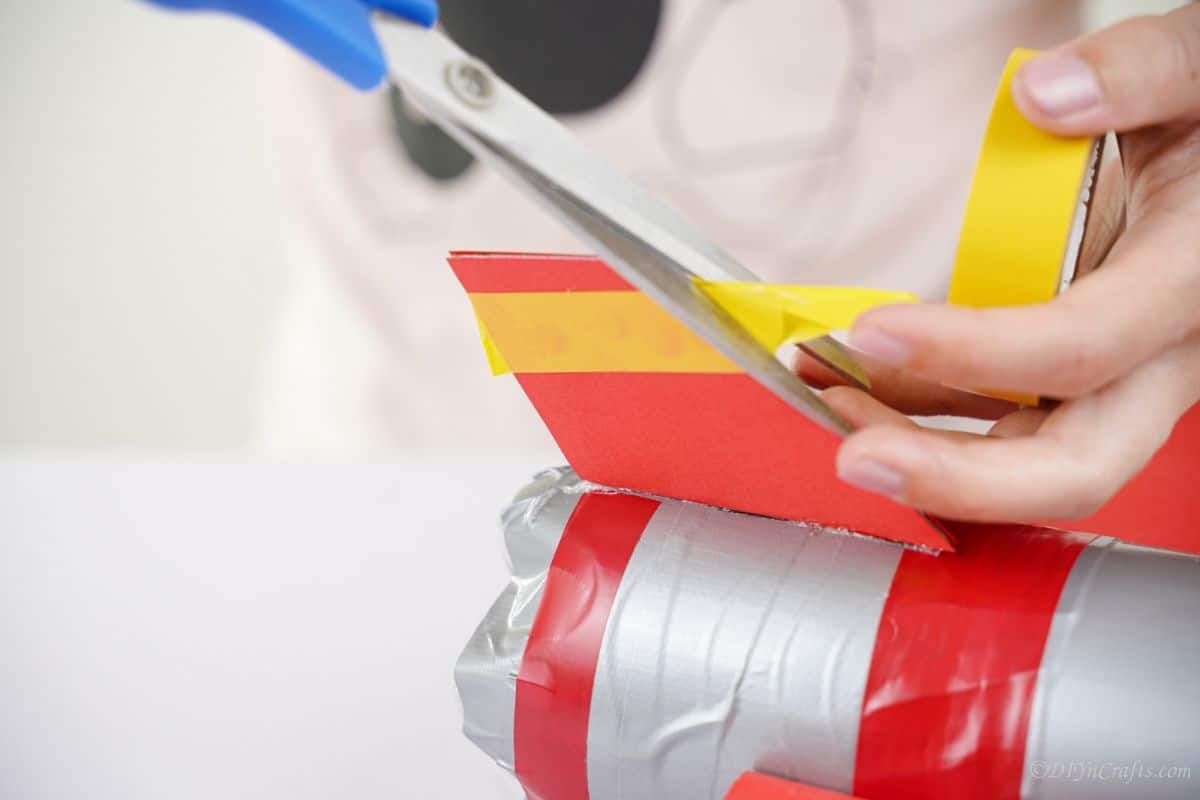
Now, fold over the widest edge of the wings, just 1/4″ to 1/2″. Glue them wide side against the bottle on each side.

Using washi tape, wrap stripes on the ends of the wings as desired.
Then glue the white circles you cut out along the side above the wings to create windows.
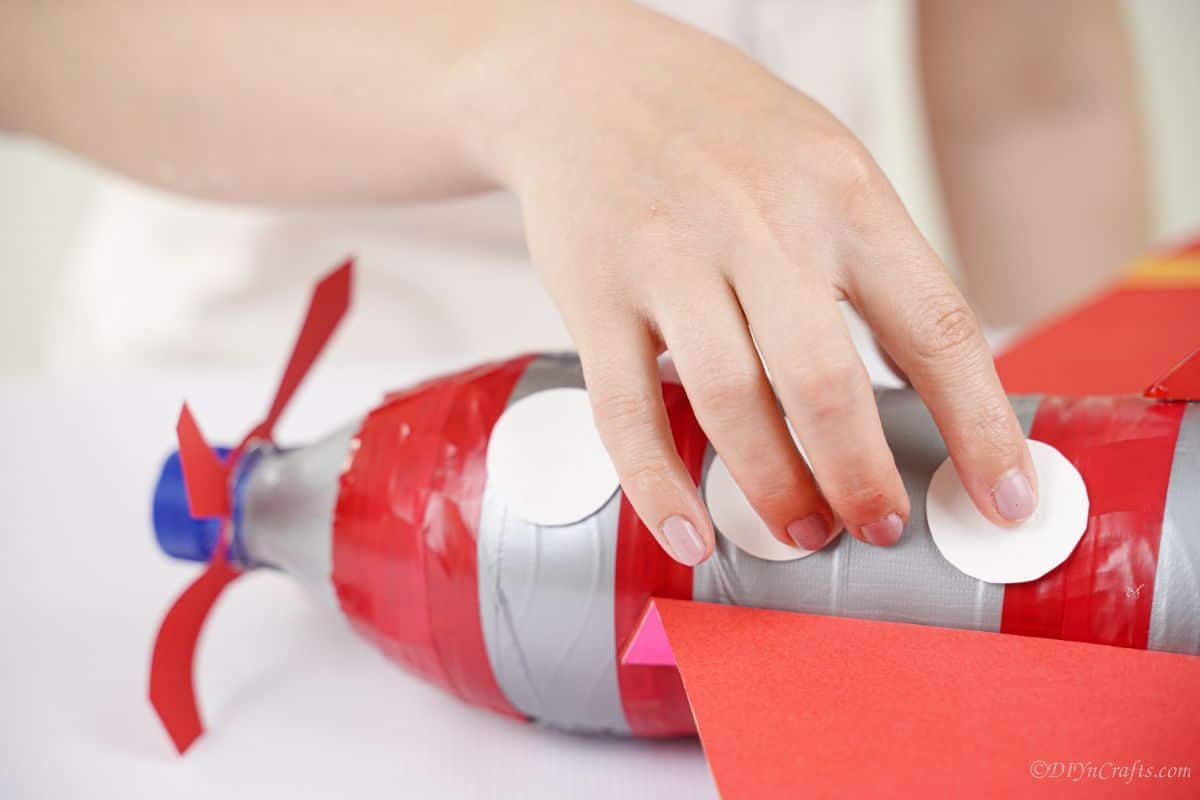
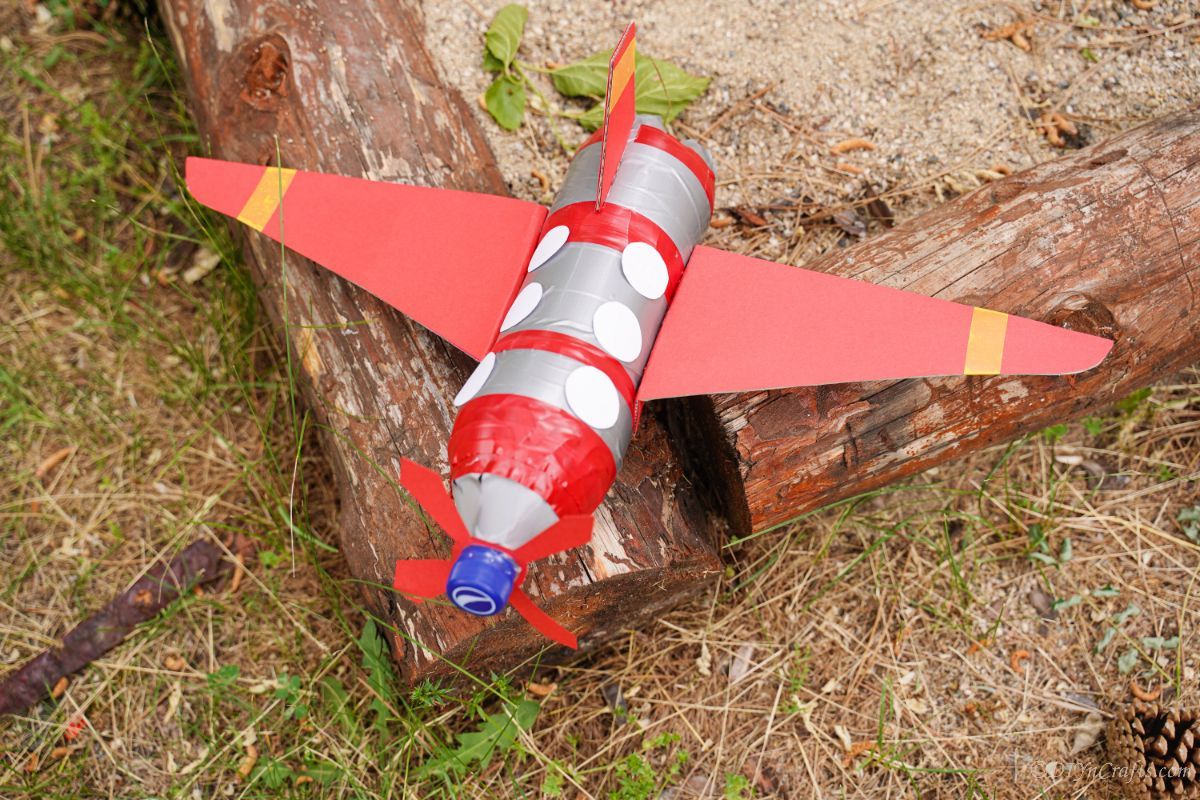
Continue decorating the airplane until you are happy with the look.
More Easy Plastic Bottle Crafts
Grab the empty bottles and get crafting with this and other fun ideas below. Put them to use around the house, in your garden, or as part of your favorite holiday decor! Make sure that you bookmark the ideas, print out the tutorials, or pin them to an appropriate Pinterest board to make soon!
Yield: 1
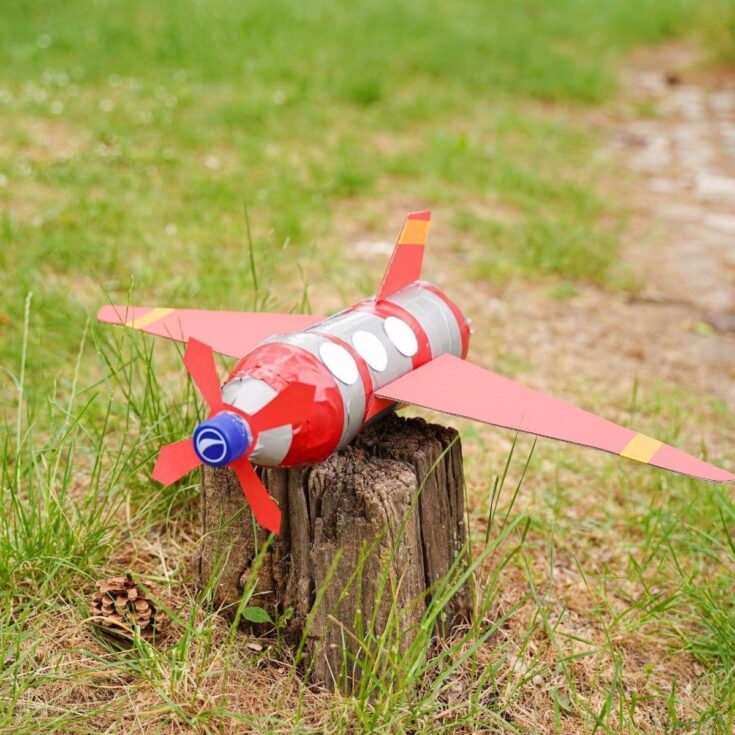
Make an adorable toy airplane out of a plastic bottle for a fun kids craft that is frugal and fun to customize!
Active Time
30 minutes
Total Time
30 minutes
Difficulty
Easy
Estimated Cost
$1
Notes
Customize your plane with different colors and styles to make it unique.
Recommended Products
As an Amazon Associate and member of other affiliate programs, I earn from qualifying purchases.
Finished Project Gallery
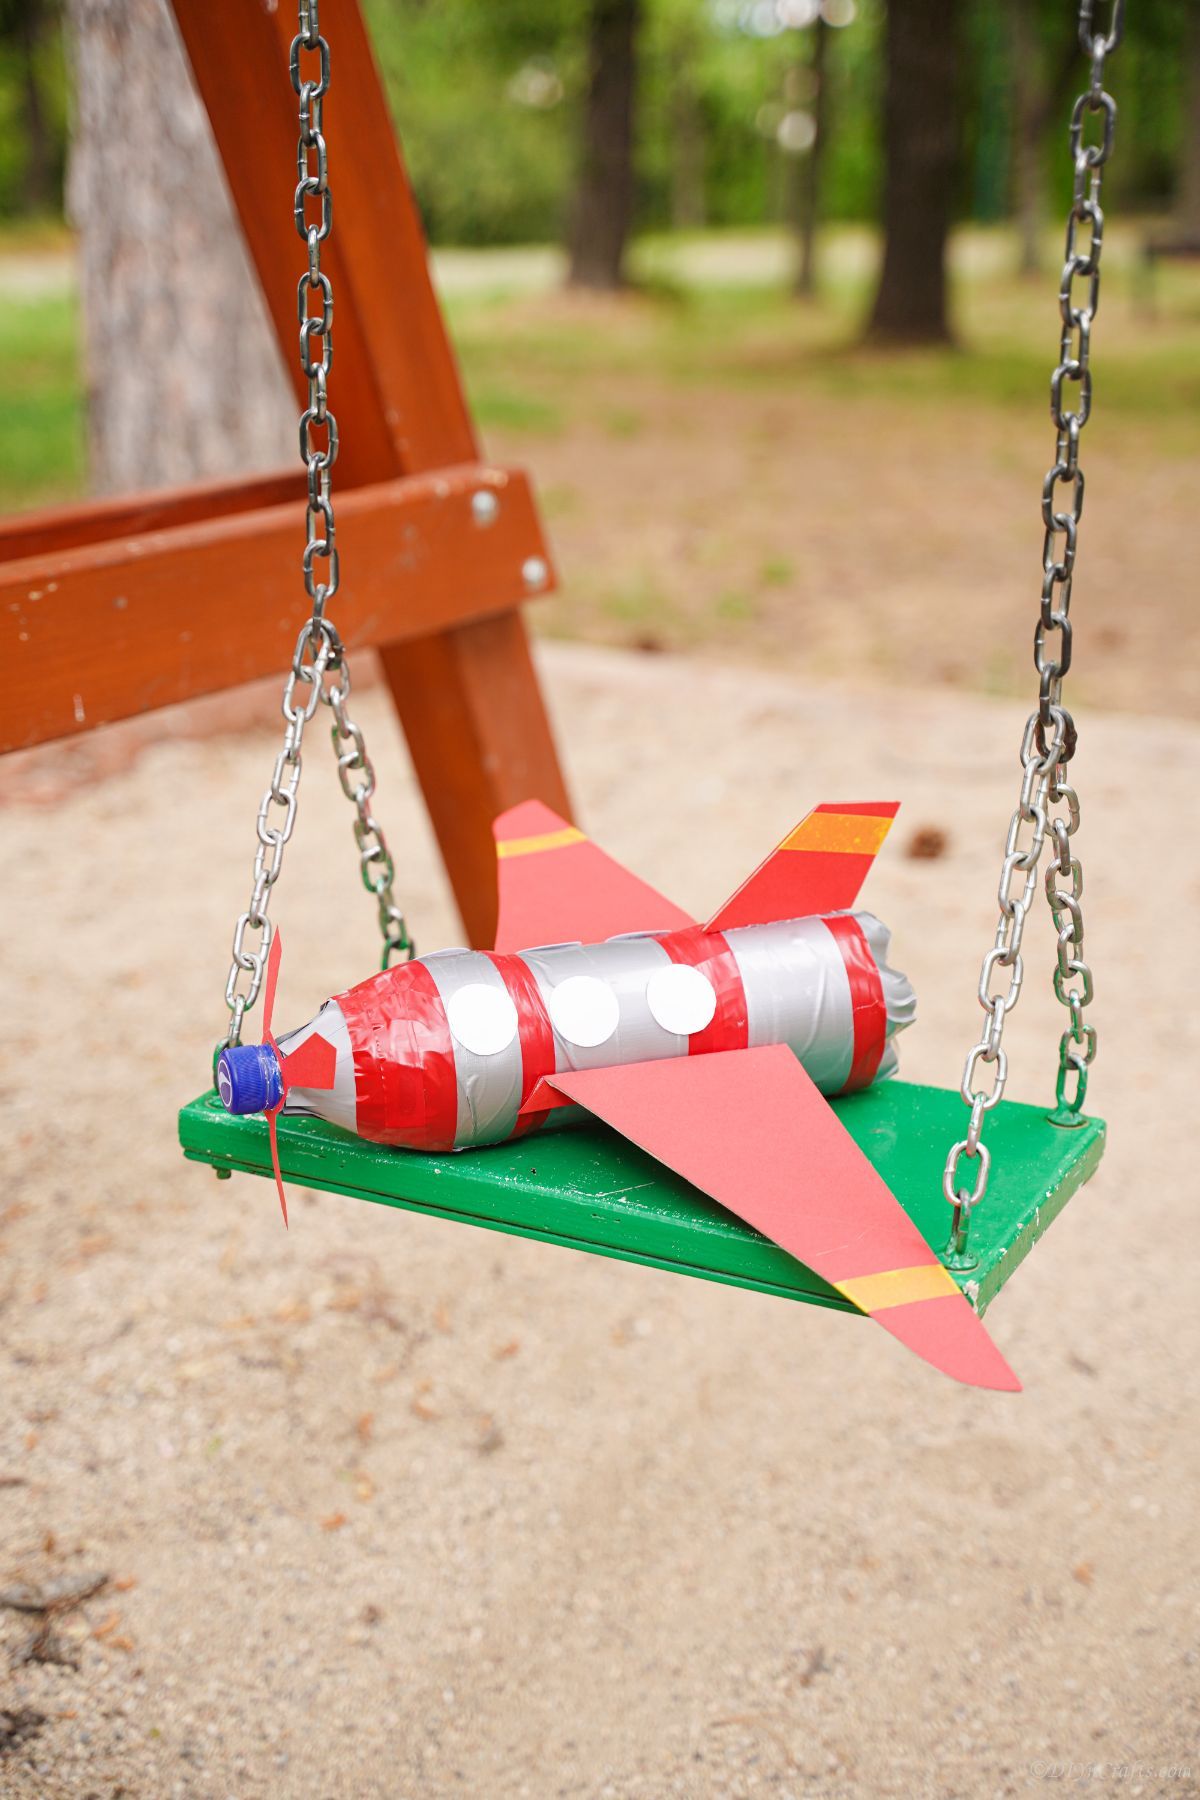
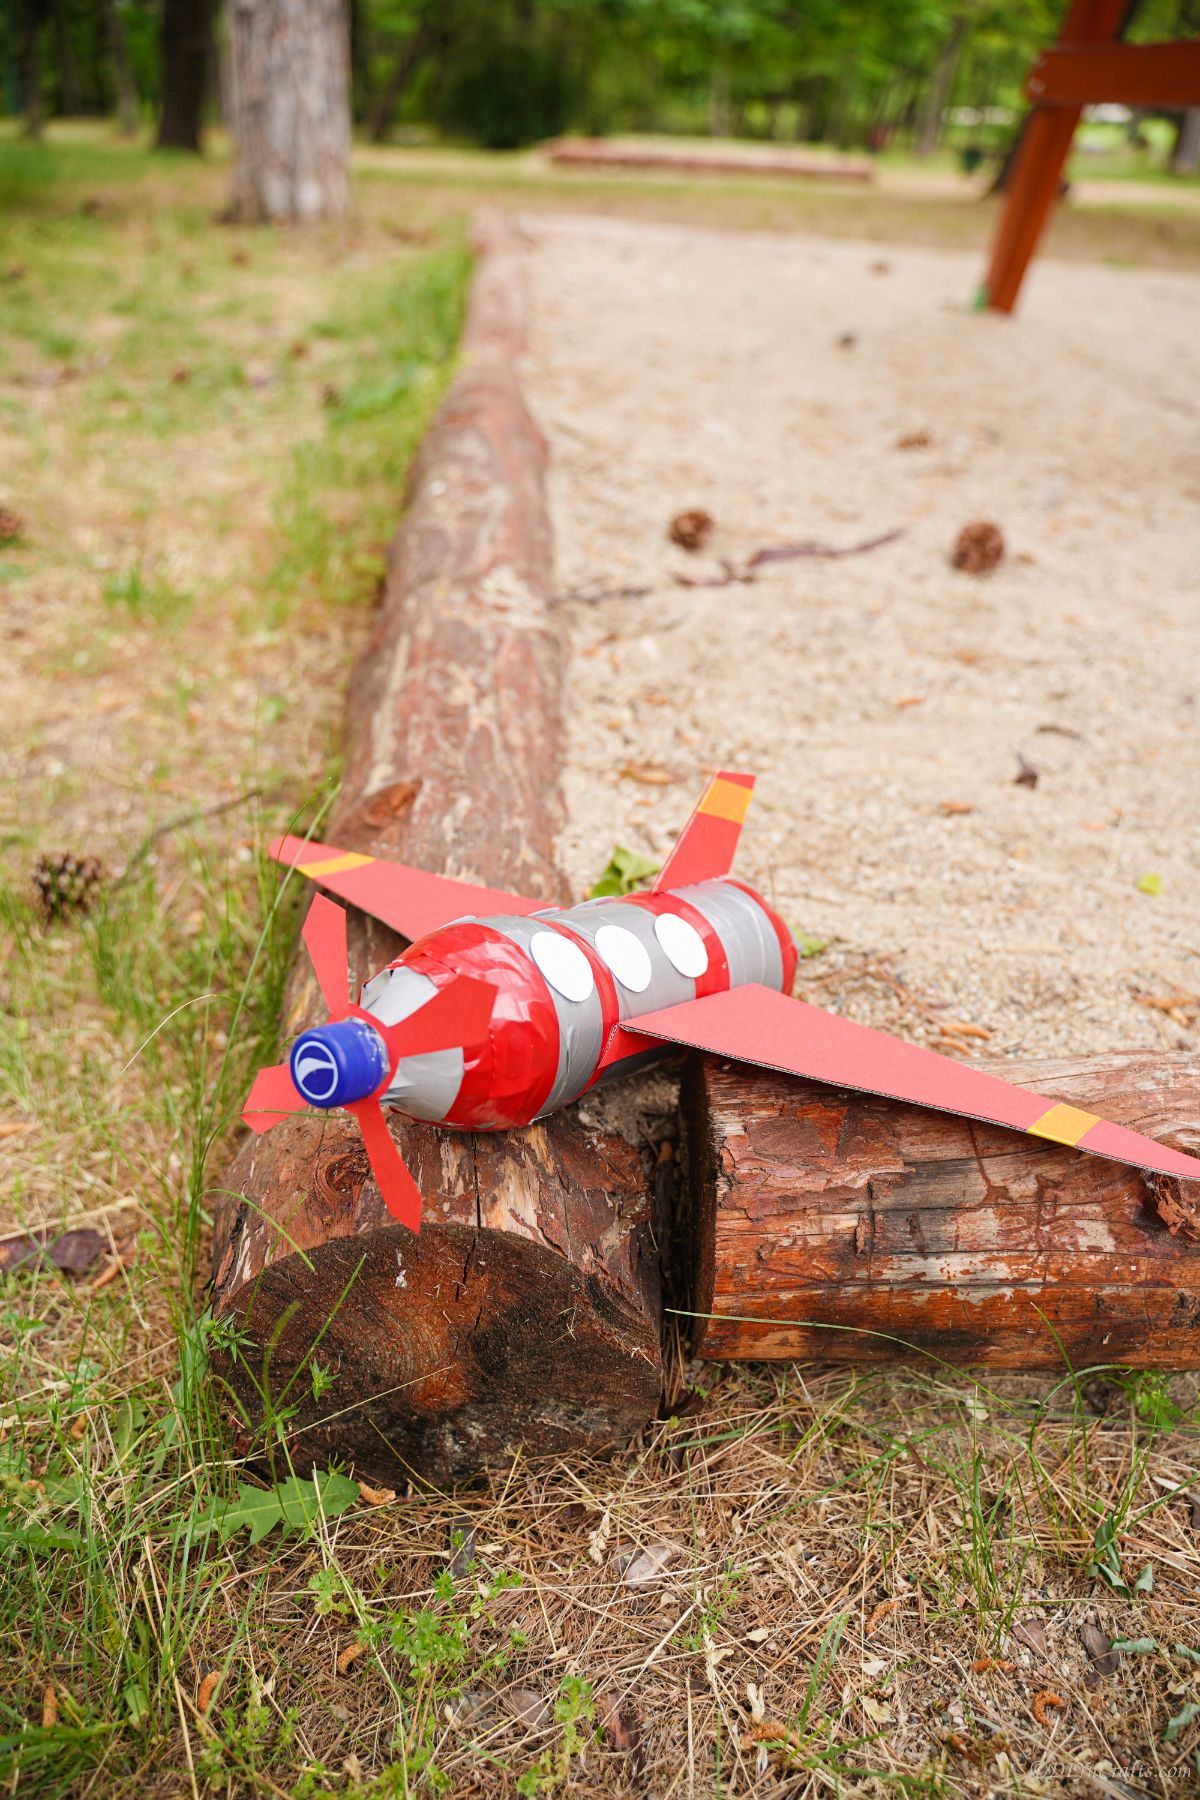
Paint or cover your airplane with the colors you prefer.
[ad_2]
Source link

