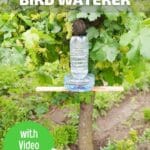
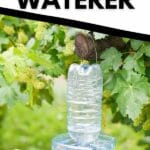
Looking for a fun and easy way to make sure your local birds have fresh water? Look no further than this DIY upcycled plastic bottle bird water feeder! This simple project is perfect for those who love spending time outdoors surrounded by nature. All you need is an empty plastic water bottle and some basic crafting supplies. In just minutes, you can create a beautiful feeder that will provide your feathered friends with food or water all summer long.
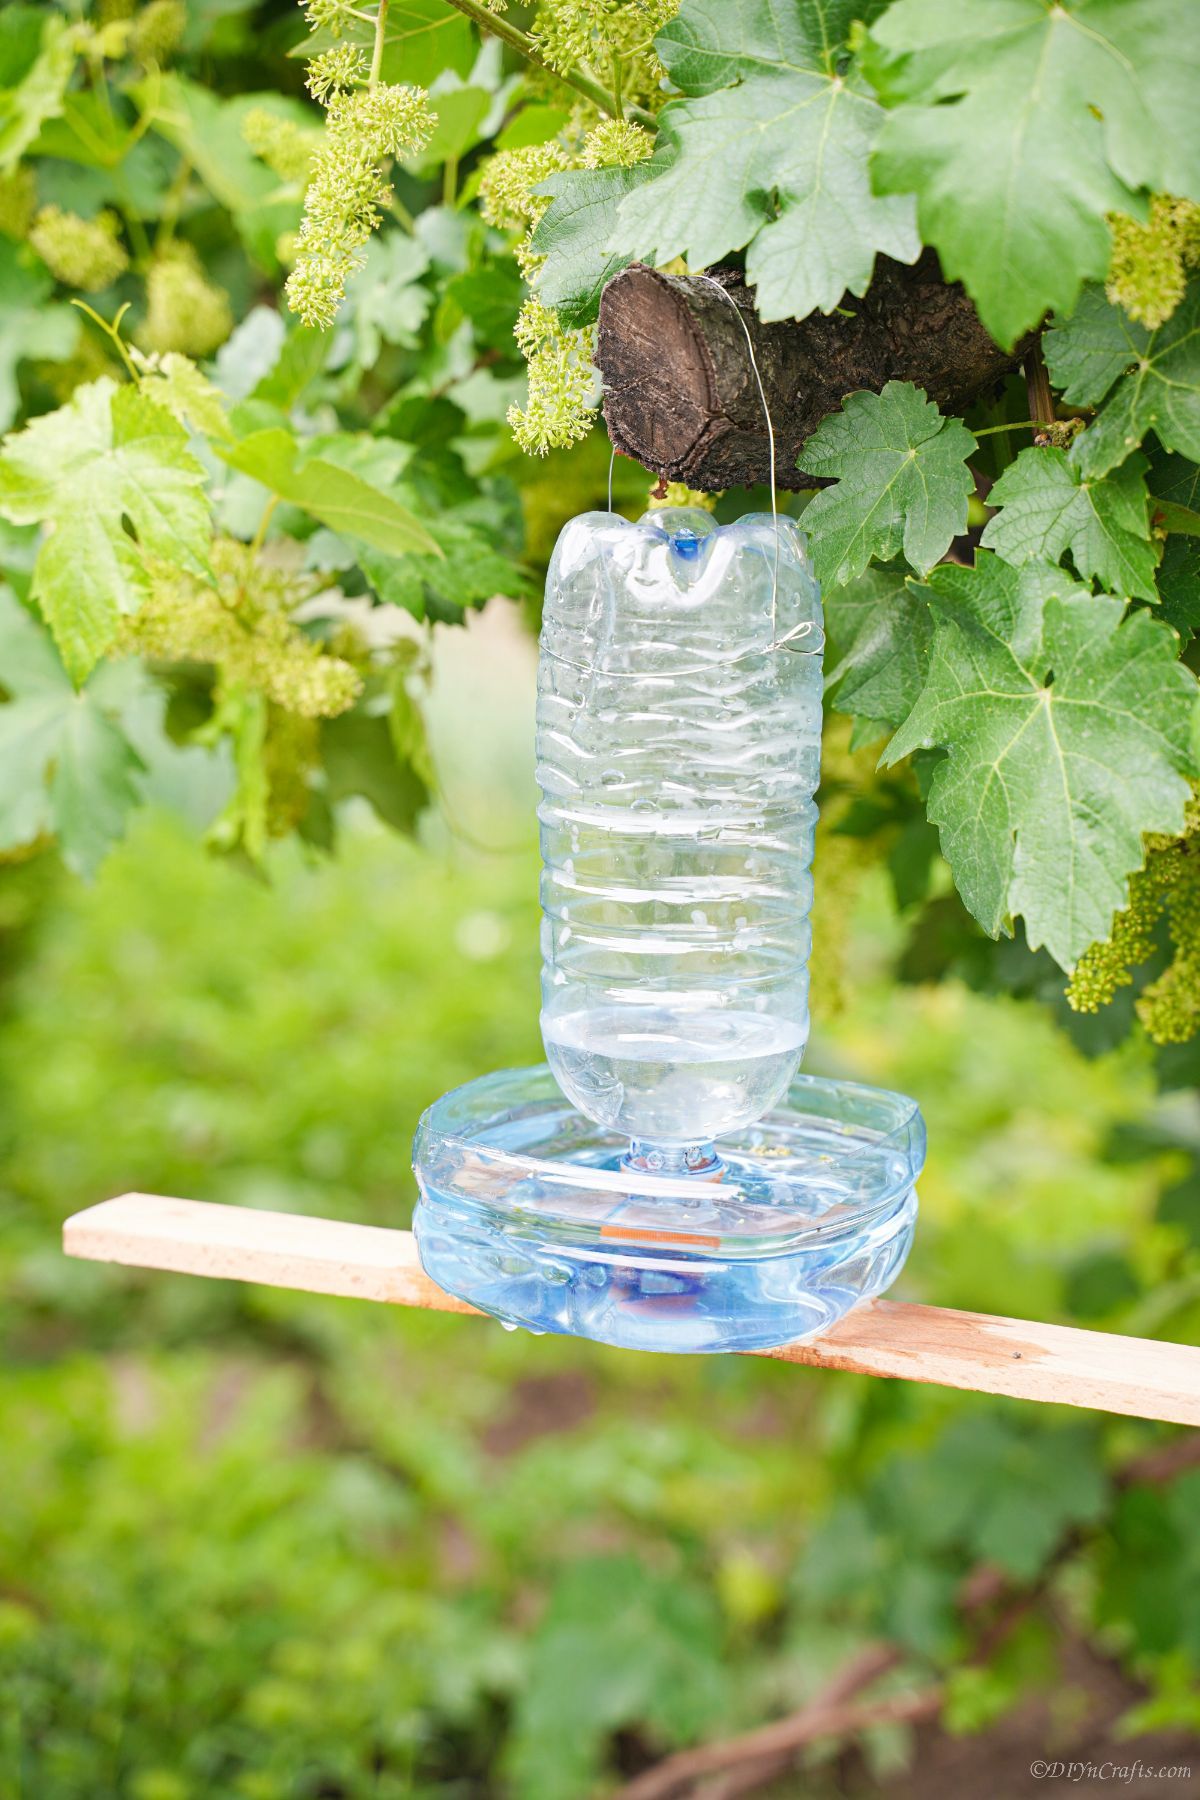
Bird Water Bottle Feeder
This project is perfect for kids and adults alike. It’s a great way to upcycle an old water bottle, and it’s also a fun activity to do with the family. The finished product is both practical and affordable making it a great addition to your backyard décor. So why not give it a try and add it to your next crafting day?
If you long to see more birds on your property, this is a great way to get them to come around. While we typically think of just-food for the birds, they also need clean water. This gives them a nice way to get fresh water, but also could potentially be used as a bird bath. If you want more traditional bird baths, then check out this huge list of DIY bird baths.
Similar Project: 5 Easy Projects to Repurpose Paper Rolls Into Festive Holiday Decorations
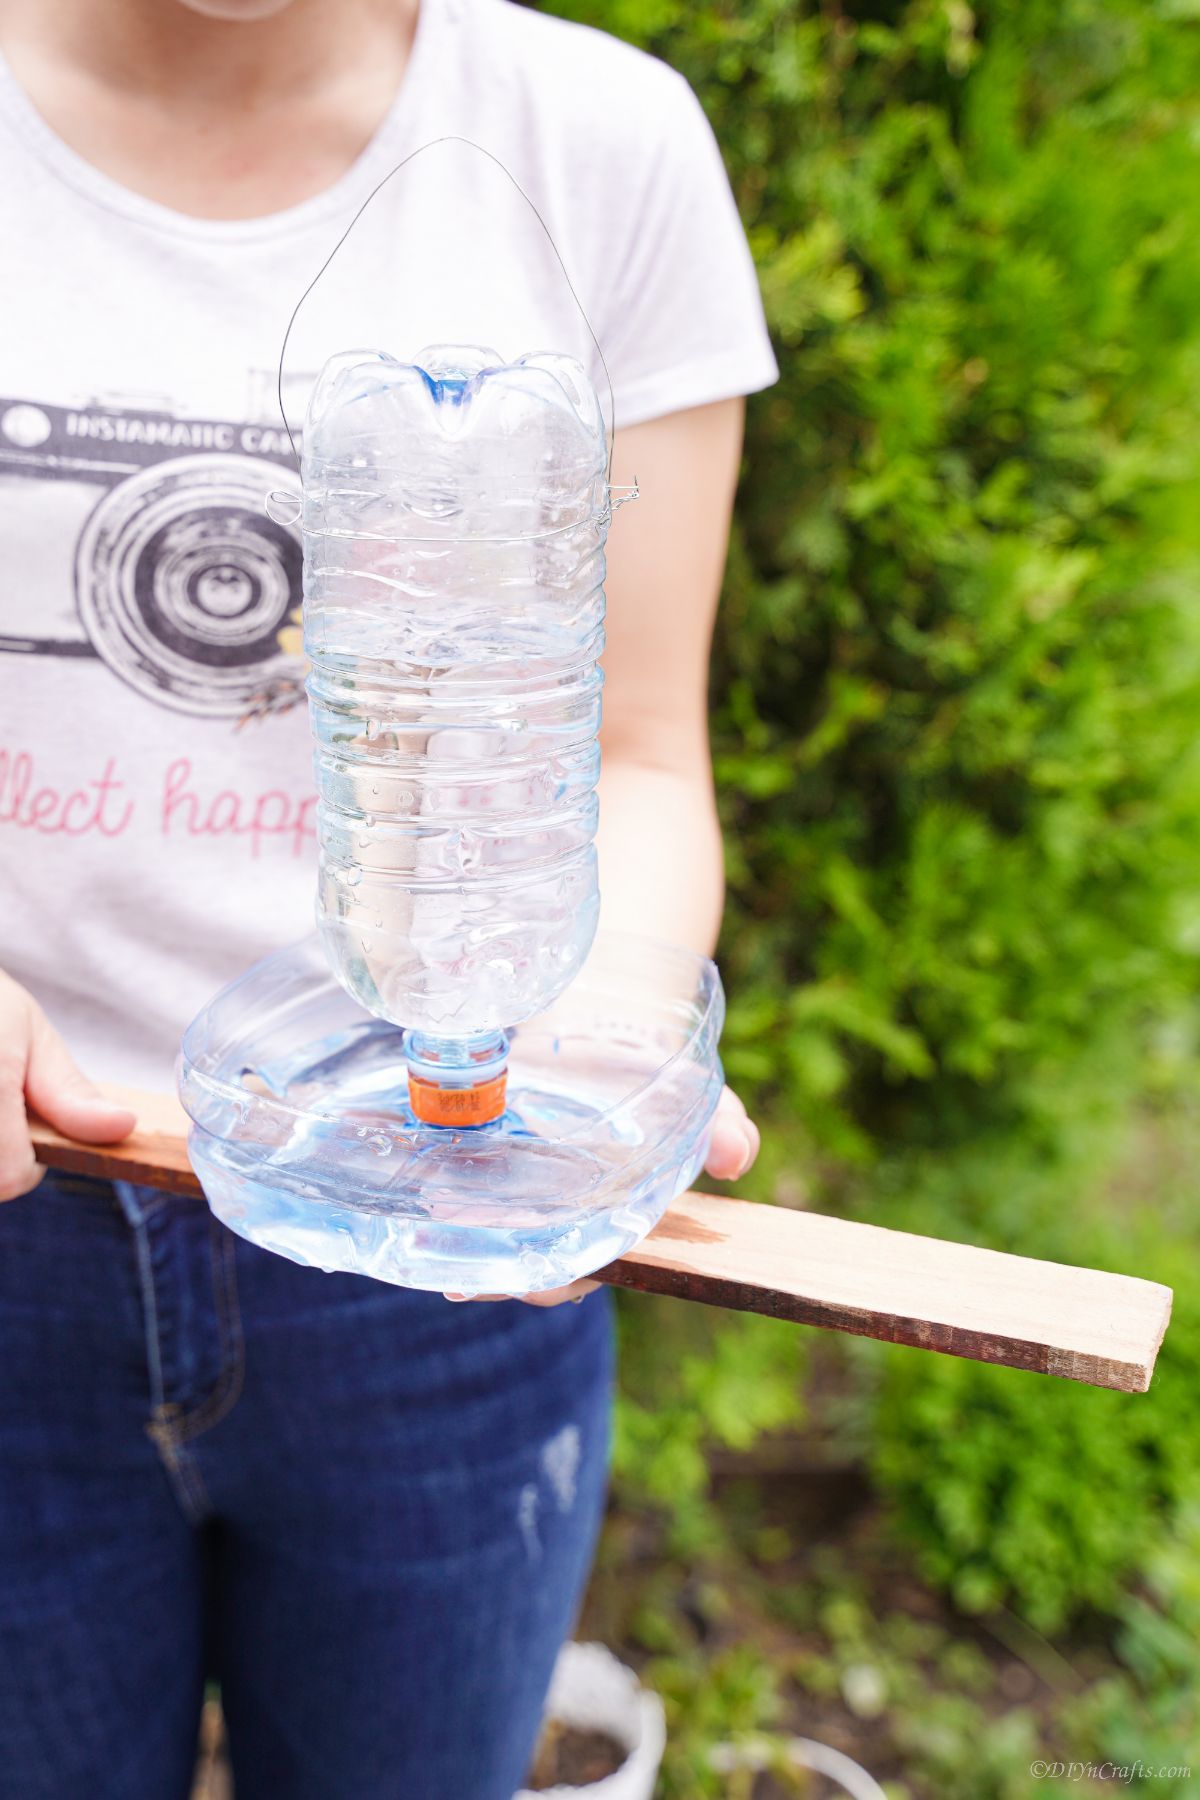
What Should I Hang This With So it Doesn’t Fall?
You want to make sure what you use to hang the will keep it from falling. Whether you use it for feed or water, the weight of the item and the bird combined means you need something sturdy to hang it from a branch.
I used some heavy-duty floral wire that can twist easily, but also is made to hold a significant amount of weight. A super-strong fishing line works great as well, and if you don’t have a lot of options on hand already, rope or thick twine can be sufficient.
If you use something other than wire, just make sure you are checking it regularly to make sure it isn’t frayed or falling apart. You want it to stay strong and able to hold the weight of the water and bottle.
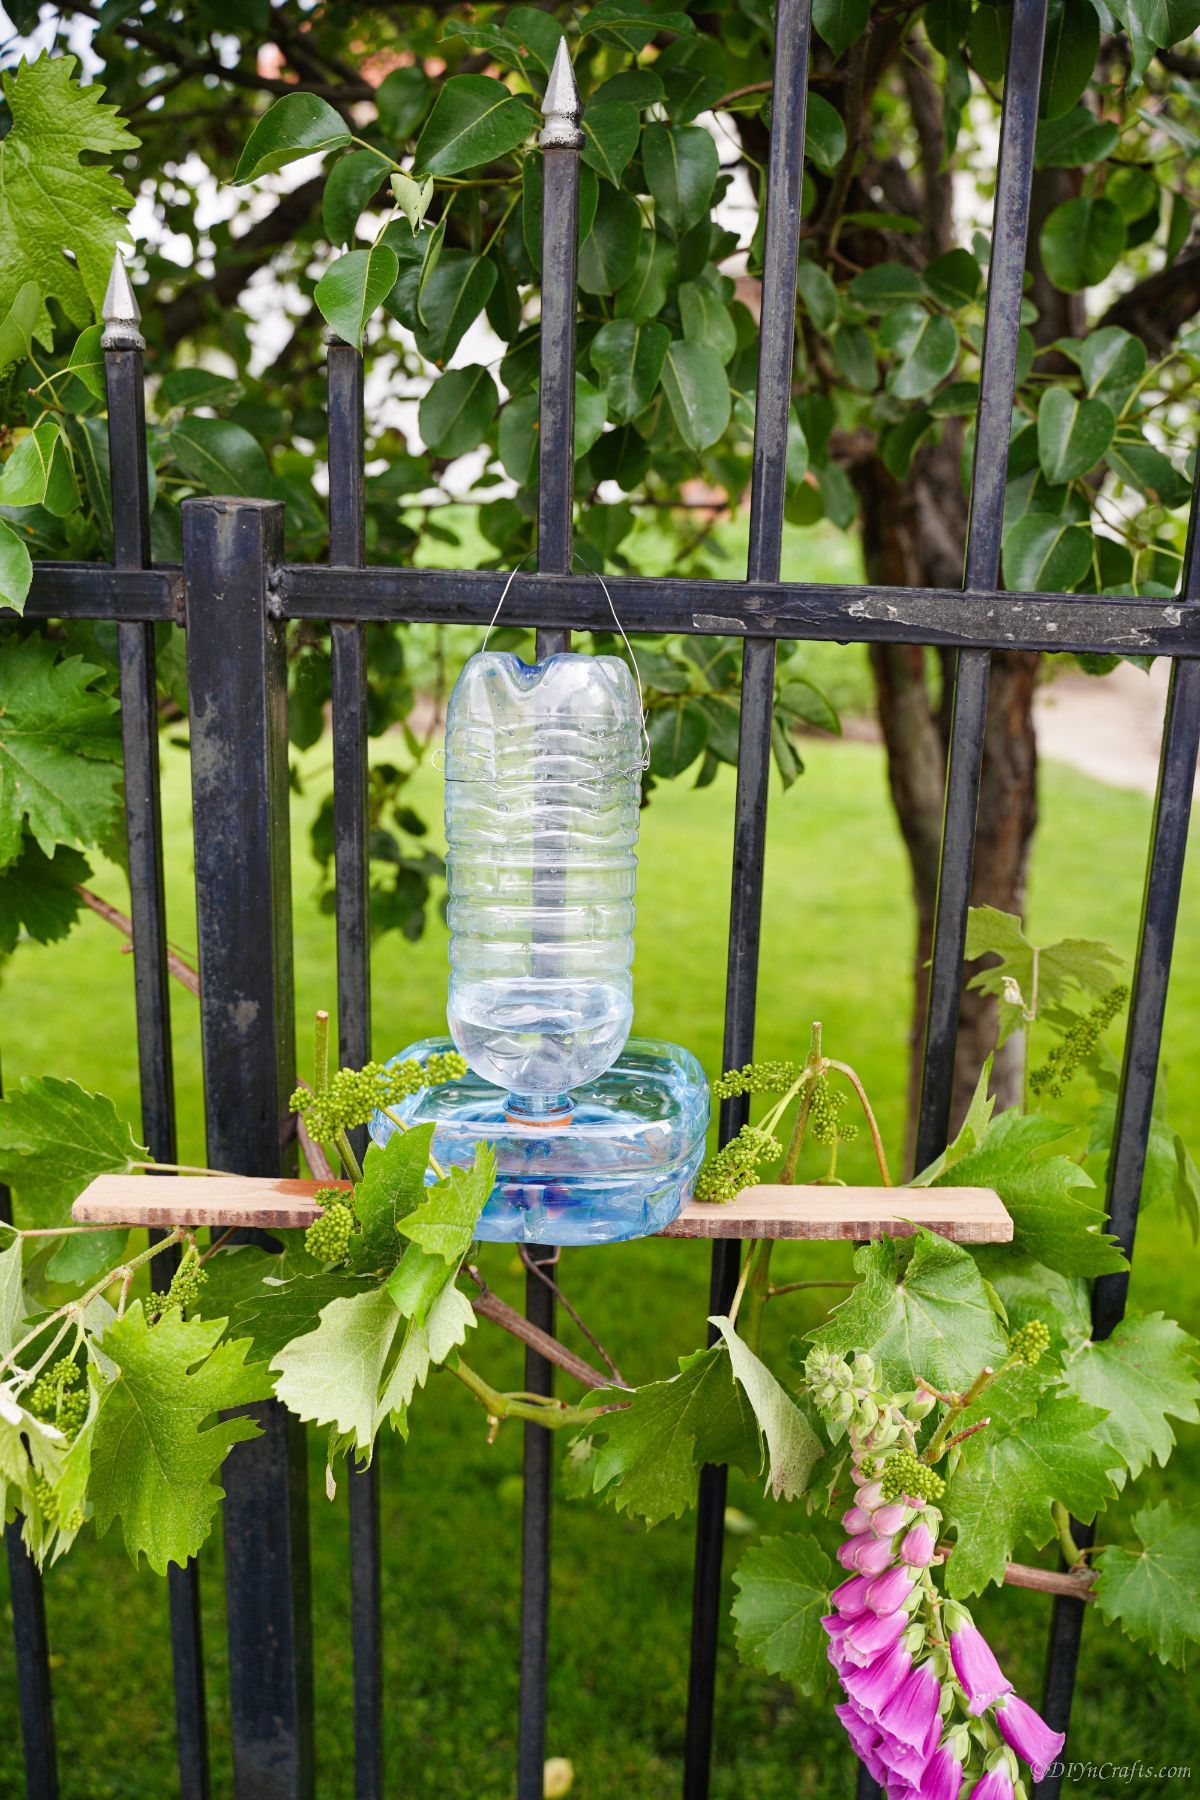
How Can I Customize This for My Garden?
This bird water bottle feeder is such a fun and easy project to do with the kids. Kids will enjoy adding their own personal touch to the bird feeder. This project is also great for upcycling old water bottles, which helps you teach your kids a bit more about recycling and why it is so important to the world. For some fun customization ideas, check out the list below.
- Use different types of bottles for a thicker or sturdier base.
- Paint the water feeder to match your home decor, or give it more personality. Just make sure you only paint the outside of the bottle and base to keep it safe for the birds.
- Use something different as a base other than basic wood. A branch or log works great for this and can be recycling something you have in your yard already.
- Add additional perches along the edges using a few dowel rods or twigs.
Similar Project: 10 Easy DIY Kneeling Pads That Make Gardening Comfortable And Fun
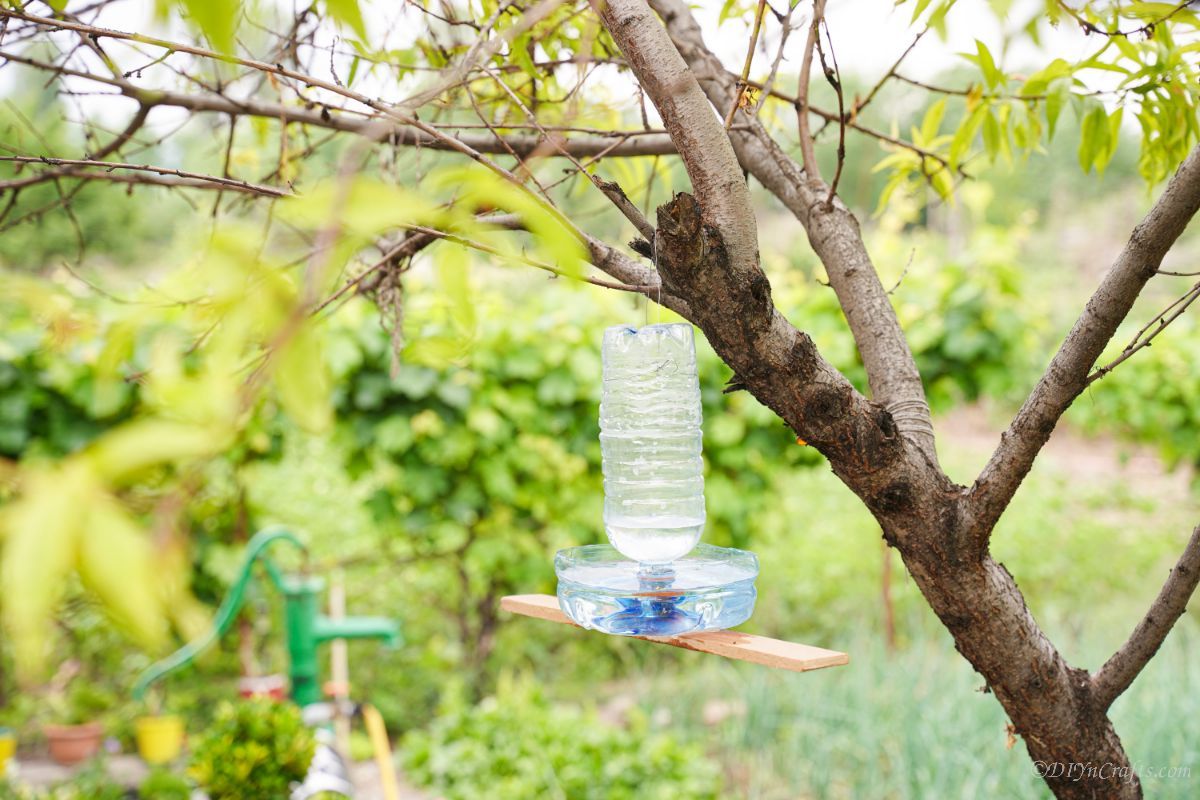
Can I Add Sugar Water for Hummingbirds?
Yes, you can add sugar water to feed the hummingbirds. When making sugar water for hummingbirds, use four parts water to one part sugar. Boil the water first, then add the sugar and stir until dissolved. Let the sugar water cool before adding it to your feeder.
A lot of recipes will call for red food coloring because red is known to attract hummingbirds. . You do not need to add red food coloring, it is actually not good for the birds. If you want to add a touch of red, you can paint the outside of the bottle or the outside of the base red. Of course, you can always buy ready-made hummingbird food if you prefer that over making it homemade.
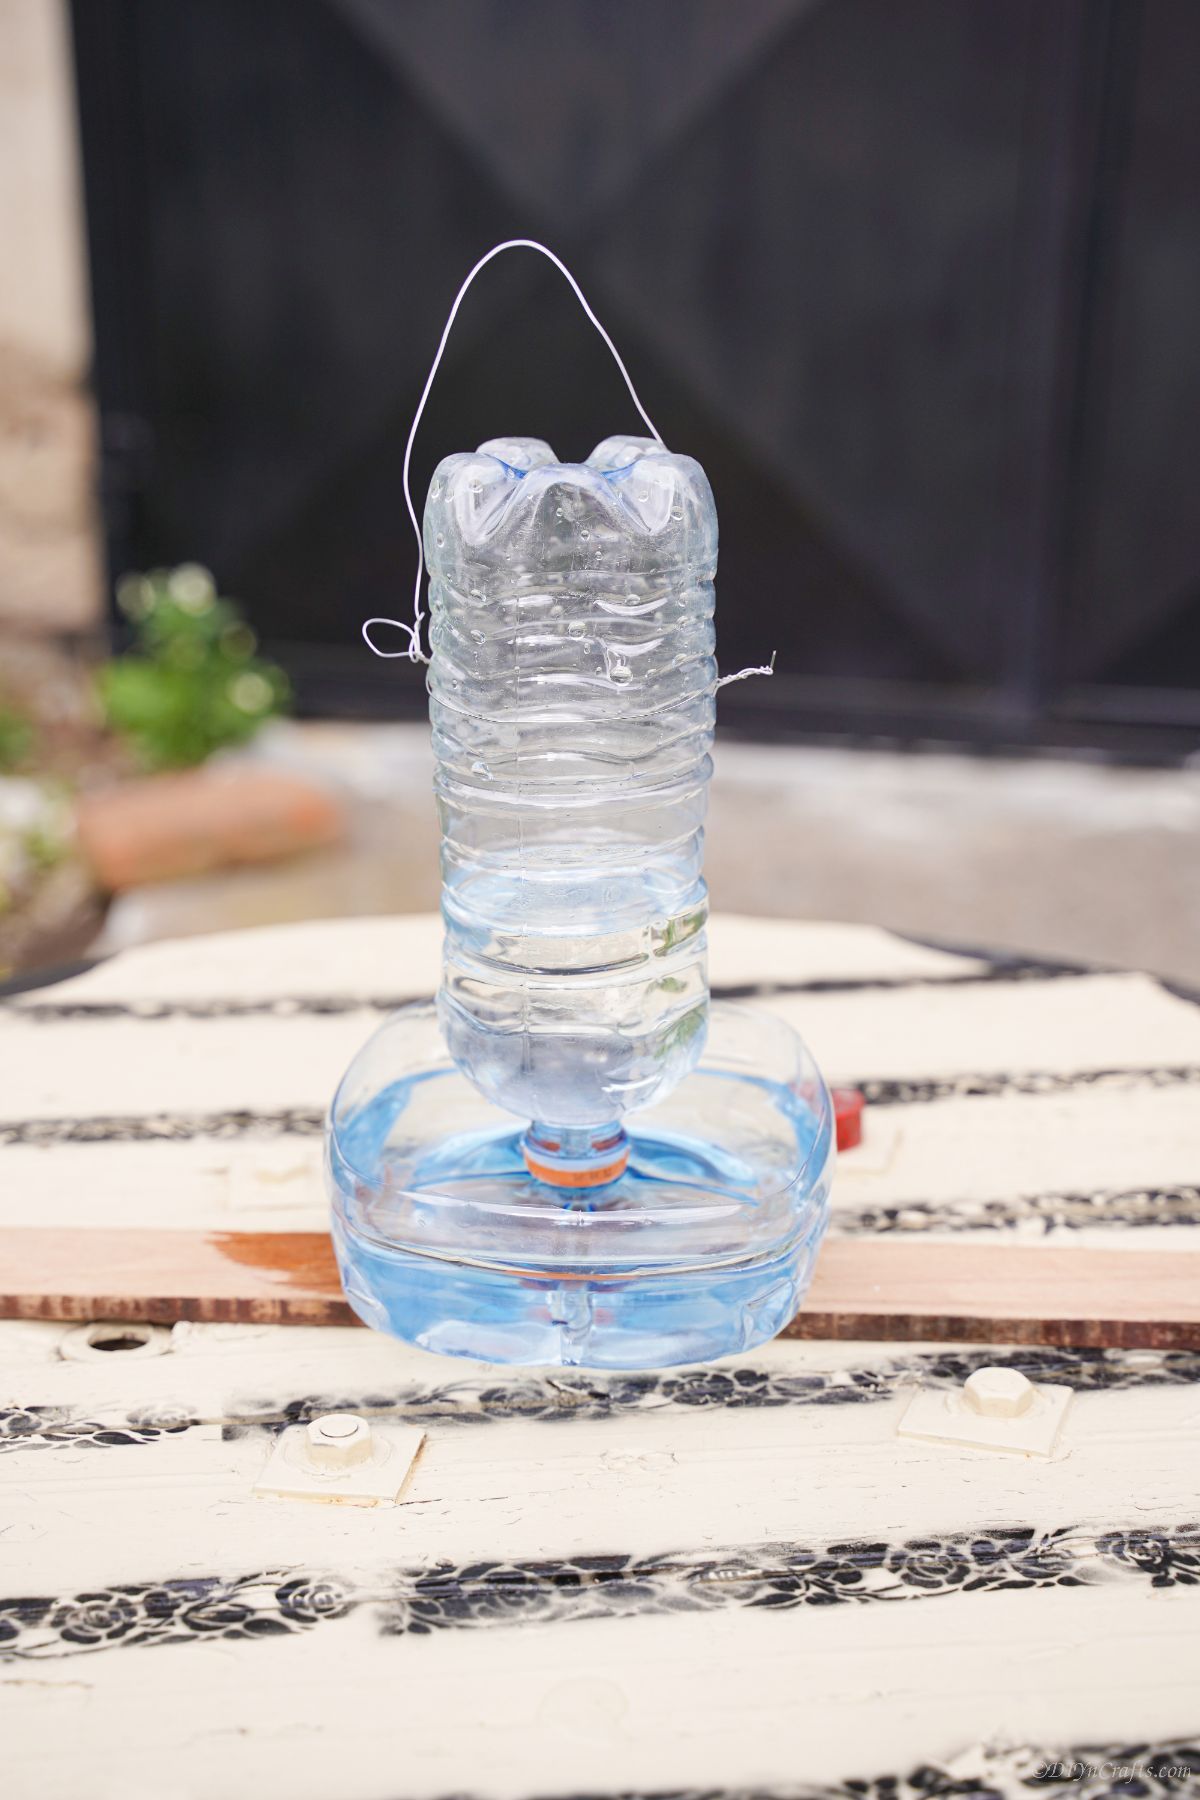
Supplies Needed
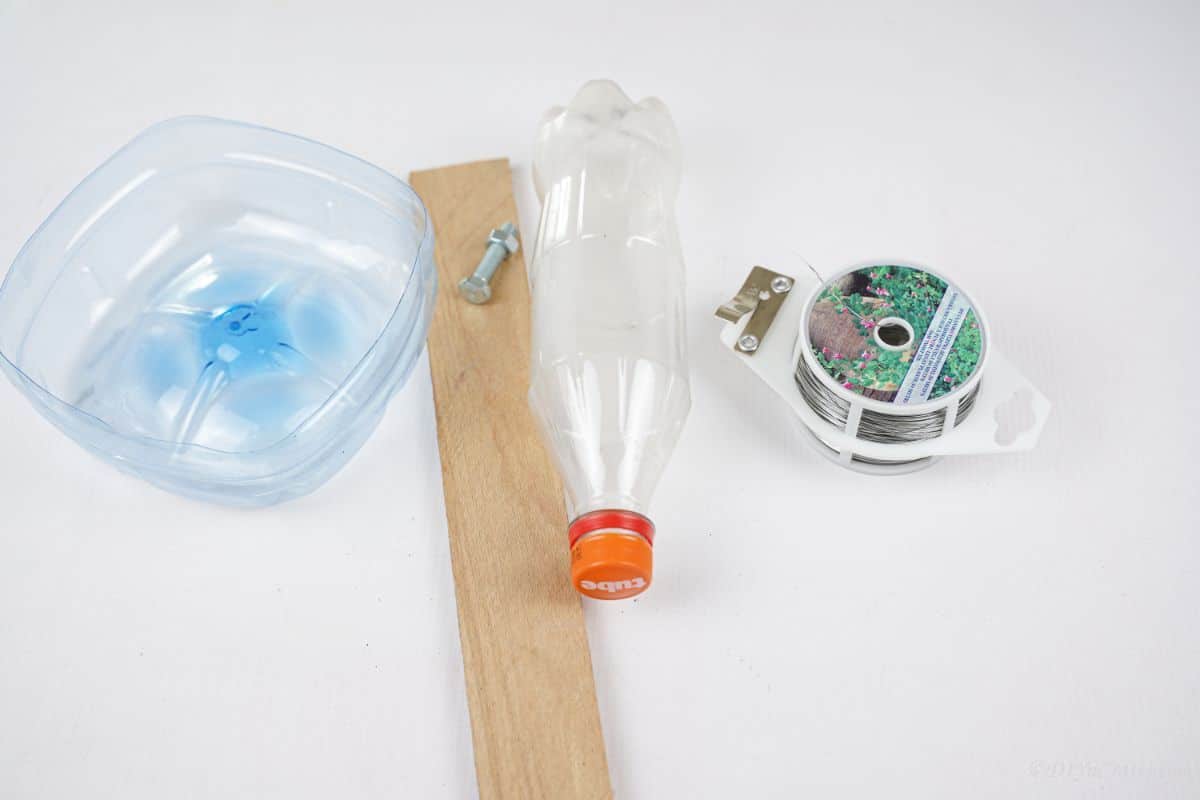
How to Make a Water Feeder for Birds
Remove labels from a gallon-sized water bottle as well as a 16-ounce or larger water bottle and clean them then let them dry completely.
Once the bottles are dry, cut the larger bottle so that you discard the top part, and have 3″ to 4″ tall from the bottom left. Use a soldering iron or a hammer and nails to create a hole in the bottom center of the gallon-sized base of the bottle.
Similar Project: 40 Fun Christmas Kid’s Crafts Perfect for Winter Break
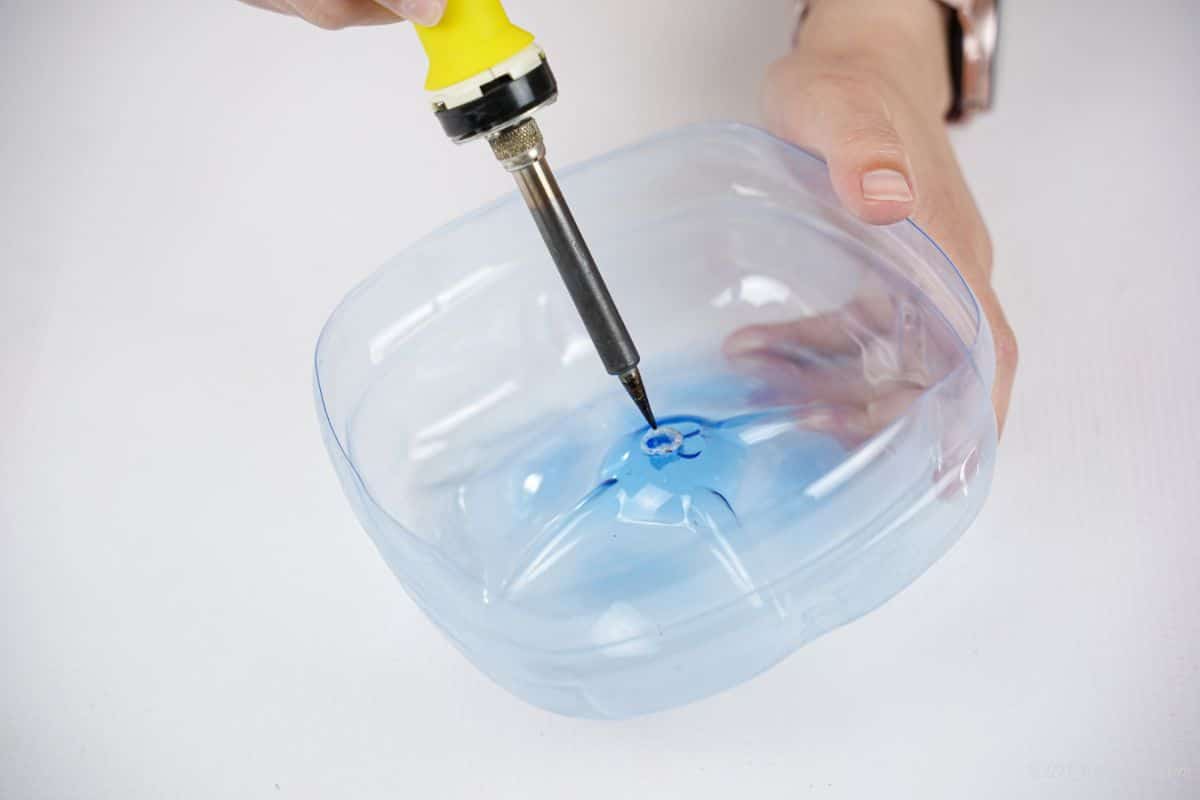
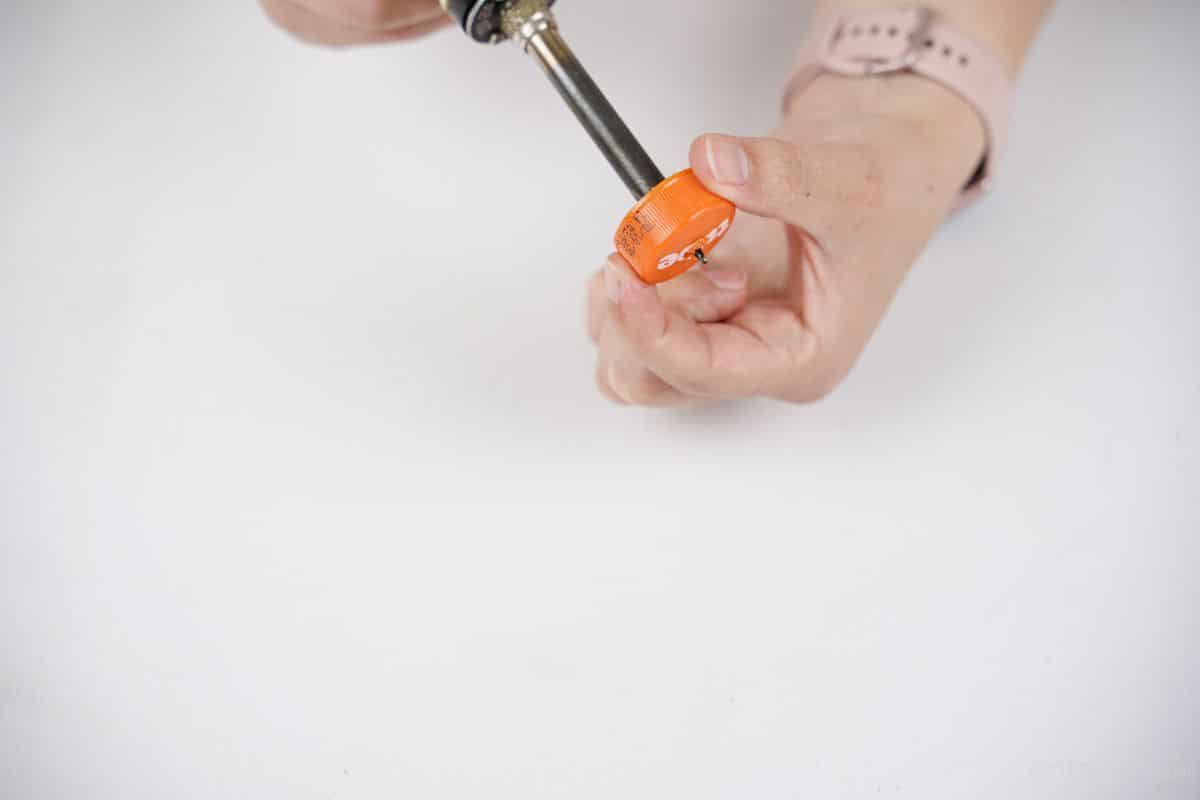
Next, use a soldering iron to create a hole in the center of the lid to the smaller bottle cap.
Now, use the screw and bolt to attach the bottle cap into the hole of the base of the gallon-sized bottle with the bottle cap on the inside.
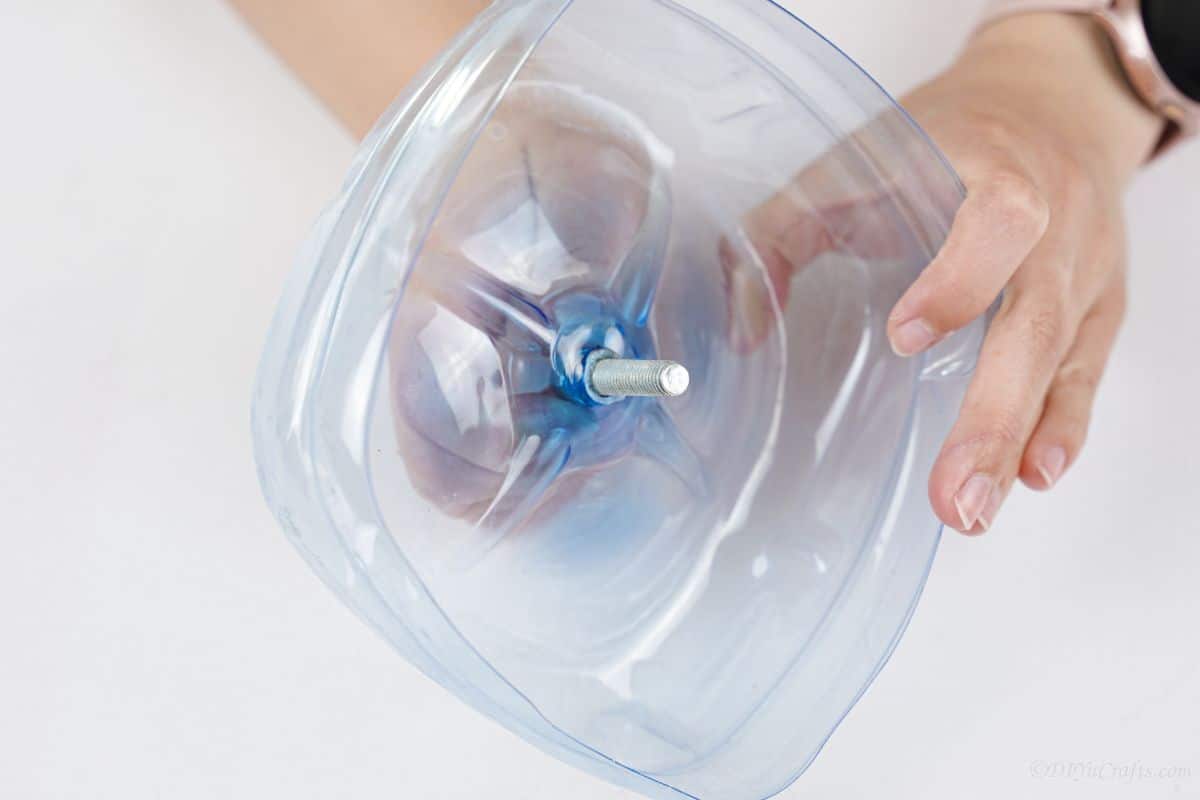
Next, use hot glue to coat around the edge of the bottle cap on both the bottom and inside the feeder base.
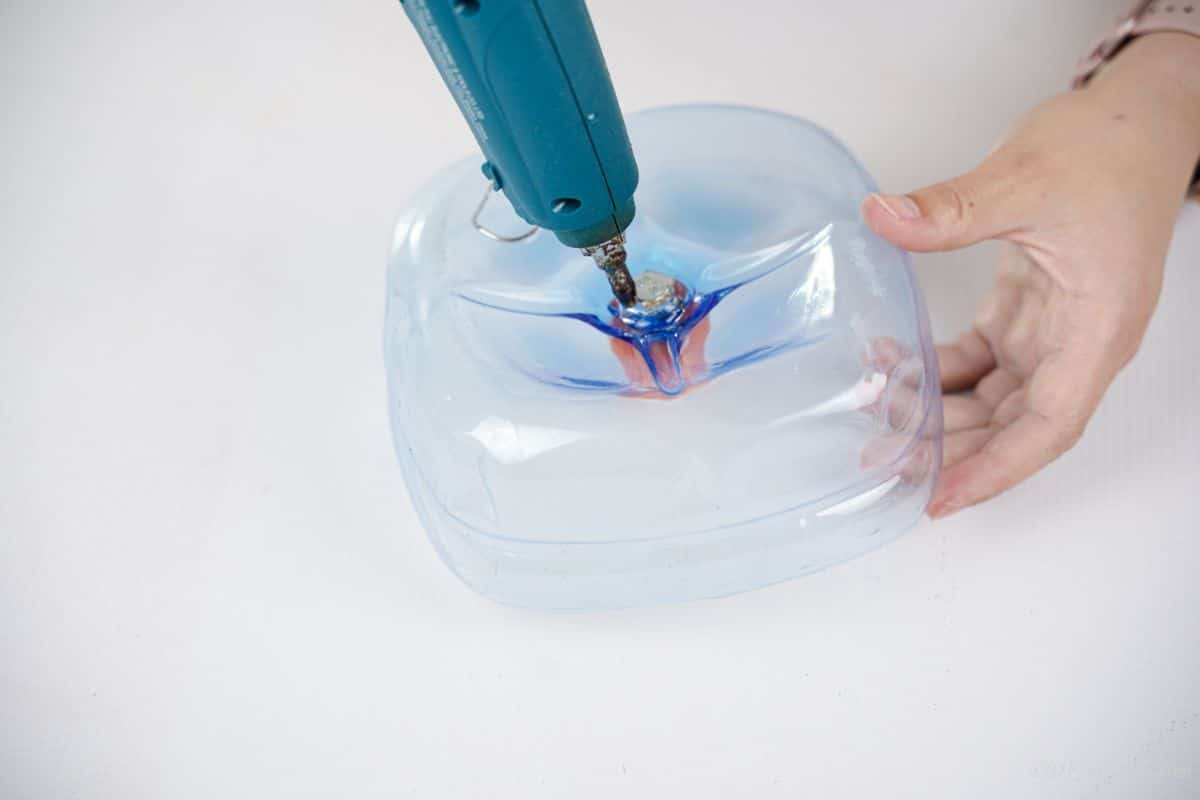
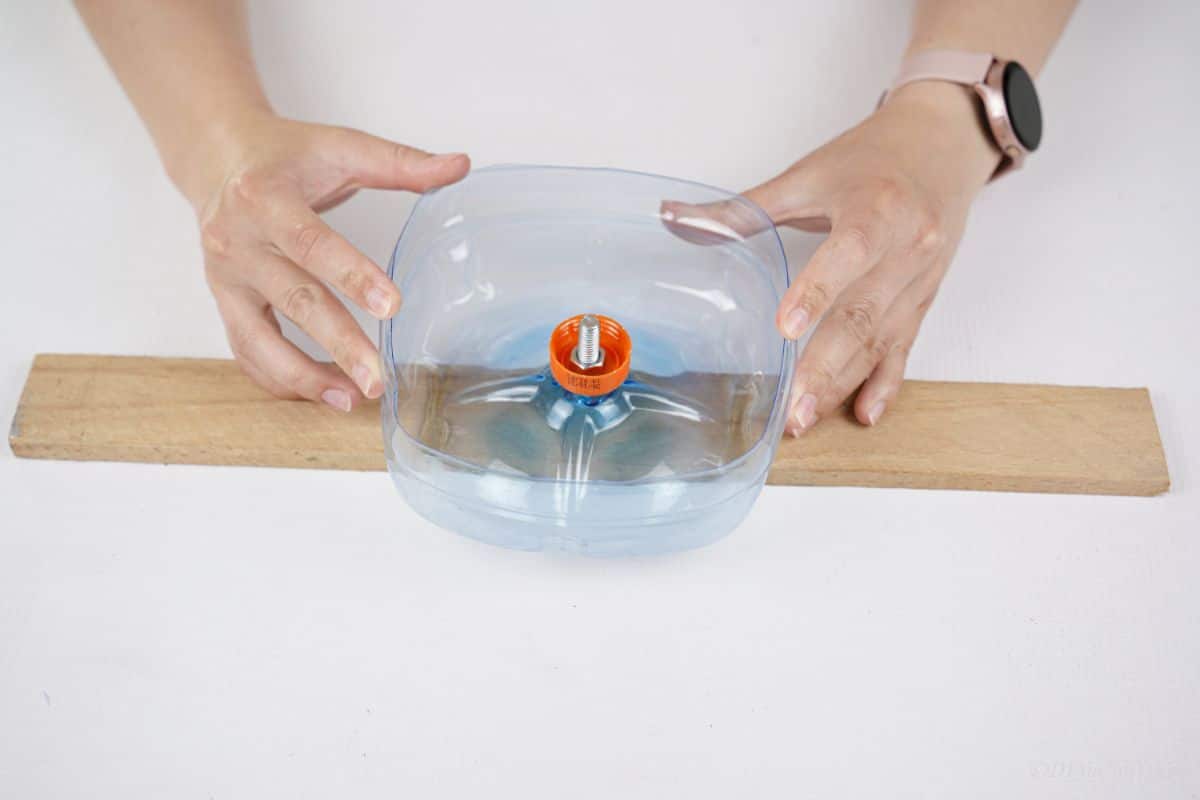
Hot glue this base to the center of the piece of board.
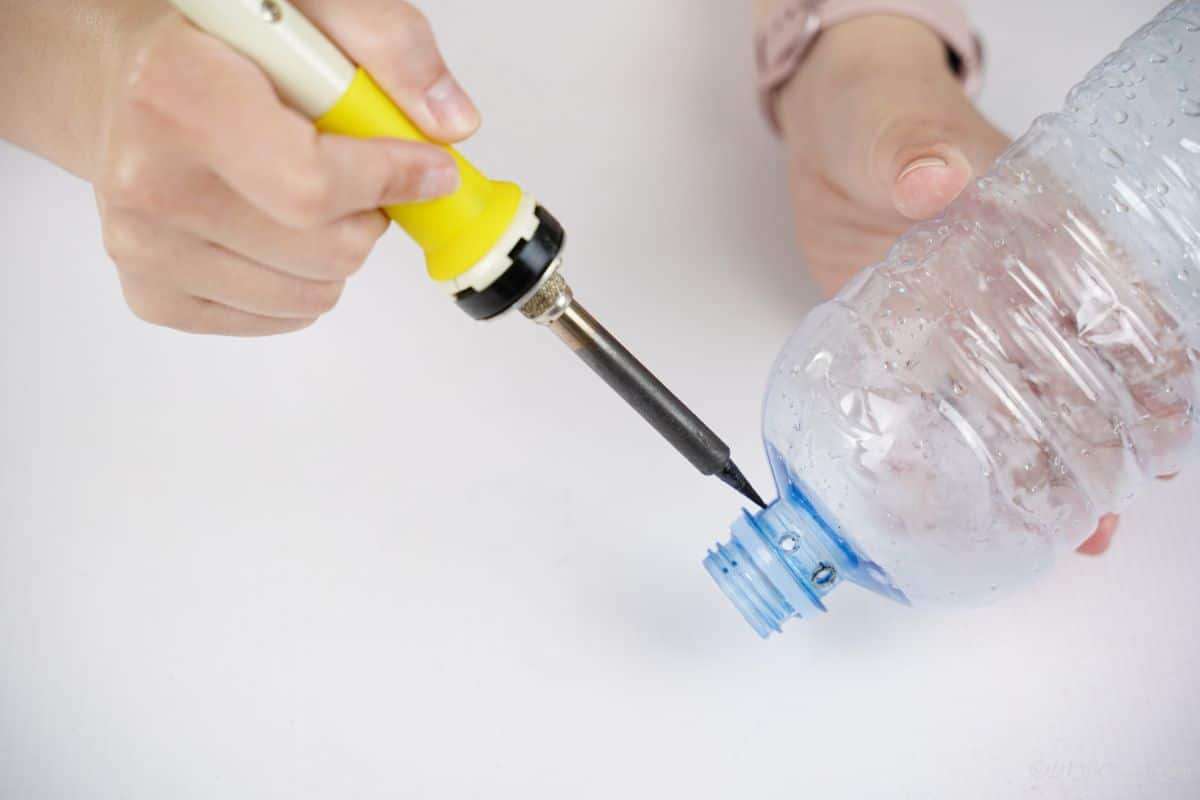
Use a soldering iron to create a few small holes around the neck of the smaller water bottle.
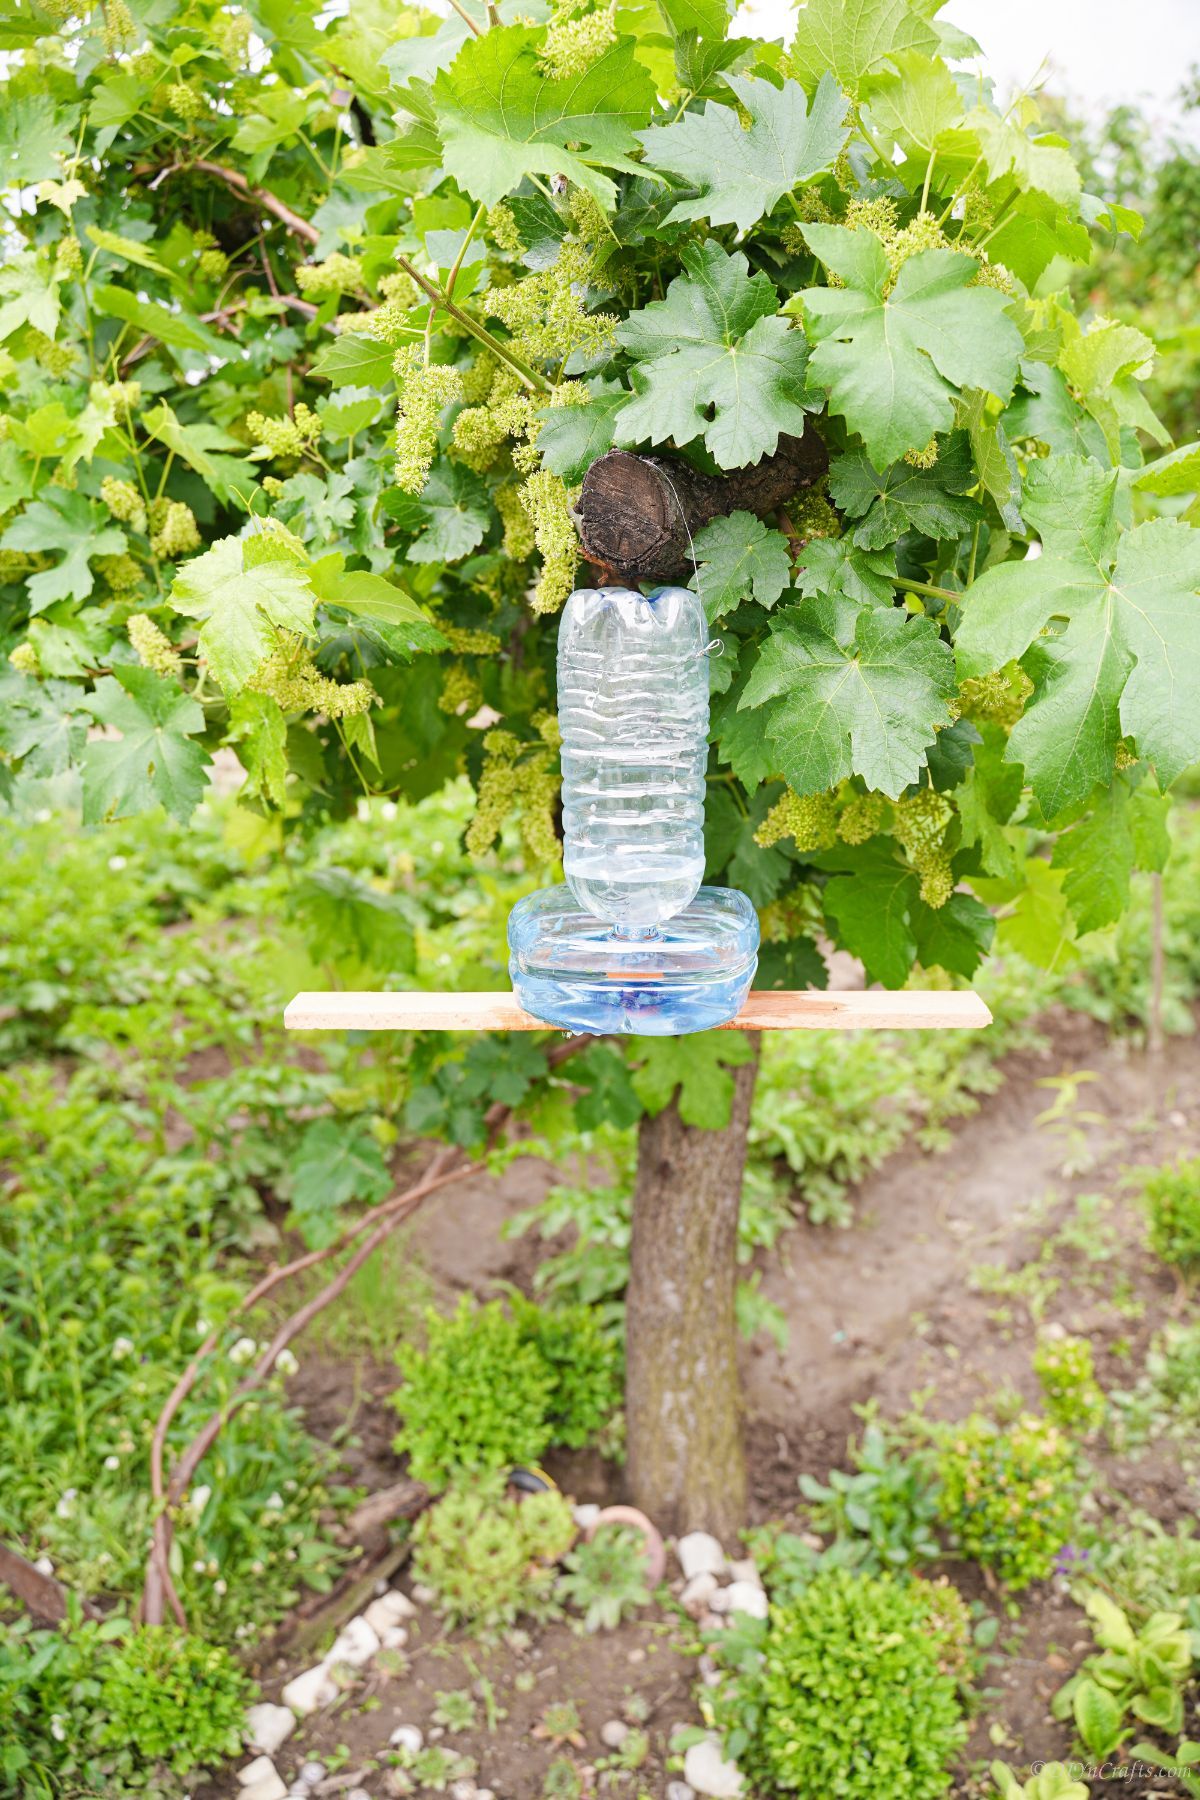
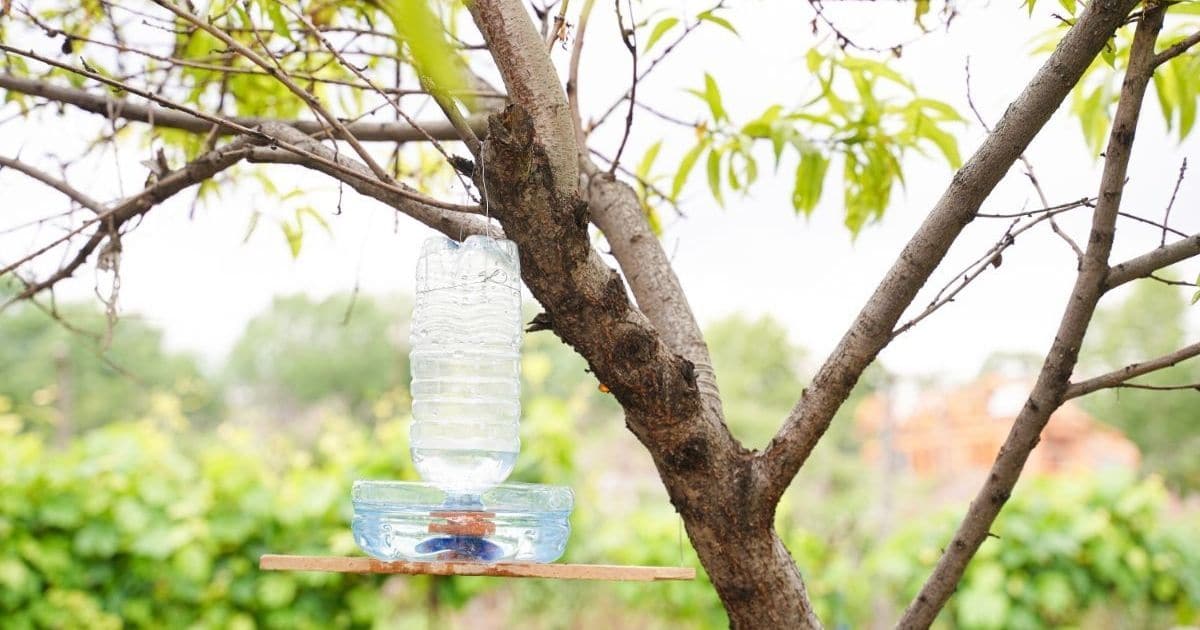
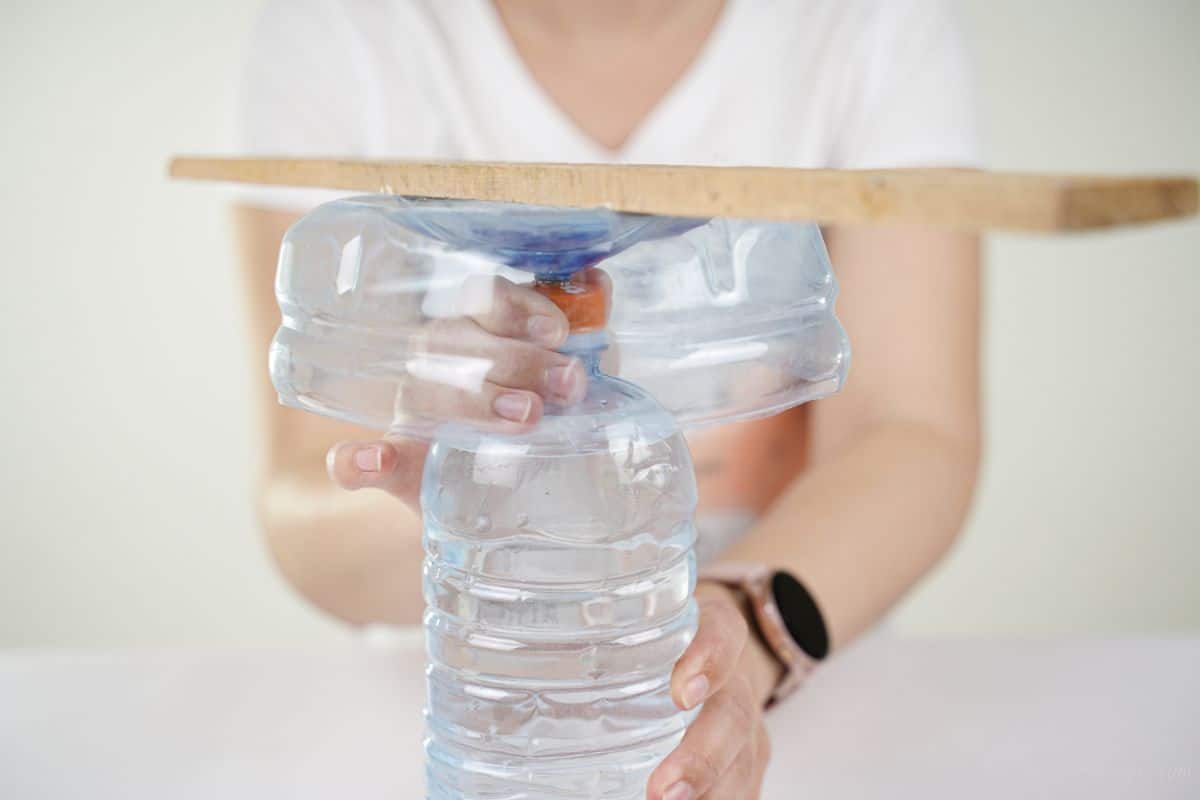
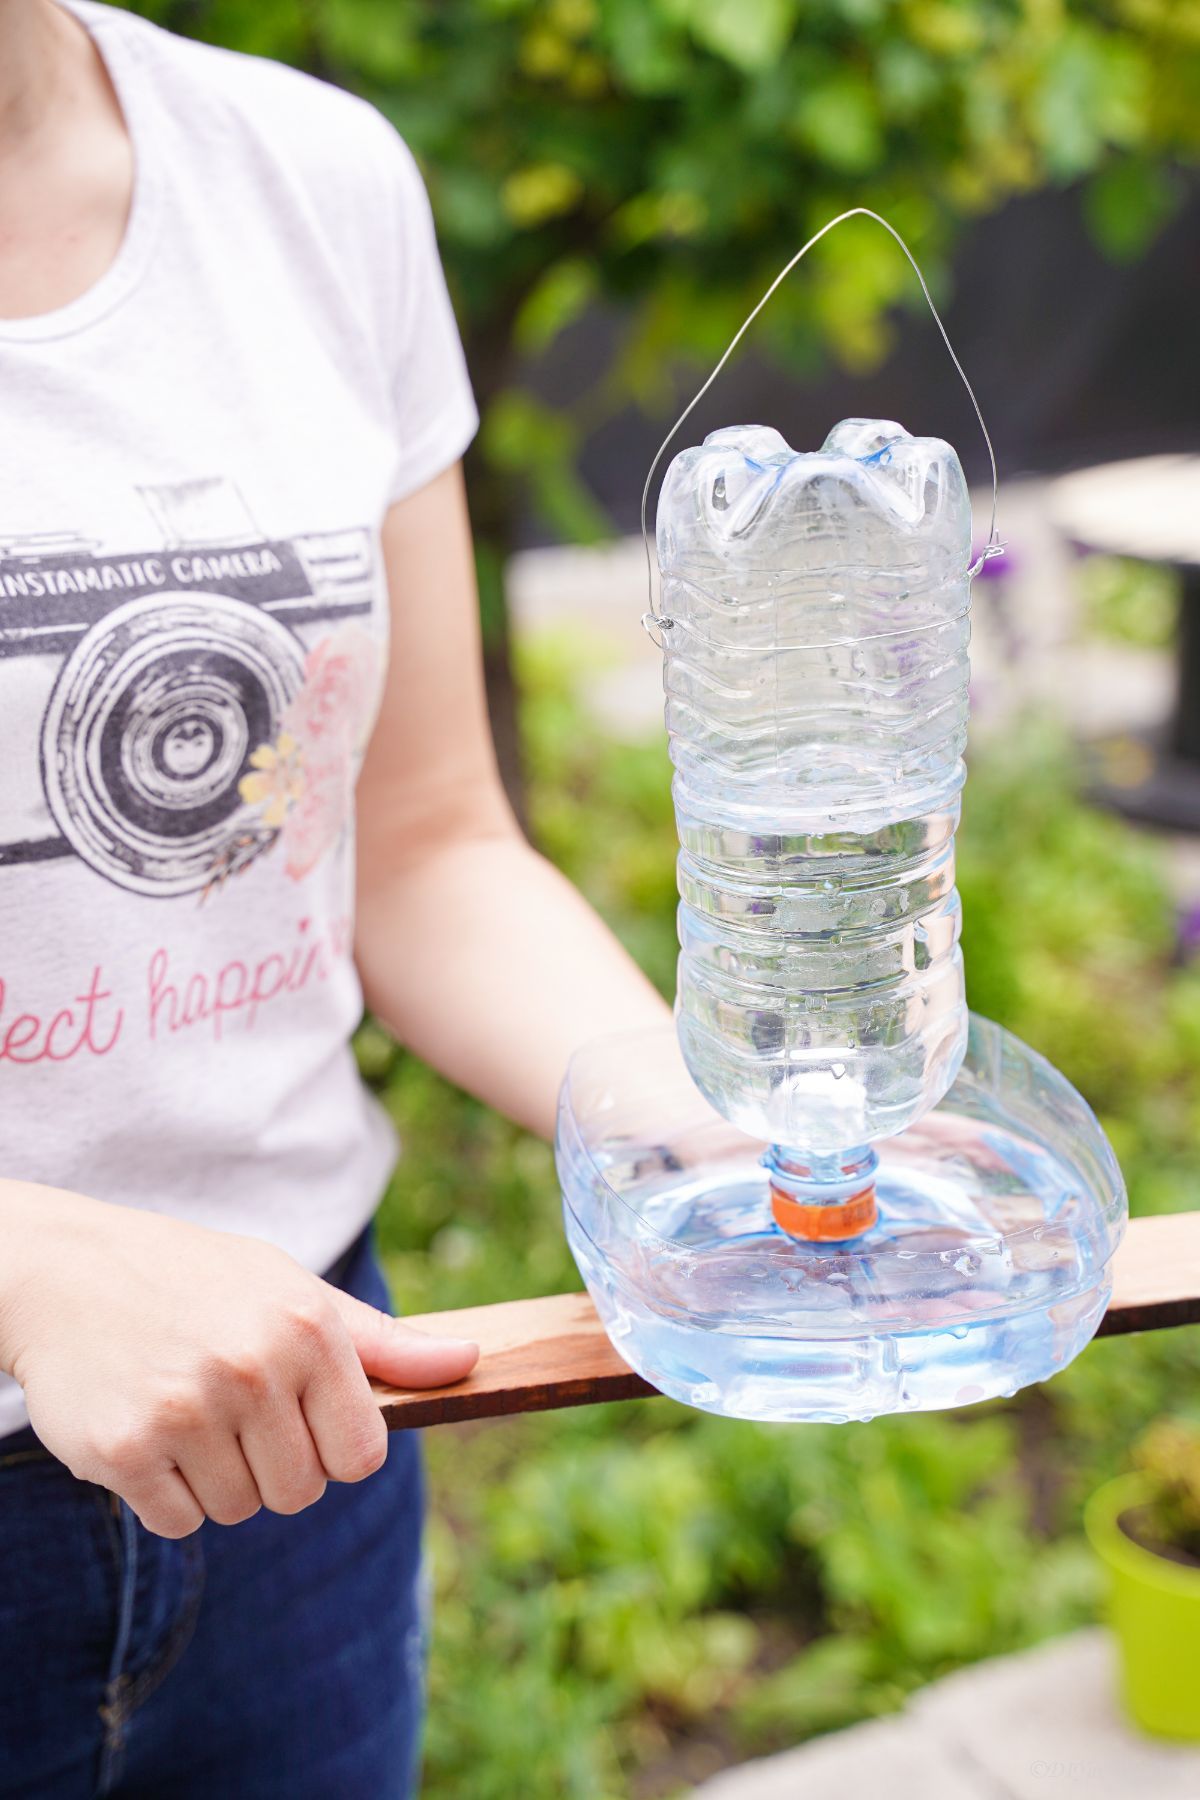
Fill the bottle with water, and screw the base to the top of it, then flip it back upside down. This should allow the water to trickle out the holes in the side of the water bottle neck.
To hang this from a tree or branch, you will create a hanger using heavy-duty floral wire. First, wrap a piece around the bottle, toward the top. Twist the ends together to secure this piece around the bottle.
Then, cut another long piece of wire to create a handle for hanging. Twist it and attach it around the sides of the other wire already on the bottle.
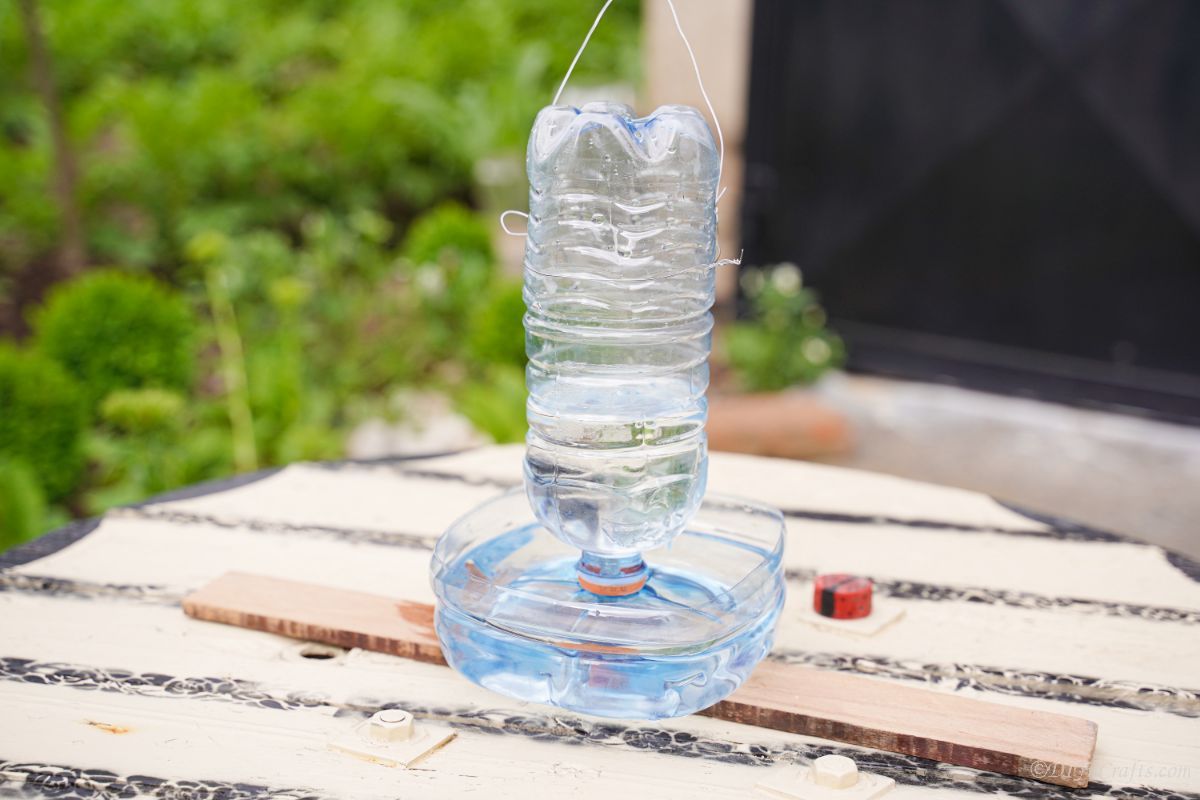
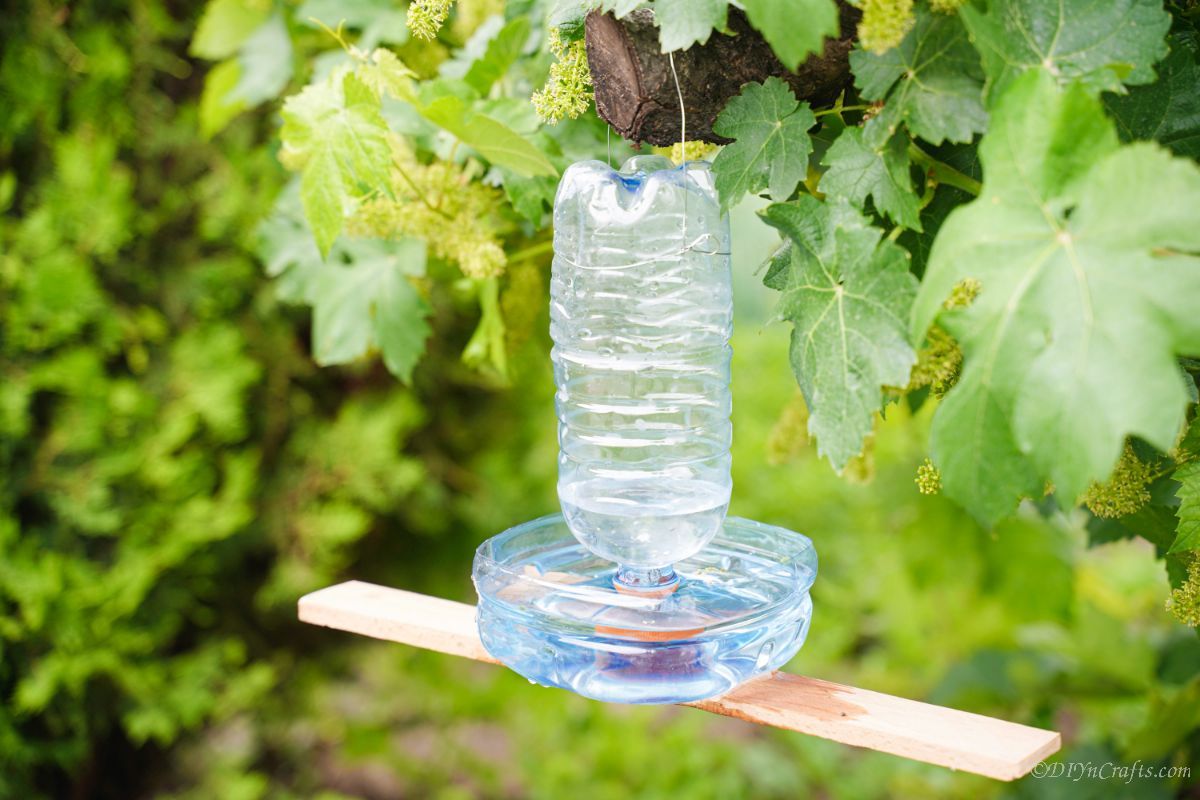
Once this is secure, you can hang this from a branch on a tree, or it can just sit on a shelf of your porch.
Similar Project: Upcycled Rustic Wine Cork Pumpkin Decoration
More Easy Crafts
I love upcycled item crafts, and I especially love them when they are a part of a project that brings more animals to my home. Below are a few more great ideas that are ideal for bringing critters to your yard of all kinds. Make sure you bookmark these ideas, print out the tutorials, or even pin them to a craft board on Pinterest to make soon.
Yield: 1
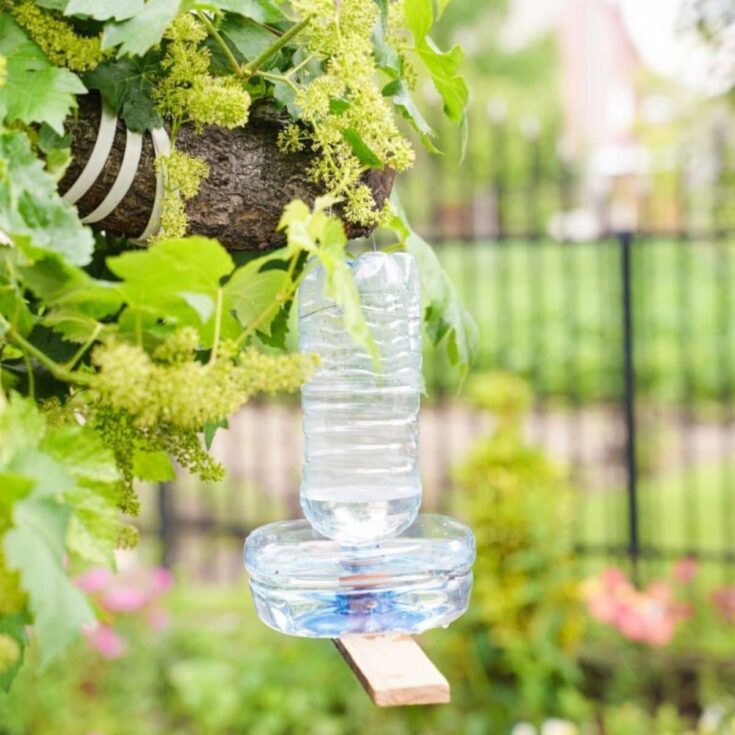
Make a plastic bottle bird water feeder in just a few minutes’ time! A great addition to your garden or porch to attract birds!
Active Time
20 minutes
Total Time
20 minutes
Difficulty
Easy
Estimated Cost
$3
Instructions
- Cut the top of a gallon bottle off, leaving just about 3″ from the bottom up on the base.
- Now, use the soldering iron to create a hole in the center of the inside of this base, large enough for a screw to go through.

- Create a hole using the soldering iron in the center of the bottle cap from the smaller bottle.
- Now, screw the bottle cap onto the base, using a screw and bolt, so the cap is upside down on the top of the base to screw the water bottle into.
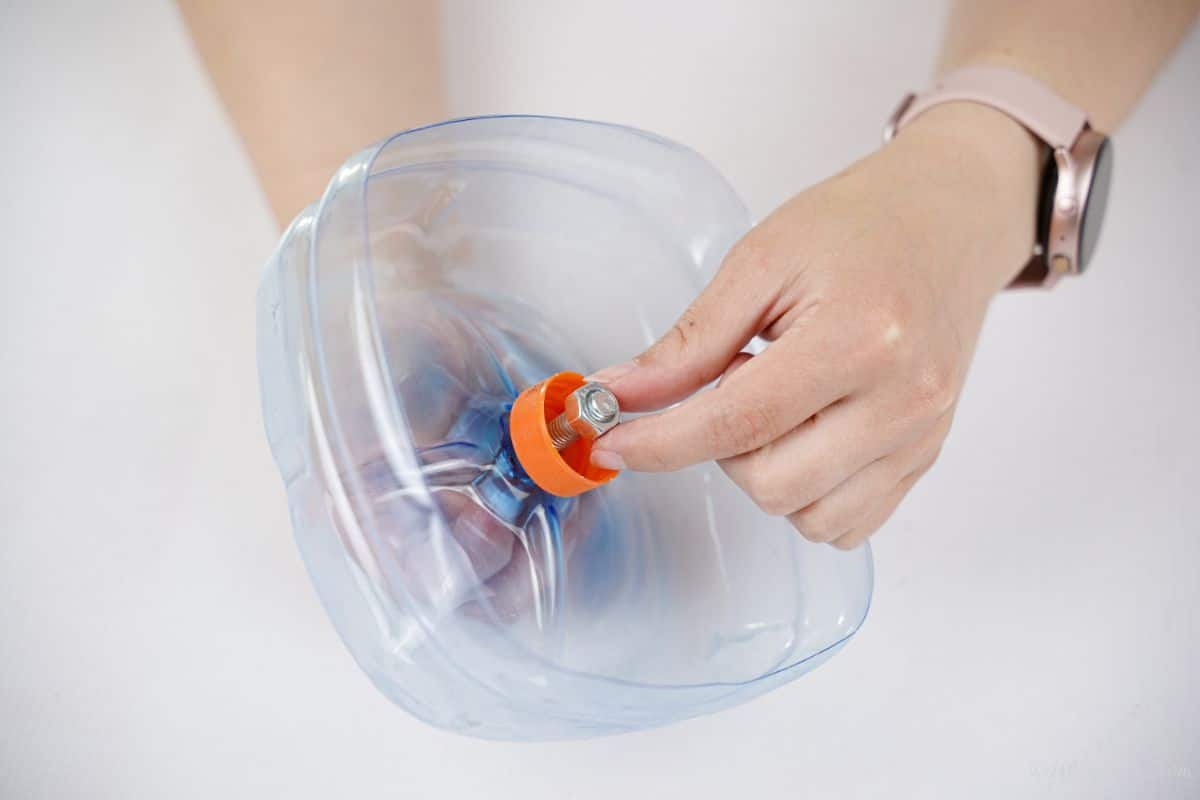
- Once the screw is tightened into place, use a hot glue gun to create a barrier around the screw head on the other side of the bottle base.
- Then, hot glue this base onto the center of the piece of wood.

- Now, use the soldering iron to make 2 to 3 holes around the neck of the water bottle, just below where the lid will sit.
- Then, fill the bottle with water, and screw the base to the top of it, before flipping back upside down. The water should trickle out the holes in the neck.
- Now, wrap a piece of floral wire around the top of the bottle, and twist to secure it into place.
- Then, attach the second loop of floral wire, on each side, with an extra length to “hang” this from a branch or tree.
Notes
This can be made with any water bottle base or even a plastic planter base if desired.
Similar Project: 20 Easy DIY Dog Beds and Crates That Let You Pamper Your Pup
Recommended Products
As an Amazon Associate and member of other affiliate programs, I earn from qualifying purchases.
Finished Project Gallery
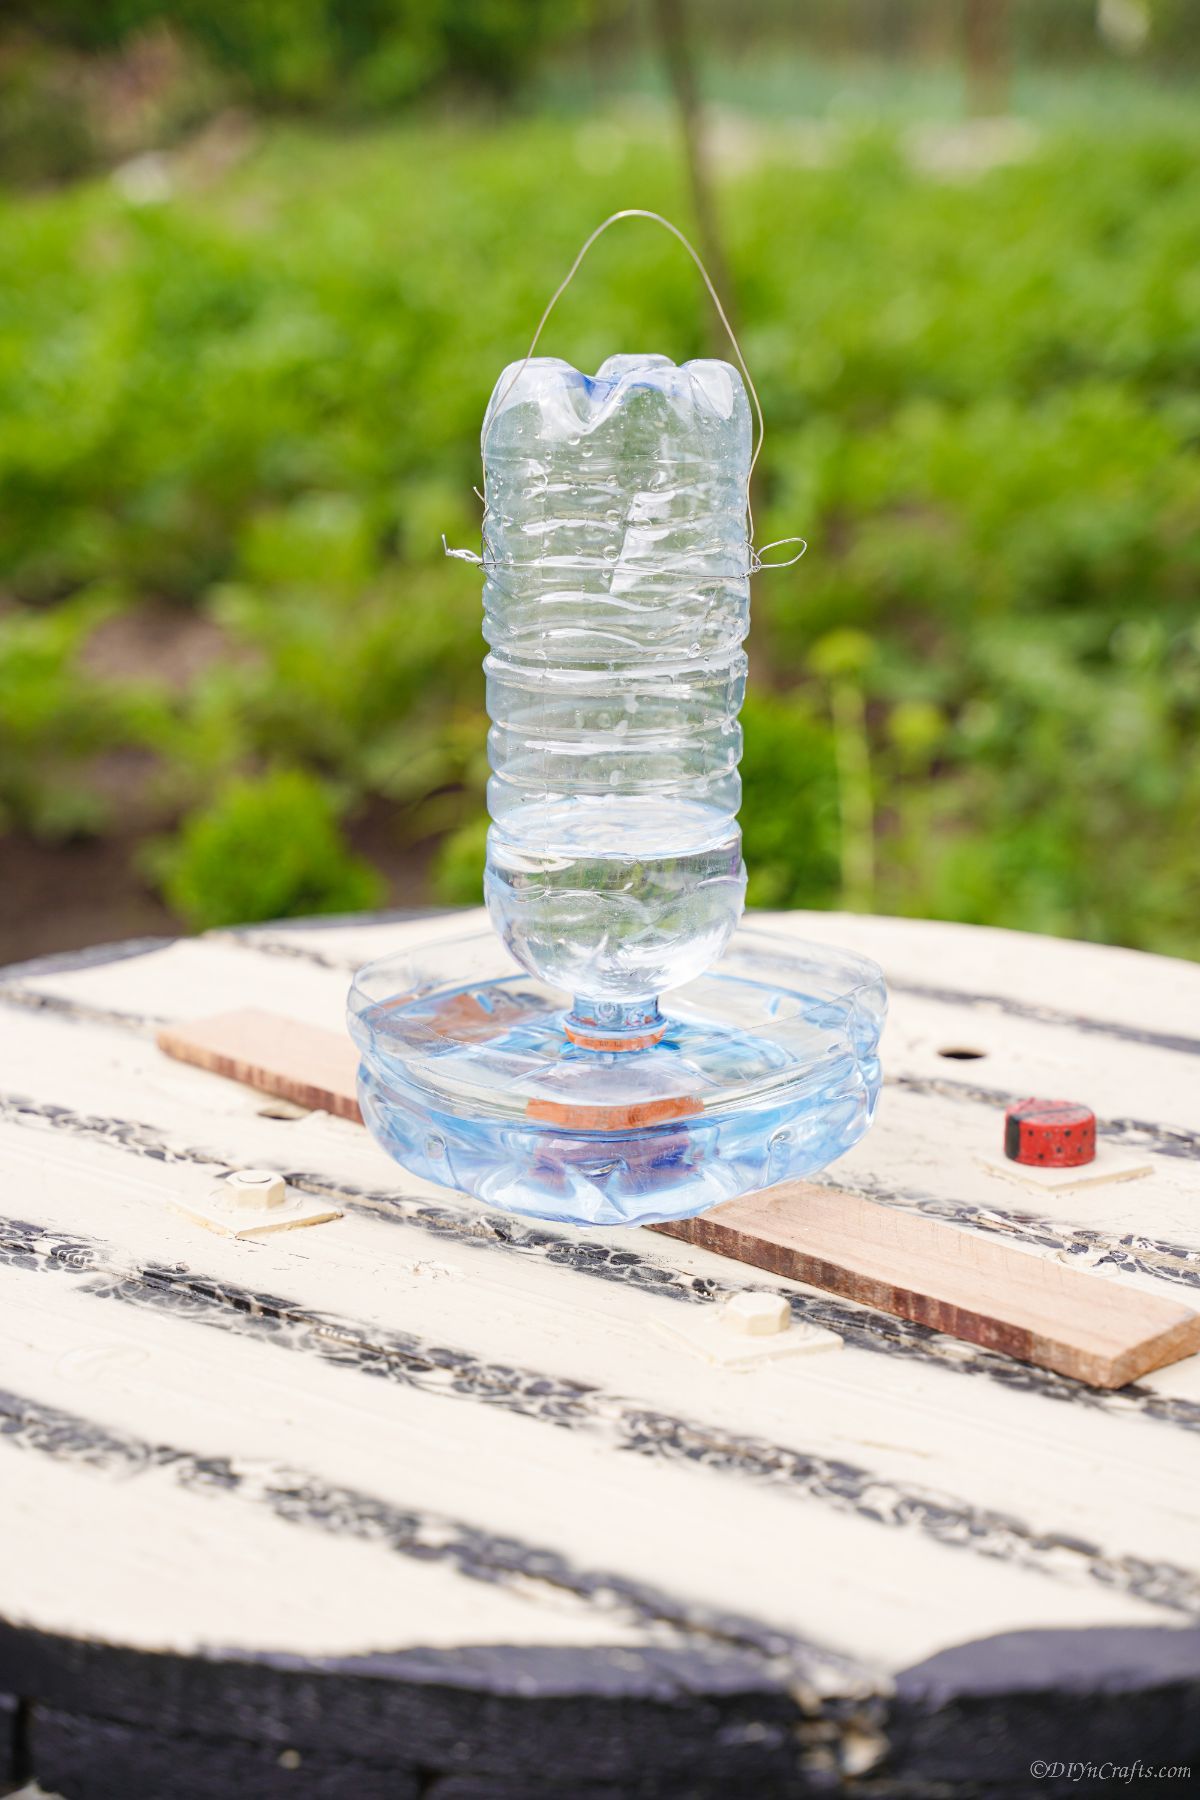
This can also be used for a bird seed holder in any tree.
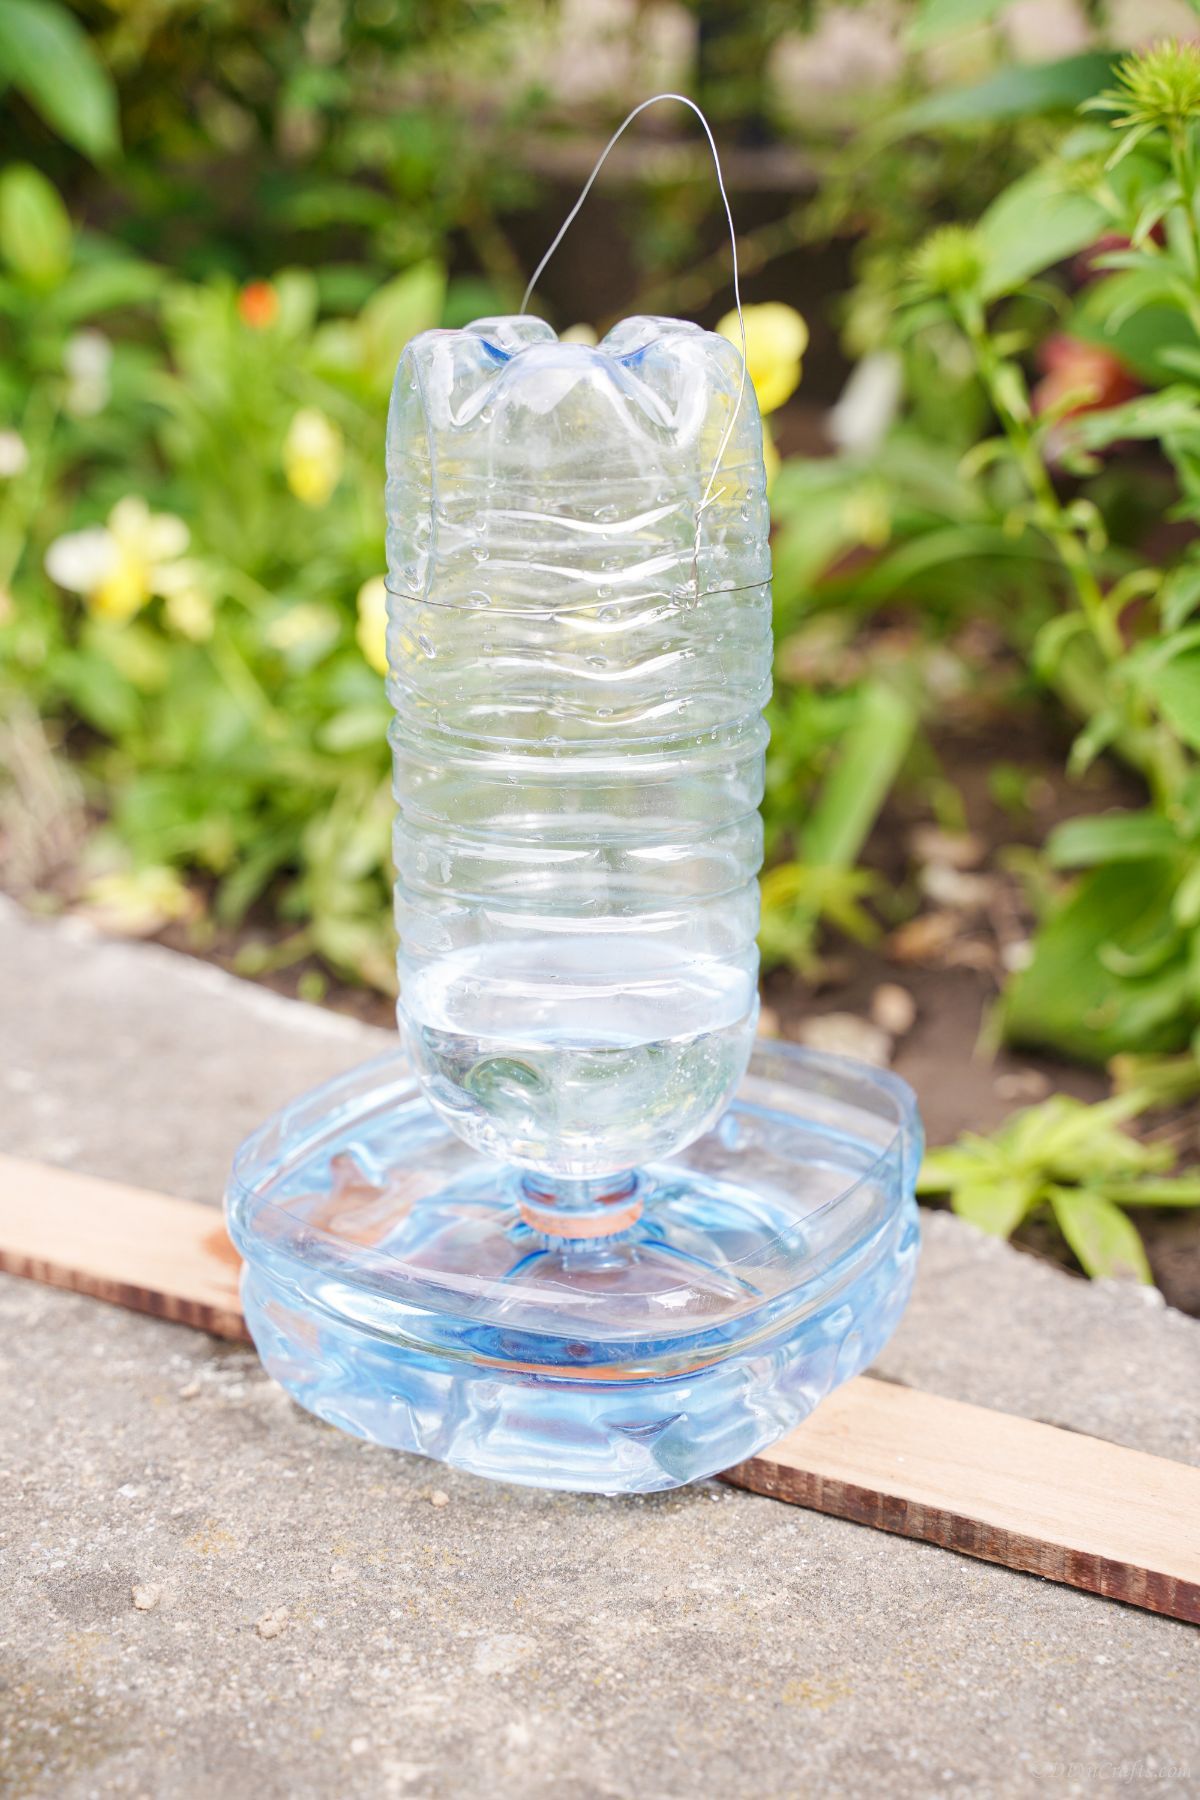
Fill with hummingbird food or sugar water to attract the smaller birds.
