[ad_1]
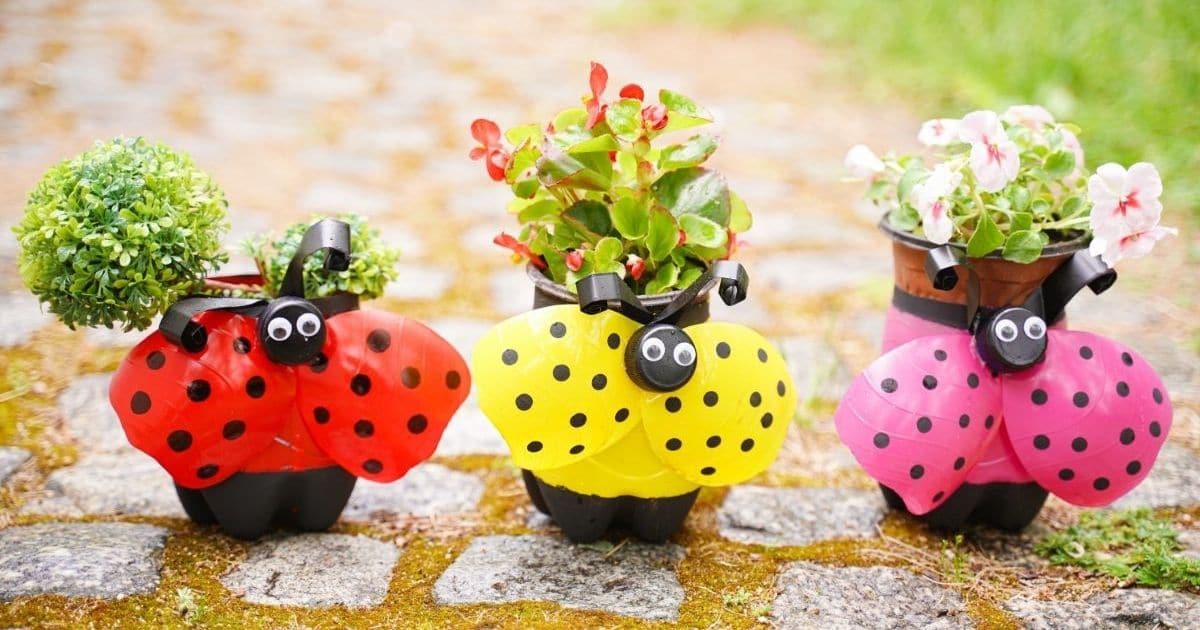
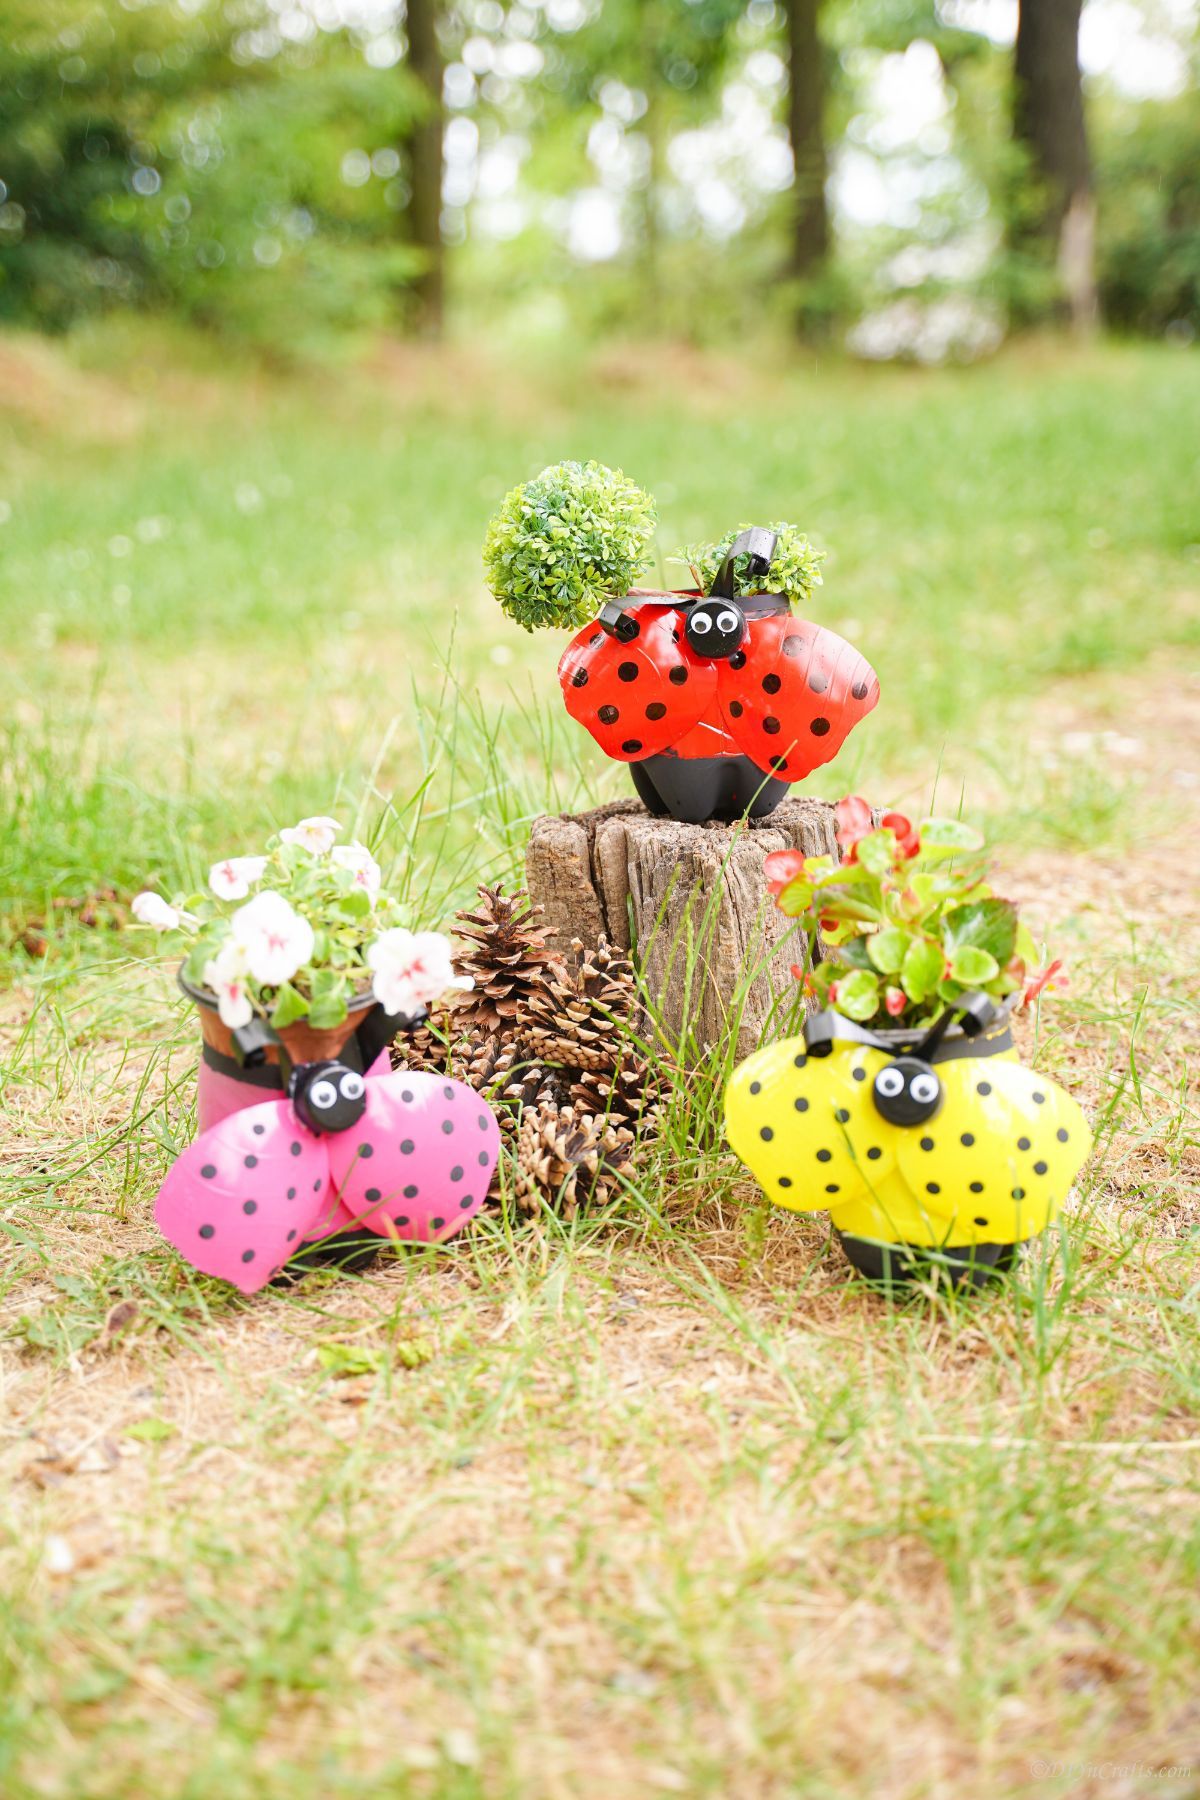
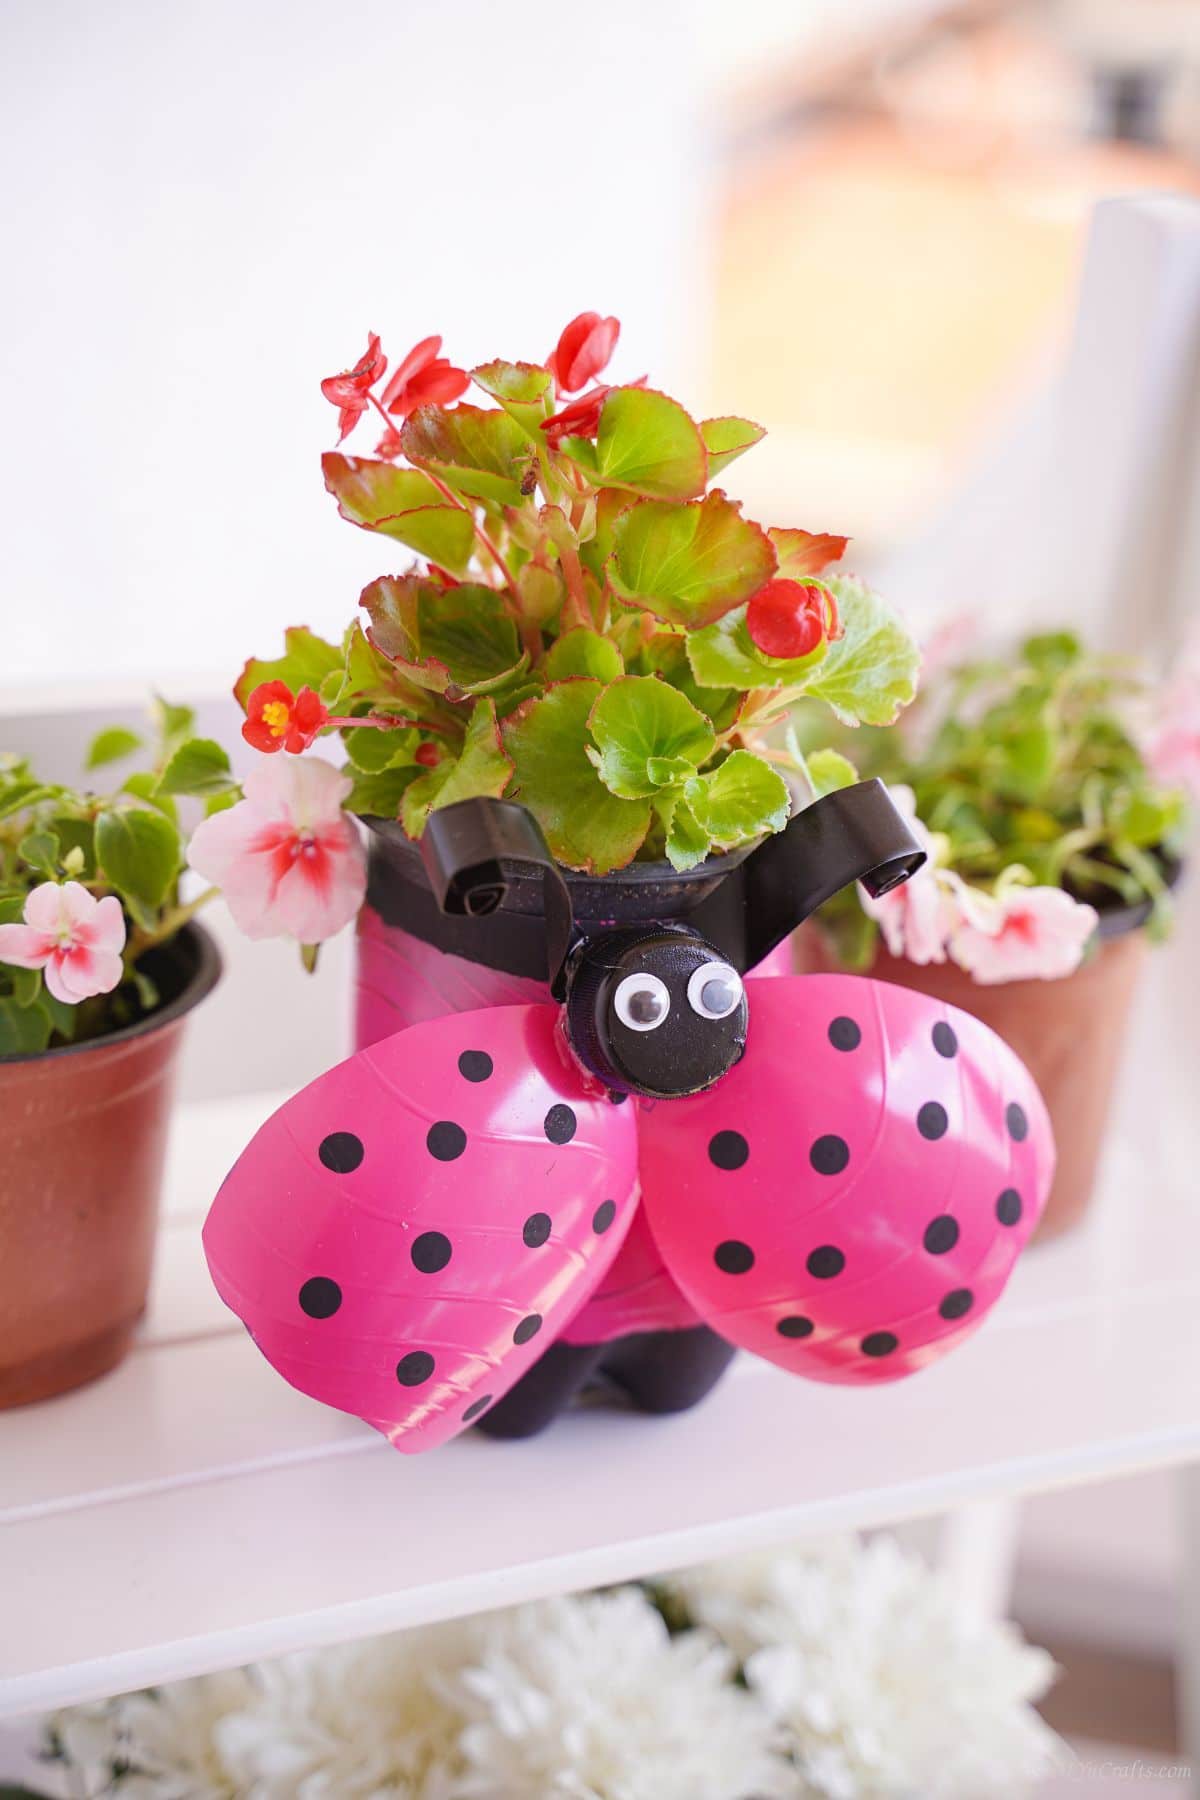
I love ladybugs, and I love recycling – so of course, this is a great little project for me. These simple and fun ladybug planters are a great way to recycle and empty soft drink bottles while also adding something cute to your home or garden. The planters are super easy to make and absolutely adorable.
Ladybug Planters
If you want something fun, perhaps a bit whimsical, add these ladybug planters to your garden. It’s a great recycled project that is fun and easy to make, plus ideal if you like the fun little creature that is the ladybug. They are great to make and put on your porch railing, in the garden, or even as a centerpiece in your home. You can even give them to friends and family or fellow gardeners!
Of course, if you are a fan of ladybugs, then you might like our tin can ladybug pencil holder, or even this upcycled bowl ladybug decoration idea. They are so fun and super easy to make! You could even make this upcycled ladybug CD or even this cute little upcycled planter ladybug as decorations in your garden.
Similar Project: Decorative Rustic Woven Basket Tutorial
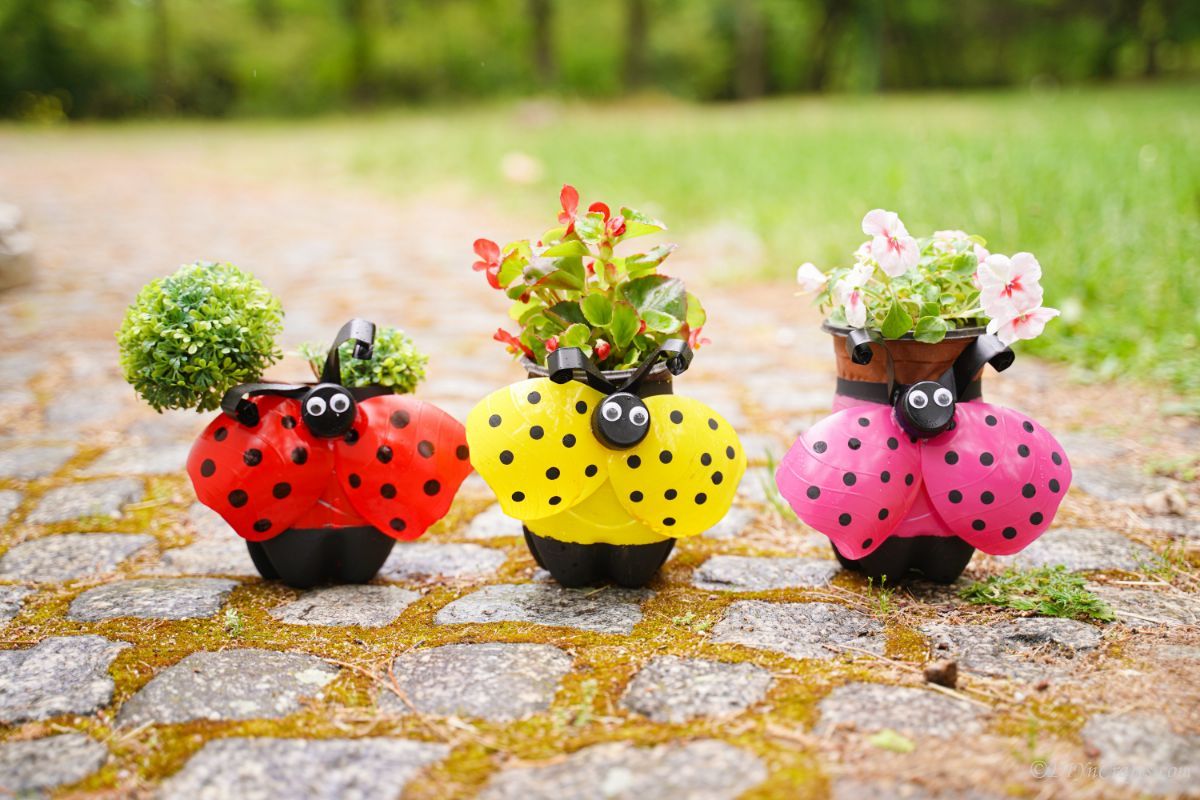
Can I Use These for Real Plants?
You can absolutely use these for real live plants. I love them for any little fake plant, or even just a simple succulent added inside, but they work great for real plants. You can either leave the plants in a smaller planter and tuck them inside this one or punch a few holes in the bottom of the bottle for drainage and plant them directly into the bottle.
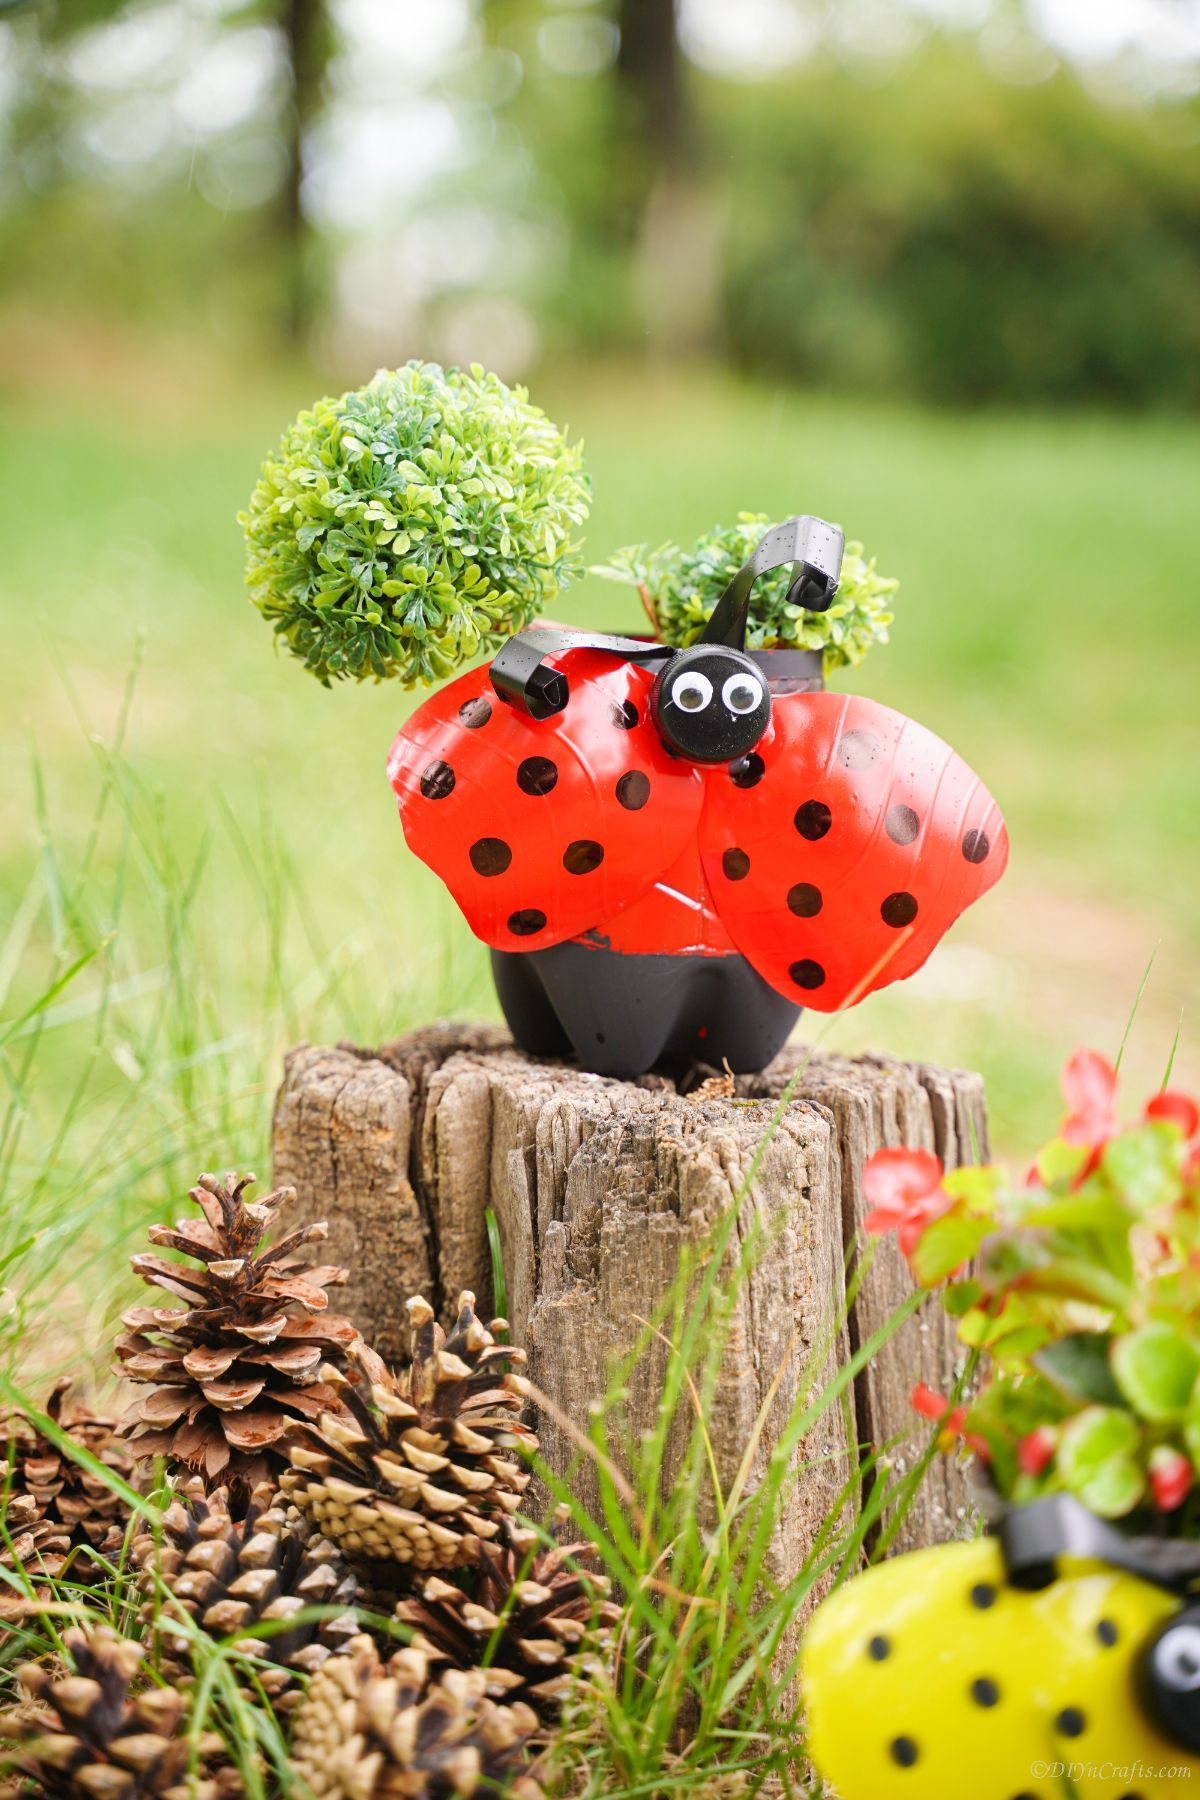
Where Can I Display a Ladybug Planter?
These ladybug planters can be displayed anywhere. The ladybug planters can be displayed inside and outside. If you are displaying it outside, you might want to seal the paint so that it doesn’t come off in the weather.
Place the plants on your front porch or patio. It can be placed on a windowsill inside your home. Hang the planter from a tree in your yard. Get creative and have fun with it.
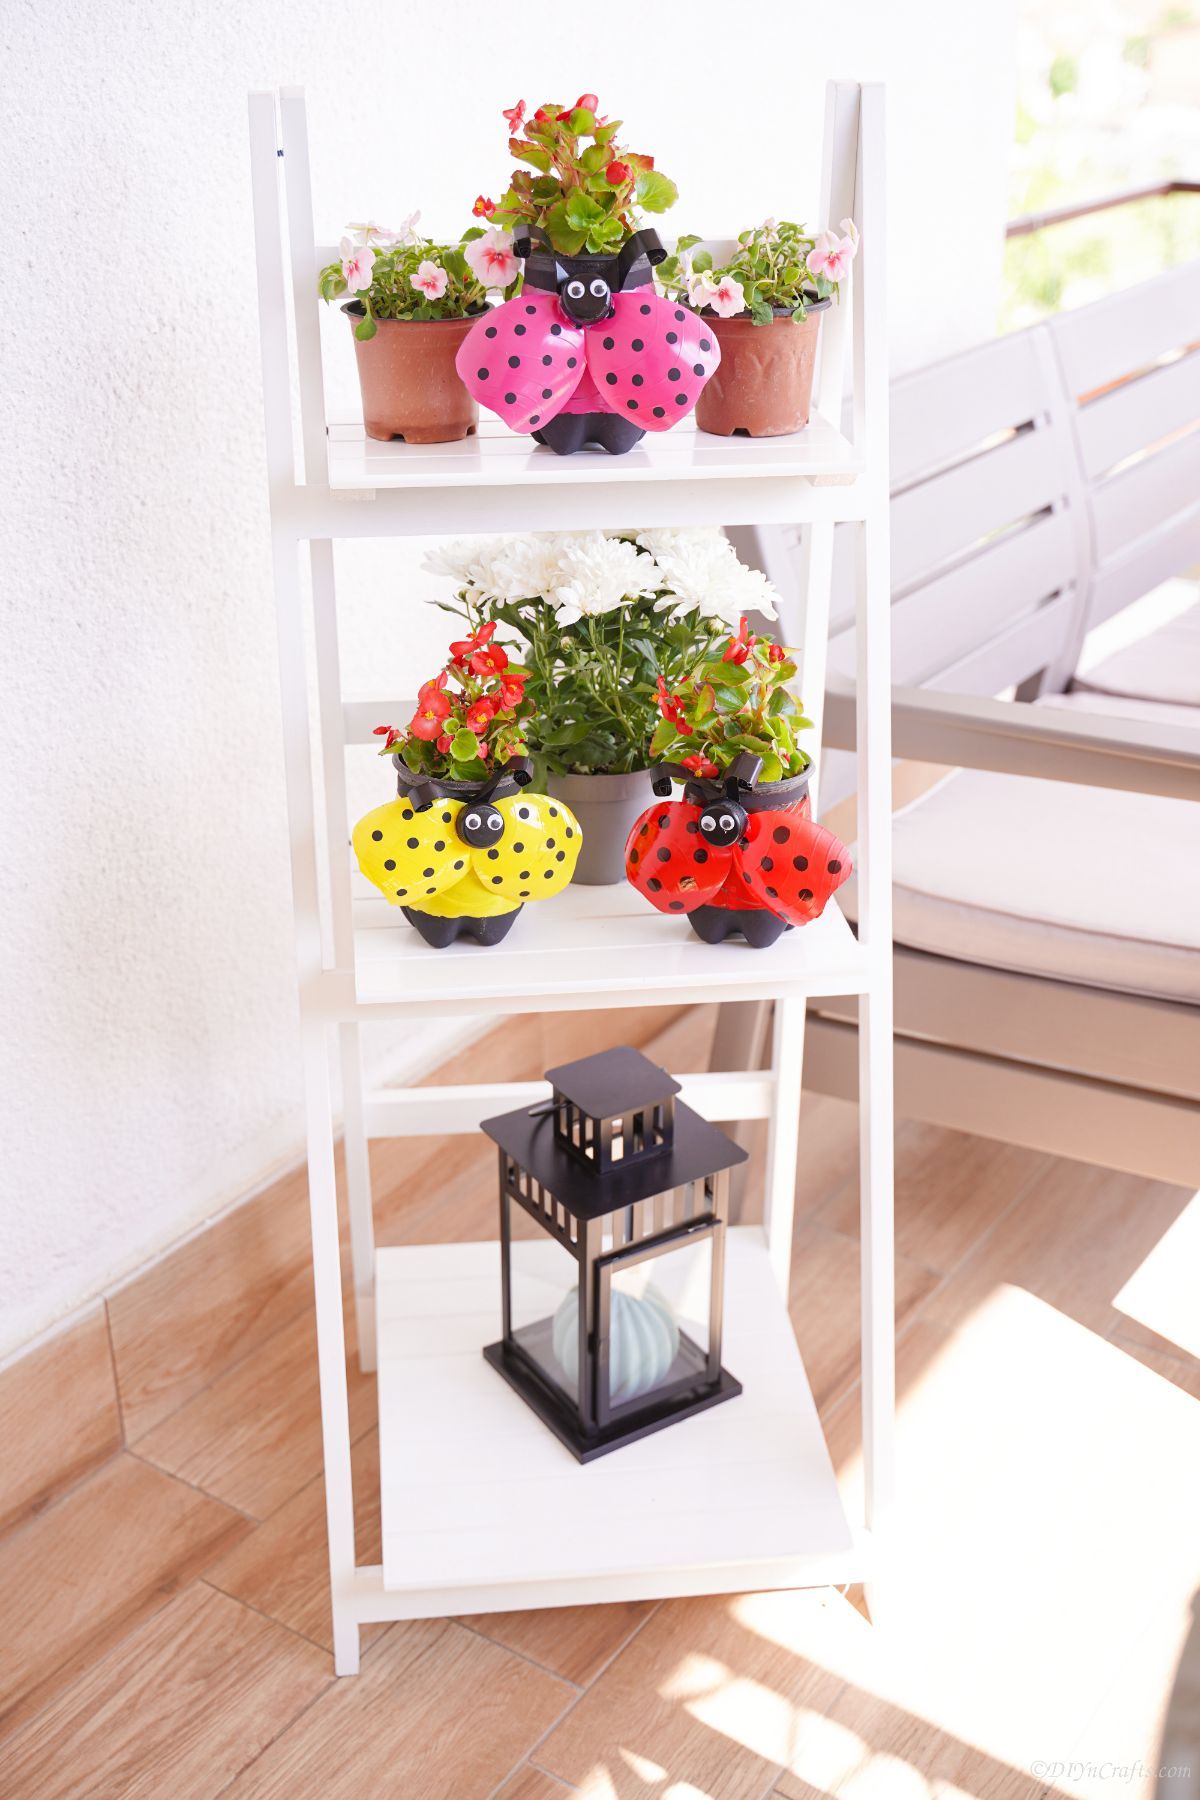
Can I Make These Into Different Creatures?
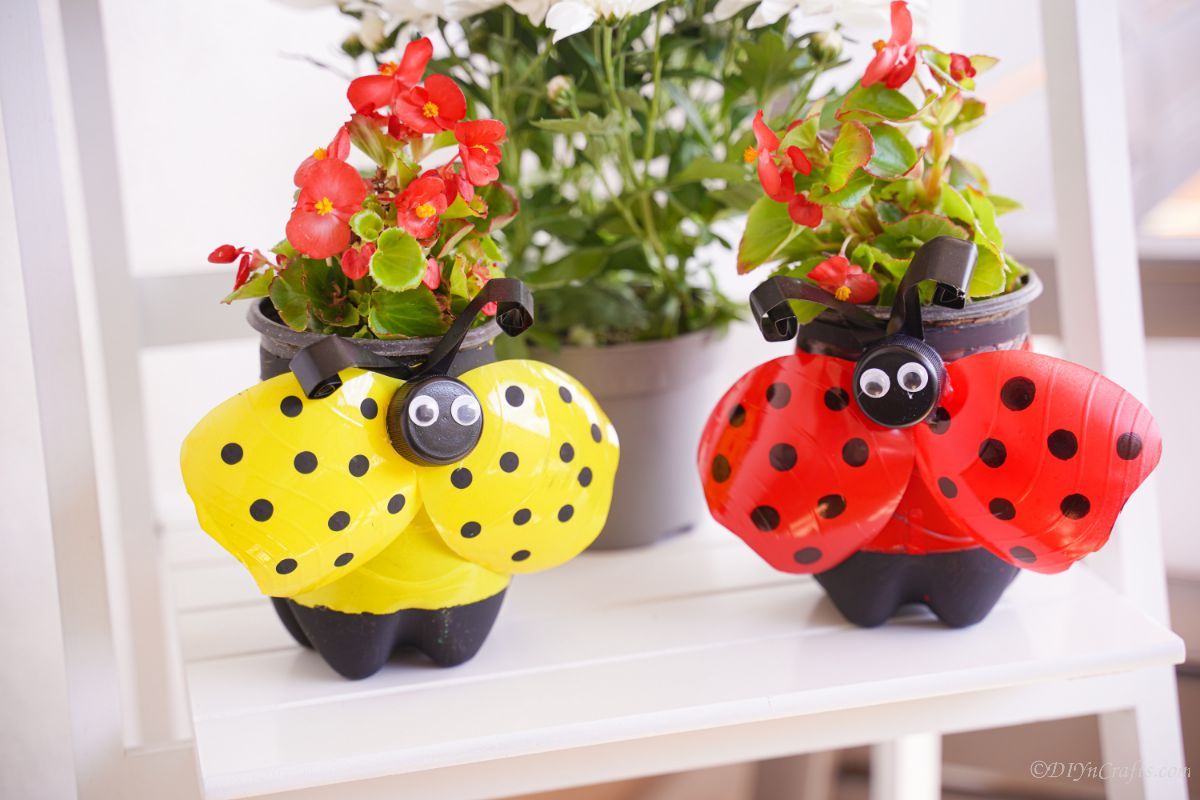
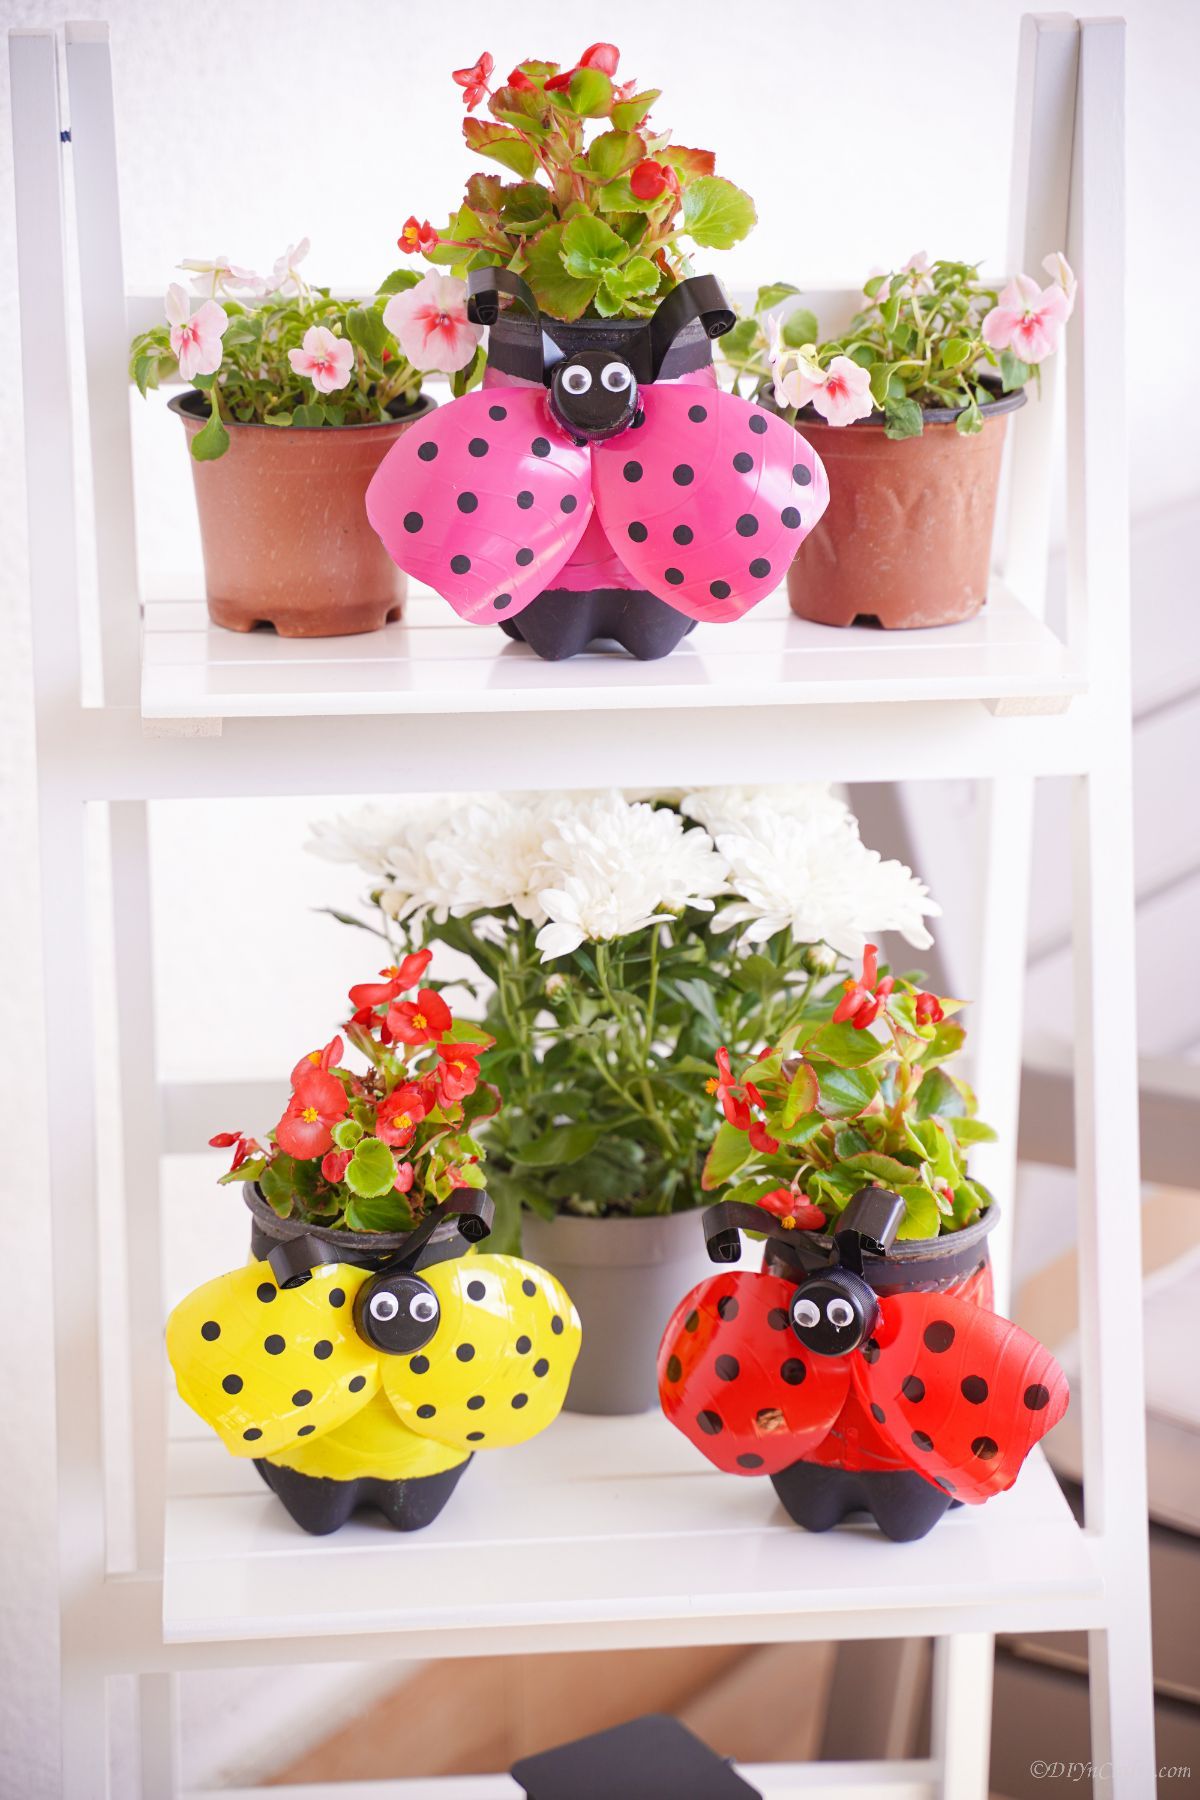
I love using this as a base idea but turning it into something unique. Different creatures or even just fun colors for the ladybug can all be done. I used red, yellow, and pink on this project, but you can use any paint color you prefer. Below are a few more ideas of creatures you can make using this similar method.
- Bumble Bee: Paint the pieces black and yellow then leave the wings clear or with stripes. Add black pipe cleaners as feet or use additional painted pieces of plastic.
- Dragonfly: Paint with blue, green, and yellow paint. Make the wings longer and pull/curl them more outward than the ladybug wings.
- Caterpillar: Paint it green and black or yellow and rather than adding wings, leave it longer instead of cutting it in half.
- Butterfly: Use multiple colors for the wings but make them more curved like a butterfly and match on both sides. Make the antennae a bit longer or use pipe cleaners instead.
Similar Project: Easy No Sew Fabric Hedgehog Craft
This is going to be something you can use as a base for many different projects. Use your imagination and have fun creating your own creature.
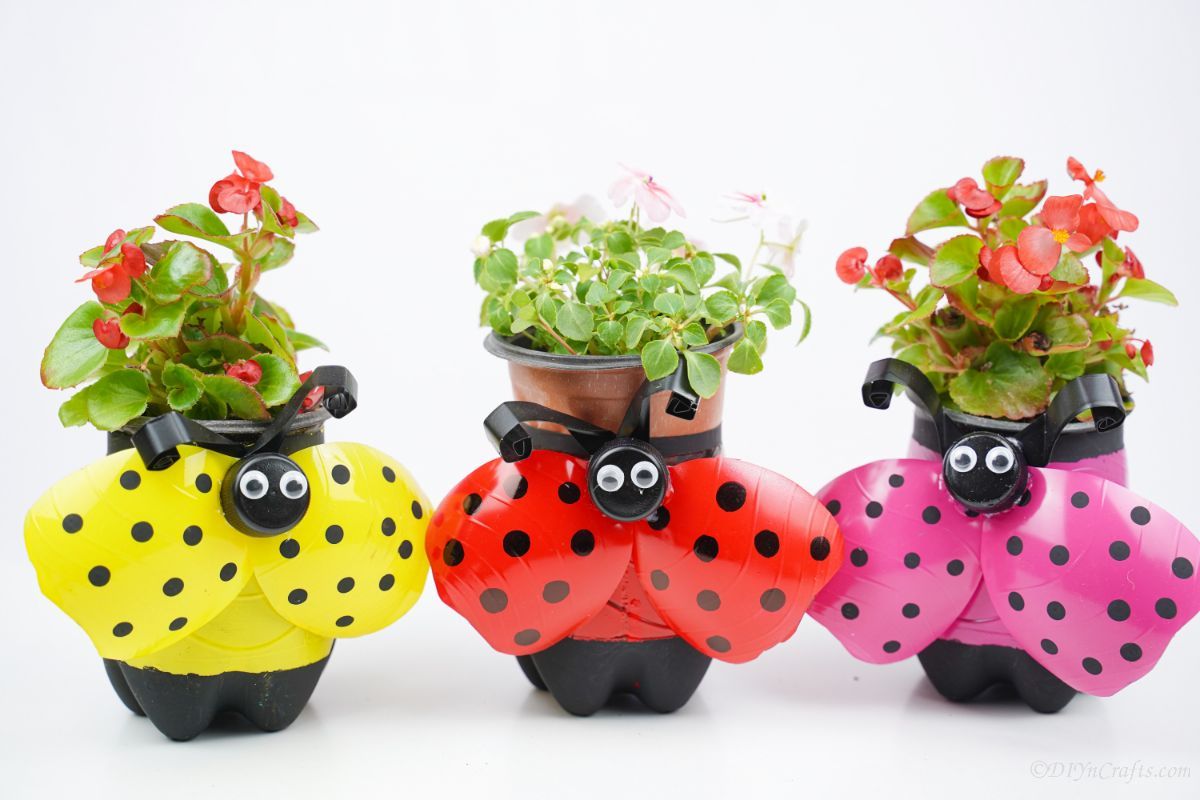
What Else Can I Do to Decorate My Plastic Bottle Planters?
I love the simplistic options shown, but you can get creative and make your ladybug super cute using other embellishments. Ribbons, stickers, and even washi tape can add something unique to the ladybug planter. Of course, everything is more fun with glitter too! So, feel free to add a bit of sparkle to the craft.
Another fun idea can be to add felt dots in place of the marker dots or even make the dots in alternate colors instead of the standard black. Painting a face on the front instead of using googly eyes is also an option. I would use white or pink paint pens to create more depth of color on the lid.
Of course, you can go extra with some sequins, and rhinestones, using completely off-the-wall colors, or even spray painting it gold, silver, or bronze. Things like puff paint can also be used to create more 3D additions like the dots or eyes on the ladybug. Just get creative and you’ll love the results!
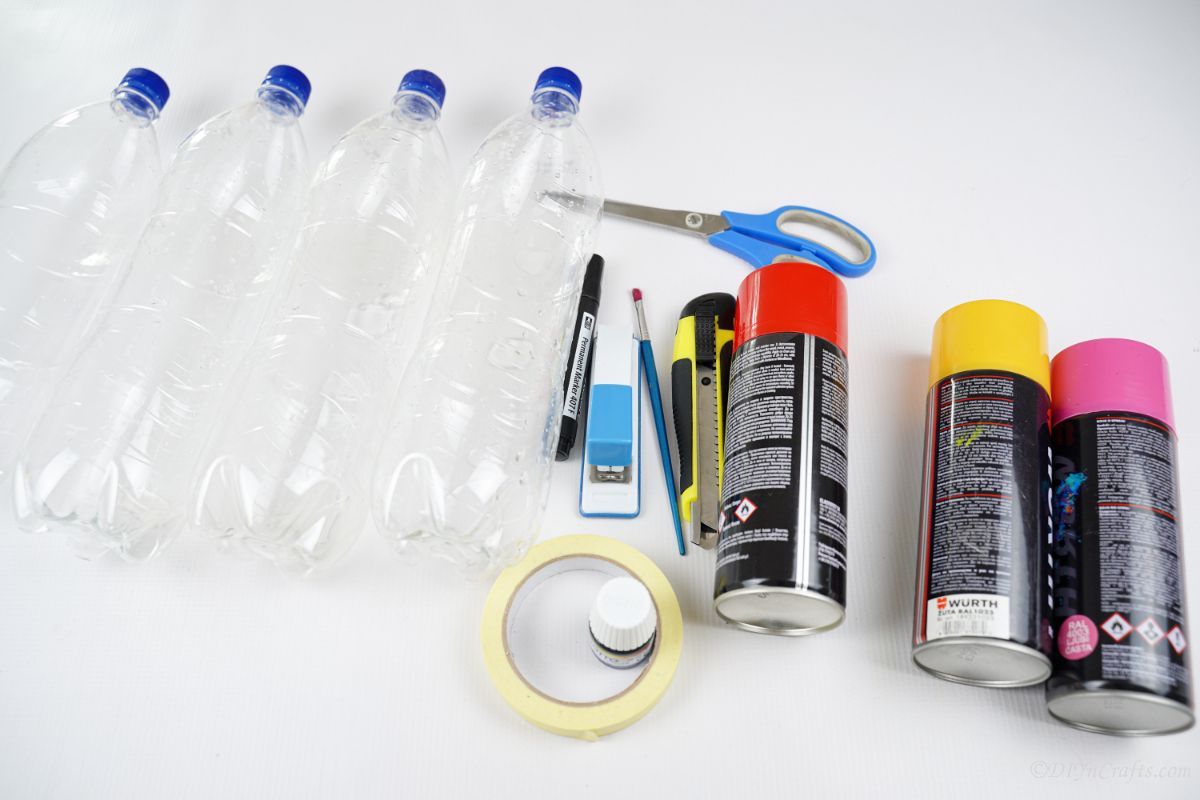
Supplies Needed
Similar Project: DIY Two-Tiered Jewelry Stand from Repurposed Dishes
How to Make a Ladybug Planter
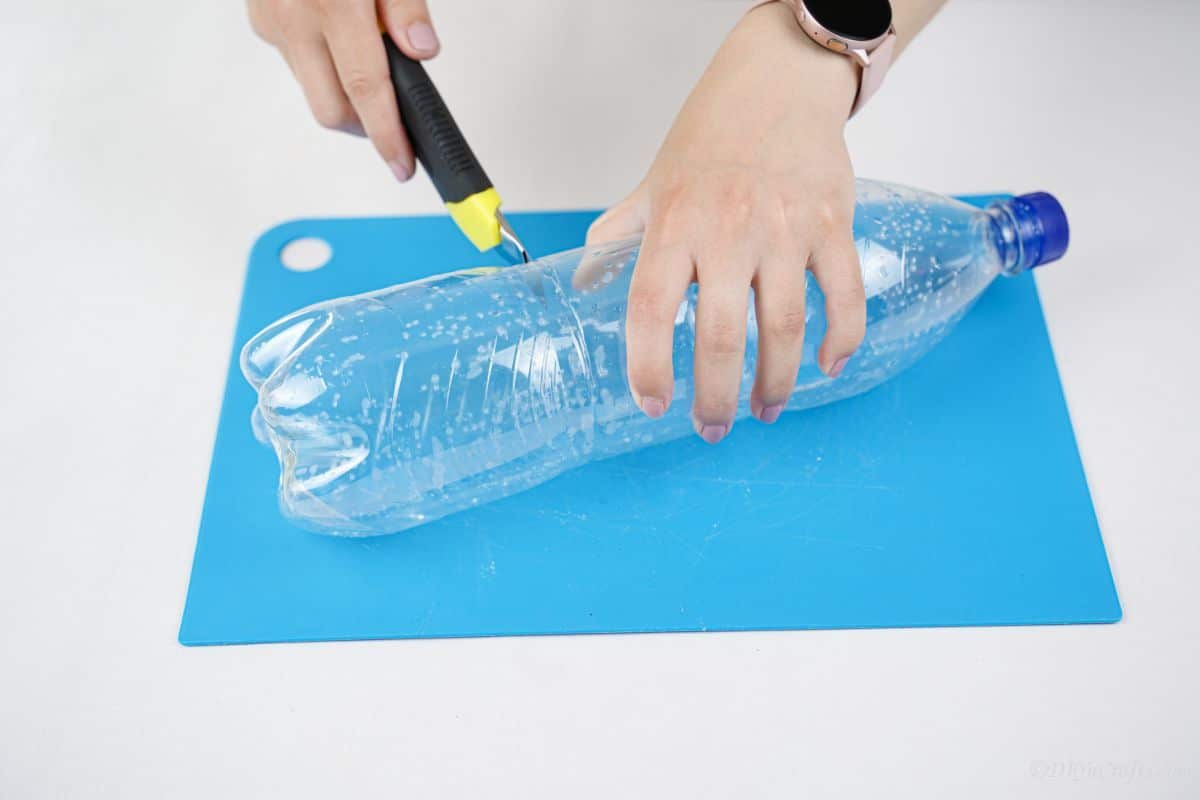
Begin by cleaning out the plastic bottle and letting it air dry. Remove all labels or glue from the outside. Then, cut the center flat portion of the bottle out and set it aside. This will leave you with just the bottom and top neck end.
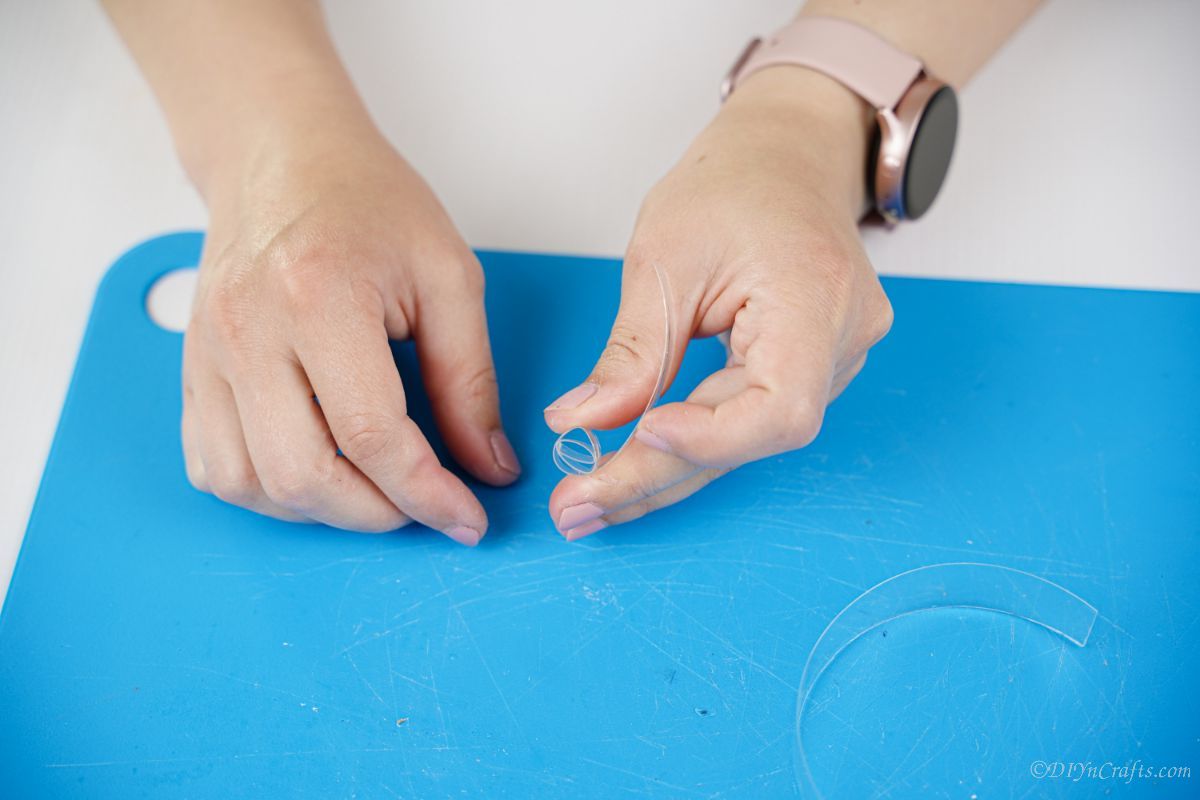
Cut two 1″ strips of this flat piece. Carefully curl one end of those pieces to create the look of an antenna to go on the front of the planter. Set them aside.
Next, cut just below the neck/lid of the bottle and set aside the lid portion.
Now, the remaining portion of the top half of the bottle can be cut in half, along the side, creating two larger pieces of plastic of the same size. These will be used for the ladybug wings.
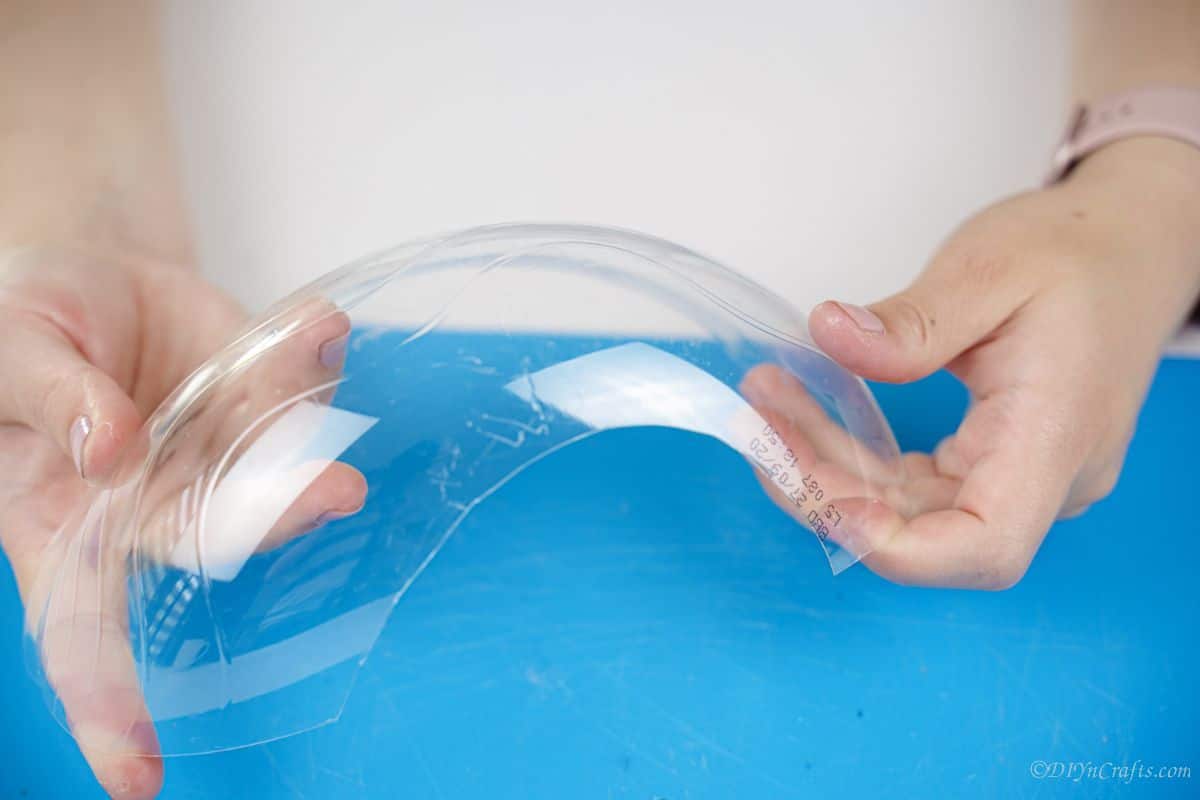
Now, use a marker on these pieces to draw the wing shape. Create a narrow end at the top part of what would have been the bottle, and rounded toward the base.
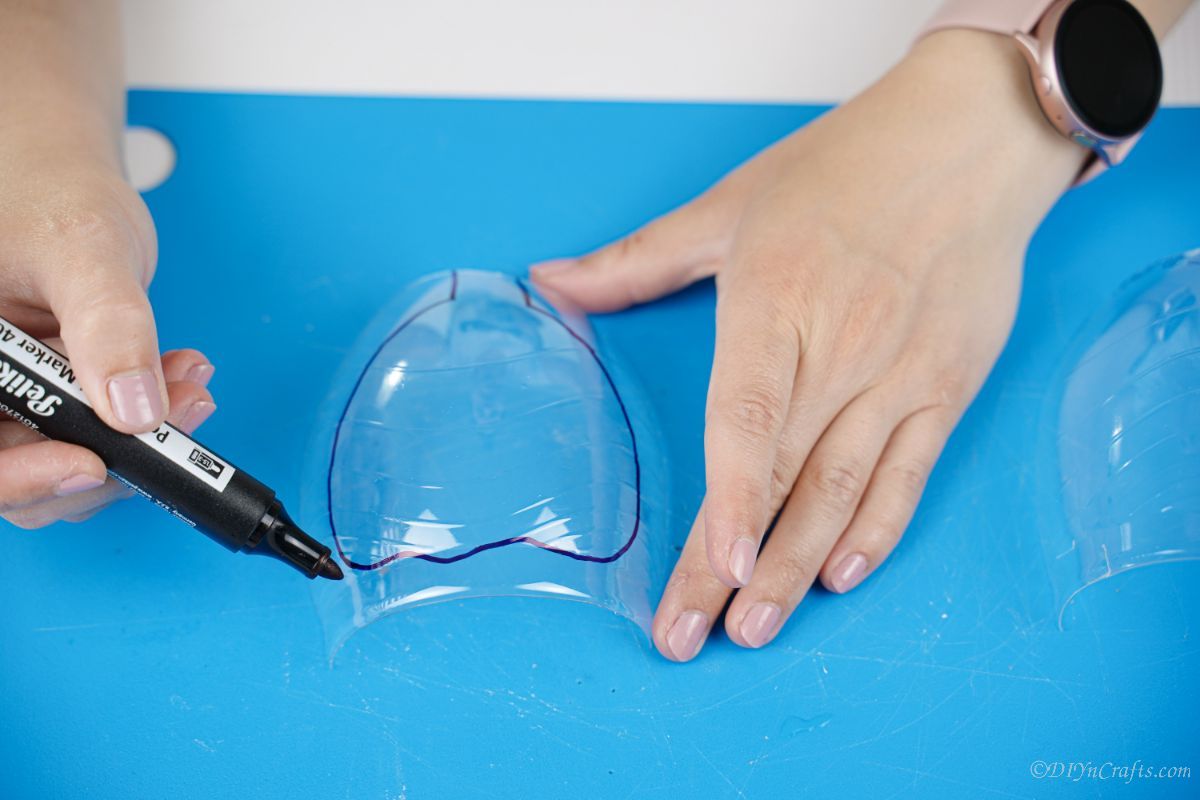
Cut out these wing shapes and set them aside.
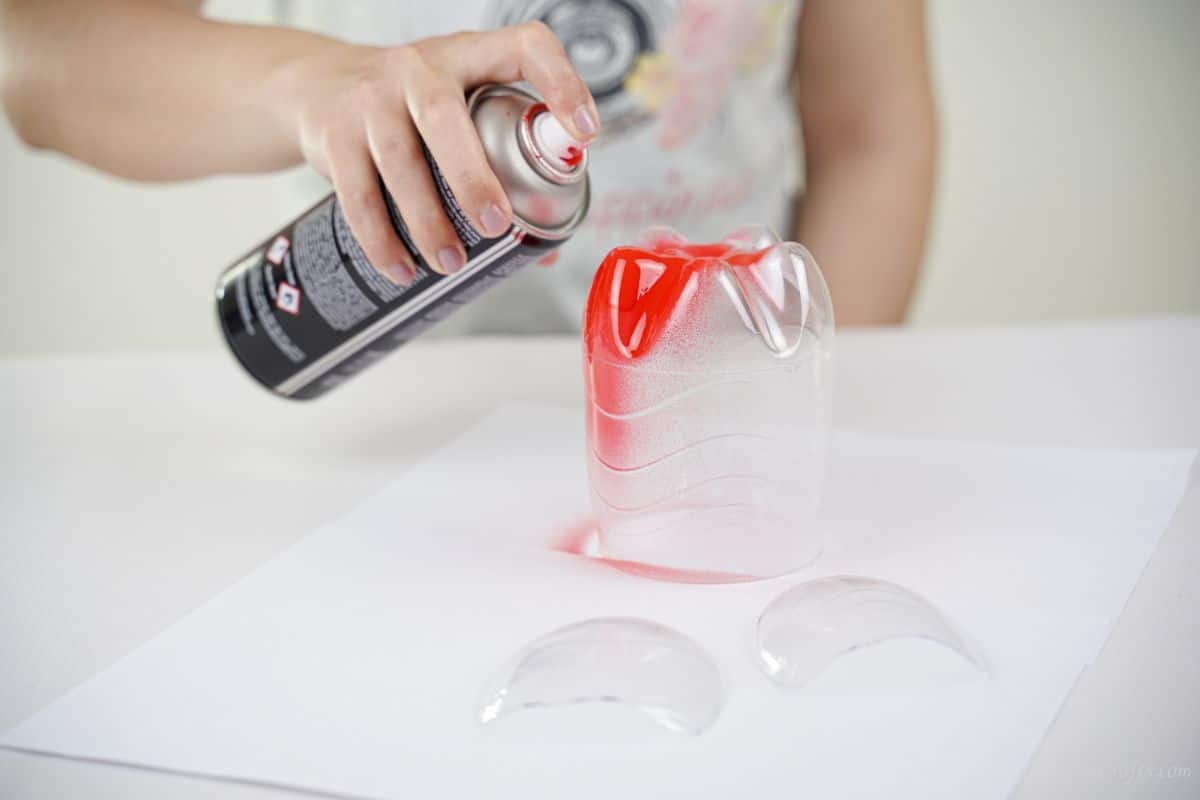
Now, you will use the remaining bottom of the bottle and spray paint it red as well as the two wing pieces then set it aside.
Similar Project: 15 Fun DIY Halloween Party Games That Kids Will Love
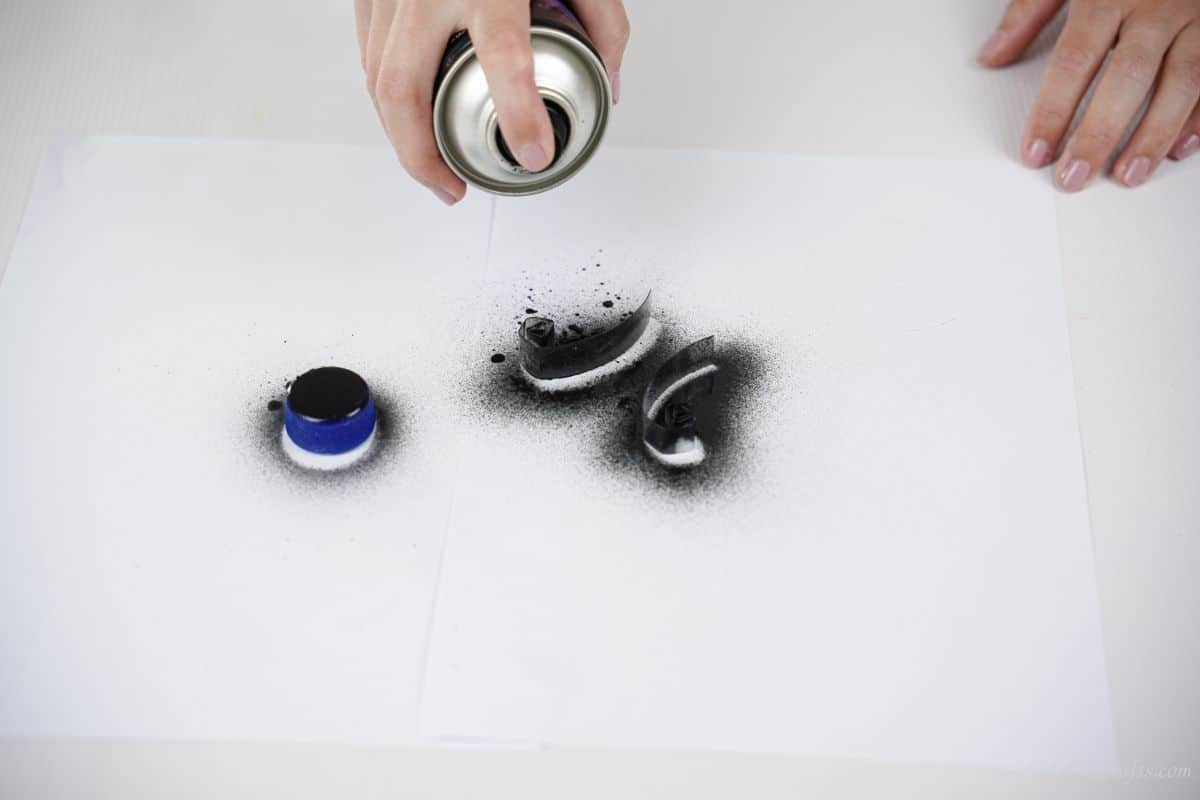
Then, spray paint the bottle cap/lid and the two antennae pieces black and set them aside to dry.
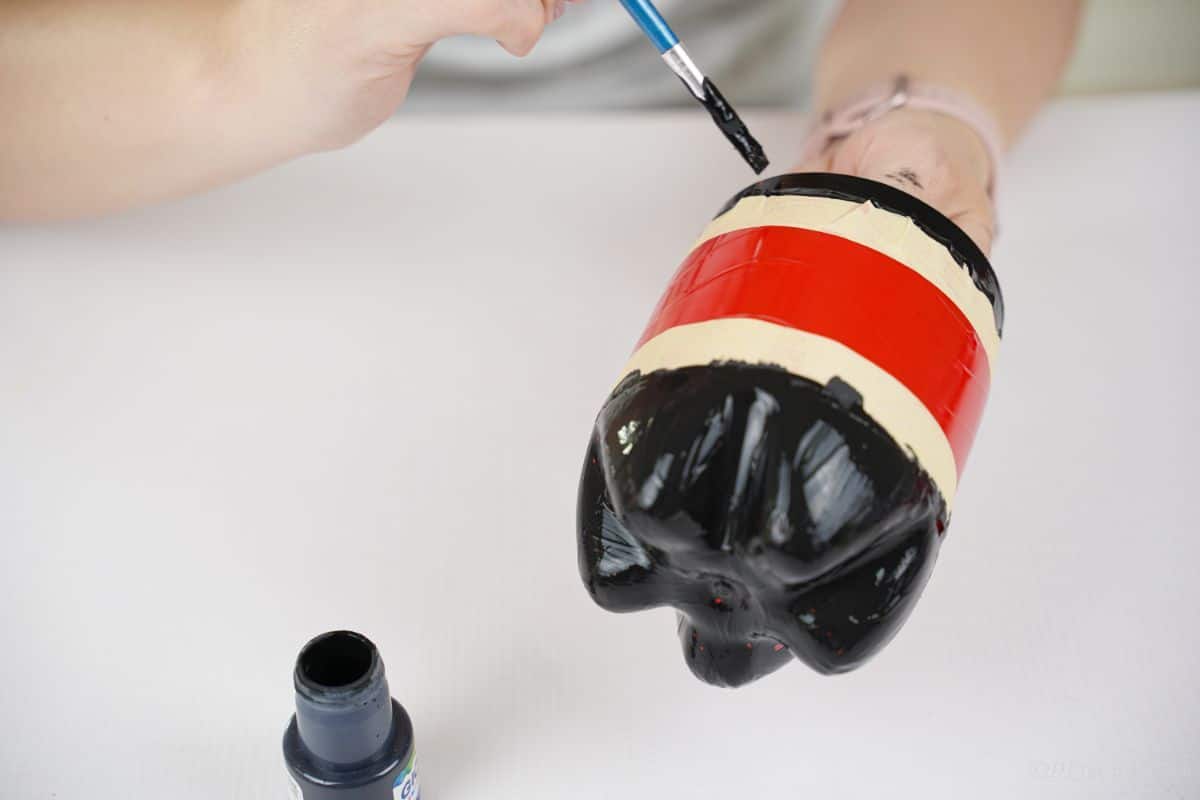
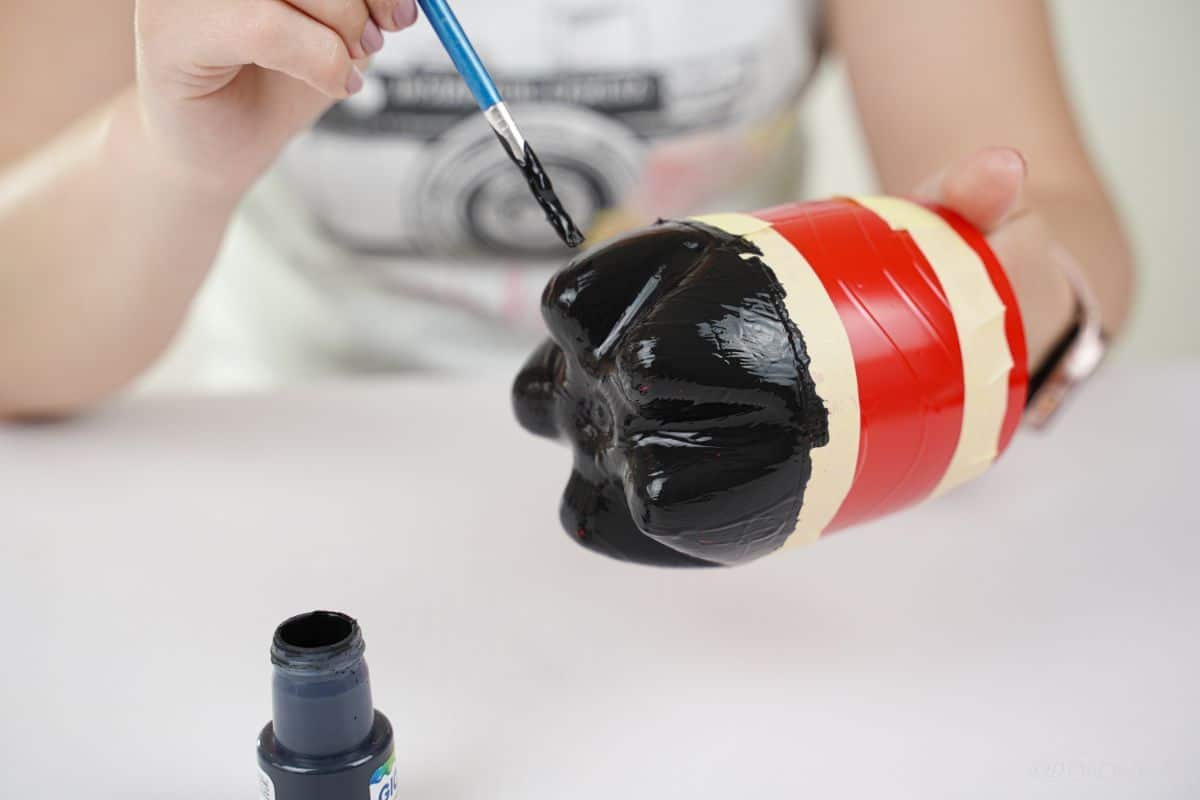
Once the paint has dried completely, use painter’s tape on the red bottom of the bottle, to create two stripes. Leave around 2″ open red on each end, with the tape creating an open space in the middle.
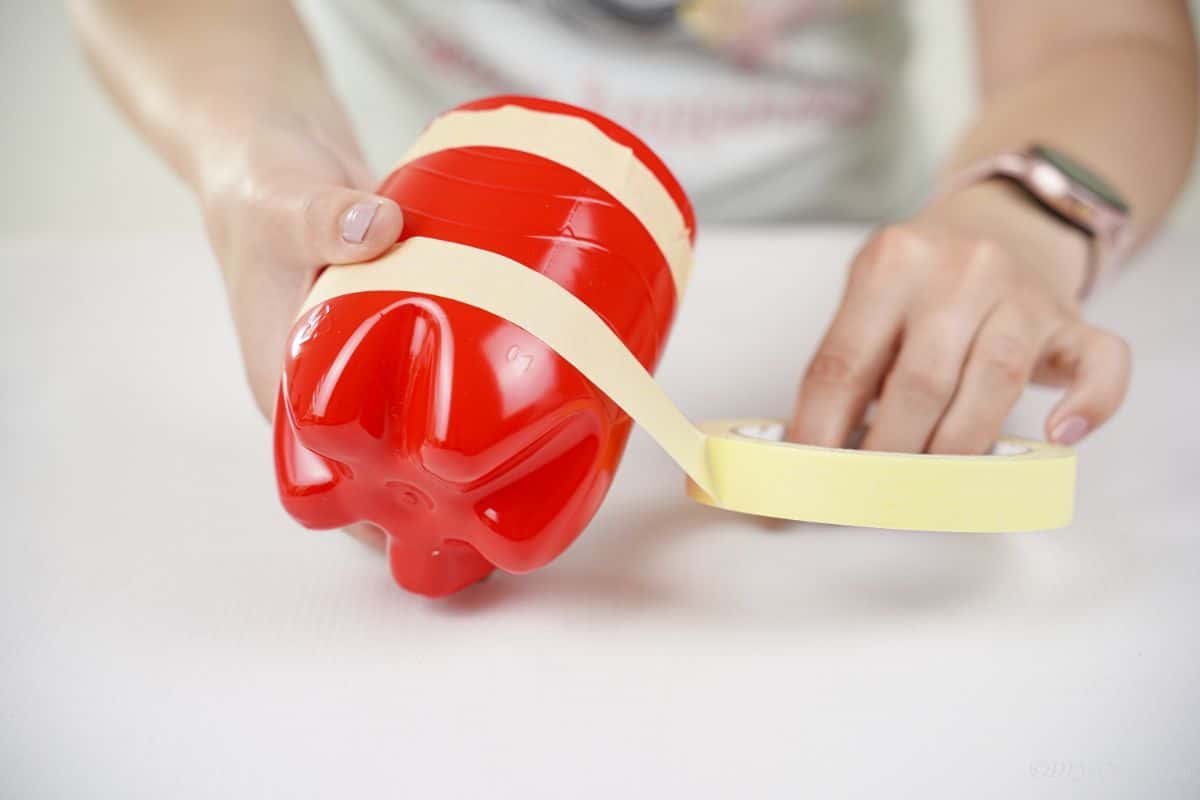
Now, paint the two ends black and set them aside to dry.
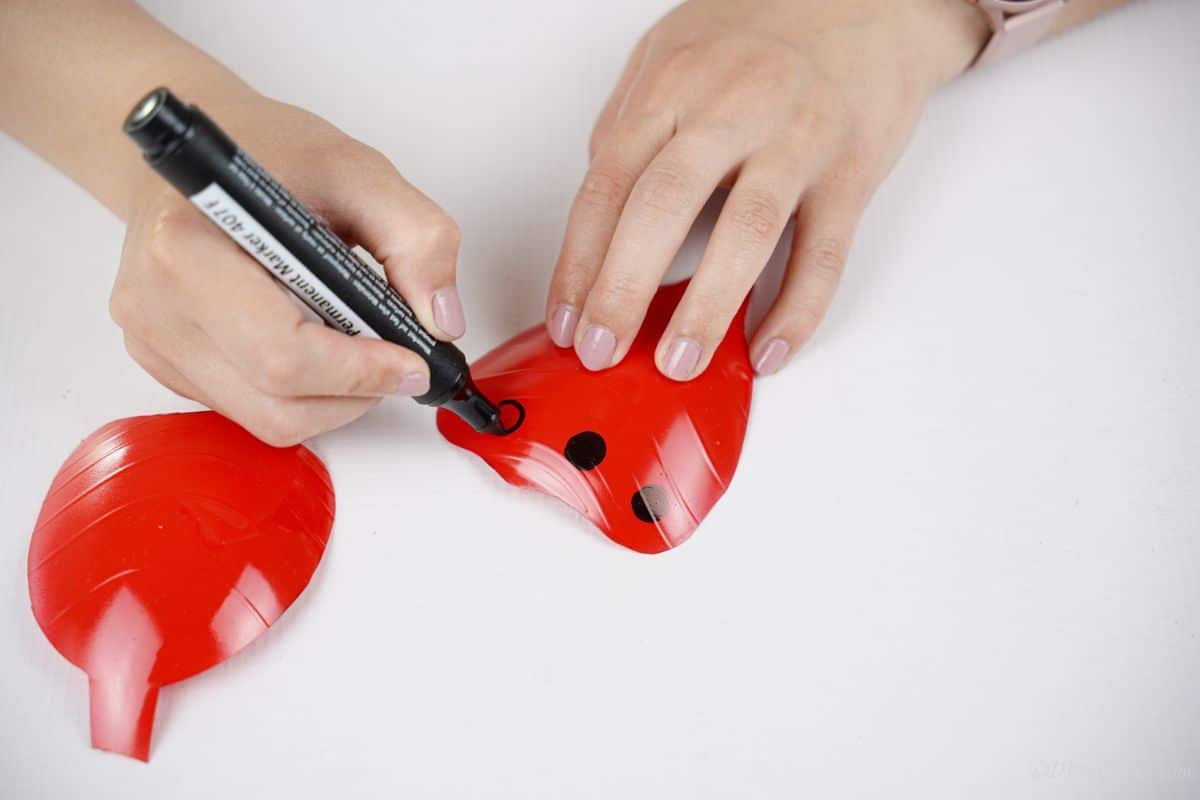
While the paint dries, use a black marker or a paint pen to add dots onto the two wing pieces. Add them randomly to look natural.
When all of the paint is dry completely, remove the painter’s tape from the bottle.
Now, use a knife or the soldering iron to punch a hole on one side of the open end of the base of the bottle/ladybug.
Then use it to create holes on the flat ends of the antenna and the narrow neck end of the two wings.
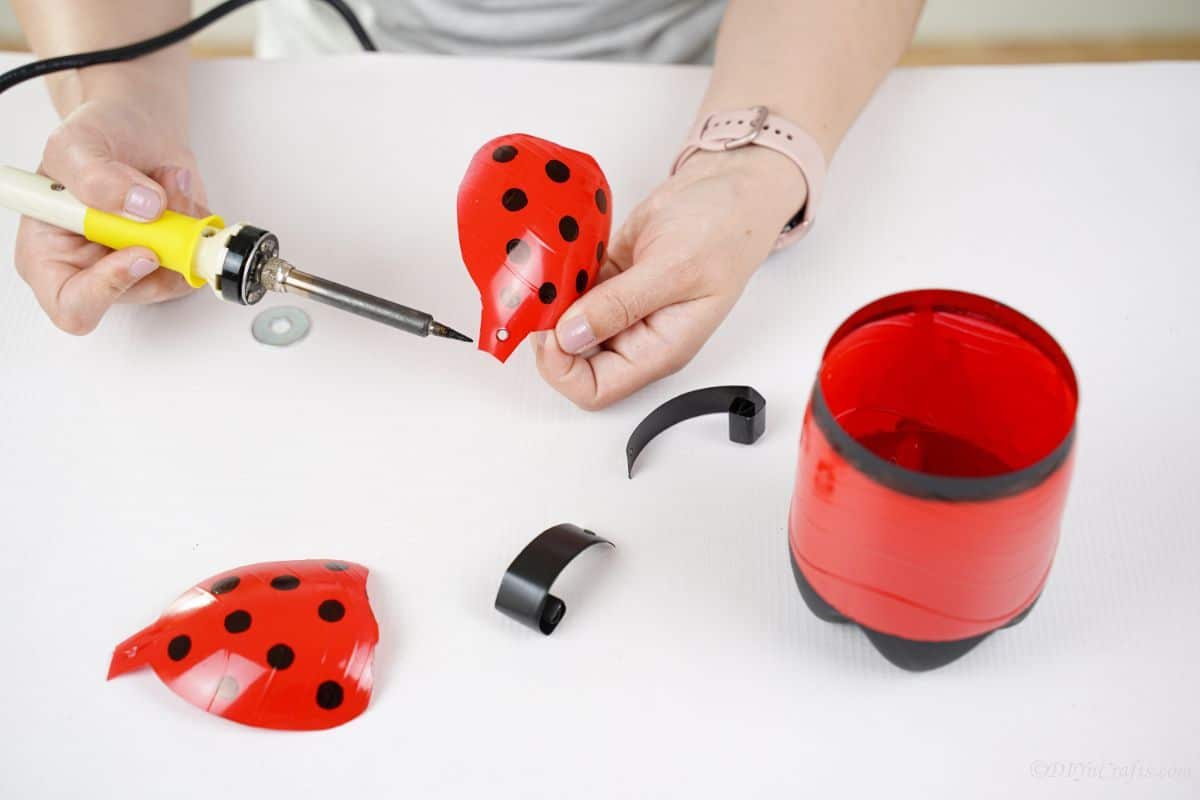
String jewelry wire through the middle of a 1″ washer, and loop to secure with 2 equal length ends of jewelry wire dangling.
Now you will assemble the planter. Place the washer on the inside of the red base, and push the wires through the hole you made there.
Then, put an antenna and a wing through the wires on each side.
Similar Project: Gigantic Outdoor Ornaments for the Holidays
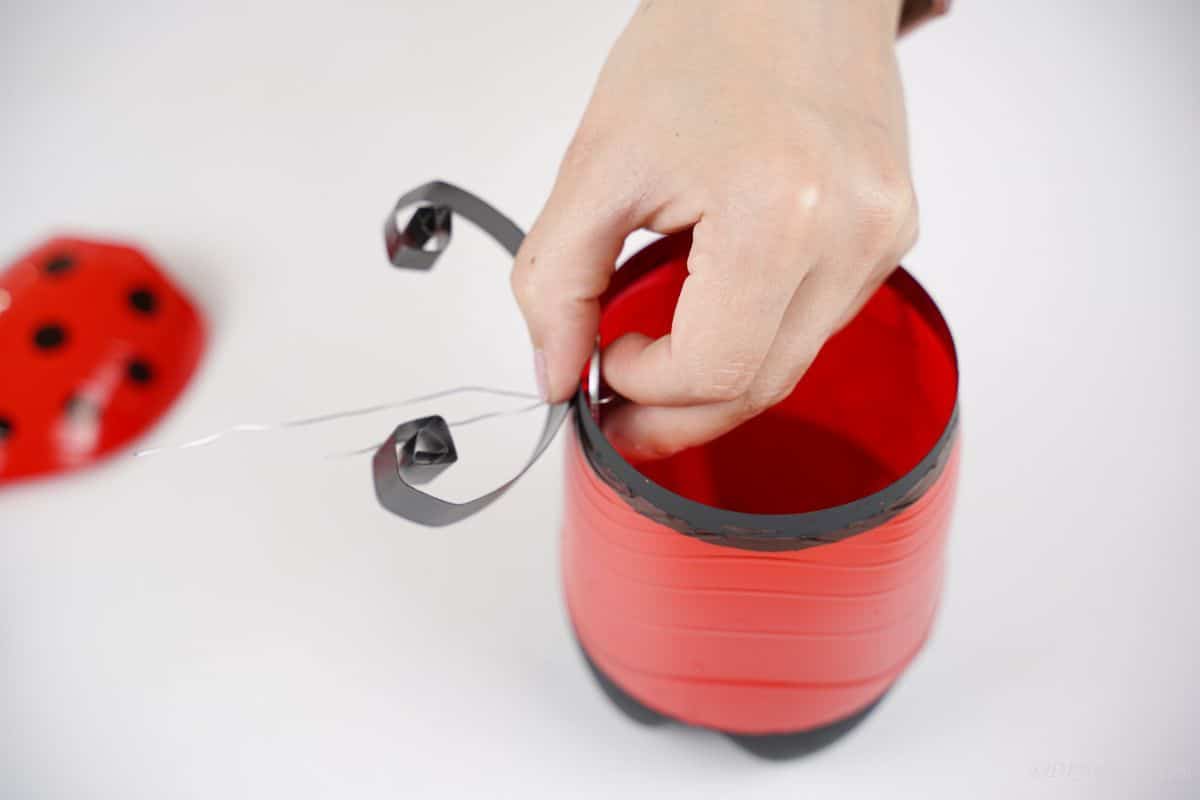
Once in place, tie off the end of the jewelry wire to secure, and trim off any excess.
Then glue the bottle cap over where you secured the wire on the outside to create the face.
Glue googly eyes onto the bottle cap, or use a paint pen to make a face on the ladybug.
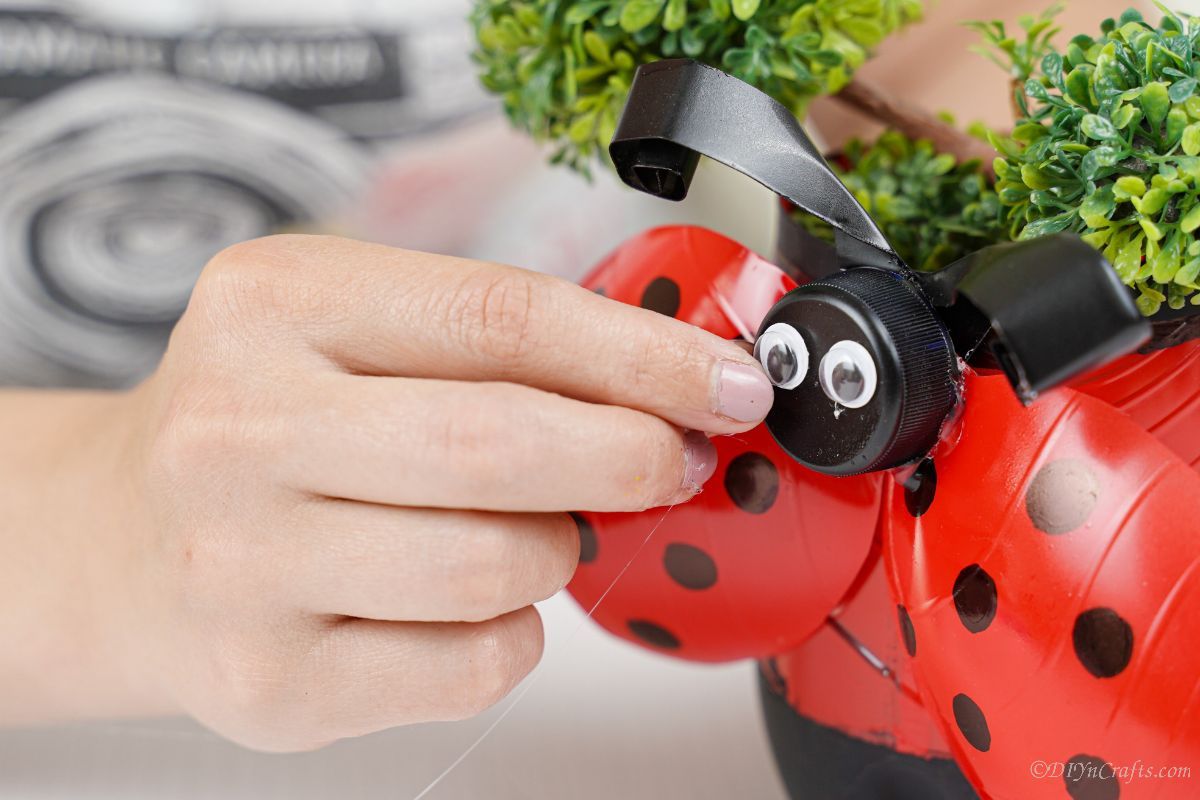
Finally, add a plant inside the base of the planter and display this on a shelf or in the garden.
More Easy Planter Crafts
Planters are one of my favorite things to update or create. I love fresh flowers and succulents, so of course, I want something pretty to display them in. Make sure that you bookmark these ideas, print out the recipe, or pin them to Pinterest to make soon.
Yield: 1
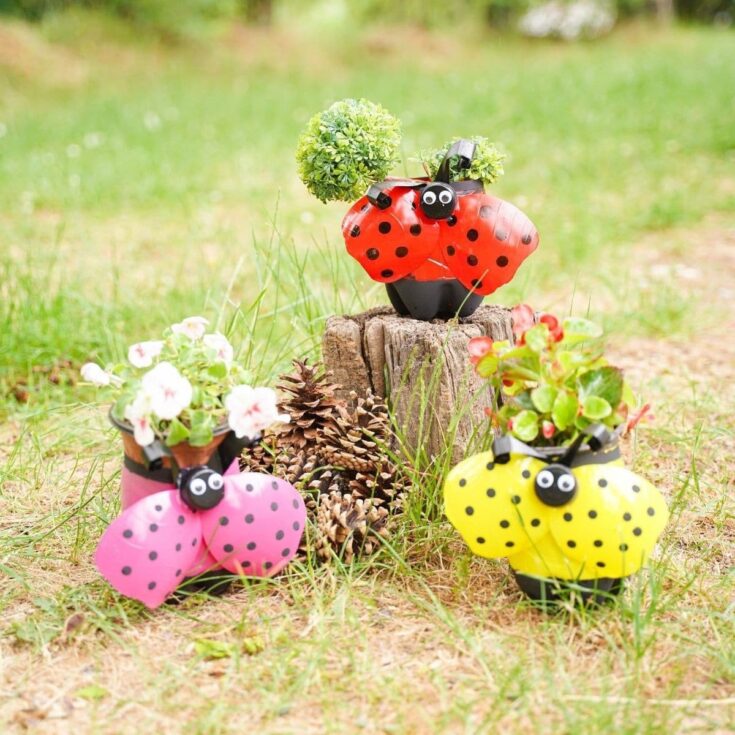
This plastic bottle ladybug planters tutorial is sure to be a hit for displaying plants or flowers in your home!
Active Time
30 minutes
Additional Time
45 minutes
Total Time
1 hour 15 minutes
Difficulty
Easy
Estimated Cost
$0
Materials
Similar Project: Easy Embroidery Hoop Pumpkin Dollar Store Craft
Instructions
- Cut a plastic bottle in half.
- Then cut the center flat portion of the bottle out and set it and the base of the bottle aside.
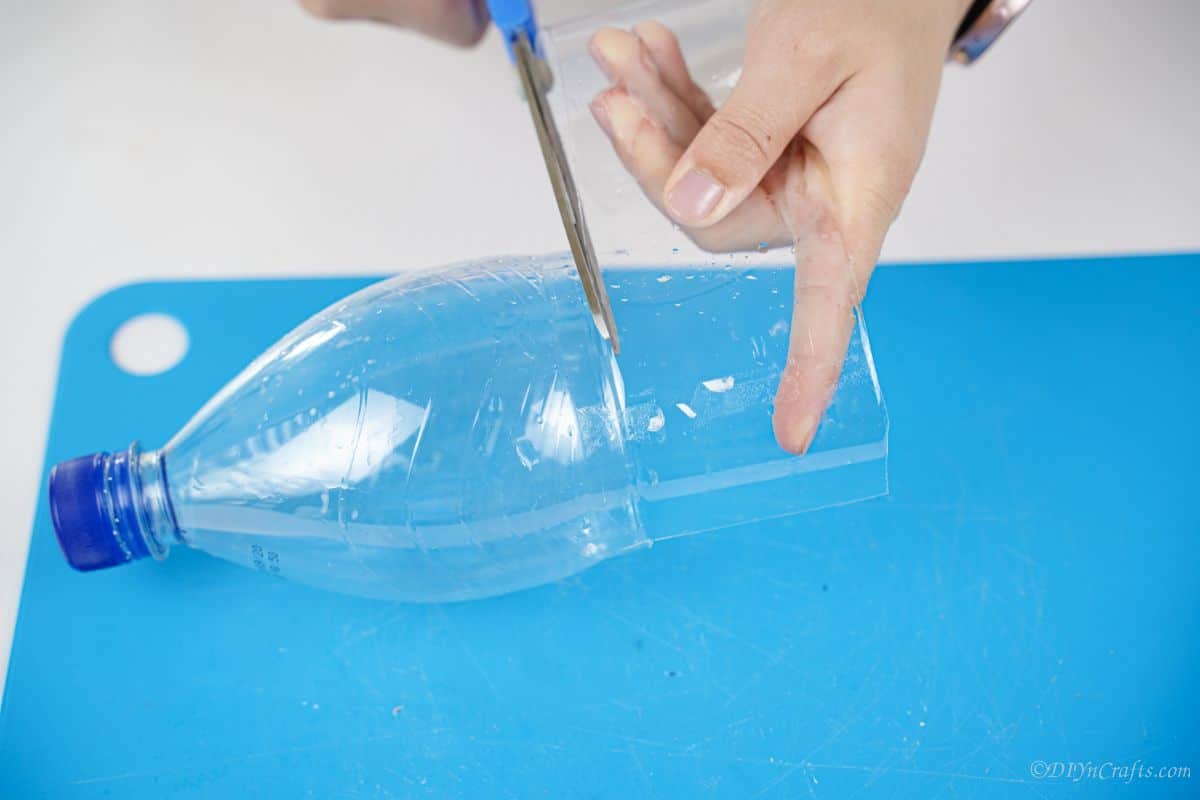
- Using the flat middle piece, cut two equal strips around 1″ wide.
- Curl those two pieces around on one end to create an antenna for the ladybugs.
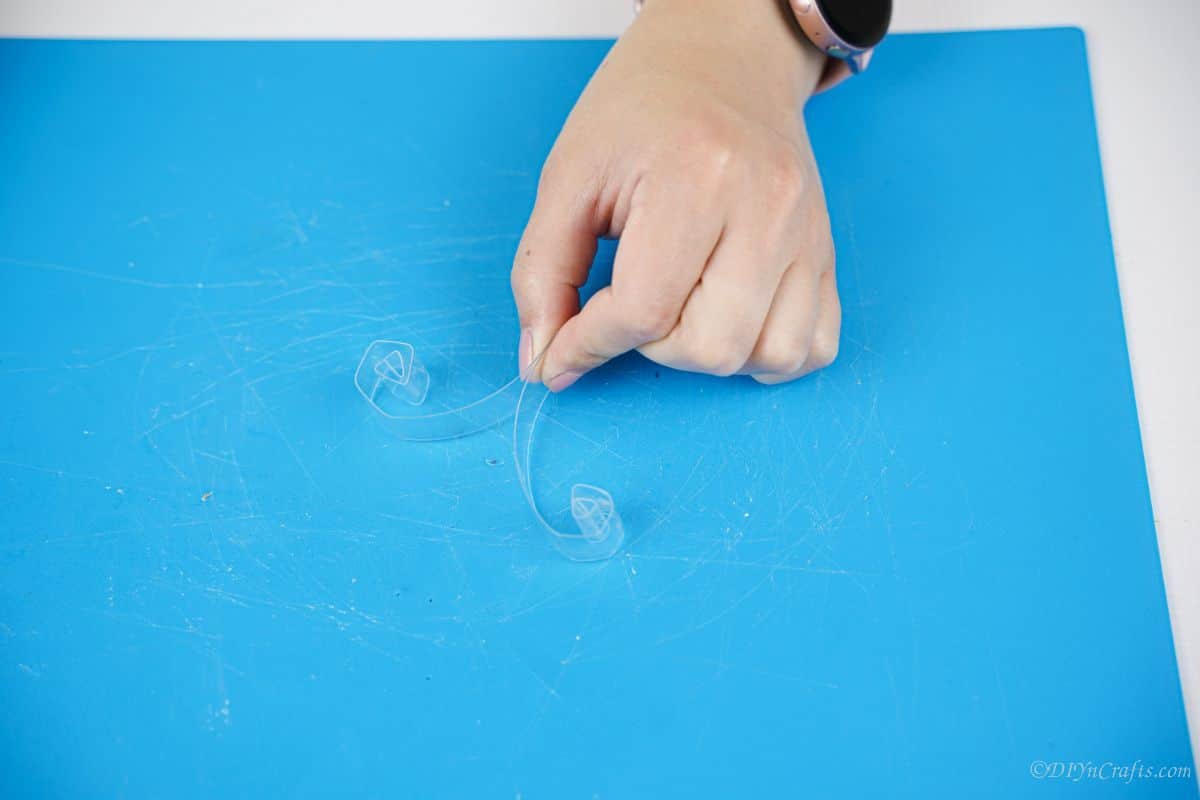
- Now, cut just below the top/lid portion and remove that, and set it aside.
- Cut the top half of the water bottle that remains, in half along the side, creating two larger pieces.

- Use a marker to draw a neck and body shape for the ladybug, as shown.
- Repeat this with the other side of the top of the bottle, then cut out the two “wing/neck” shapes and set them aside.
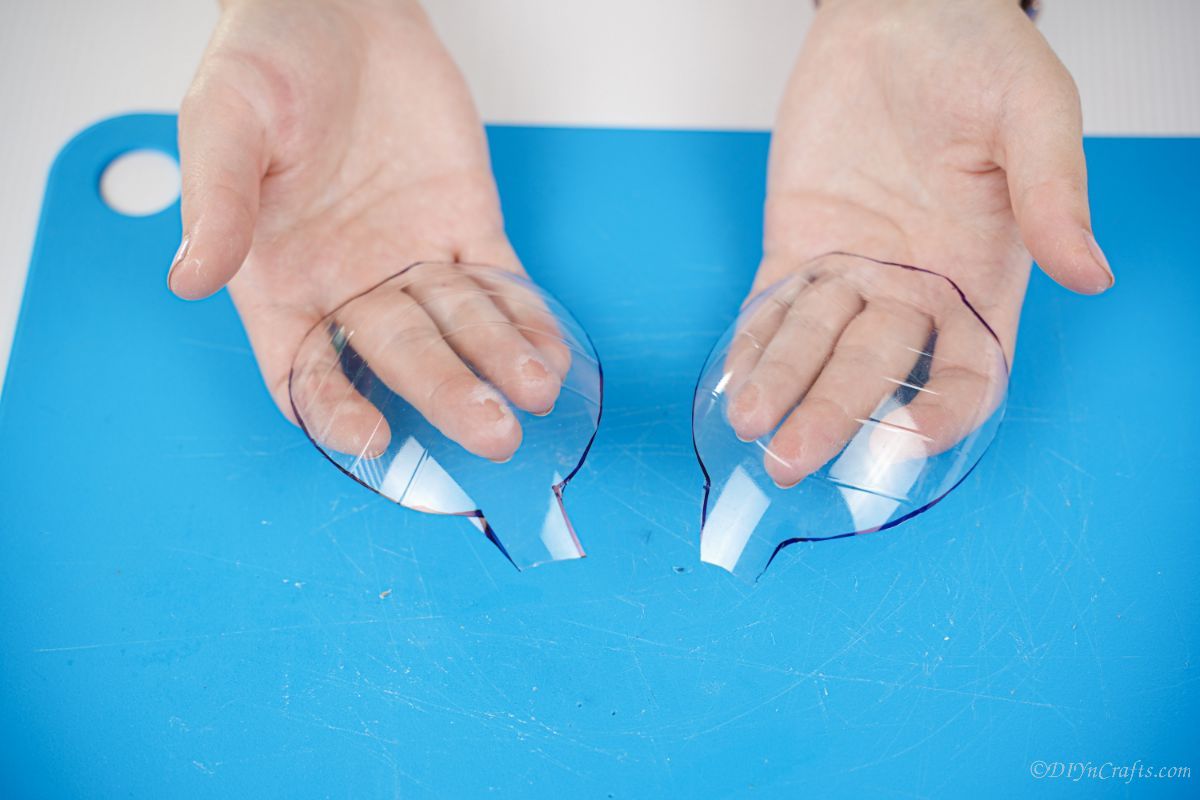
- Turn the bottom of the bottle upside down so the bottom is on top, then spray paint it completely red and set it aside.
- Spray the two wing shapes red and set them aside.
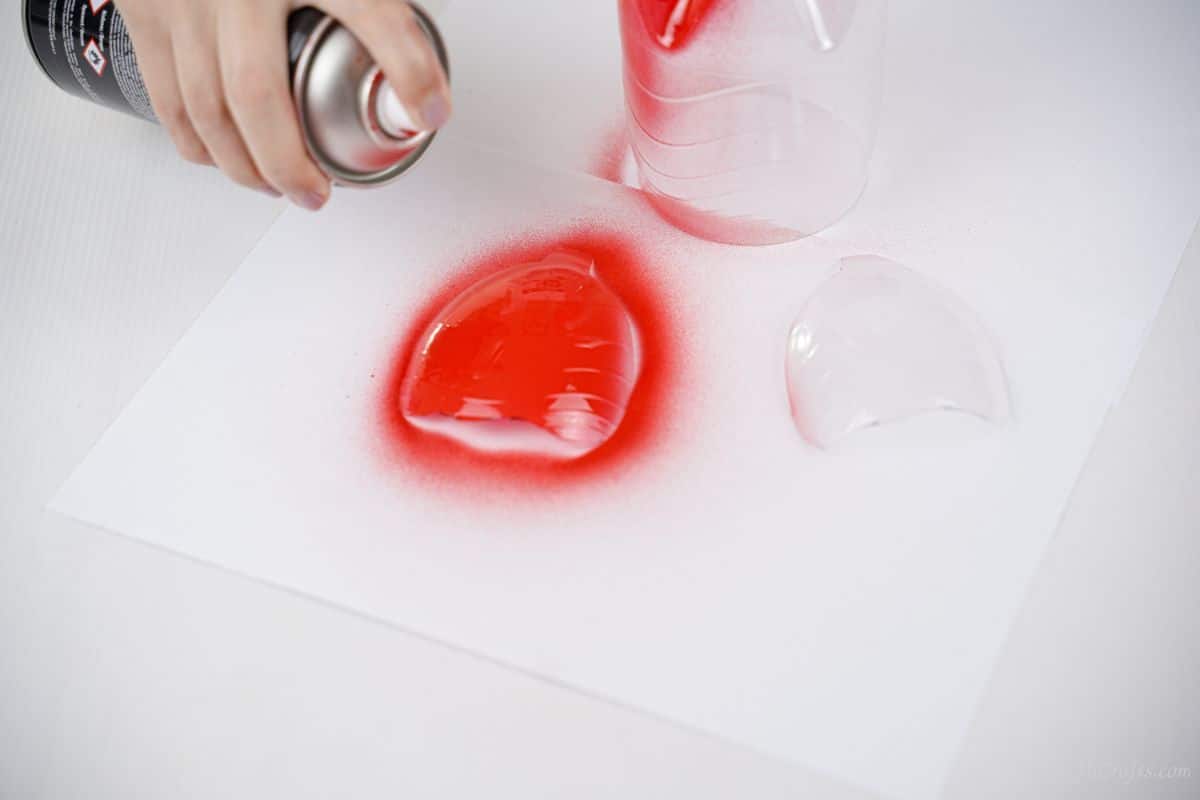
- Now spray the lid to the bottle as well as the two antennae black. Let all of these dry completely.
- Once the base has dried, use painter’s tape to separate leaving the middle of the piece red, and the tape on both ends leaving 1 1/2″ to 2″ on the other side of each piece of the base around the tape.
- Paint these open spaces, not the center of the base, black, and let them dry completely.
- On the dry wings, use the black marker or paint pen to create dots all along the wings to resemble a ladybug.

- Once everything is dry, remove the painter’s tape from the bottle.
- Now, use a soldering iron or similar item to punch a single hole on the top, open side, of the base.
- Do the same thing to the top narrow end of each wing and the flat/not curled end of the two antennae.
- String jewelry wire through a washer and tie it in place around the middle with 4″ lengths of wire on either side.
- Now, push the wire through the inside of the base hole so the wire is on the outside of the bottle.
- Separate the wires and push the antenna, then the wings over the wire on each side. Tie or twist the wire on top and trim off any excess.
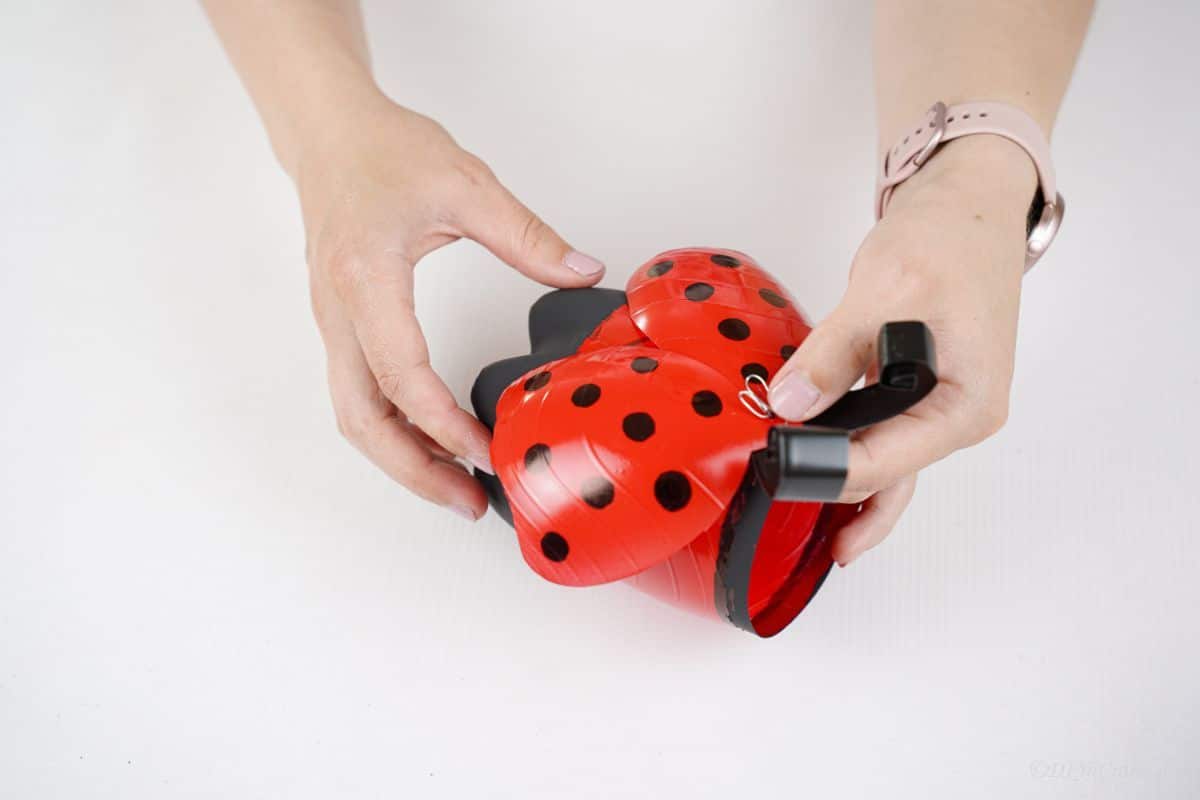
- Glue the painted bottle cap/lid to the top side of the base covering where you just tied the wire.
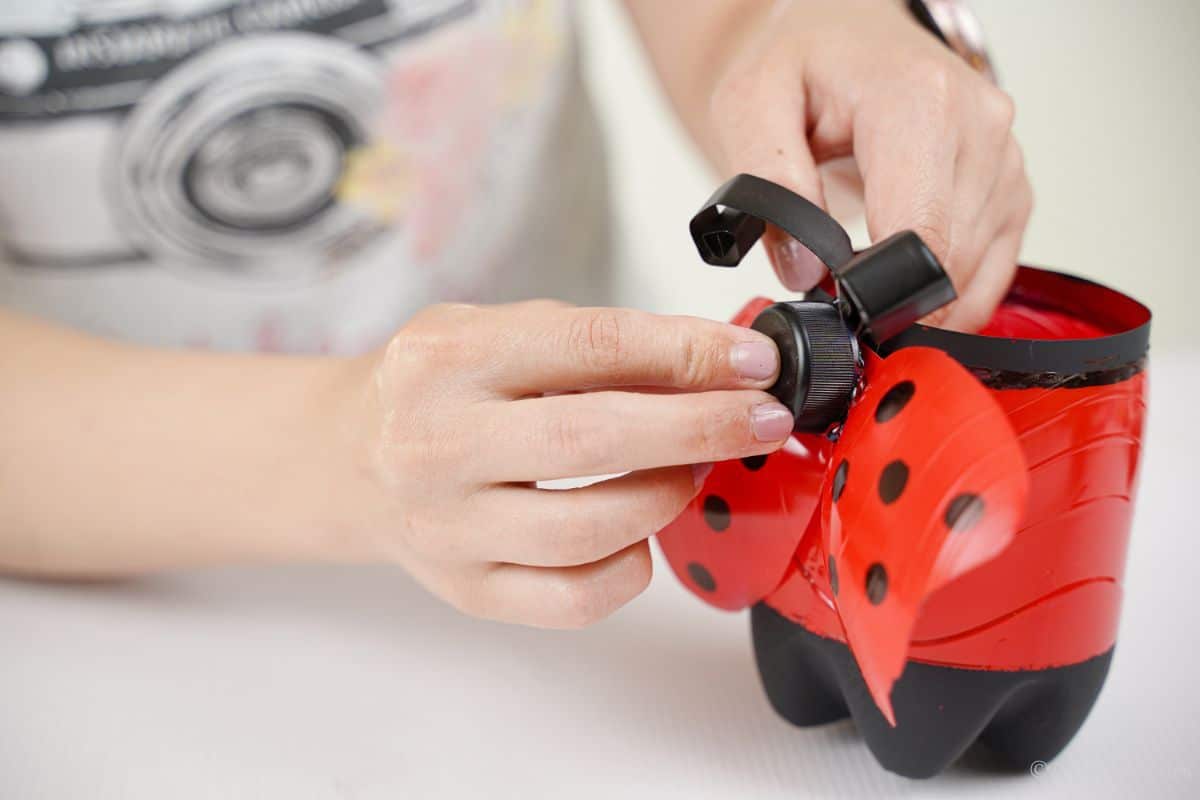
- Now, glue googly eyes onto the bottle cap to create the face.
- Fill with a potted plant and display it!
Notes
If using for real plants, make sure to add holes in the bottom of the planter for drainage.
Recommended Products
As an Amazon Associate and member of other affiliate programs, I earn from qualifying purchases.
Finished Project Gallery
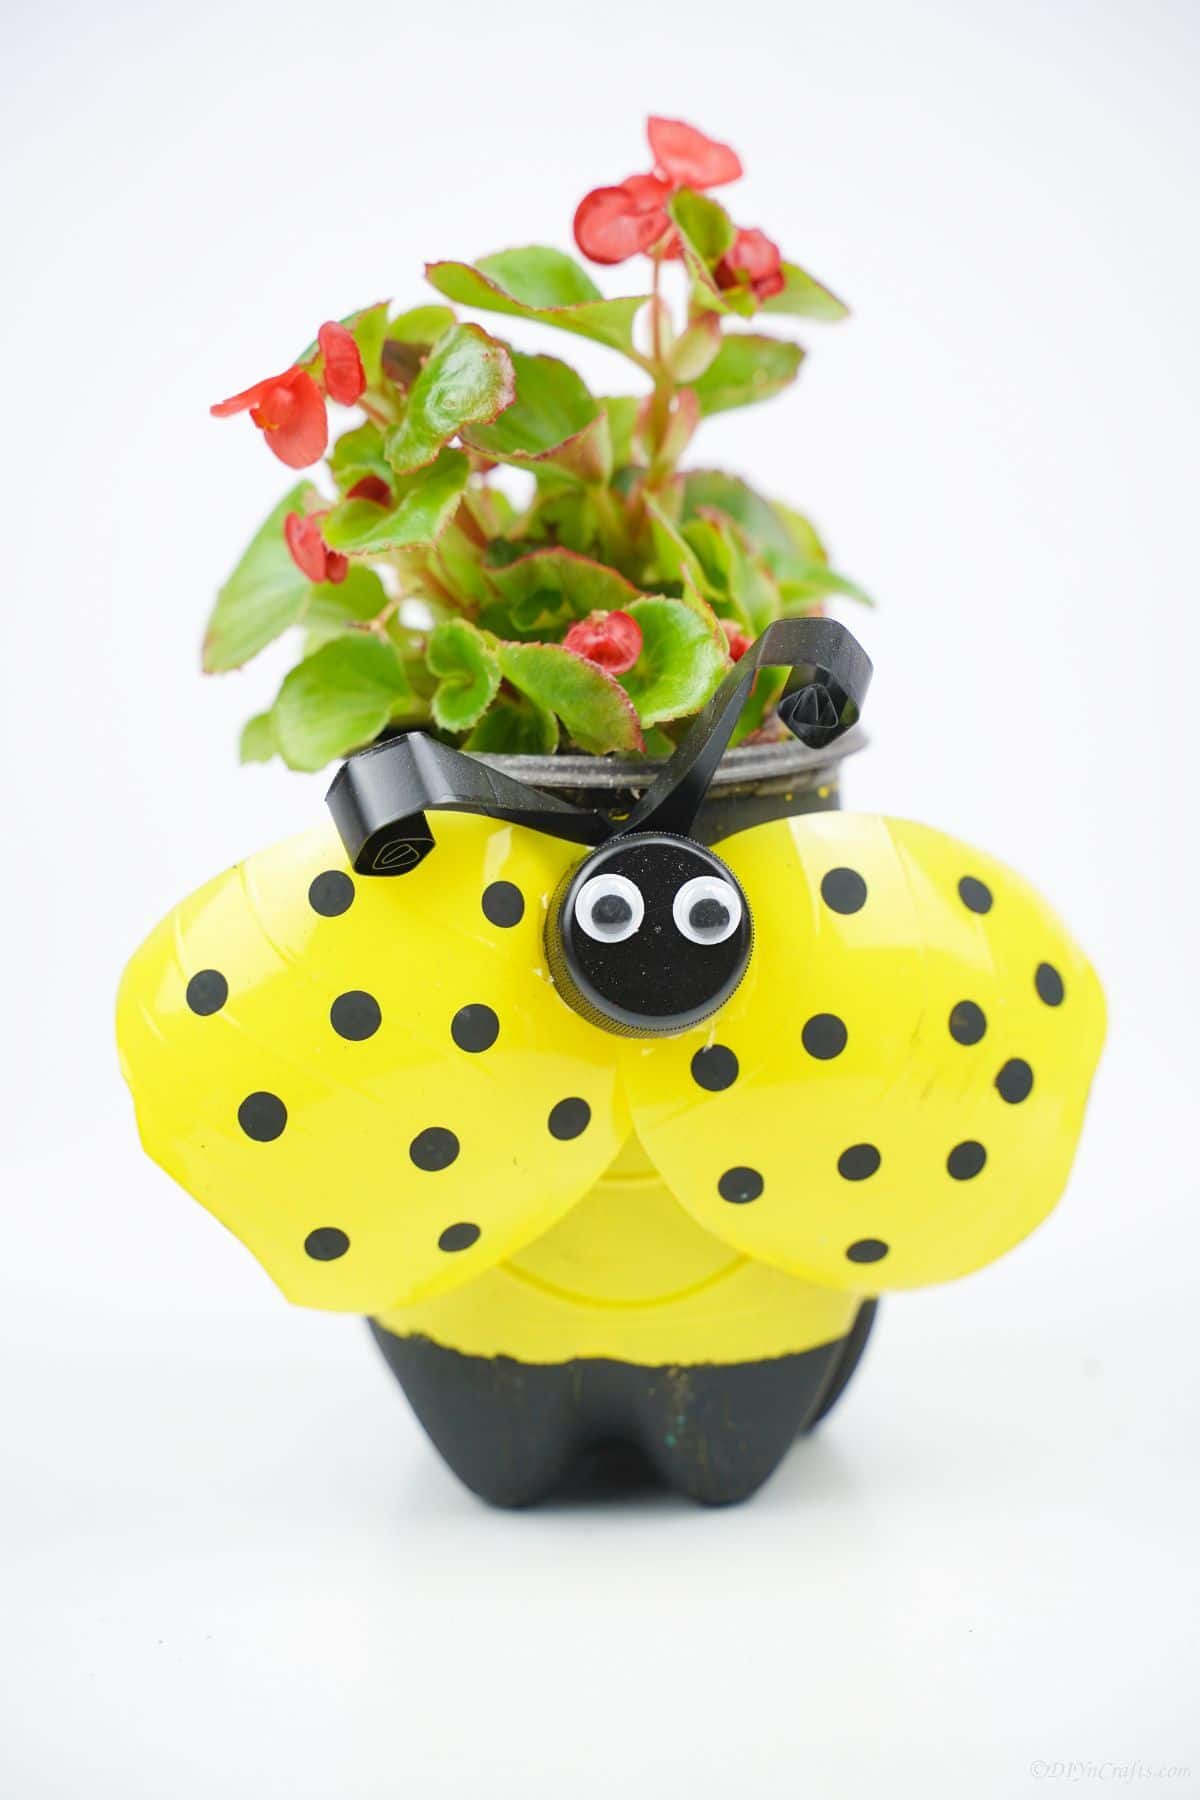
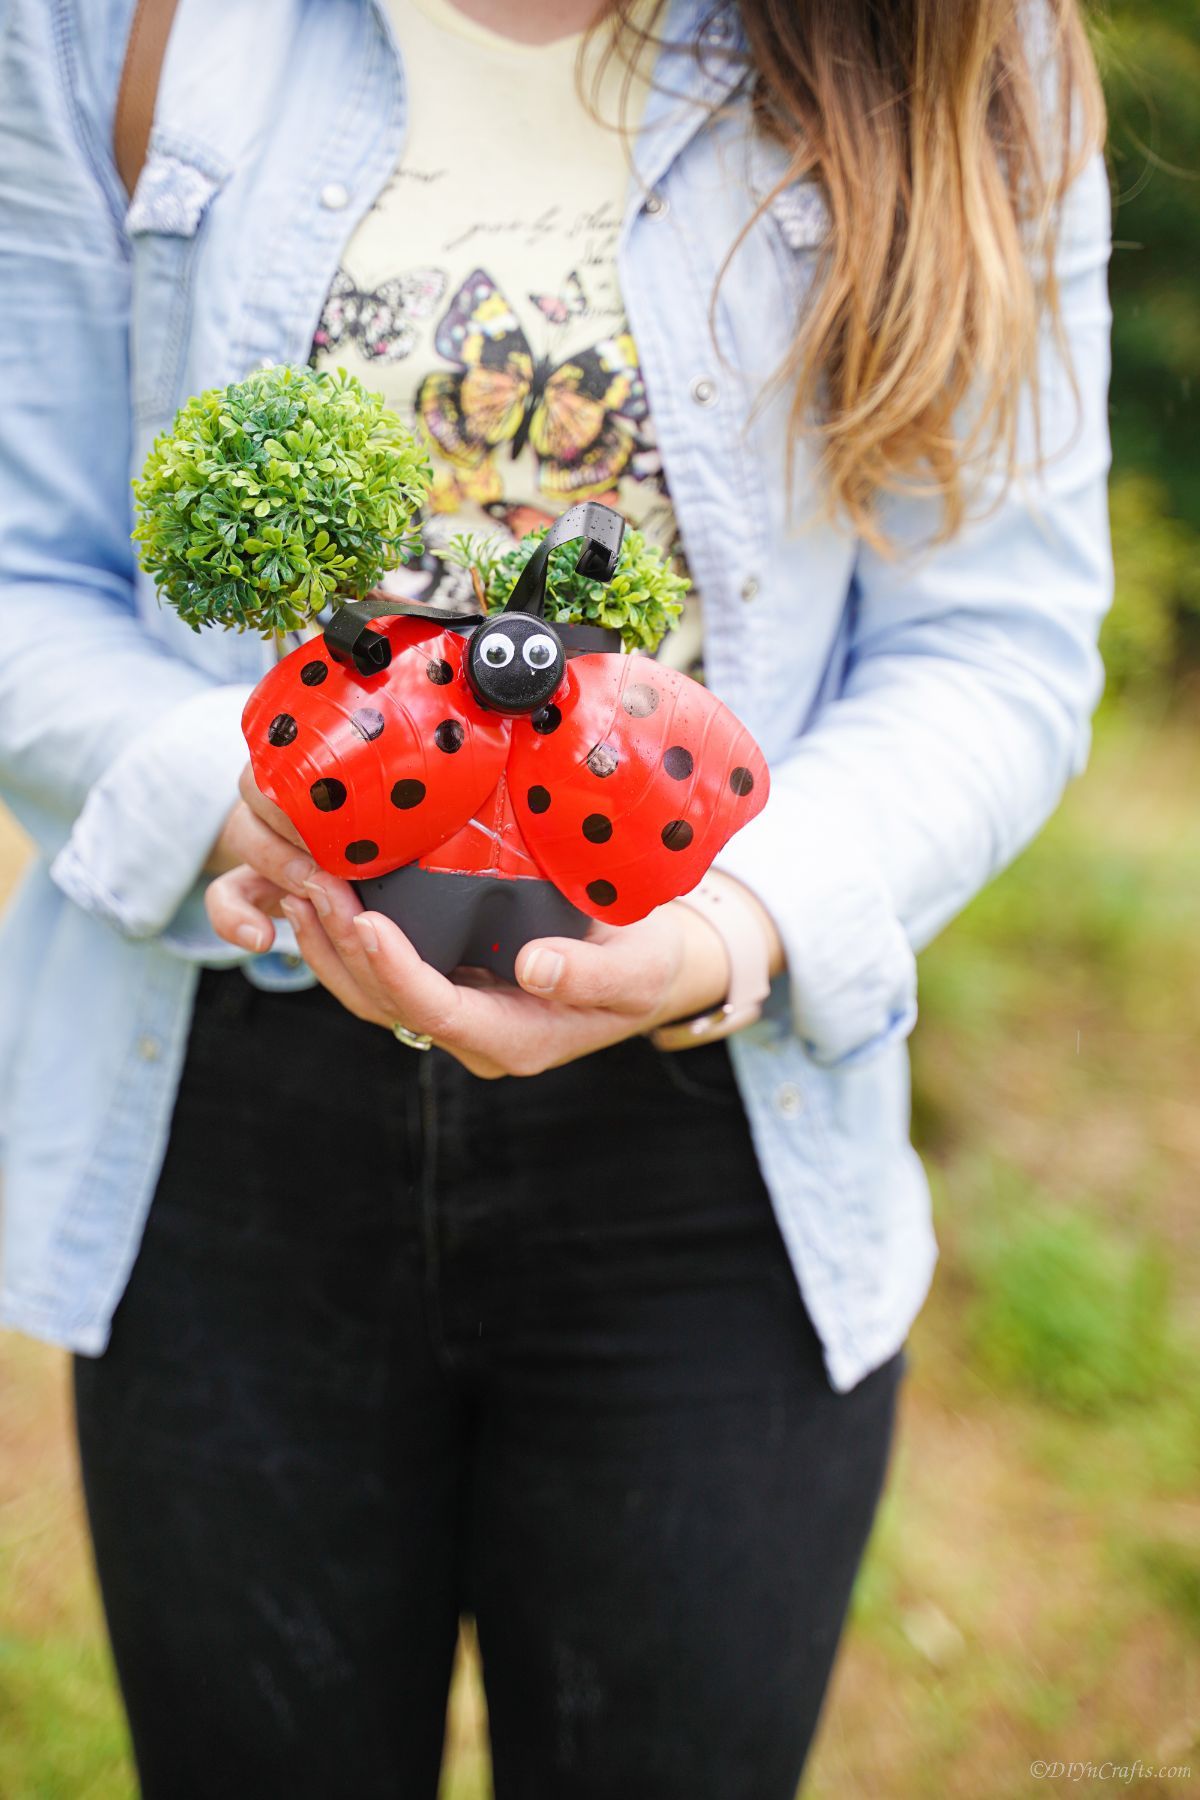
These can be painted any color you prefer, but red is the classic favorite!

Fill with dirt and a live plant, or just tuck a small potted plant inside each one.
[ad_2]
Source link

