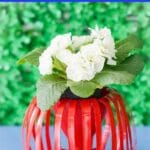
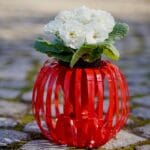
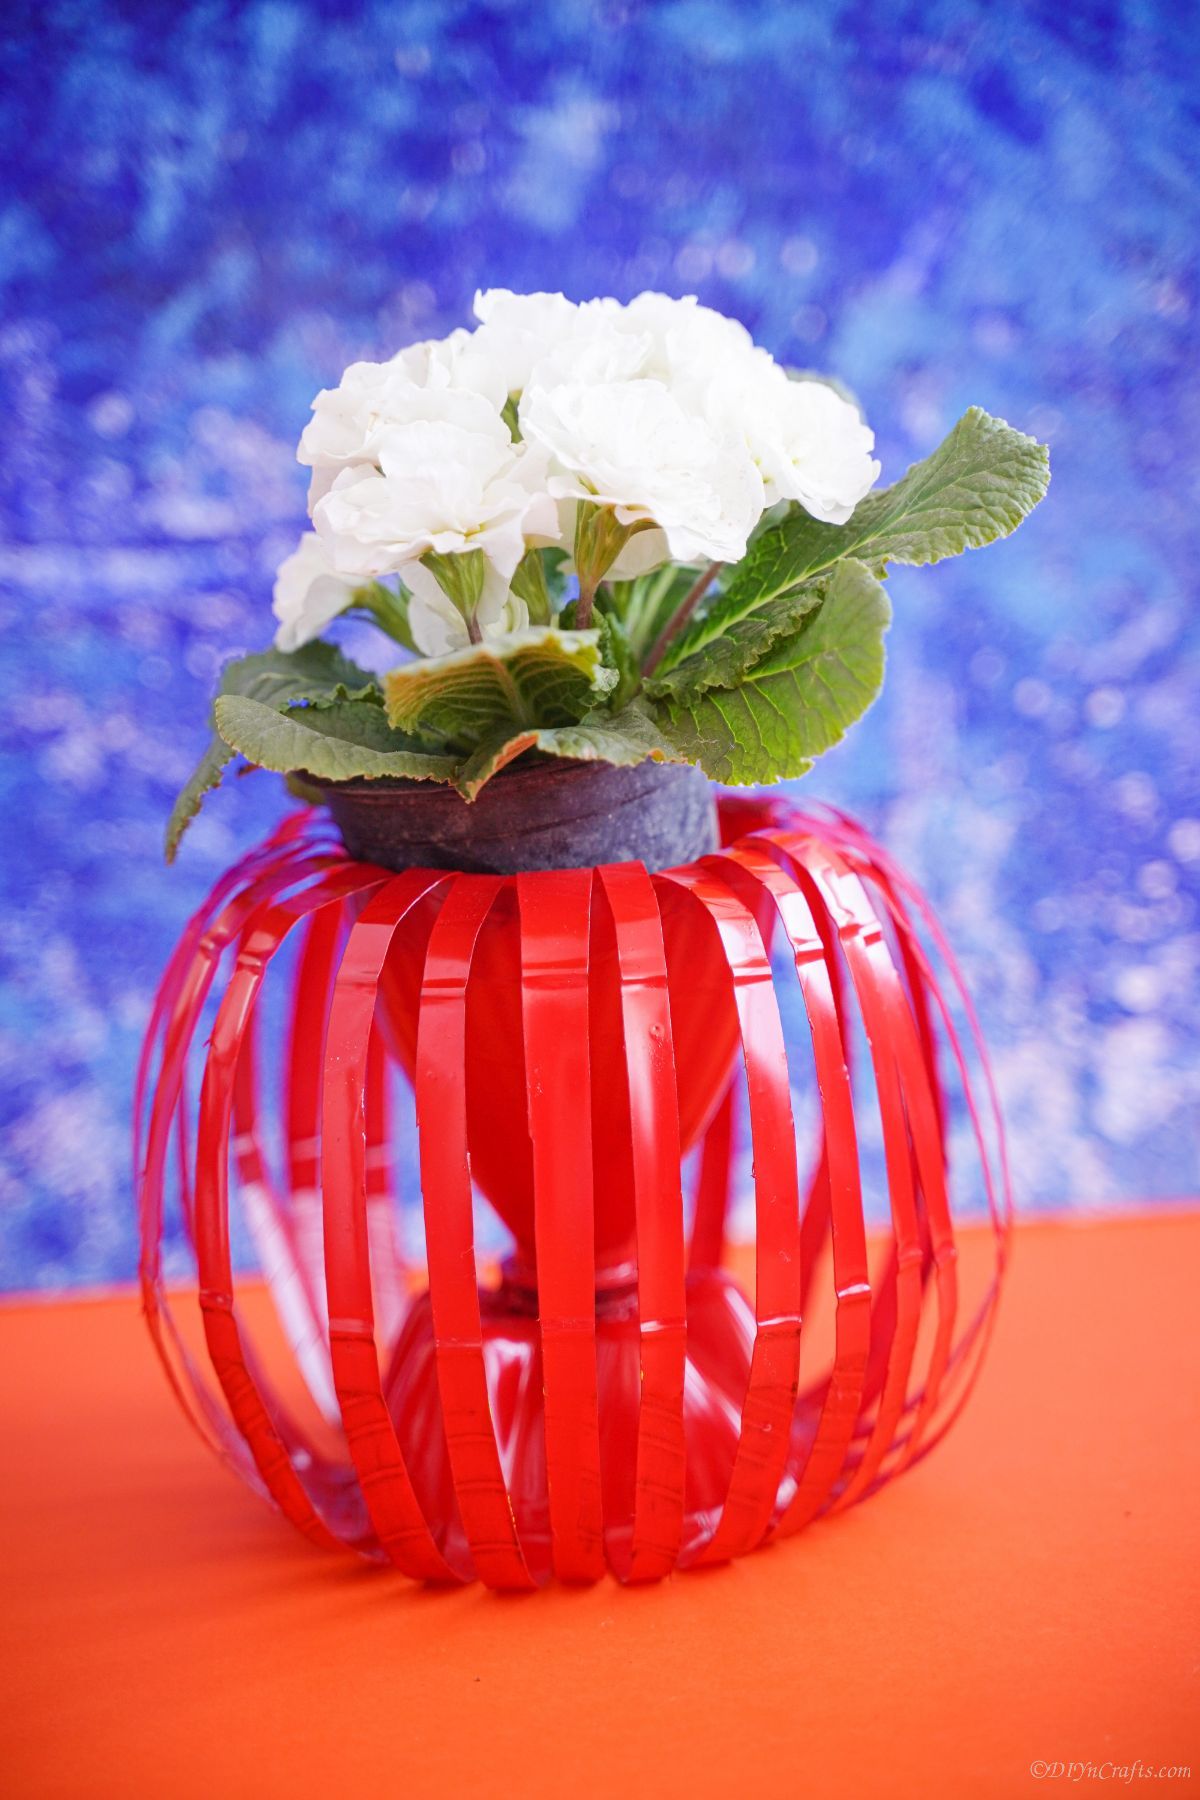
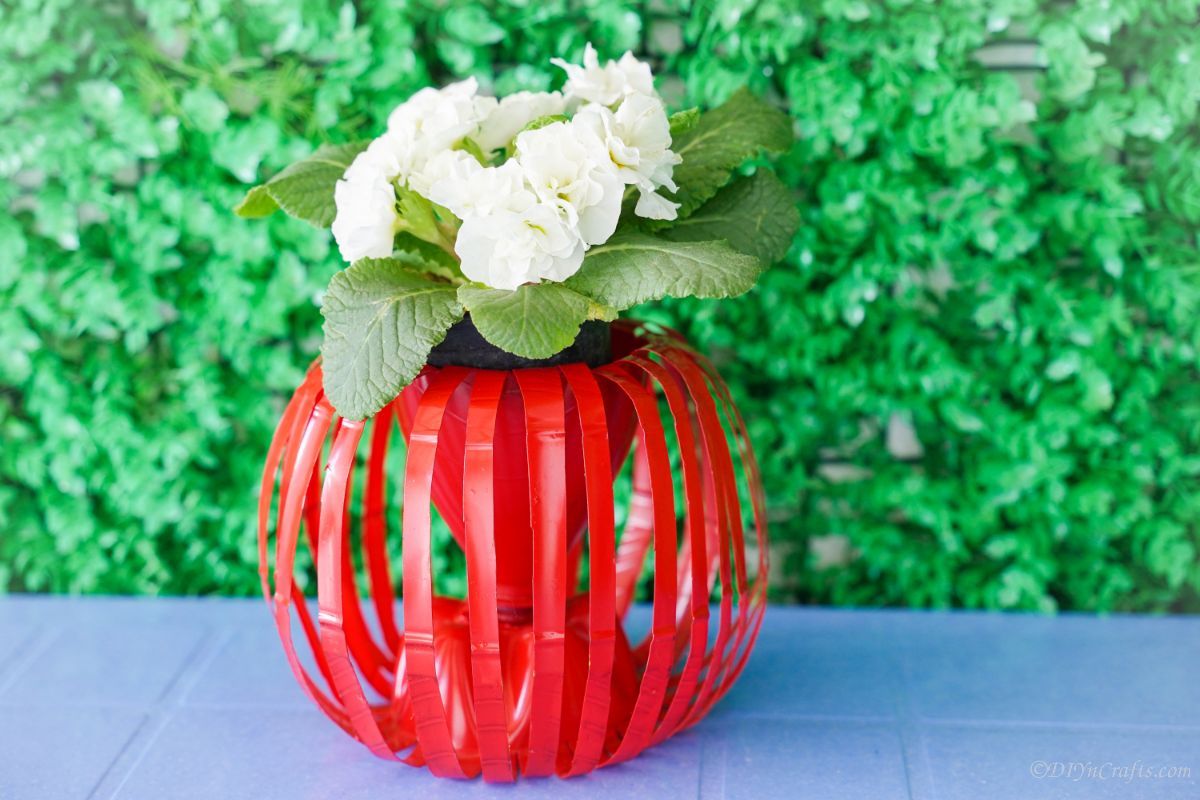
Looking for a fun, eco-friendly project to do this weekend? This unique globe-shaped water bottle flower planter is perfect for anyone who loves gardening and upcycling. It’s easy to make and you can use any type of recycled water bottle. Plus, the finished product looks great in any room of your house because it can be customized with any color!
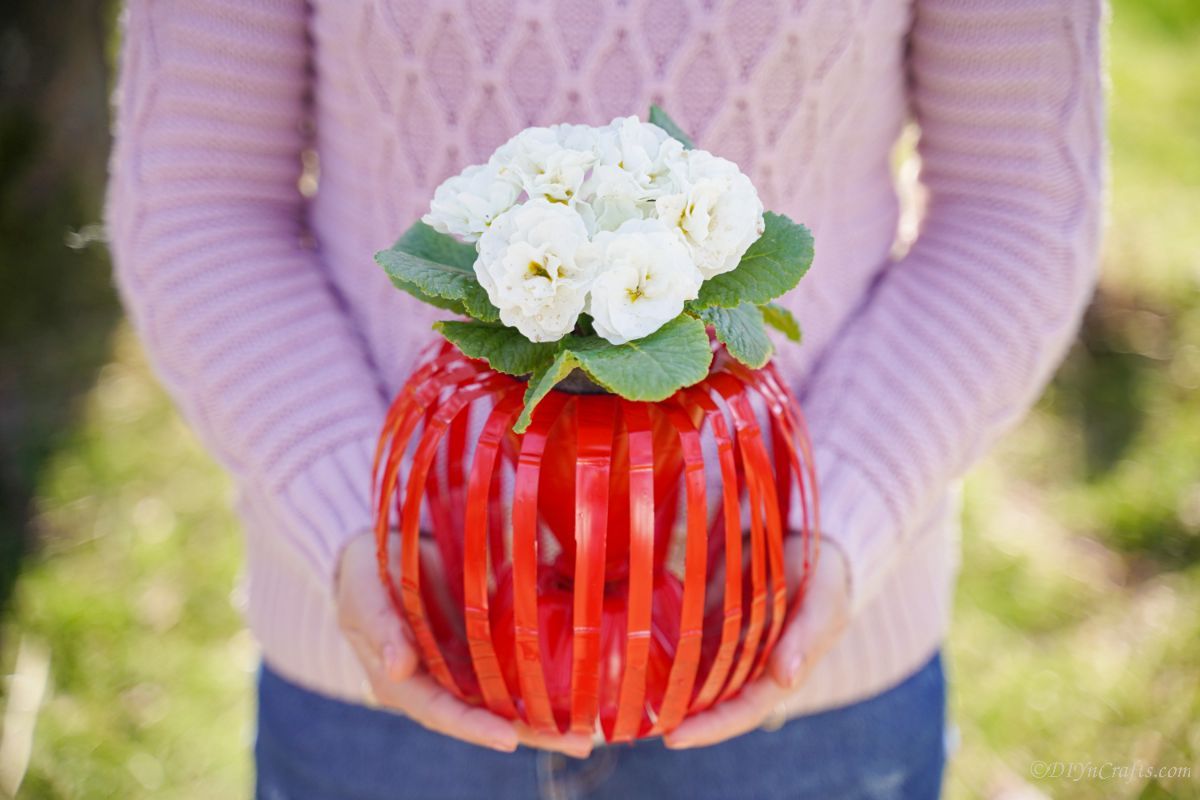
Water Bottle Flower Planter
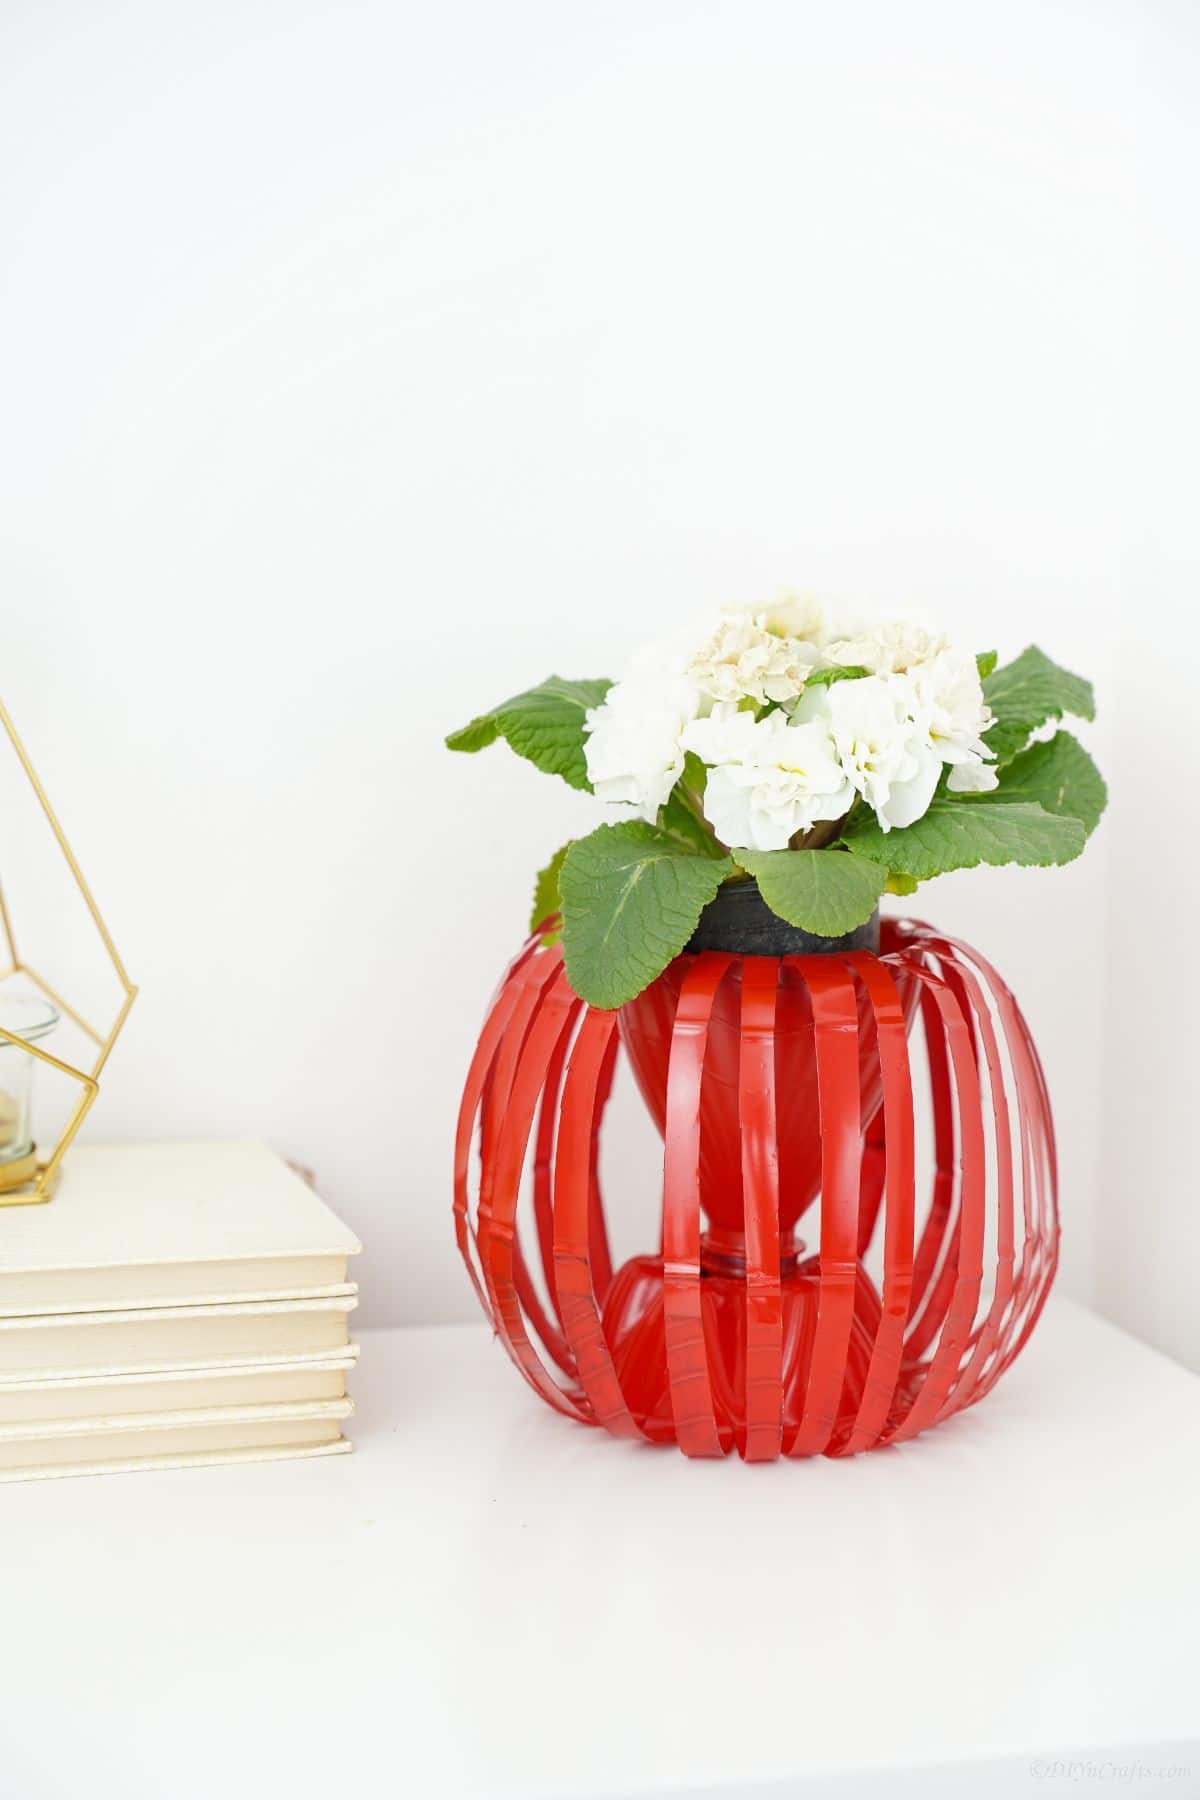
When you are looking for a stylish and modern way to spruce up your home or office decor, check out this DIY planter. You are going to love how simple it is to make using recycled water bottles. This charming planter is a great way to add a pop of color and personality to any space.
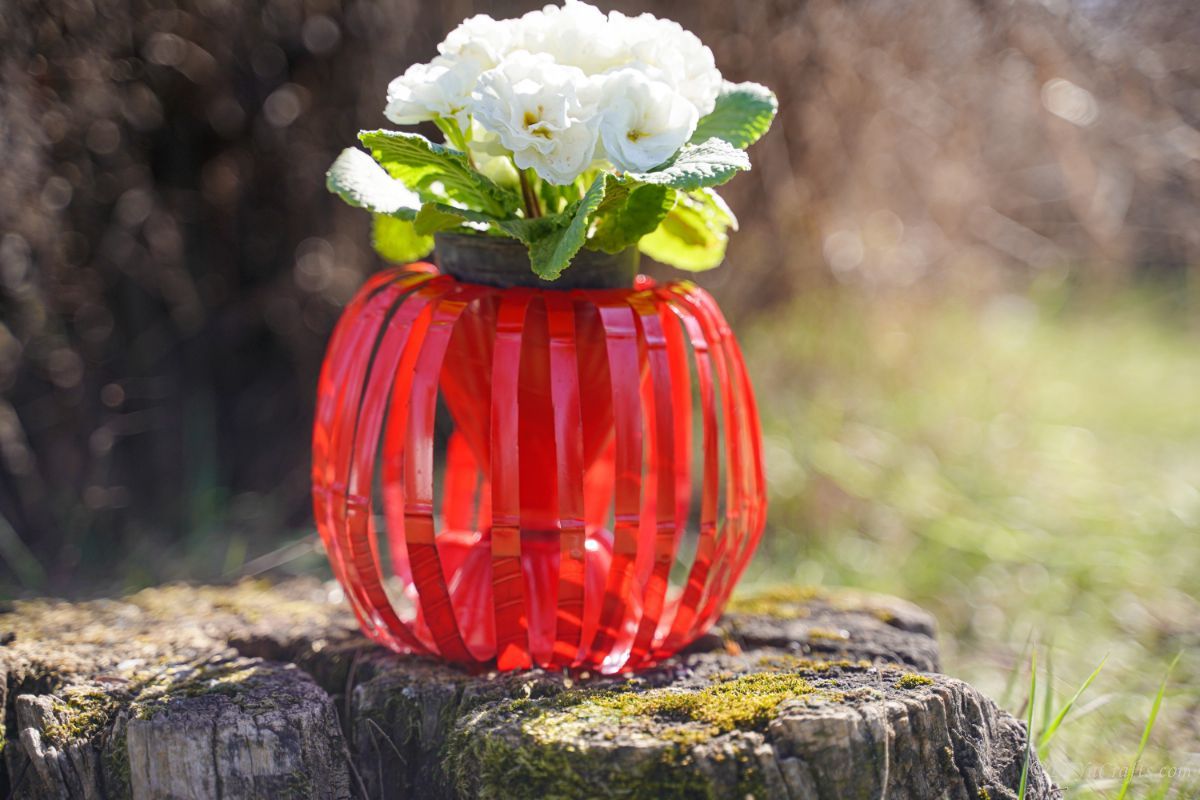
Perfect for both indoor and outdoor use, this upcycled bottle planter is a unique and eco-friendly way to display your favorite plants or flowers. Whether you place it on your desk at work, on your kitchen windowsill, or on your patio table, this eye-catching planter is sure to make a statement.
Similar Project: Colorful Upcycled Plastic Spoon Butterfly Craft
You might also like this paper straw floating planter is another fun addition that offers whimsy and uses items you already have on hand!
What’s the Safest Way to Cut Plastic Bottles?
I like to use a pair of scissors when I cut plastic bottles. I feel like there is less chance of cutting myself. However, when you start making it, you may want to use a knife for precise marks before you cut through the sides.
If using a crafting knife, I recommend one that has a solid grip like a craft knife such as the Exacto knife. You may be able to use a rotary blade cutter or just a regular pocket knife, but both of those have more potential for cutting your hand in the process, so I would typically avoid them.
What Paint Is Best For Use on Empty Water Bottles?
I like to use spray paint when I am painting water bottles. It is the fastest and easiest way to paint them. However, spray paint doesn’t work well when it comes to adding details. If you want to add small or specific details, you will want to use acrylic paint. You can add a lot with craft paint and a small paintbrush for things like flowers along each strip of plastic.
Similar Project: How to Build a Wood-Fired Outdoor Cob Oven for $20
If you find that the paint isn’t sticking well to the plastic water bottles, you can use a bit of sandpaper on the water bottle to help it stick. Roughing up the surface lightly helps the paint stick instead of sliding right off the plastic.
How Can I Make My Flower Planter Unique?
One great way to make your water bottle flower planter unique is to add some color. You can use spray paint or acrylic paint to add a pop of additional color. This is the easiest way, but below are a few more simple ways to make your planter truly unique.
- Use a stencil or small paintbrush to add accents like polka dots, stripes, flowers, butterflies, or similar small items around the edge of the strips of plastic.
- Use patterned paper or fabric to decoupage using Mod Podge. It can easily transform the plastic into something totally new and unique.
- Glue on beads, sequins, or buttons to make the planter have some texture.
- Spray with glitter spray or just brush on glue and sprinkle with glitter.
Can I Use This For Live Plants?
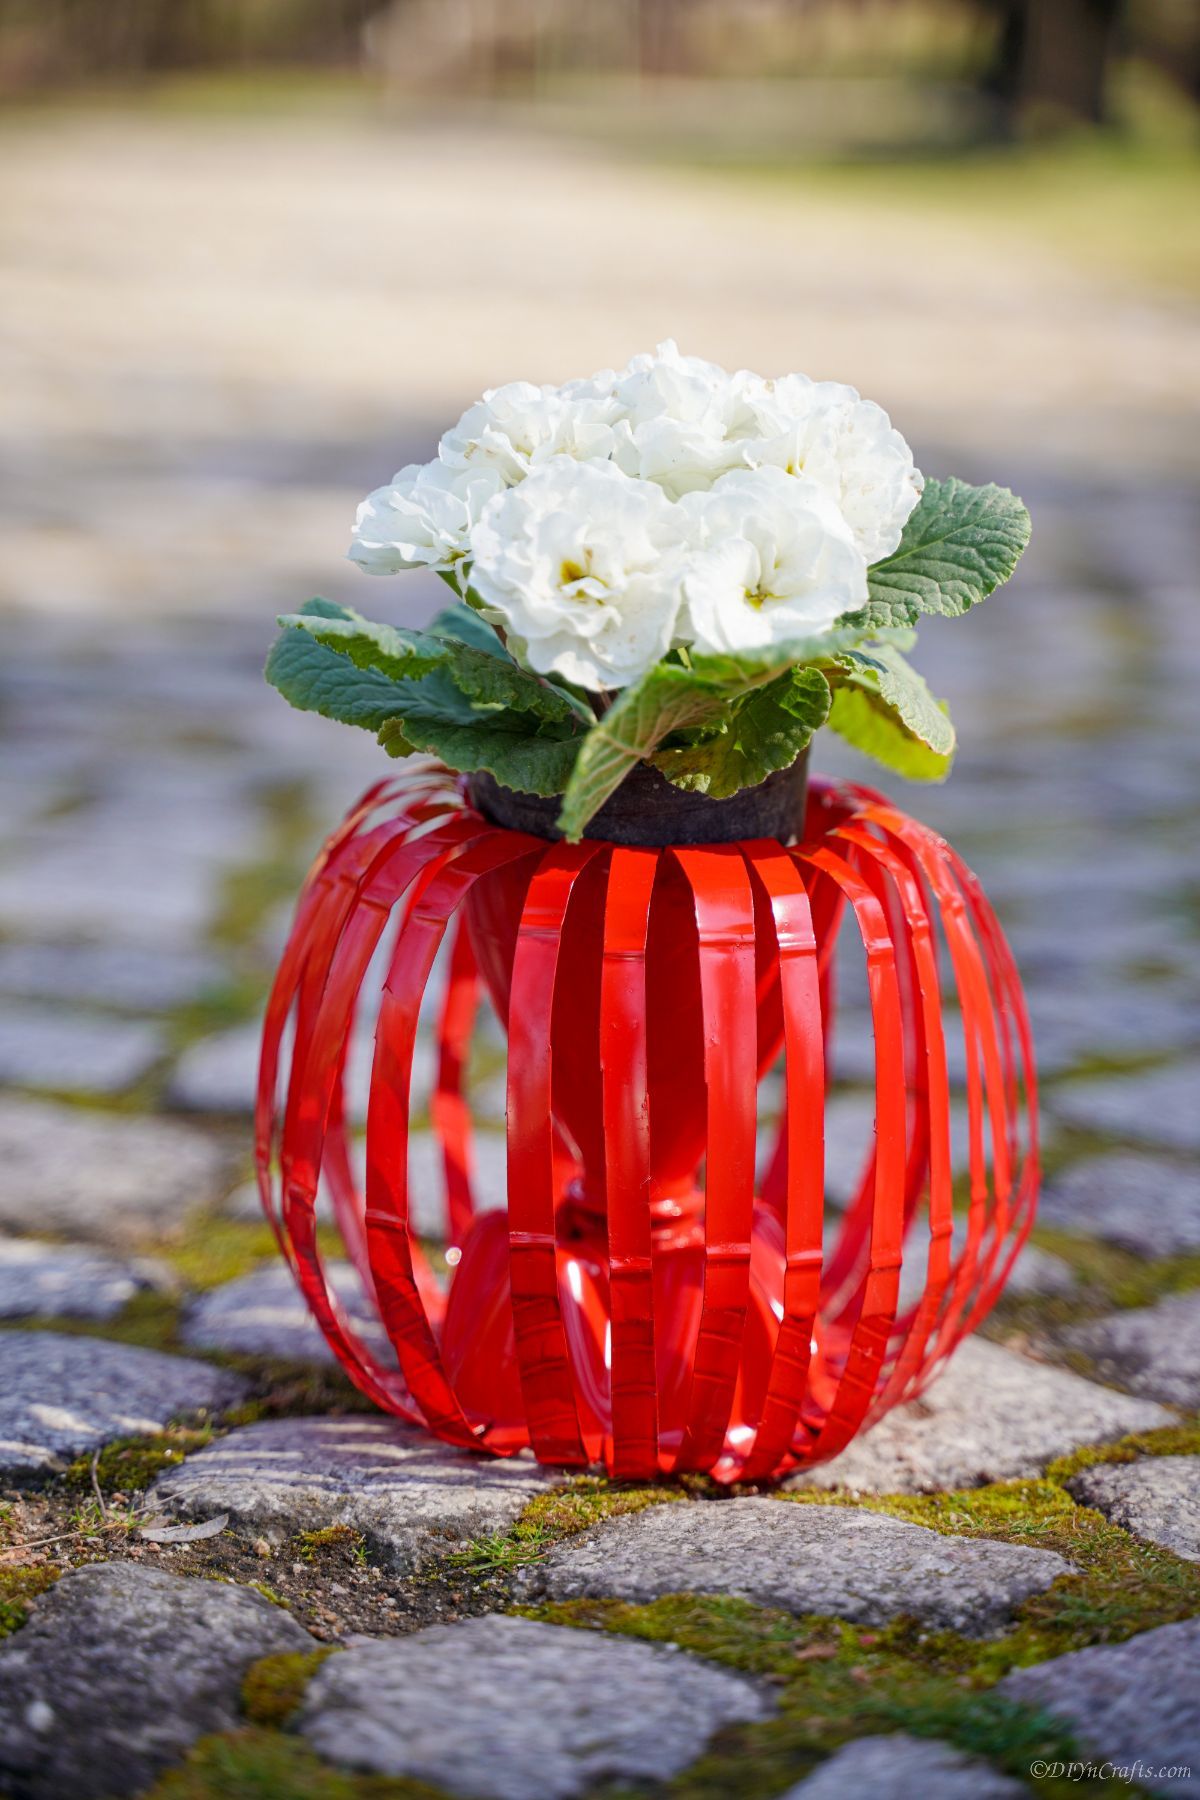
You can use live plants in this water bottle flower planter. This is small, but it can be used for a few small pieces. You will add soil to the bottom part of the planter, above the stand. Use plants that can have wet soil because it is a little hard to have drainage holes. You can also add a few pebbles under the soil, so there is space for the water to escape to rather than sit around the roots and cause root rot.
Similar Project: Decorative Spring Paper Tulips – With Video
You can also use this planter as a vase. Because it is made from upcycled water bottles, it is able to hold water for the flowers if you don’t make a hole in the lid. Or, you can just tuck fake flowers into the top so it has a pretty floral arrangement you don’t have to worry about dying any time soon.
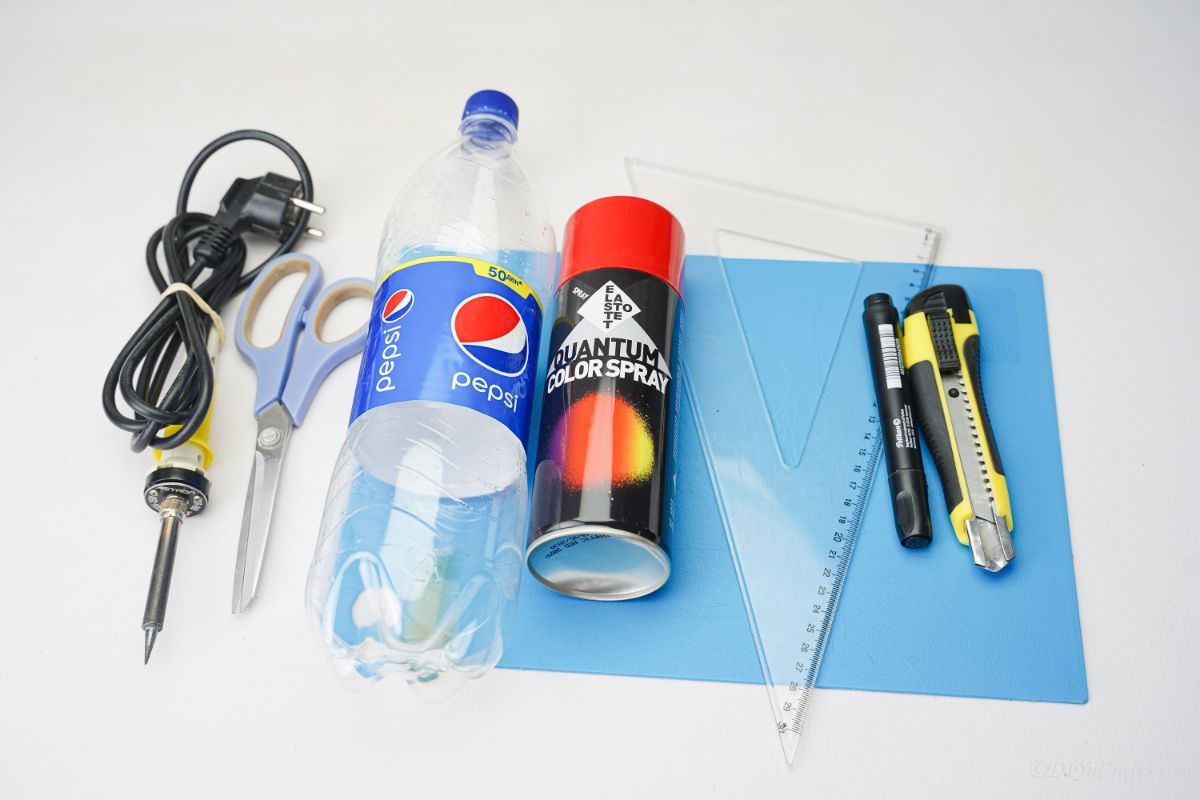
Supplies List
How to Make a Water Bottle Flower Planter
Begin your project by gathering supplies, setting out a paper mat for spraying the paint, and removing the label from your bottle(s). I also like to wash and dry the inside and outside of the bottle before I begin. Then, draw a line around the base of the bottle, about 1″ to 1.5″ above the bottom, or where the bottle stops curving and is the flat middle section.
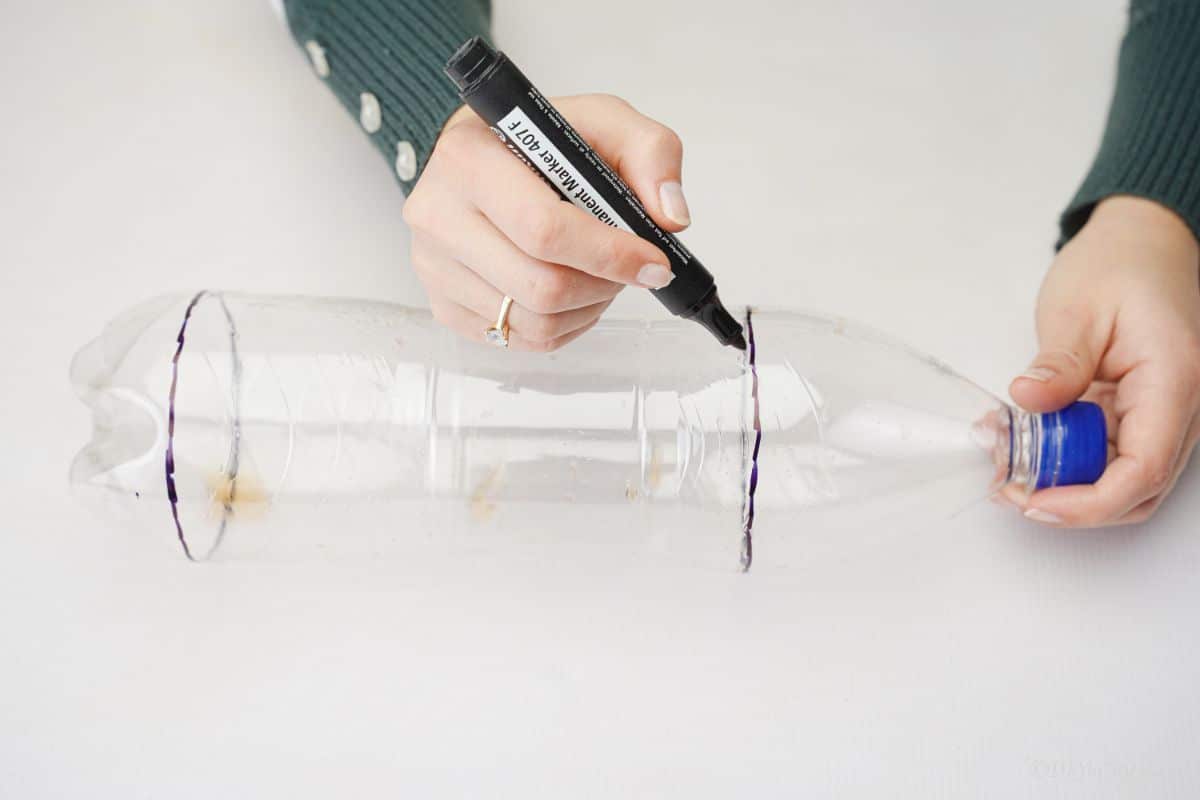
Now, draw a line around the base of where the neck starts curving. These two lines/markings are the top and bottom you will be working around. You will be cutting this sare to twist for the strips of plastic around the globe.
Now, every 1/2″, draw a line from the top circle to the bottom. It will look like pinstripes all around the center of the bottle. You can use a bottle to make sure these are straight.
Similar Project: Cute Bottle Cap Snowman Ornaments
Once you have the lines in place, use the craft knife to cut a small hole between each line. This gives you a place to stick the scissors through.
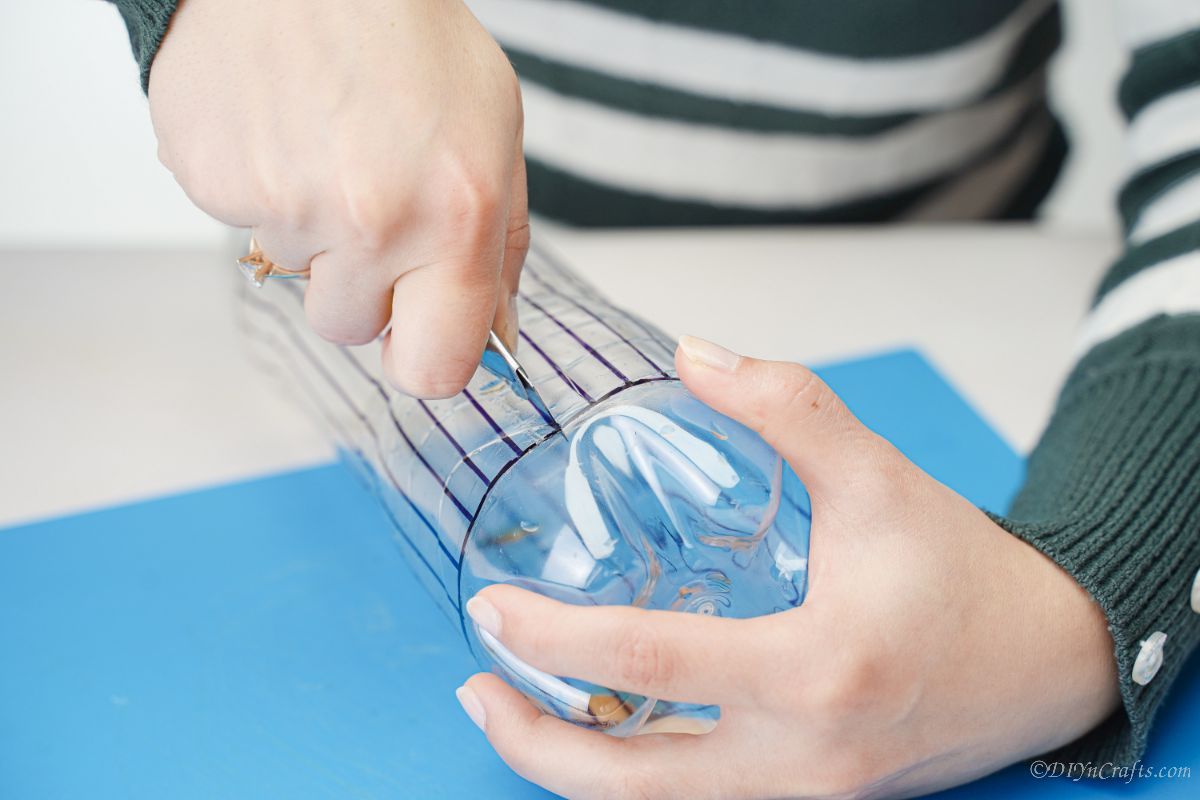
Now, slip your scissors through the hole, and cut down the length of the stripes, but do not cut it off. You simply want to cut from the top line to the bottom line, following the stripes you put in place. Do this until the bottle center is completely cut.
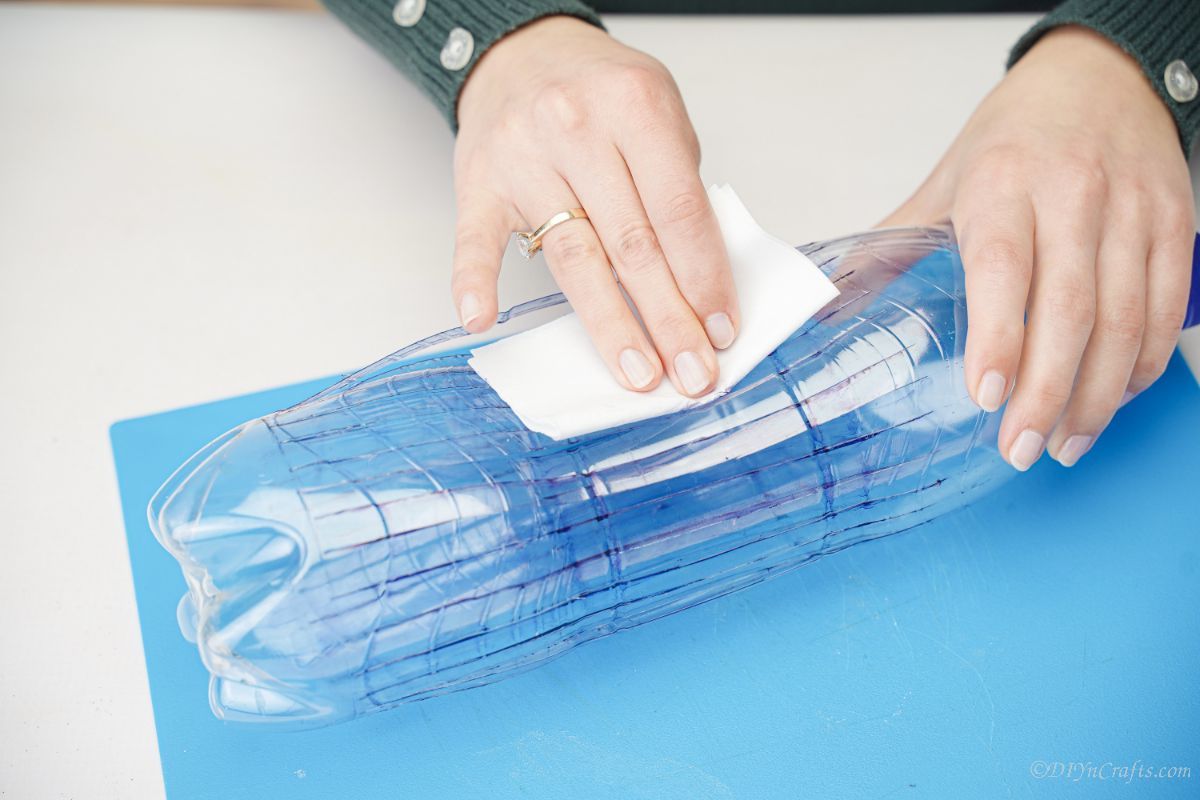
At this point, you can use soap and water or nail polish remover to rub off any excess marker left on the bottle.
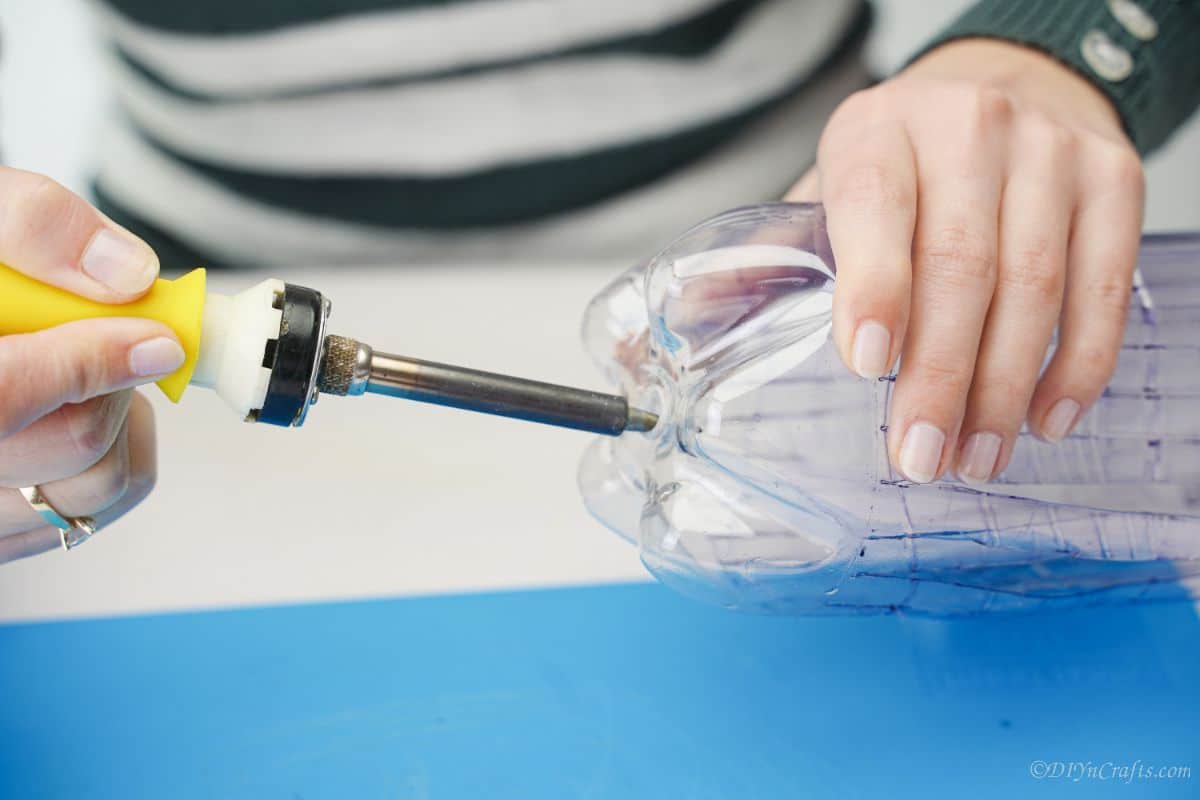
Now, use a soldering iron to cut a hole in the bottom of this bottle. You want the hole to be about the size of the lid for the bottle, but just a bit smaller.
Then, unscrew the cap and set it aside. Then, fold the top of the bottle over. Once bent halfway, tuck the top through the slits on the bottle.
Carefully twist the strips of plastic so the top is inside and it has created a globe of plastic on all sides.
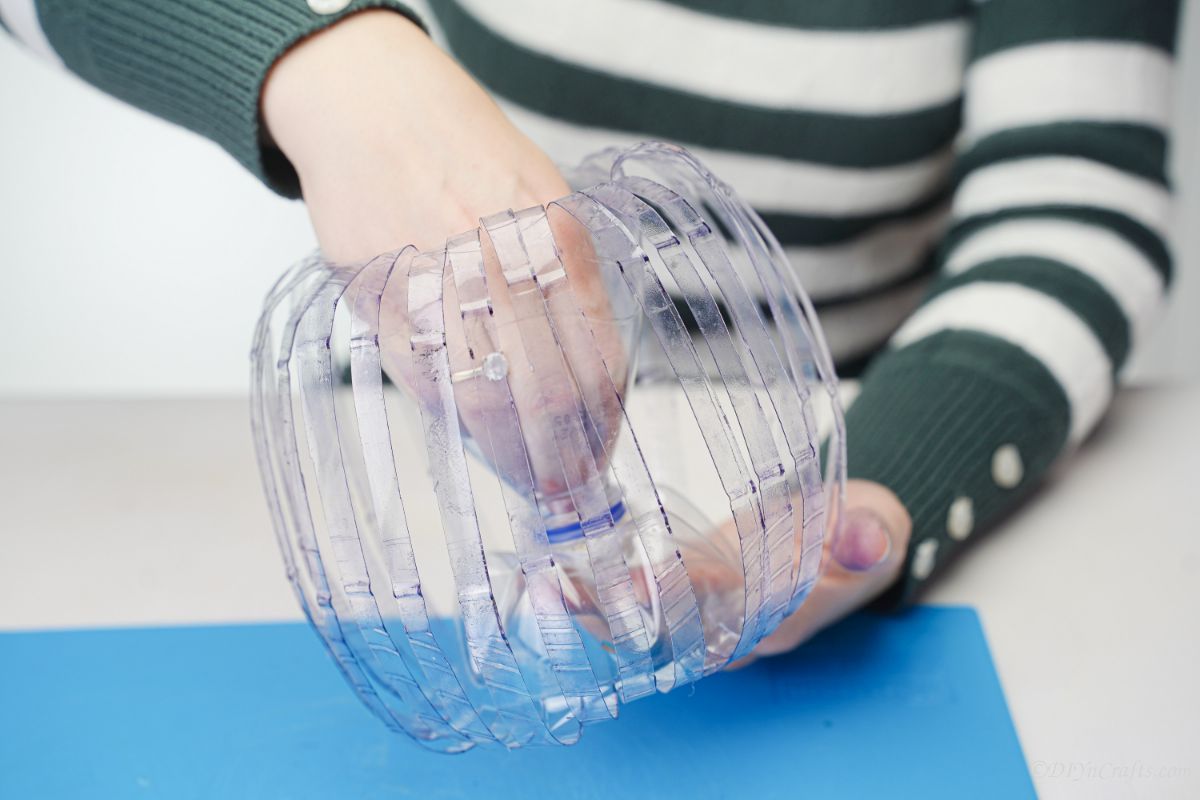
Now, tuck it in so the neck of the bottle slips through the hole on the bottom.
Add a hole in the lid of the bottle cap using the soldering iron.
Similar Project: Cute Framed Acorn Cap Squirrel Wall Hanging Decoration
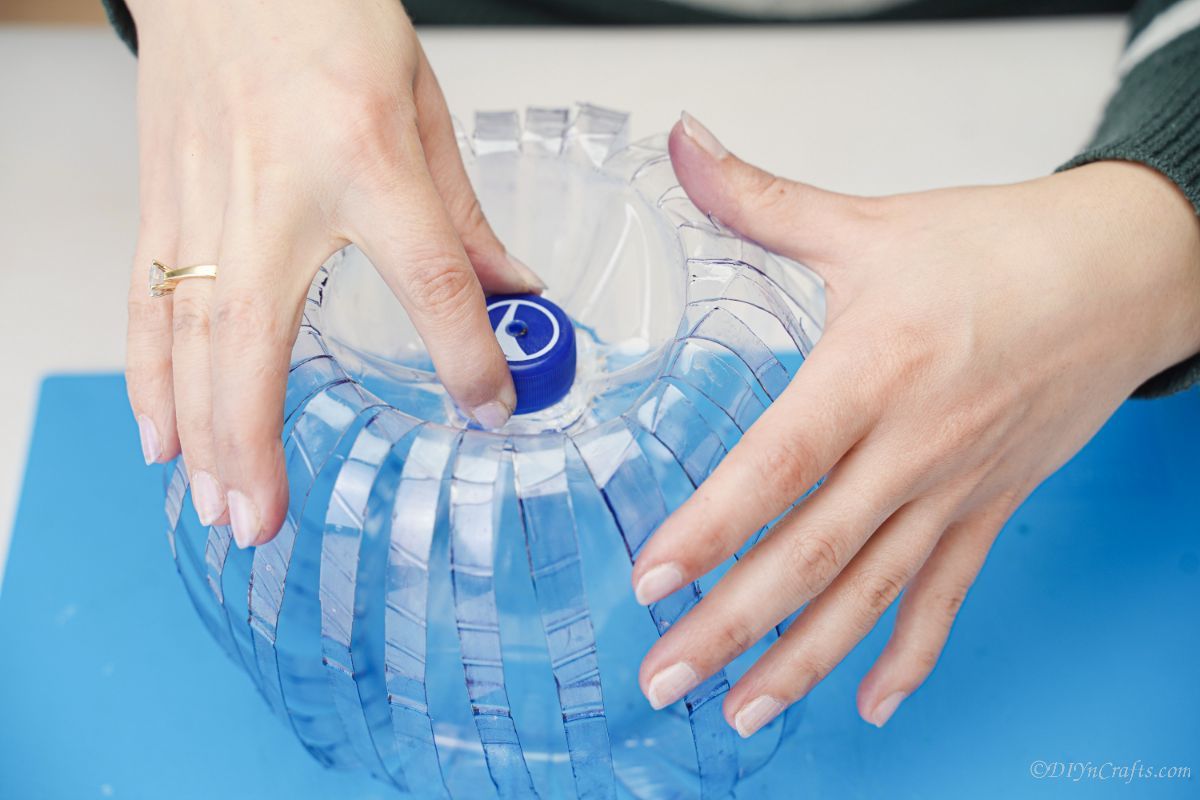
Once the hole has been made, turn this planter upside down, and screw the bottle cap over the neck of the bottle that is poking through the bottom of the bottle base.
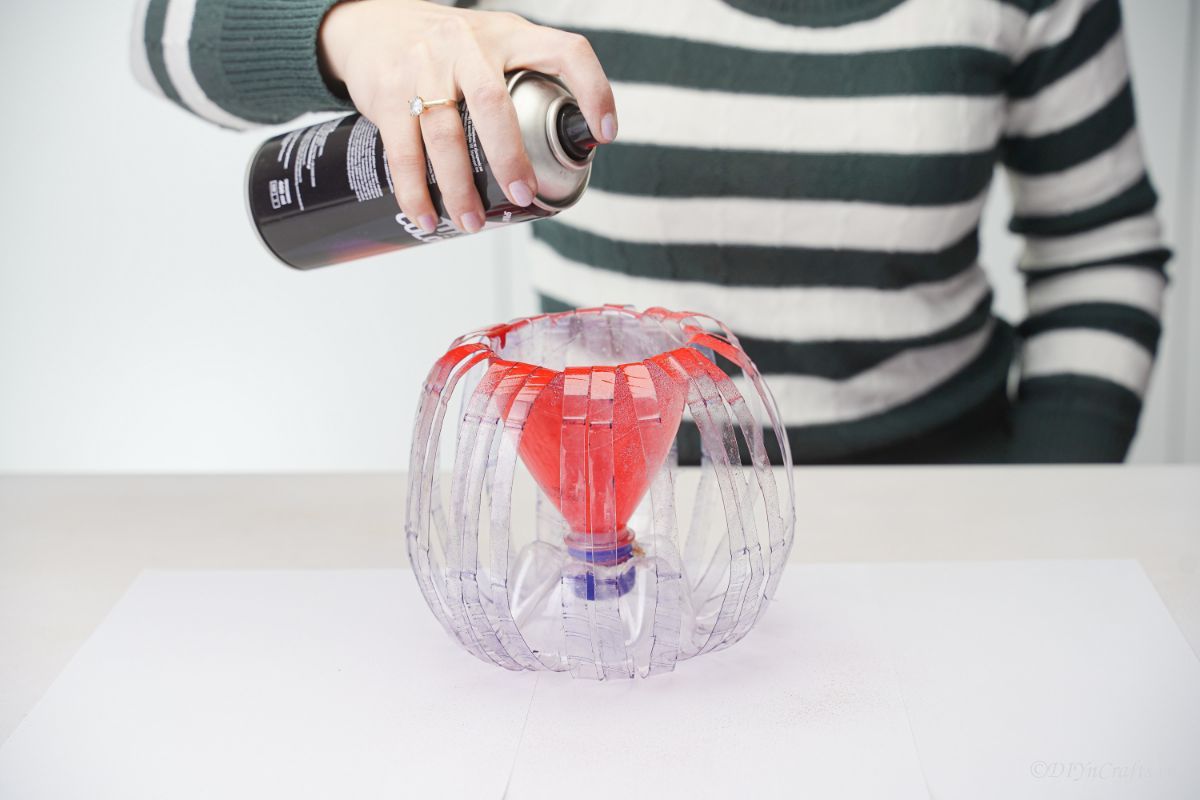
Now, spray paint your bottle coating it well, then set it aside to dry for at least 30-minutes or until the paint is dry and no longer tacky.
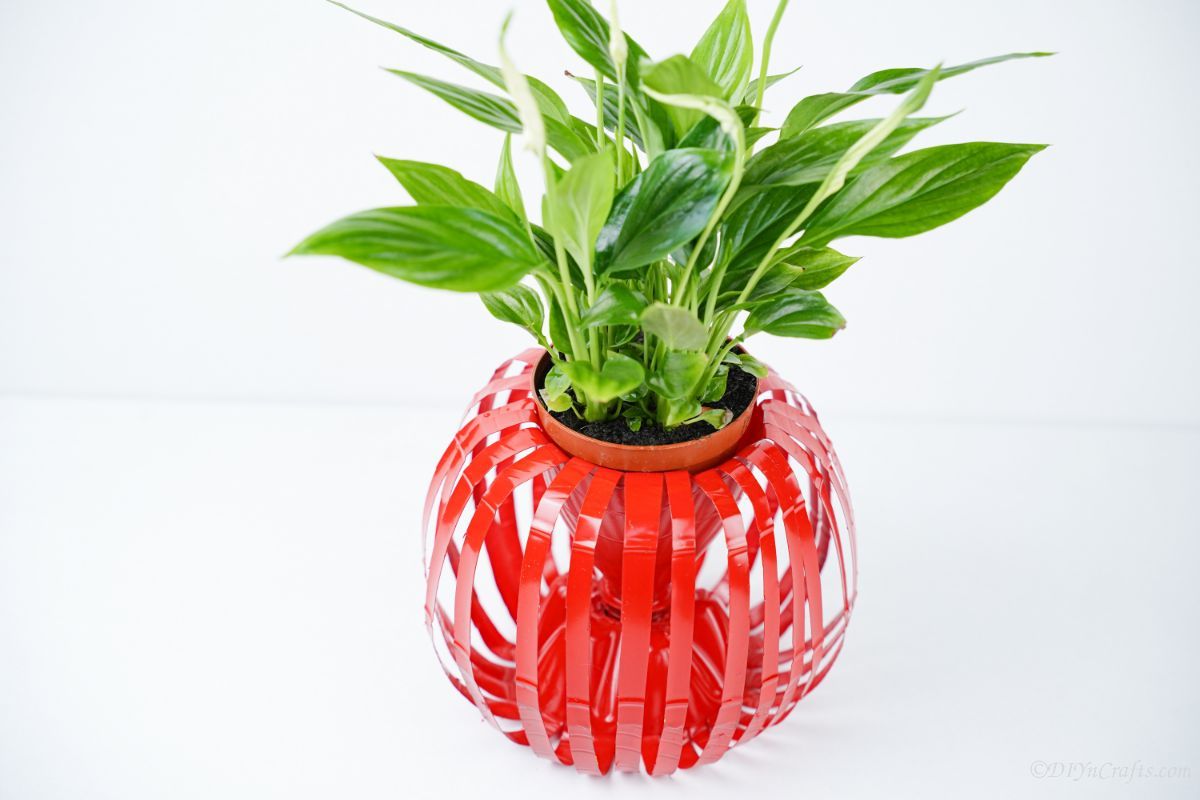
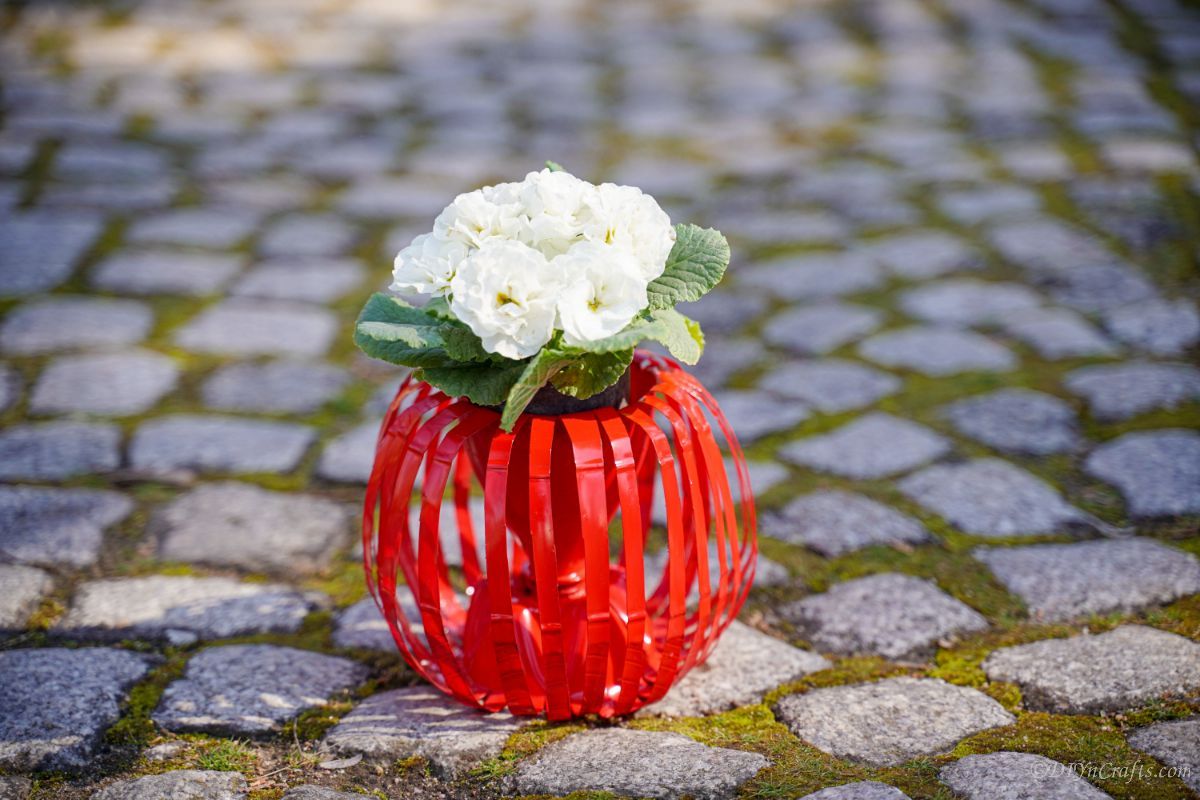
Once dry, use it as a planter or home decor!
More Upcycled Bottle Craft Ideas
If you have more plastic bottles in the recycling bin or trash can, start turning them into adorable crafts! All you have to do is follow some of our fun tutorials below. Make sure that you bookmark these ideas, print out the tutorials, or pin them to a craft board on Pinterest.
Yield: 1
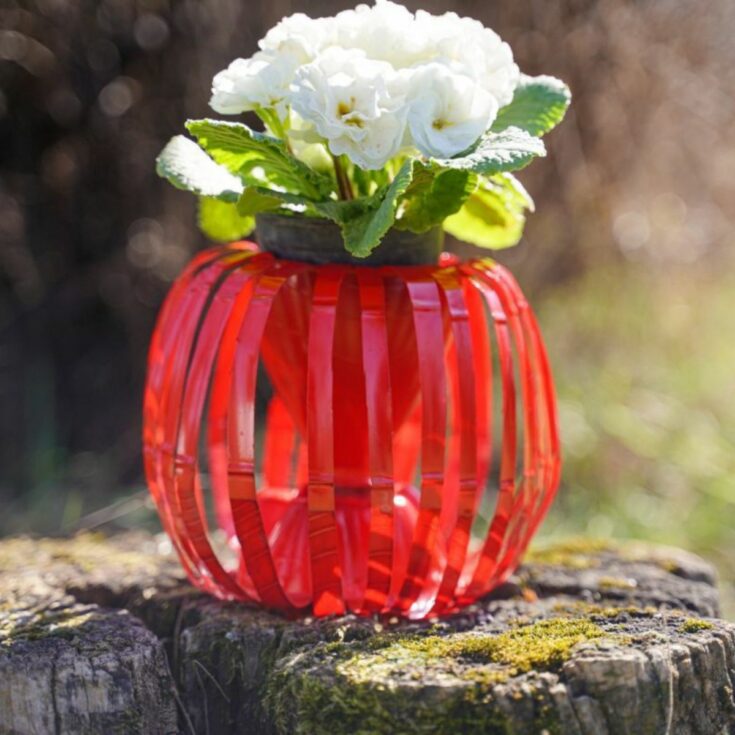
This easy flower planter uses just a plastic bottle, some paint, and a bit of your time! A great budget home decor craft.
Active Time
10 minutes
Additional Time
30 minutes
Total Time
40 minutes
Difficulty
Easy
Estimated Cost
$0
Materials
Similar Project: 20 Fun Family Easter Traditions and Activities You Should Start This Year
Instructions
- Remove the label from an empty bottle, then draw a line around the base of the bottle, about 1″ above the bottom.
- Then draw a line at the base of where the neck curves downward and straightens out.
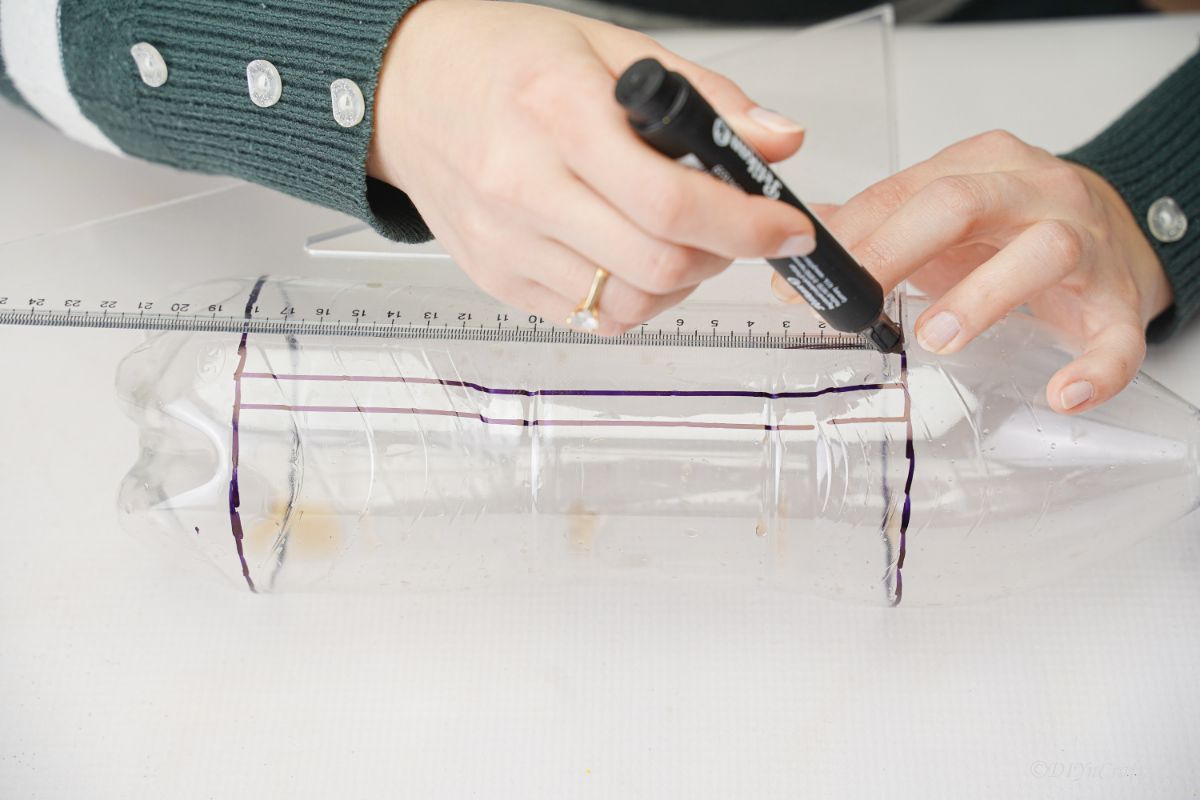
- Now, connect these lines using a ruler, making stripes around 1/2″ wide all around the bottle.
- Next, use a craft knife to make a hole at the top of each of the stripes.
- Slip the scissors through that hole, and cut down the length of the stripe you made. You want the strips of plastic to connect on both ends but dangle and open in the middle.
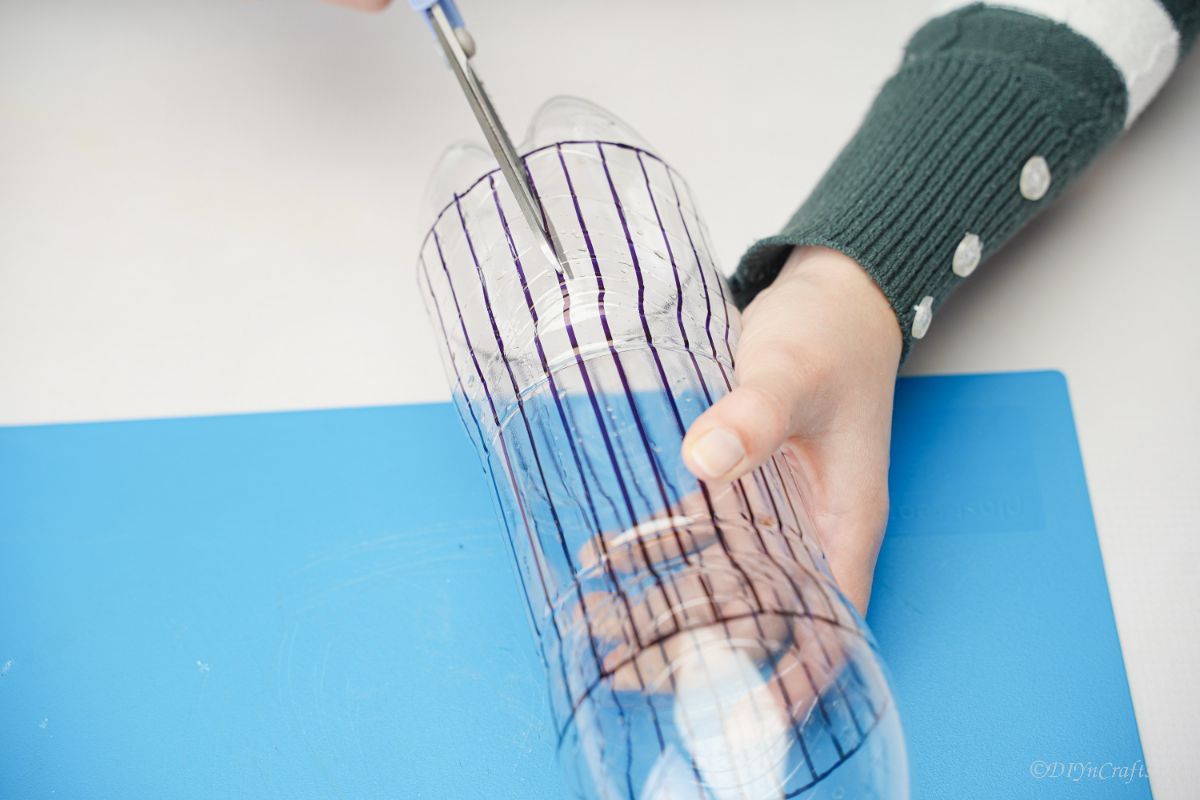
- Once you have cut all around the bottle, use a damp cloth to wipe off any remaining marker or pen marks.
- Use a soldering iron to create a hole on the bottom of the bottle.
- Then remove the bottle cap, fold the top of the bottle over, and tuck through the slits on the bottle tucking the lid end into or just above the hole you just made.
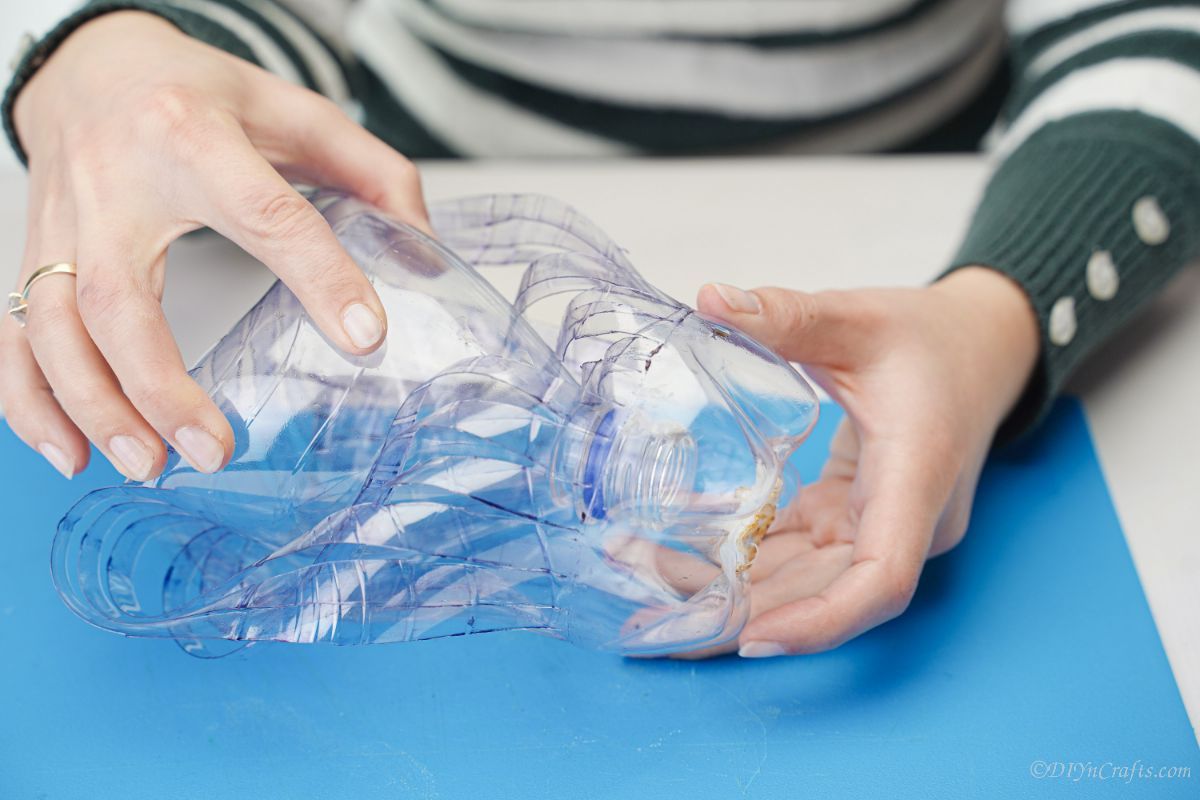
- Now, go around the bottle and twist the strips around so that the bottle is basically turned inside out. You will form a twisted exterior with the top of the bottle inside.
- Then, use the soldering iron to make a hole in the center of the bottle lid.
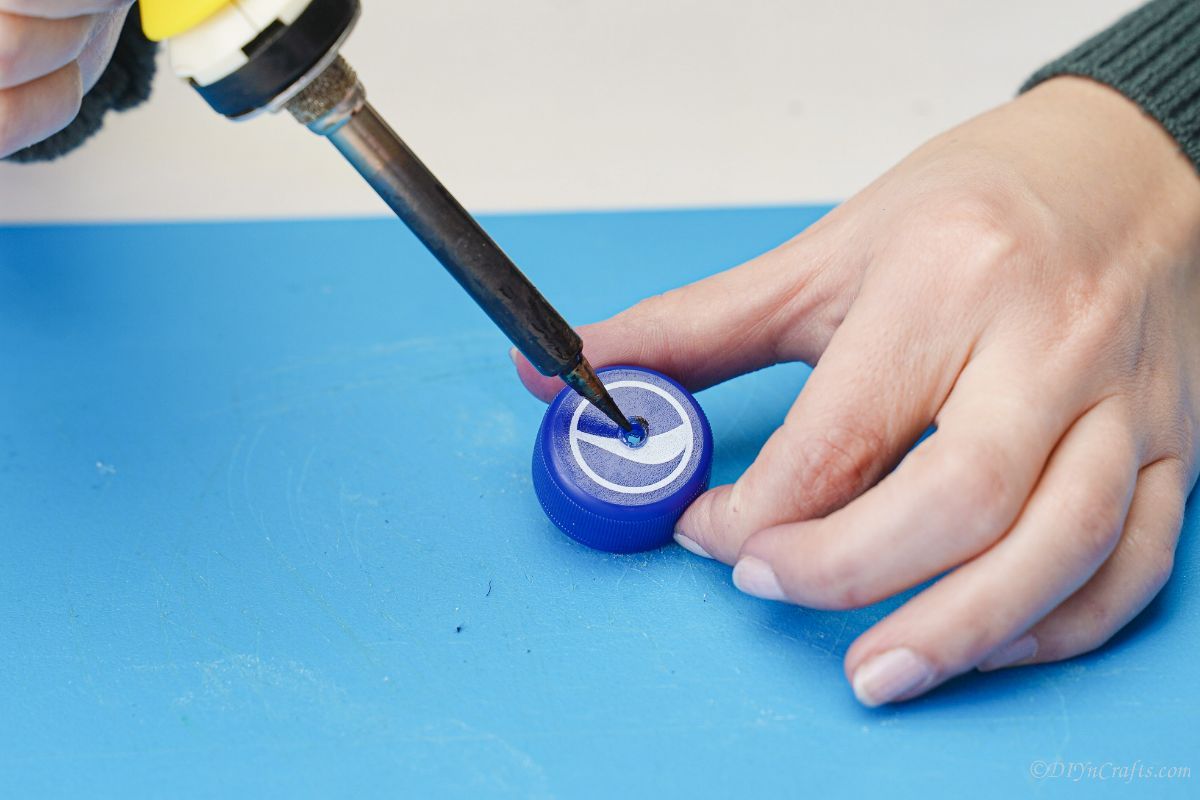
- Screw the lid into a place where the bottle top is poking through the hole in the base of the bottle.
- Next, spray paint the entire thing red and then set it aside to dry.

- Once the paint has dried, you can place a real or fake plant inside the top of the bottle where it is turned inside out.
Notes
Make this in any size you want using different bottles from 8-ounce up to 3-liter sized.
Recommended Products
As an Amazon Associate and member of other affiliate programs, I earn from qualifying purchases.
Finished Project Gallery
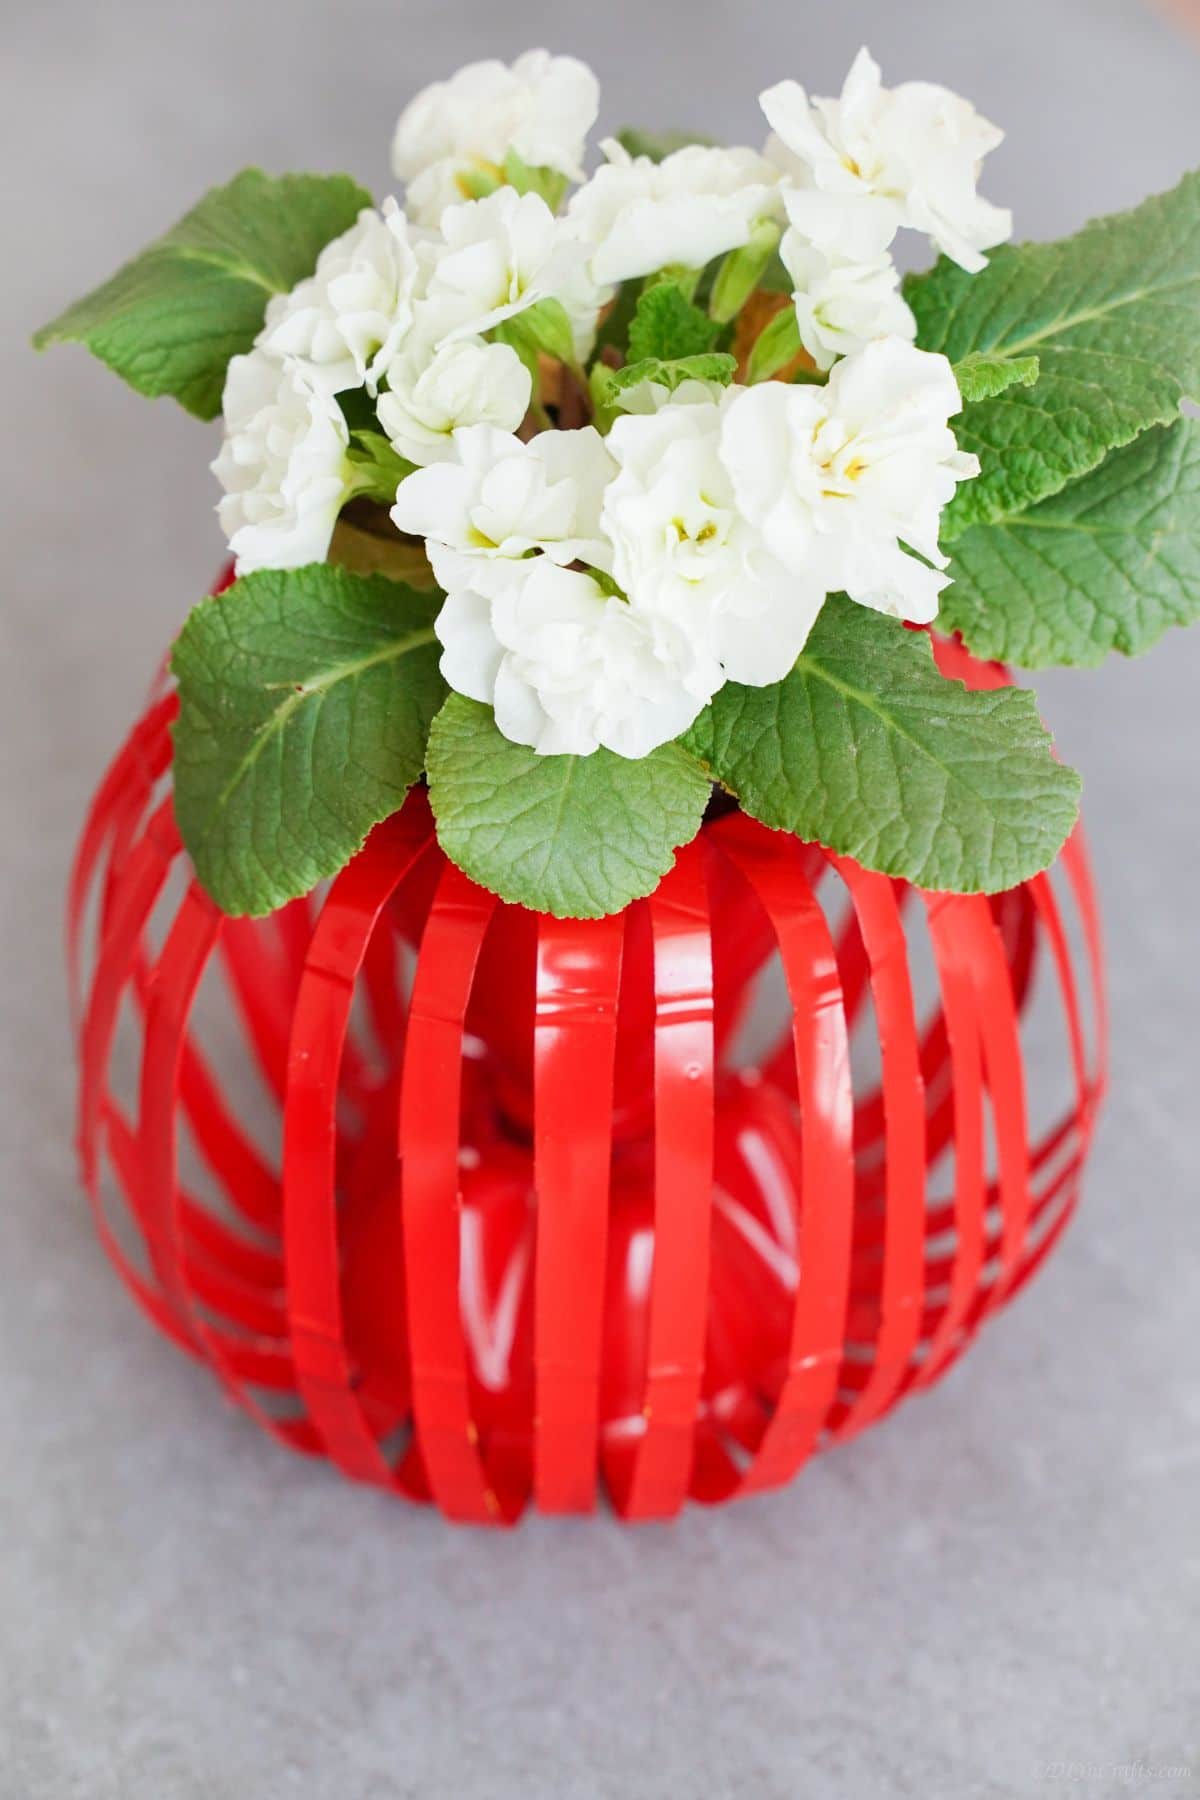
This is a fun and easy way to add some whimsy to any room!


