This week, I’m chatting with painting expert Brian Santos, a.k.a the “Wall Wizard.”
Brian is a fourth-generation painting contractor, author of best-selling home improvement books, and has toured for more than 25 years with his “Wizard Workshops” that empower audiences with simple tips, tricks, and techniques for successful home improvement projects.
He has shared his expertise on national TV, including “Good Morning America,” “Today,” and HGTV’s “Smart Solutions,” as well as on TLC and the Discovery Channel.
Brian is also the Director of Education for Fresh Coat Painters, the only role of this kind within any painting or home improvement franchise.
Brian was brought on to the Fresh Coat Painters team to educate and share his knowledge of the industry and business ownership within the industry to new and established franchise owners.
Visit thewallwizard.com for Brian’s painting tips and reference books and freshcoatpainters.com for his professional advice.

Best Spray Painting Techniques
What are some of the tips you’ve learned over the years when working with spray paint?
Brian: The best spray painting tip I can give is to read the instructions. I know it’s a lot of information in tiny print, but it’s the key to your project’s success. Here are a few more tips:
- Prepare properly. Don’t spray in the sun, clean the surface correctly, and make sure you hold the can correctly at the right angle.
- Shake the can. It takes 30 seconds to two minutes to get the rattle inside to start moving. This is critical for thoroughly mixing the materials and aerosols so the paint sprays correctly.
- Use a spray paint handle. It snaps over the top of the can, and when you pull the trigger, it’s like a gun. It depresses the spray nozzle and puts out the material correctly.
- Apply two thin coats of paint instead of one heavy coat. This prevents any runs and drips, and also allows the chemicals to evaporate enough to allow the second coat to bond correctly.
High-Volume Low-Pressure Sprayers
Tell us more about high volume low pressure (HVLP) sprayers and some of the applications they work well in.
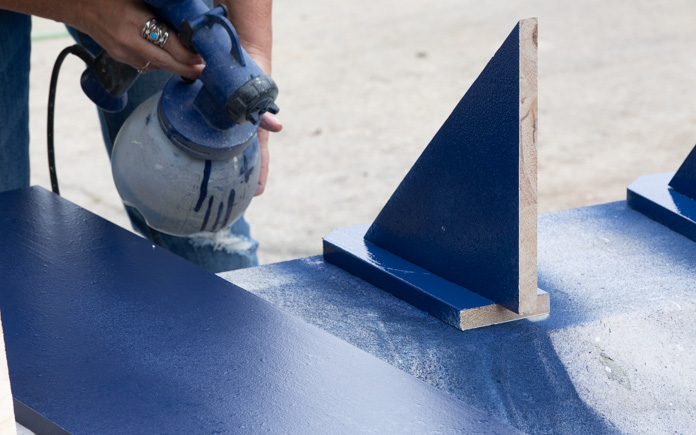
Brian: I love these things — HVLP sprayers are almost like airbrushes. What they’re designed to do is atomize the material and you can control the flow and pressure.
The best one I can recommend is the Wagner Flexio 3000 HVLP Paint Sprayer*, which is available at Home Depot. It has a trigger and a dial for you to adjust the pressure, plus it has a corded and cordless option.
*This is an affiliate link. If you purchase this product, we will earn a small commission at no additional cost to you.
For the DIYer, this is probably one of the best tools you can have, but you have to maintain it and clean it regularly.
Here’s a tip for cleaning it: Put about three drops of fabric softener per quart of water in the sprayer and flush it out. This helps clean the sprayer between coats and lubricates the inside.
Painting a Fence With an Airless Paint Sprayer
What do you recommend for painting a fence?
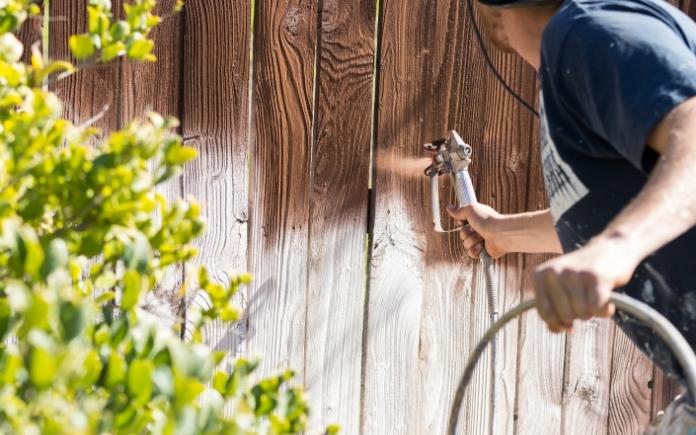
Brian: An airless paint sprayer is great for painting a fence. You can typically find them at any tool rental center, and what I like about renting them is that they are maintained. Plus, if you were to go out and buy this, it would cost you anywhere from $500-$1,200.
When renting one, be sure to get one that has enough volume flow for your project. And while you’re at the tool rental center, ask an employee for a demonstration so you can see how to properly operate it.
Like I said before, always read the instructions and make sure the sprayer is primed correctly.
Properly clean the fence before painting. Use a garden hose and a cleaner to remove any algae, grease, grime and oxidation. The paint is only as good as the surface it’s bonding to.
You don’t need to use any primer because fence stains are designed to penetrate into wood fiber. There are also clear coatings, semi-transparent stains and solid stains that homogenize to even out any irregularities.
The important thing is to keep moving and backbrush along the way. Spray the paint or stain on, then have someone go with a brush behind it and work that paint or stain into the surface. This will make sure the paint or stain bonds correctly.
Painting Kitchen Cabinets
What are some tips for homeowners who are considering painting kitchen cabinets?
Brian: Replacing kitchen cabinets can cost you up to $20,000, so painting is definitely cost-effective.
A paint job is only as good as the surface you’re preparing, so first, ask yourself if you want to see the grain in your cabinets or not. All woods have a grain, and if the surface isn’t prepped currently, that grain will show through. If you don’t want to see any grain, call a professional to do the job.
For the DIYer who wants to do a little refreshing, here are the standard operating procedures on how to do it:
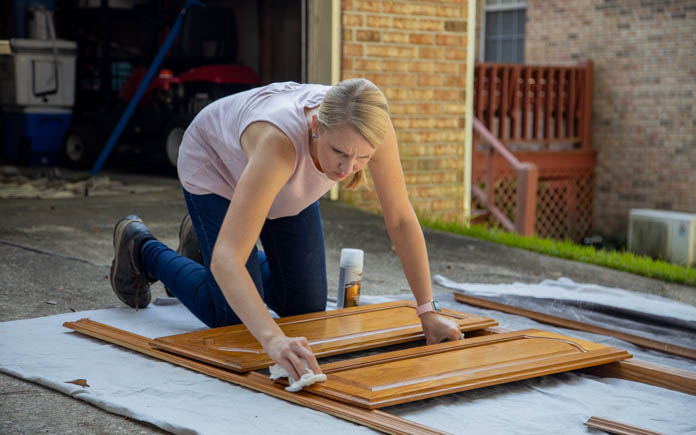
- Clean the surface of the cabinets. Wet sand the cabinets with a Scotch Brite pad and an alkaline cleaner called Simple Green HD. This will break down the grease and lightly sand the surface at the same time, eliminating a lot of dust.
- Degrease the surface of the cabinets after cleaning. Rinse the surface with 91-proof rubbing alcohol. Rubbing alcohol is a natural degreaser and deglosser. It evaporates and forces out the moisture that might be in the wood. This will create a sterile surface that’s ready for primer.
- Prime the cabinets. The type of primer to use depends on if it’s a lacquer-coated or painted surface. Take a drawer face or part of the cabinet to a paint store and ask the professional to see what type of surface it is, and they can recommend what type of primer to use. Apply two thin coats of primer and lightly sand between each coat with 300-grit sandpaper.
- Spackle and caulk between the two coats or primer. If you have floating cabinets, do not caulk between the floating panels. The wood needs to expand and contract with the normal humidity in the house, so caulking can cause the cabinets to crack.
- Lastly, apply two even coats of paint to the cabinets.
- To protect hardware on cabinets, use rubber cement. After painting, you can peel it off.
- If you need to reset hardware, particularly hand pulls, use Bondo, not wood filler. If you slam the cabinet, the wood filler plug could pop out.
Common Mistakes
What is the biggest mistake homeowners make when tackling any paint project?
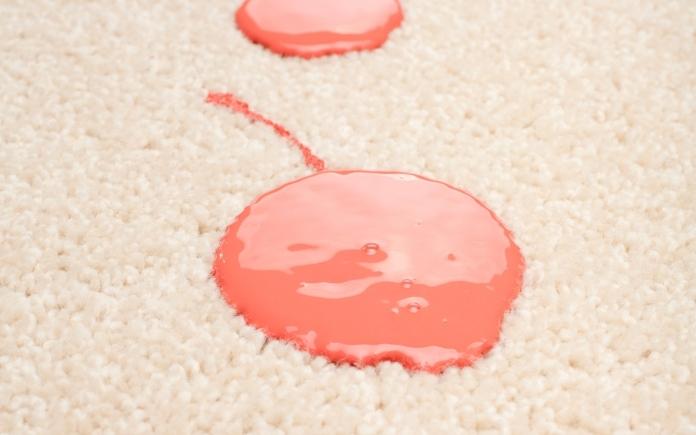
Brian: Not preparing a surface correctly. And also, not protecting other surfaces. It’s amazing how the paint will splatter if you’re spray painting, or dust will waft through the house.
Create a containment system, and make sure to put a new filter in the HVAC system after you’re done to lessen dust spreading throughout the house. The more you can contain and control, the better result.
Also, clean between steps. That’s where a lot of dust and debris can get into a paint project and the results are not as good as they could be.
Brian’s Advice
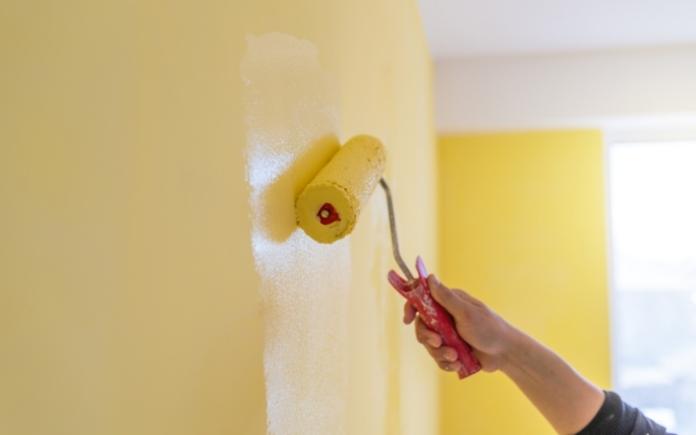
“Wizards Work Wet:” It’s critical to do the entire surface while materials are wet. Have someone cutting in as another person is rolling paint to keep that wet edge so the color is consistent.
Also, if you’re painting with a roller, the last stroke you do should be in the same direction, so you get the proper sheen and the right effect with the color.
Further Reading
Ask Us a Question! (Podcast Landing)


