[ad_1]
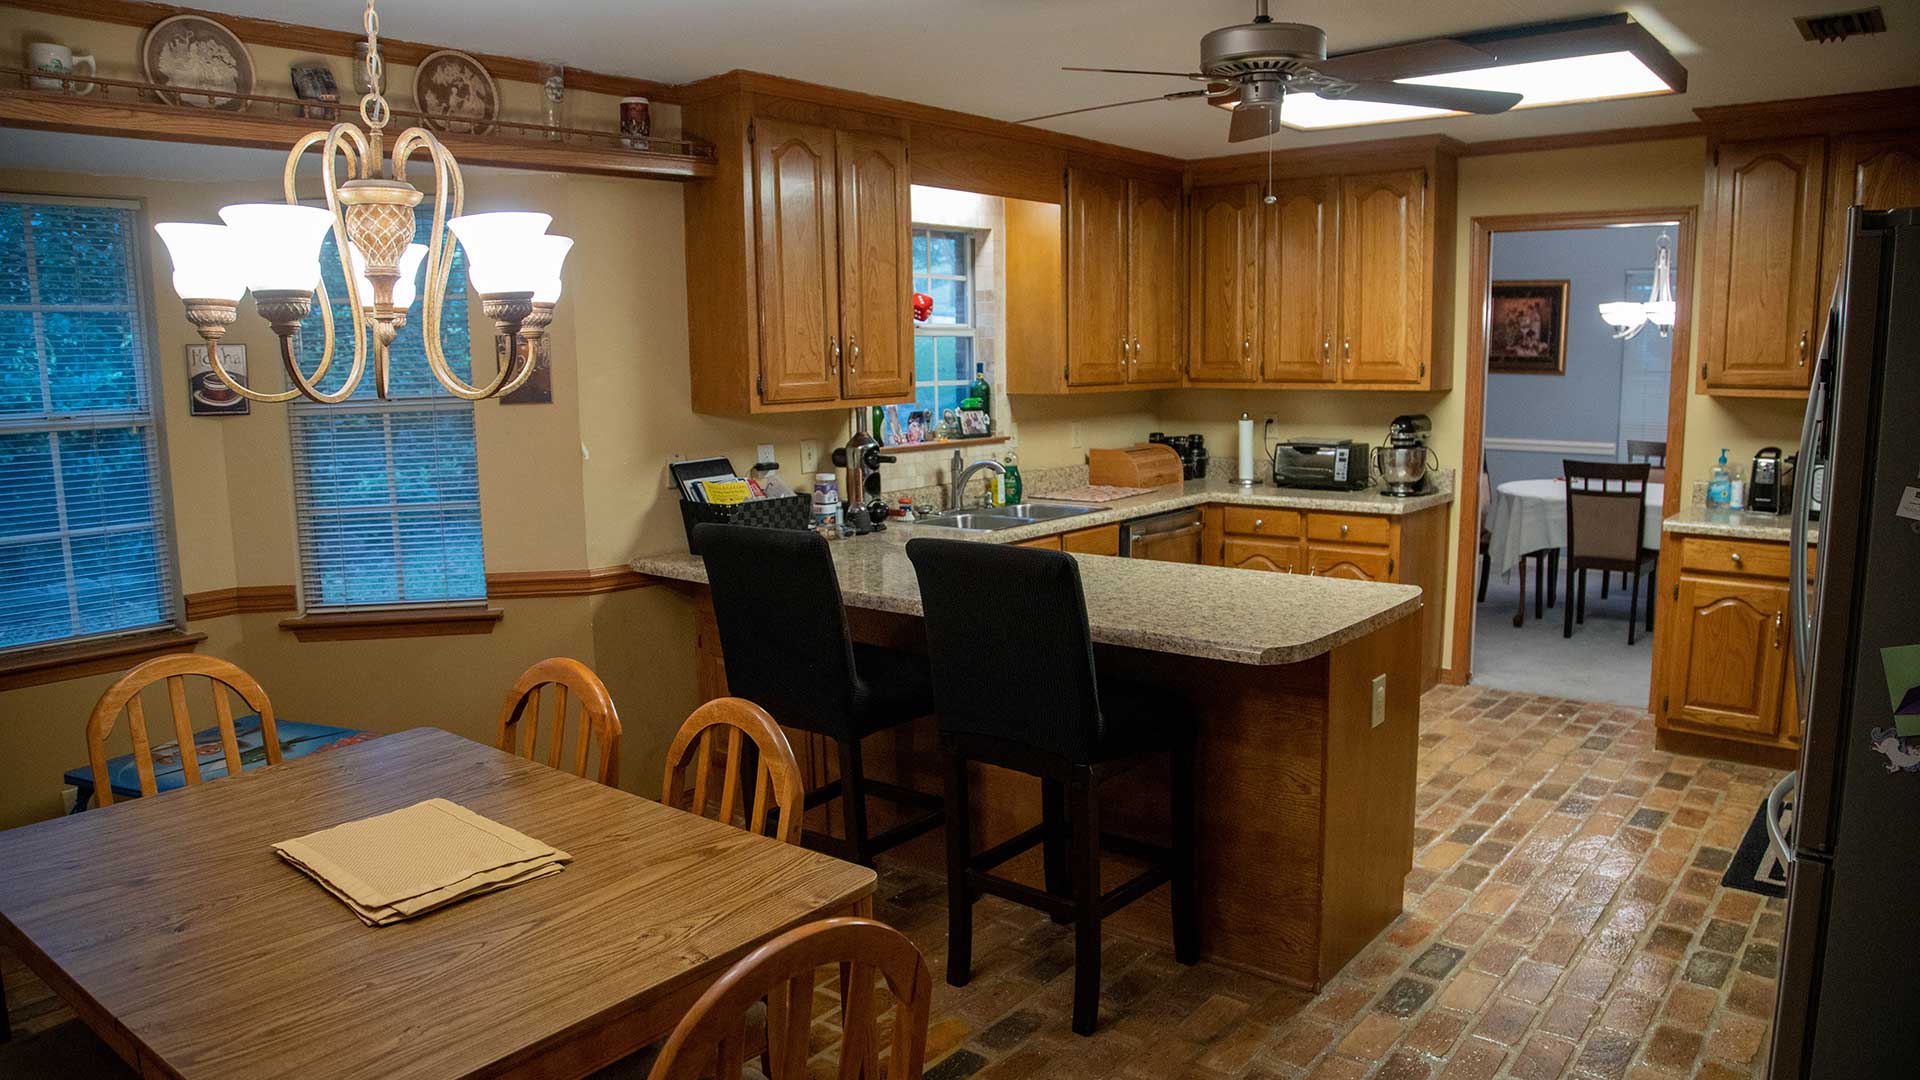
We’re bringing an ’80s-style kitchen into this decade with a special two-part episode.
Homeowners Lloyd and Aimee Meyers and their two kids love their home, but they want to make some updates to their kitchen.
We’re happy to help this family with a renovation that’s inexpensive, at just $1,200 in materials, but will leave a big impact!
This article covers part one of the project.
Preparing the Space
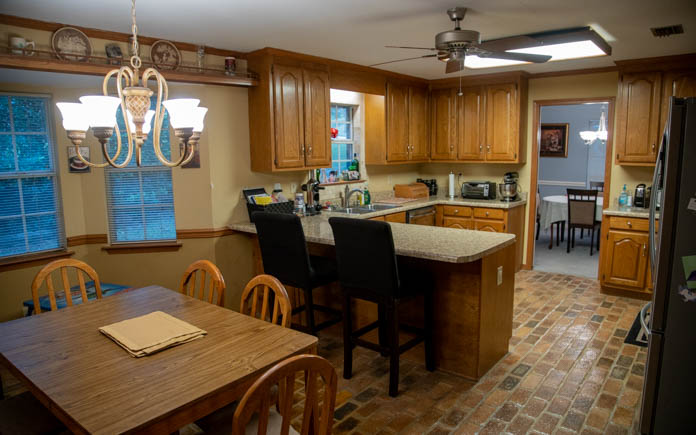
We begin by removing the galley rail above the windows in the dining area. It currently serves as a display shelf for decorative china, but modern homes don’t include this feature and it makes the room feel crowded.
The ceramic backsplash only protects the area behind the sink, so we will replace it with a subway tile backsplash that covers everything behind all the countertops. This consistent look will enhance the kitchen’s overall design.
We will replace the unsightly chandelier above the dining table, move the ceiling fan to a more functional location because Aimee cooks a lot, and remove the long fluorescent light above the work area.
Even the ceiling gets an update because this one has “popcorn,” or texture, that’s no longer in style. (Lloyd already removed some of the popcorn before we arrived.)
When removing a popcorn ceiling, I prefer using a metal scraper. The pros often sand off the scraper’s corners so the edges are rounded, which prevents damage.
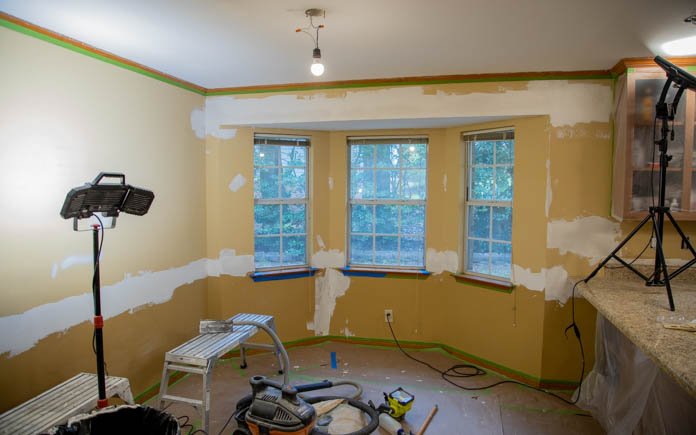
Once we’ve removed everything, we use joint compound to cover any holes we found and install new drywall in place of the sink’s backsplash.
Touching Up the Cabinets
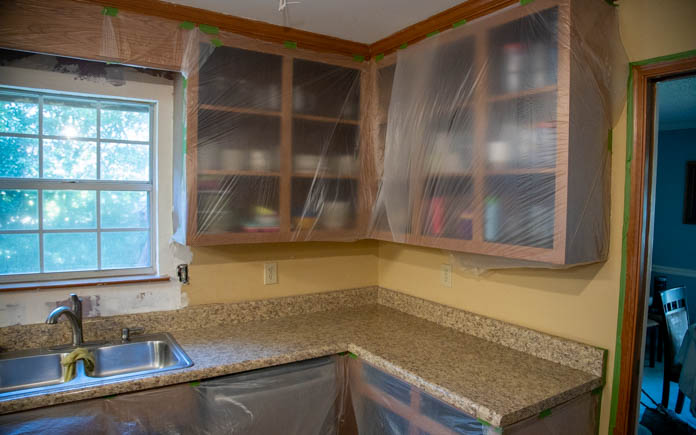
Painting wood cabinets is on-trend, but Lloyd and Aimee like their cabinets — they just want to freshen them up.
So, instead of replacing or painting the cabinets, we’re giving them a facelift. That just means taking the doors off the boxes, cleaning them, repairing any scratches and applying a fresh coat of polyurethane before installing new hardware.
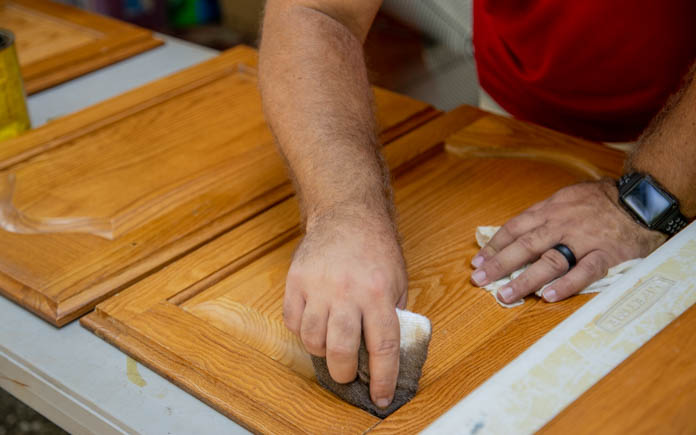
We will complete this project in episode two, but when all is said and done, the cabinets will look new and the hardware will complement them nicely!
Installing Canless Recessed Lighting
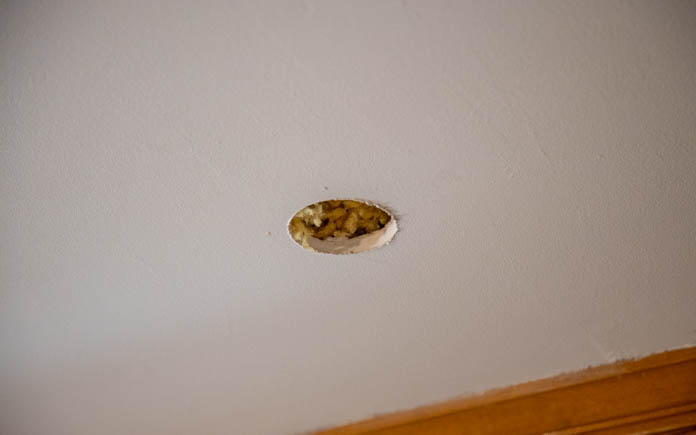
This kitchen had massive light fixtures that were dated, unattractive, and didn’t fit the space. We’re adding new light fixtures, including canless recessed lighting that will accent the room and add ambiance.
The LED lights we will install, from Commercial Electric, are small and don’t put out much heat, so they’re energy-efficient and attractive (a win-win).
This page contains affiliate links. If you purchase a product from these links, we will earn a small commission at no additional cost to you.
Installation is easy — all you have to do is cut a small hole in the ceiling with a hole saw, attach the wires to the junction box and push them up into the ceiling!
Watch our video, How to Install Canless Recessed Lights, for more information.
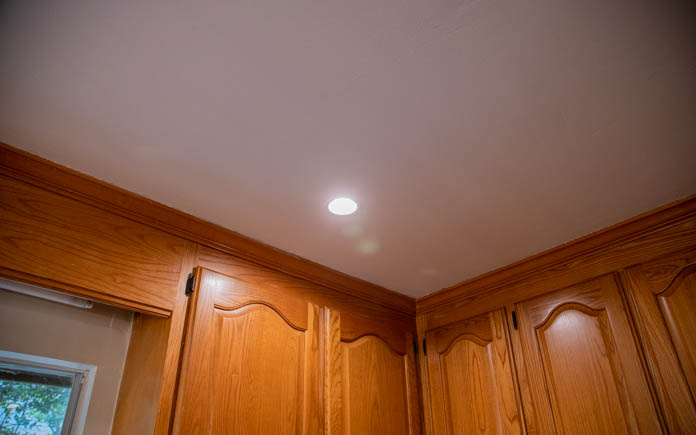
The design of these lights makes them easy to install and the lights are just as bright — if not brighter — than the room’s original can lights!

Production Thoughts
With these projects complete, we’re well underway with the Meyers’ family’s kitchen makeover.
The refinished kitchen cabinets will look new once they are back in place and the new light fixtures are much more of the Meyers’ style.
But we’re far from over with this renovation! Part two is coming soon with more projects to tackle.
Check back here so you don’t miss a thing!
Products Featured in this Episode
Other Tips from this Episode
Further Reading
[ad_2]
Source link

