[ad_1]
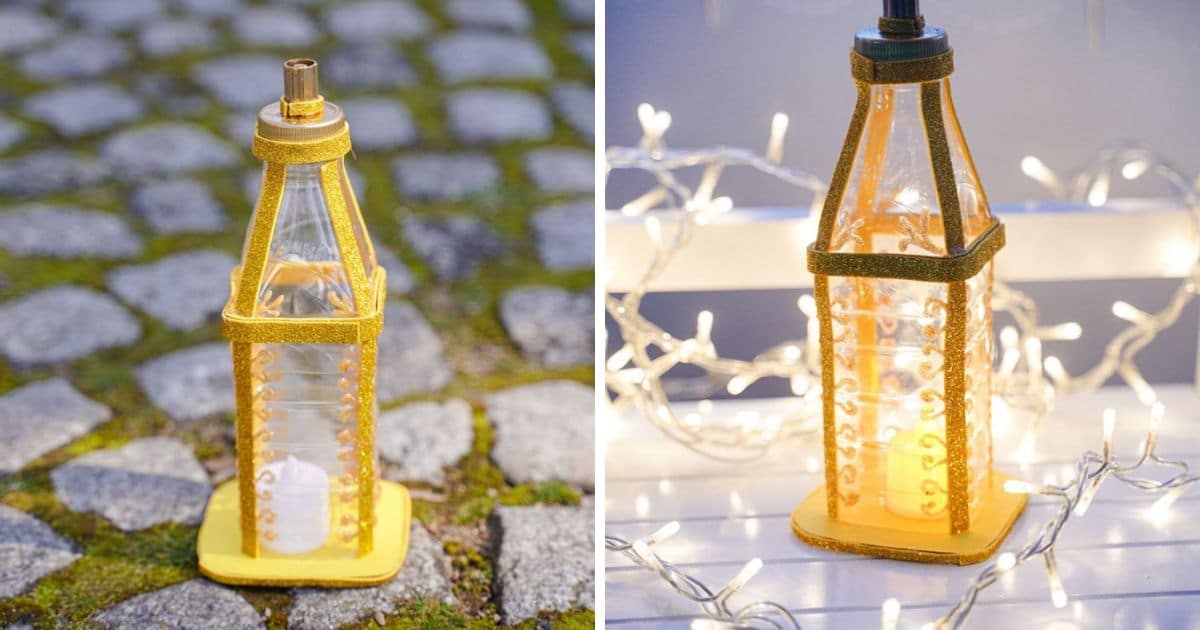
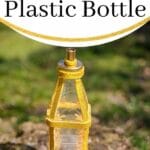
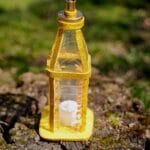
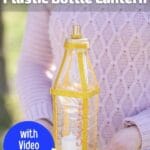
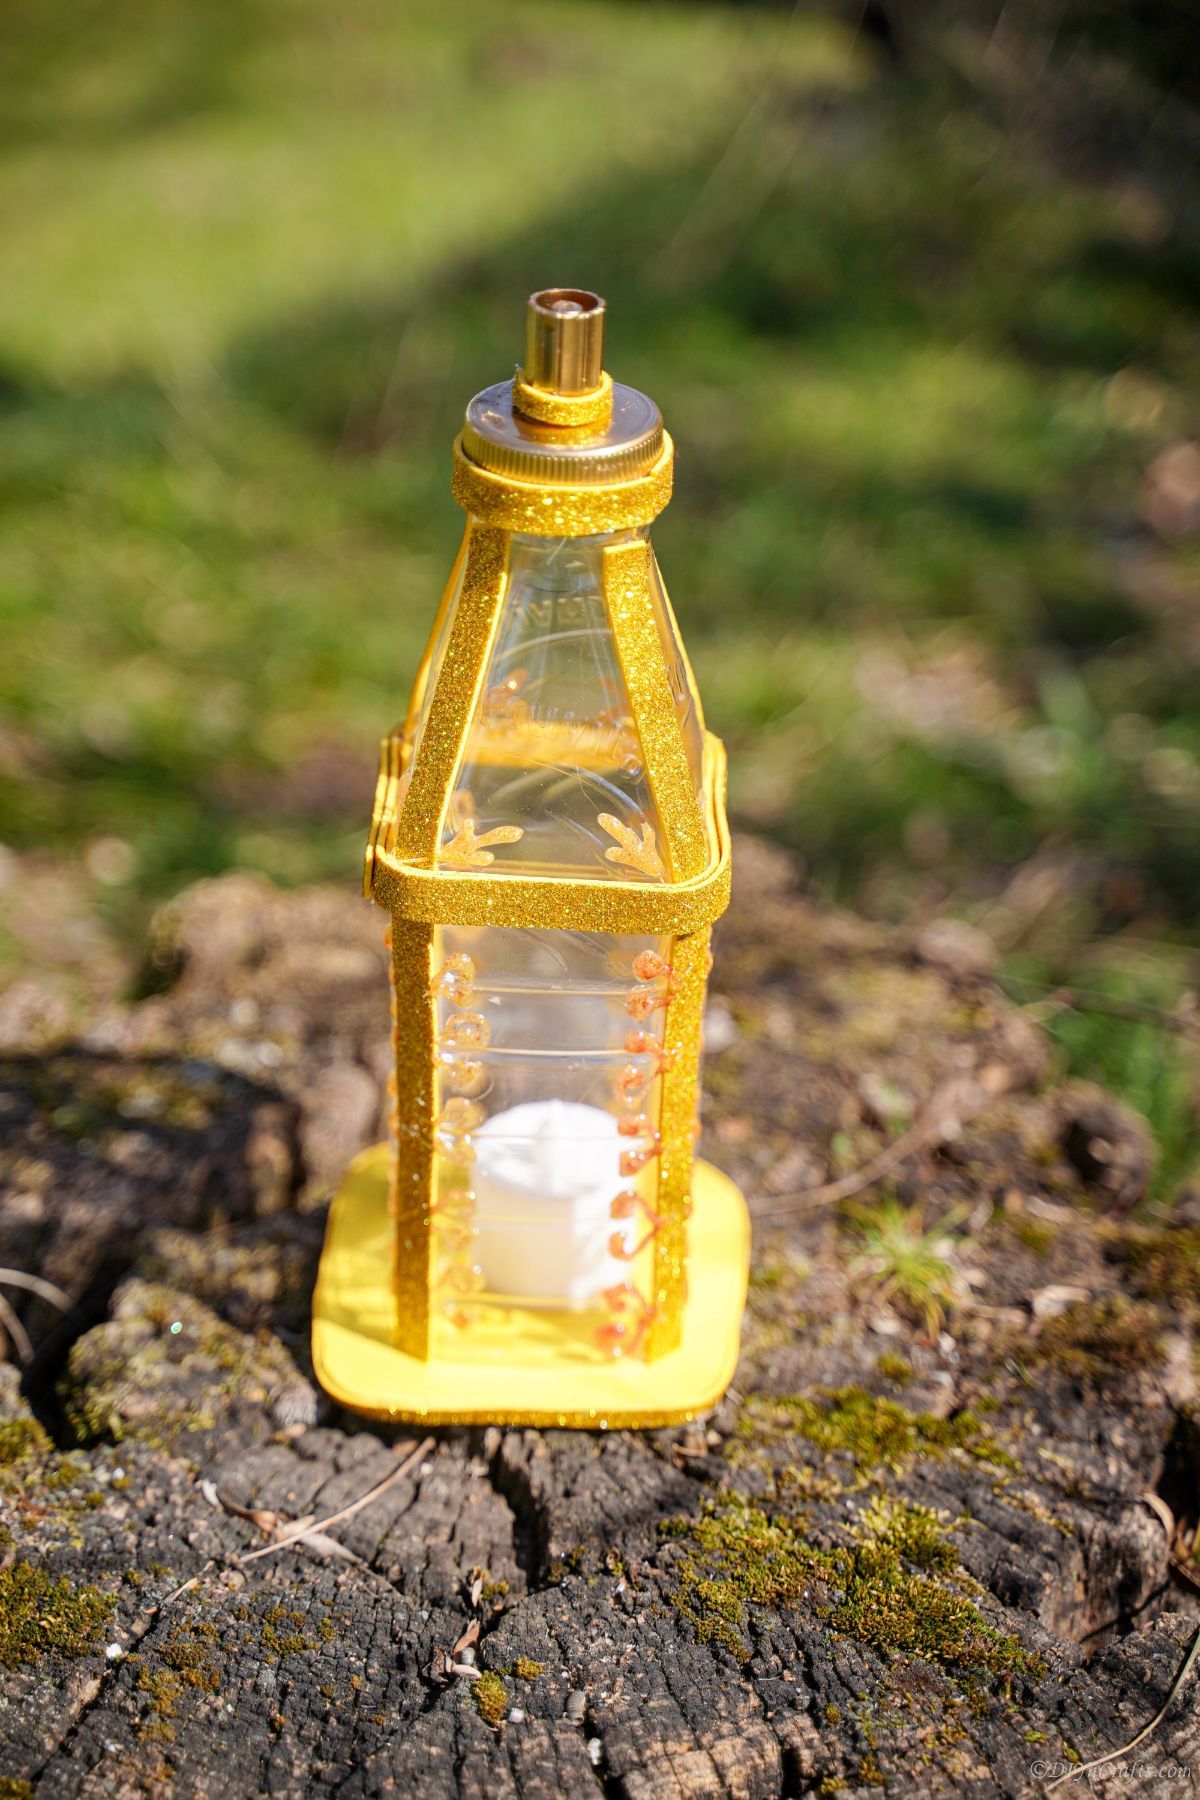
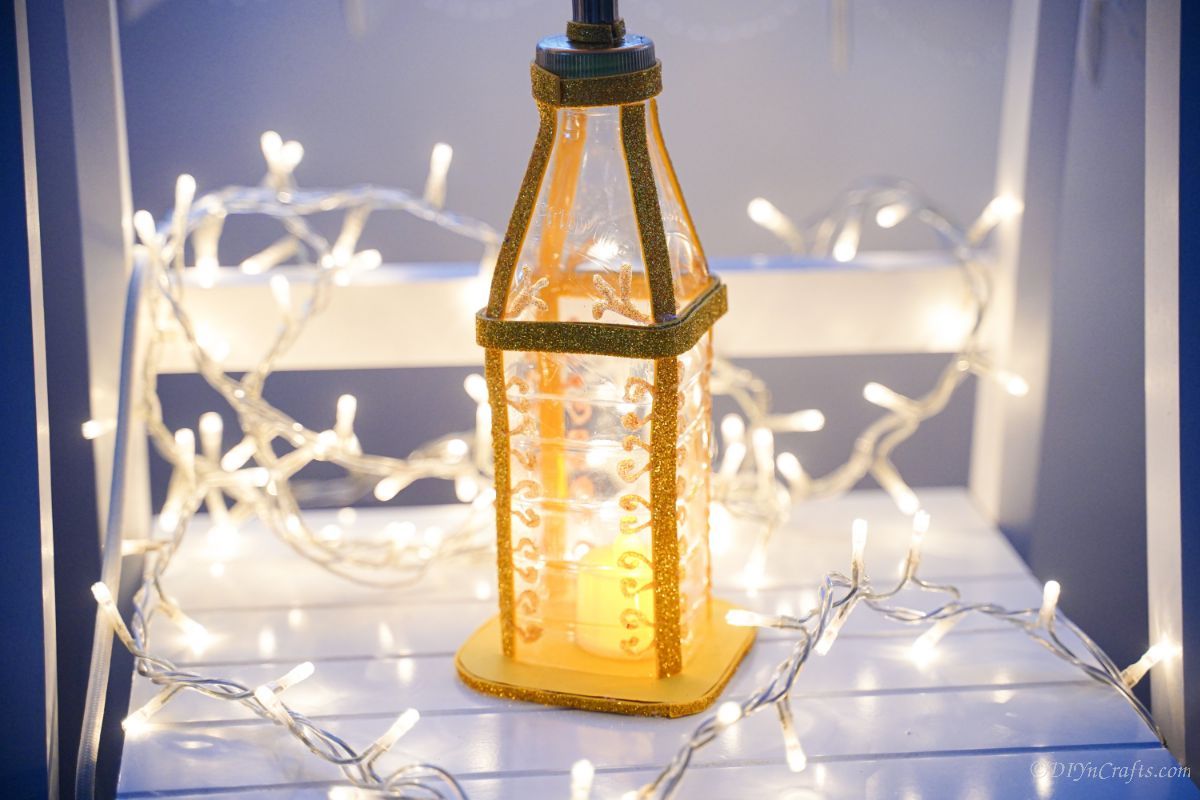
Check out our DIY repurposed plastic bottle lantern craft for a fun way to turn trash into treasure! This cute lantern decoration is made using a recycled plastic bottle, making it a great way to repurpose materials and help the environment. Plus, it can work as an actual lantern to light a room!
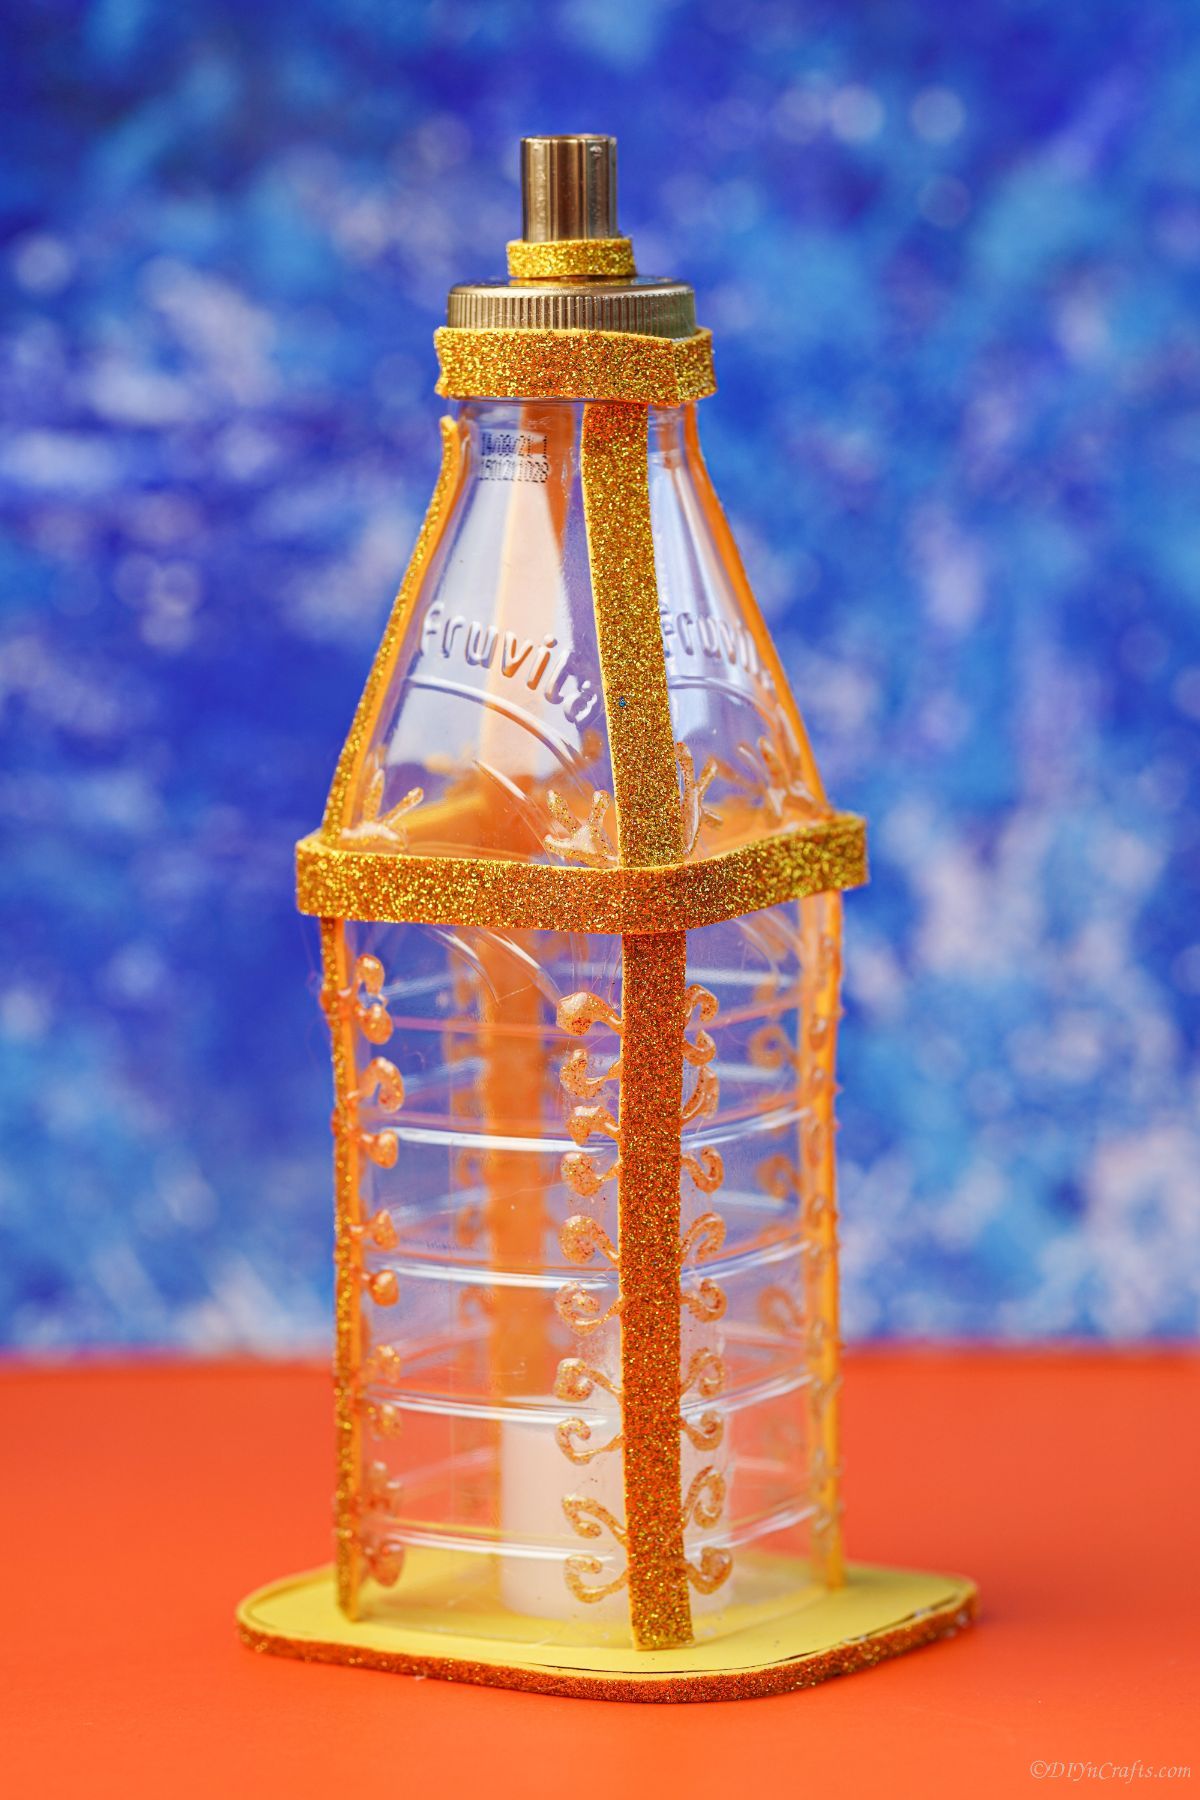
Plastic Bottle Lantern
The best part about this craft is that it’s easy to make and can be customized to match your own personal style. Simply choose your favorite color of paint or ribbon to decorate the lantern, then add a flickering LED candle inside to create a warm, inviting glow. Hang your lanterns in your windows or from the ceiling for a festive touch that is sure to impress your guests.
This is a fun, easy, and eco-friendly way to light up your party or outdoor gathering. Since they are made from recycled materials, they are perfect for any event from a backyard barbecue to a wedding reception.
If you want more ideas for lanterns to light your way, check out some of my favorite trash to treasure DIY ideas from the past. This gorgeous rustic tree bark lantern is ideal for a rustic or country chic wedding party. Or, light the mantle at Halloween with a cute mason jar Frankenstein lantern with a spooky face. Of course, my favorite has to be this wine glass lantern to use year-round on your mantle or a side table!
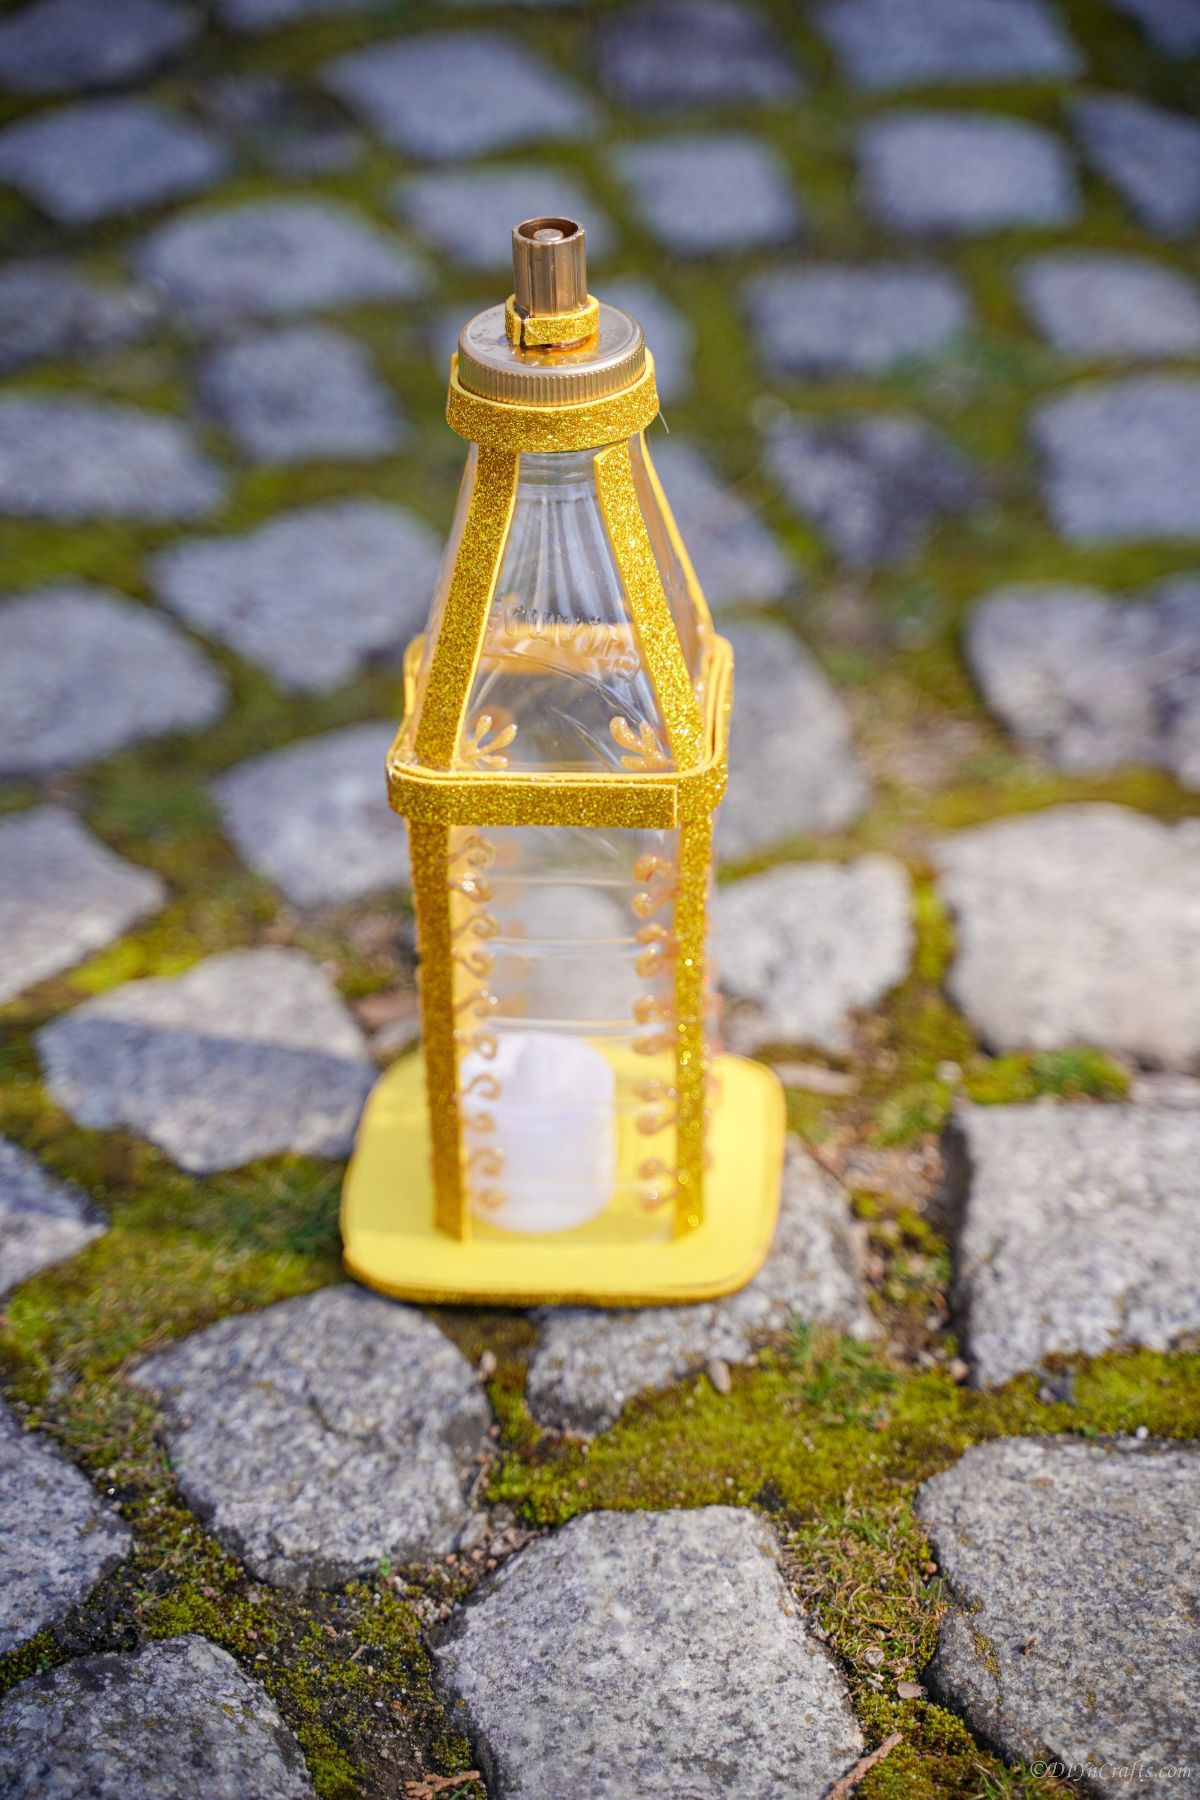
Can This Be Used As A Real Lantern?
While these look like a real lantern, you do not want to light them using a real candle. That would be a fire hazard. If you want these to look like a real lantern, with a bright light, you want to use a fake led candle. You can find them at big box stores, craft stores, online, and even at the dollar store. That is what we show in our version of this lantern.
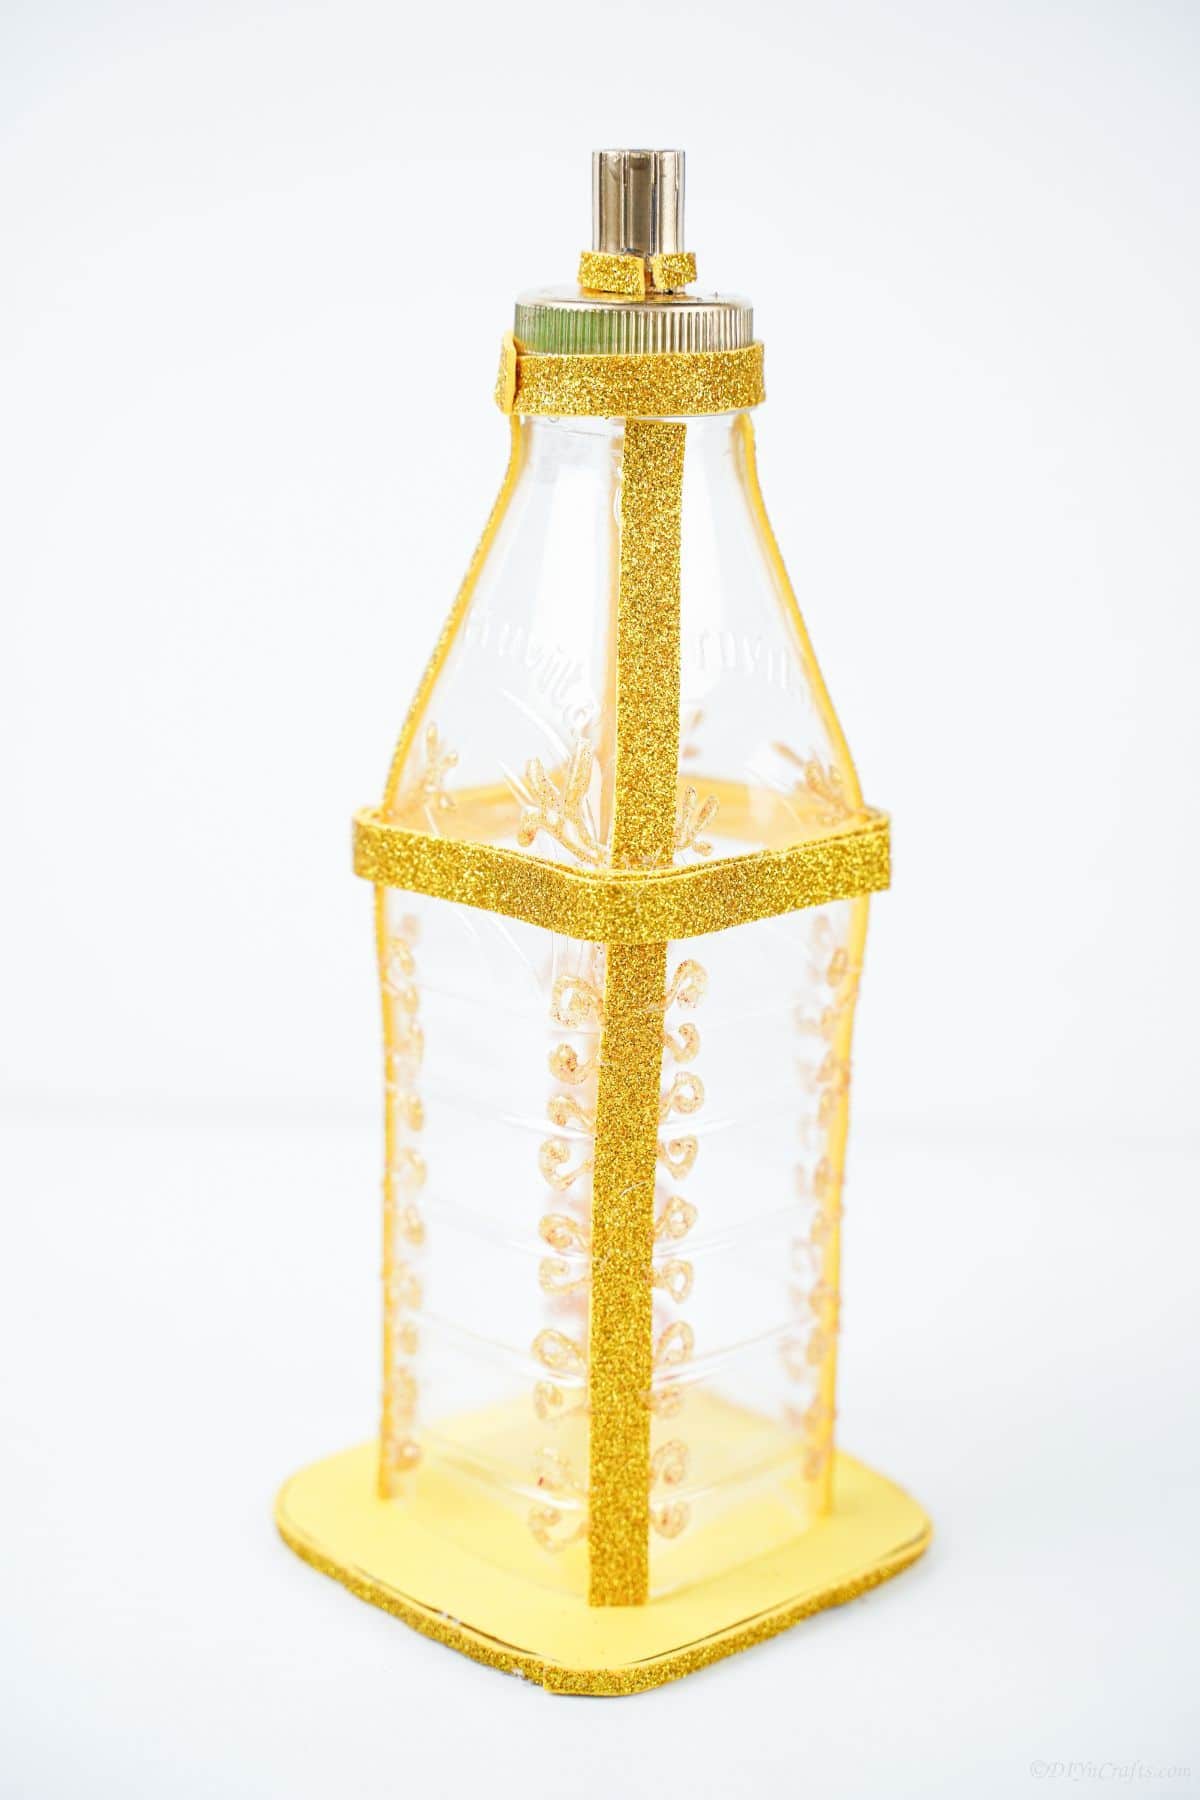
What Glue is Best to Use With Plastic Bottles?
There are a few different types of glue that will work well on plastic bottles. I like to use a strong glue like e6000, Gorilla Glue, or use a hot glue gun. You need a strong glue so typical white school glue and white tacky, craft glue will not hold as well or for as long.
Similar Project: Genius Paper Straw DIY Floating Succulents Planter
If you do not have strong glue, you can also use very strong double-sided tape. Make sure it is strong enough to hold the foam in place. Paint can be used in place of the foam additions if you want something you don’t need to worry about gluing into place.
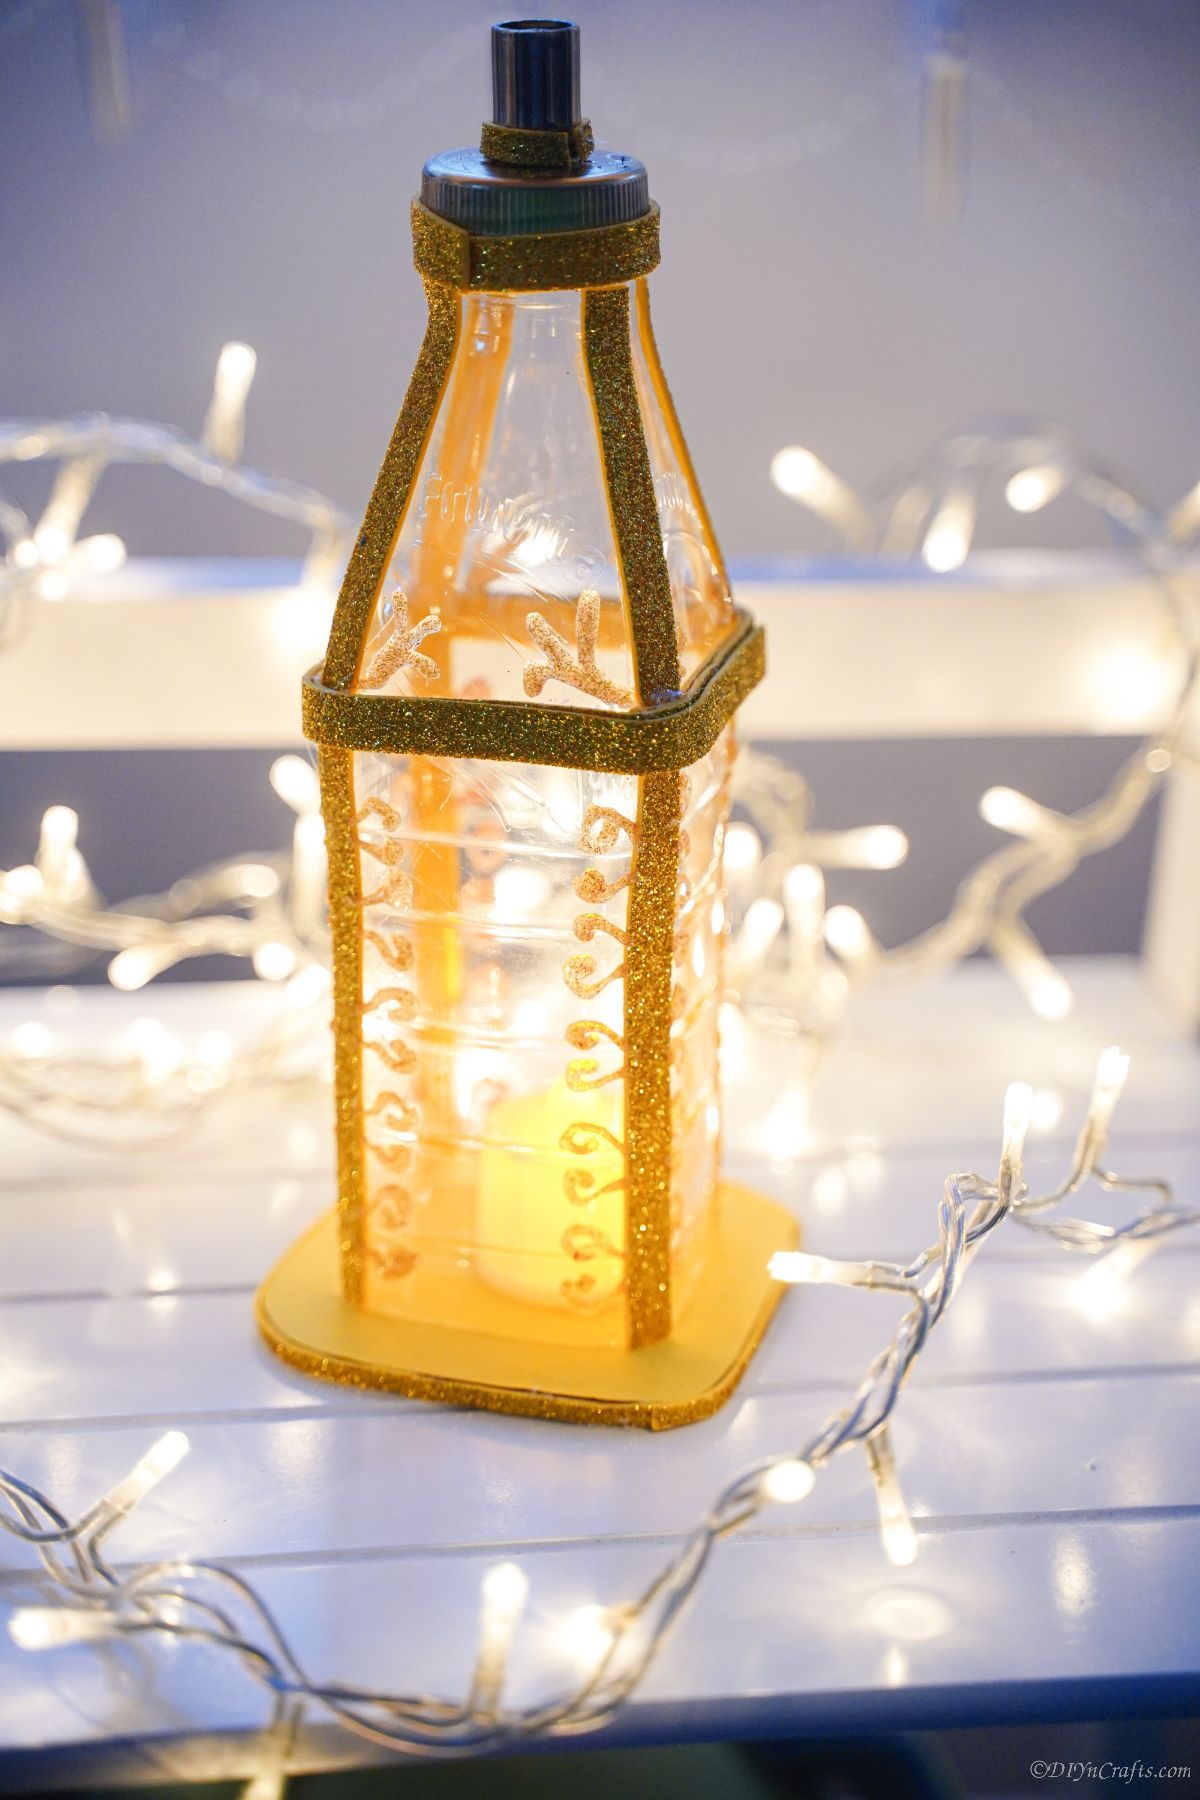
How can I Customize My Lantern?
Customizing this plastic bottle lantern is easy. There are lots of ways to make this into something truly your own. We use this tutorial as a base for ideas, but not as a must-make. Below are some ideas of ways to make yours truly unique.
- Paint the entire lantern or even just the edges instead of using crafting foam and glue for details.
- Add a thin layer of paint that is see-through to give the lantern a stained glass look. You can even use a stencil to add a pattern on all sides to match.
- Add ribbon or beads instead of glitter glue along the outside of the bottle.
- Use the foam to create an initial or monogram to add to the side if used for a wedding table decoration.
- Add a solar light on the inside and put it along the path or railing on your deck for an after-dark light up to your home.
Similar Project: 20 Cheap And Easy DIY Hanging Planters That Add Beautiful Style To Any Room
This plastic bottle lantern can be made as simple as you like, like mine, or make it as decorative and elaborate as you want.
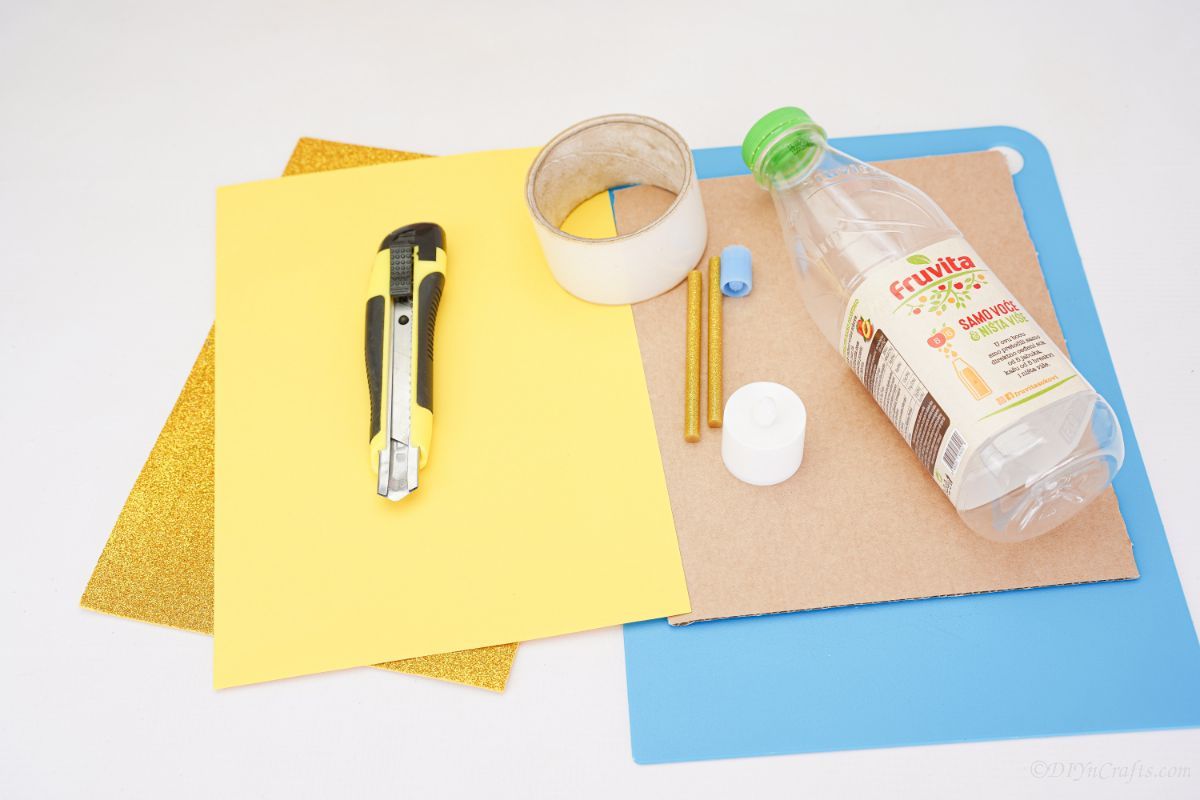
Supplies Needed
How to Make a Plastic Bottle Lantern
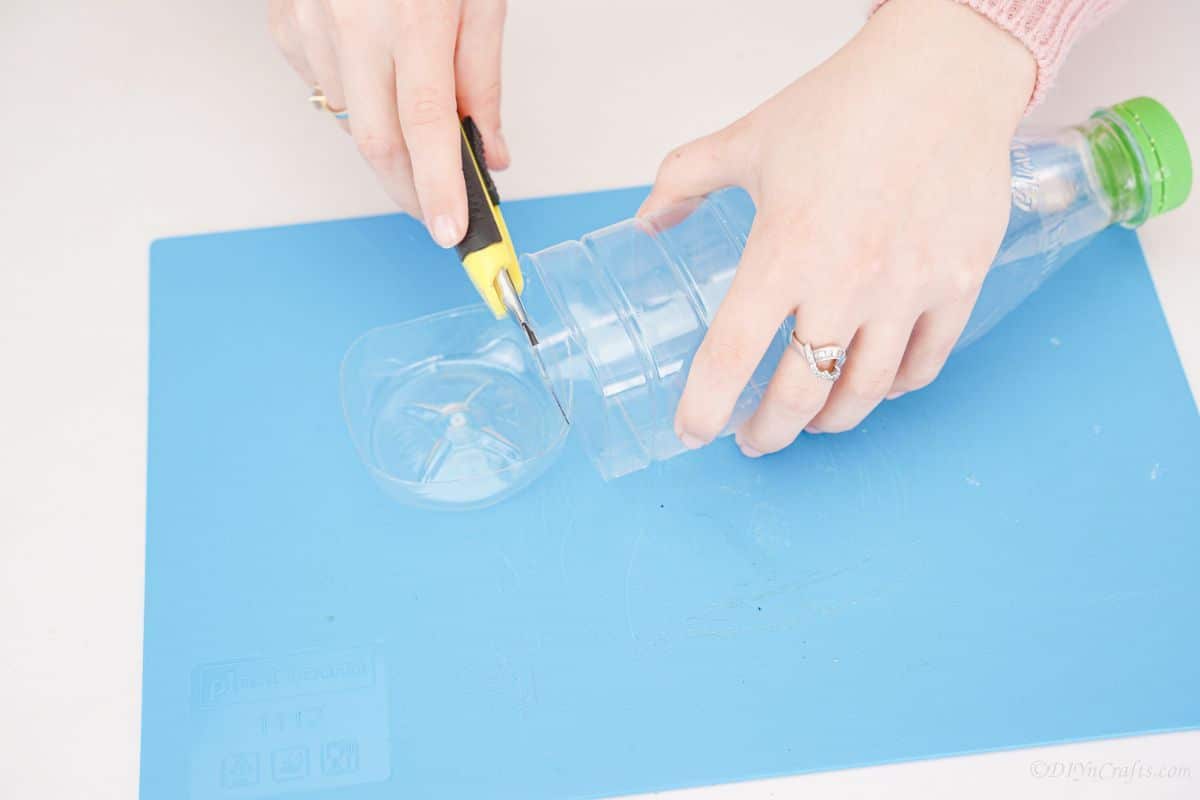
Clean out the bottle and then remove the labels. I prefer using a square bottle for this, but you can use a round bottle if that is what you have on hand. Now, cut the bottom of the bottle off, creating a flat base. Discard the base, but keep the rest of the bottle.
Place the bottle onto a piece of cardboard, then trace around it.
Now, add a second line around the one you just traced, that is about 1/2″ wider than the other line.
Next, cut the cardboard out, being sure to make the corners rounded similar to the bottle.
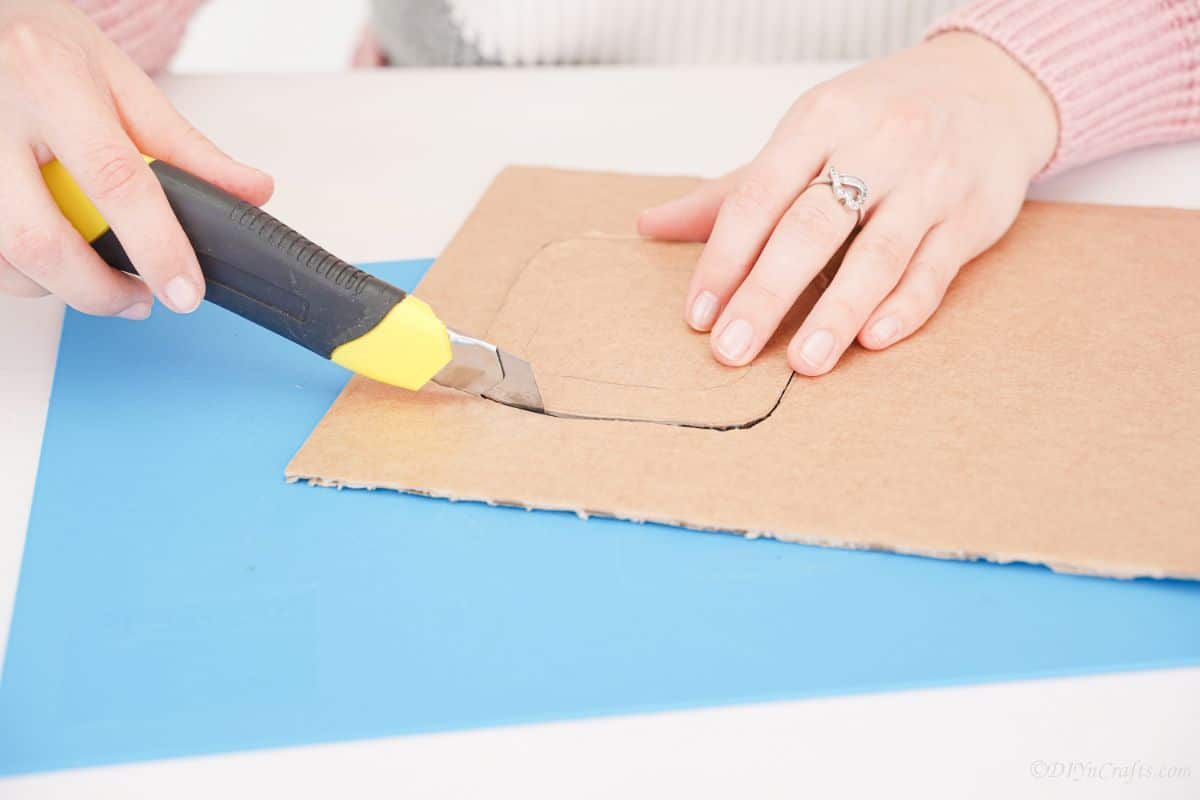
Then, place the cardboard on yellow paper and measure the square of paper then cut out and glue it to the cardboard square and set it aside.
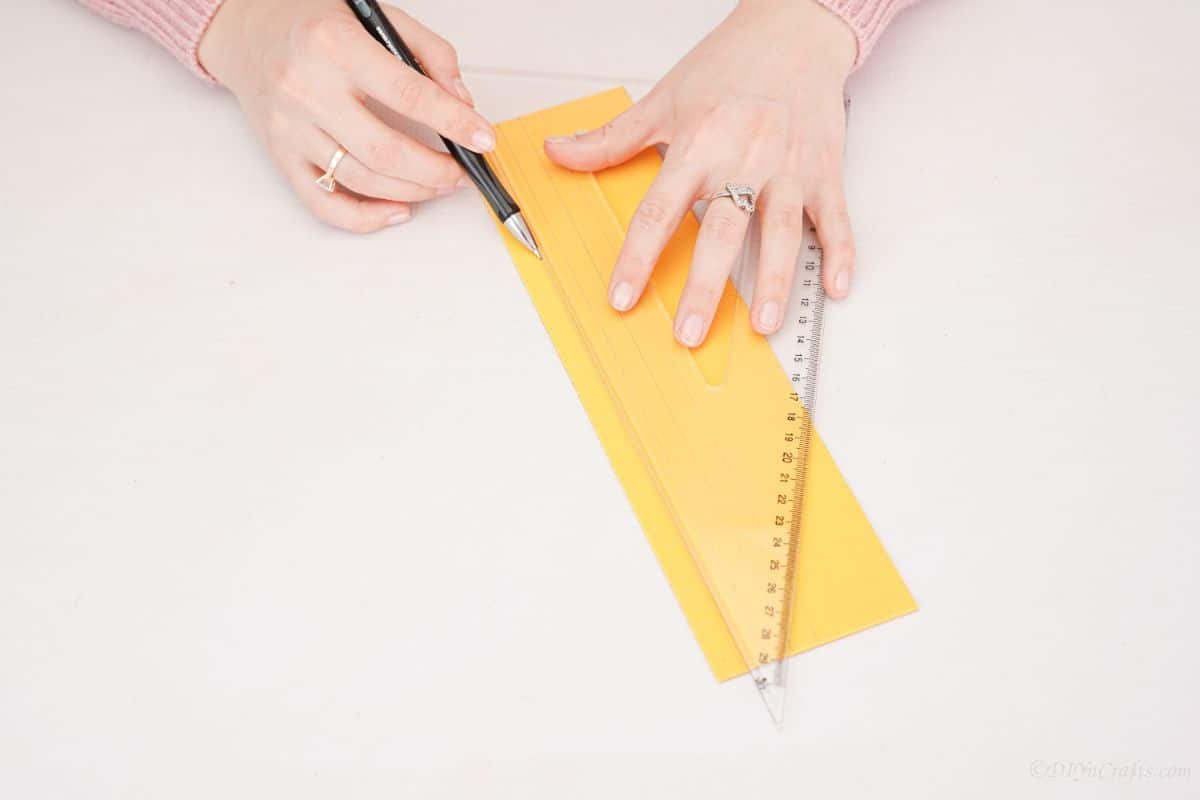
Now it is time to decorate the bottle. I start by measuring the height of the bottle, then use that measurement to trace and cut out strips of glitter paper that are this height and around 1/4″ wide. Start with the four needed for each side, but you will want more for other areas of decor around the bottle.
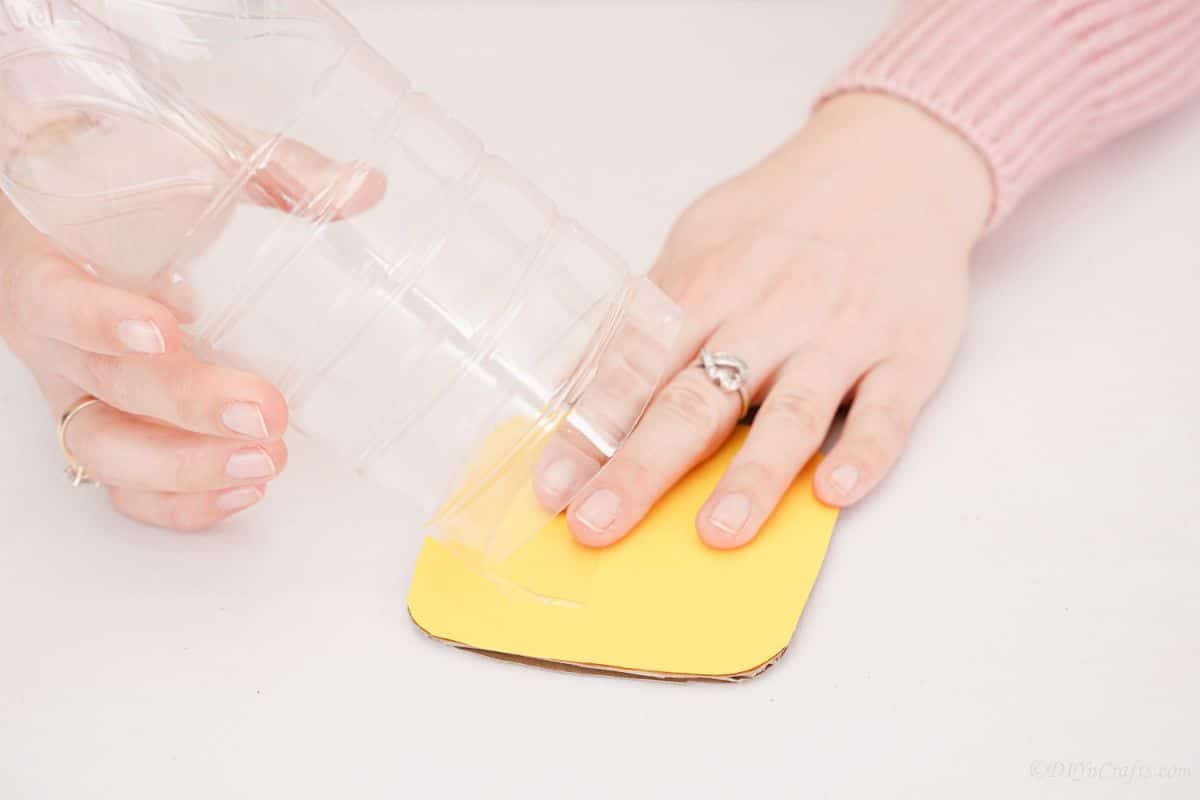
Now, cut and add a piece of clear tape to the bottom inside of the bottle, so that half the tape is inside and half is open on the outside.
Similar Project: DIY Pasta Decorated Easter Egg Garland
Next, press that piece on the outside, onto the yellow paper-covered cardboard square, centering it and pressing it down to hold against the top. Doing this acts like a hinge so the bottle stays on the cardboard, but is only secured on one side so easy to pop up to add the tealight candle.
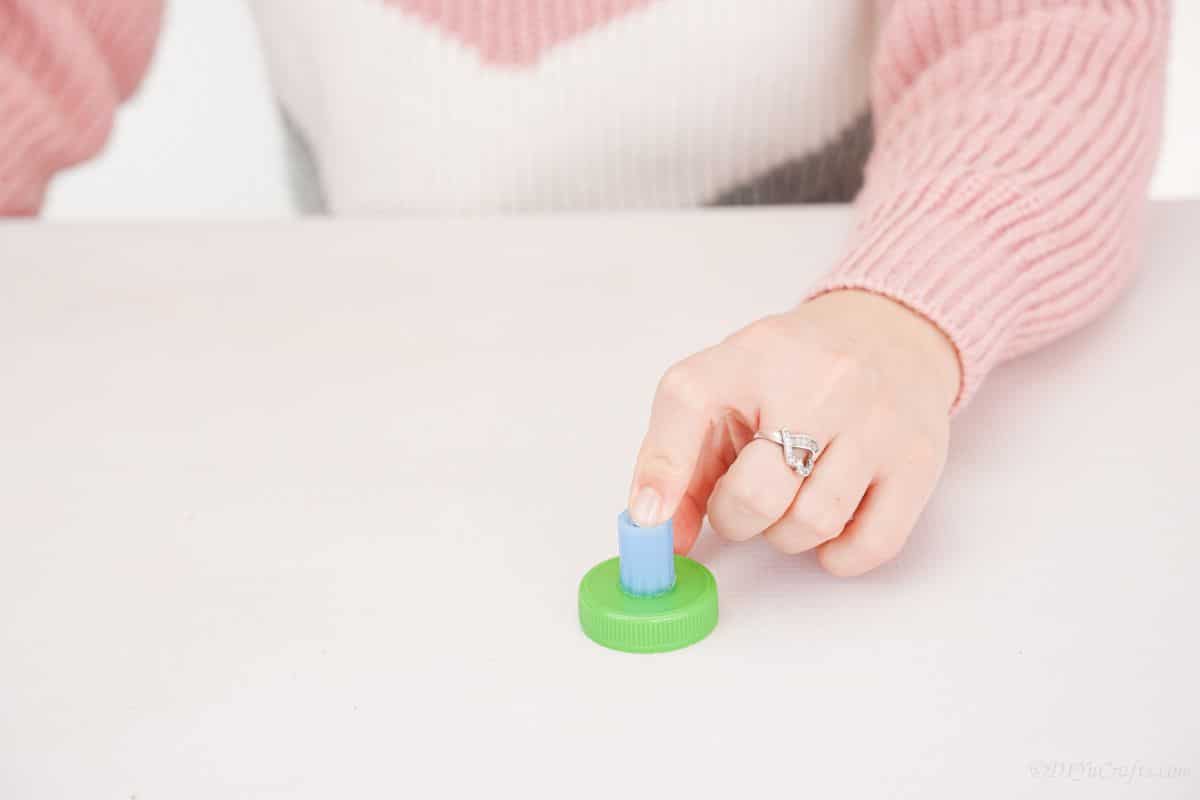
Remove the lid from the bottle, and screw a small marker cap or similar tall cylinder item on top of it. This creates the look of a candle.
Then, spray paint this gold and set it aside to dry.
While that piece dries, use glue to attach the strips of glitter paper on all 4 corners, starting at the bottom and covering up to the top of the bottle just where the neck ends.
Repeat this process until you have a strip of foam paper on all four sides/corners of the bottle.
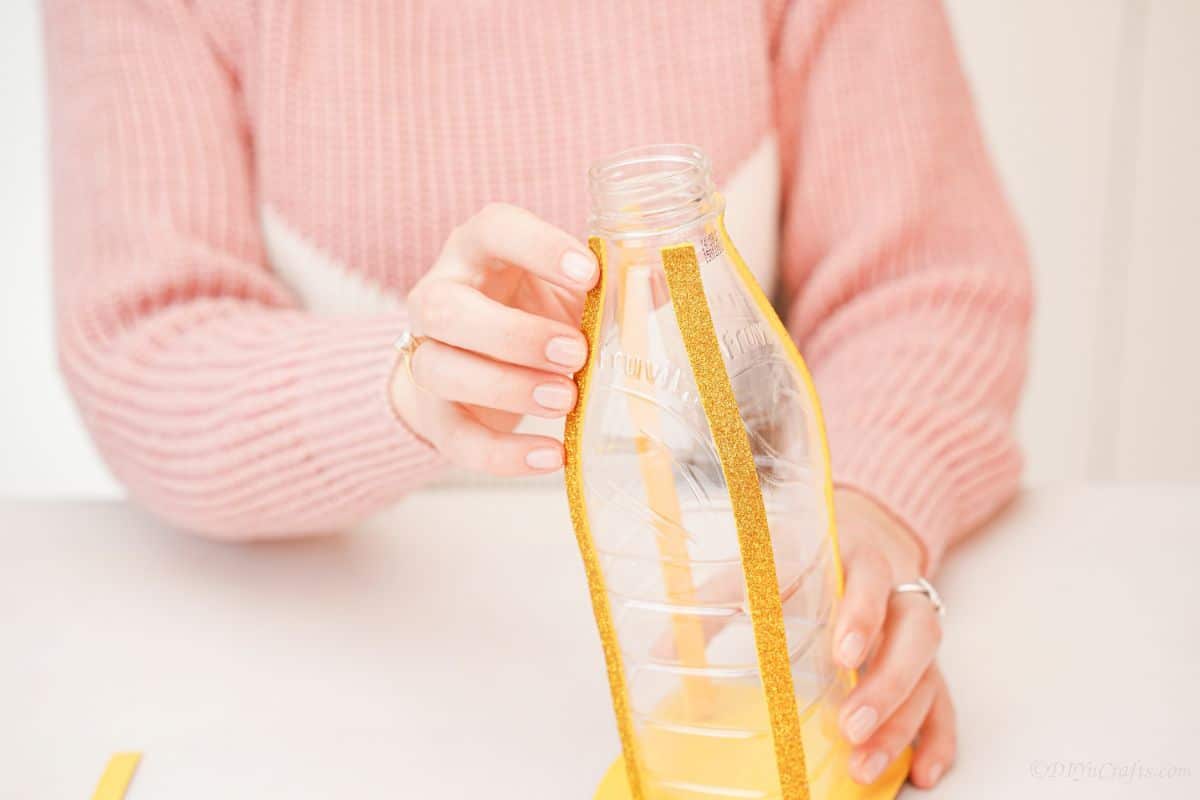
Now, cut and use additional strips of foam paper to wrap around the top of the bottle, just where the curved neck ends and the flat sides begin.
Repeat this, along the edge of the cardboard the bottle sits on top of.
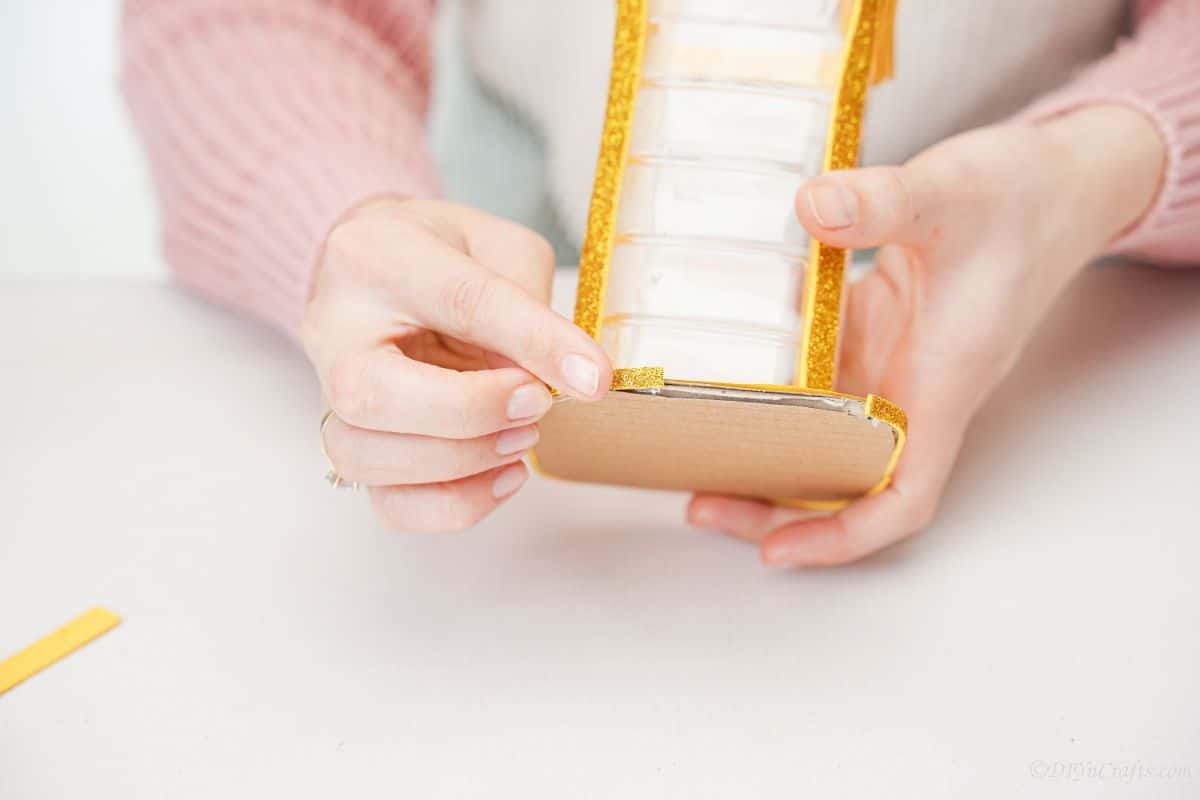
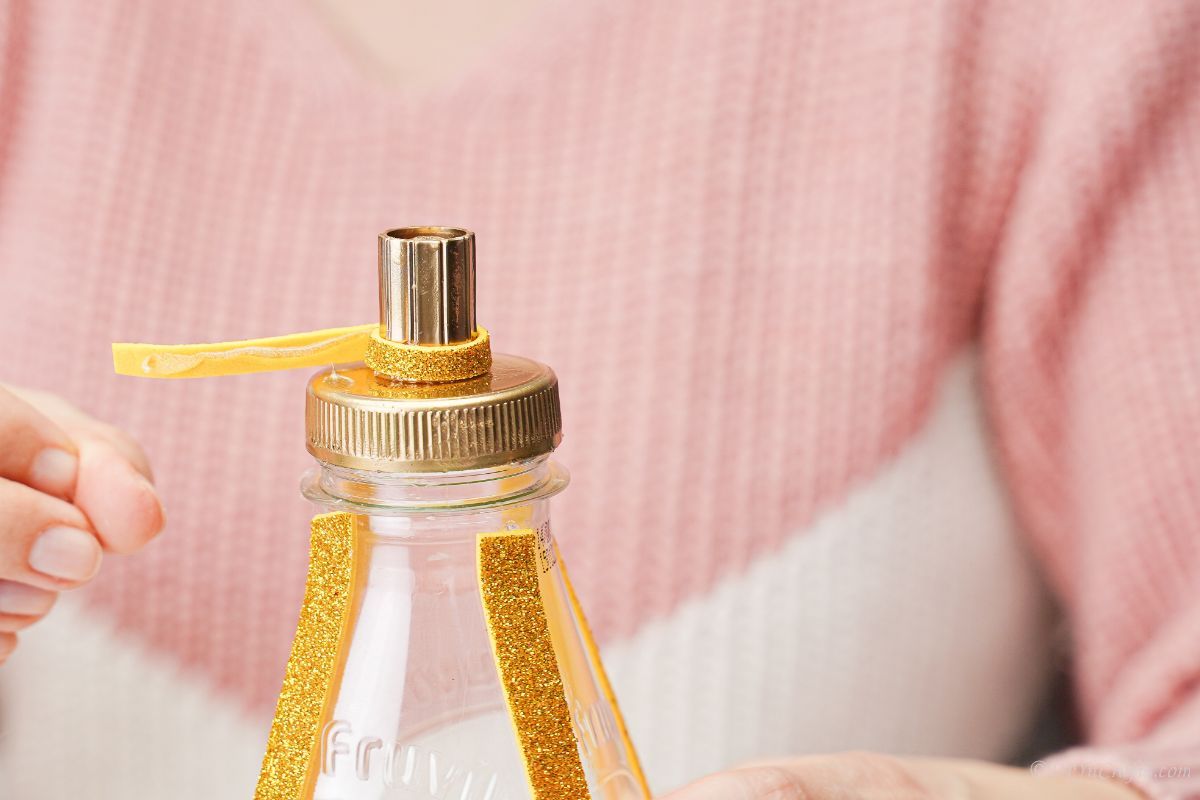
Then add a strip around the base of the lid/neck.
Screw the cap back onto the bottle, and add a small bit of glitter paper around the taller marker cap portion of the lid.
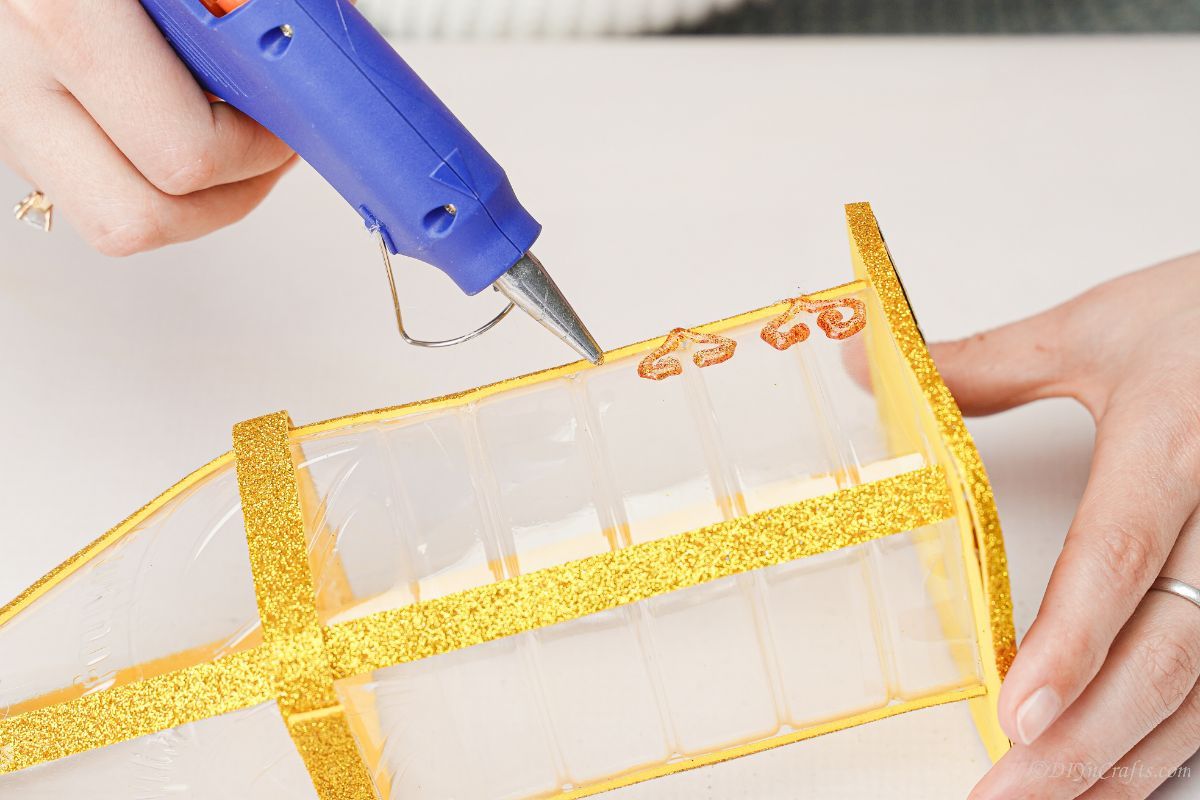
Lastly, you will decorate the sides of the bottle with swirls of gold glitter glue. You can follow a stencil pattern or freehand swirls along the sides.
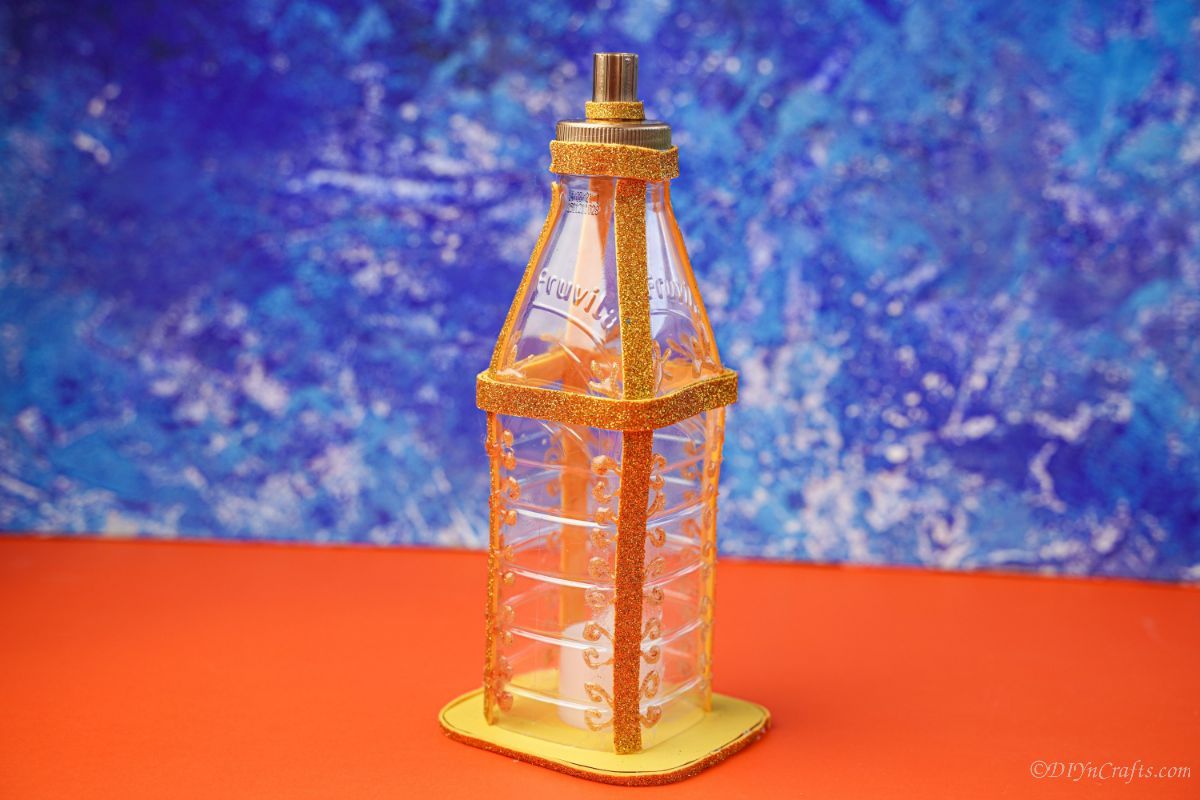
Once everything has dried, pop the bottom up on the tape hinge, and set an LED tealight candle inside to give the lantern a glow.
More Plastic Bottle Craft Ideas
If you have a lot of empty plastic bottles of water or even soft drinks, you can turn them into something fun and new. Below are a few more of our favorite craft ideas featuring plastic bottles as a base. Make sure that you bookmark, print the tutorials out, or pin these ideas to a craft board on Pinterest to make soon!
Similar Project: Easy Homemade DIY Gel Air Freshener Recipe
Yield: 1
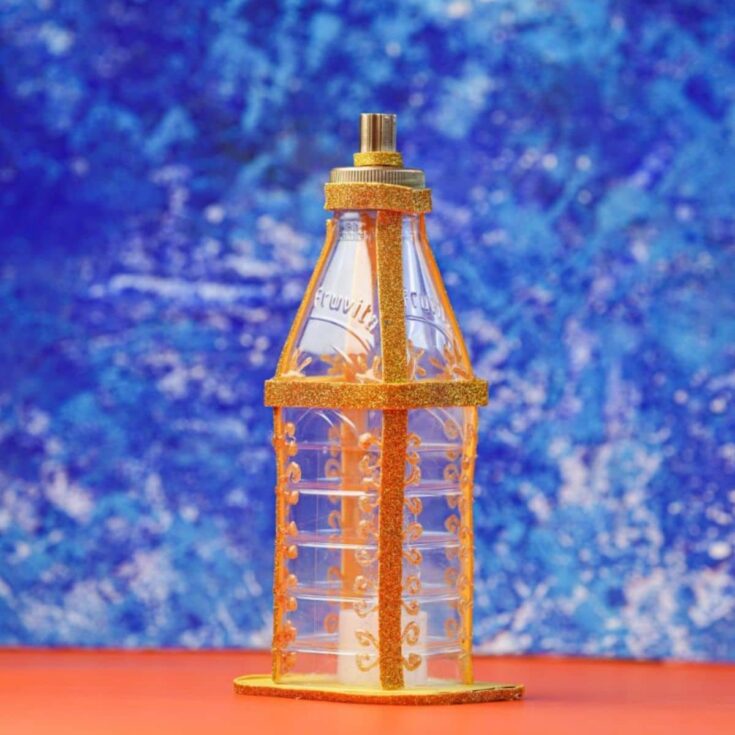
A fun plastic bottle lantern is the perfect upcycling craft to add a fun and functional lantern to any space!
Active Time
30 minutes
Additional Time
15 minutes
Total Time
45 minutes
Difficulty
Easy
Estimated Cost
$1
Instructions
- Cut the bottom of the bottom off, creating a flat base. Discard the base and keep the rest of the bottle.

- Trace around this onto cardboard.
- Then, add a second line around that square on the cardboard, about 1/2″ wider.
- Cut out the cardboard square rounding the corners.
- Then, measure and cut the yellow paper into a square the same size as the cardboard. Glue the yellow paper to this cardboard square and set it aside.
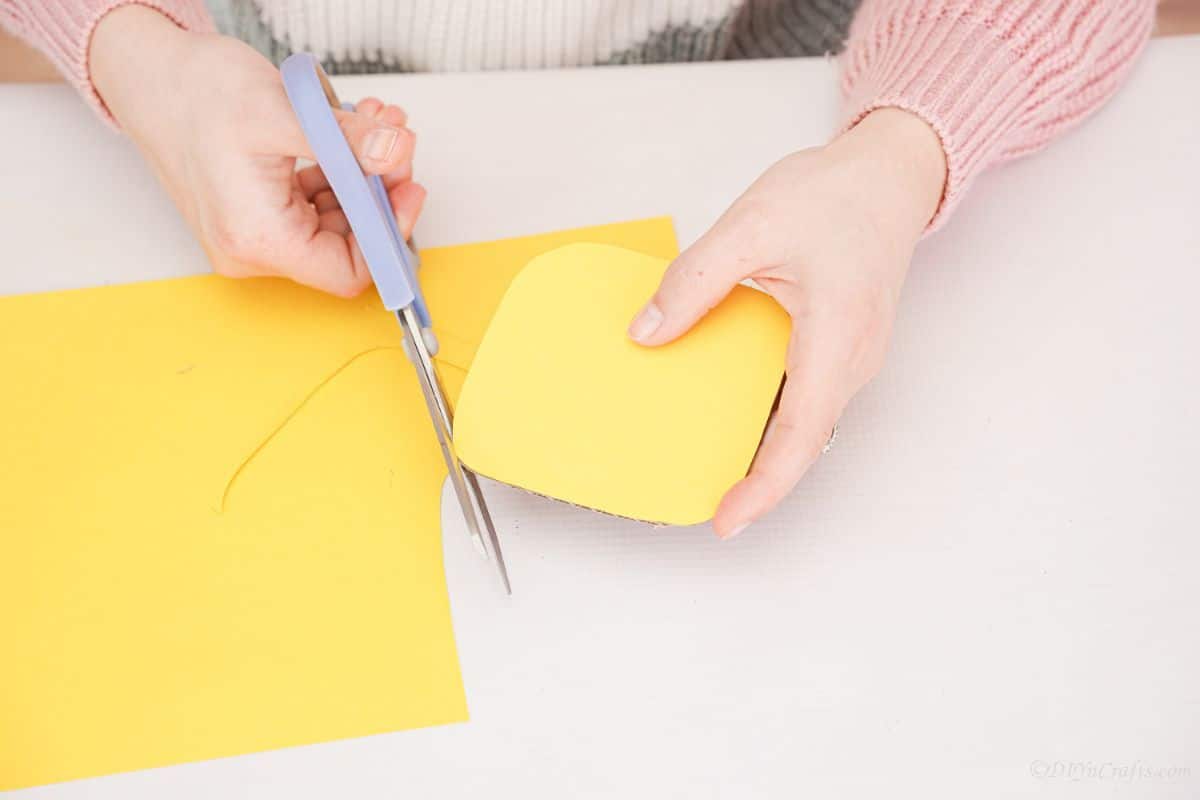
- Next, measure the height of the bottle, and then measure out four strips of yellow glitter paper that are 1/4″ wide and as tall as the bottle.
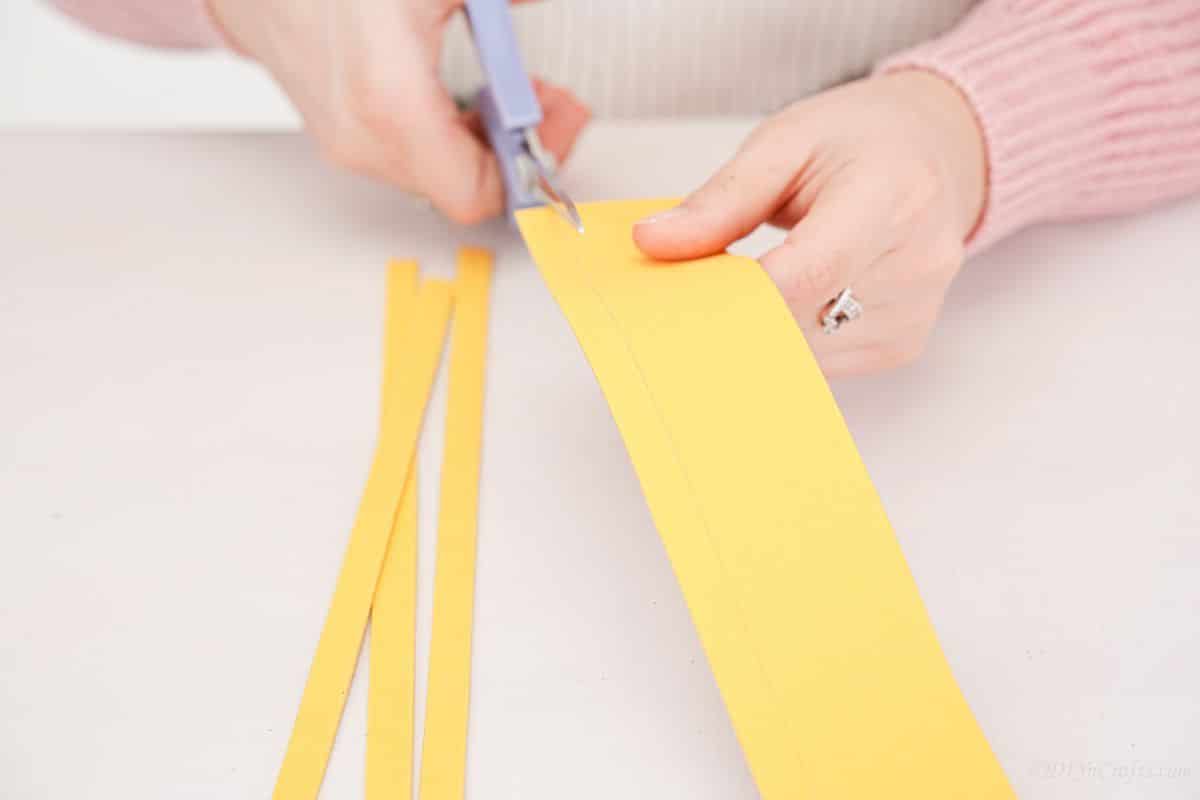
- Cut a small piece of the clear tape, and put it onto the edge of the bottom of the bottle so the tape is on the inside of the bottle but also has a length dangling on the outside.
- Set this on top of the cardboard square. pressing the table down onto the top of the cardboard. This will act as a hinge making it easy to lift the bottle up on one side to add the candle.
- Now, glue the marker cap to the top of the bottle lid, then spray paint them both gold and set them aside to dry.
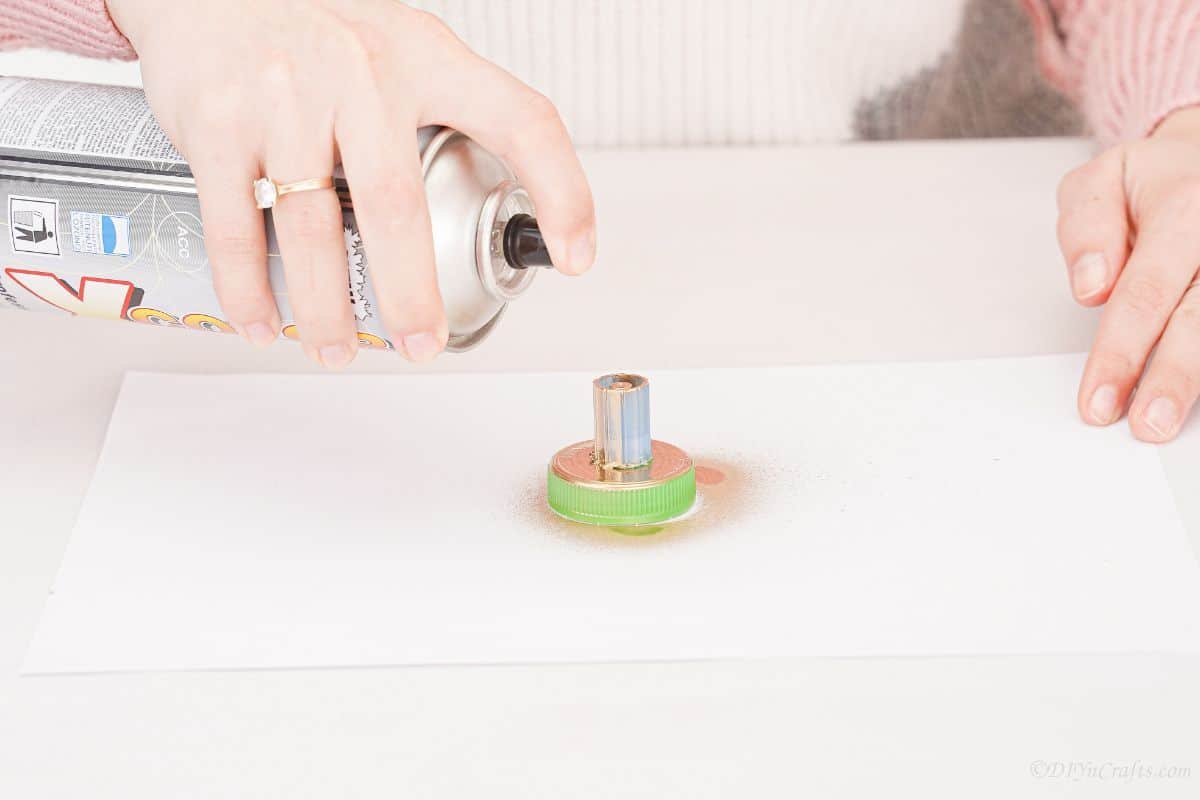
- Add hot glue to the corner from base to right at the neck of the bottle, then attach the strip of glitter paper.
- Repeat this on all four of the “corners”.

- Next, use the additional strips of glitter paper to wrap around the top of the bottle, just where the top neck ends.
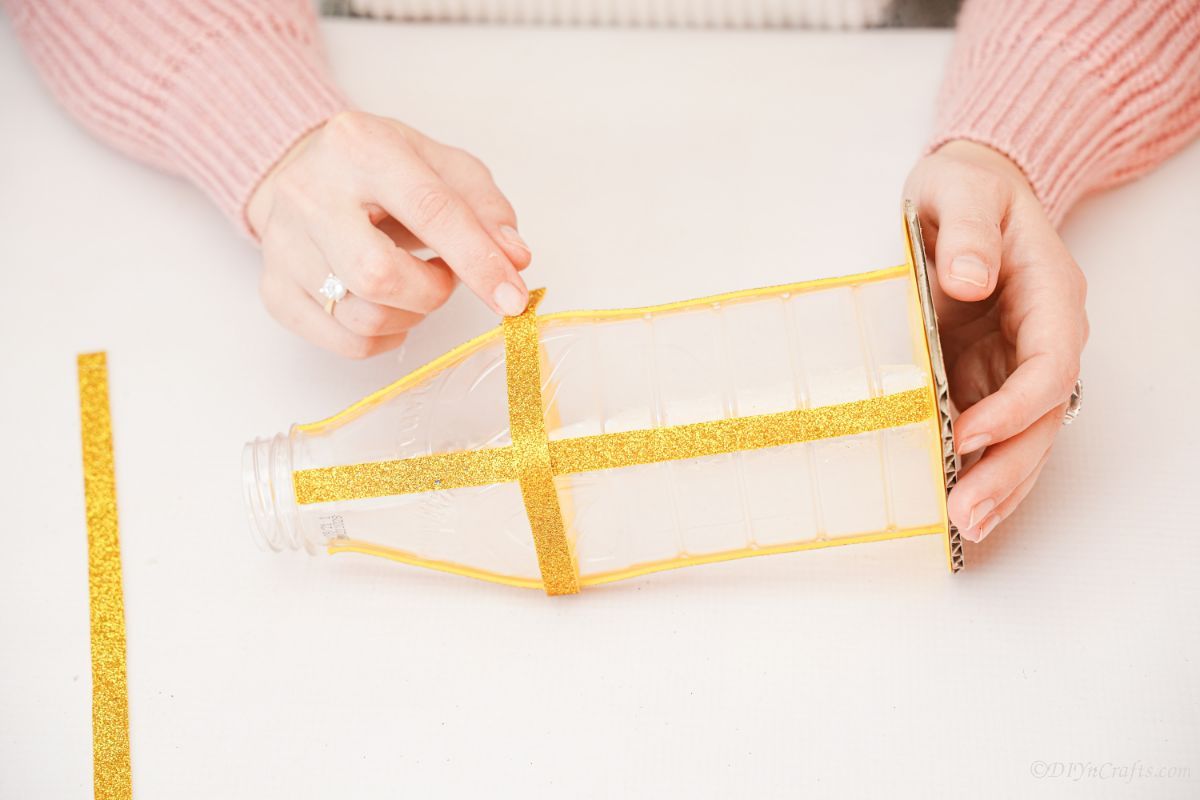
- Add another strip of glitter paper around the side of the cardboard base.
- Then a small strip around the base of the lid.
- Add the bottle cap to the bottle, and add an even smaller strip of glitter paper around the top marker part of the lid.
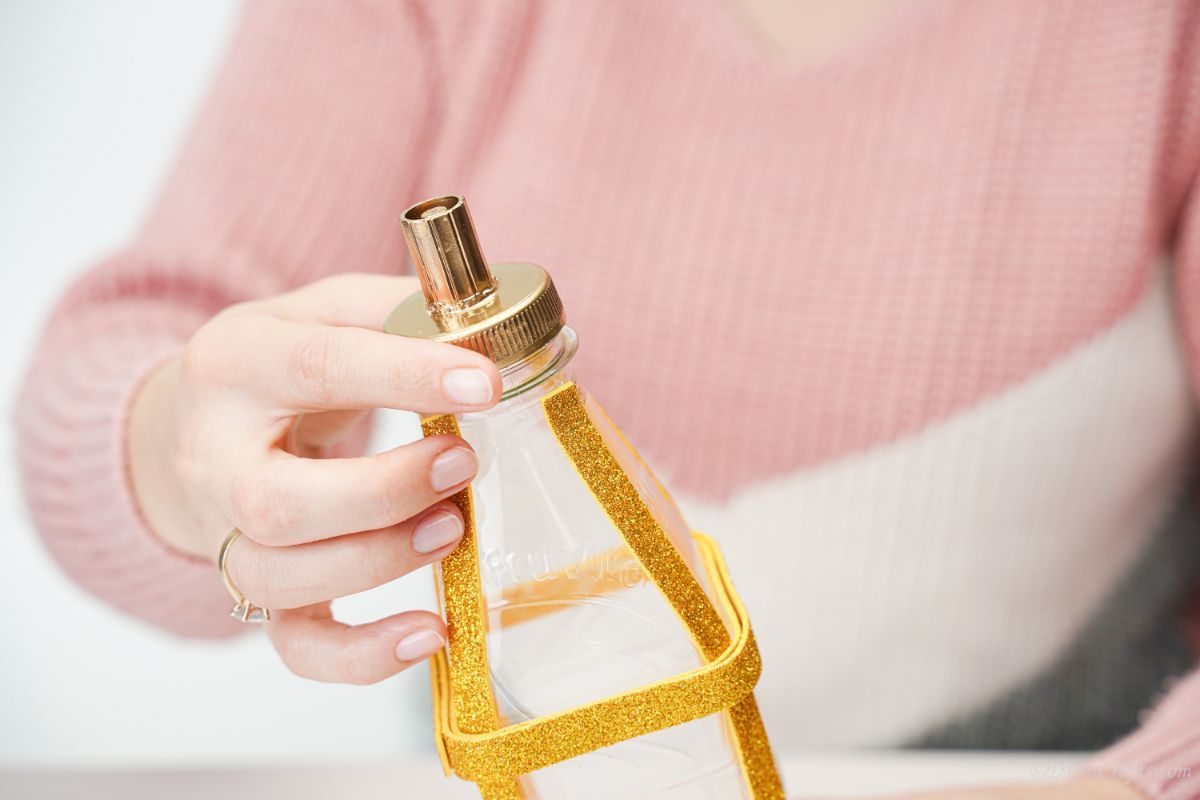
- Now, decorate each side of the glitter strips with swirls of gold glitter glue.
- Add a tealight candle to the bottom and use it as a lantern.
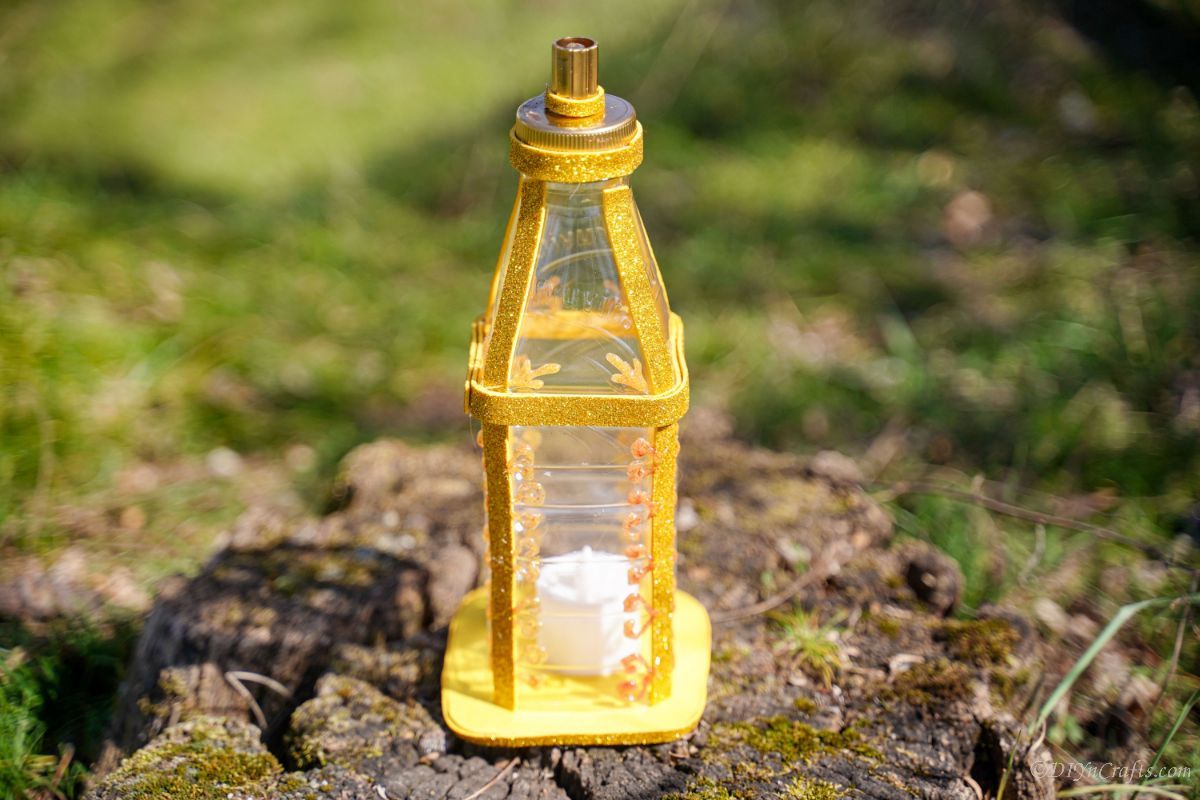
Notes
Use any color foam paper or glitter glue to add accents to the lantern.
Similar Project: DIY Pasta Decorated Easter Egg Garland
Recommended Products
As an Amazon Associate and member of other affiliate programs, I earn from qualifying purchases.
Finished Project Gallery
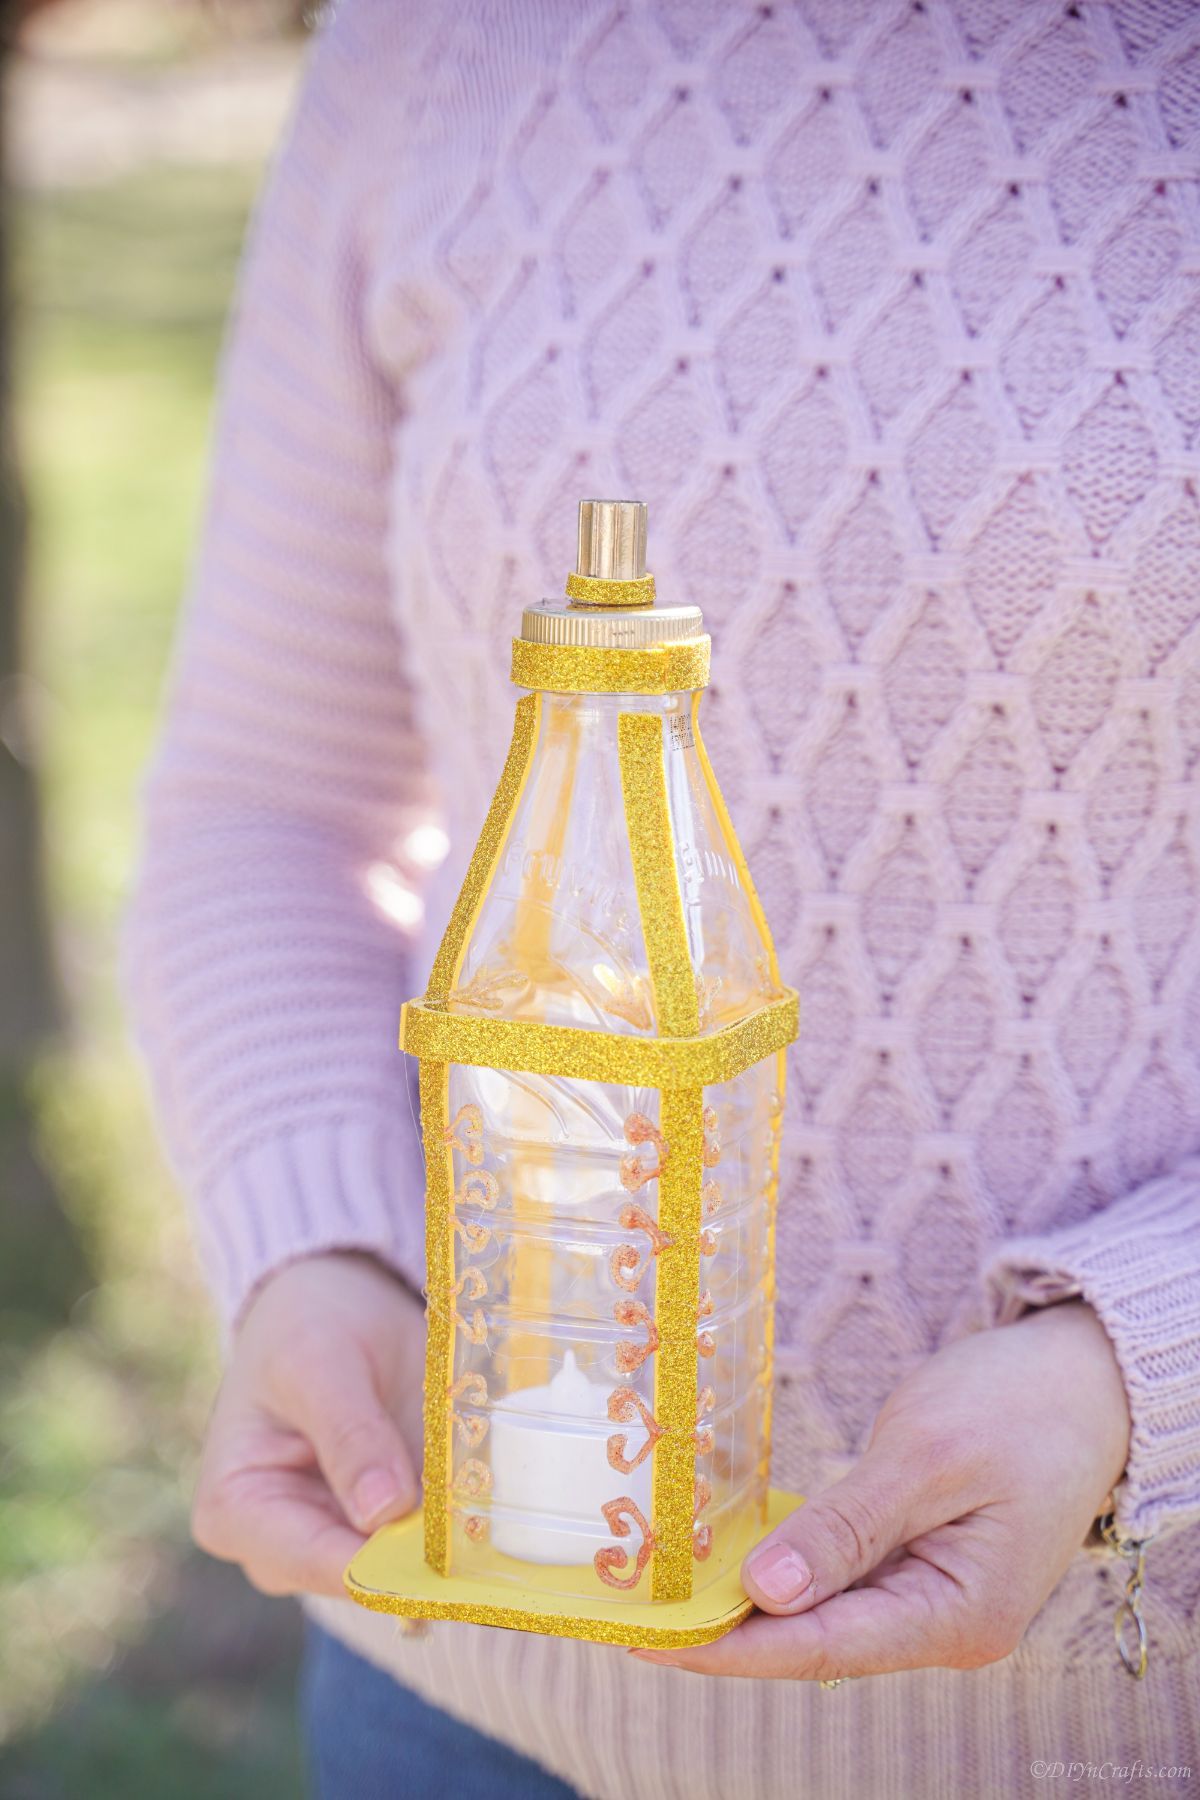
You can use this on the mantle as a soft glow light for a romantic setting.
[ad_2]
Source link

