Wondering what to do with old furniture? Kacha’s got some pretty stunning furniture makeover ideas that you can use to upcycle your old pieces.
Her YouTube channel is a gold mine of tips and tricks for sprucing up any kind of furniture. And as we all know, one of the best and easiest ways to redecorate your home is by giving your furnishings a new look.
Of course, you probably don’t have the time to watch every video she has posted. Good news: you don’t have to. I’ve picked five of the most practical yet mind blowing furniture makeovers that you can try. Let’s check them out:
1. Restore furniture with a stain and touch of beauty
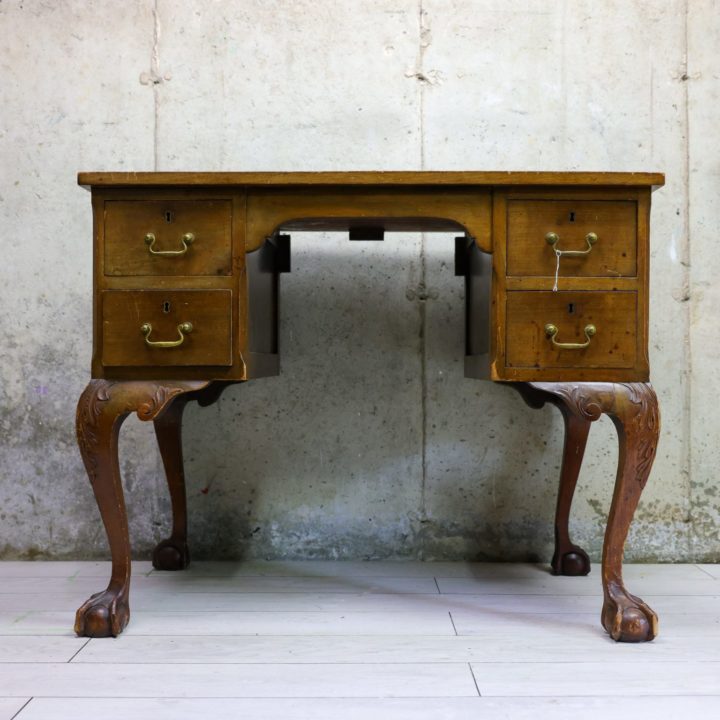
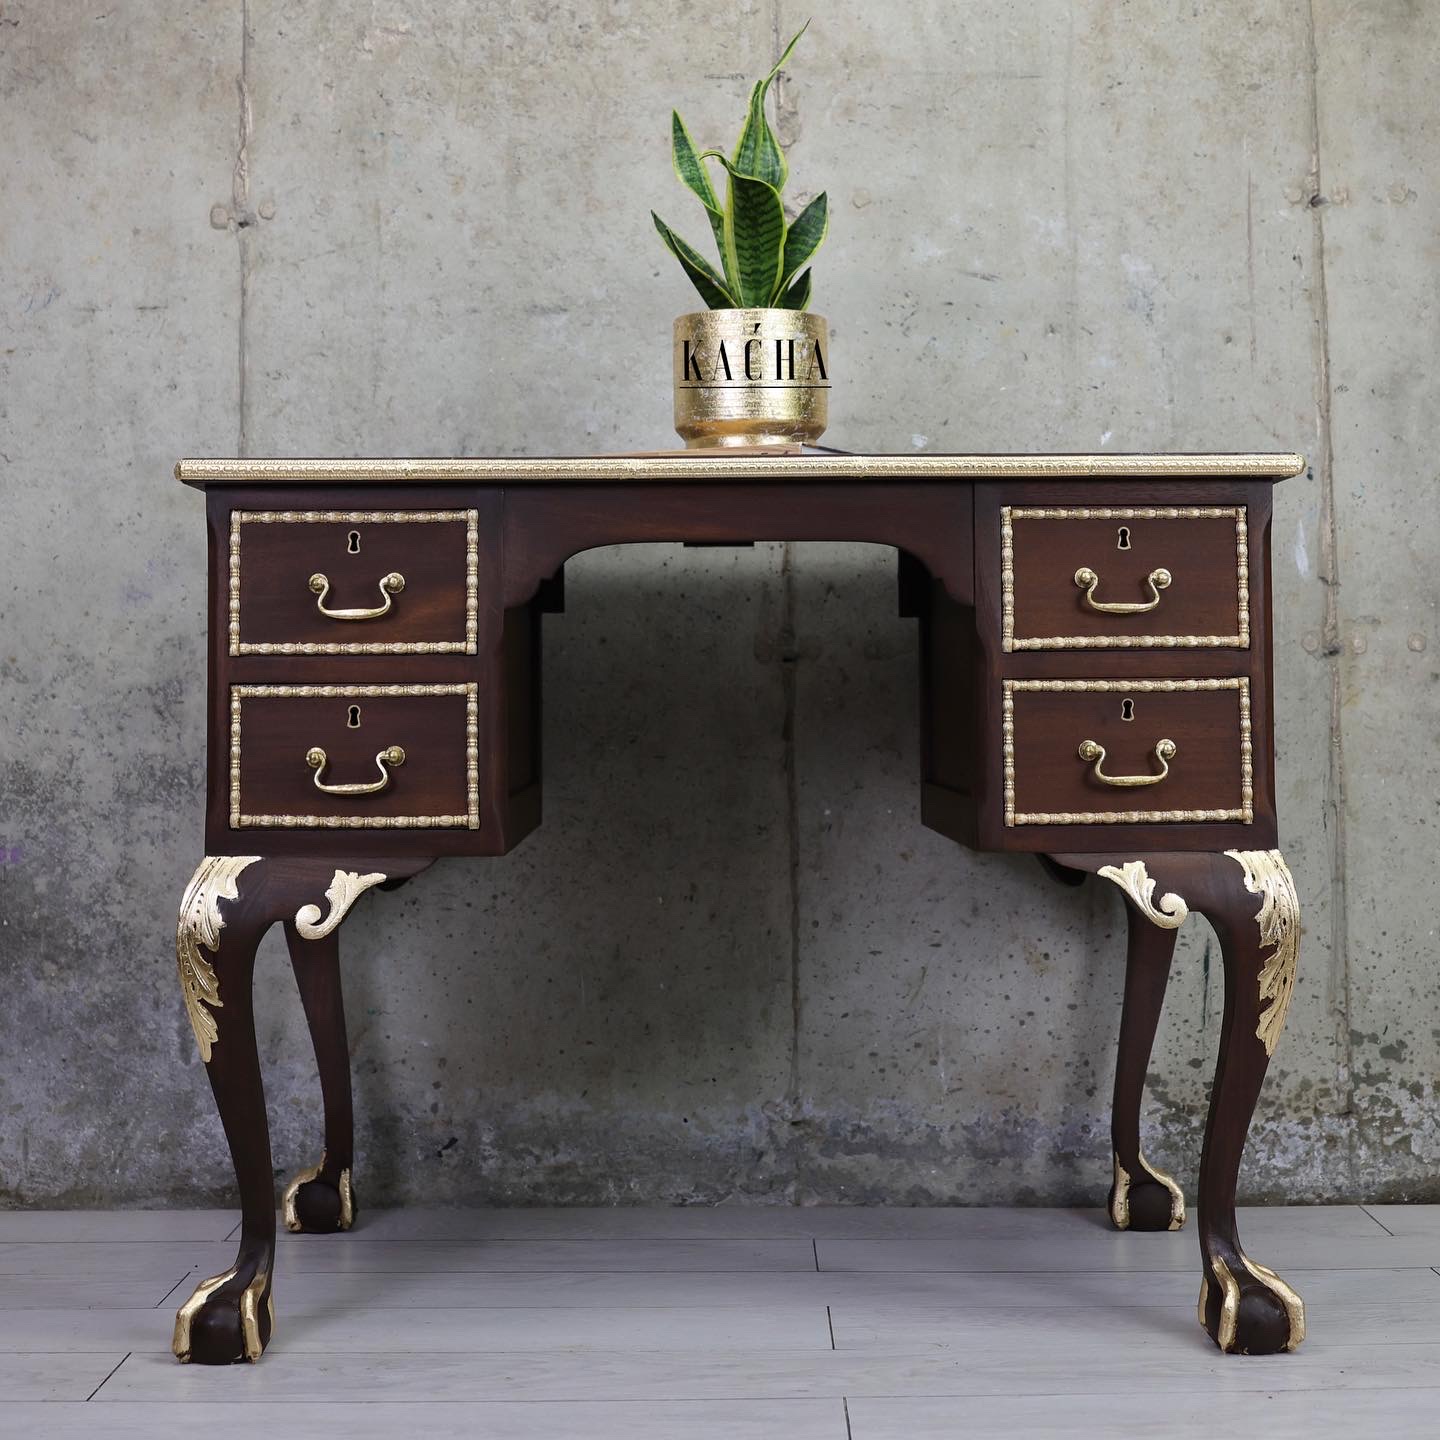
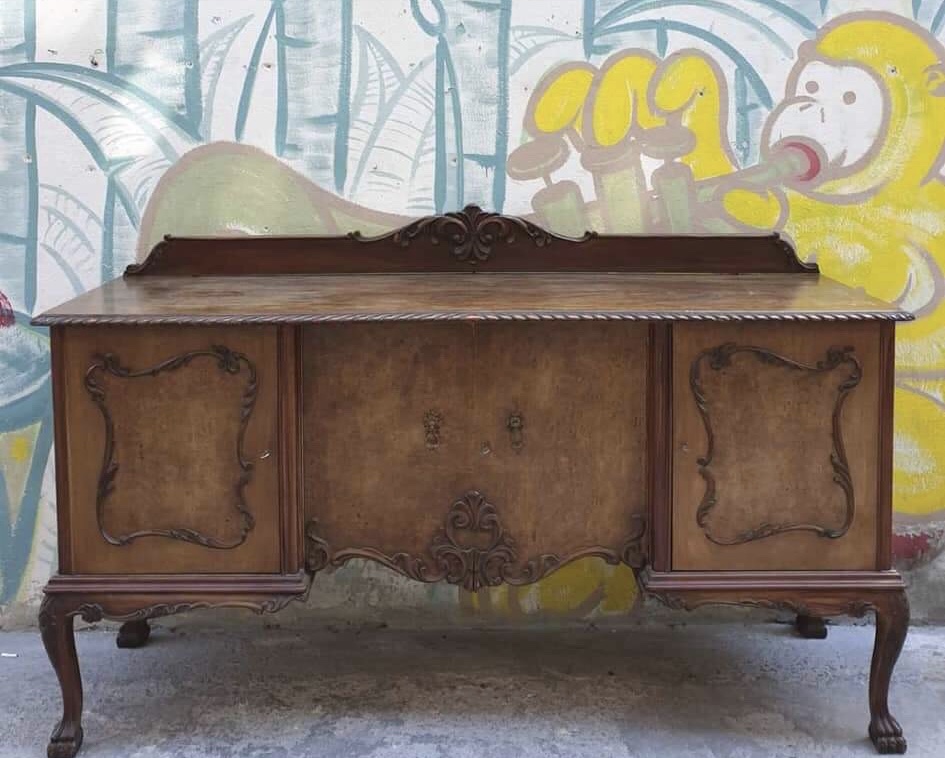
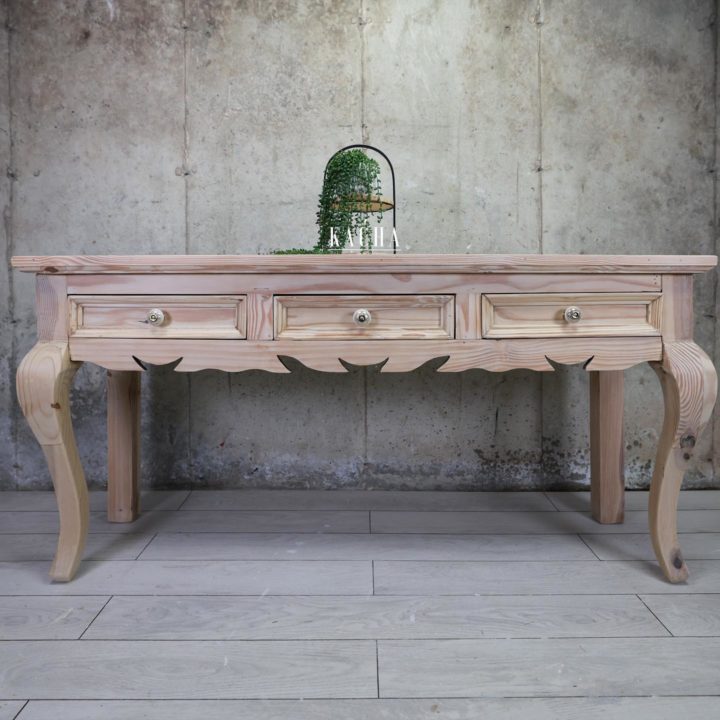
Chances are you have a shabby-looking wooden furniture somewhere around the house. It may be an unsightly cabinet or something old that you picked from the thrift store.
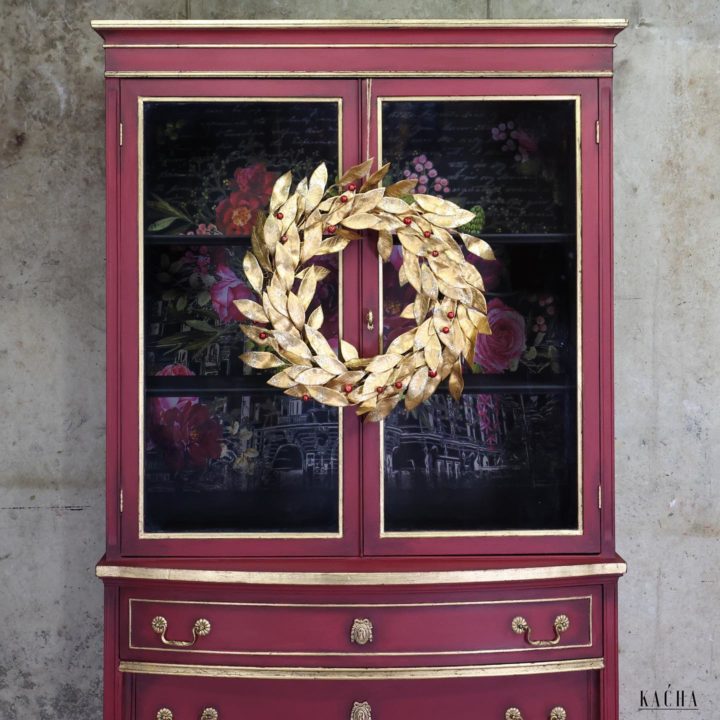
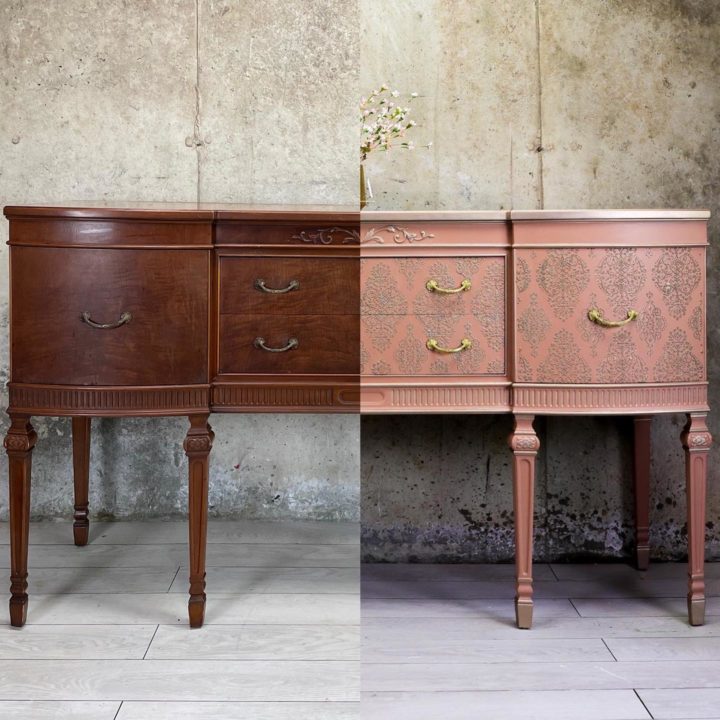
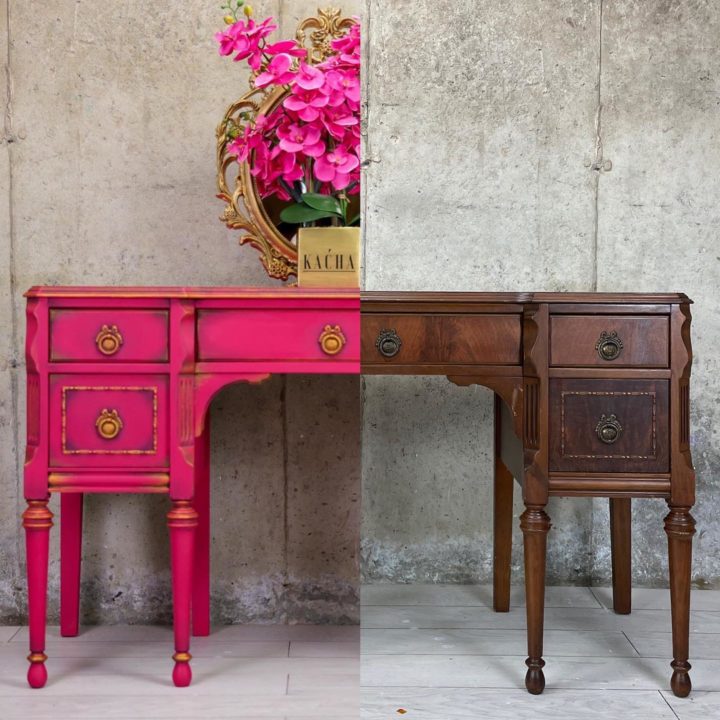
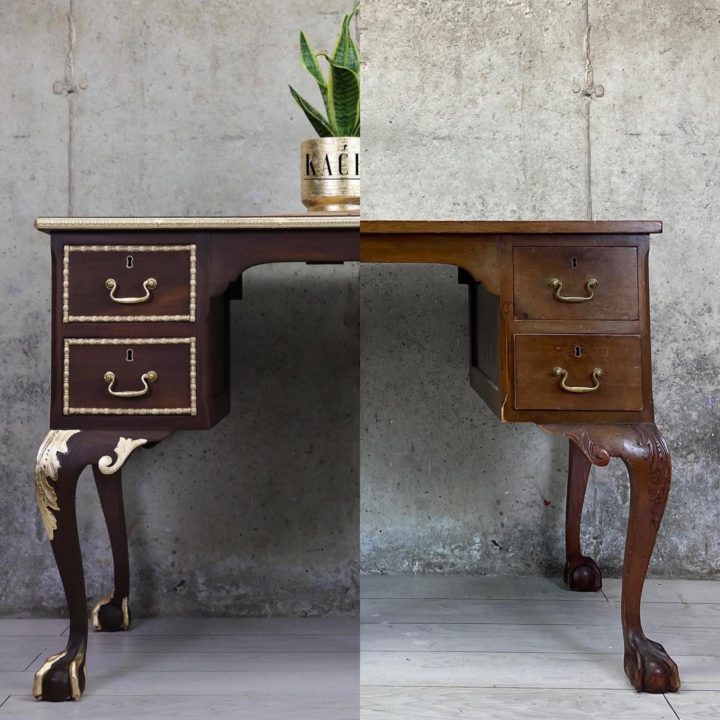
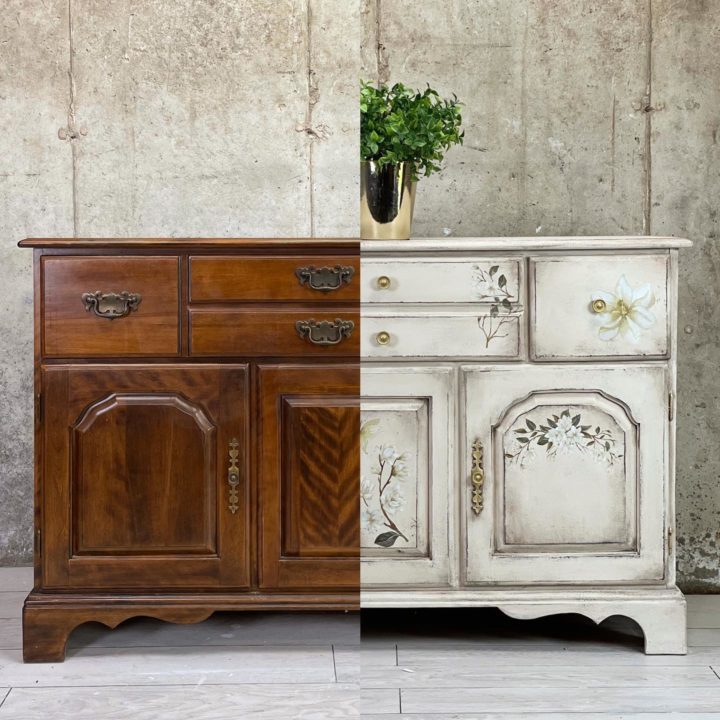
Well, you can restore it with a fresh coat of stain and an artsy detail. For her project, Kacha went with an amazing gold leafed pattern.
How to do it:
- Remove its hardware pieces and store them somewhere safe
- Sand the surfaces. You can use a paint stripper to reach any spot where a sander can’t
- While not necessary, consider applying mineral spirit with steel wool to condition the wood
- Slap a gel stain for coverage and add a polyurethane protector
- Now, add a décor mould and some artsy detailing. Kacha’s gold leafed pattern is one to consider, especially since it really pops against the brown color.
- Reinstall the old hardware and your furniture is good as new!
2. Use chalk paint to distress furniture
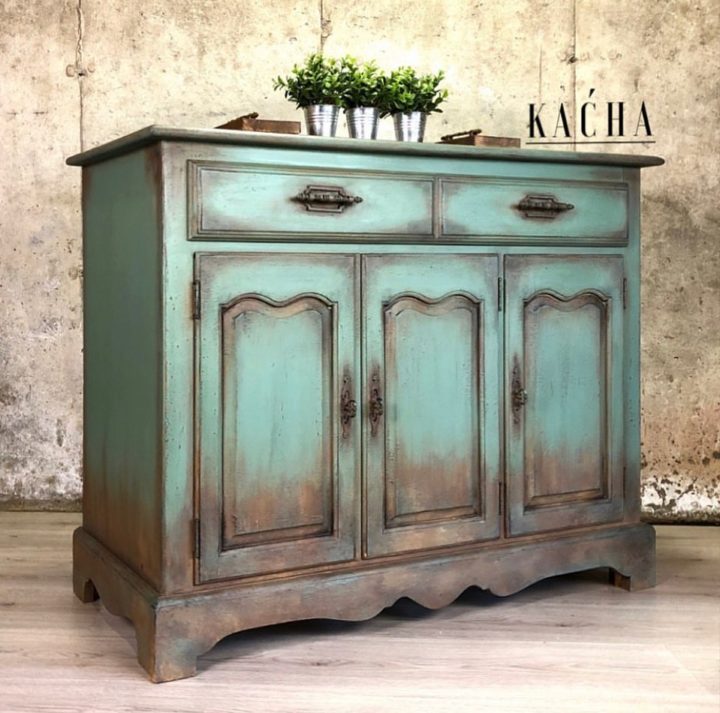
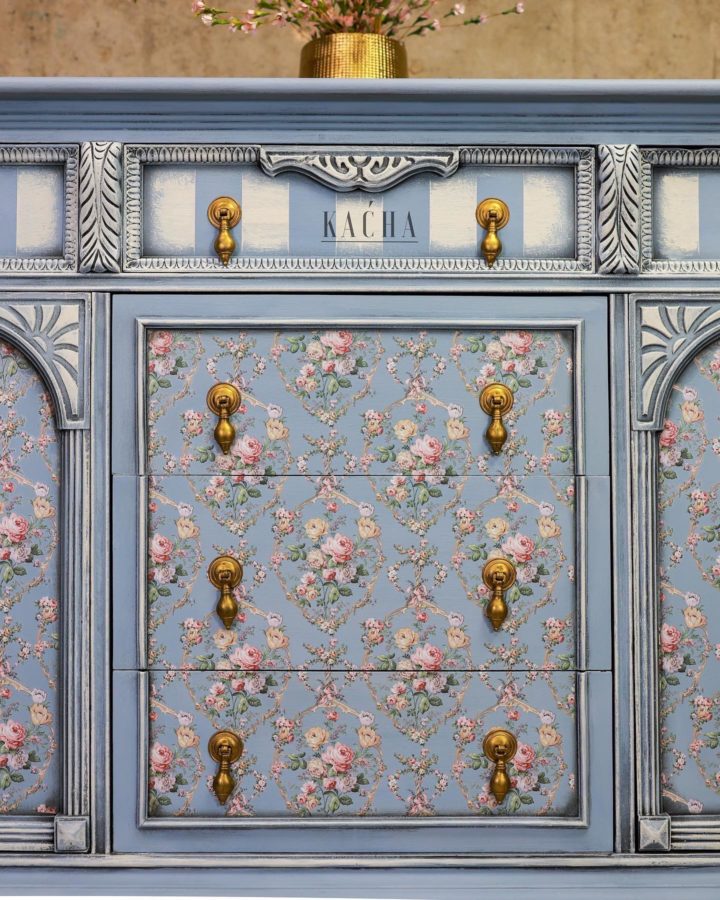
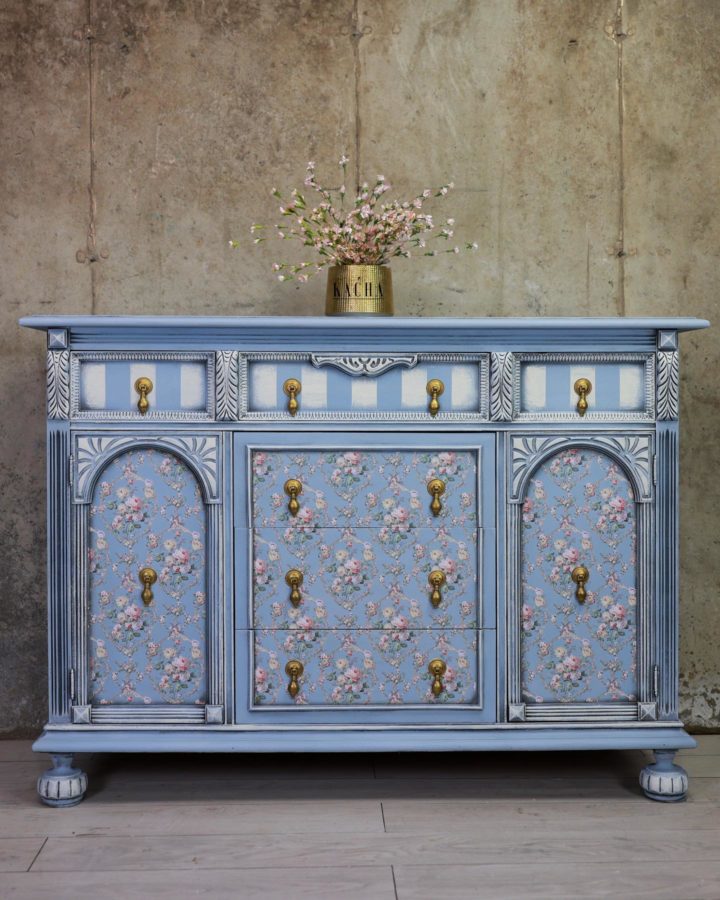
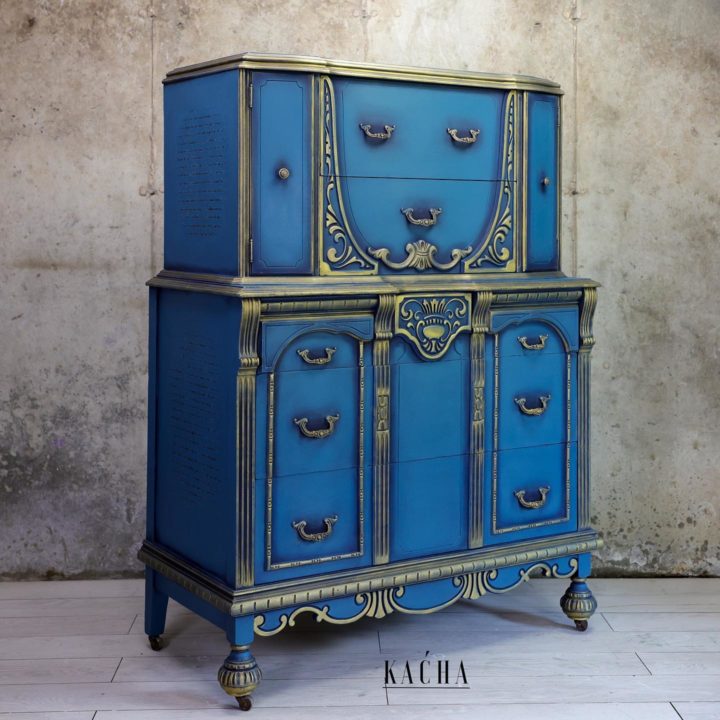
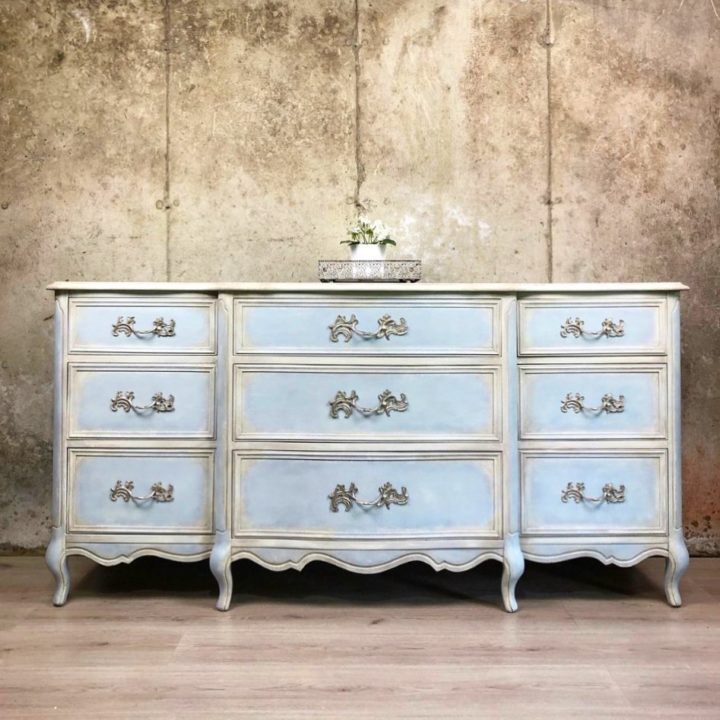
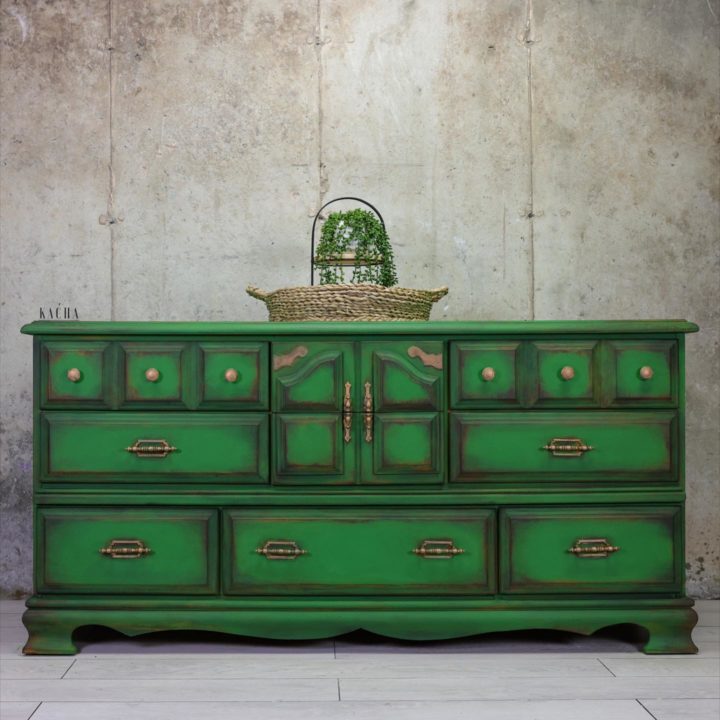
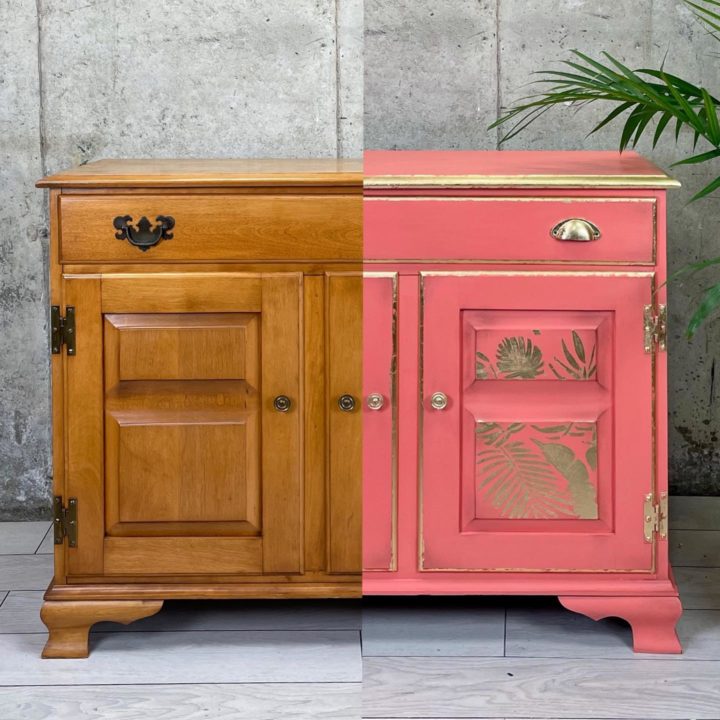
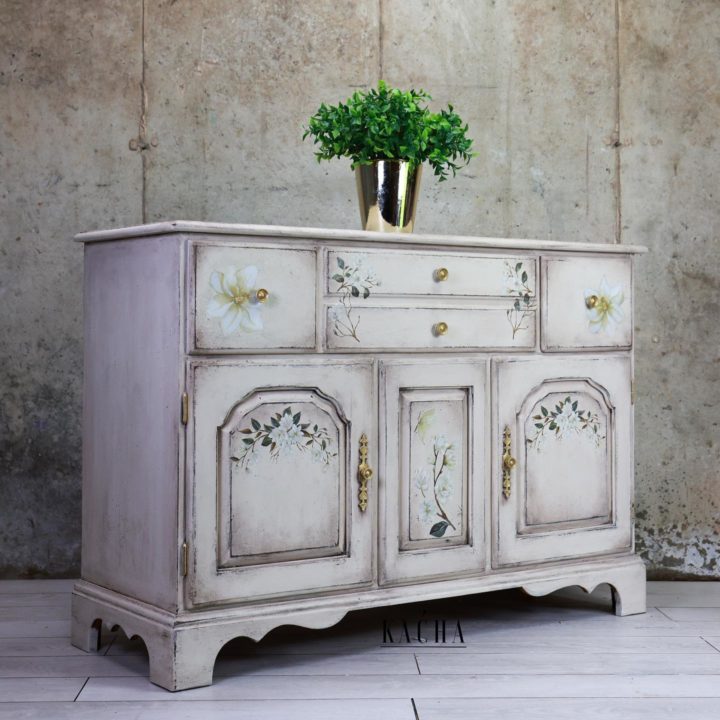
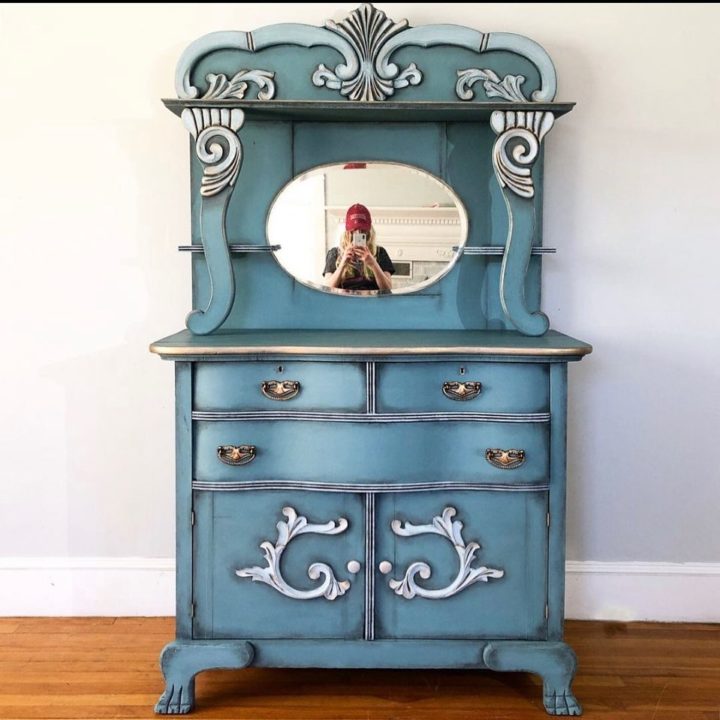
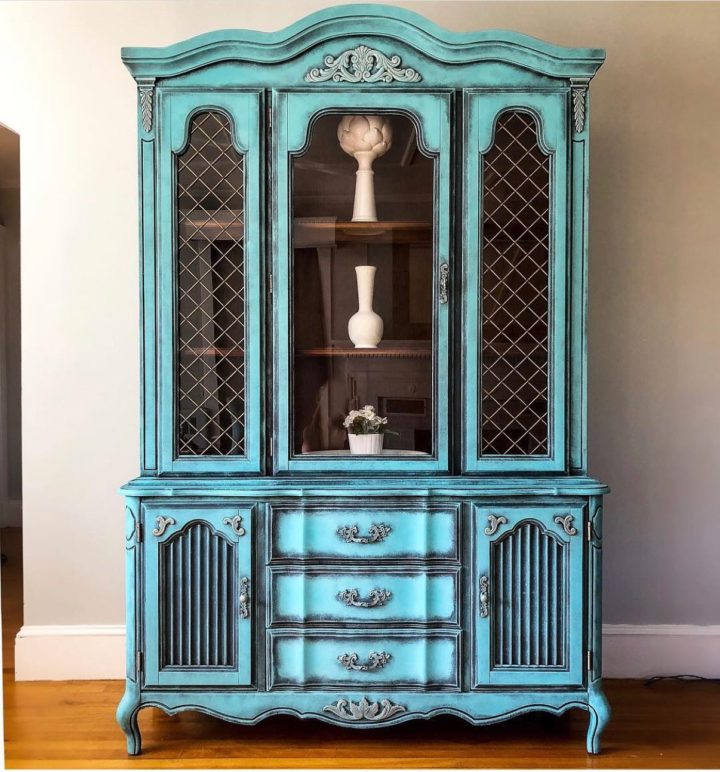
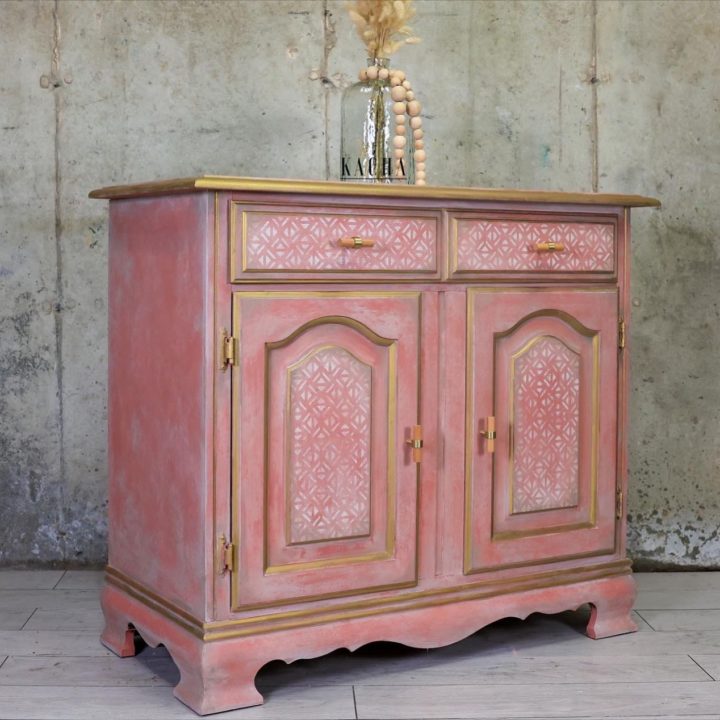
For many people, nothing beats a vintage look on furniture. If you share similar thoughts, you might like Kacha’s furniture makeover project where she turns a modern cabinet into a distressed masterpiece using chalk paint. You can also apply this style on a dresser makeover (or on any furniture for that matter).
How to do it
- Prep your piece by removing hardware and filling spots that need repair (using a wood filler)
- Spray two layers of shellac to prevent a bleed through
- Slap a coat of your base color. This is where your artistic eye comes into play because this base will act as a canvas for your decoupage image
- Apply decoupage gel where you plan to stick the decoupage paper
- From the top, place the decoupage paper and gently press it on the surface as you work your way down. The gentle presses are meant to remove air bubbles and wrinkles.
- Add a layer of decoupage gel on top of the decoupage paper
- Depending on how prominent the borders of the decoupage paper look, you may paint them over with your base color to fully hide them.
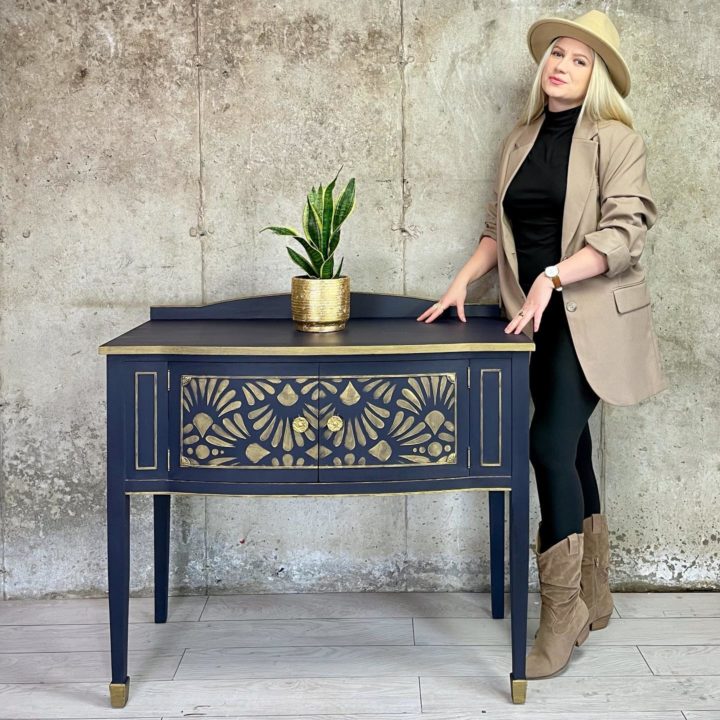
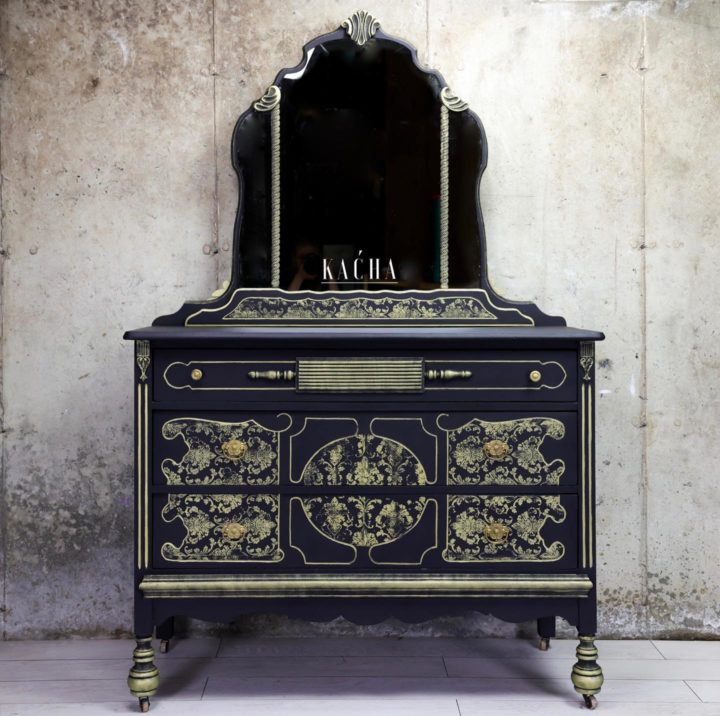
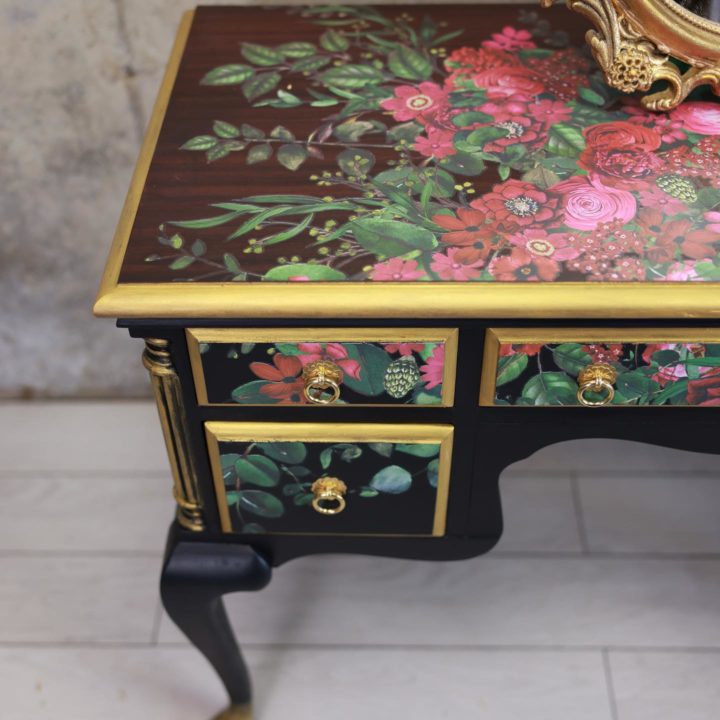
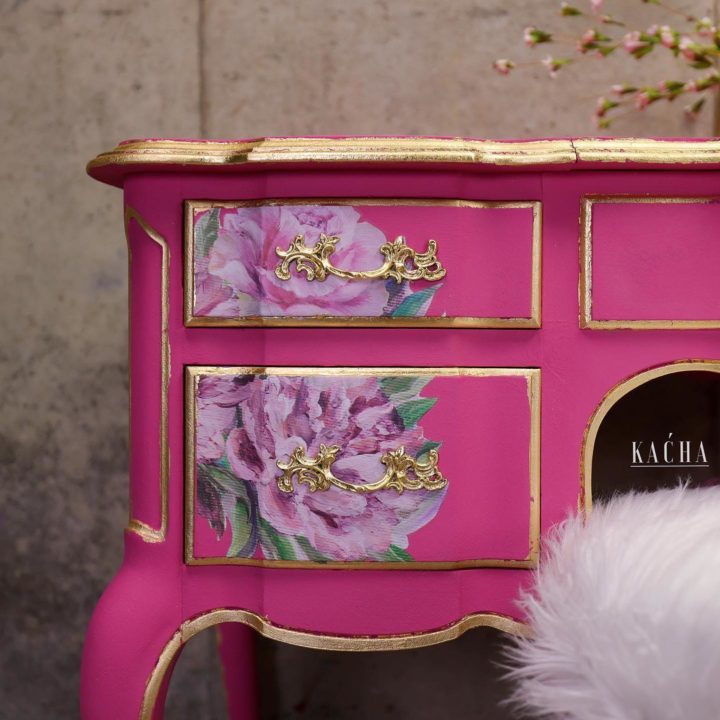
- At this point, you can let your imagination go wild with the rest of the surface. Put any additional artsy paintings you may have in mind. For example, Kacha added a golden frame to her decoupage image.
3. Decoupage with your favorite art
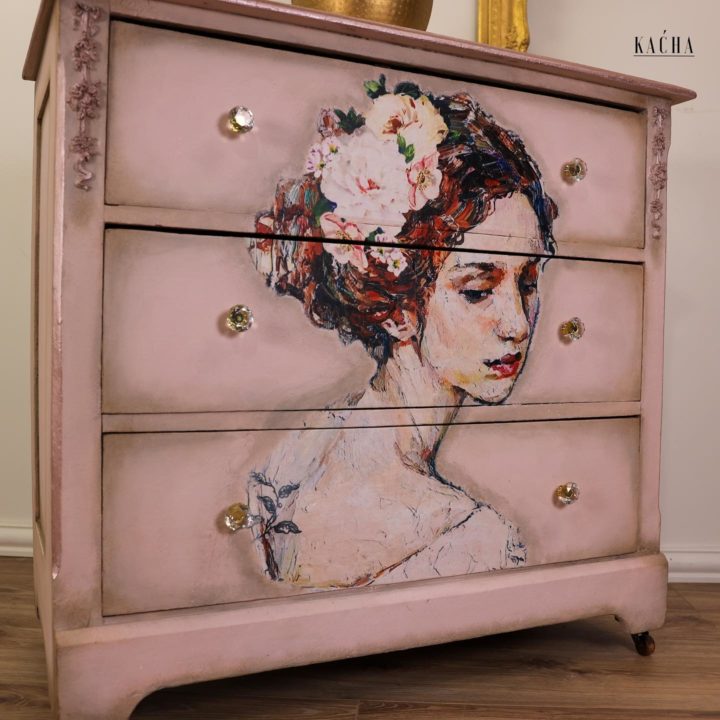
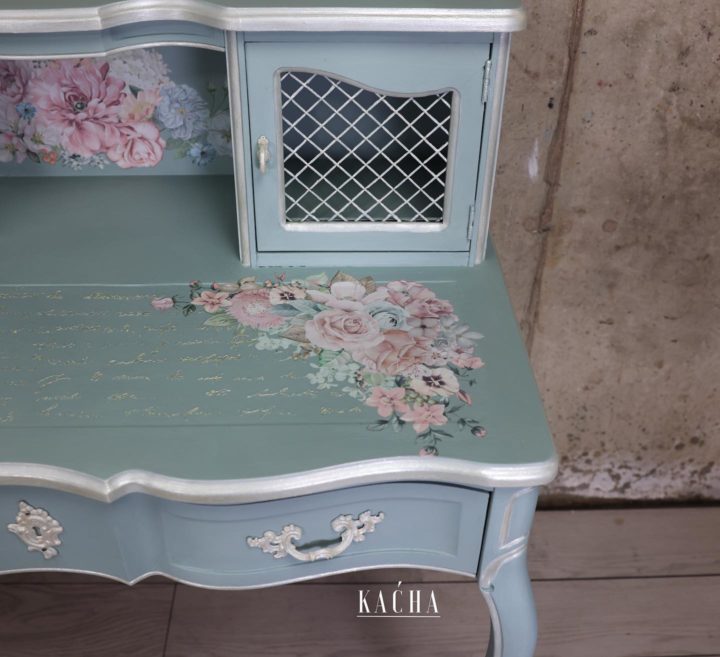
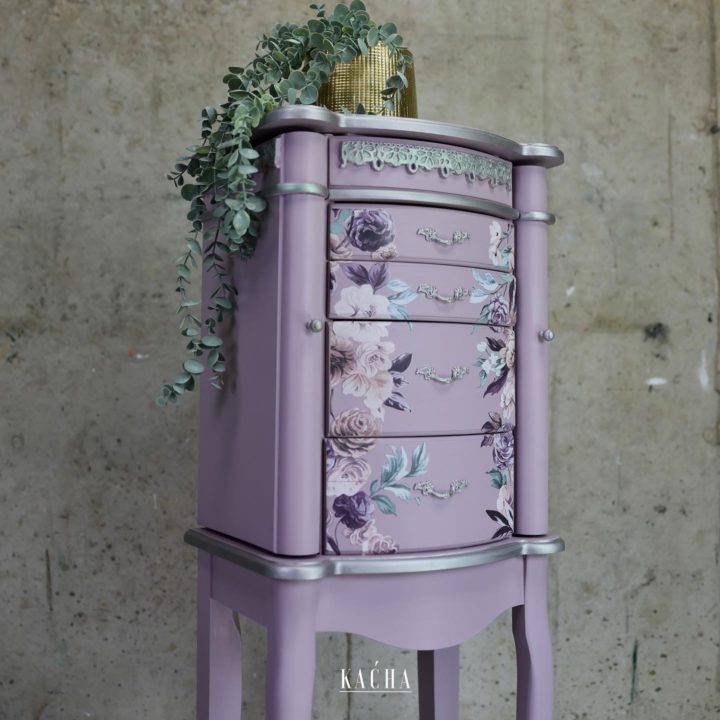
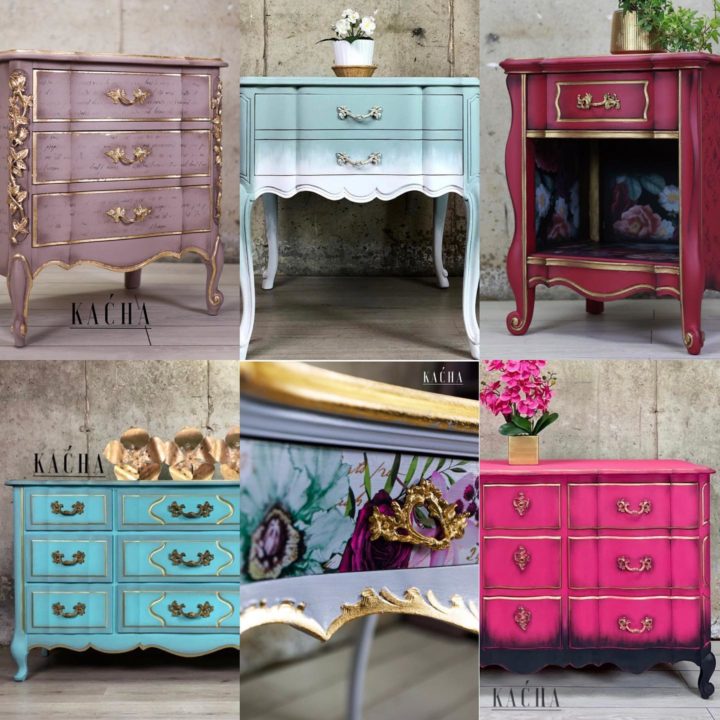
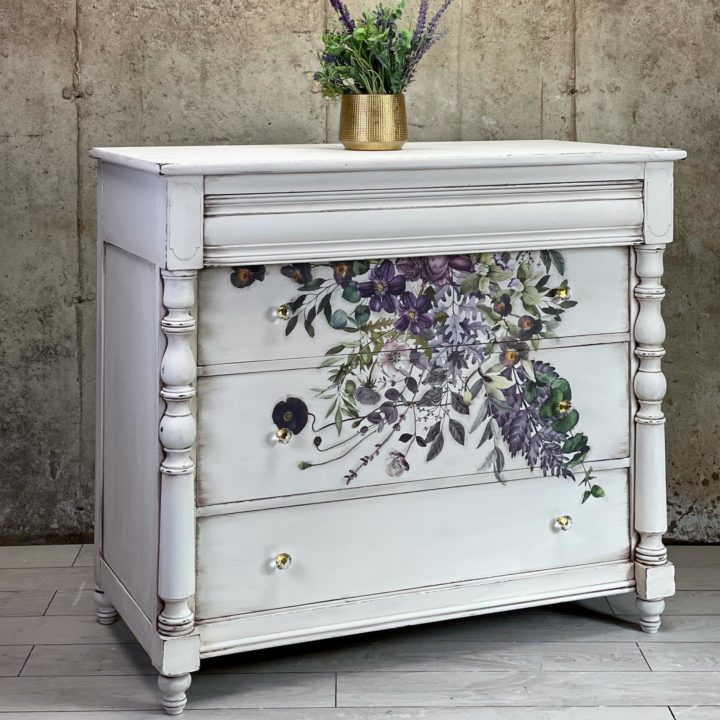
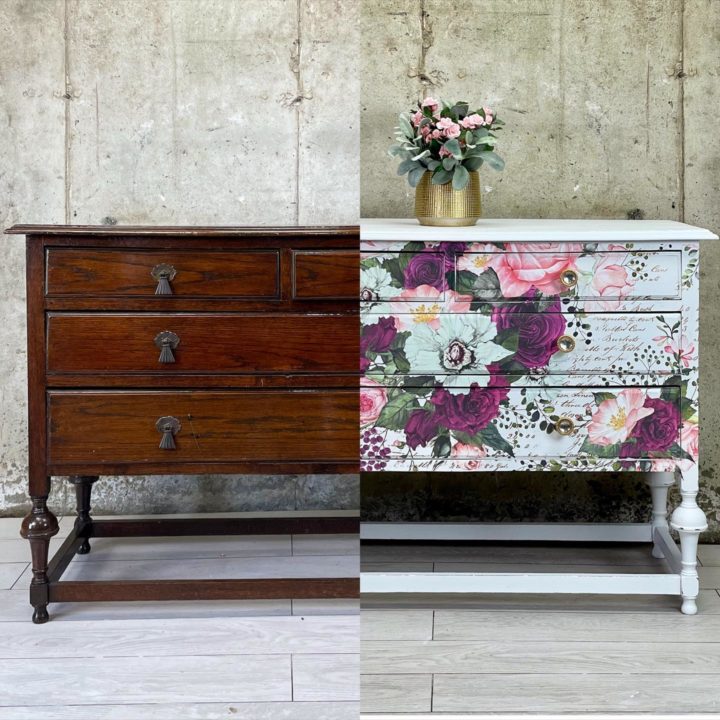
Of all the furniture makeover styles, decoupaging is probably the coolest. It lets you go wild and creative, giving you the chance to wrap your furniture in art. Kacha, for example, picked “Serene Thought” from Redesign with Prima for her dresser makeover.
On the downside, decoupaging works best for flat surfaces only. You may struggle to pull it off if your furniture has designs and details. They may cause wrinkles and air bubbles.
How to do it
- Prep your piece by removing hardware and filling spots that need repair (using a wood filler)
- Spray two layers of shellac to prevent a bleed through
- Slap a coat of your base color. This is where your artistic eye comes into play because this base will act as a canvas for your decoupage image
- Apply decoupage gel where you plan to stick the decoupage paper
- From the top, place the decoupage paper and gently press it on the surface as you work your way down. The gentle presses are meant to remove air bubbles and wrinkles.
- Add a layer of decoupage gel on top of the decoupage paper
- Depending on how prominent the borders of the decoupage paper look, you may paint them over with your base color to fully hide them.
- At this point, you can let your imagination go wild with the rest of the surface. Put any additional artsy paintings you may have in mind. For example, Kacha added a golden frame to her decoupage image.
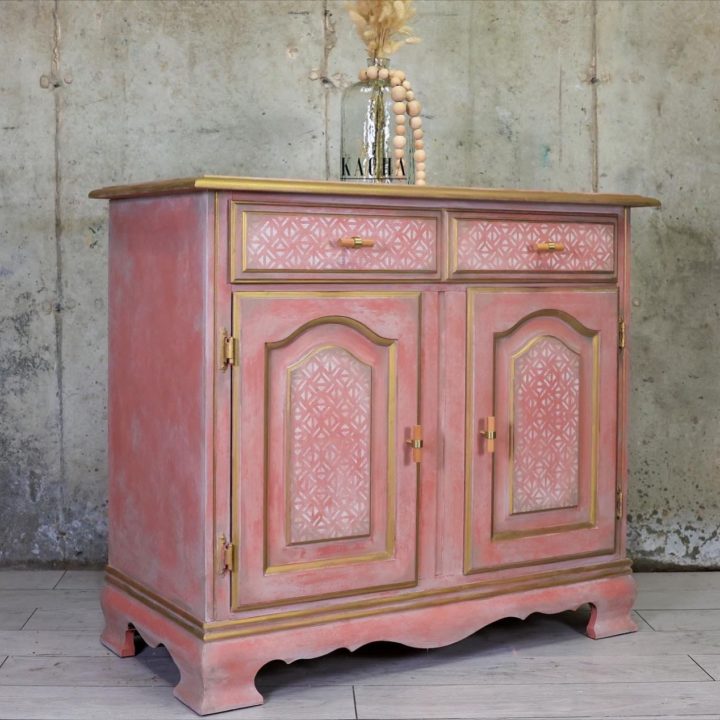
4. Stencil it
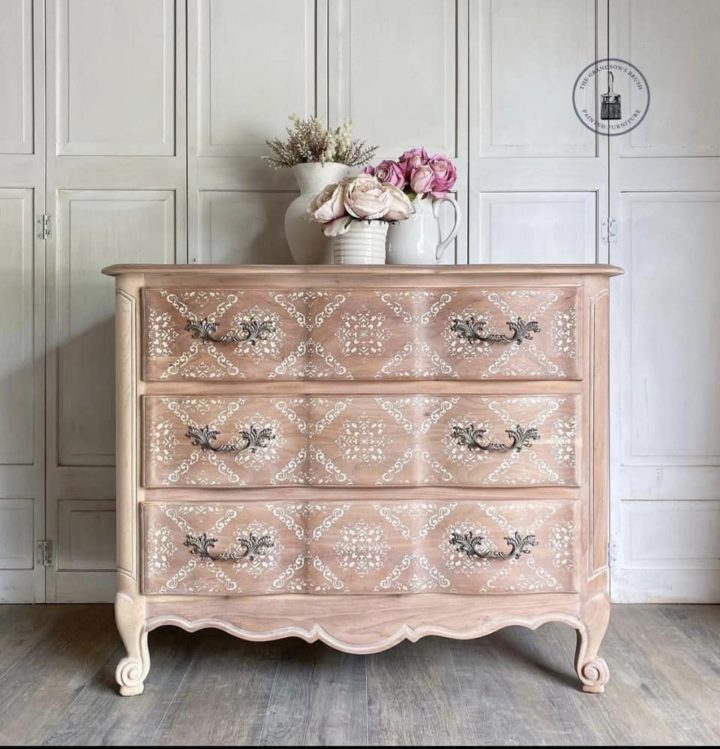
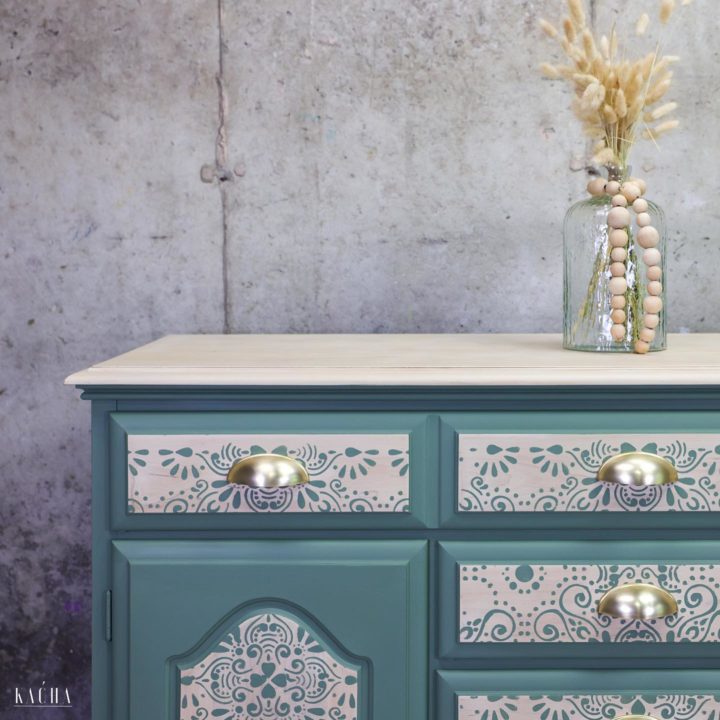
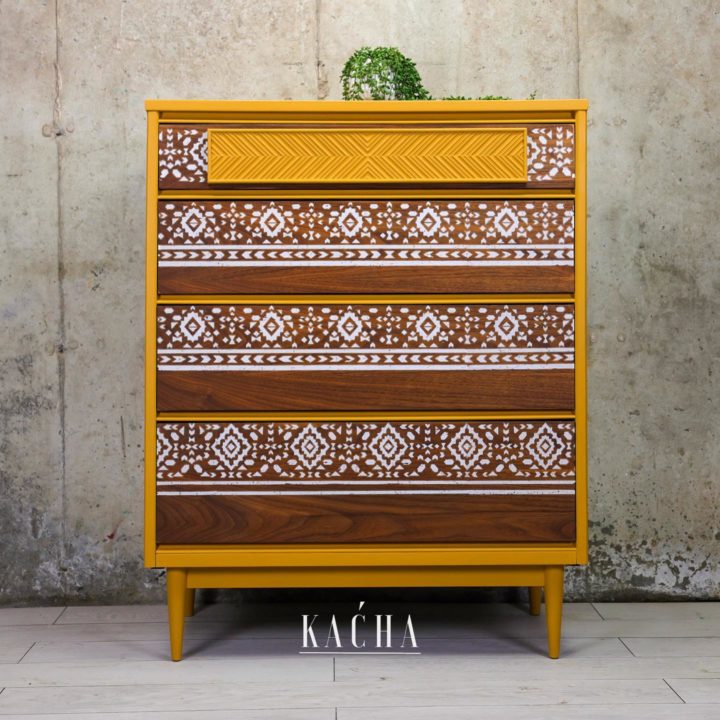
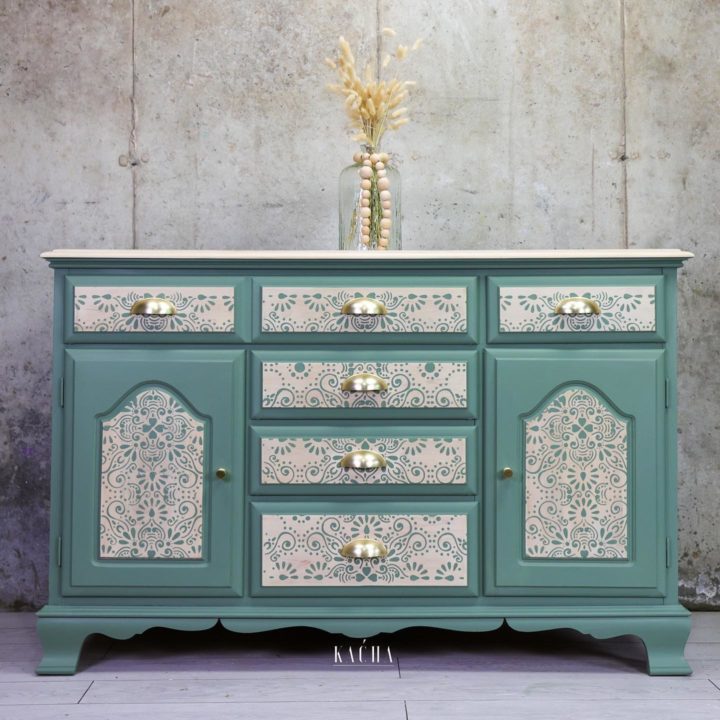
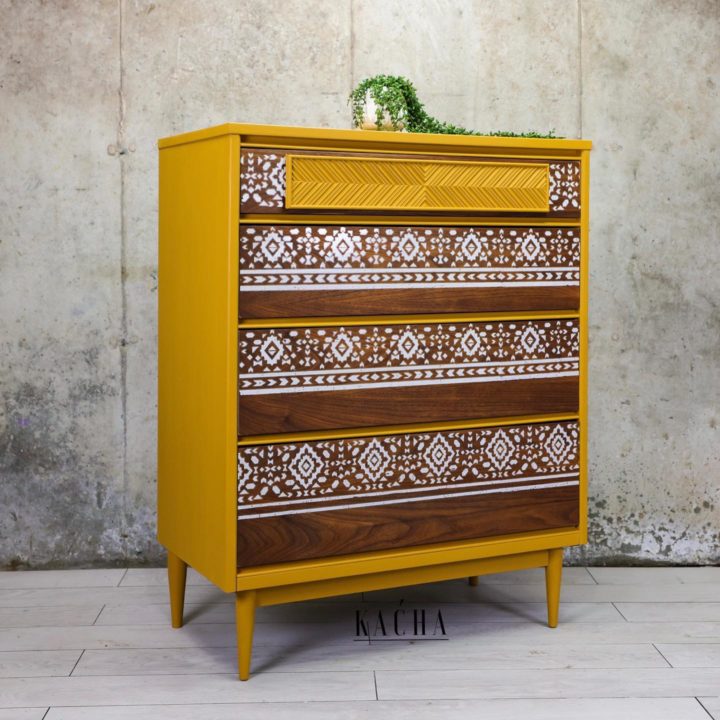
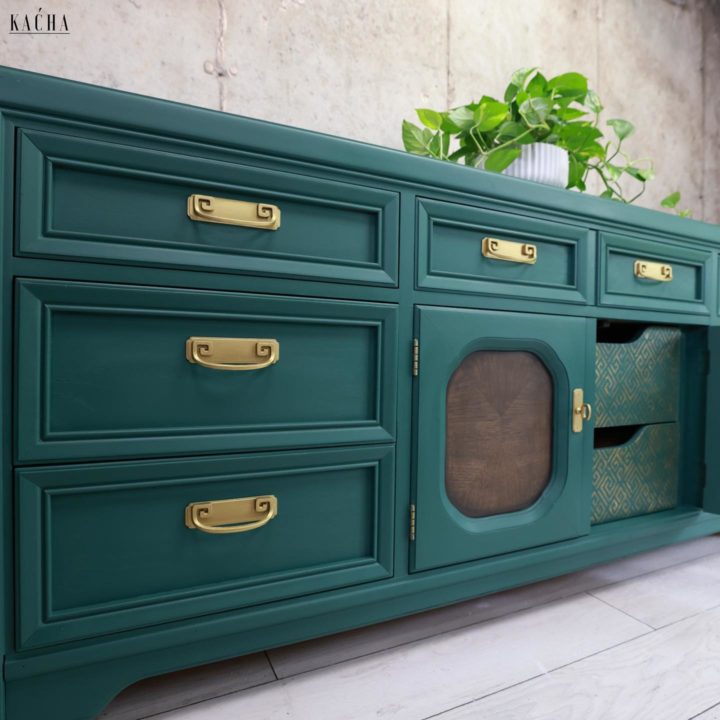
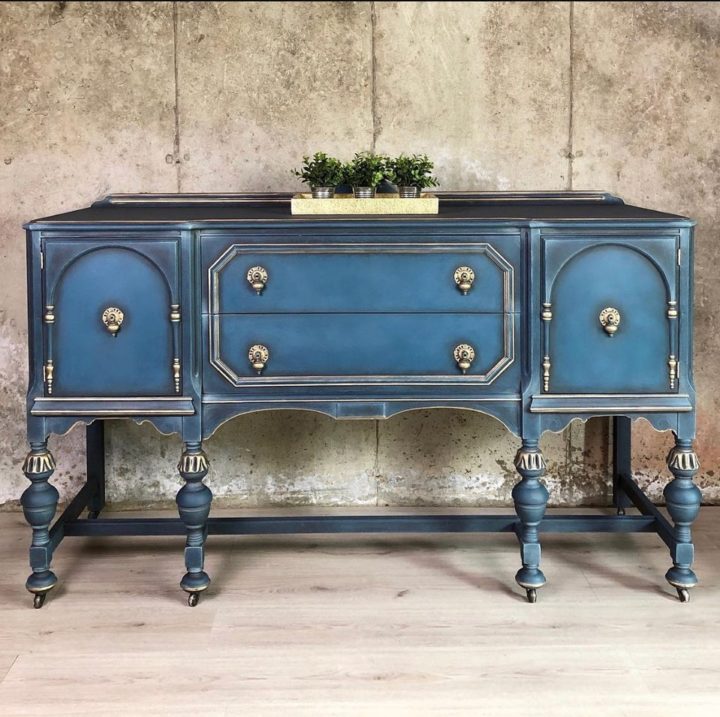
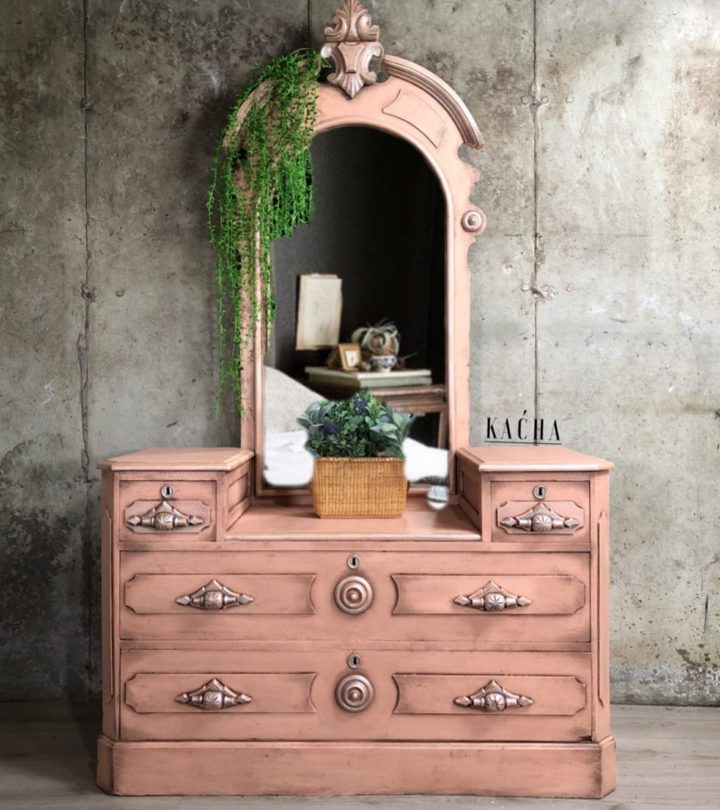
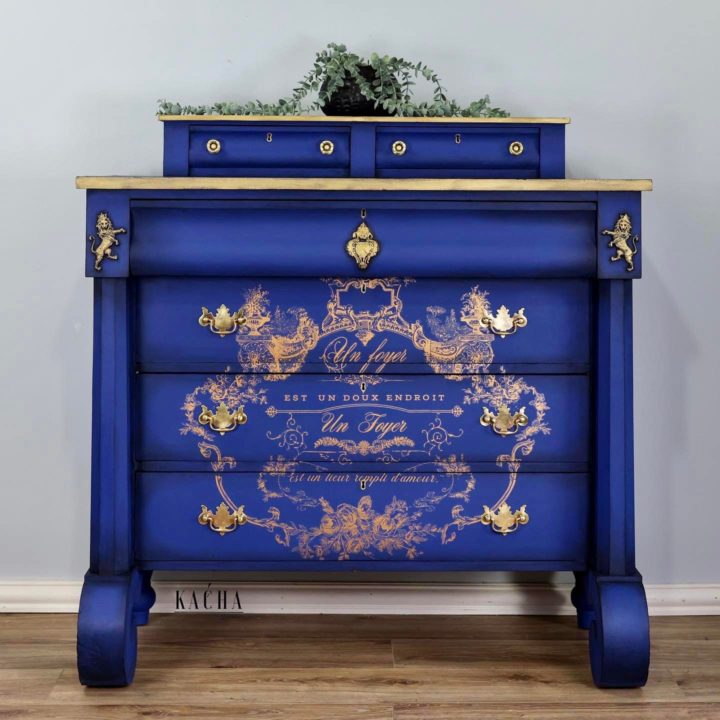
Pretty as it is to the eye, bone inlay furniture can be quite costly. Well, here’s a little trick from Kacha: you don’t have to buy it ready-made. Instead, you can use a stencil to make your own from your existing furniture. Inlay stencils are available in all the major stores; you should be able to find a design that pleases you.
How to do it:
- Remove the hardware from your furniture
- Prep the furniture by cleaning and smoothening the surface where you want to stencil
- Lay the base color of your choice and let it dry
- Take your stencil design and place it on top of the painted surface
- Paint your preferred stencil color over the stencil design
- Remove the stencil and reapply the base color in spots where the stencil color bled
- Reinstall the hardware and your furniture will be ready to impress.
5. Use oven cleaner to strip paint from wooden furniture
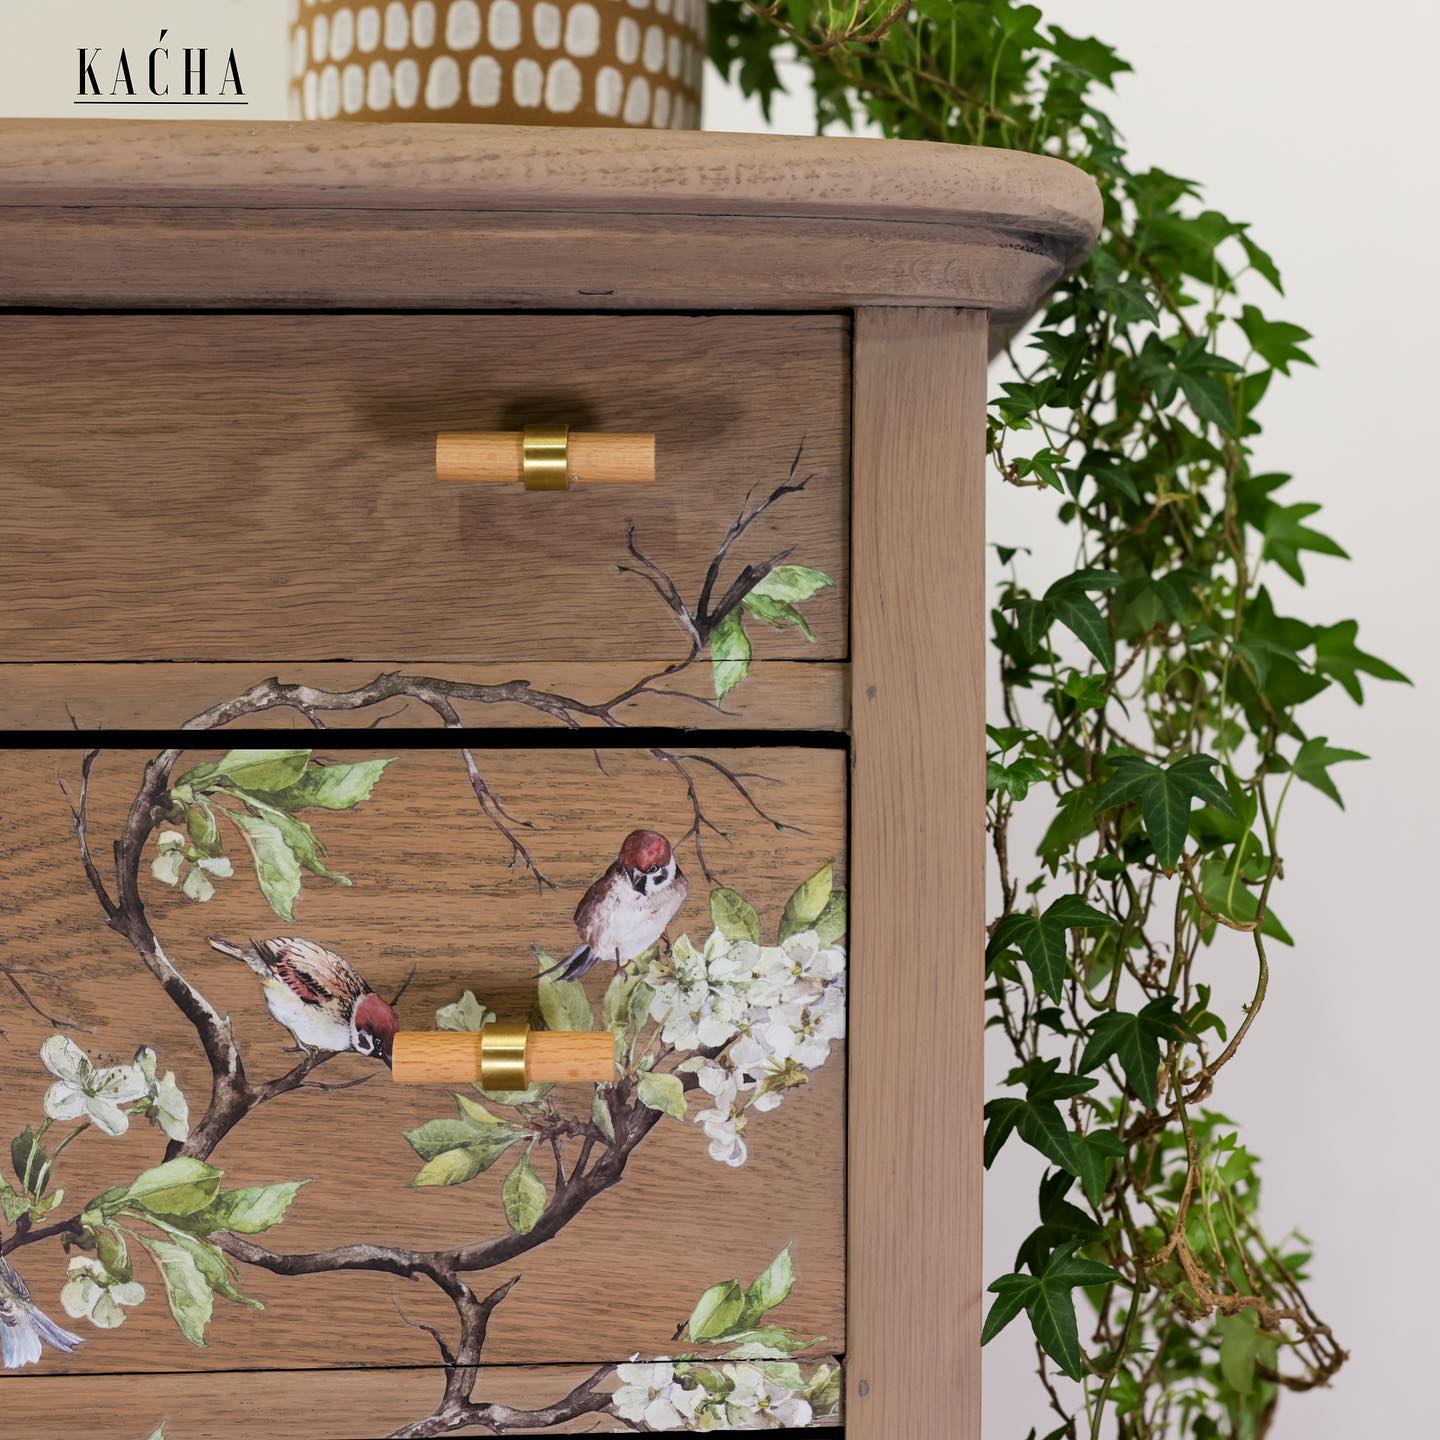
Okay, this is not Kacha’s idea, she borrowed it from a viral social media post. But it works, and that’s what matters. If you ever need to strip the paint and varnish from furniture all the way to its bare wood, you can use oven cleaner to do so.
Watch: OVEN CLEANER for your FURNITURE? Dresser Makeover
How to do it:
- Spray oven cleaner on furniture
- Let it rest for 15 minutes
- Scrab it off to remove the varnish and remain with bare wood
- Clean off with water to get rid of oven cleaner
PS: Remember to protect yourself by wearing gloves and a mask.
Final thoughts
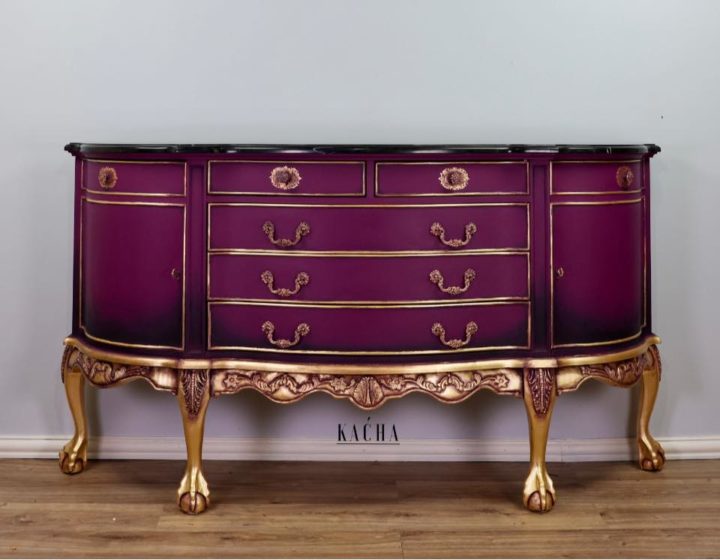
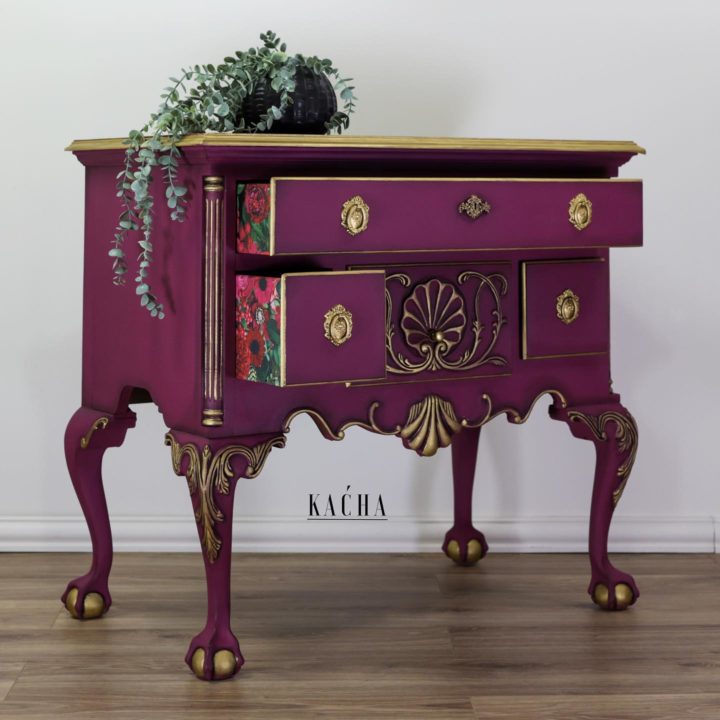
As you can see, a good makeover project can help you figure out what to do with old furniture. You can refresh and even repurpose the old pieces. It all depends on the purpose of your project.
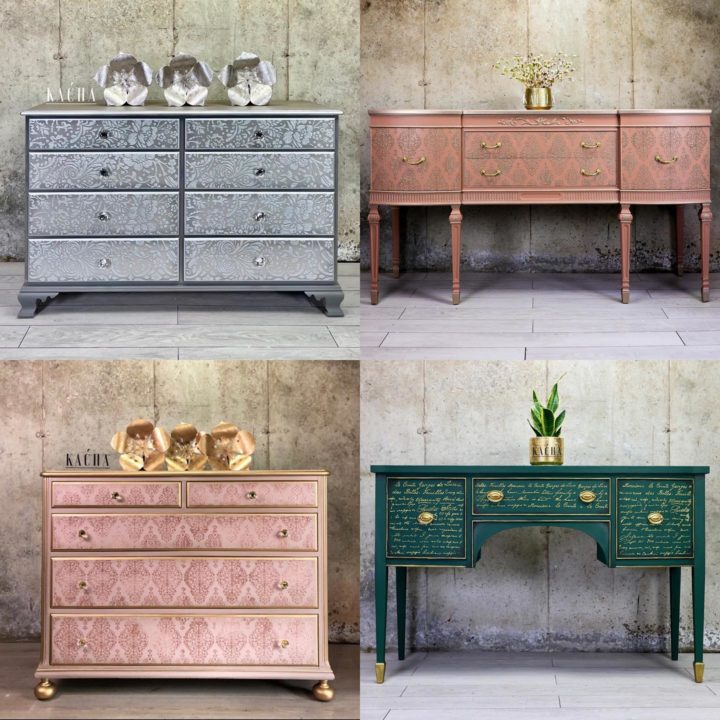
The best part? You can do all these on a budget. All you need is some paint, a few brushes, a stencil here and a decoupage there.
Related

