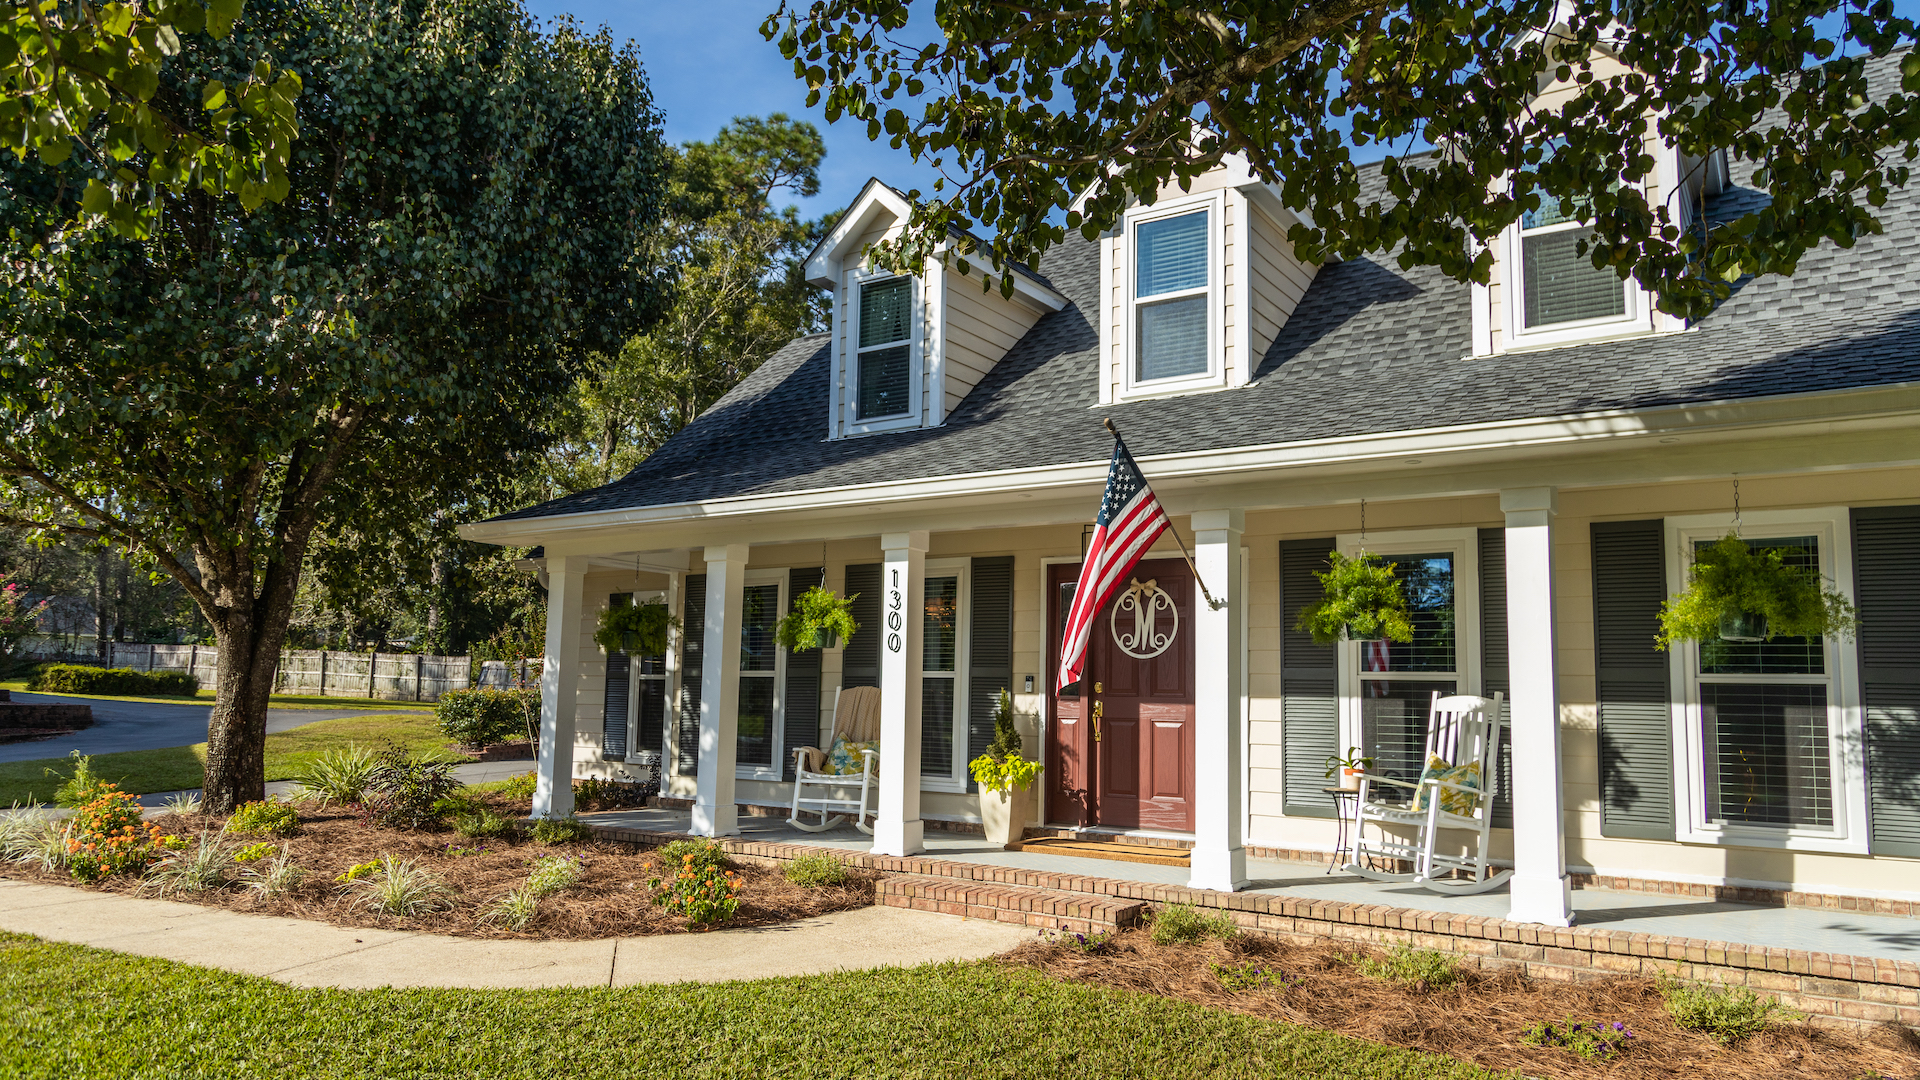
When the house at the end of the cul-de-sac hasn’t changed in 28 years, it’s time for some front porch rehab.
This house belongs to Jeff and Eliese McAllister. The couple, known as Lolli and Pop to their grandchildren, want to update the front porch on “Camp Lollipop” so their grandchildren can enjoy their front yard as much as their children did while growing up.
The porch is blocked off by tall shrubs and is too narrow for the couple to comfortably sit and watch their grandchildren play.
And that’s where we can help!
The Projects
Opening Up the Front Porch
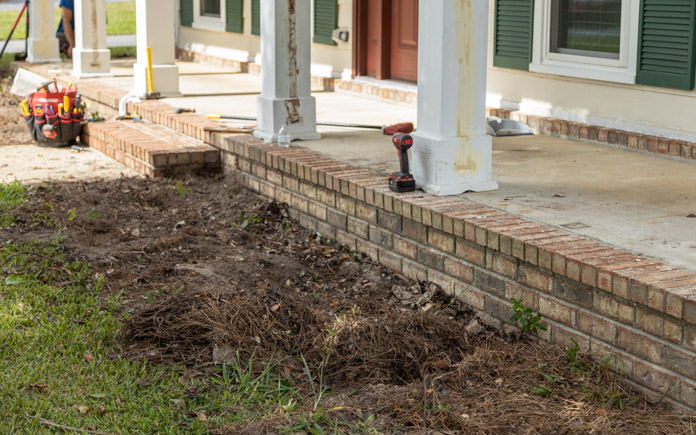
Removing the shrubs and handrails blocking Jeff and Eliese’s front-yard view is our first big job.
We have to pressure-wash the house to create a clean slate to start our work. Jeff and I remove shrubs, with the help of the couple’s grandsons, while Chelsea and Eliese tackle the handrails.
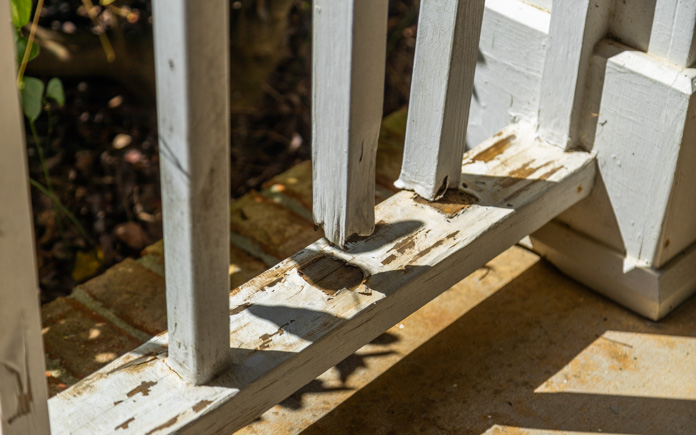
Because the wood handrails aren’t treated, they are rotting away. So, knocking them out with a sledgehammer is the best way to open up the porch — and, maybe, release some tension along the way.
After removing the handrails, we apply putty and sand the columns so it’s like they were never there, to begin with.
Repairing the Shutters and Dormers
This curb appeal makeover requires more than opening up the front porch. We’ve noticed some problems that needed immediate fixes!
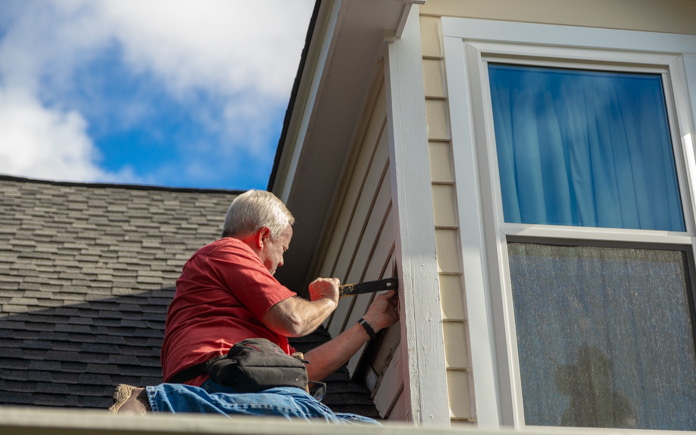
First, we repair the ground floor’s damaged shutters. Then, we get up on the roof to repair siding on the dormers. Of the 12 shutters on the front of this house, just one set has a little wood rot. So, Jeff doesn’t want to replace them all.
Since none of these pieces were standard lumber sizes, we had to cut them down on the table saw. Chelsea used the old pieces as a pattern to cut new pieces from the fiber cement material.
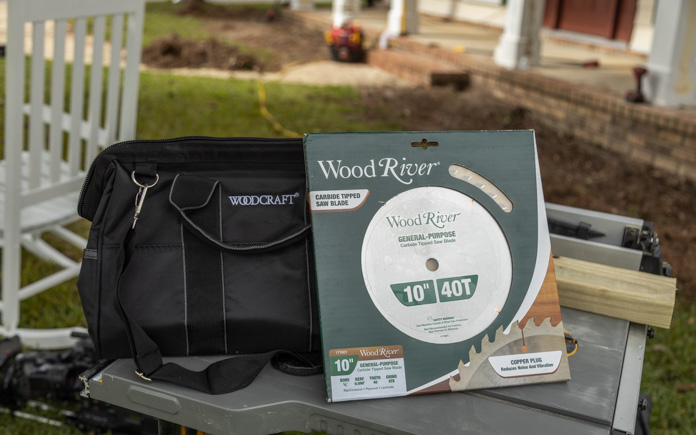
Fortunately, we had a new Woodcraft WoodRiver General Purpose Carbide Tipped Saw Blade. Matching the angles on the bottom piece was a little trickier, but once we primed the wood and put the pieces in place, it worked pretty well!
Painting the Front Porch
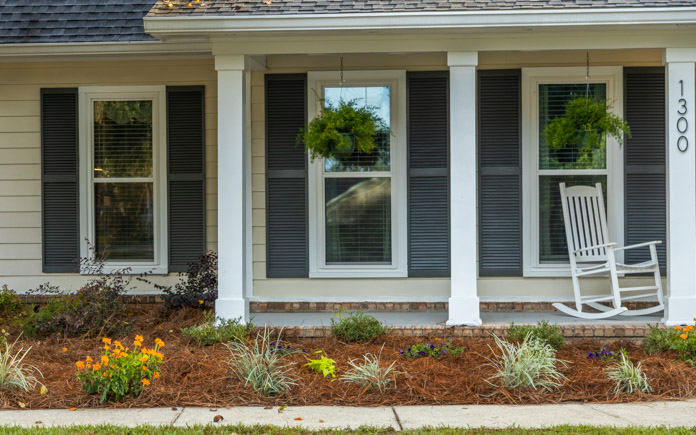
After all the repairs were done, we put a fresh coat of paint on the siding, trim and front porch ceiling. The green shutters clashed with the red-tinted wood door, so we painted them gray to tone it down.
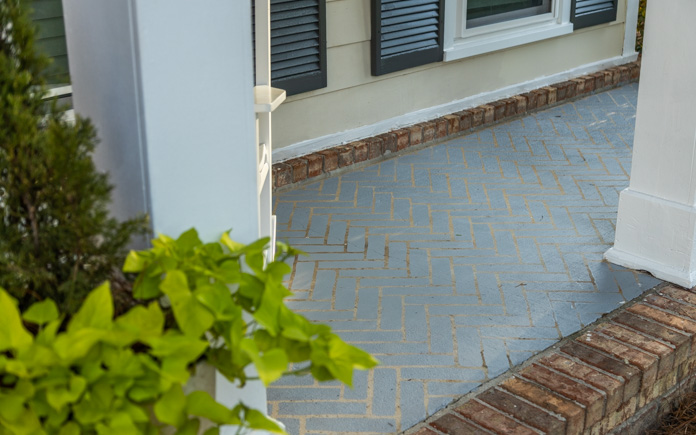
The concrete on the front porch has seen better days. Instead of gutting the concrete, we painted a pattern on it using a stencil! It’s a great way to give your concrete a fresh look without breaking the bank.
Watch “How to Stencil a Pattern on a Concrete Porch” for the step-by-step guide and materials list.
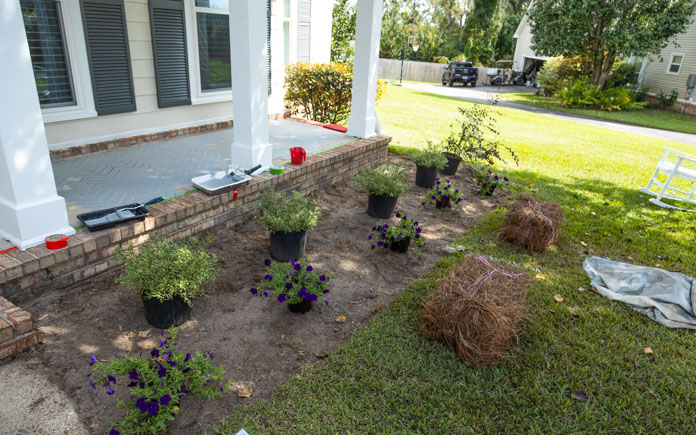
Planting New Flowerbeds
Next, we added some fresh landscaping. Before, the plants were too concentrated at the front of the porch, so we spread them out to maintain the open space feel.
Finally, we put down a fresh layer of pine straw to finish off the flowerbed.
We also:
- Added address numbers to the porch column
- Removed the intercom/doorbell
- Installed a new porch light
- Installed soffit vents
- Replaced the rocking chairs

Post-Production Thoughts
This front porch rehab really brings things full circle: Jeff and Eliese’s kids grew up here, and now they’re seeing their grandkids grow here.
At one point, the couple thought about selling the house. But with this new front yard, they’re happy to be able to stay in the home they raised their kids, and now, their grandkids as well.
And we did it all for just $1,200 in materials.

