[ad_1]
I generally don’t have time on Wednesdays to work on any home projects at all, but our boxes of FLOR carpet tiles for the home gym were delivered yesterday, and I was so anxious to see what they were going to look like. After all, I didn’t want any more delays on finishing the home gym, so instead of ordering samples, pondering the options, sharing the options with you, wrestling over a decision, procrastinating because I’m stuck between two or three options, and then finally selecting an in-hand sample, I just went on the website, picked the one I thought would work the best, and ordered enough for the room. Yikes! ? It was a risk, but that risk paid off!
We host a group from our church every Wednesday, and about 15 minutes after everyone got here, the UPS guy delivered the flooring. Y’all have no idea how much I wanted to tear into those boxes right then and there! I managed to exercise some self-control and wait. But as soon as everyone left last night, I dragged those boxes inside, cut them open, grabbed some tiles out of the box, and headed to the gym. I was so anxious to see what they were going to look like!
As soon as I moved my rebounder out of the way, it became obvious that the original foam floor mats that I had chosen were just not what I needed. And while I had still considered keeping them as a carpet padding and putting the FLOR tiles over it, seeing the deep dents left behind by my rebounder made that decision pretty easy. I’d be better off taking up the foam floor mats and putting the FLOR carpet tiles directly over the hardwood floor.

After I got the rebounder out of the way and threw a few tiles onto the floor, the first and most obvious thing that struck me was how black they are. Wow! I thought the original foam floor tiles were dark and black, but they look so washed out and dull compared to the FLOR tiles. I love the richness and depth of color of the FLOR tiles! But I also love that they’re not a solid black. They have small stripes that gives them some visual interest and subtle variation.

The style I chose is called Rush Street in the color Black, and they’re meant to be installed in this parquet pattern.

I really love the ways these look! I was hoping to get them installed properly today, but evidently I haven’t yet received the FLORdots that are supposed to come with each order. Those are the sticky tape circles that you put on the corners to connect four FLOR tiles together at each corner. My order consists of five boxes, and so far I’ve only received three. Hopefully I’ll get the FLORdots in the two boxes that will be delivered today. Until I receive those, I can’t really install the carpet squares properly.

I was very anxious to get up this morning and see what the black tiles look like in the daylight. Unfortunately, we don’t really have much light today (it’s very overcast today and looks like it’s about to rain), but there was enough light to see how amazing these tiles look!
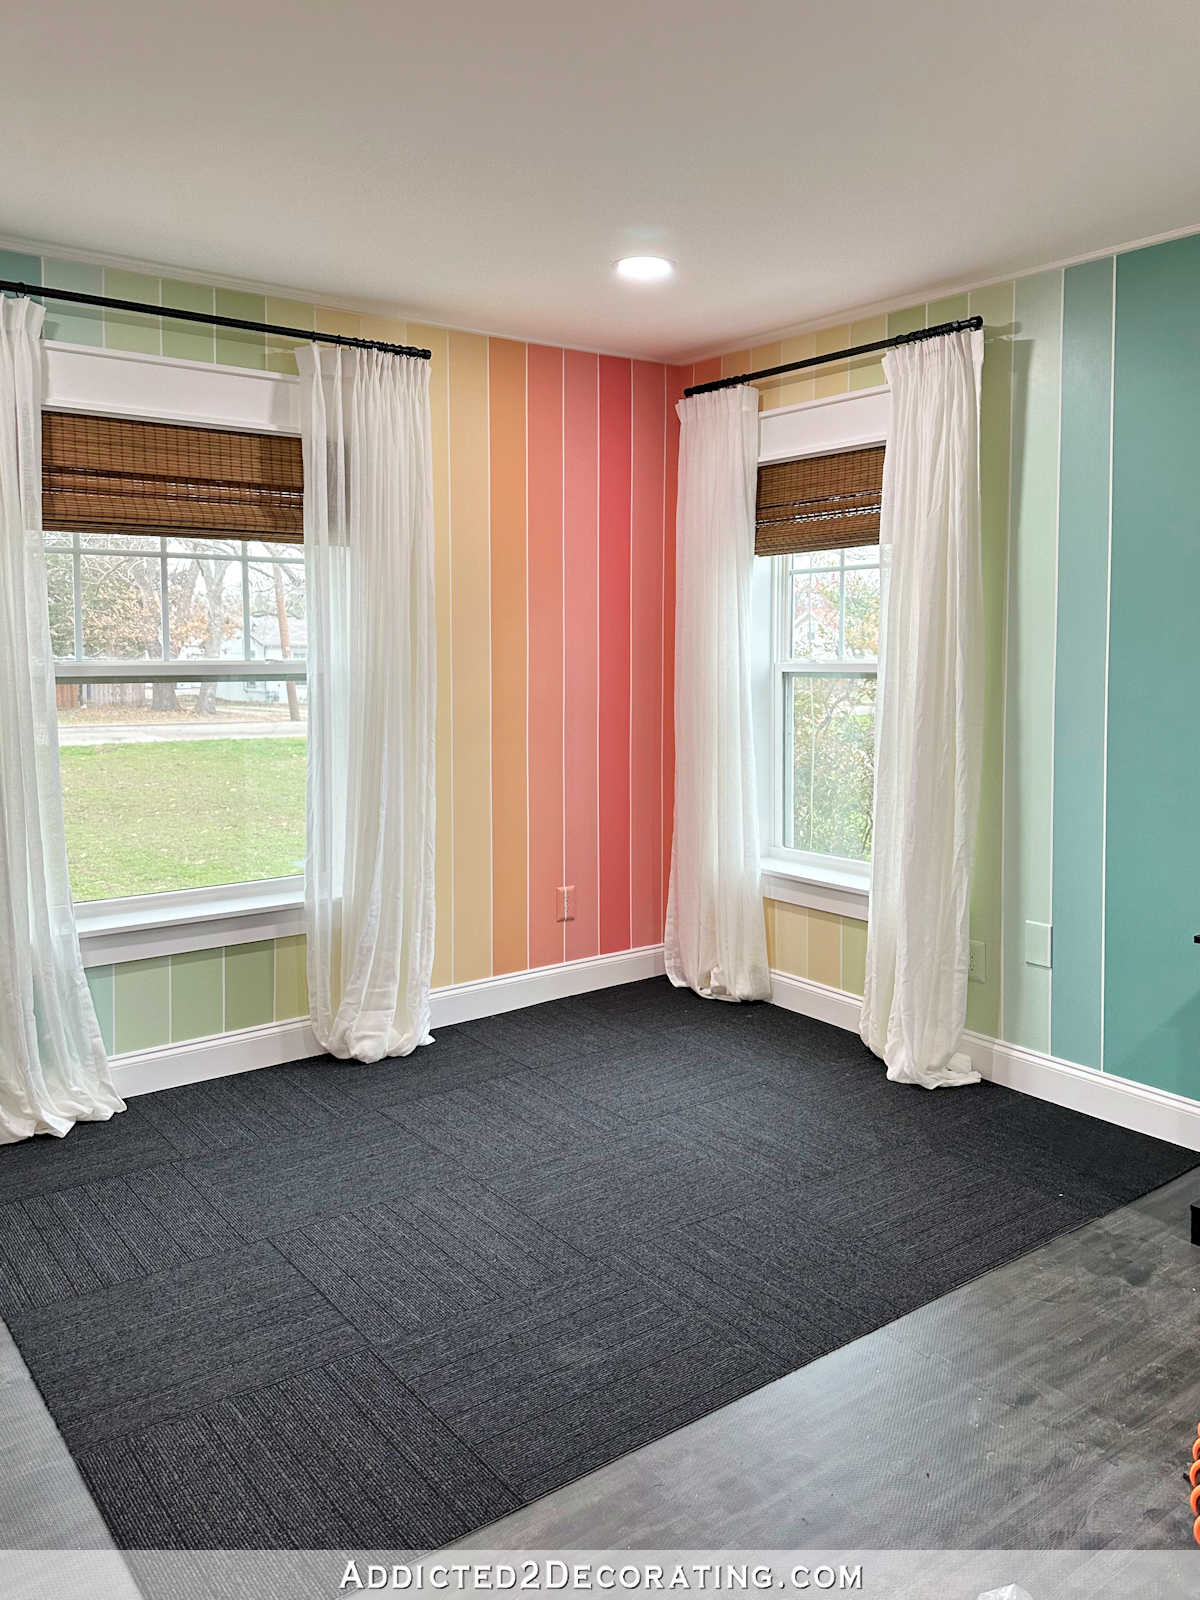
I really love that subtle striped design, and the parquet layout that they suggest to use with this design. And I still can’t get over how much darker and richer these are compared to the original foam floor mats.
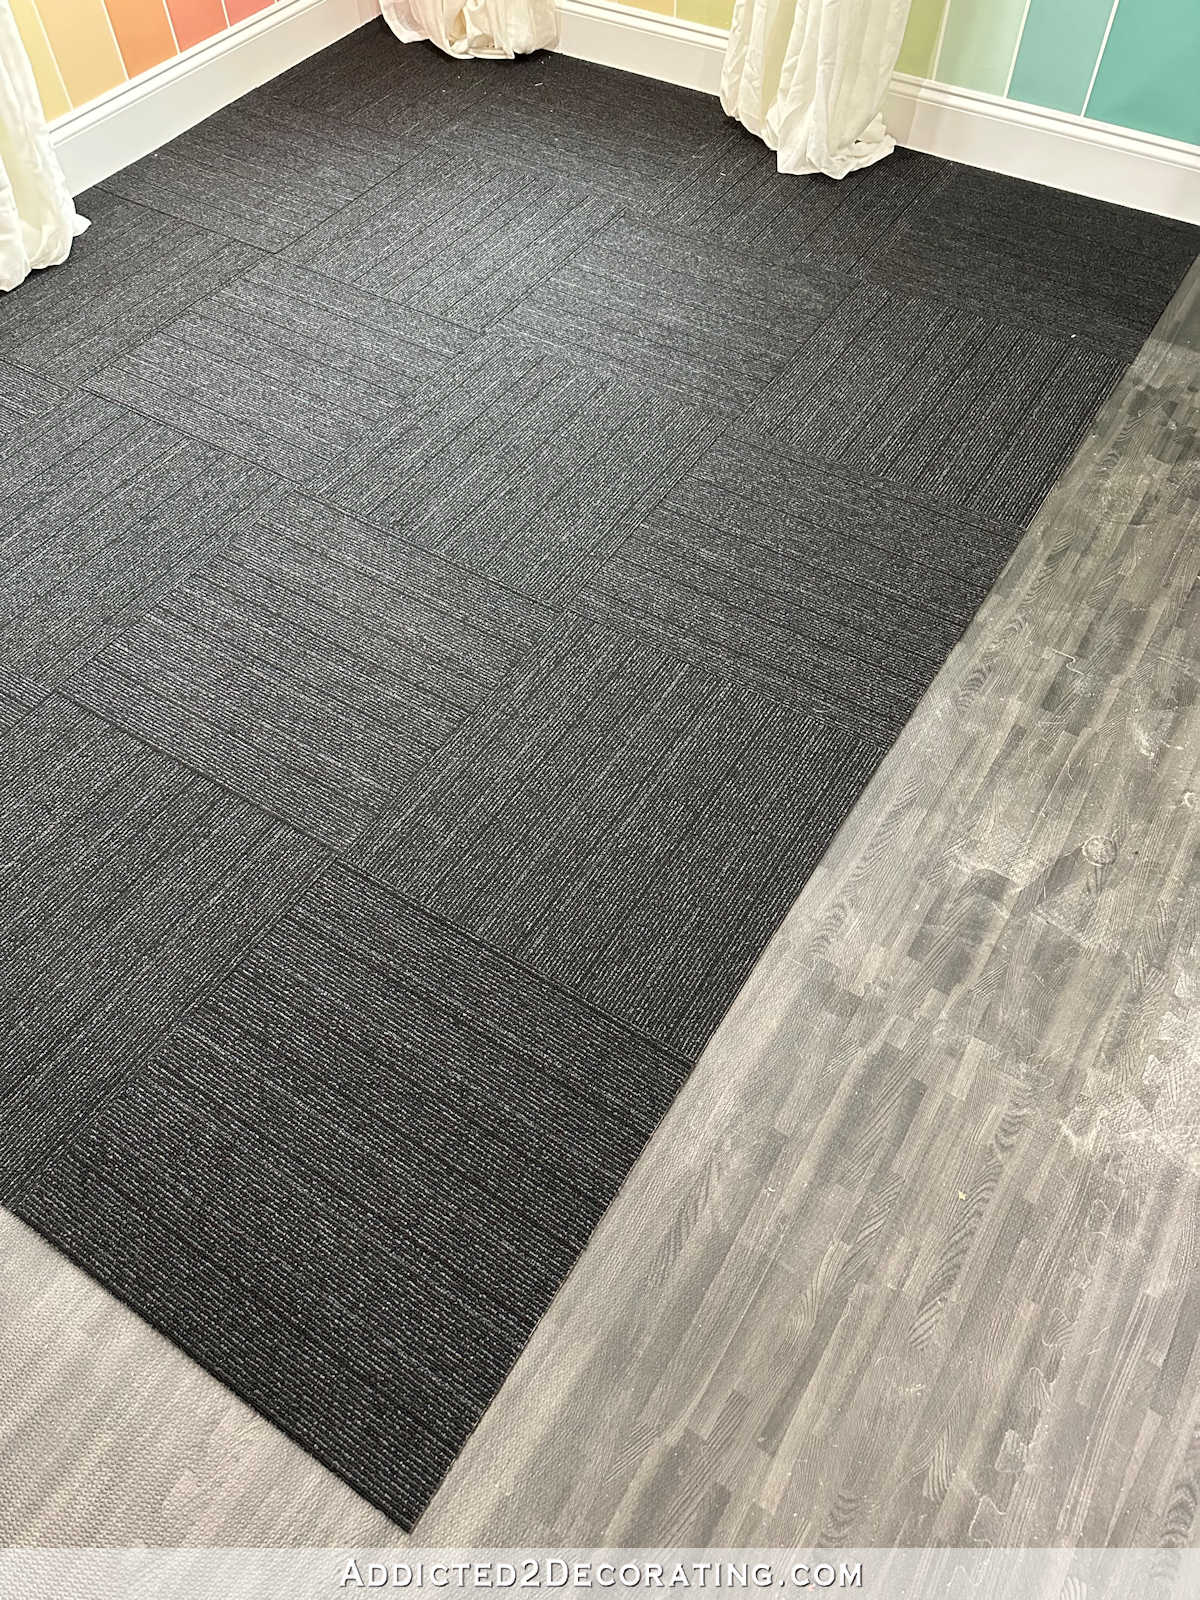
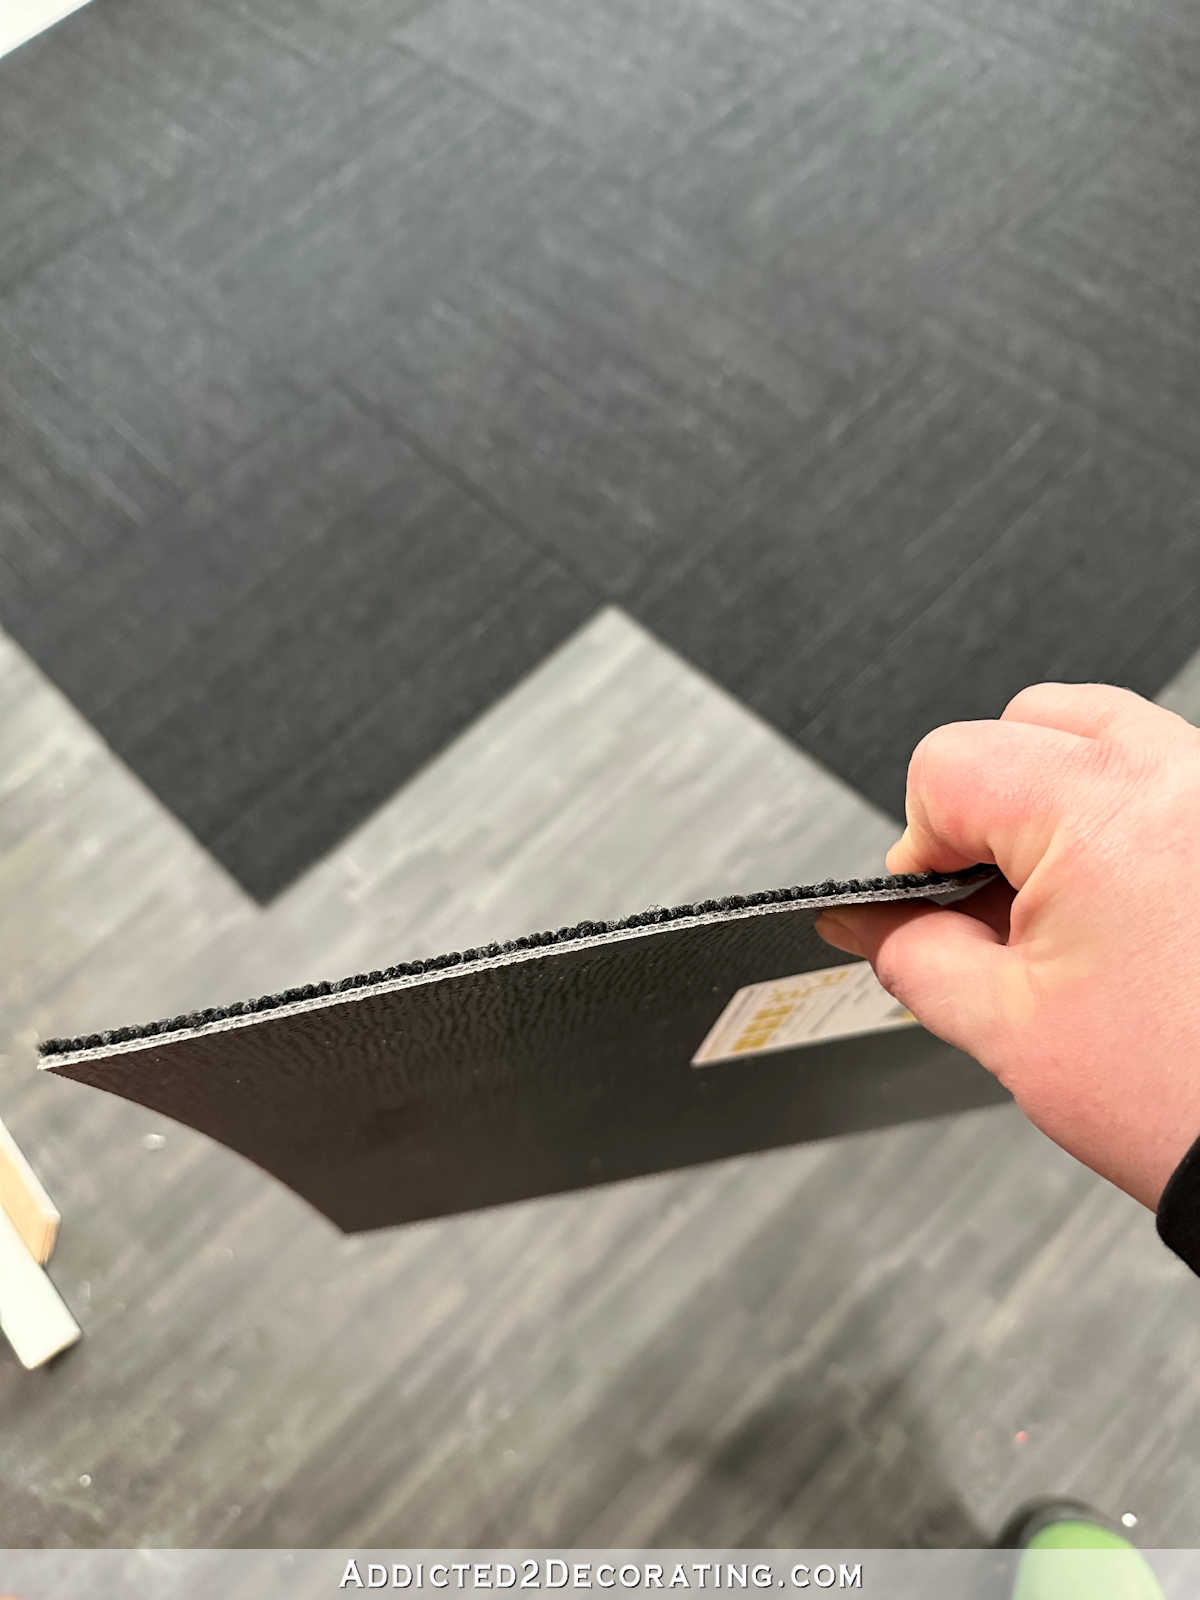
Each FLOR tile has a directional arrow on the back so that you know which direction to lay the tile. There’s no guess work at all with these, and they fit together perfectly.

And while the tiles are thin (which will be great for Matt maneuvering his wheelchair over them), they feel very substantial and durable.
Time will tell how these hold up to our daily use, but I feel very confident that they’ll work out just fine. And they’ve already far surpassed the foam gym floor tiles. There’s just no comparison between the two (which is why FLOR tiles cost many times more than the foam floor tiles ? , but you get what you pay for).
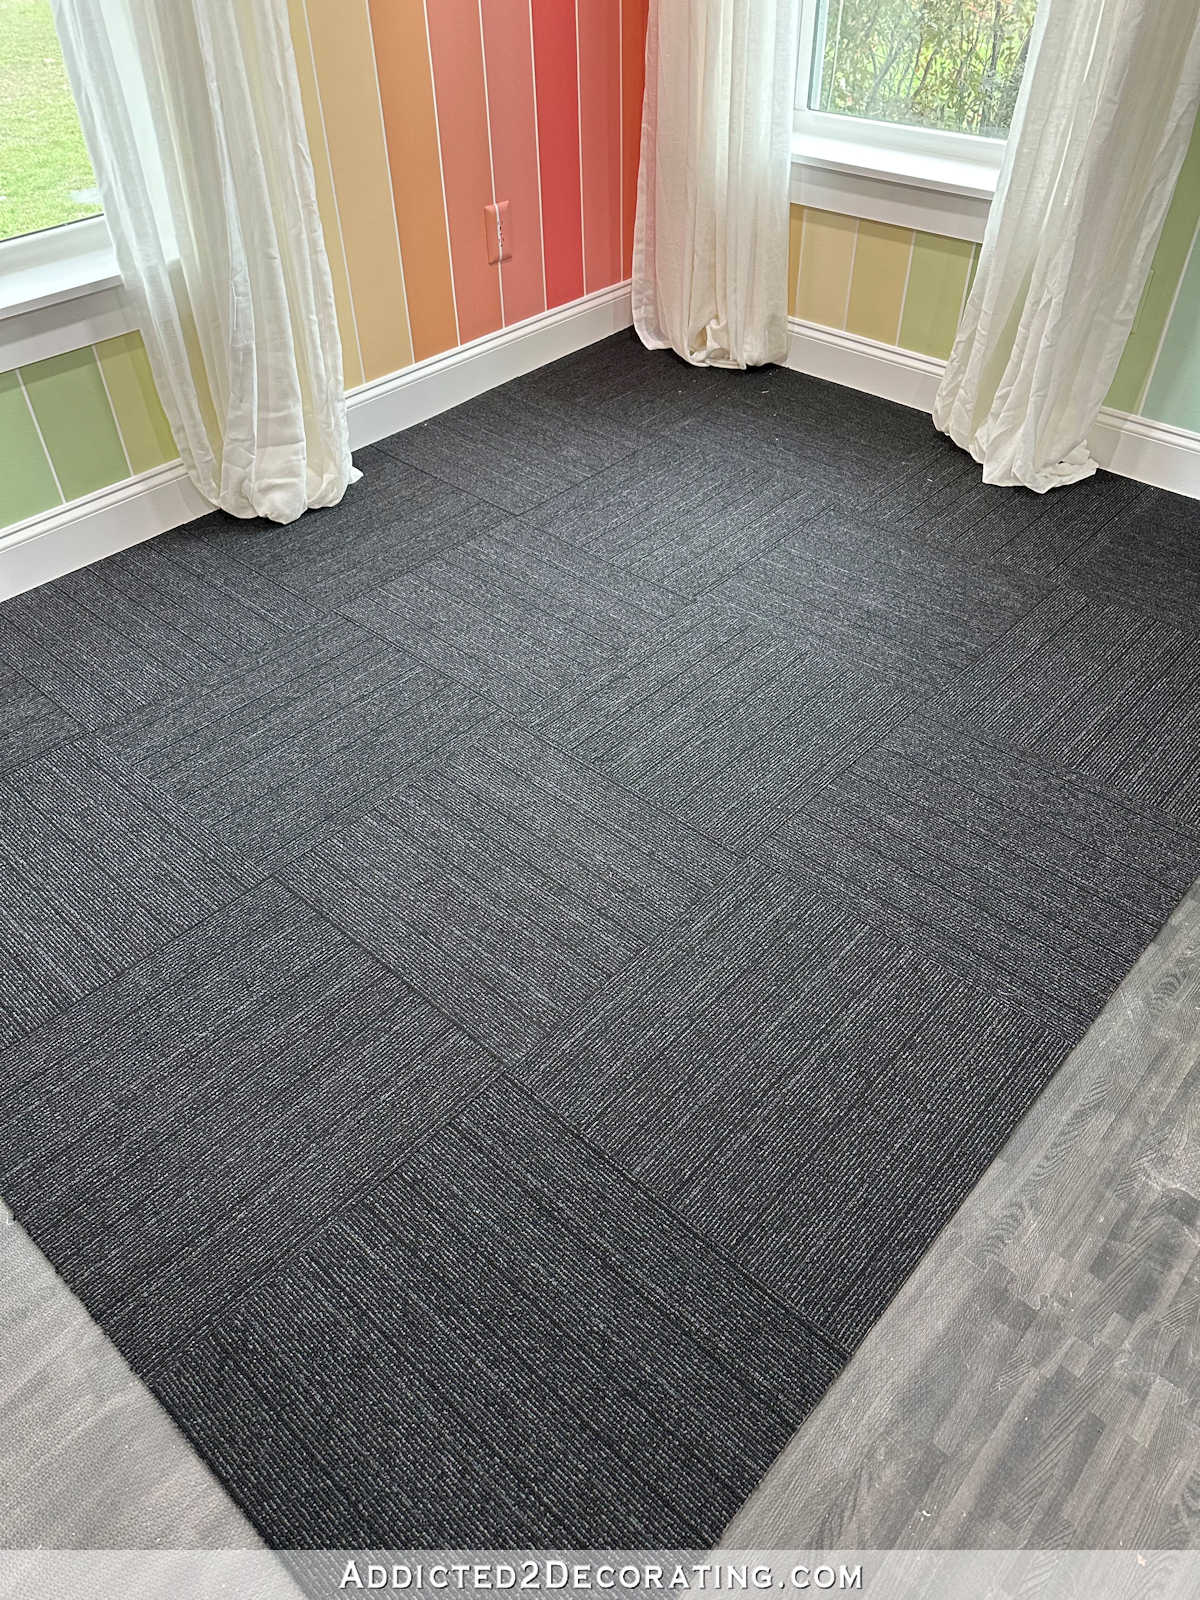
We also received our Swedish ladder yesterday, so just as soon as I can get the carpet tiles installed, I can install that as well. Then I just have a few more projects to do in the room before I can call this room finished.

Addicted 2 Decorating is where I share my DIY and decorating journey as I remodel and decorate the 1948 fixer upper that my husband, Matt, and I bought in 2013. Matt has M.S. and is unable to do physical work, so I do the majority of the work on the house by myself. You can learn more about me here.
I hope you’ll join me on my DIY and decorating journey! If you want to follow my projects and progress, you can subscribe below and have each new post delivered to your email inbox. That way you’ll never miss a thing!
[ad_2]
Source link


