[ad_1]
Over the past few months, I’ve seen about ten DIY Instagram influencers recommending a product called liquid masking tape and primer. I’ve seen two different brands recommended, and the one I found locally is Jasco Mask & Peel.
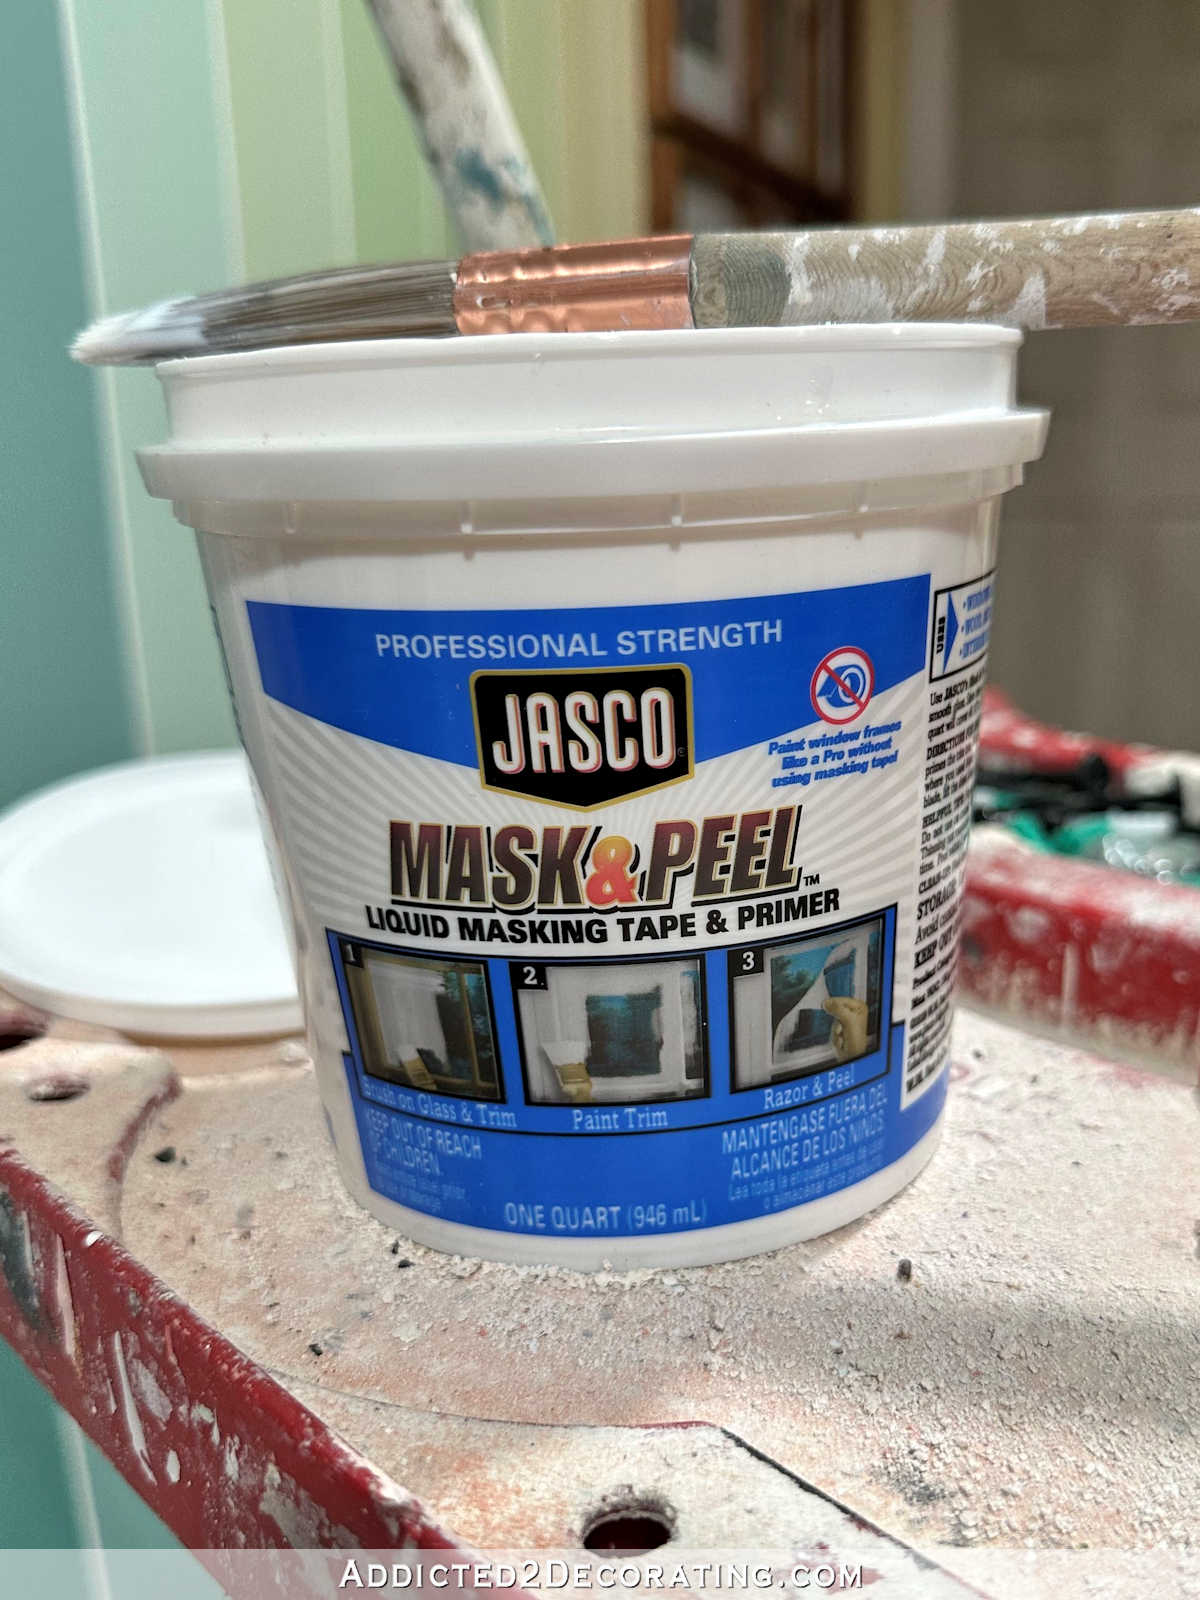
The Instagrammers I follow rave about this product and how amazing it is, so when I was ready to paint the 15-lite door in the home gym this weekend, I picked up a quart of Jasco Mask & Peel from Home Depot to test it out and see if it lived up to the praise.
The product can be brushed or sprayed, but obviously, I needed to use a brush. The directions also said to apply a thick coat, so I didn’t try to be neat about it on the glass. Since the product can be used on the wood also (that’s the selling point — it goes right over the glass and the wood), I did try to be neat about the part that got onto the wood parts of the door. And I did find it a little difficult to get those areas smoothed out so that they didn’t show brush strokes.
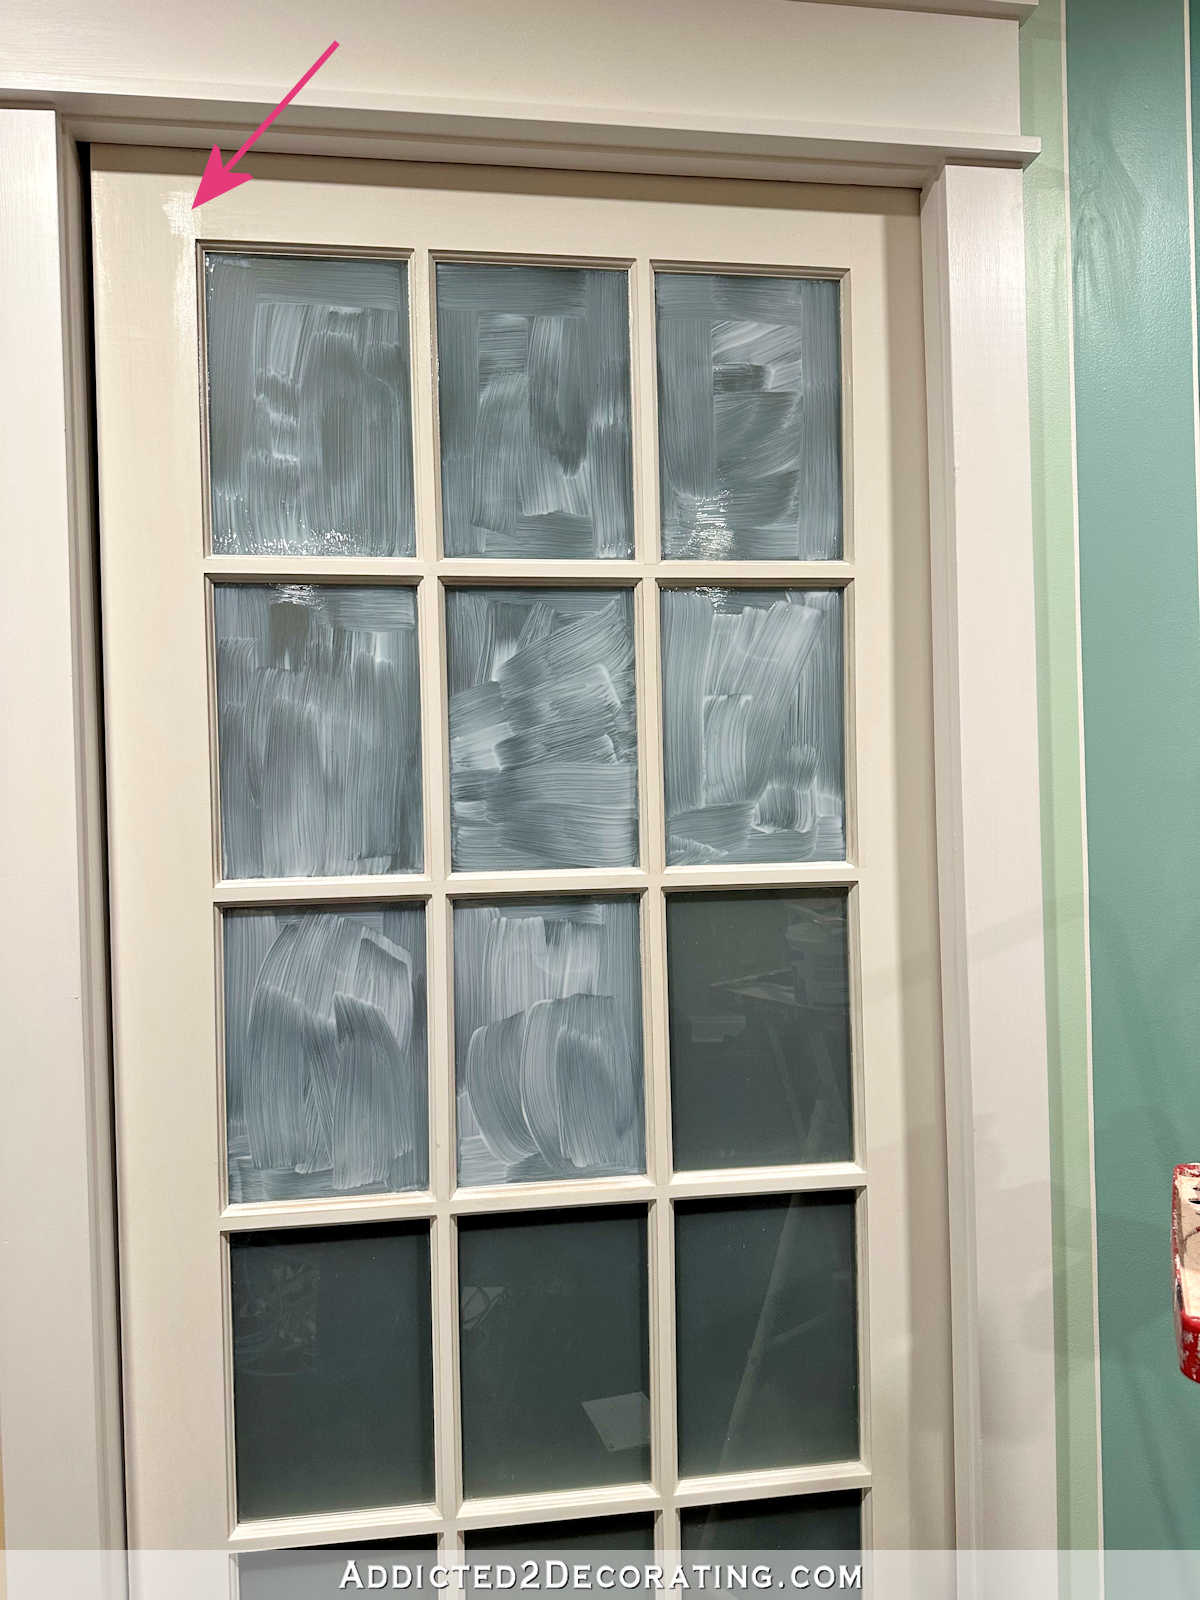
It took me about 20 minutes to paint the liquid mask onto all 15 glass panes, and then I had to let it dry before painting the door. The product goes on white, and then dries clear. Once it’s clear, it can be painted.
Well, this is where convenience and ease of use of this product kind of waned for me. I began applying the mask at around 9:00pm, and I was expecting it to dry quickly (I was expecting an hour at the most) so that I could apply two coats of paint and be done with the door before I went to bed. But when I finally decided to turn in for the night at around 11:20pm, this is what the door looked like…
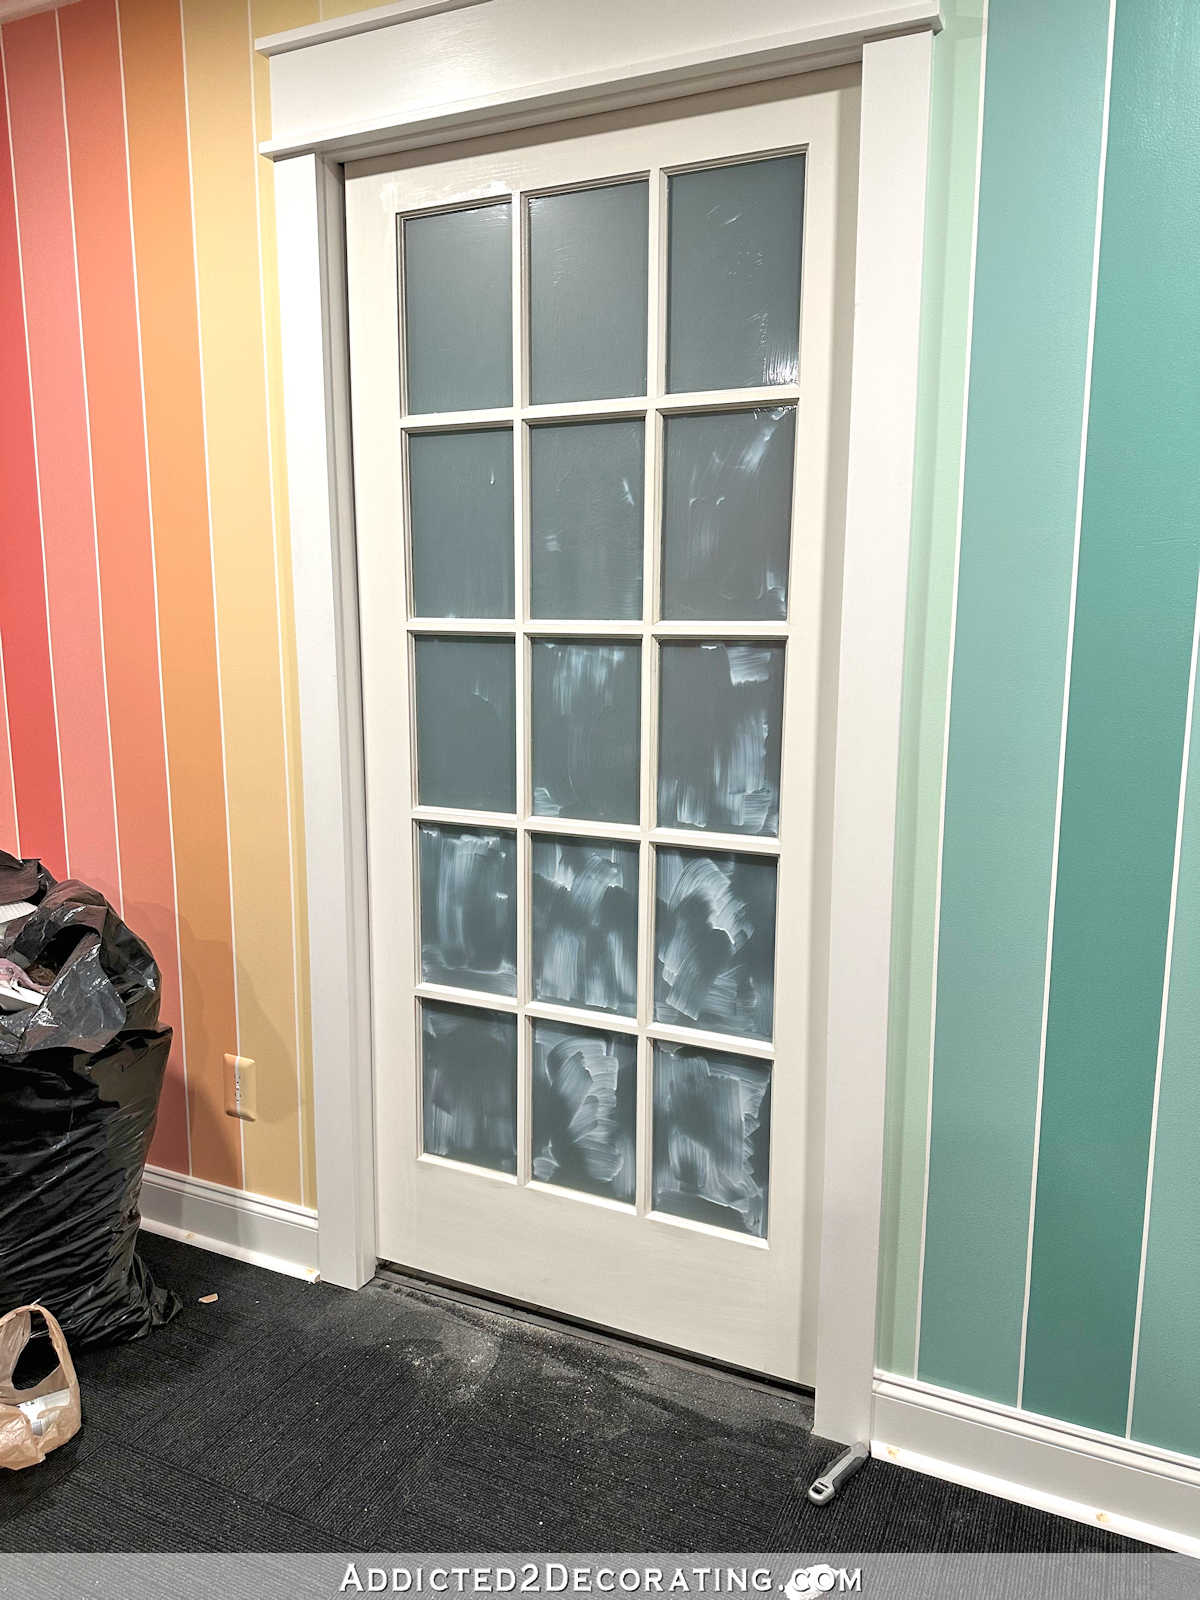
So after two hours of drying, only two of the 15 panes were completely dry. I have no idea how long the whole thing took to dry because I went to bed. That was frustrating, and definitely not what I had expected. I guess I’ve never heard any of those Instagram influencers talk about how loooong this stuff takes to dry.
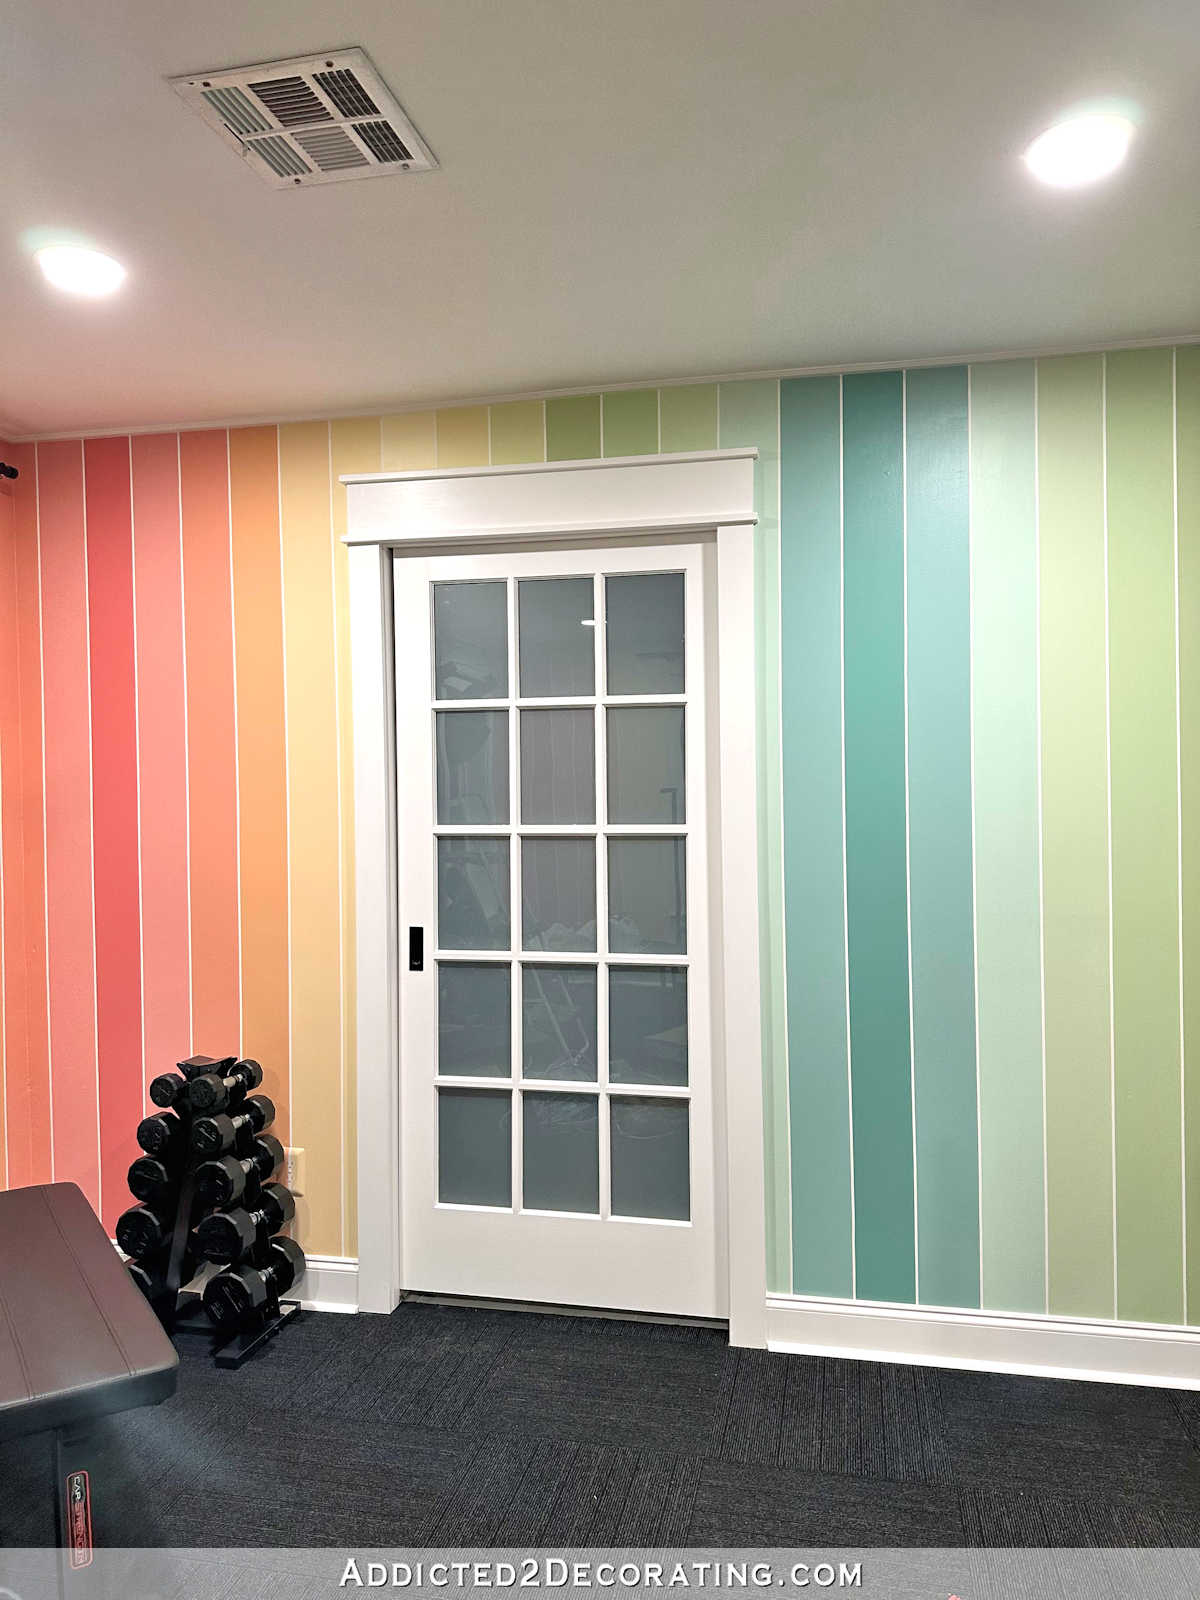
By the next morning, it was all dry and clear (this door has frosted film on the other side, which is why you still can’t see through it even though the mask is dry and clear)…
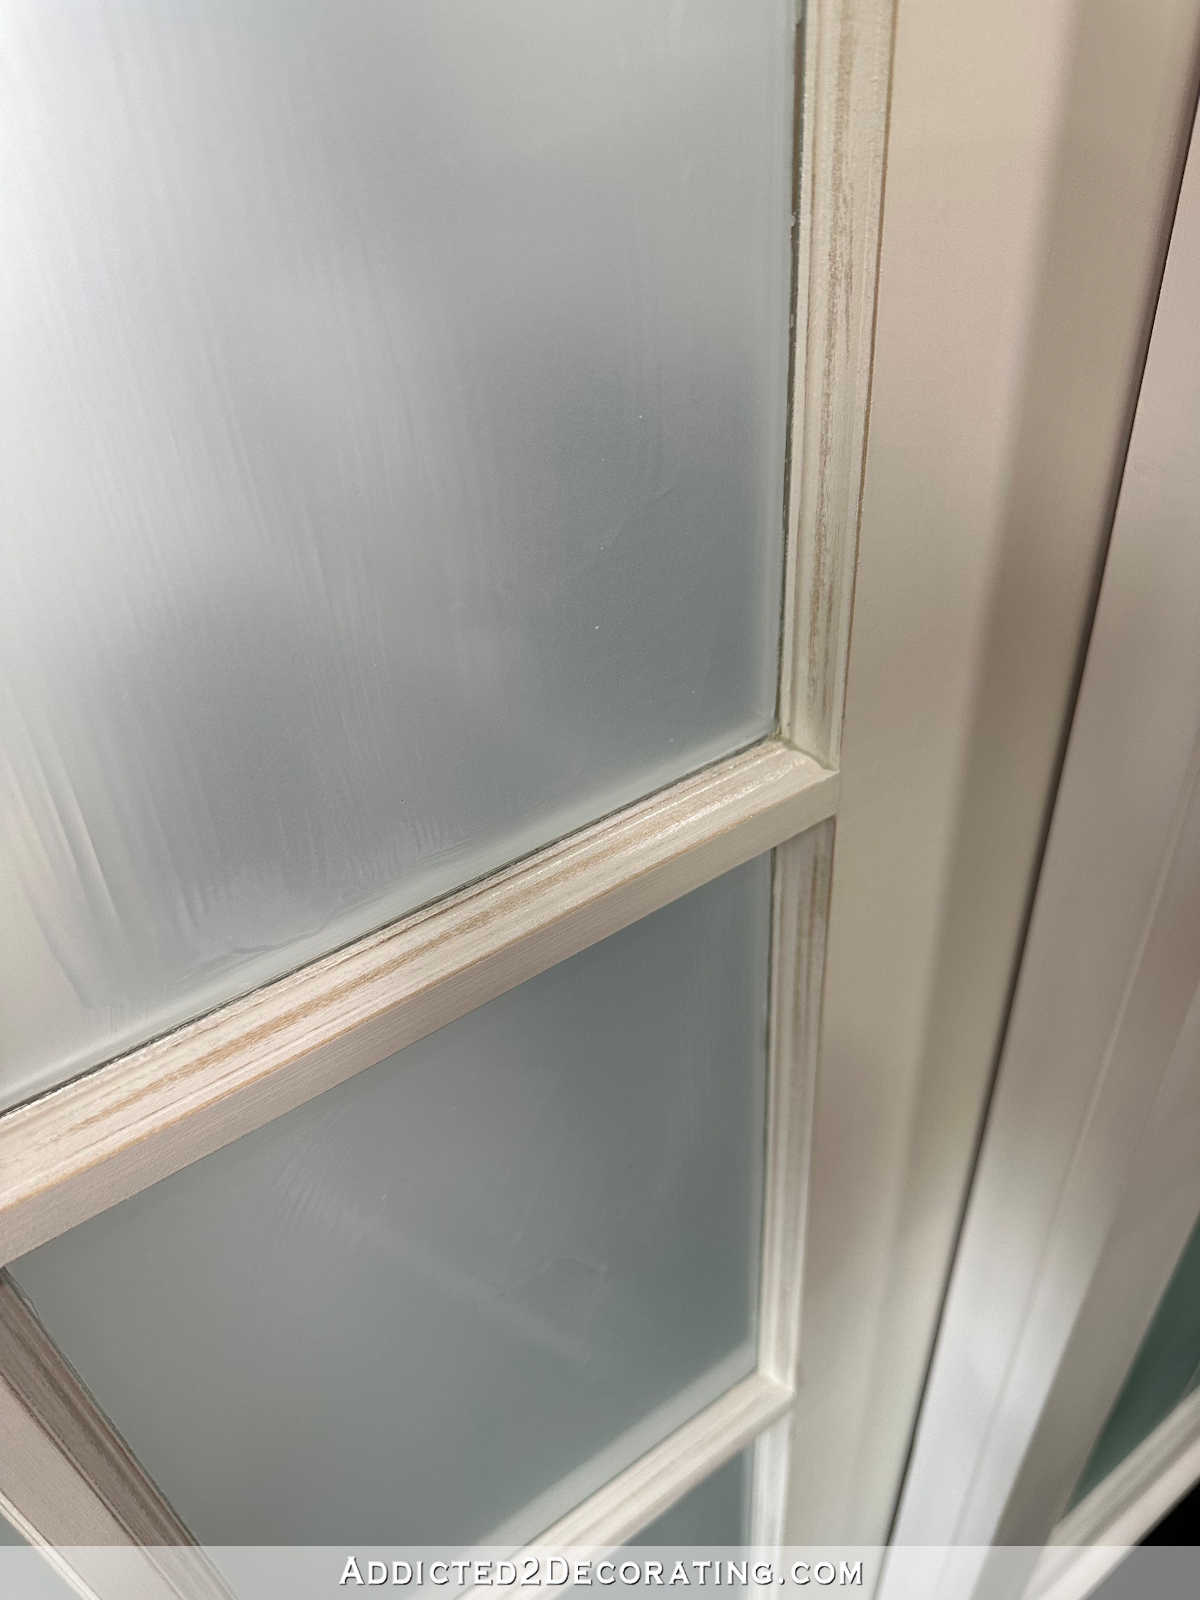
So from that point, it was very easy. I painted the door with two coats of paint, sanding lightly with 220-grit sandpaper between coats. And then once the second coat was dry, I used a utility knife with a brand new sharp razor blade, scored around the edges of each pane, and peeled the mask off of the pane. I have to admit that I really enjoyed that process. ?
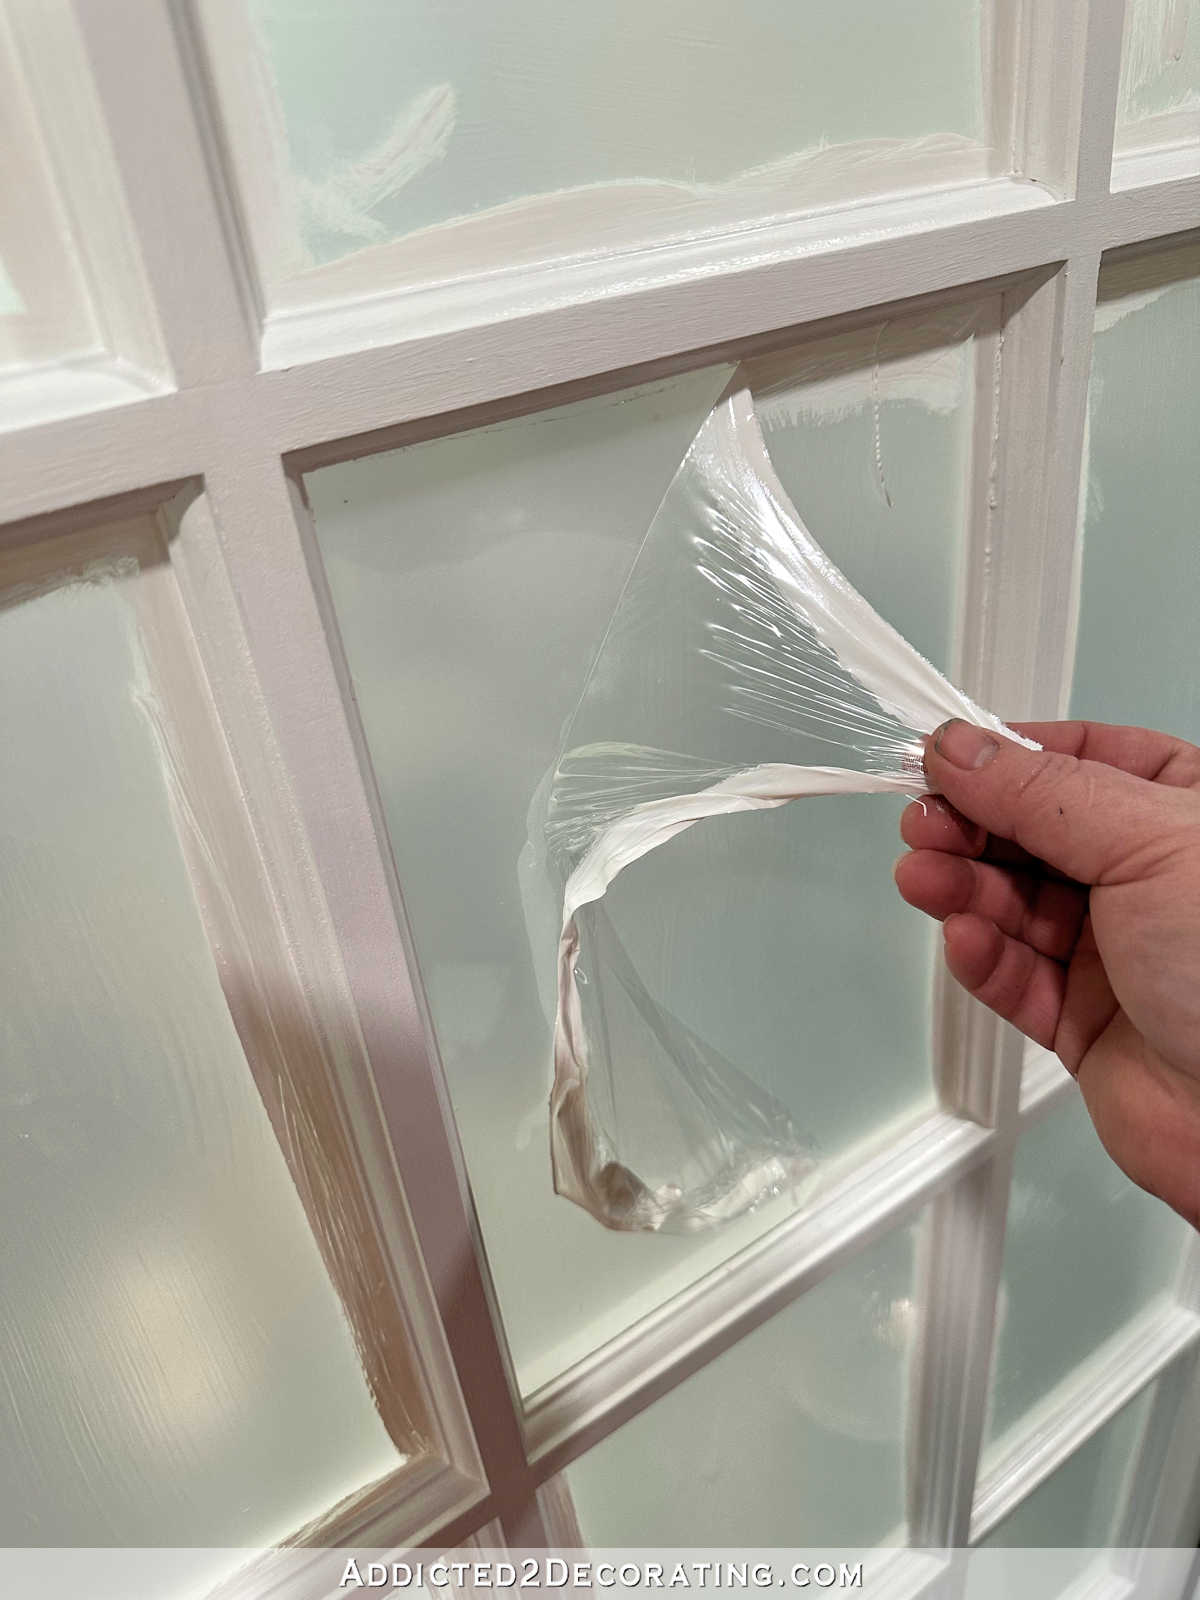
Scoring and peeling all 15 panes was a pretty quick process. It probably took 15 minutes to do the whole door, and there weren’t any places where the paint bled under the mask like it does with tape.
So what’s my overall assessment of the product?
I like it. I’d give it four out of five stars.
I really do like the ease of use, and I like that it does a great job sealing that space between the trim and the glass so that there are no failures and no paint seepage like you get with tape at times. And I really did enjoy the scoring and peeling process at the end. That was very satisfying.
The only drawback was the drying time. I didn’t expect that at all. I expected it to take an hour at most. But when it was two hours later, and it was still not even halfway dry, that frustrated me.
But now that I know what to expect, I’ll know how to work around that in the future. If I’m planning to paint a door on Saturday, I’ll know that I need to apply the masking on Friday night before I go to bed. That way, it’ll be dry and ready when I’m ready to paint on Saturday.
Everything else about it was great! I do recommend it, and I think it’s a great product, just so long as you know what to expect with that drying time, and can plan around that.
Side note: I’m sure some of you spotted and are wondering about that gap between the door and the door jamb at the top of the closed door in the second picture in this post. It’s hard to believe, but when I hung that door and installed the trim, that door was perfectly flat against the door jamb from top to bottom when it was closed. And now, when the door is touching the jamb at the bottom, there’s a big gap at the top.
It’s incredibly frustrating, and it’s because (1) our house is on a pier and beam foundation that is constantly moving and shifting as the ground moves and shifts, and (2) we’re experiencing horrible drought conditions here, and have been since early last year. Our lake, which is the source of the city’s drinking water, is down so low it’s a bit scary, quite frankly.
And of course, the drought conditions affect the soil, which affects our foundation, which affects everything about our house. I’ve seen shifts and cracks and gaps in the last year that I’ve never experienced in our almost-ten years in this house. For a while, I almost couldn’t open the back door in the bathroom that leads out to Cooper’s yard. Then we got a good downpour, and the door became easier to open and close. But we haven’t gotten anywhere near what we need in order to restore the soil to pre-drought conditions so that the gaps and cracks close up. So for now, I live with it, which is quite the challenge for a perfectionist like myself. ?

Addicted 2 Decorating is where I share my DIY and decorating journey as I remodel and decorate the 1948 fixer upper that my husband, Matt, and I bought in 2013. Matt has M.S. and is unable to do physical work, so I do the majority of the work on the house by myself. You can learn more about me here.
I hope you’ll join me on my DIY and decorating journey! If you want to follow my projects and progress, you can subscribe below and have each new post delivered to your email inbox. That way you’ll never miss a thing!
[ad_2]
Source link


