[ad_1]
After writing Friday about how I wanted to take advantage of pretty weather to do some front porch maintenance before the weather causes too much damage to my porch, I woke up Saturday morning to absolutely gorgeous weather and decided that that was the day to get started. I thought it would be smart to start at the top and work my way down, so that meant that the first project would be repainting the porch ceiling.
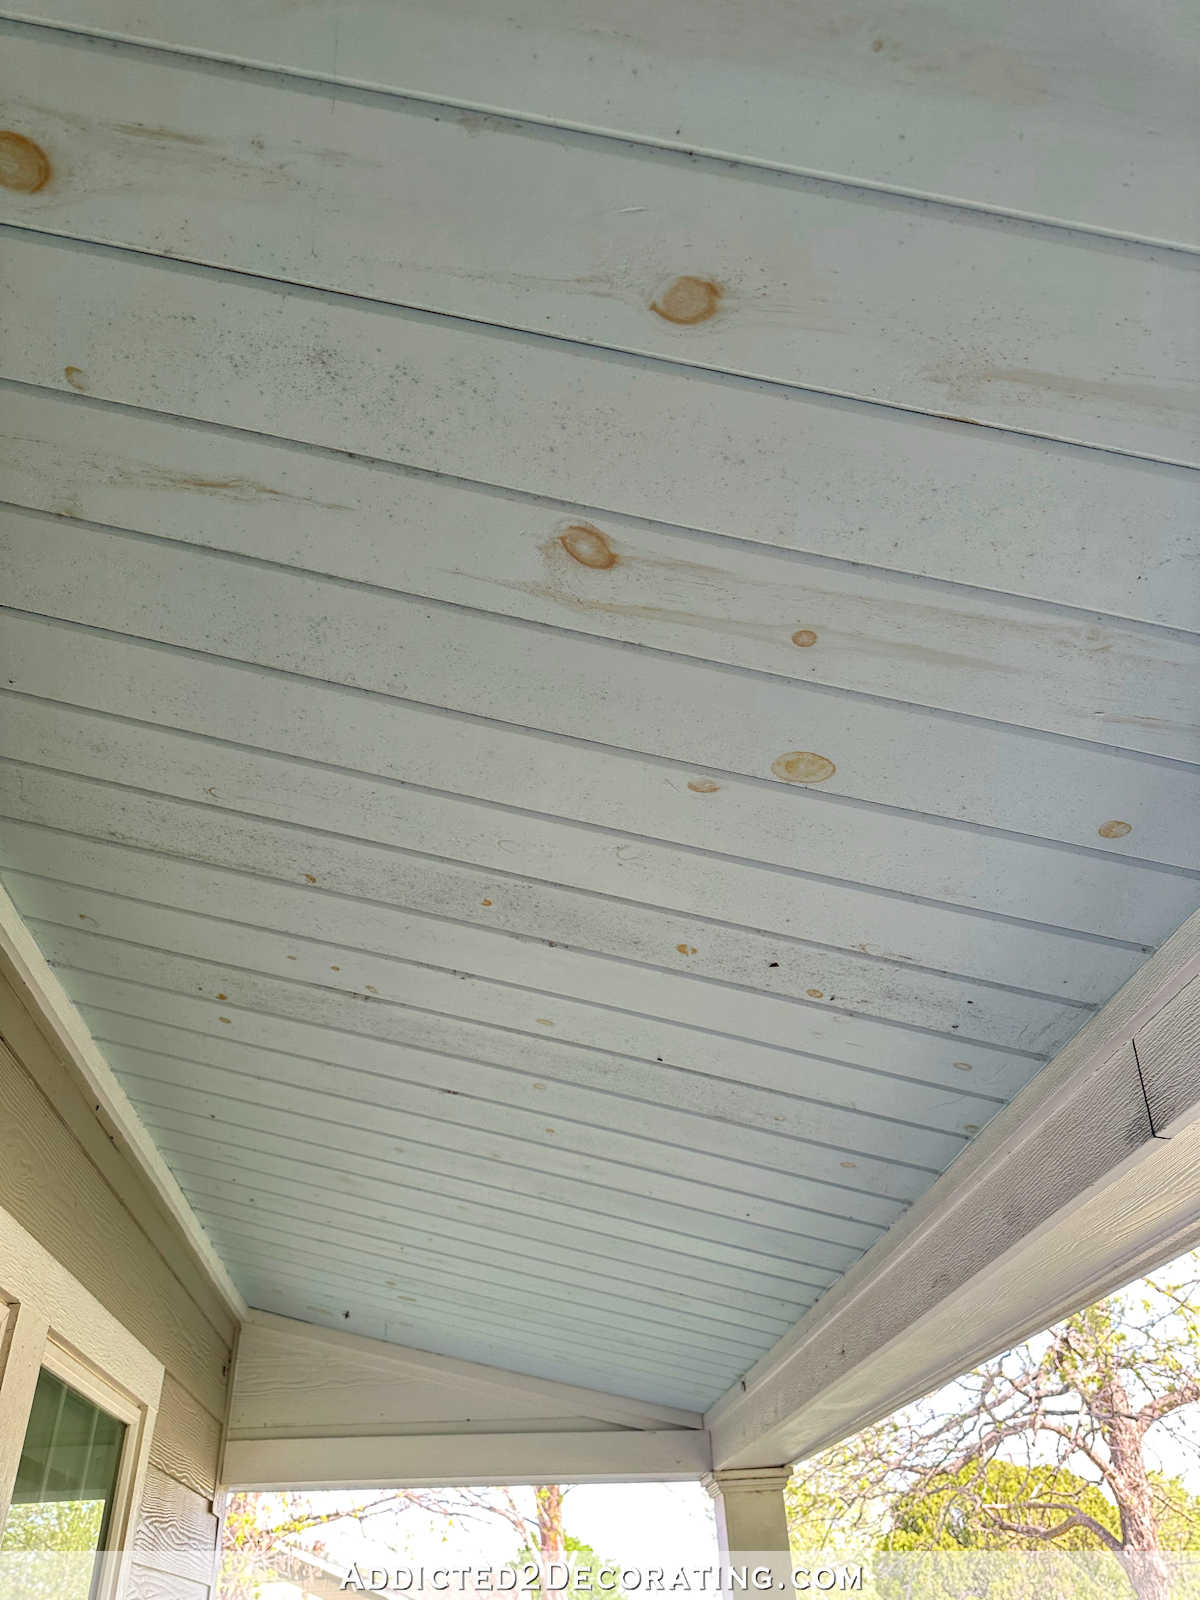
When I painted it back in the summer of 2018, I didn’t take the time to prime the wood before painting it. I know better than to do that with raw wood, and yet, I did it anyway. And within that first year, the knot holes started showing through, and it just continued to get worse over time. So here’s what the ceiling looked like on Saturday before I got started repainting it.
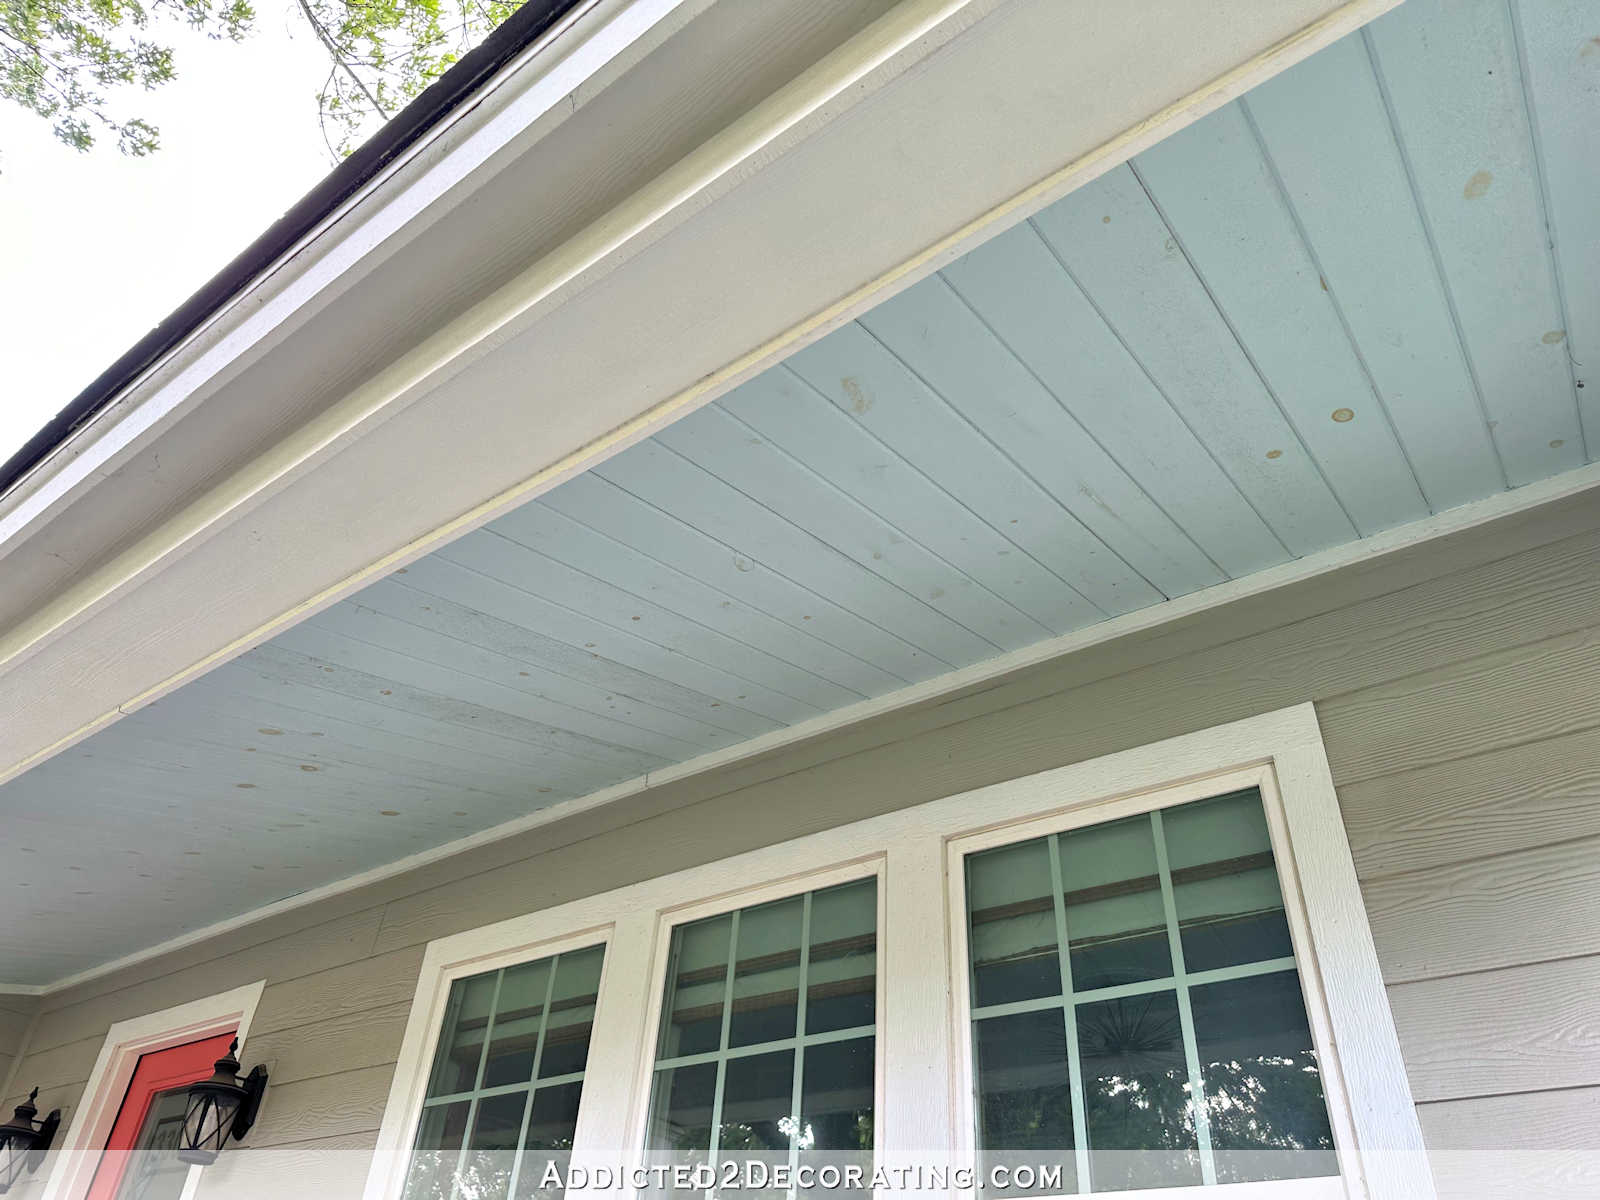
See all those knots and streaks? It was looking pretty bad.
So I headed to Home Depot to get some primer and paint, and instead of using my favorite Zinsser oil-based Cover Stain, I decided to try out Zinsser BIN shellac-based primer. I’ve never used this before, but I’ve seen other DIYers use it and recommend it specifically for covering stubborn knots that keep showing through painted surfaces.
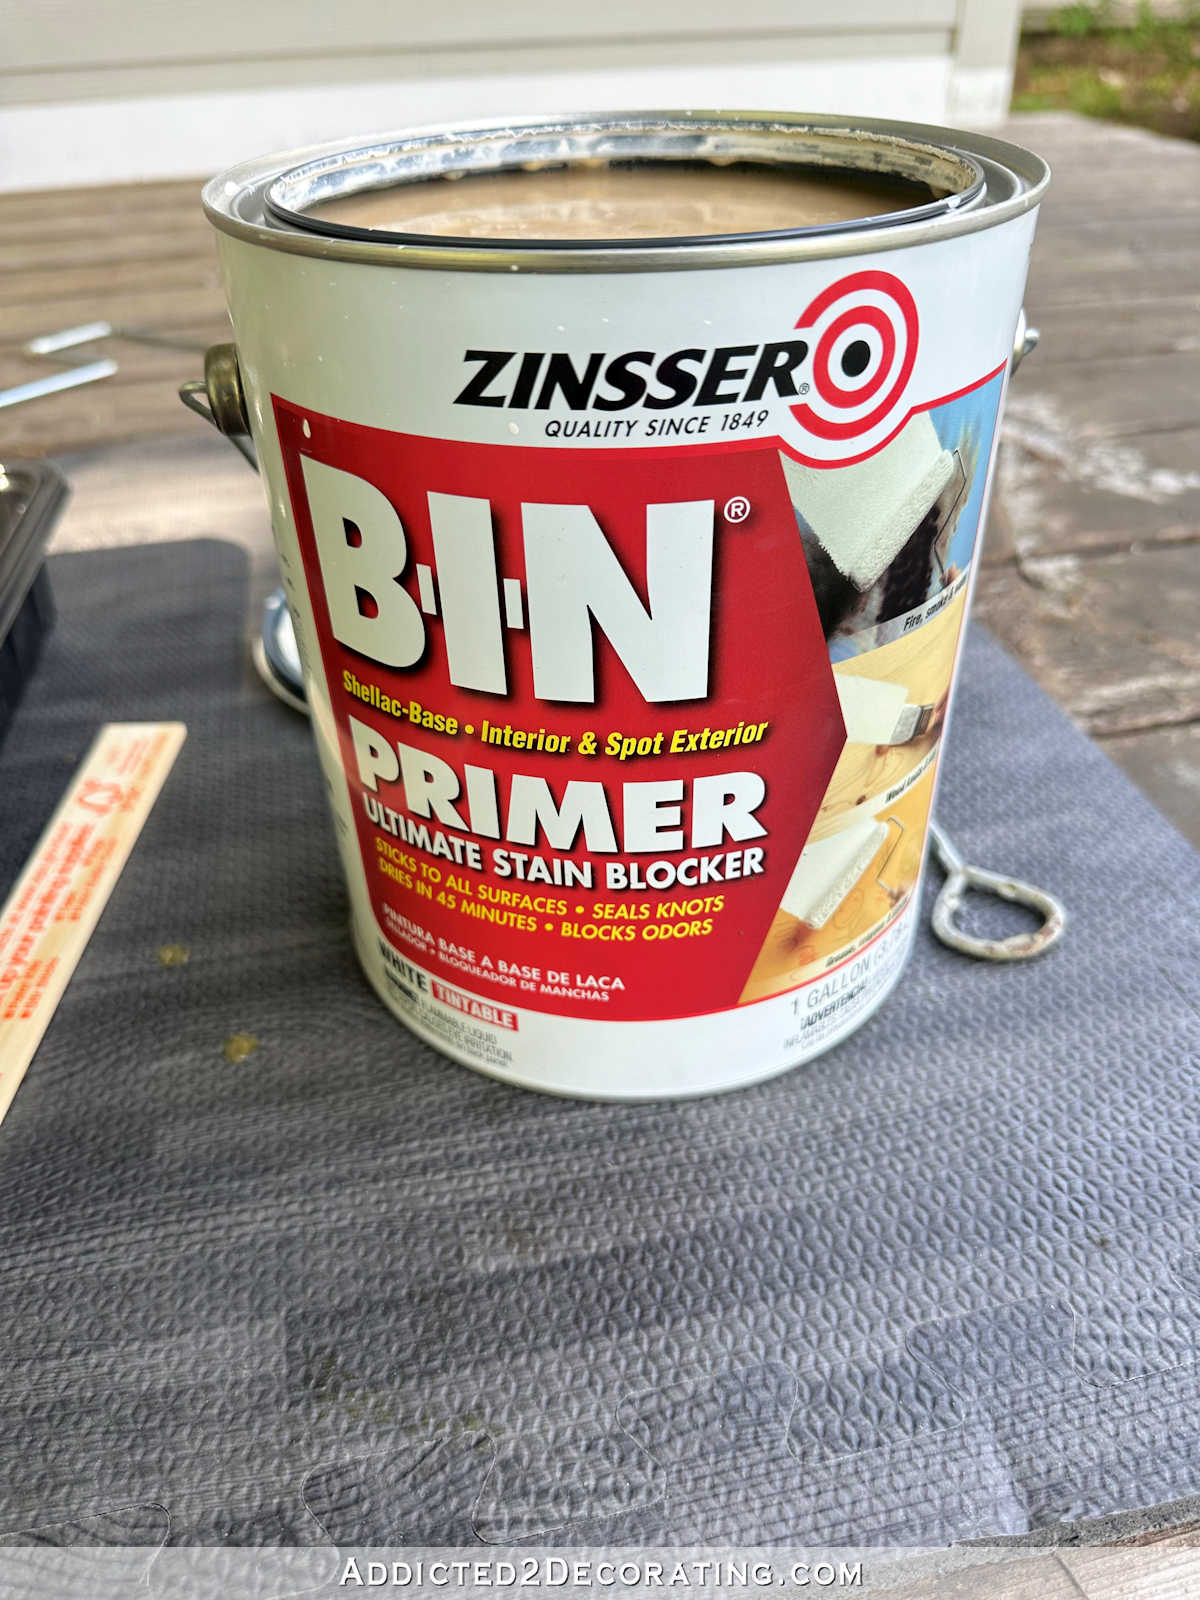
I almost backed out and just went with my favorite primer when I saw the cost. This shellac-based primer cost about $75 for a gallon, whereas my favorite oil-based primer was $35 for a gallon. So this is more than double the price. But when I saw that the label specifically says “seals knots”, I decided to go for it.
To apply the primer, I used a 6-inch roller with a 3/8-inch nap.
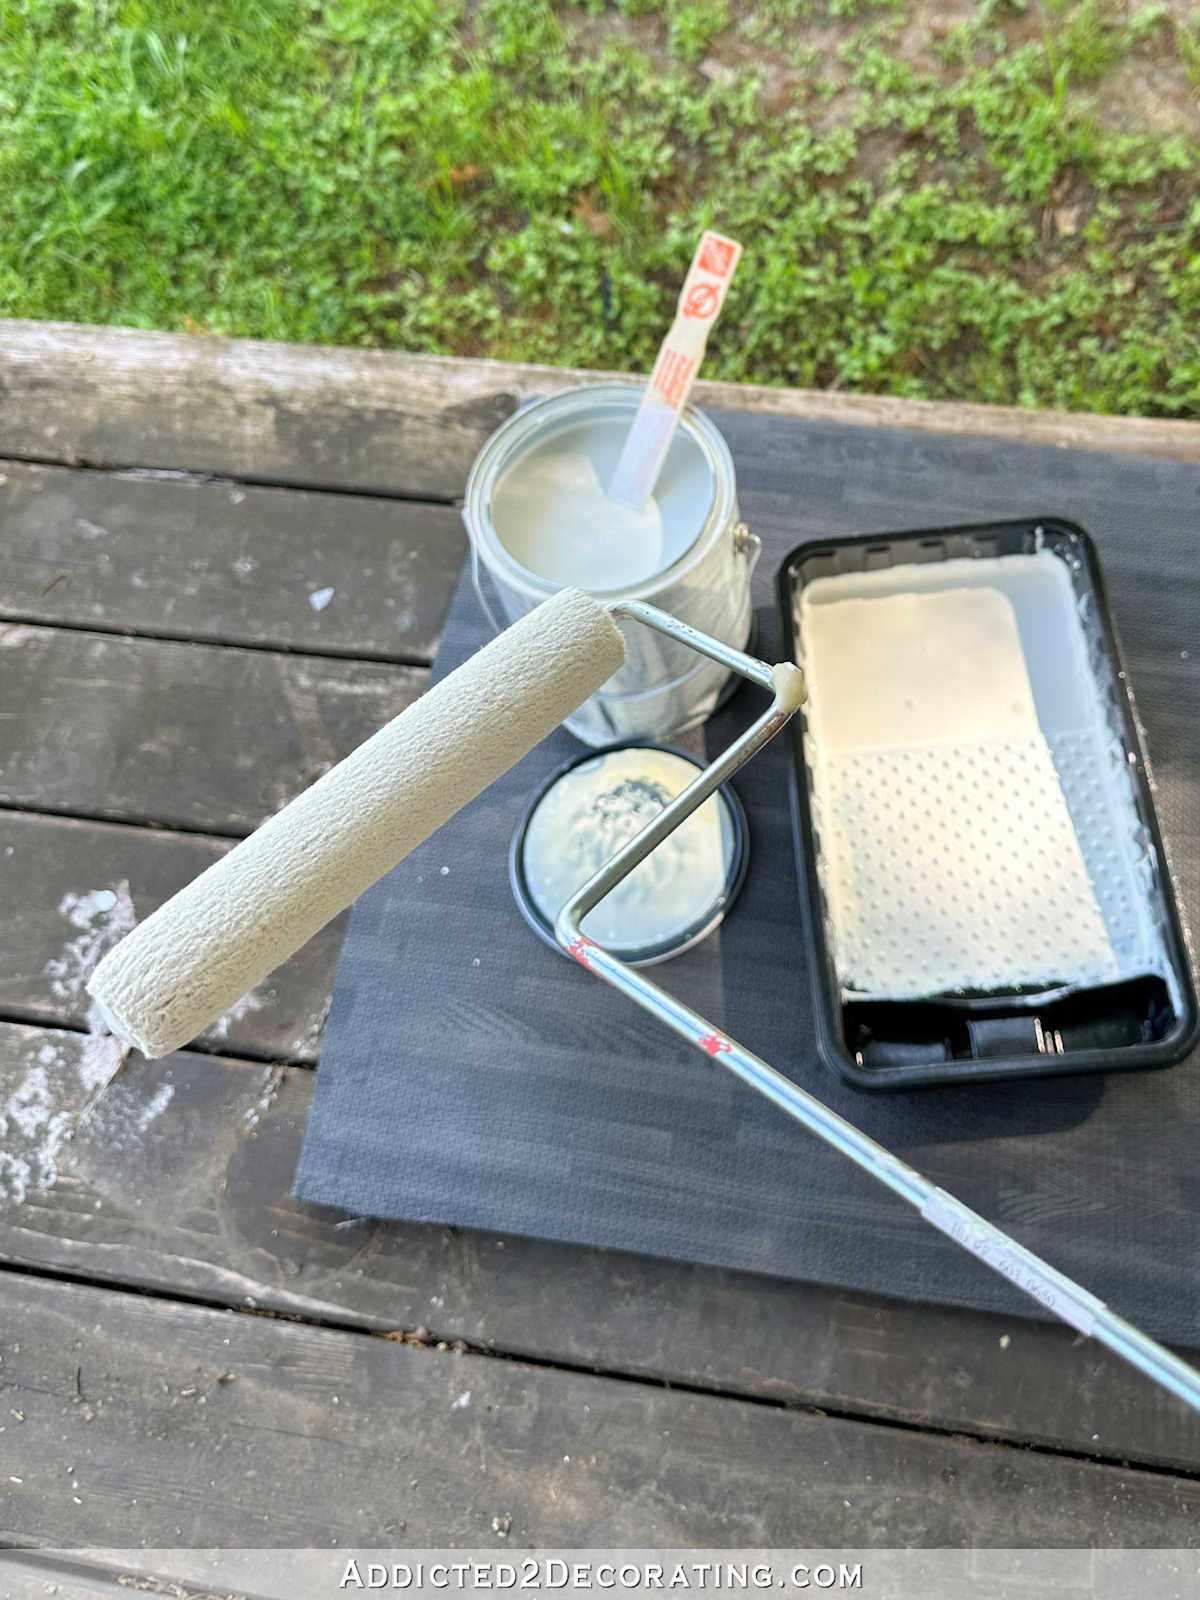
I’ll be honest here. Initially, I was not impressed with this primer at all. I had hoped to just prime right over the ceiling, and then paint it. But as soon as I rolled that primer onto the first board, I watched as the primer started to separate over the knot holes. That was irritating.
So I got up on the ladder and felt the knots, and they were all smooth, hard, and shiny, like a hard candy. So basically, I was priming over hardened sap, and the primer didn’t want to stick to those hardened shiny sap. I was irritated, because this was specifically labeled for priming over knots, and here it was, separating over the knots. I’m about 99% sure that my favorite oil-based primer wouldn’t have separated over the knots like that.
I debated taking the primer back and exchanging it for the oil-based, but I decided to press on. But it wasn’t going to stick to those knots without some prep work first. So I had to sand every single knot on the ceiling (and there were a lot of them!) before priming.
Once I did that, the primer went on just fine. It’s very different from what I’m used to, though. The oil-based primer that I love is the consistency of paint. This shellac-based primer is the consistency of whole milk, which seemed very strange to me. But after sanding the knots, it did go on very nicely, and it covered the knots just fine.
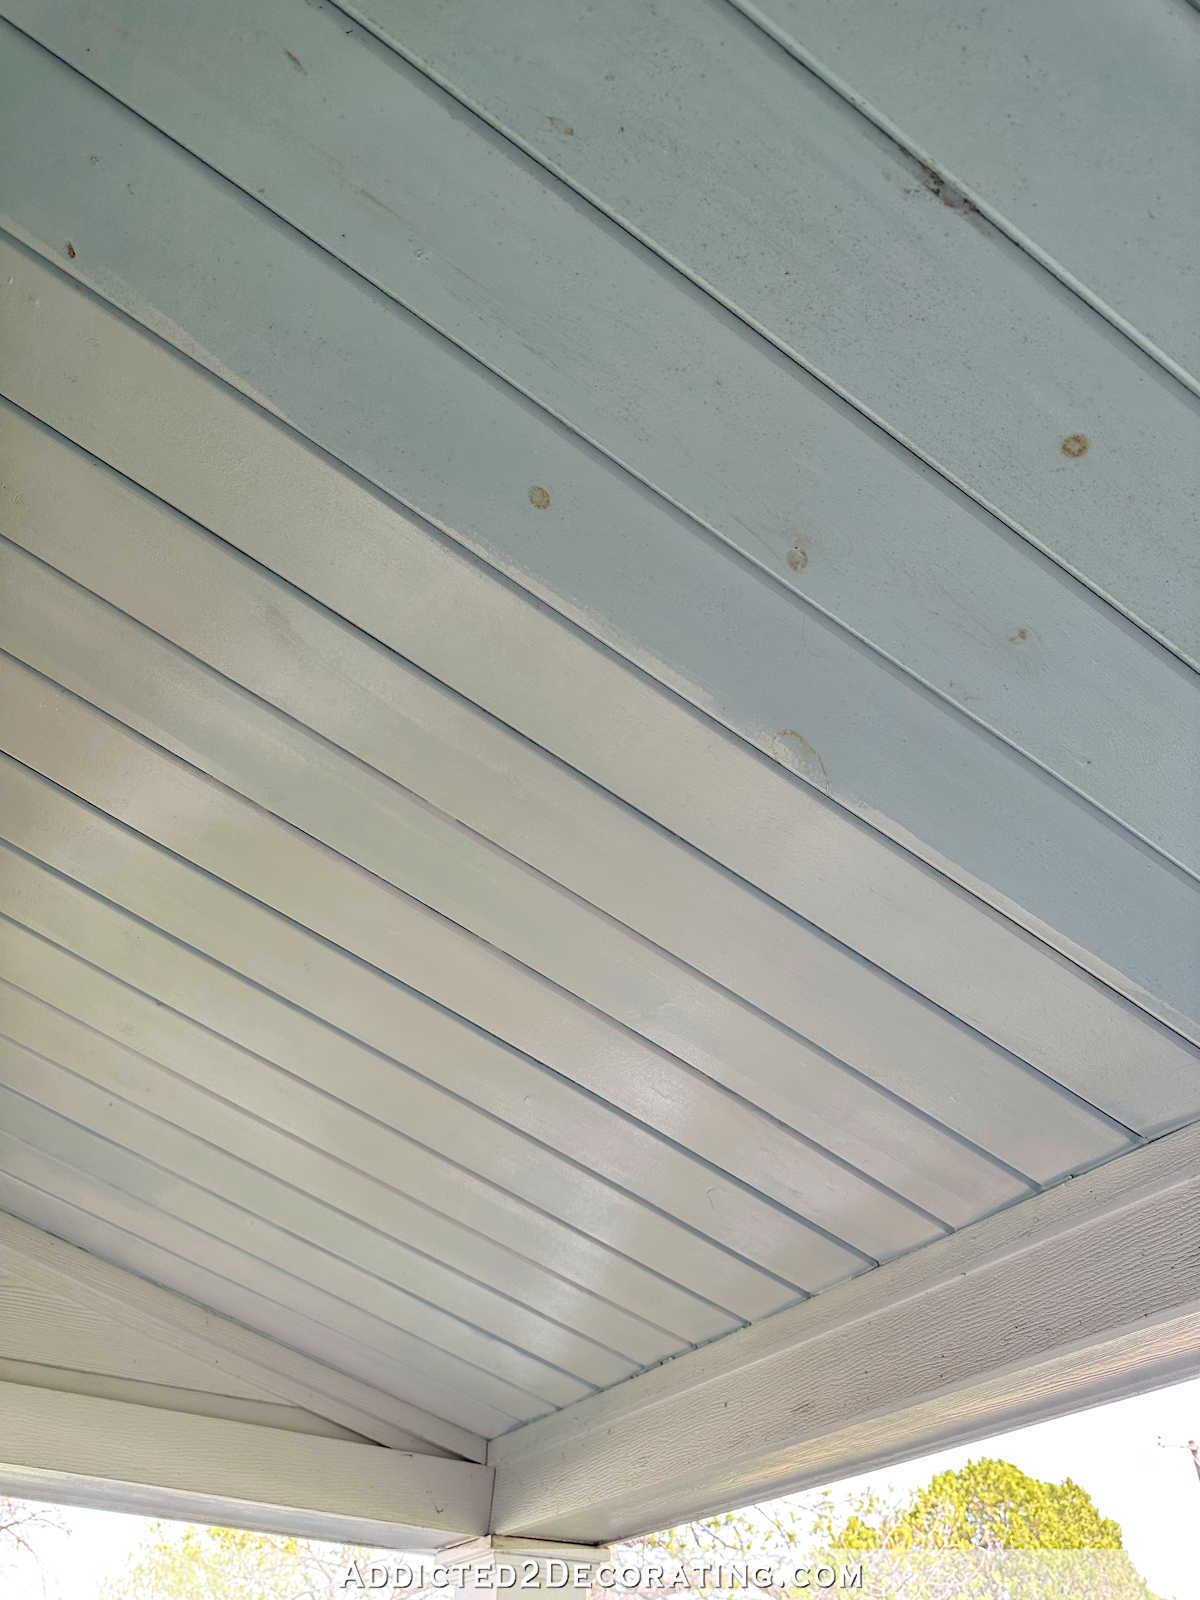
I did two coats of the primer, and then let it dry for about an hour before painting. When I painted the ceiling in 2018, I ended up mixing my own blue to get it just right. And unfortunately, I didn’t have any left over to take for a color match. So I just had to look at the paint swatches and use my best judgment.
I ended up selecting Behr Air Blue, but I think it’s a little too dark.
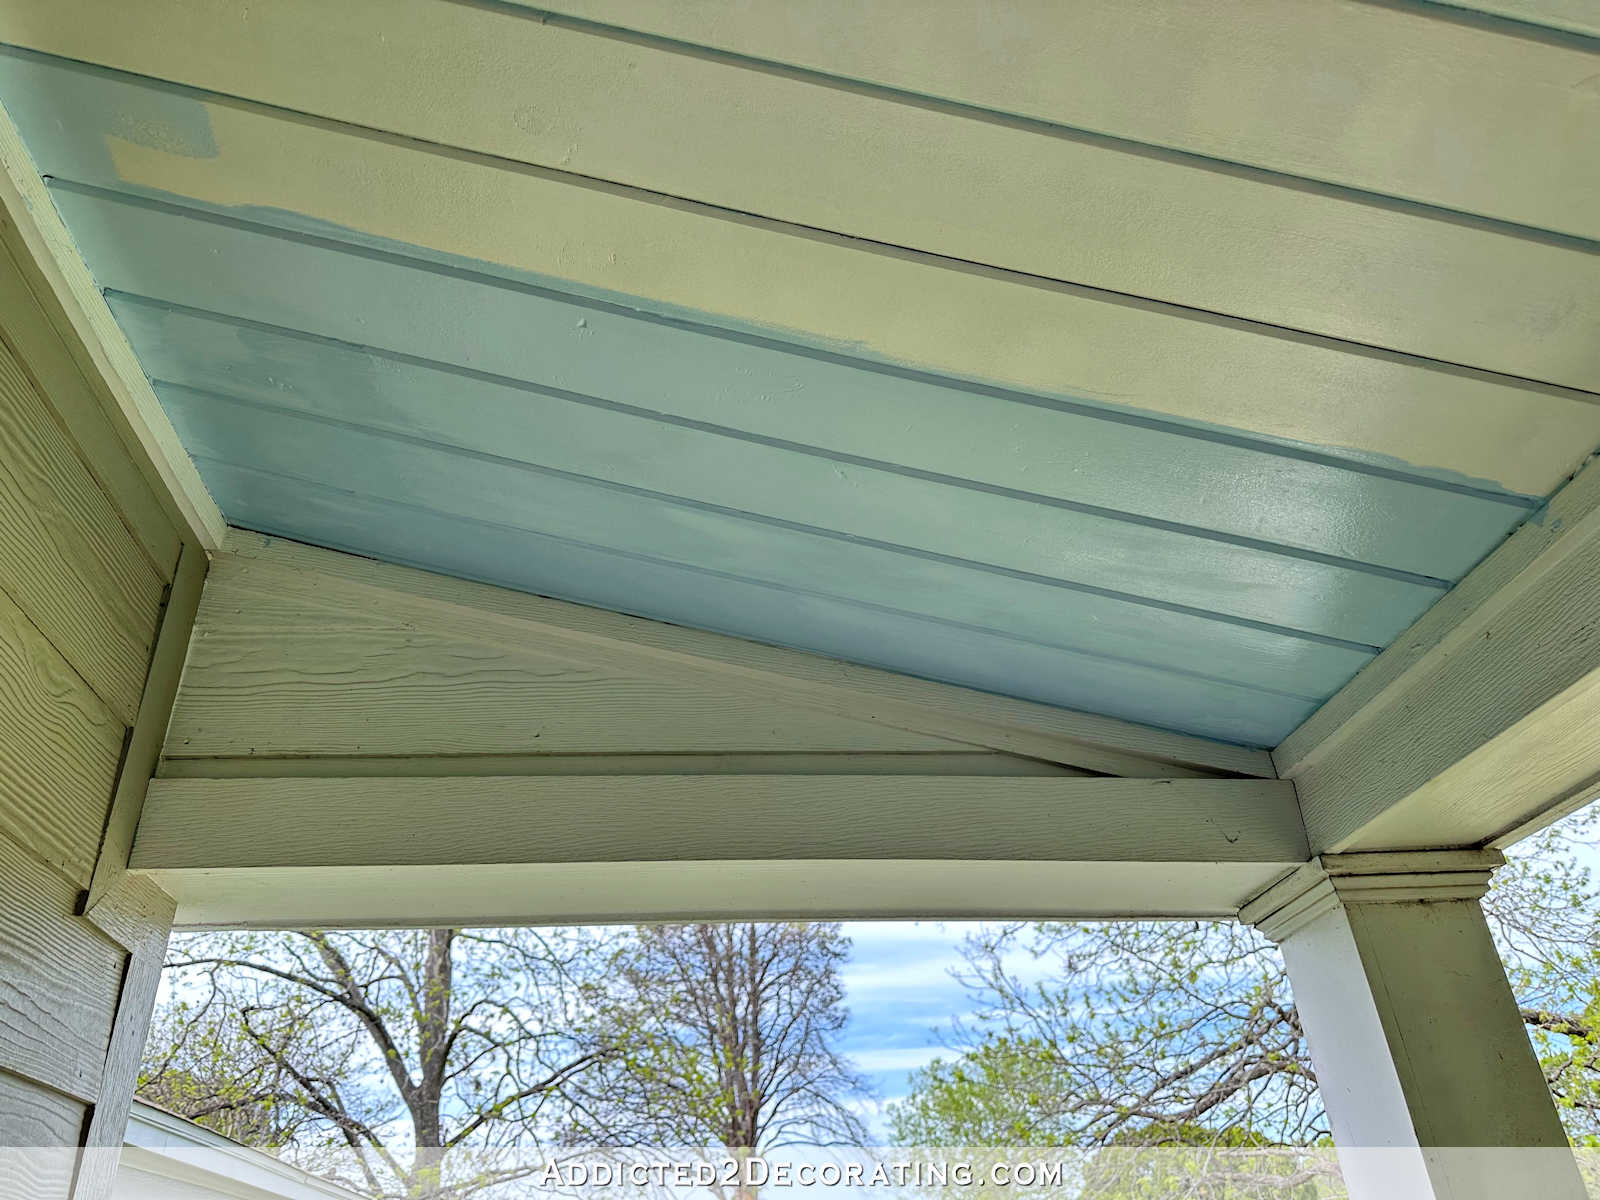
Here’s how it looked after I finished the first coat.
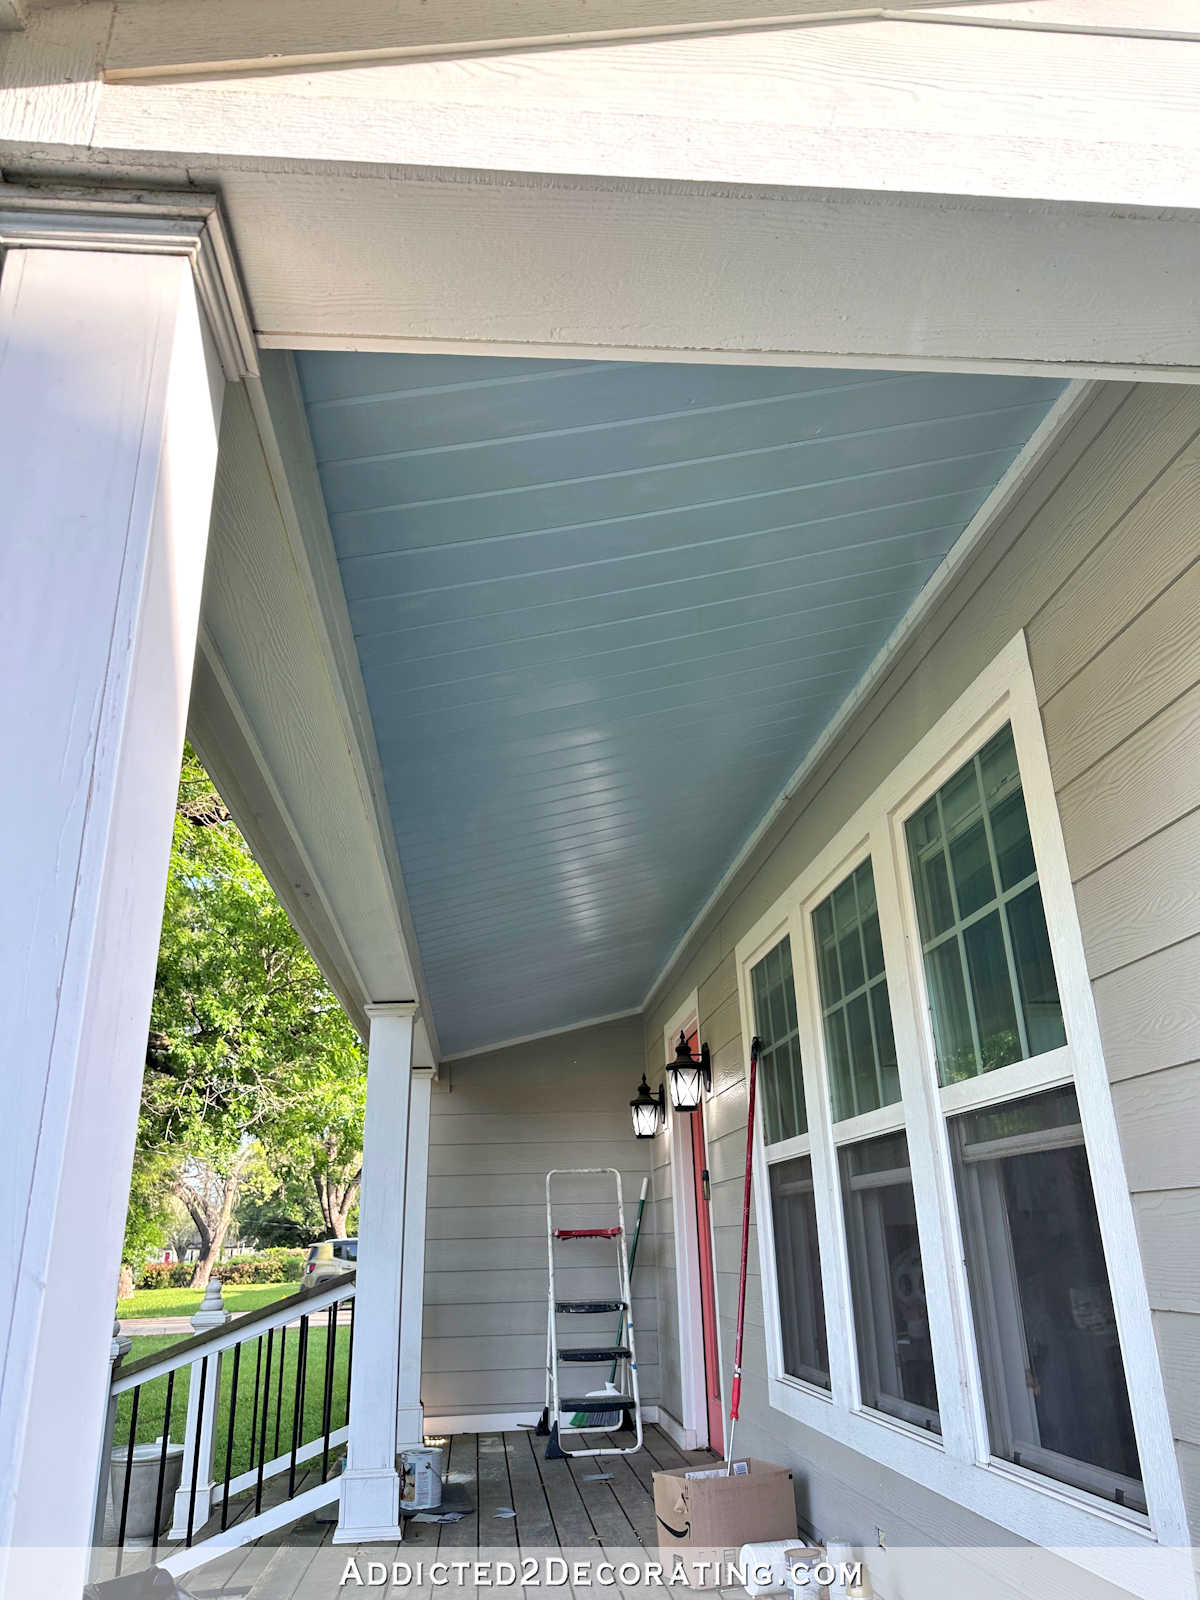
I didn’t get to the second coat because I decided to do a whole lot of caulking before doing the second coat, and that caulking took me the rest of the day (and I’m still not finished with it). But before I do the second coat, I think I’m going to add some white to lighten the color just a bit.
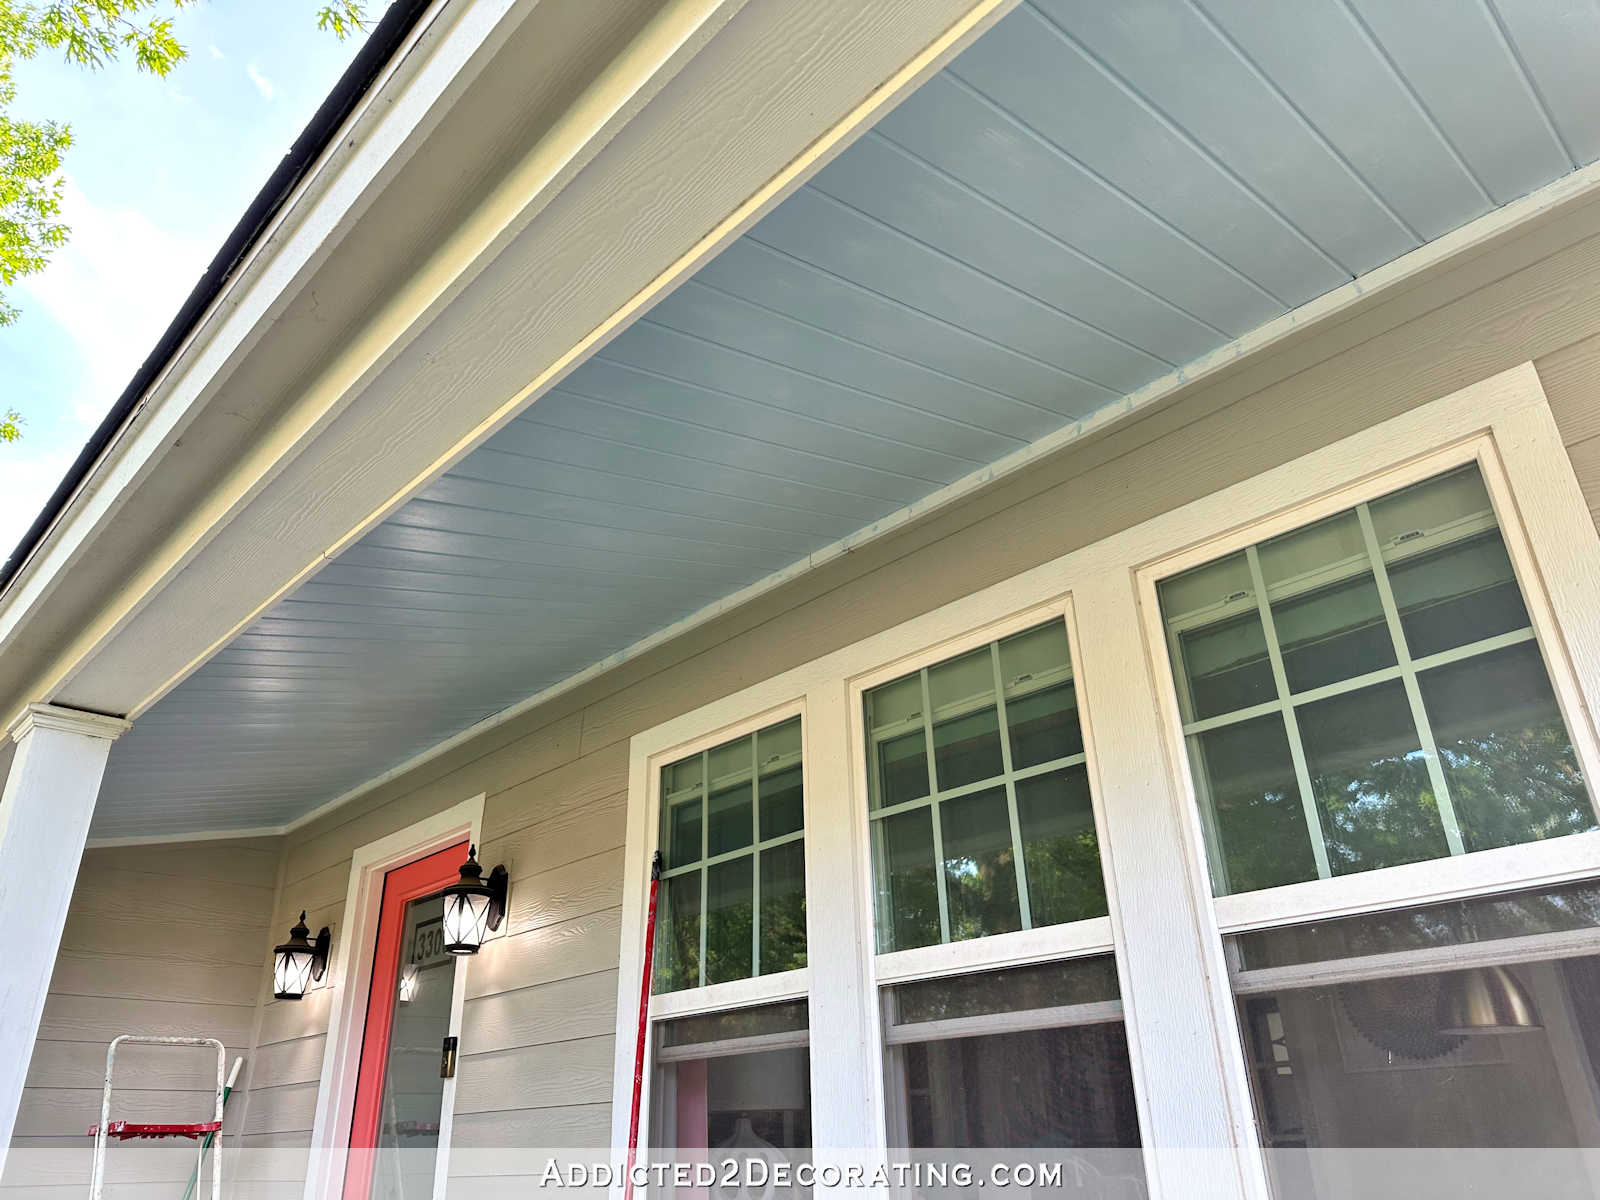
That’s where the ceiling refresh stands as of this morning. Today is going to be another beautiful day, so I’ll get the ceiling finished today and move on to some other porch projects.
Now let’s talk about “haint blue” ceilings for a second. Do you have a blue porch ceiling? It’s a tradition in the southern part of the United States (the region known as the Deep South) to paint a porch ceiling “haint blue”, and the original purpose was for superstitious reasons. The color was said to ward off evil spirits. But over time, people have noticed that blue ceilings on a front porch seem to ward off spiders and wasps.
So is this true? Do “haint blue” ceilings really work for this purpose?
Well, I haven’t conducted any actual scientific studies on it. ? And according to Wikipedia, there’s no proof that blue porch ceilings ward off spiders and wasps. Wikipedia says:
The use of haint blue has lost some of its superstitious significance, but modern proponents also cite the color as a spider and wasp-deterrent. However, the color has not actually been scientifically shown to stave off bugs. The associated repellent effect may stem from the use of milk paint containing lye, which does act as an insect repellent.
Well, I don’t have any scientific data, but I do have my own personal experience with it. Before I painted our porch ceiling blue, we had wasps on our front porch constantly. I’d remove one wasp nest, only to have another one show up a few days later. I was constantly having to , run, duck, and weave to avoid wasps diving at me as I’d try to get into the front door.
I can happily report that ever since I painted the ceiling blue, we haven’t had one single wasp nest on our front porch. Not one. And I didn’t use milk paint with lye. I just used regular ole latex paint.
So from my own personal experience, I do think there’s something to the idea that “haint blue” porch ceilings ward off wasps. And now that I think about it, I don’t remember seeing any spider webs on our front porch, either.
I don’t know if it’s just coincidence that we used to have wasps and the occasional huge spider web before the blue ceiling, and then after the blue ceiling, there haven’t been any at all. Maybe, possibly, it’s due to some other factor. But just from my own experience, I can tell you that I’m a big believer in “haint blue” porch ceilings to keep spiders and wasps away. I’d love to know your experience with it.
Anyway, back to the front porch progress. Yesterday, I decided that before I move on with more painting, I really needed to just get everything clean. The porch hasn’t had a good cleaning in years, and everything was coated with dirt and grime. So I got out my pressure washer and cleaned all of the walls, columns, trim, windows, door, sidewalk around the steps, etc.
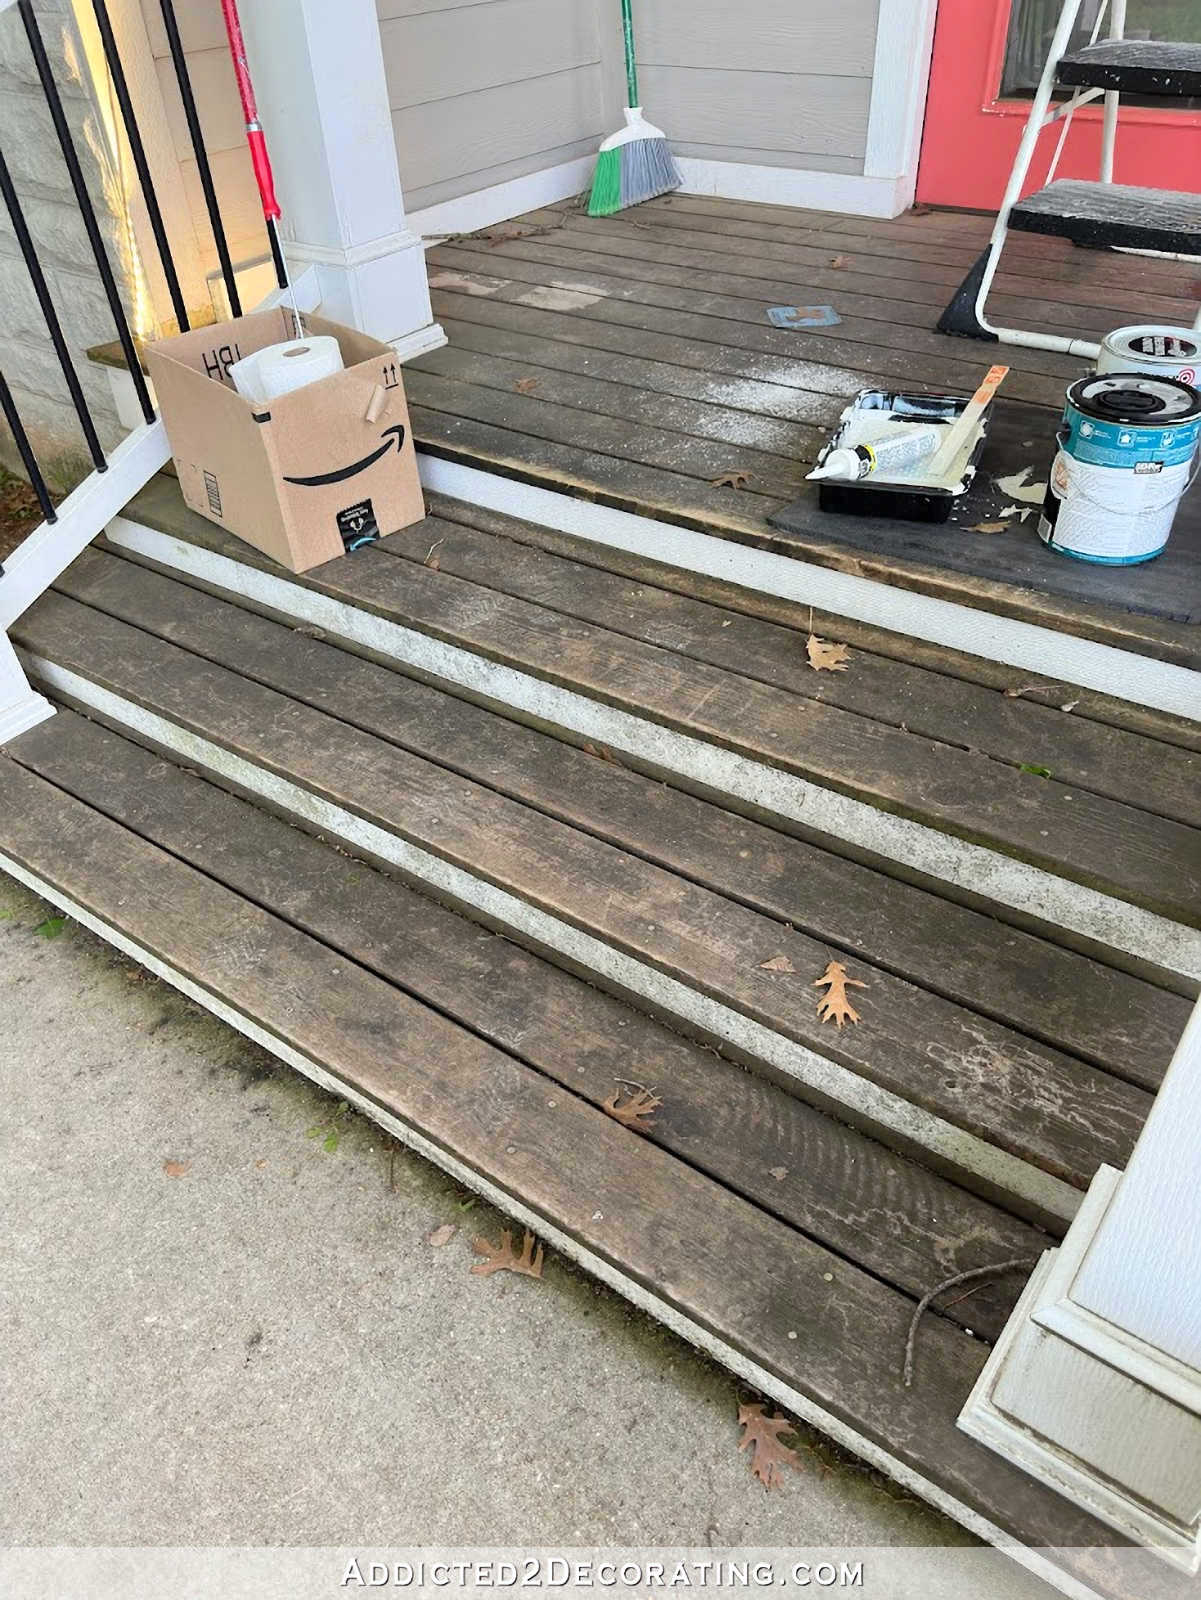
I also decided to see if the pressure washer would work to remove the existing finish on the porch and steps to prep them for the new stain/sealer that I’ll be using. And it worked wonderfully! Here’s a look at how the steps and porch looked before with the very worn and ugly finish…
And here’s what it looks like as of this morning after pressure washing yesterday evening. It still wasn’t completely dry by this morning, but it looks so much better already!
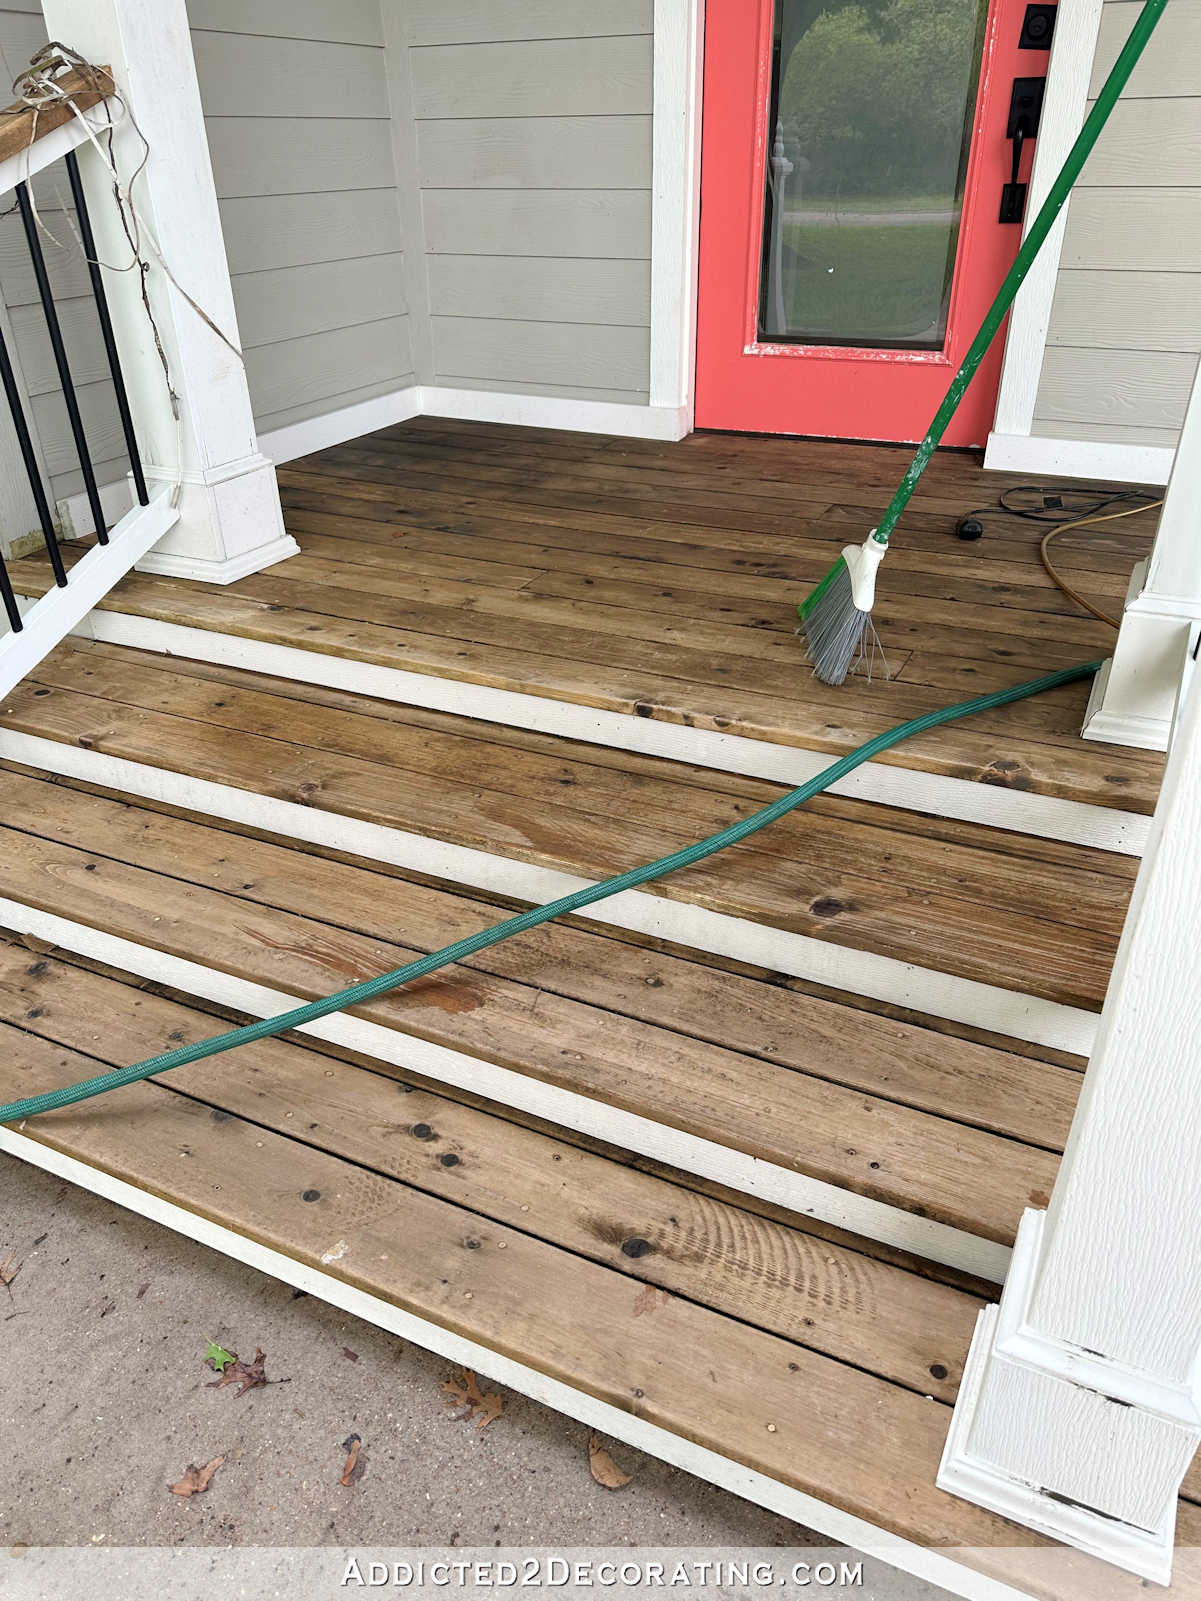
In fact, I really love this light, more natural color. I had purchased Dark Walnut stain and sealer to use, but now I’m not sure if I want it that dark. Although I do love the dark contrasting with the white trim, so I don’t know. Maybe I’ll stick with the Dark Walnut. Ugh! I can’t decide! ?
I feel like the pressure washing saved me a huge amount of sanding. And I’d much rather use a pressure washer than a sander! It’s so much more satisfying and fun to pressure wash.
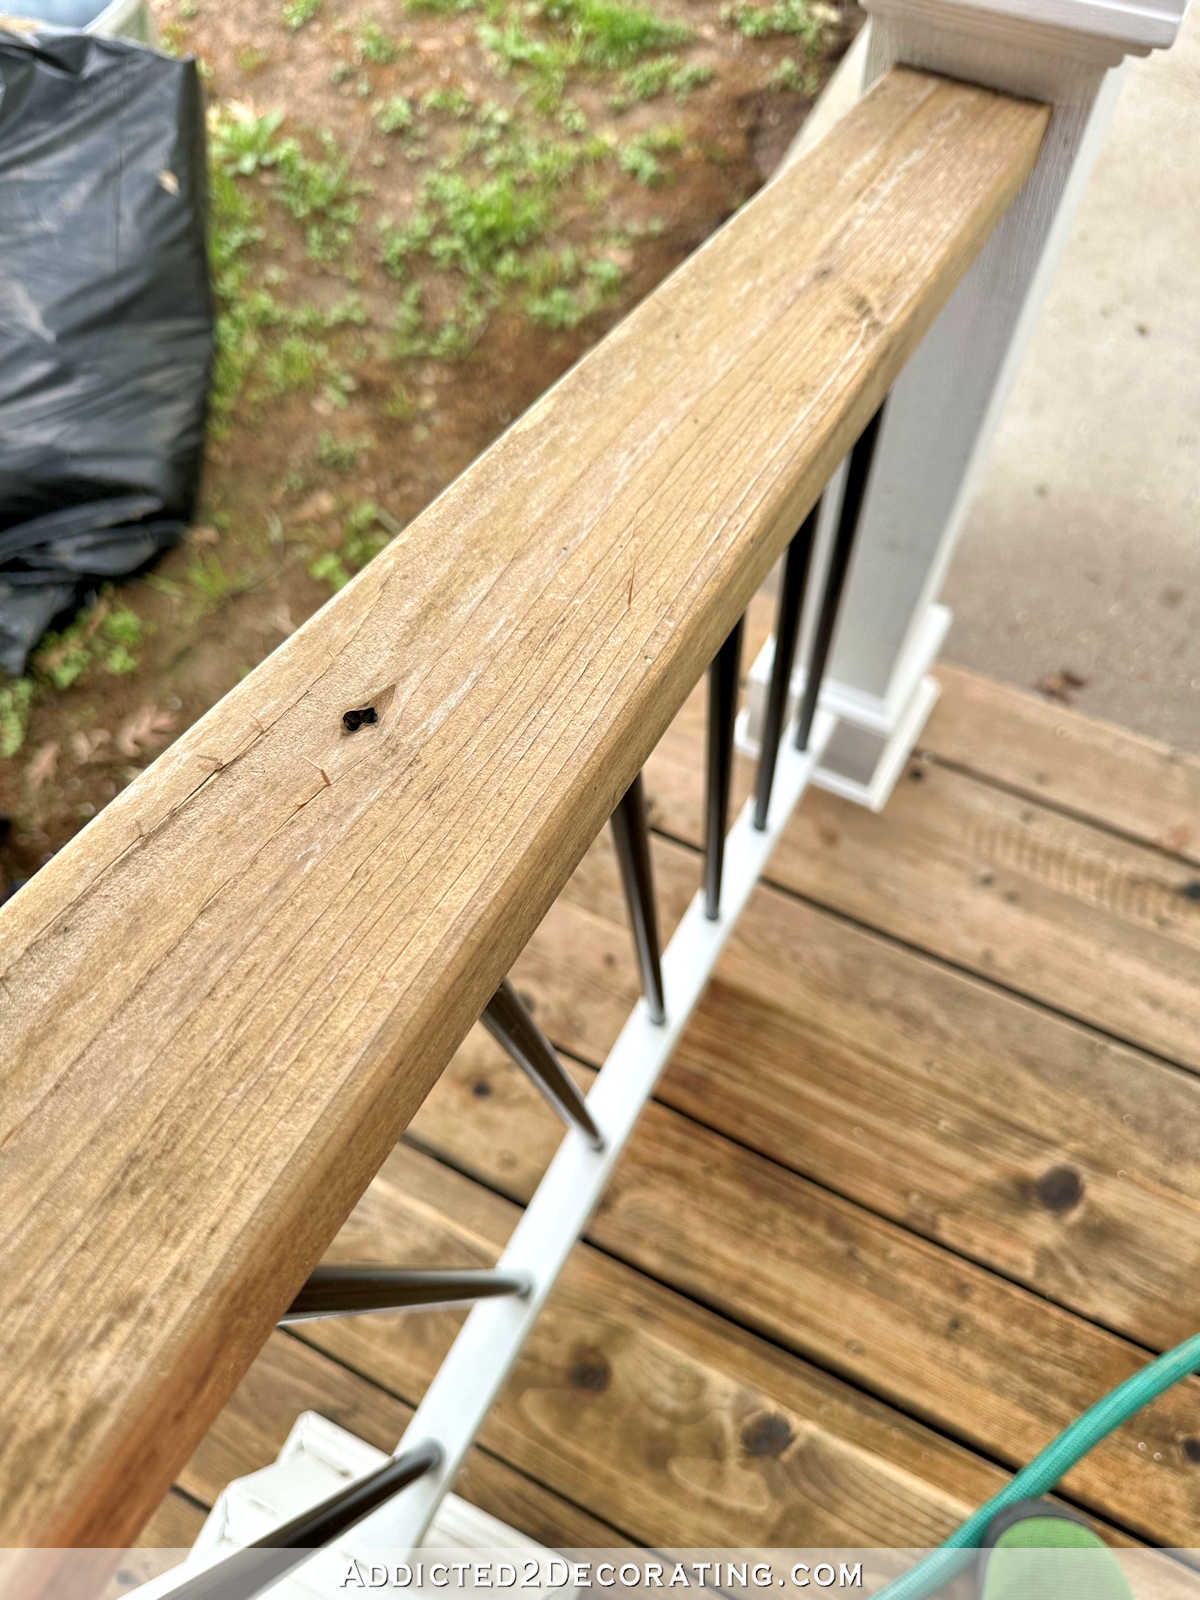
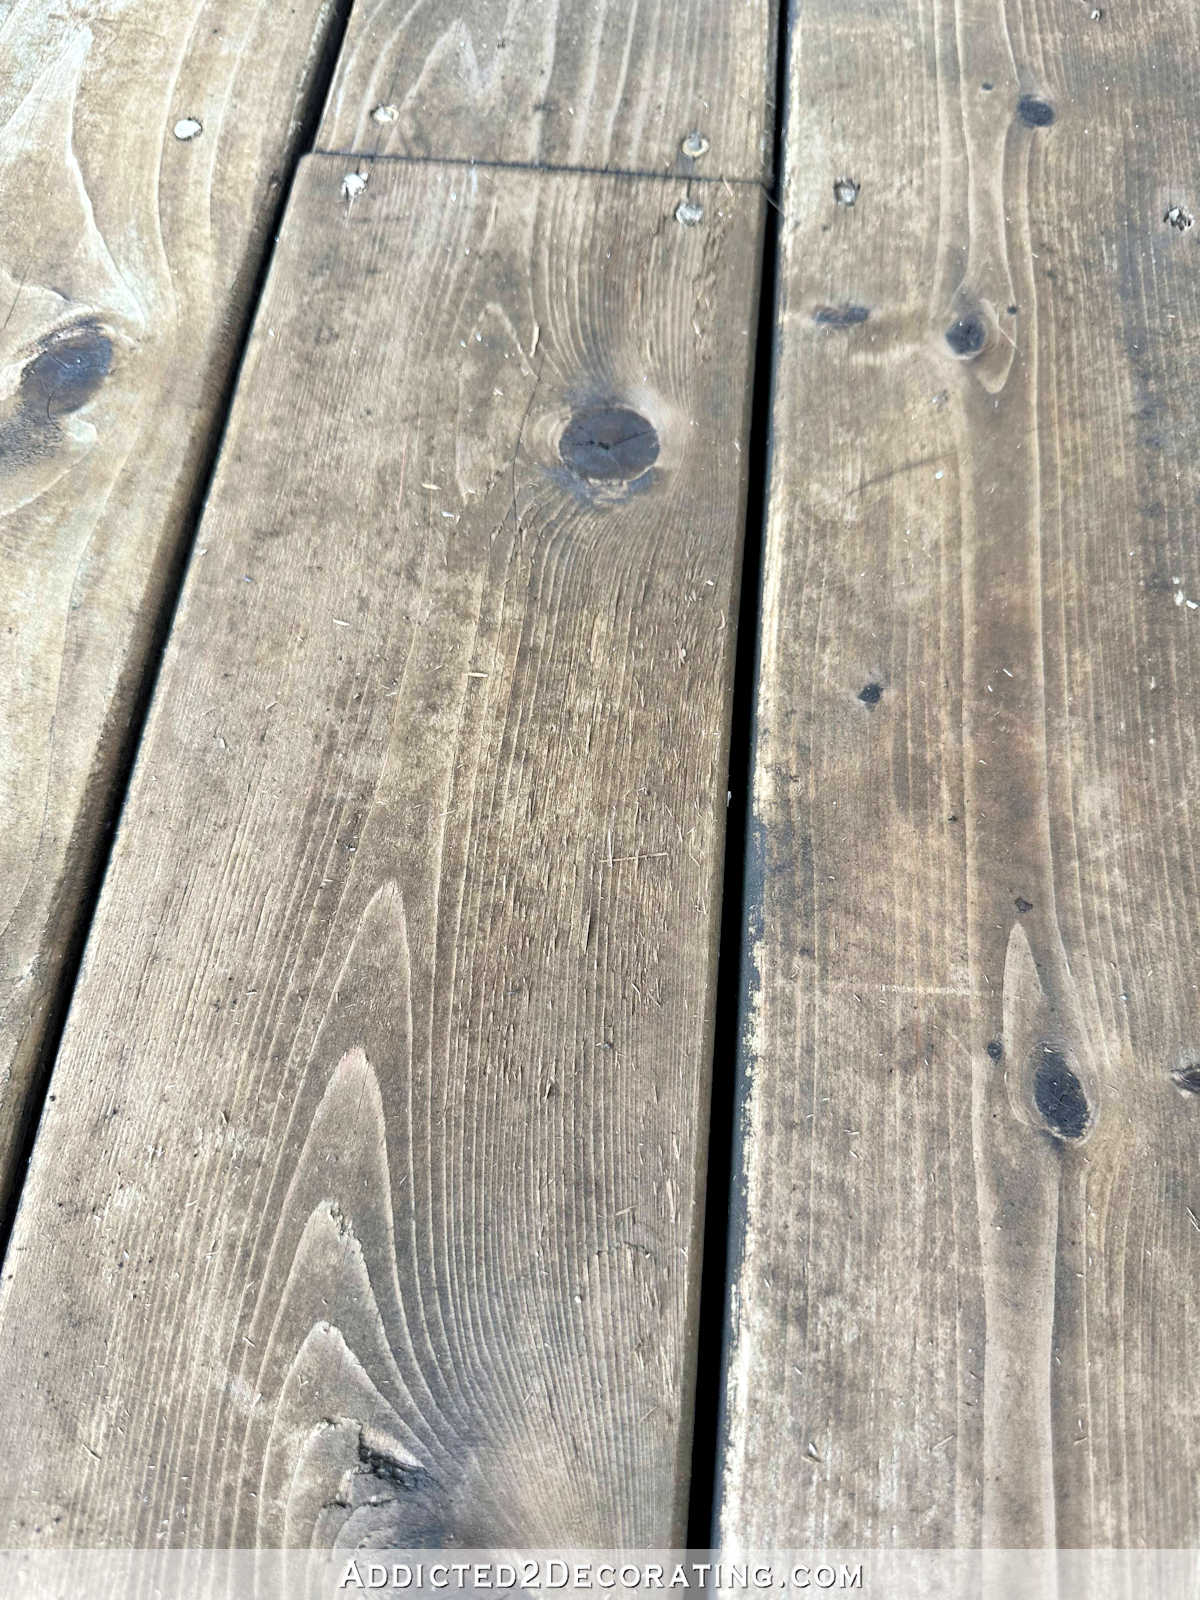
I’ll still have to do some sanding, though. The pressure washer did a great job at removing the dirt and what was left of the original finish, but it raised a whole lot of the wood fibers, which you can see here…
And you can also see it below. But sanding everything to remove those should be quick and easy.
And then it’ll be ready for a fresh, new coat of stain and sealer. But first, I need to finish up the painting. I’m still working from the top down, so it will have a couple more days to dry before I stain. I just hope we don’t get any rain in the meantime!

Addicted 2 Decorating is where I share my DIY and decorating journey as I remodel and decorate the 1948 fixer upper that my husband, Matt, and I bought in 2013. Matt has M.S. and is unable to do physical work, so I do the majority of the work on the house by myself. You can learn more about me here.
I hope you’ll join me on my DIY and decorating journey! If you want to follow my projects and progress, you can subscribe below and have each new post delivered to your email inbox. That way you’ll never miss a thing!
[ad_2]
Source link


