[ad_1]
If you already know tomatoes, you might want to shred this booklet and use it as mulch.
If you’re new to growing tomatoes, but don’t want to be bothered, we can keep it simple for you: plant deeply in a sunny patch of good soil that is well-watered, and come back in two months.
If you want to invest a little time and effort into getting the most out of your tomato plants, this book should be helpful.
Introducing Your Tomato to its New Home On Arrival
![]() Your tomato may arrive thirsty. If the soil is dried out, put the pot on a plate and gently soak the soil.
Your tomato may arrive thirsty. If the soil is dried out, put the pot on a plate and gently soak the soil.
If it’s still cold where you live, keep the plant warm, putting it out in the sun for a few hours each day. Don’t plant until the air temperature is consistently above 50° Fahrenheit day and night.
Sun
Tomatoes love sun—put yours in the sunniest place you’ve got (unless you live in Death Valley). Less than six hours of sun per day means a rangy plant with no fruit. No soil in the sunny place? Consider putting your tomato in a container, then you can move it to wherever you want.
Soil and Situation
Use proper potting soil for containers. If your outdoor soil is not rich in nutrients and organic matter, add compost—the best soil improver.![]()
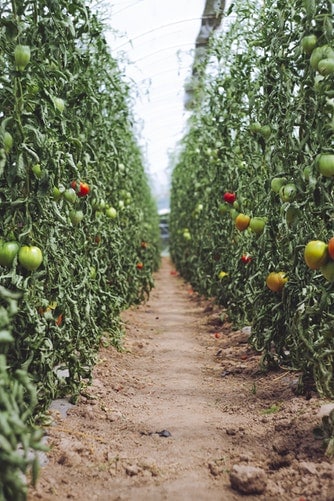
Your tomato is a vine that grows up to ten feet tall but can fit in as little as one to three square feet of ground space. Stake, cage, or twine your tomato around a string, or plant near a chain link fence. See ‘Support’ for tips on tying. Don’t plant in the same spot year after year—hungry tomatoes will deplete the soil, and pests will know where to find a tasty meal. High school chemistry bonus: ideal pH is from 5.8–7. Lower pH with organic materials such as peat moss, pine needles, and oak leaves; raise pH with wood ashes or powdered limestone.
Containers—The Portable Tomato
Find exactly the right spot—and don’t be afraid to change your mind about it later. Containers should hold at least 3 gallons and must drain well. Clean 5-gallon paint cans or buckets are good as long as you punch drainage holes in them. And of course, you should feel free to decorate them as inspiration strikes.
Moving Day—Planting Your Tomato
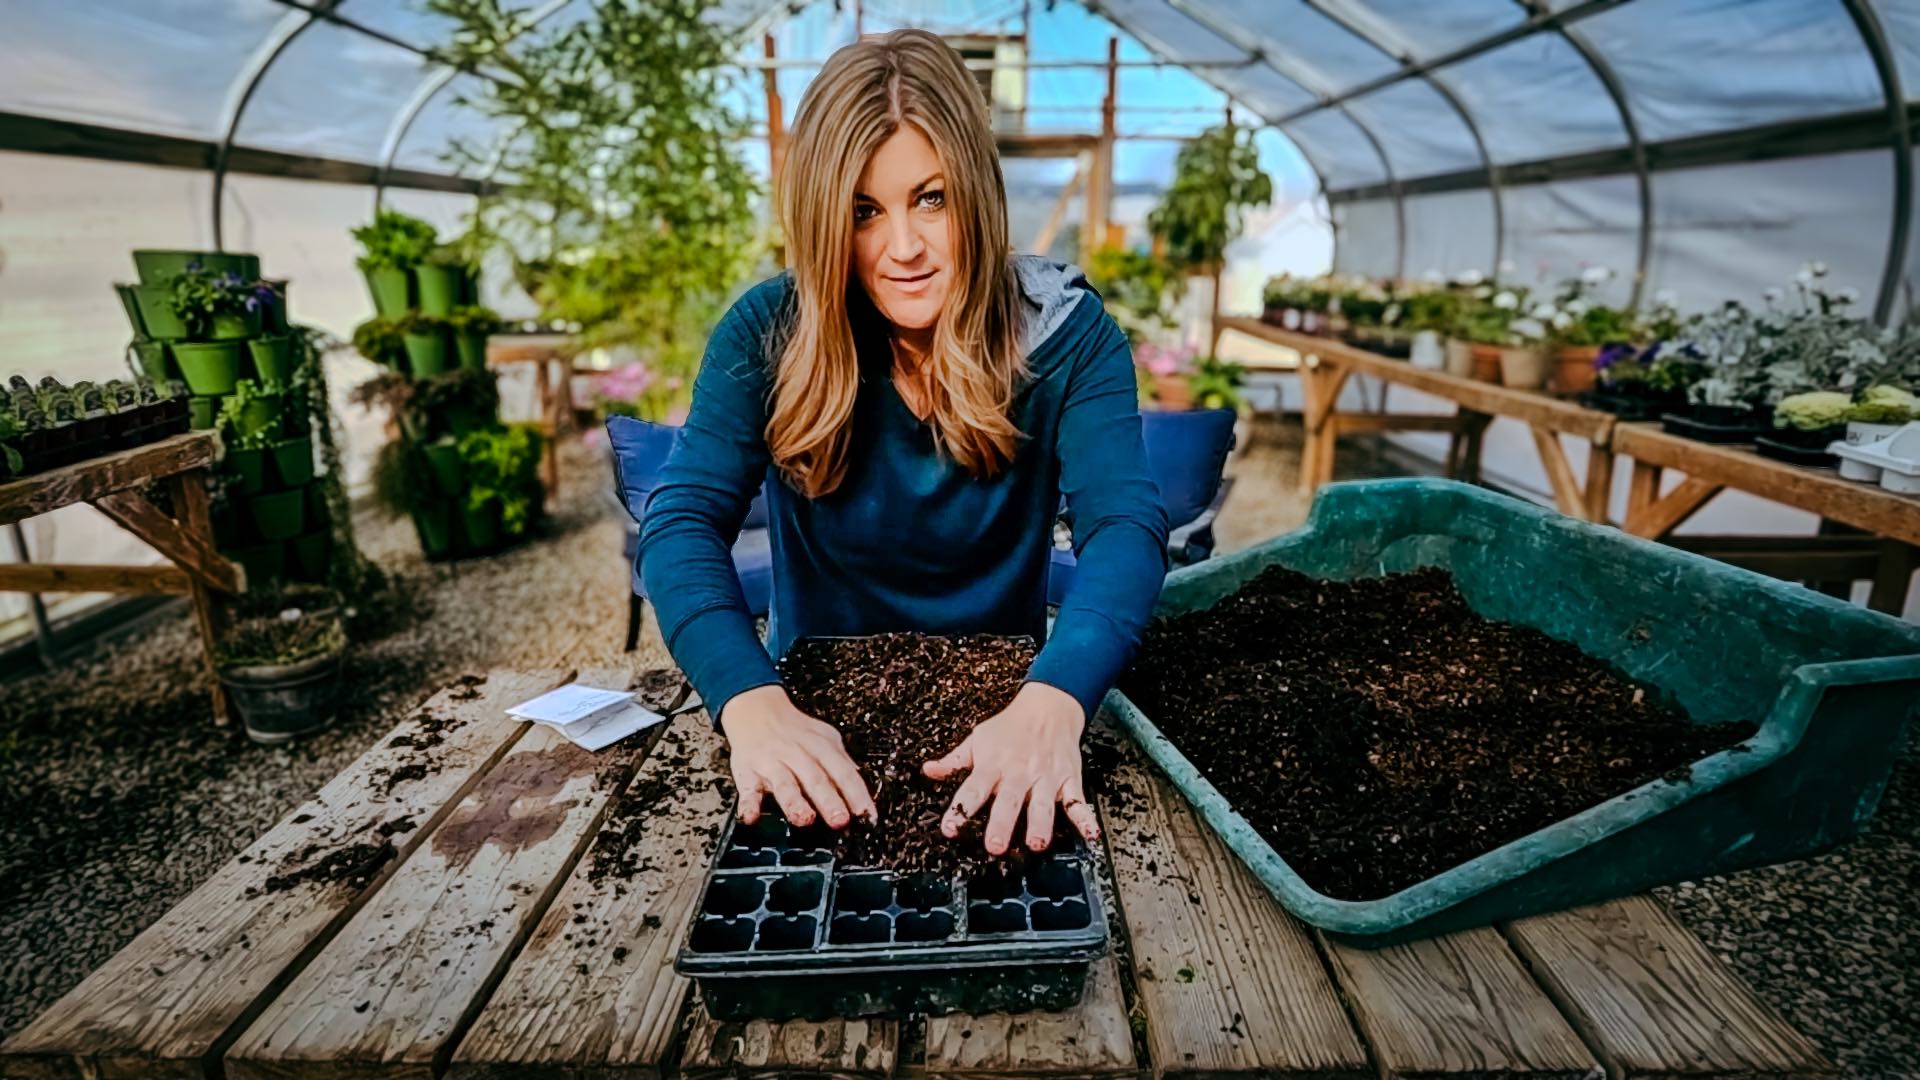
Dig a large planting hole to loosen the soil around the root ball and ease the way for questing roots. Ideally, the hole should be big enough to bury a basketball. Prepare the soil by filling the hole with water the day before. Let the water soak in— your tomato will dig it. Fill the hole part way with compost. Add a fistful of fertilizer and/or a few eggshells.
Break off all but the top 3 or 4 branches and bury the plant deeply, so the soil covers those former branch sites—they will form roots, giving your tomato an extrasolid foundation. If you live someplace with long, cold winters, where the soil is still chilly even though the nights are not that cold anymore, put the plant on its side so it will be near the surface, and only has a few branches sticking out.
Once the tomato is in the ground, soak the surrounding soil, but try to keep your plant’s leaves dry.![]()
Paper Work and Advanced Planning
![]() Right now, your plants all look the same, but when you are eating the fruit, remembering which variety is which will be very important to you—trust us!
Right now, your plants all look the same, but when you are eating the fruit, remembering which variety is which will be very important to you—trust us!
- Stick plant labels into the back of this book
- Draw a simple map of your garden, noting which varieties went where.
- Take notes on choices you make regarding plant care—by this time next year, you’ll be an expert
Read ahead to the “support” section and decide on your strategy. Your plant will grow quickly, so you should install a cage or start tying it within the first three weeks.
Care and Feeding Your Relationship With Your Tomato
Like any other relationship, you’ll get the most out of this one if you a) show up, and b) pay attention. Visit your Tomato regularly. Daily visits are nice, but weekly is fine. When harvest time comes, you may feel compelled to hover—but that’s okay. During visits, check in with the plant. Inspect from bottom to top. It may need a drink, extra support, grooming, or help with pests.
Water
After transplanting, water when the top inch of soil is dry (or cheat—use a moisture meter). Temperature, wind, and the soil type will affect how fast the soil dries out. It’s easy to water too much. We recommend that you don’t think of “regular watering.” Do not try to keep the soil moist. Instead, make it your goal to not let the soil dry out completely.
When you see tiny fruit on your tomato, cut way back on the water (and fertilizer). This change tells your tomato that it is time to focus on producing fruit. Water the ground around the plant—try not to let water splash up onto the leaves. Water splashing up from the soil can spread disease.
Food
![]() Mix a handful of tomato or vegetable fertilizer—preferably organic—into the soil of the hole or container. Add compost for richer soil. Scratch a handful of organic fertilizer or compost into the surface soil once a month. Do not over-feed! The nitrogen in fertilizer (the first number on the label) encourages leaf and stem growth. If you want your plant to focus on producing fruit, cut back on nitrogen. When fall is approaching, cut way back on fertilizer and water. If leaf ends start to turn yellow during early or mid-season, you may need more fertilizer. Phase it in gently and see if you notice an improvement.
Mix a handful of tomato or vegetable fertilizer—preferably organic—into the soil of the hole or container. Add compost for richer soil. Scratch a handful of organic fertilizer or compost into the surface soil once a month. Do not over-feed! The nitrogen in fertilizer (the first number on the label) encourages leaf and stem growth. If you want your plant to focus on producing fruit, cut back on nitrogen. When fall is approaching, cut way back on fertilizer and water. If leaf ends start to turn yellow during early or mid-season, you may need more fertilizer. Phase it in gently and see if you notice an improvement.

 Grooming Tomato Plants
All tomatoes are either Bushes (determinate) or Vines (indeterminate). Determinate tomatoes stop growing on their own, and produce all of their fruit at once. Your heirloom tomatoes are vines, or “indeterminate.” This means they will produce fruit all season. If left alone, they will grow into an unruly tangle of stems. If you’re short on space and if you want earlier and larger fruit, then prune!
Types of Growth
Mother Stem: The main vine. Everything else will come off it. It wants to split into many branches, but you won’t let it.
Leaf Stems: Growing off at right angles, these little fellows break the vine up into sections. They get leaves and help with photosynthesis.
Flower cluster: These grow in the middle of sections, coming directly off the vine. These flowers become fruit—we love them!
Suckers: These grow out of the crotches of the right angle leaf stems. They must be removed—pinch them off with your fingers.
Pruning
 For a well-behaved vine, prune to a single stem, or a y-shaped vine with a short mother stem and two long main stems. In areas with intense sun, such as the southwest, more leaves are welcome—a single stem can result in sun-scalded fruit.Make sure to pinch off dead leaves.
- Pruning is easy—snap out the suckers (or “suckas” in our neighborhood) that grow out of the crotch made by the leaf stem joining the main stem. The best snapping-time is when suckers are 3 to 4 inches long.
- For a double stem, or Y-shaped vine, allow a sucker near the lowest flower cluster to grow.
A Happy Vine
You want to train your tomato to grow into a single vine or a “Y” where the two main stems are really long. This means you will be pinching off side growth all season long.
Support
![]() Go vertical—it increases fruit production and decreases the chance of diseases and pests. For the highest yield, plant 18” apart, grow in single or “Y” shaped vines, and tie them straight up. Support your tomato! Cages, trellises, garden net, or stakes are easy to find. Or plant your tomato against a fence, or knot garden twine on a 6-foot frame and suspend stems by twining them around the string.
Go vertical—it increases fruit production and decreases the chance of diseases and pests. For the highest yield, plant 18” apart, grow in single or “Y” shaped vines, and tie them straight up. Support your tomato! Cages, trellises, garden net, or stakes are easy to find. Or plant your tomato against a fence, or knot garden twine on a 6-foot frame and suspend stems by twining them around the string.
If you are using cages, prune your suckers so you get 3 or 4 main stems (instead of a long “Y”), then start pinching off their growing tips once they start spilling out and blocking the light of the tomato the next cage over. If you’re tying, tie loosely—the stems will expand with time. Use garden twine, cotton twine, nylon twine…some recommend old pantyhose, which have the advantage of stretching to let the stems expand. When you get heavy fruit cluster, tie them so your tie bears weight, otherwise, the weight of your fruit may damage your vine.
Shaking the Tree
If you live in a windless area, you may want to stroke your vines every few visits, plus gently shake or tough flower clusters to encourage the fertilization that results in fruit.
 Pests and Problems
Frequent visits will help you stay in touch with your tomato’s health. Problems are minor when dealt with as soon as they appear. Tomato hornworms eat leaves and fruit, and leave their calling card: black droppings. Pick the hornworms off and smush them— disgusting, but effective!
Try using homemade pest repellent/leaf cleaner, especially if you see little white bugs on the underside of the leaves.
Tomatoes can crack from uneven moisture, or appear “catfaced,” with scars and holes in the blossom end from cold weather or too much nitrogen. Ugly tomatoes taste great—just cut out any bad parts. Blights, late and early, disfigure both leaves and fruit for those east of the Mississippi and on the West Coast. Wilts can kill tomato plants.
![]() Prevention is the best cure:
Prevention is the best cure:
- Moisture control is key to disease control
- Watering at ground level instead of overhead
- Don’t tie or prune your plants when they are wet
- Don’t plant in the same area two years in a row, and dead plants at the end of the season.
If you need to use a pesticide, consider plant extracts, such as chrysanthemums (Pyrethrins); or a naturally occurring pest poison, such as Bacillus Thuringiensis (Bt).
Harvest Time Picking
Twist, don’t pull—or you might take stem with the tomato. Pick tomatoes when they start to soften, have a “tomato” scent, and most of the fruit has achieved its final color. Of course, there are lots of good uses for unripe (or green) tomatoes as well! A premature tomato that comes off the vine will get full color and flavor when left on a sunny windowsill or railing.
Smash Planting
The tomato is a hardy weed designed to fertilize itself. Don’t let rotting or partially pest-eaten tomatoes go to waste. Heave them into any inaccessible or inhospitable area: think of yourself as a modern day “Johnny Tomato seed”. Hurl them into tall weeds! Smush them next to parking lot barriers! Tuck them near fences where the weed-whip won’t go! Check back next summer—you may find a pleasant surprise!
 As the Season Wanes
Get every last bit of tomato goodness! When there’s only a month left of warm weather: cut off all growing vine ends, and all small and undeveloped fruit. Cut back on water and fertilizer so the plant focuses on ripening existing fruit.
What is an Heirloom Tomato?
Heirlooms are tomatoes that have been around a long time. Rediscovered in the recent taste revolution, “heirloom” refers to tomatoes that are not hybrids, and have been in existence at least 50 years— preserved for their superb taste. Heirloom tomatoes often are unusual shapes or colors. Many people have never tasted “real” tomatoes—if you’ve only eaten supermarket or other commercially produced tomatoes, you’re in for a delicious surprise. Supermarket tomatoes, along with the tomatoes served in most restaurants, are hybrids: bred to the specifications of mass production.
Shippers demand tomatoes that are red early, hard enough to roll down chutes, and that have the shelf life of your left shoe. Such tomatoes are picked when the first hint of color shows, so they never fully ripen. They may leave a little bit of stem on them and say “vine-ripened,” but they taste like cardboard compared to the tomatoes selected for flavor alone—heirlooms. When you consider that you are “shipping” your tomatoes less than a few hundred feet, you’ll see why they say that “there’s only two things that money can’t buy, and that’s true love, and home-grown tomatoes.”
Fun Ways to Enjoy Heirlooms
Tomatoes are a substitute for anything. Think of them as a vegetable, or fruit, or meat or a spice: experiment! Give them to your friends, and try not to refrigerate.
 Growing Tomatoes Organically
No synthetics or chemicals! Fertilizers and pesticides must come from natural sources to be considered organic. Compost is the best soil conditioner and a great fertilizer as well— if you have it, use it! Other organic fertilizers are also easy to find. Many gardeners grow tomatoes with no pest control other than picking off tomato hornworms by hand.
Grandma’s Homemade Pest Repellant
This spray may help against whitefly, aphids, beetles, grasshoppers, slugs, and scale. It also can help deter rabbits and raccoons.
- 6 cloves garlic
- 1/2 onion
- 1 tablespoon cayenne pepper or3-4 very hot peppers or
1 tablespoon of hot pepper liquid, such as Tabasco
- 1 tablespoon dishwashing liquid (biodegradable is best)
- 1 quart water
Put the first four ingredients in the blender along with a cup or two of water and blend until smooth. Pour the liquid into a large jar and add the rest of the water. Let it steep for about 24 hours, and then strain out the solids. Pour the liquid into a spray bottle and spray your plants—make sure to get the underside of the leaves, too. The spray keeps in the refrigerator up to two weeks.
[ad_2]
Source link


 + Planting String of Watermelon Succulents
  with Garden Answer


