There are a number of reasons why you may want to move your camellia plant.
Sometimes the light changes as nearby trees grow, or you might not have realized how large the shrub would become once it was mature.
Or perhaps you’re relocating and you want to take your favorite camellia with you to your new place.
We link to vendors to help you find relevant products. If you buy from one of our links, we may earn a commission.
Whatever your motivation for transplanting, camellias are perfectly capable of being moved successfully, so long as you take the appropriate steps before and after to ensure their continued health.
And by the way, if you want to learn more about how to grow camellias, check out our guide.
In this guide, we’re going to discuss how to move and transplant your camellia successfully. Here’s what we’ll talk about:
How to Transplant Camellias
Before we get started, it is worth pointing out that if your camellia is more than four feet tall, don’t try transplanting it on your own.
With a plant of this size, you won’t be able to dig as deep and as wide as is necessary to preserve enough of the roots to keep it alive. In this case you’d be better off hiring someone with professional equipment to move your shrub.
Additionally, if for some reason you need to get rid of a camellia, or are worried that it won’t survive the transplanting process, make sure you take a cutting and propagate a new plant.
Camellia roots are shallow and wide, with a few deep anchor roots. Unless you have restrained the size of your shrub through pruning, the roots will have spread as wide as the widest branches.
Keep that in mind when planning your move.
When to Transplant Camellias
Timing is vital, and the right time depends on where you live.
For those in cold, northern regions, you should plan to transplant in the early spring. If you live somewhere warmer, you can move the plants in fall, winter, or spring.
Just avoid moving them when they’re in bloom or during the heat of summer.

Also note that depending on when you move your shrub, it might not bloom the following year.
Don’t worry, it’s just the plant focusing on becoming re-established in its new location and developing roots.
Prune
Before you start digging, prune back the branches by a third.
You will inevitably sever some of the roots of the shrub as you dig it up, which will reduce the amount of leaves and stems that the plant can feed and support.
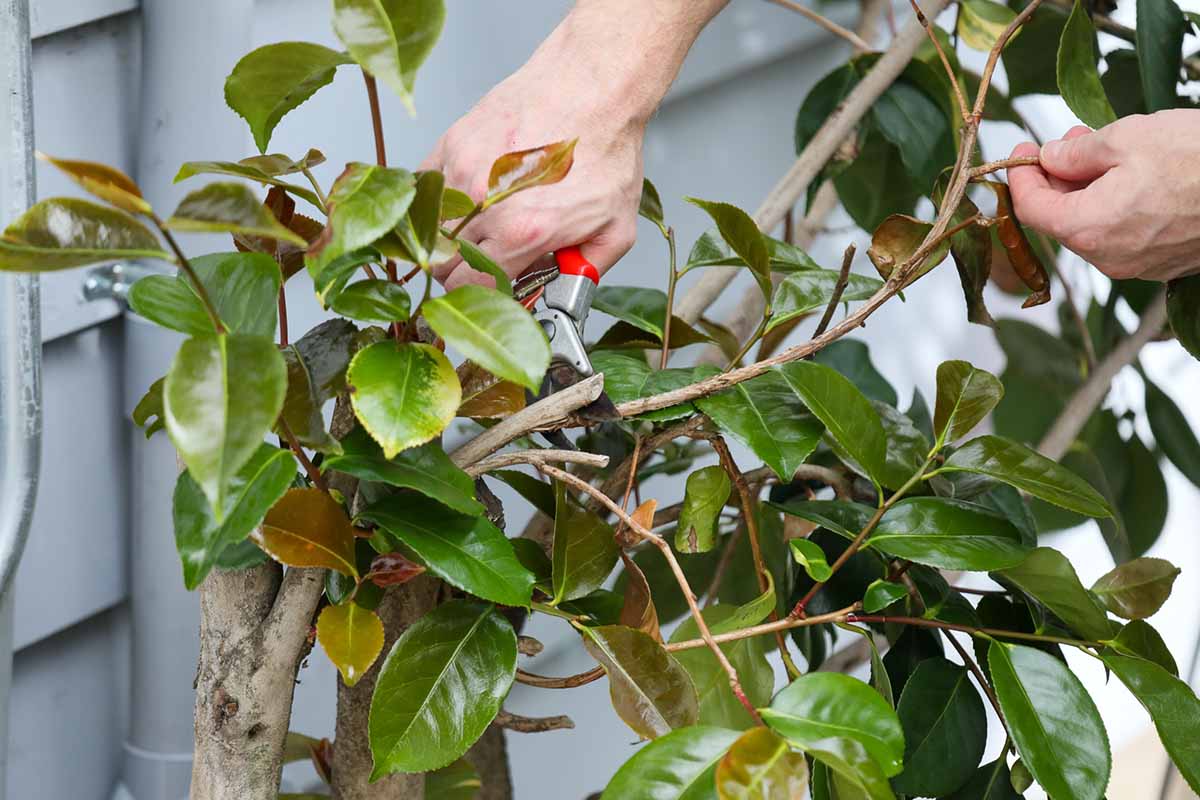
Be sure to read our guide to pruning camellias to learn more about the process.
Start Digging
When you have given your camellia a haircut, now it’s time to do the hard work. The first hole you’re going to make is the new one. Dig out the soil in the area where you will place the plant.
Make the hole bigger than you think you’ll need because you don’t want to have to stop the transplanting process to widen the hole if you find it isn’t large enough.
Once you’ve dug your new hole, it’s time to unearth the shrub you want to move.
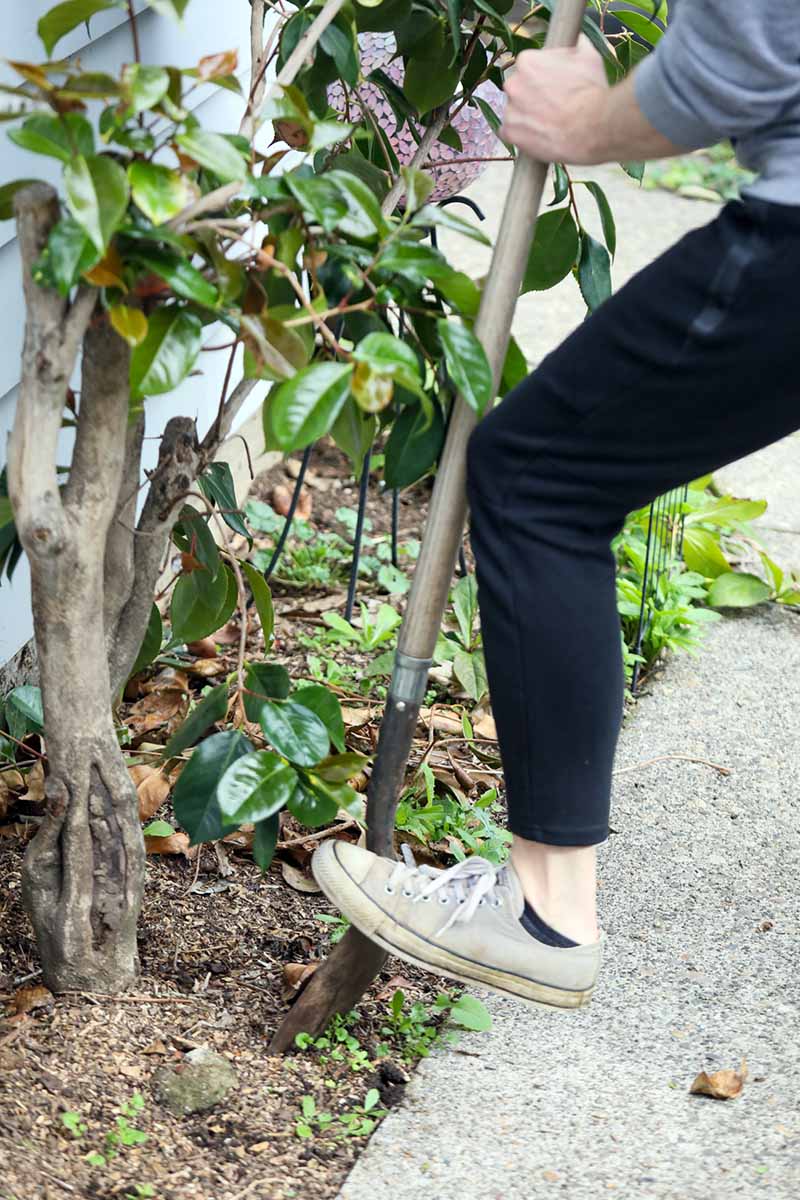
Do this by digging a channel all around the dripline – or wider, if you can. Then, dig down the channel as deep as you can for as long as you feel roots.
To do this, take the shovel, push it into the drip line hole that you made, and insert it as deep as possible. Move the shovel to the side and do this again. Repeat all the way around the plant.
After you’ve dug into that channel you made all around the circumference, lean the shovel back and gently lever the shrub out of the ground.
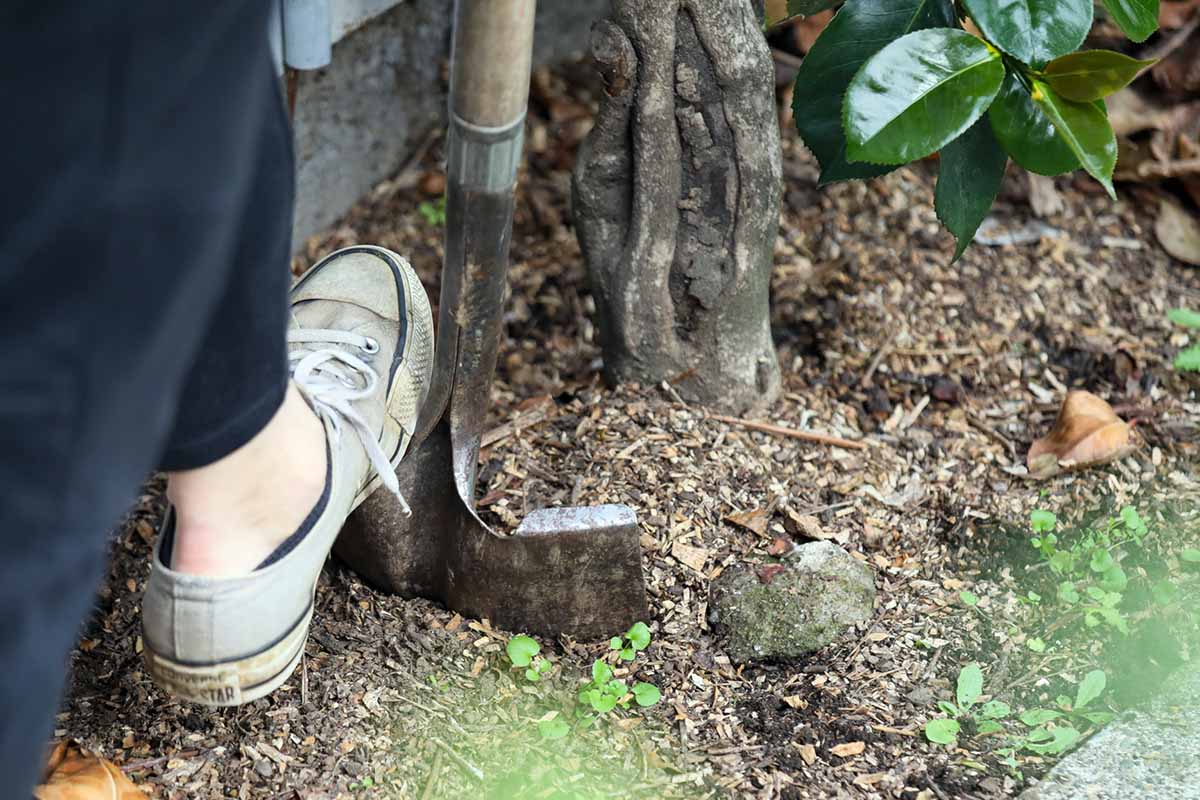
If it resists, dig around the perimeter to find any roots that haven’t been severed. You might want to use a pair of pruners to snip any stubborn roots, or keep digging.
If the plant is still stuck, go to the other side and leverage the plant up. You might need to do this on all four sides before you can unearth the plant.
You might not be able to remove all of the roots, depending on how large your plant is, but try to include as much of the root ball as you can.
If the plant is particularly large, place it on a tarp or something that you can use to protect the roots and drag it over to the new location.
Transplanting
To replant, gently lower the shrub into the new hole that you made.
You want the shrub to be positioned at the same level that it was previously, so add a bit more soil into the hole if it’s sitting too low.
Fill in around the rest of the roots and give the ground a good watering.
At this point, the soil might settle a little. Add some more soil to backfill, and water it in again. Repeat as many times as necessary until the soil is at the right level.
For the next month or two, you’ll need to be extremely cautious to keep your plant well-watered but not oversaturated. You want to allow the surface of the soil to dry out and then add enough water to barely moisten it.
The camellia needs support as it re-establishes its root system, so you want to avoid inflicting any unnecessary stress.
You can’t control the weather, but you can control how often you water, be sure to watch diligently for pests, and avoid fertilizing for the first six months after transplanting. That gives your camellia the conditions it needs to establish itself.
Make Your Move
Small plants aren’t a big deal, but moving a big shrub can be quite a large undertaking.
So long as you do your best to dig up as much of the root ball as you can, and support the plant as it re-establishes itself, you’ll be enjoying your camellia in its new location in no time.
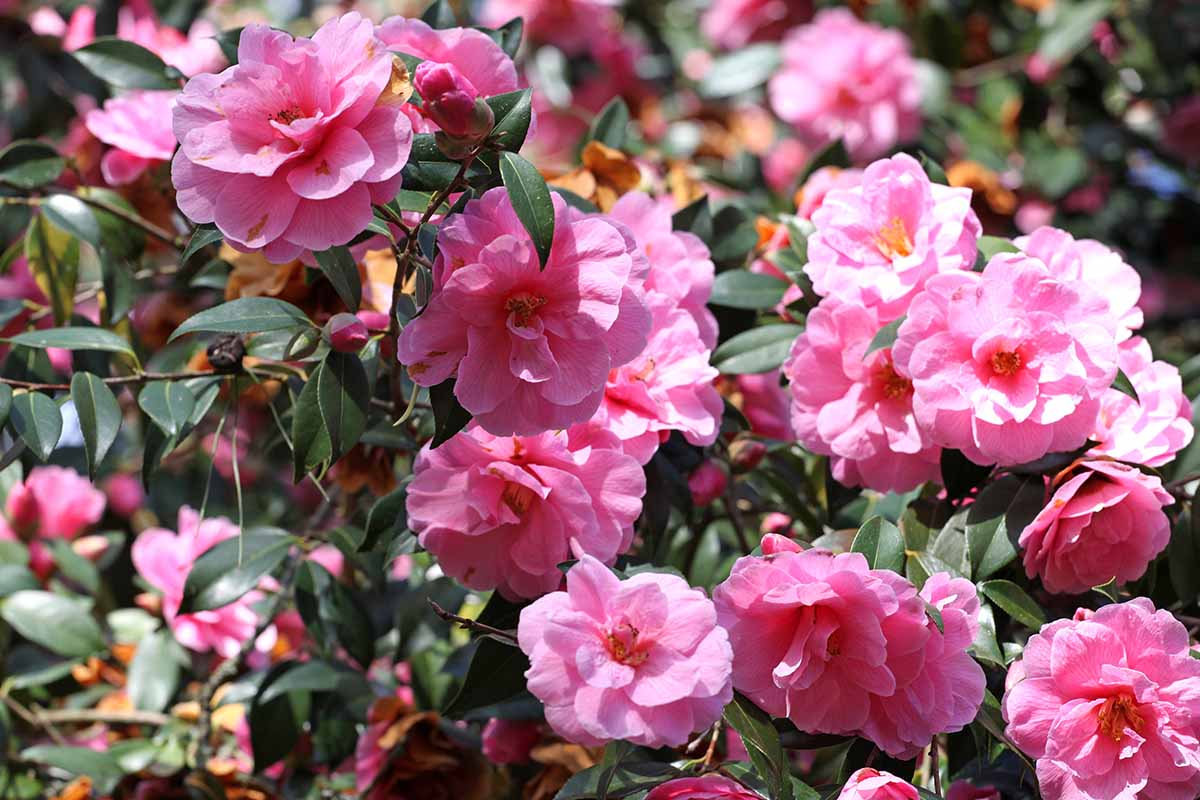
Why are you moving your plant? Is it in the wrong light exposure? Or maybe you’re relocating and want to take your favorite shrub with you? Let us know in the comments section below.
If you’re looking for some further information on how to care for these beautiful plants, we have a few other guides that might be useful. Check these out next:


