
")
[ad_1]
Y’all, things went sideways with my plans for the weekend. I had planned to get started on building my cabinets, but I’ll tell you all about why that didn’t happen tomorrow. Here’s the nutshell version. Let’s just say I had no idea just how many sheets of plywood I would need for this project. I mean…WOW! And then trying to figure out how to get that much plywood (over 25 sheets) home and unloaded presented a bit of a challenge, to say the least. But again, I’ll share the details tomorrow. But I didn’t want to waste away all of my weekend. I needed to see at least some progress on the closet, so I decided to tackle the scariest project that I’ve been procrastinating on simply because it scared me. And that is installing the ductwork for my dryer.
I know this probably sounds so boring, and for some of you it sounds like a fairly simple project, right? But it’s a necessary step to get my dryer functional. I have the water hookup for the steam function, but I still needed the vent duct and the electrical outlet installed. I’ve decided to have an electrician hook up the outlet for me. I’m comfortable installing simple 110-volt outlets myself. But the big 30-amp 250-volt outlet is something else. I don’t trust myself to DIY that installation.
But what I could do myself is install the ductwork for the dryer. Why did this scare me so much? Because it involved drilling a 4-inch hole through the exterior wall of the house. That means it had to go clear through the siding on the outside wall. I hate using hole saws anyway, and having to get it in just the right spot so that I didn’t hit anything important made me so nervous.
Thankfully, the area where I needed to drill the hole used to be a doorway, so I knew where the studs were. Plus, the location of the box for the water hookup and the location of the electrical wire confirmed to me where I could drill. So I mustered all of my courage and went for it.
I used this long drill bit to drill a pilot hole all the way through the wall to the exterior of the house.
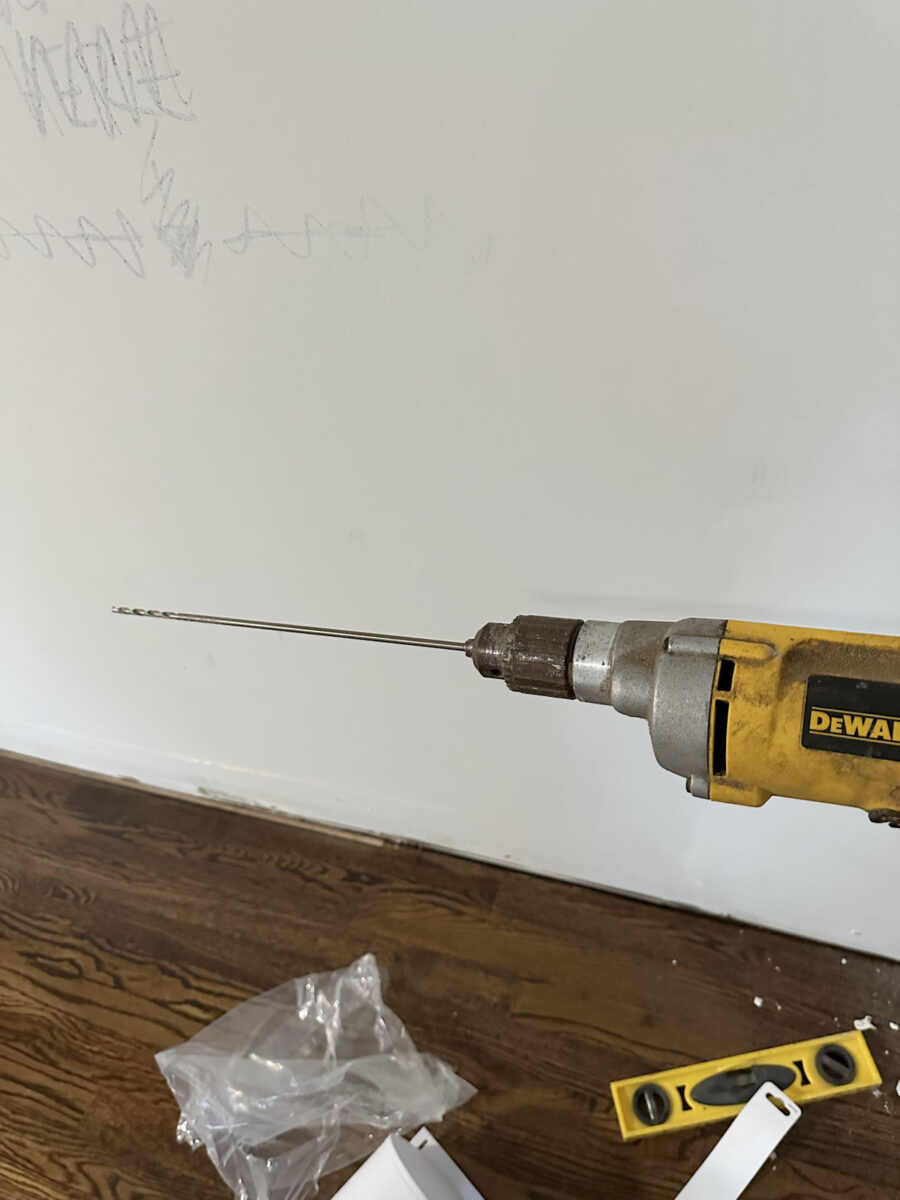
I had already marked the location of the stud (not a supporting stud) and where I wanted the hole to go, so I centered that long drill bit on the circle and drilled all the way through the wall.
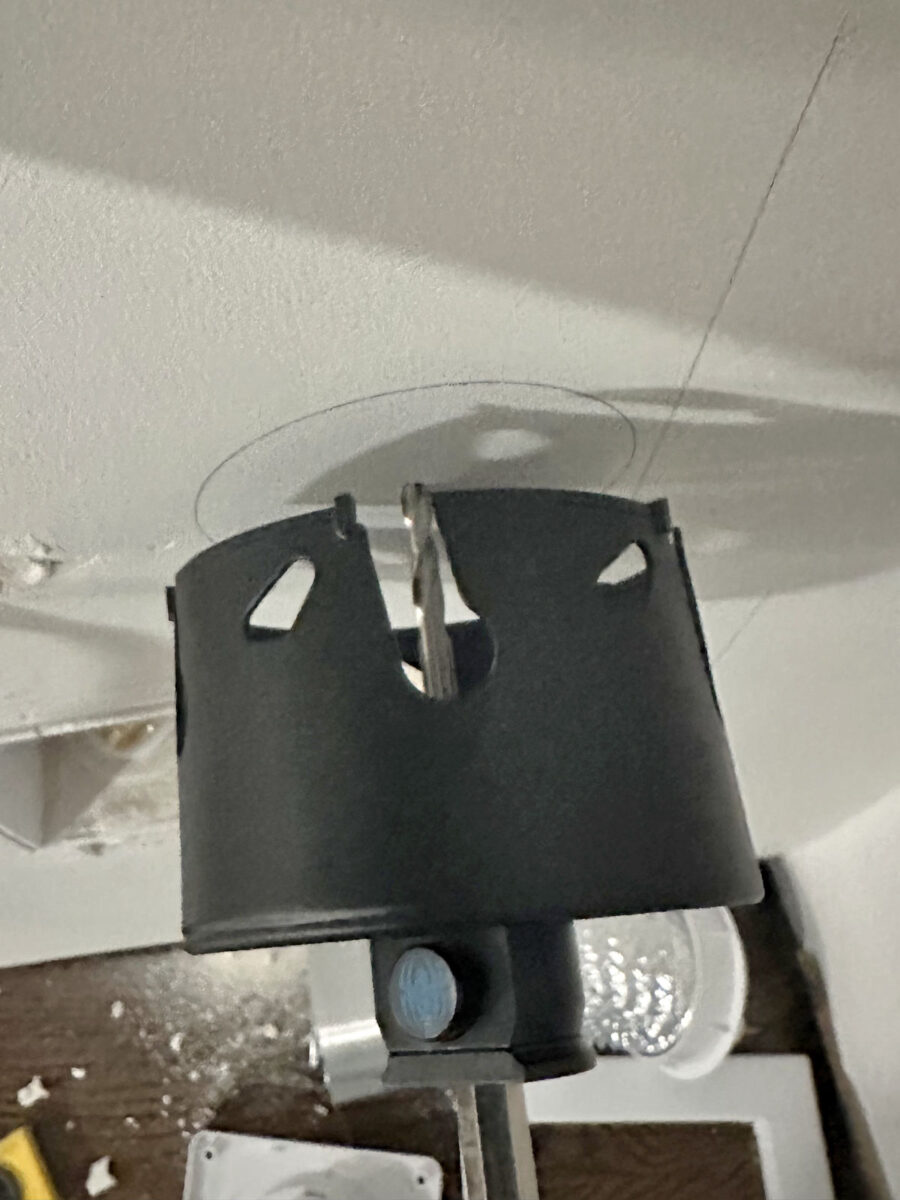
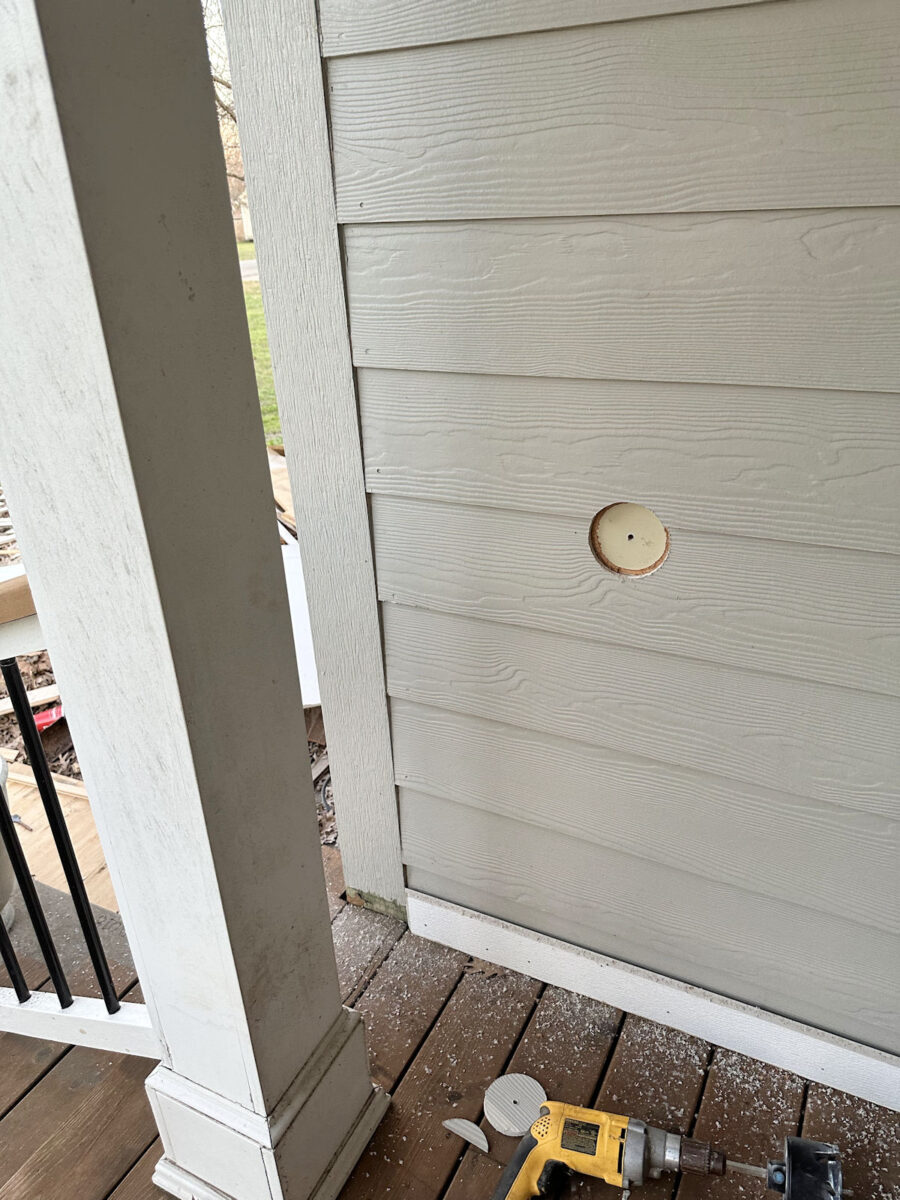
And then I used that pilot hole to cut the 4-inch hole using a hole saw.
The inside wall was the easy part. If I messed that up, drywall is pretty easy to fix. But cutting into the siding made me very nervous. I had to drill through the siding and the sheathing underneath it. I was so nervous that it would break the Hardiplank siding since I was drilling into an area where two pieces overlapped, but it actually did a great job.
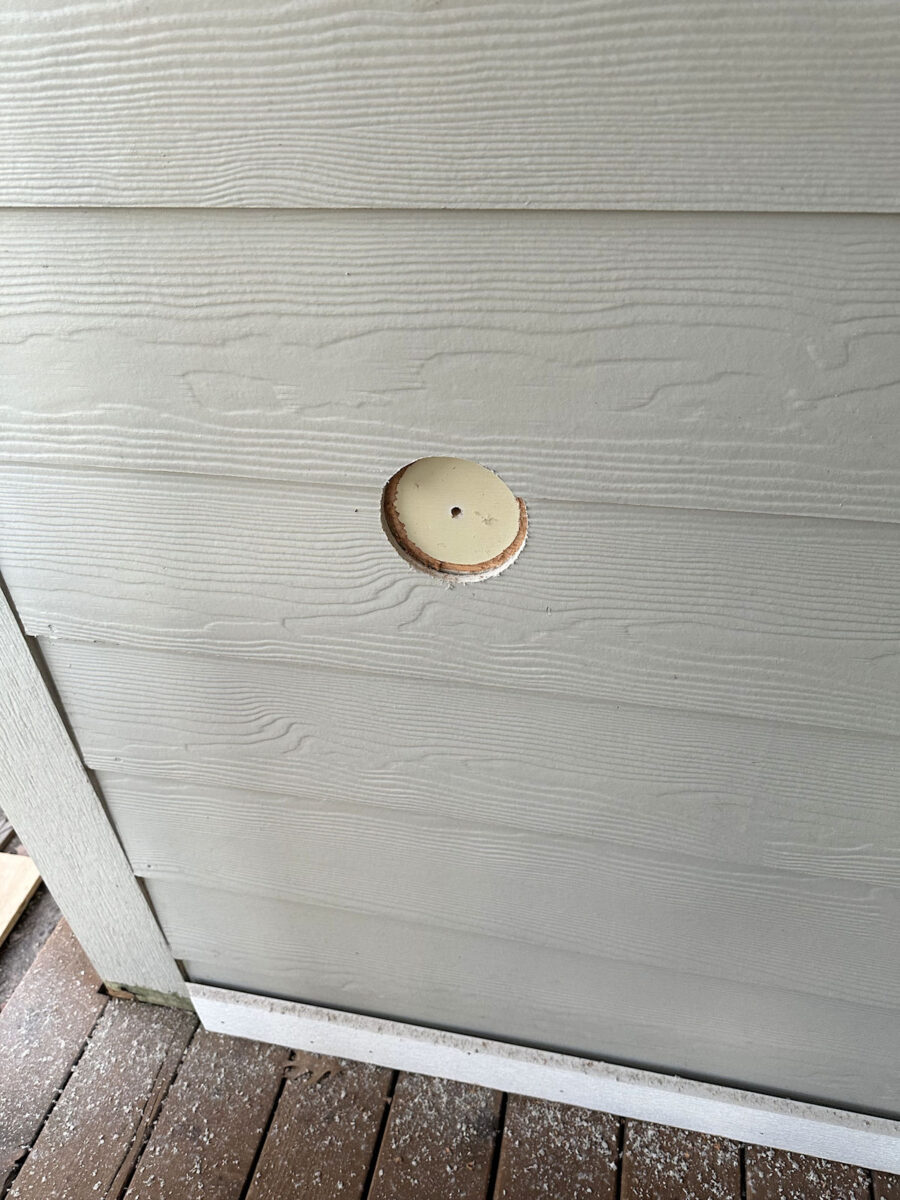
And yes, my dryer vent will be located on the front porch. It’s not ideal, but the only other option would be to install a dryer vent through the stone on the front of the house. I’d rather drill through siding than stone. And the vent will be kind of hidden behind the column on the porch. I can always disguise it with a plant stand and a fluffy plant.
It took a bit of muscle to get it through the sheathing, but I finally broke through. This whole process on the exterior was a bit nerve wracking.
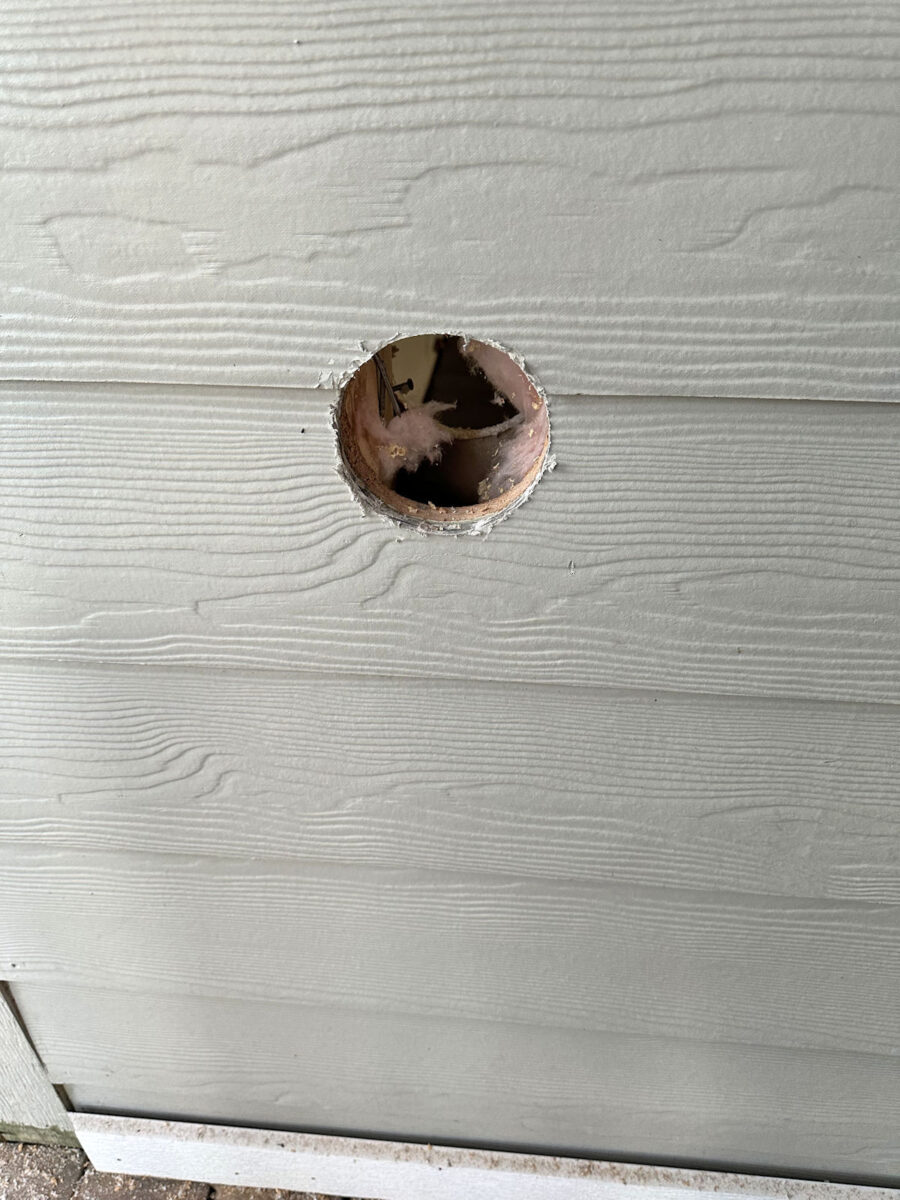
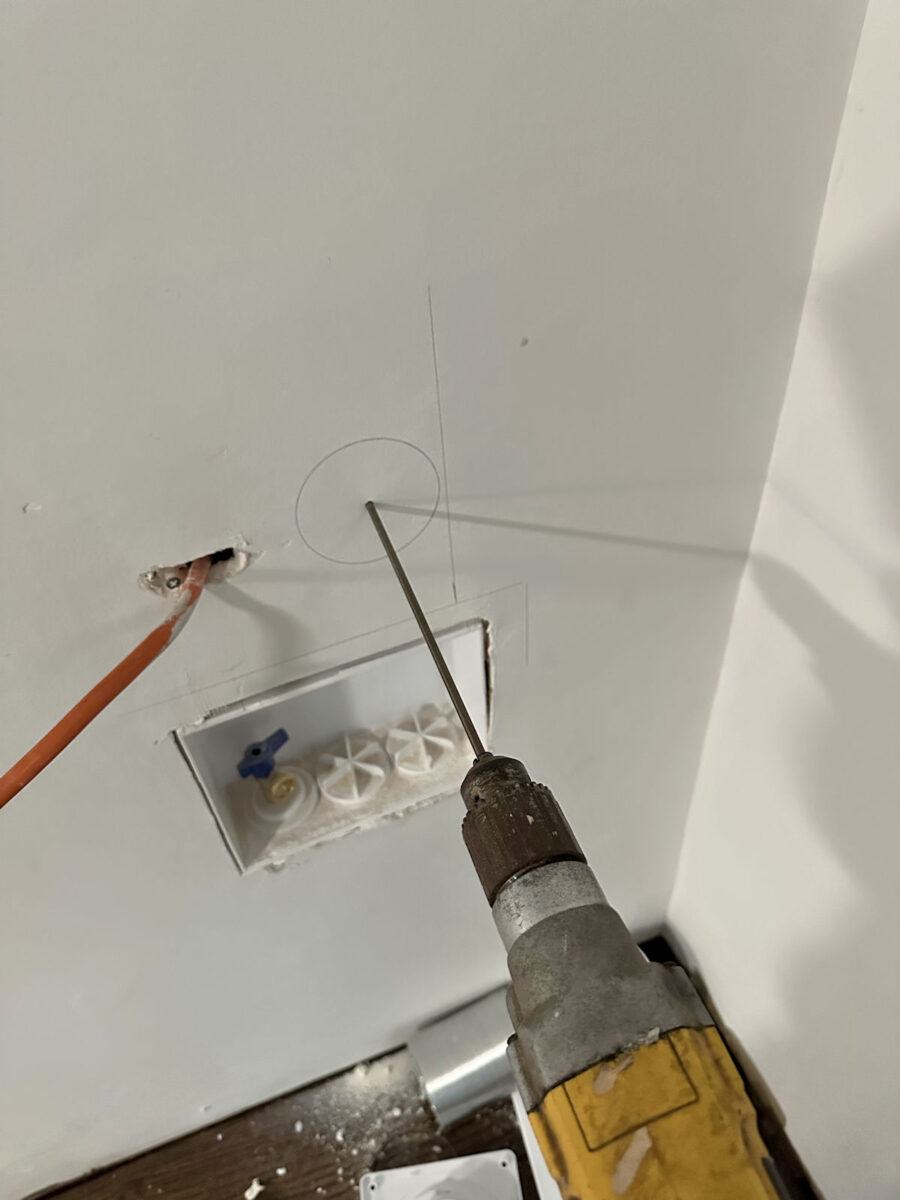
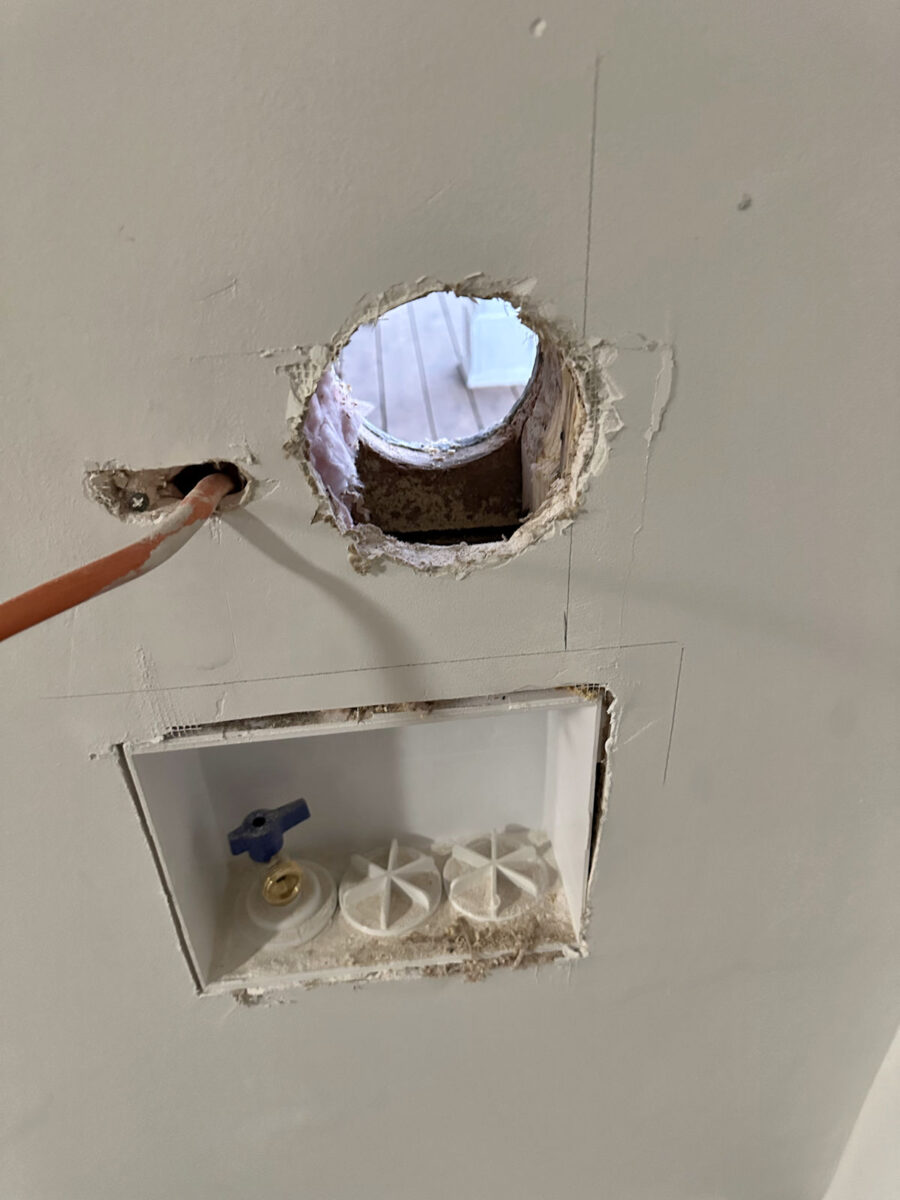
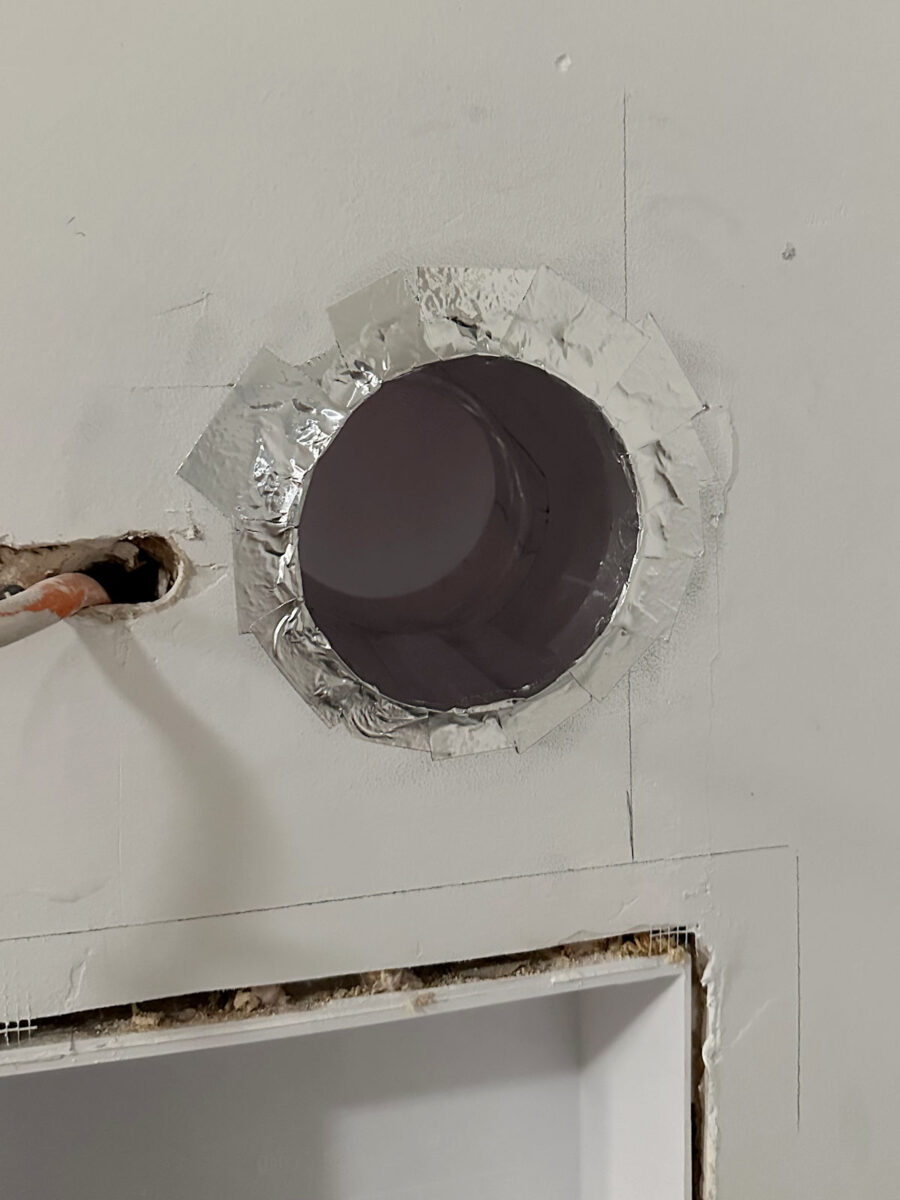
And here’s what it looked like from the inside. I did catch a bit of that wood on the right, but again, that’s not a supporting stud. That a piece of wood they had attached to the stud so that they could attach the box for the water hookup in that particular place. So don’t worry. I didn’t actually remove any wood from an actual supporting stud.
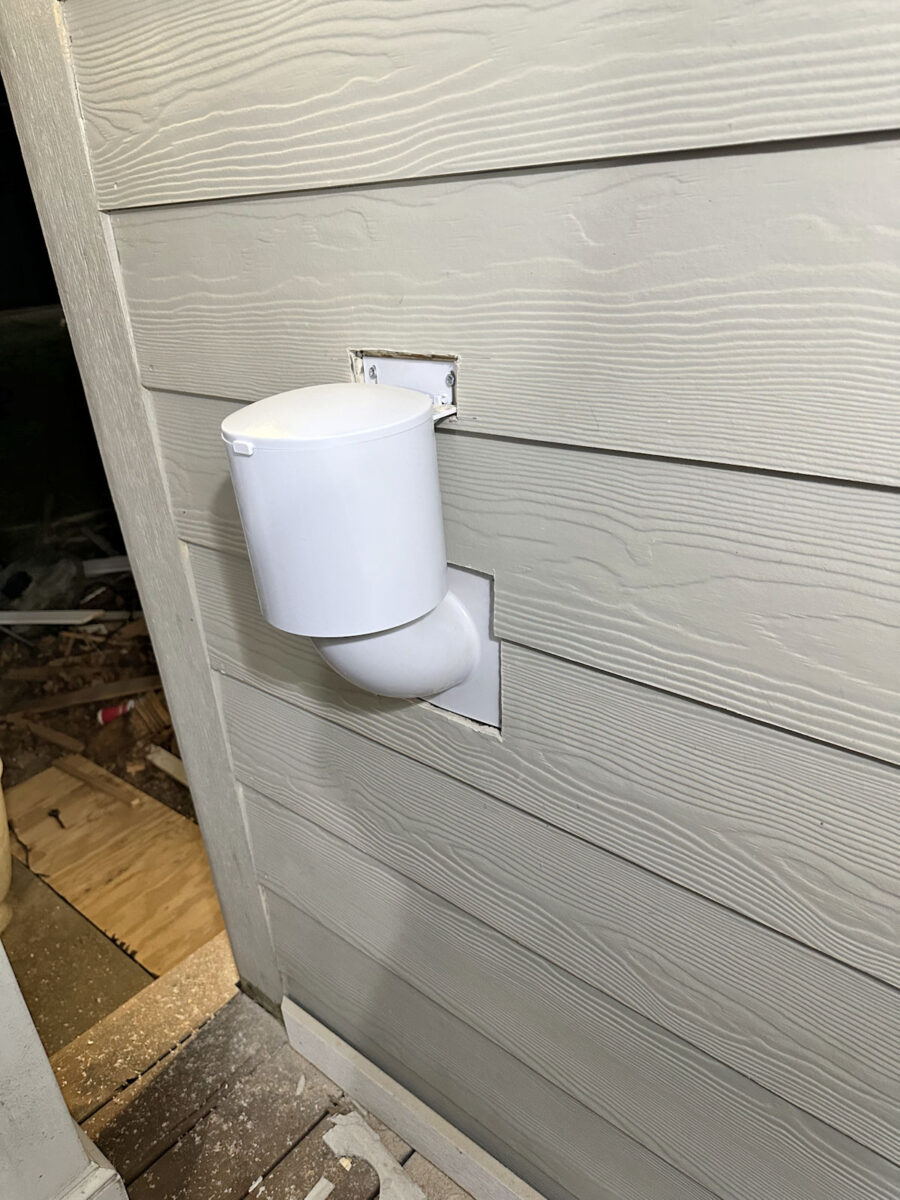
I realized that the exterior vent I purchased actually required me to remove more of the siding so that it could sit straight. Installing it against the siding made it wobbly and angled in a way that didn’t look right. So I used my Dremel Multi-Max to cut away more of the siding without cutting through the sheathing.

It wasn’t perfect, but at least it allowed the vent to sit straight.
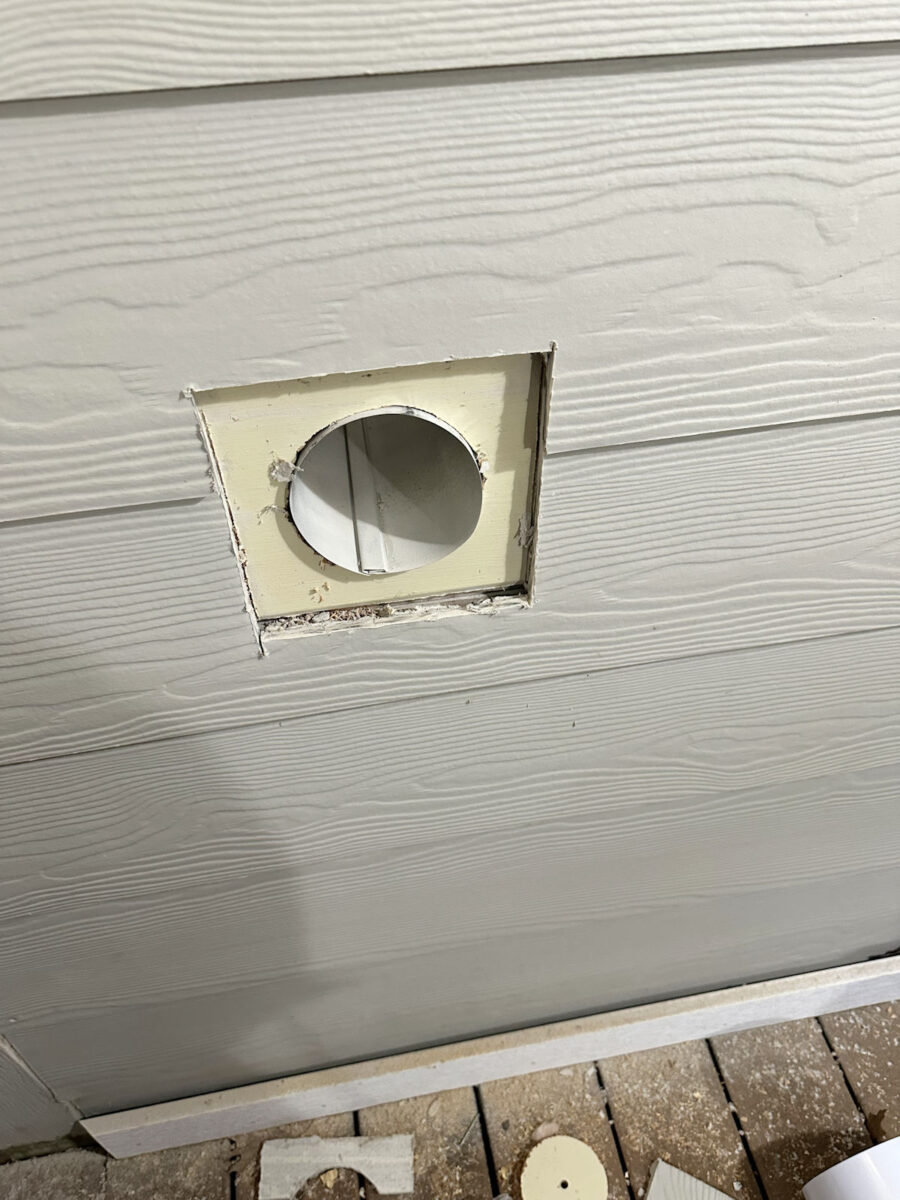
And then I had to cut away another rectangular area at the top for the top portion to attach. It doesn’t look finished at this point, but I’ll go back later and finish up with some sanding, caulk, and paint. It’ll look clean and neat when it’s finished. This is the dryer vent cover I went with (affiliate link).
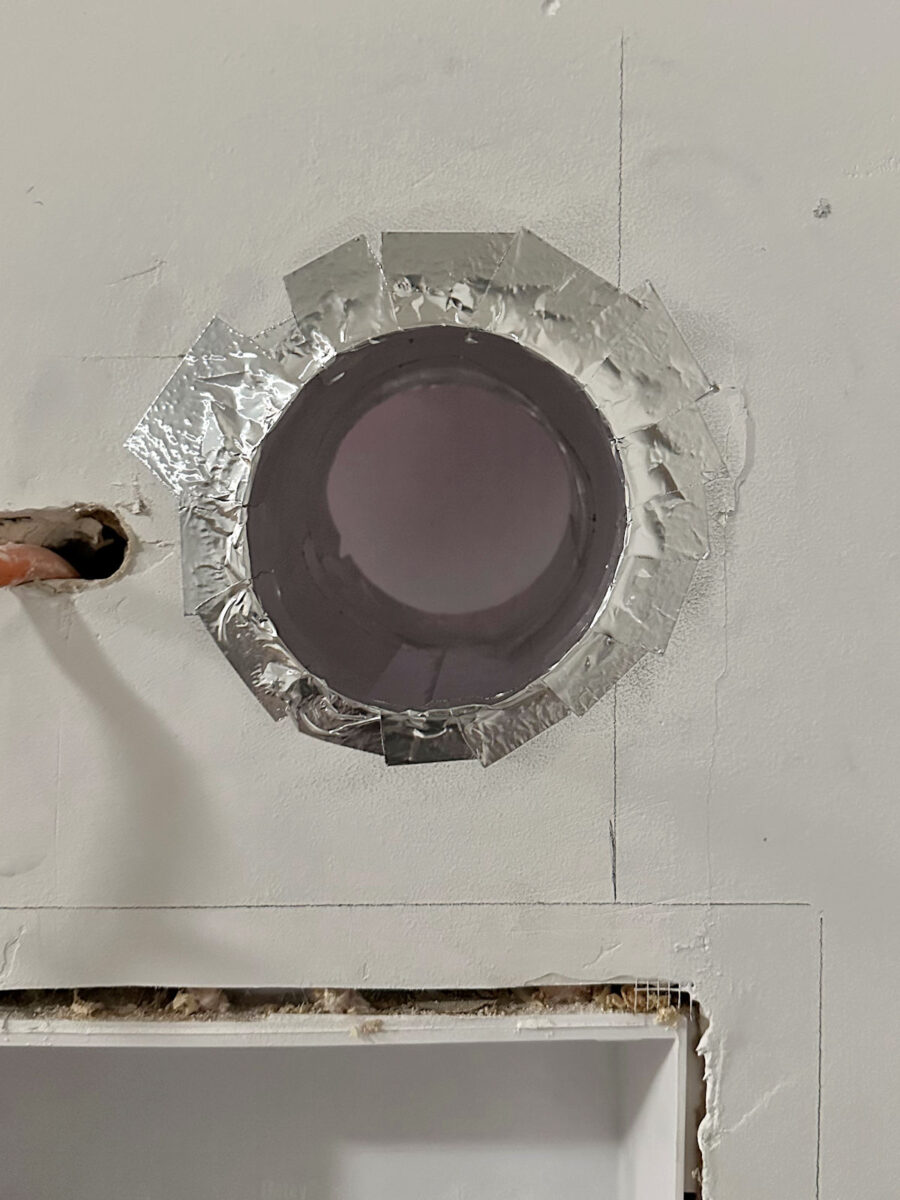
On the interior wall, I trimmed the duct so that it stuck out about 1/4 inch from the wall and then used some aluminum duct tape to seal up around the duct so that air couldn’t come through around the duct.
So here’s what it looks like so far with the face plate reattached to the water hookup box.
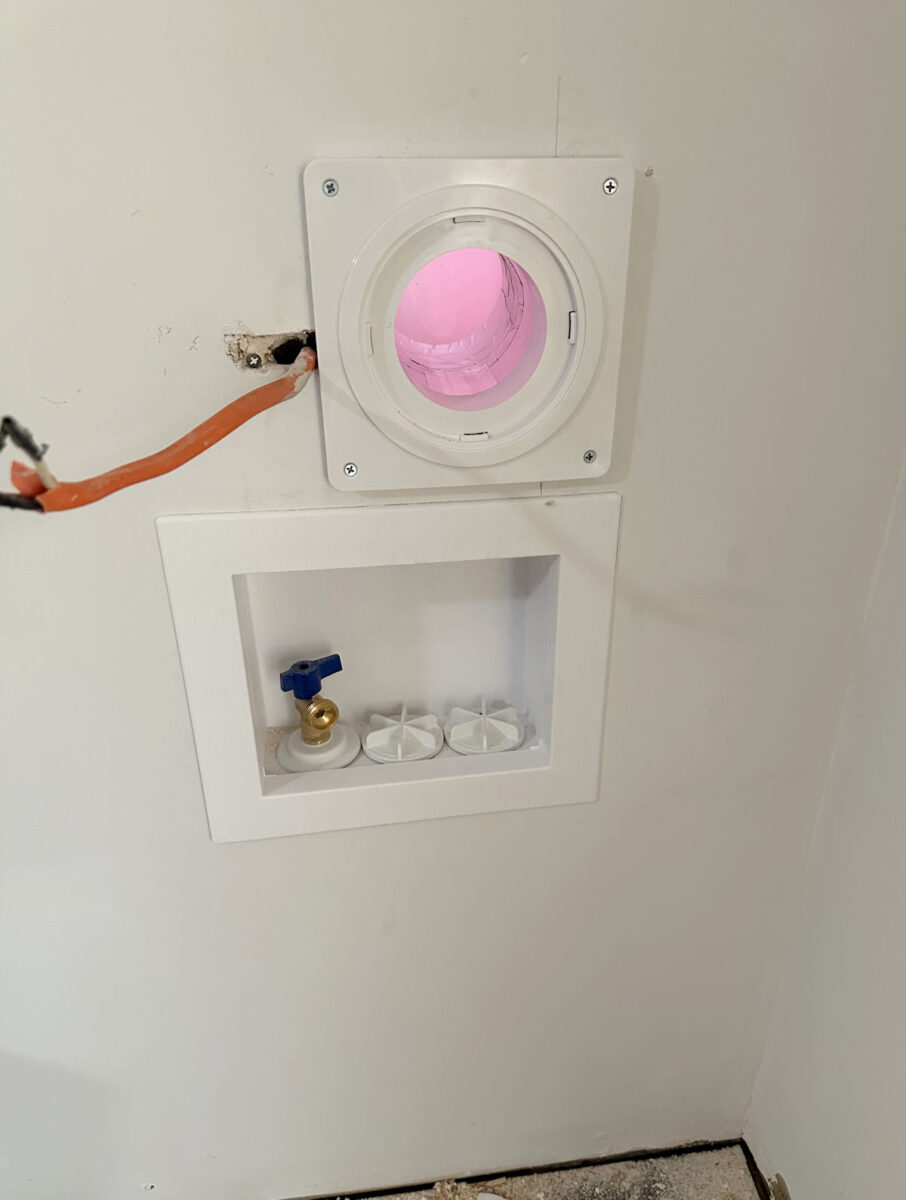
I’ll have the outlet installed right next to the duct faceplate.
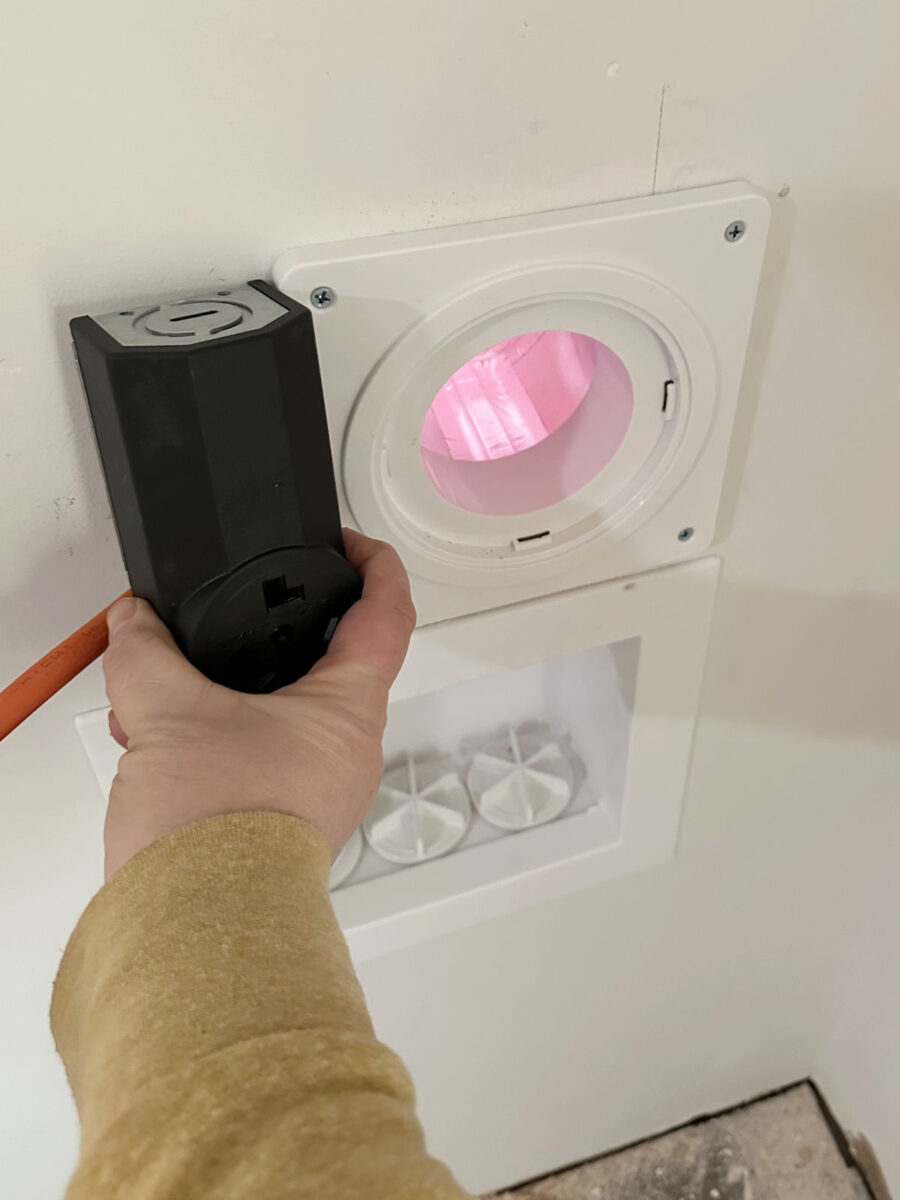
And here’s how it looks with the twist and lock dryer duct attached.
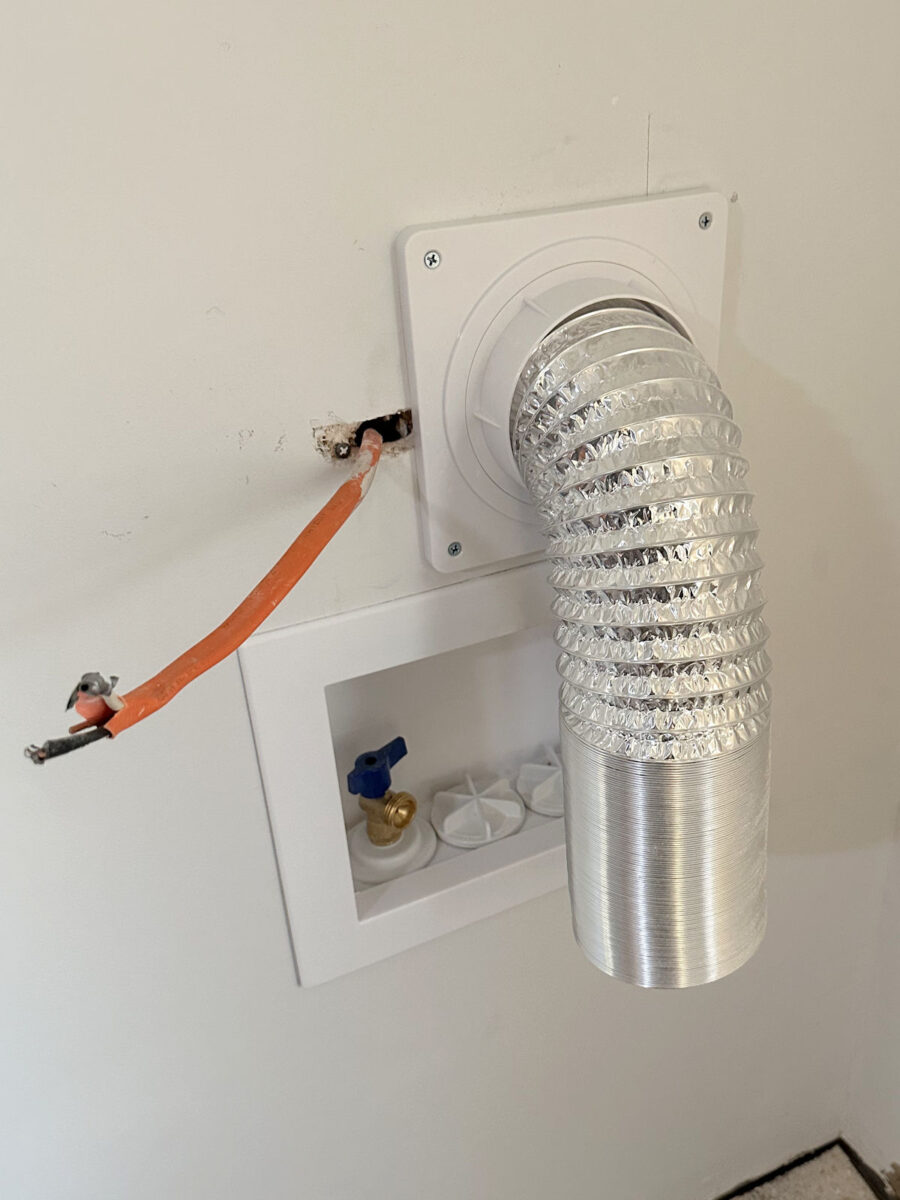
This means that I’m now just one step away from having a functional dryer again!! I can’t even tell you how excited I am that I may have a usable dryer by the end of the day. I’ve been without a dryer since the middle of December, so to me, this progress is almost as exciting as having cabinets in my closet.  And I pushed myself past my fear of drilling a hole in my house and got a project done that I’ve been procrastinating on. That feels like a huge accomplishment.
I also finished my video on staining and polyurethaning the hardwood floors. You can see that here:

Addicted 2 Decorating is where I share my DIY and decorating journey as I remodel and decorate the 1948 fixer upper that my husband, Matt, and I bought in 2013. Matt has M.S. and is unable to do physical work, so I do the majority of the work on the house by myself. You can learn more about me here.
[ad_2]
Source link


")


