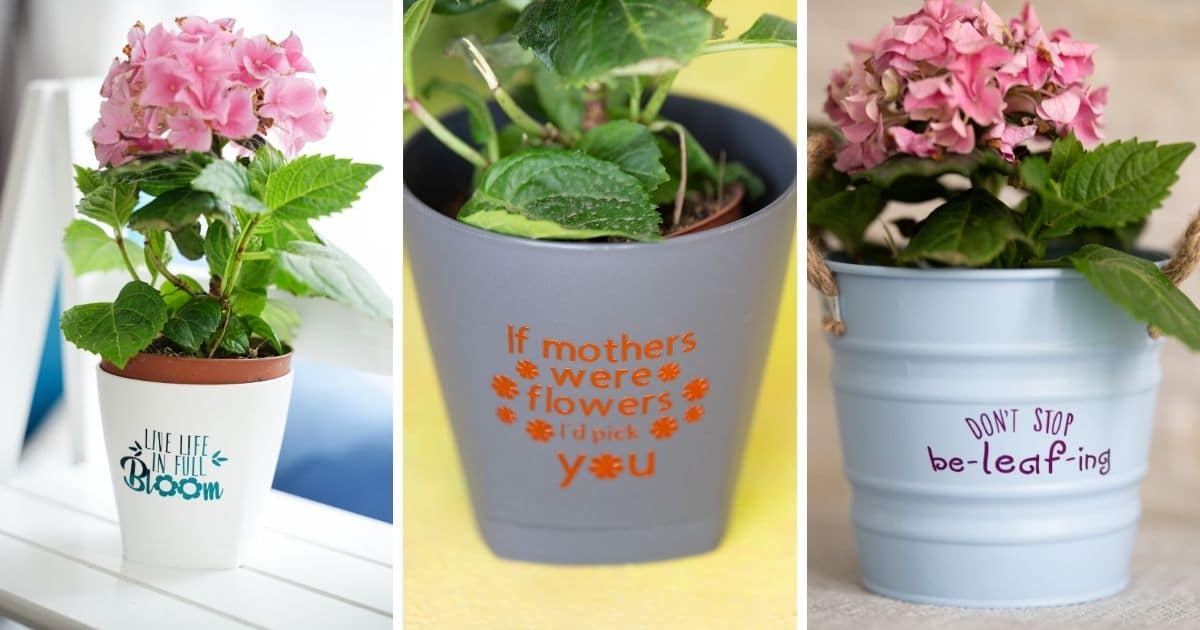
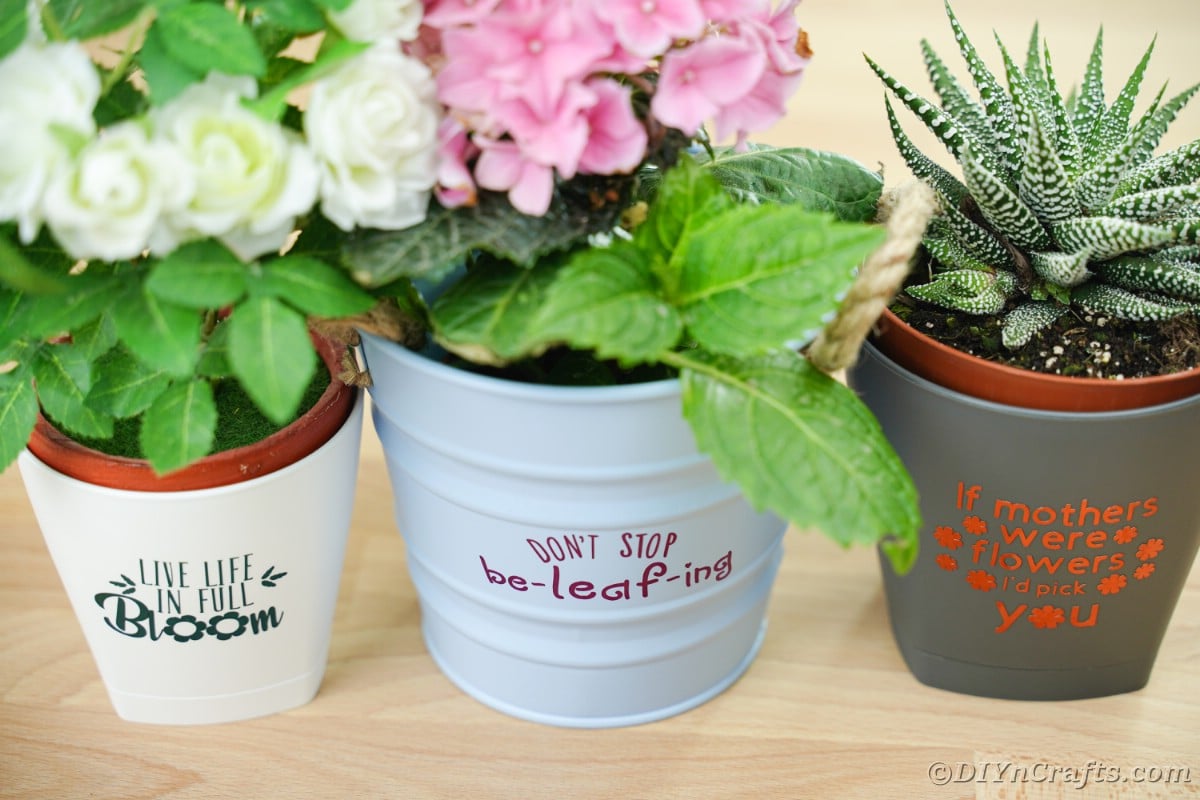
Whether you are looking for a fun gift idea or just want something to add to your windowsill, these are excellent! Following this tutorial, you can make your own DIY Cricut vinyl inspirational flower pots. Three unique designs give you options to use this as a gift for anyone, or just for the mom in your life. These great little flower pots are ideal for birthdays, anniversaries, holidays, or even Mother’s Day!
DIY Cricut Vinyl Inspirational Flower Pots
This started out as an idea for Mother’s Day gifting but became a fun way to make any flower pot more inspirational and fun. Adding three different designs to this tutorial gives you options to create something that suits your needs, not just for Mother’s Day.
Of course, if you want more ideas for Mother’s Day, you’ll love this list of easy DIY Mother’s Day gifts for kids and toddlers. Tons of easy ways the kids can help you make something beautiful for the moms in their lives.
What Vinyl is Best for These?
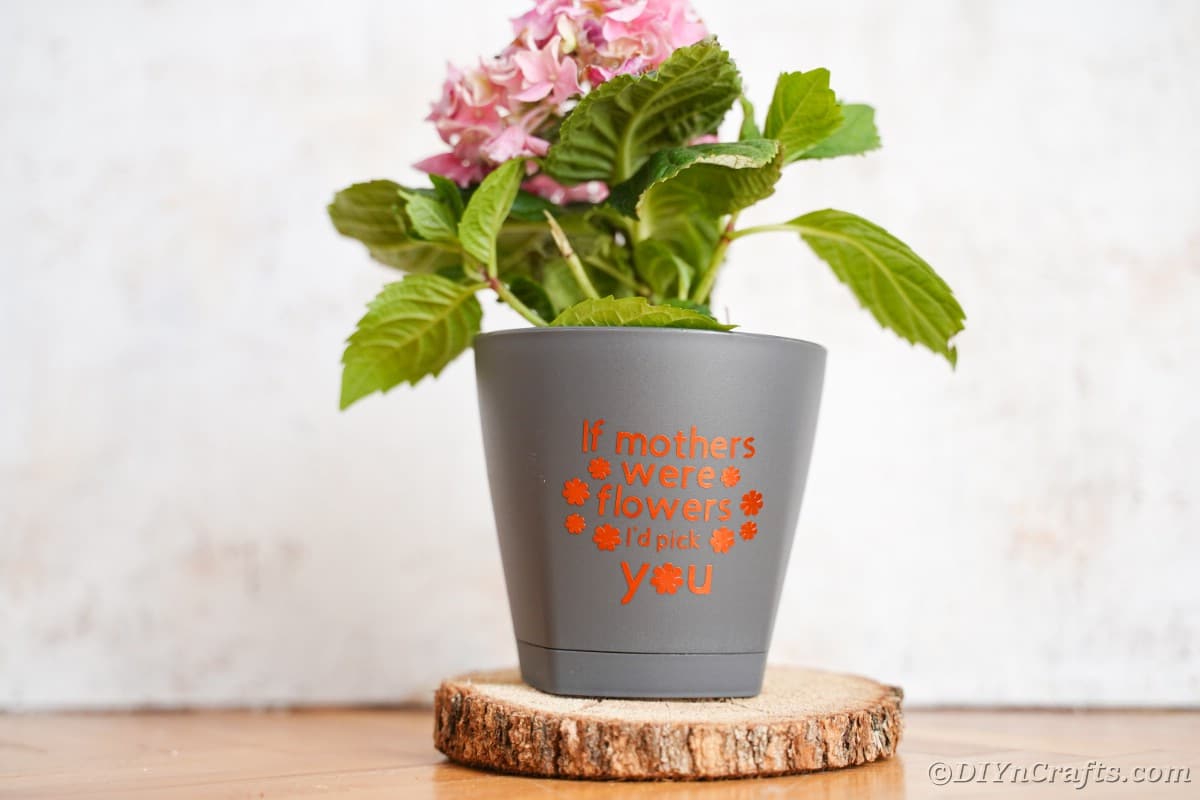
Any permanent vinyl adhesive works for these flower pots. For these, we used foil adhesive vinyl for the extra sparkle. You can also use a solid shiny vinyl or matte vinyl, as long as it is a permanent vinyl. All work great and will stay on your flower pot long term.
While I use Cricut vinyl because it is the best quality, in my opinion, you may like other options. Below are a few that are popular and great for adding to your Cricut tools and supplies.
What Type of Flower Pots Should I Use?
Any flower pot you like! I prefer plastic flower pots as the vinyl will stick just a bit better, but you could also use any pot you have on hand. Terra cotta flower pots are popular and super affordable. Concrete is more expensive but can come in gorgeous colors and glazes. Just grab what you want and try it out!
The only kind that won’t work as well as those with a ton of texture. While it can be done, it may take a bit more work to get it to stick. Below are a few that I like for this project.
What Sealant Should I Add to Make This Last Longer?
When using them as flower pots or as gifts, you may want to seal them so the vinyl does not easily peel off. While there is great permanent vinyl that stays in place long term, it’s always a good idea to add the sealant.
Depending upon what type of flower pot you are using, I recommend using a Rain Guard Water Sealer or the Krylon Make it Last Clear Coat Sealer. Both work wonderfully on flower pots.
Can I Make the Size of The Message Larger?
Yes! One of my favorite things about Cricut is that you can so easily adjust the messages and designs to suit your needs. That means you can change the spelling, add an element, make them bigger or smaller, or even move the elements around. You can also use any color vinyl that you want for these and have the same results but customized to your personal tastes.
Supplies Needed
For Design #1
For Design #2
For Design #3
How to Make an Inspirational Flower Pot Using a Cricut
Load the chosen design into the Cricut Design Space.
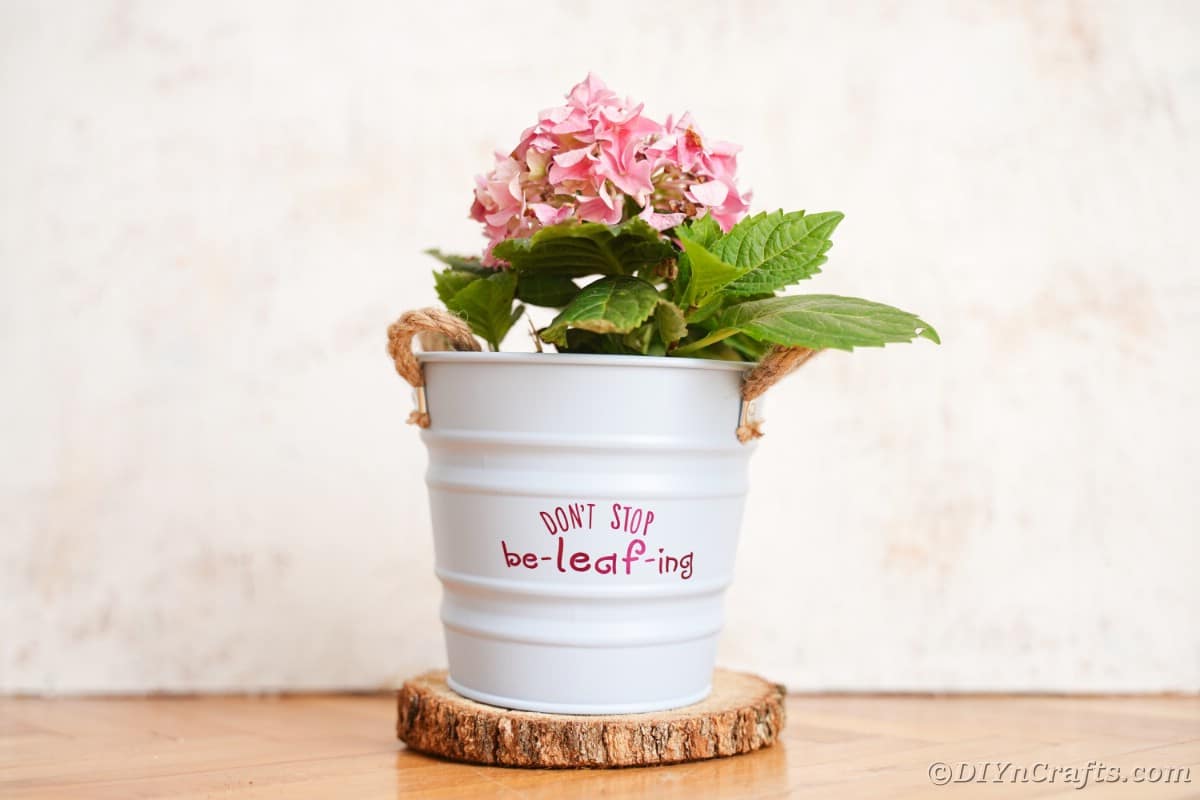
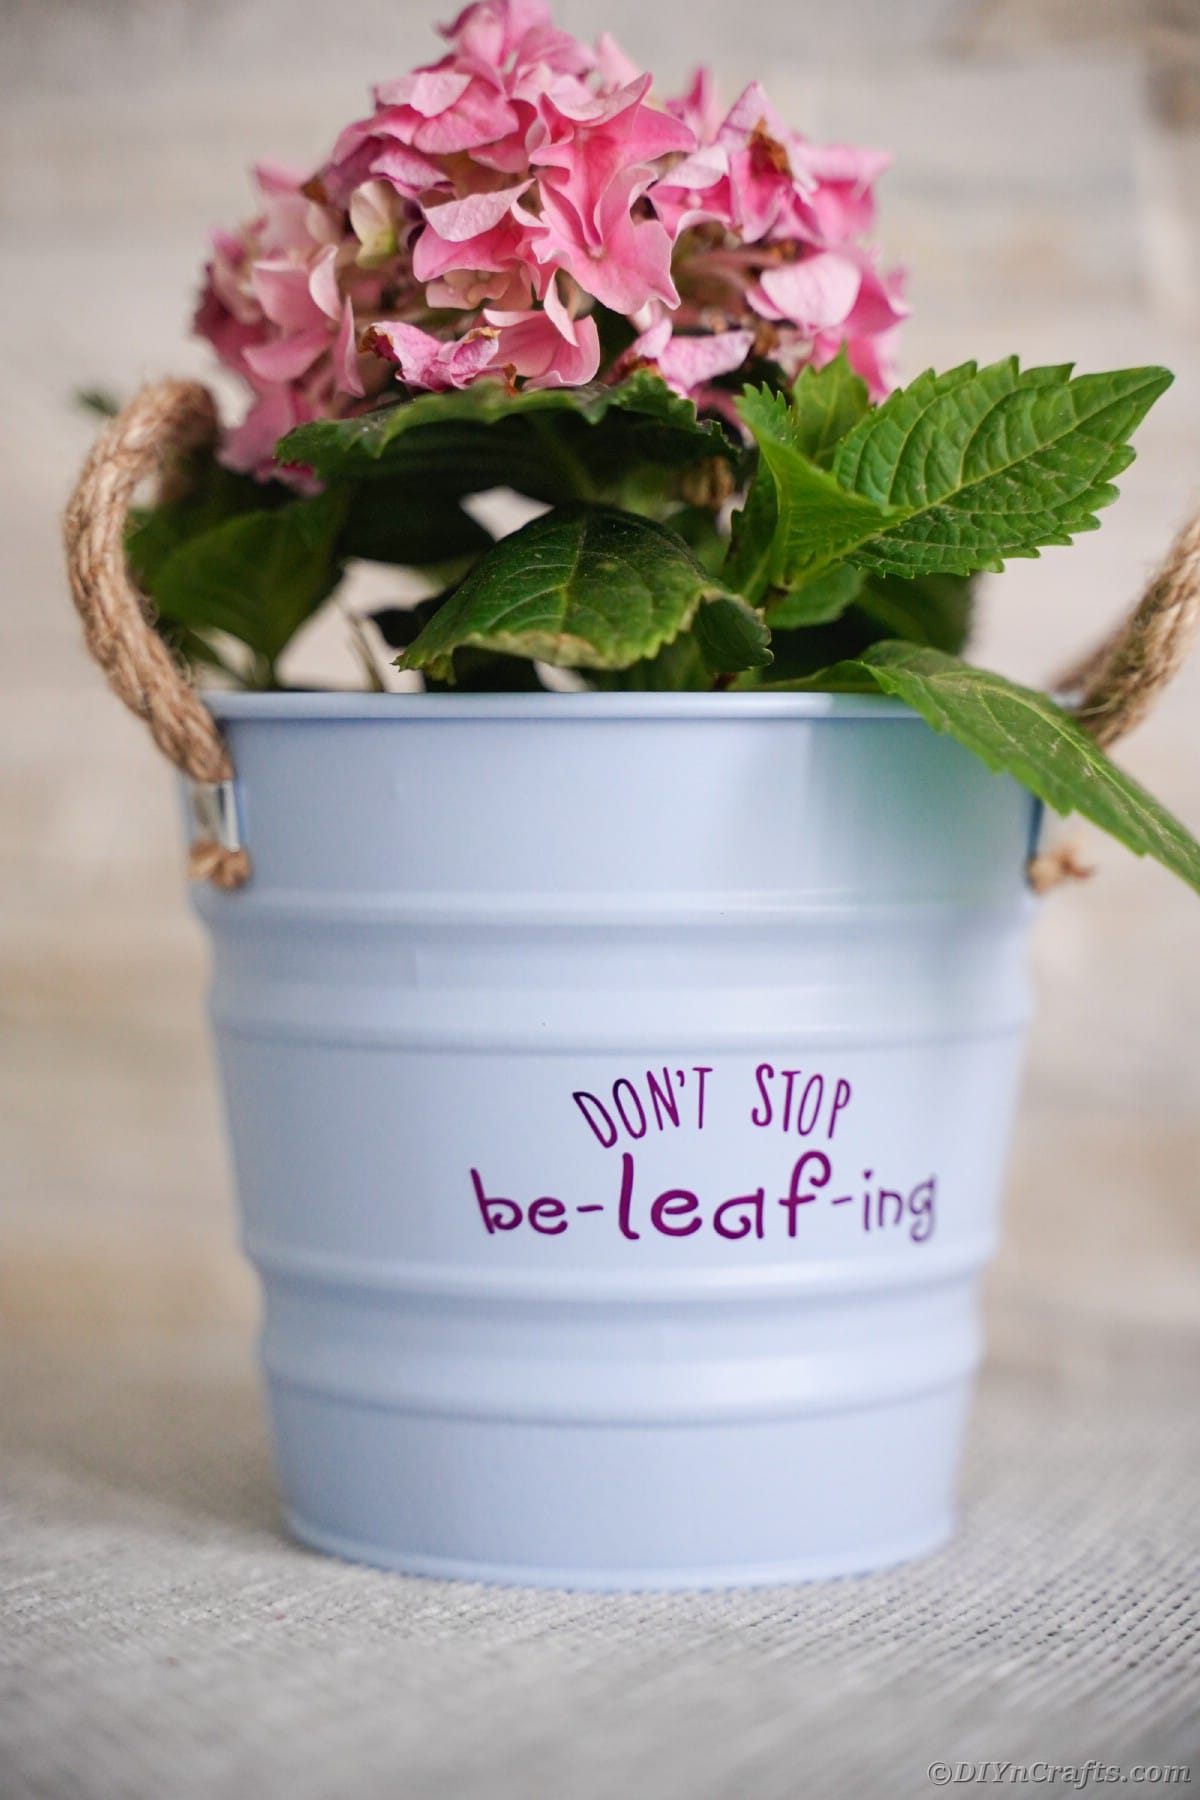
Choose the design “don’t stop be-leaf-ing” and then click the “make” button.
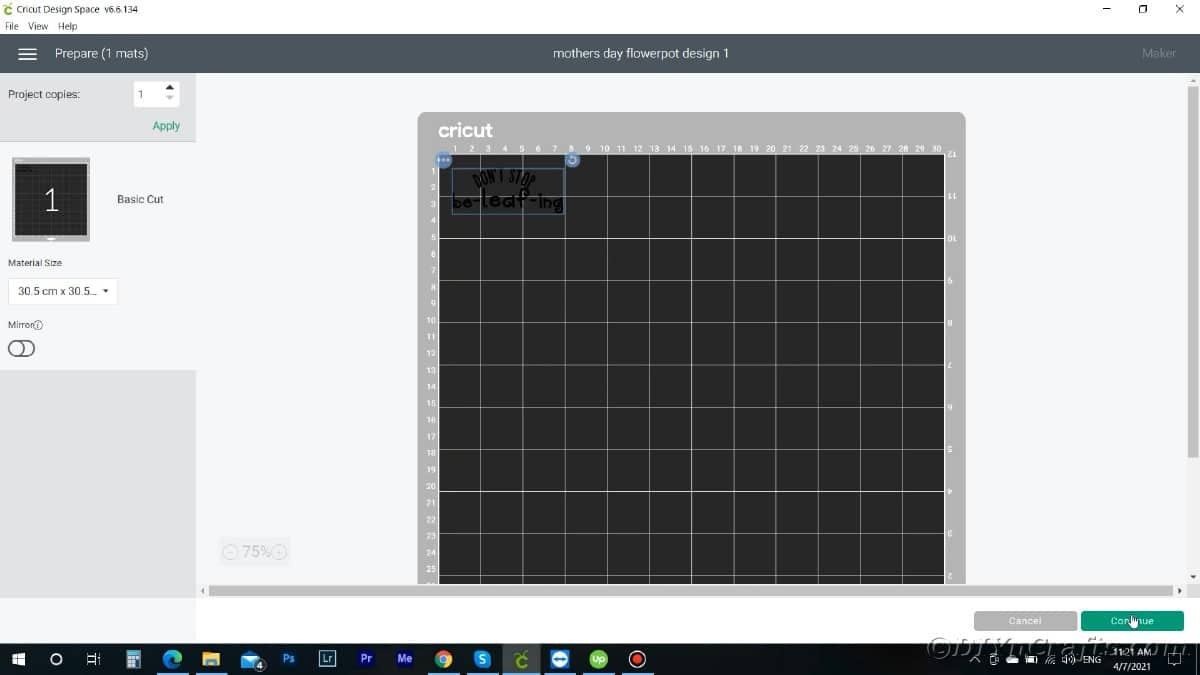
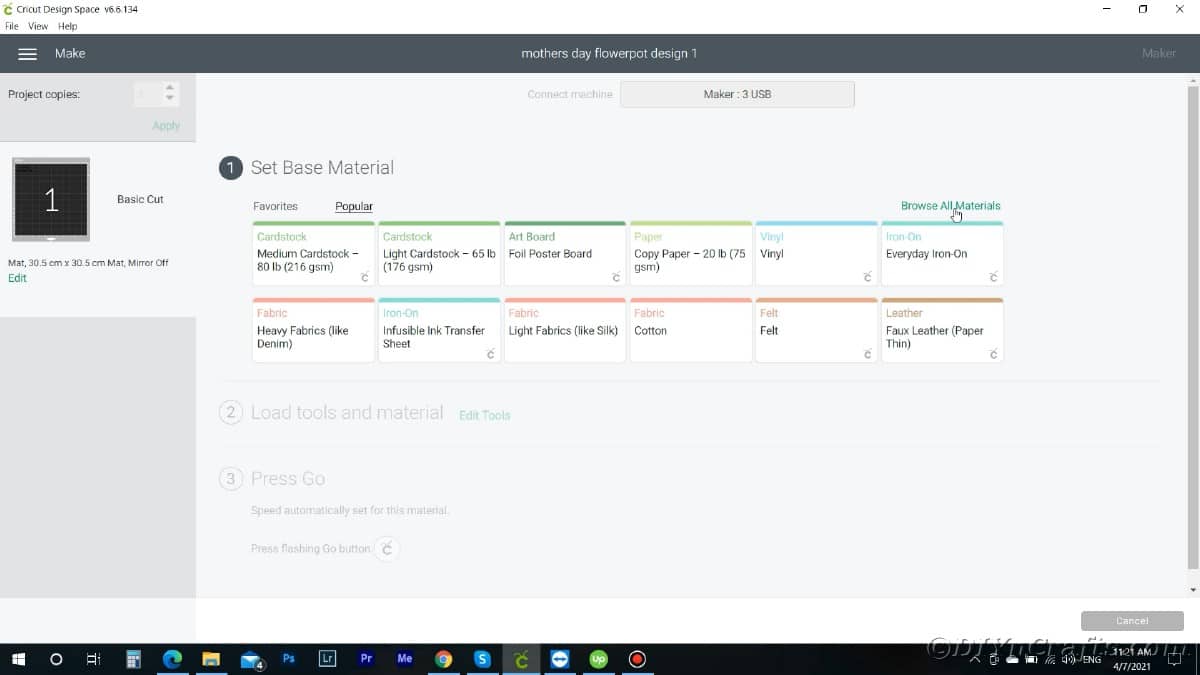
Follow the prompts on the screen to choose the material you will be using.
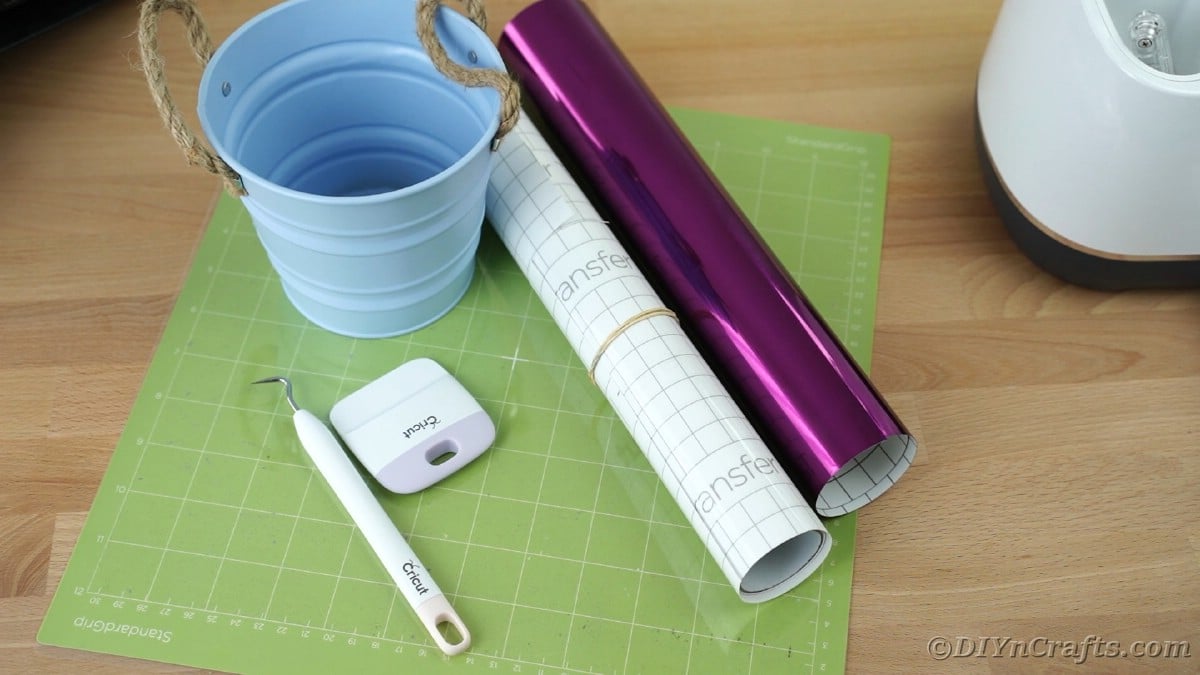
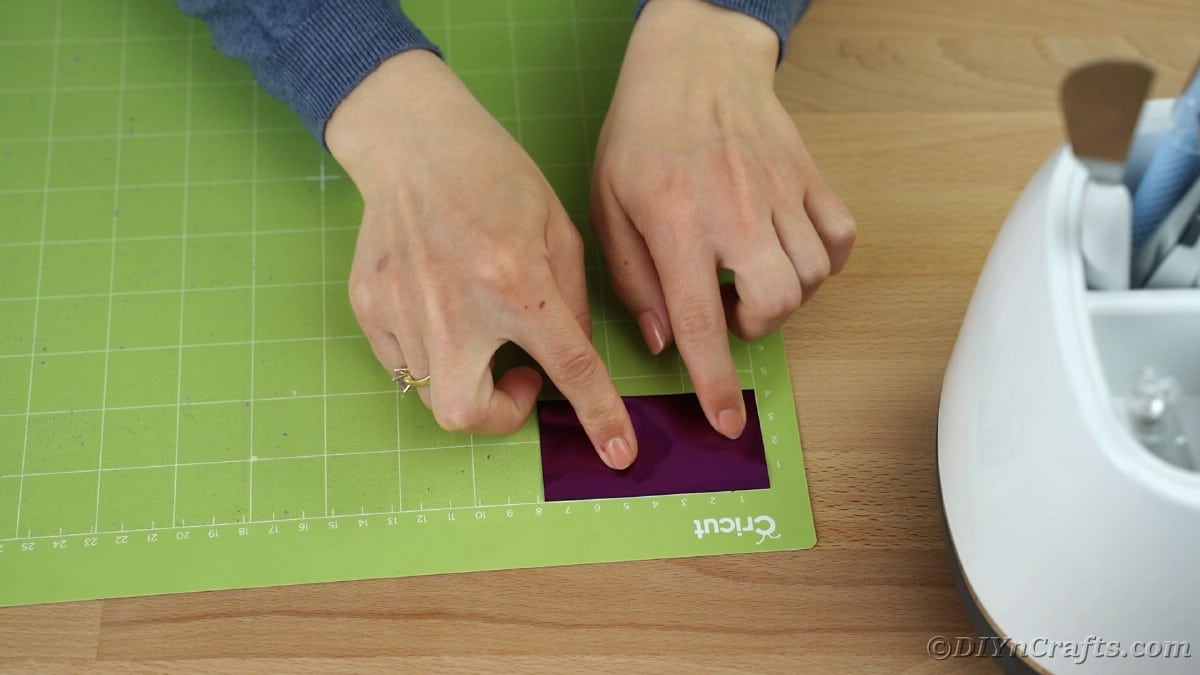
Place the purple vinyl piece onto the Cricut mat.
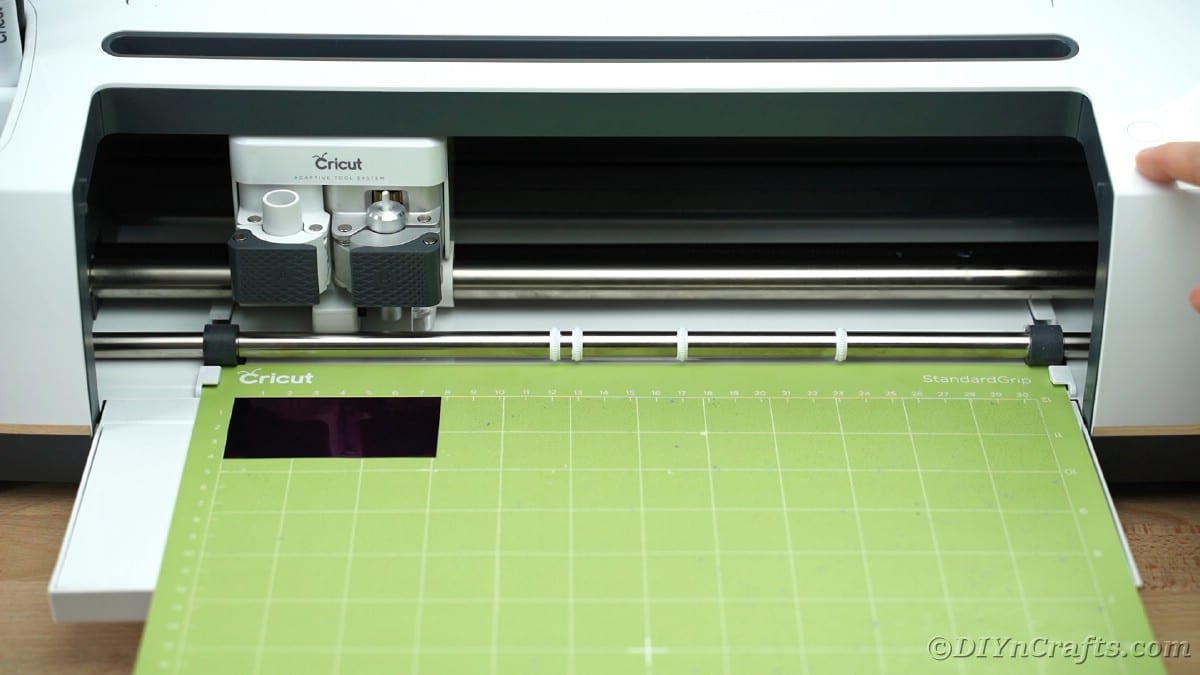
Load the mat into the Cricut machine.
Follow the prompts on the screen to begin the cutting process.
Remove the excess vinyl from the mat.
Use the weeding tool to remove any small pieces within the letters as needed.
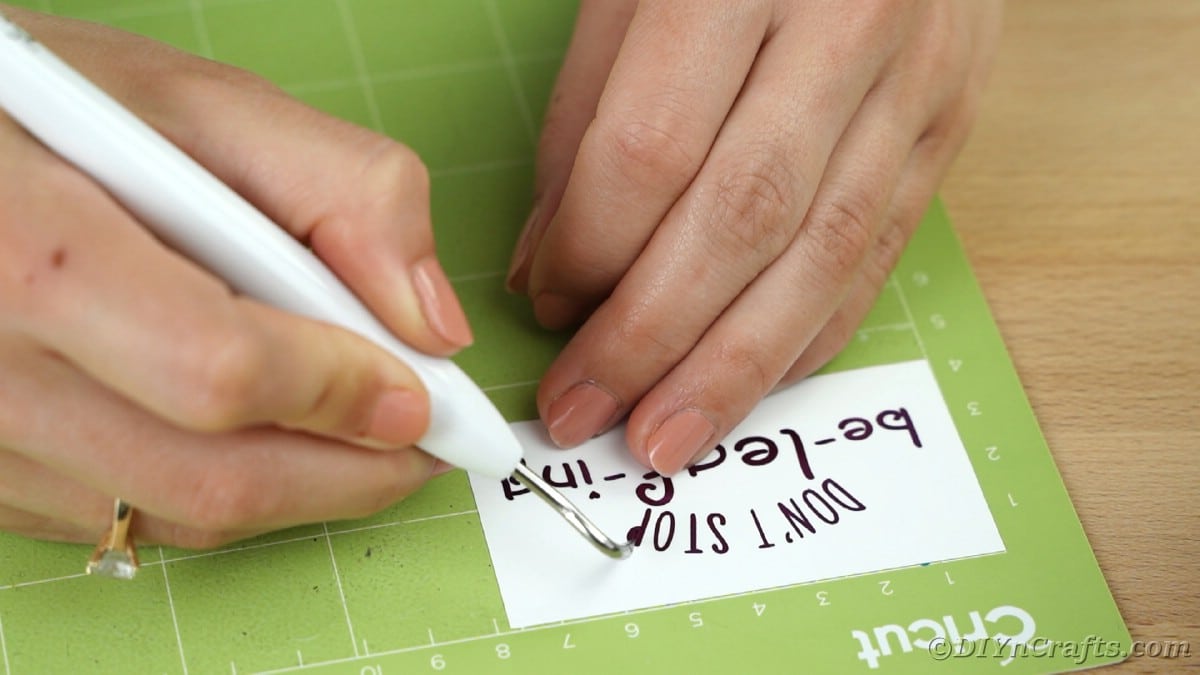
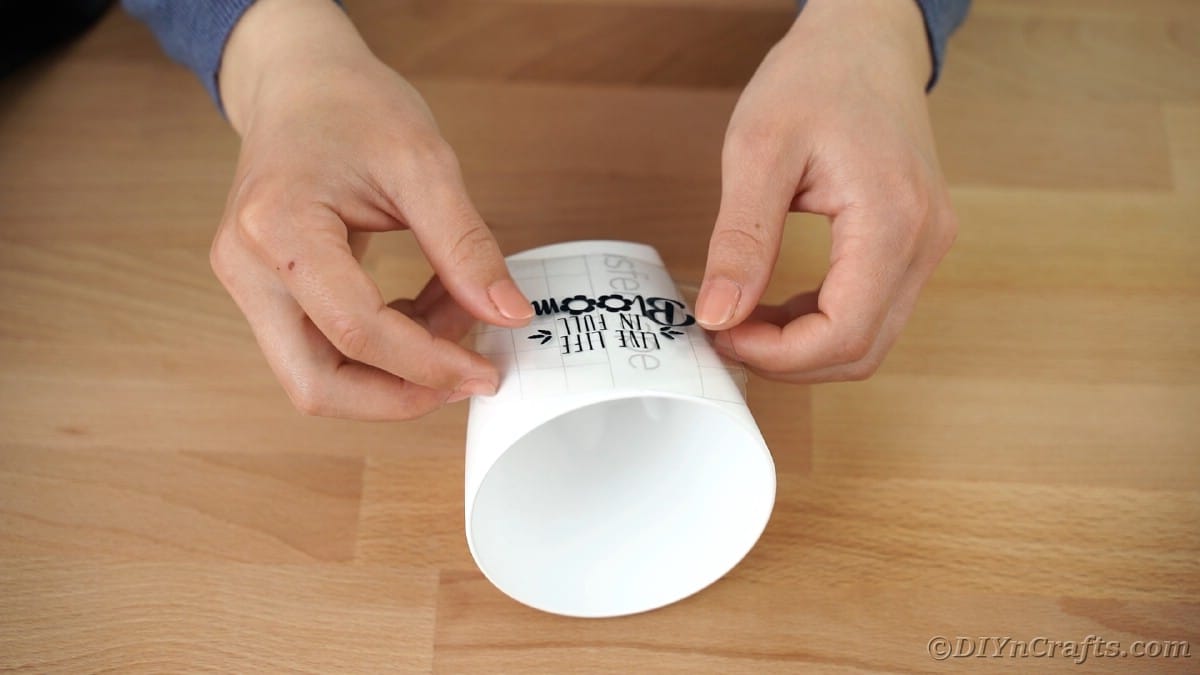
Add a piece of transfer tape on top of the vinyl and use the scraper tool to smooth in place.
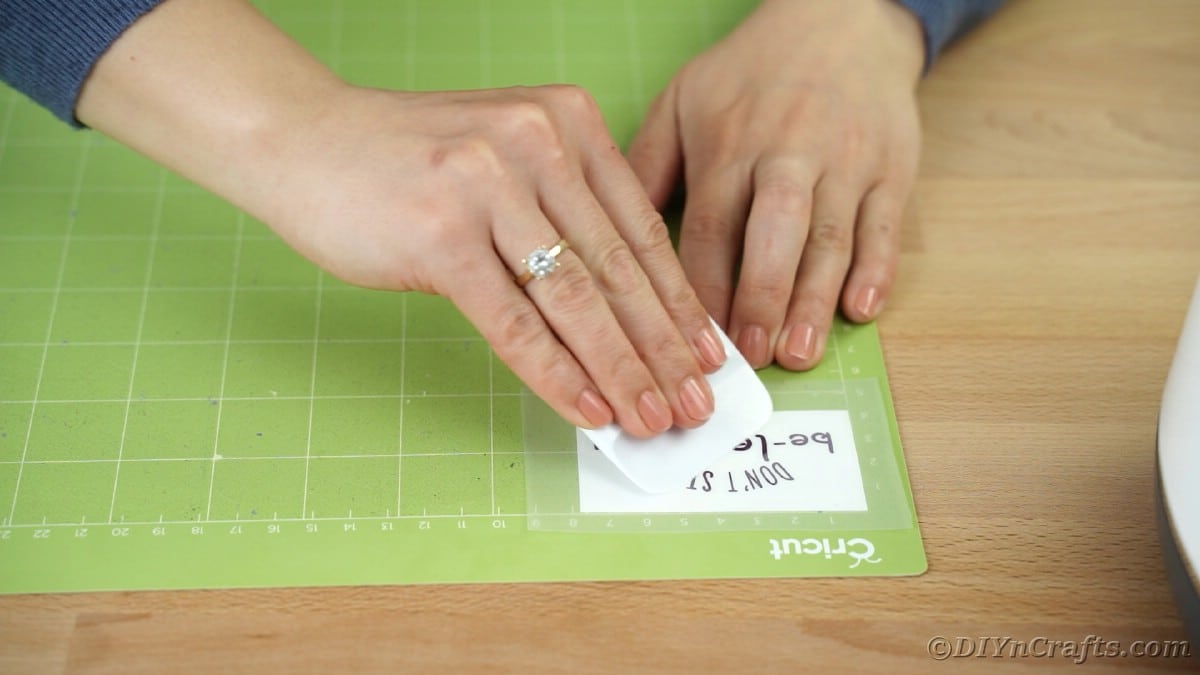
Carefully remove the vinyl from the mat with the transfer tape.
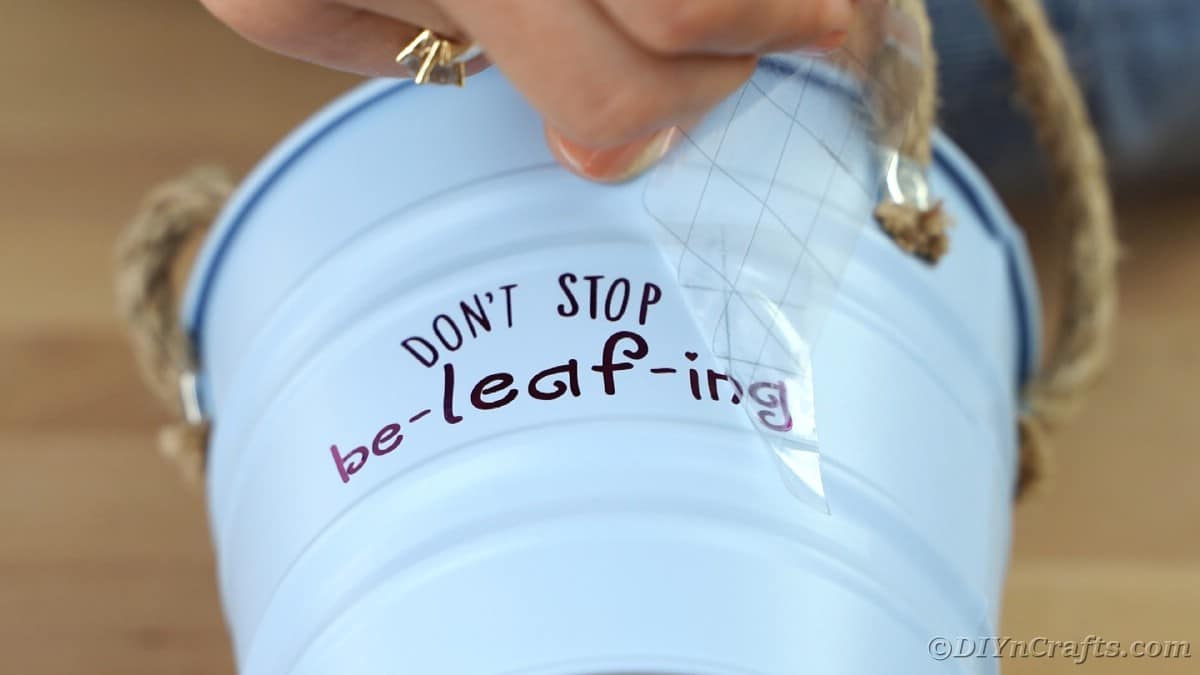
Center the vinyl onto the flower pot where you want it to be positioned.
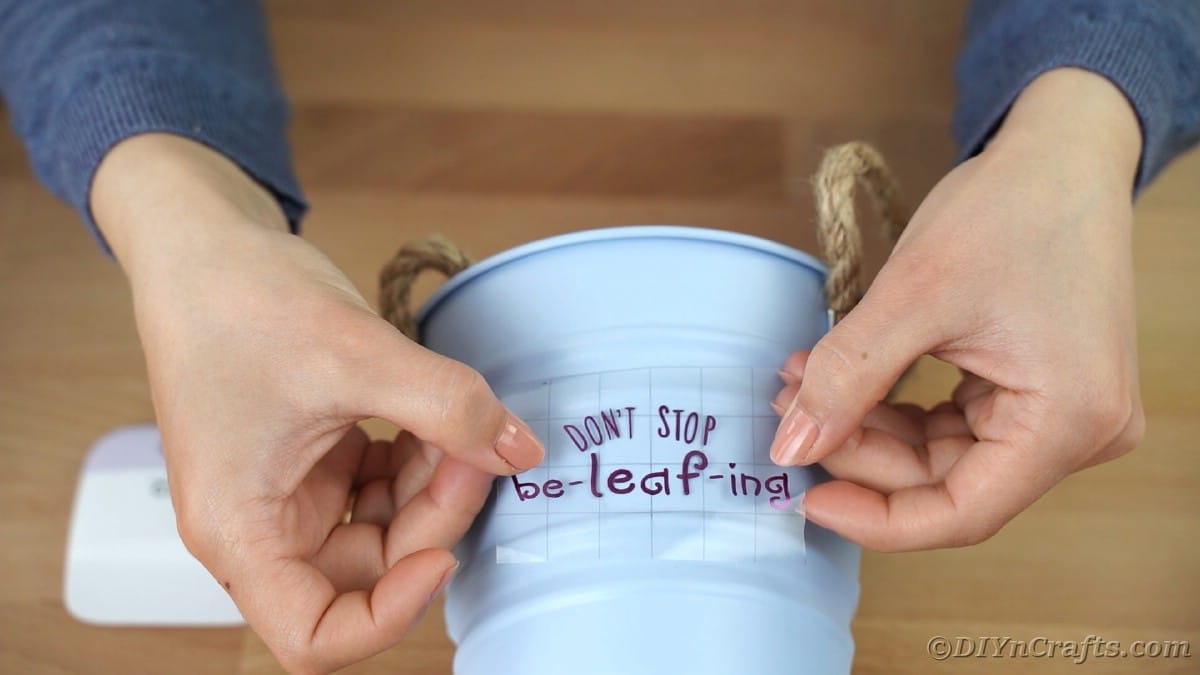
Smooth the vinyl into place.
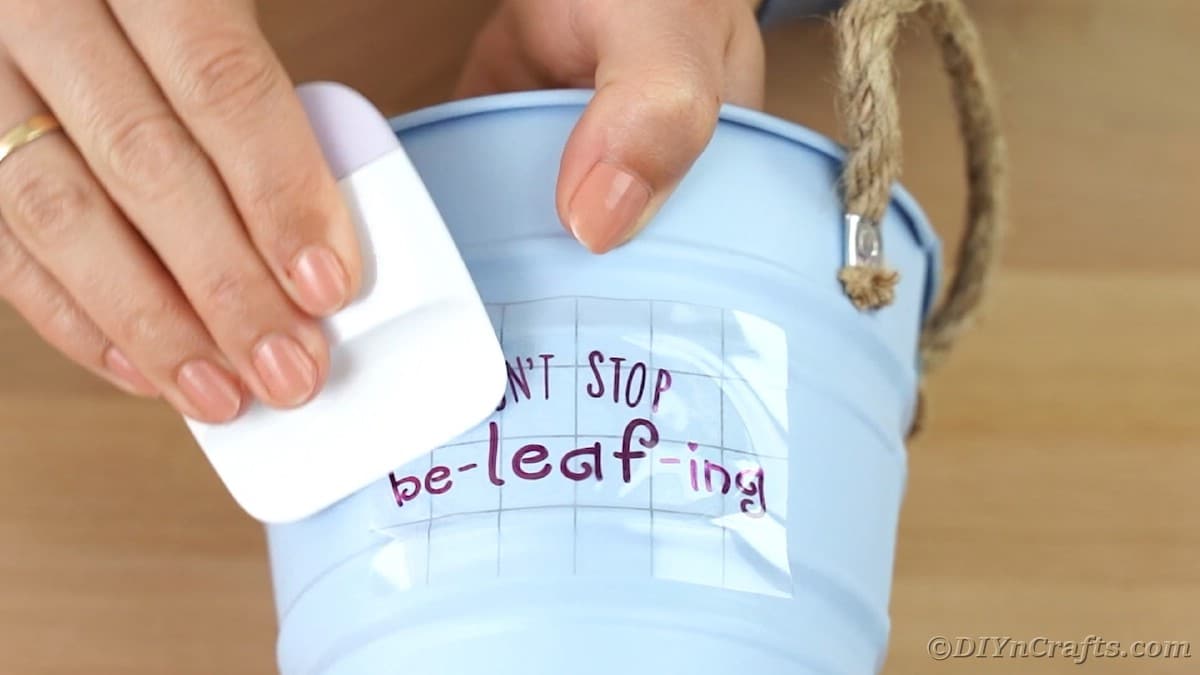
Carefully remove the transfer tape making sure the vinyl stays in place on the flower pot.
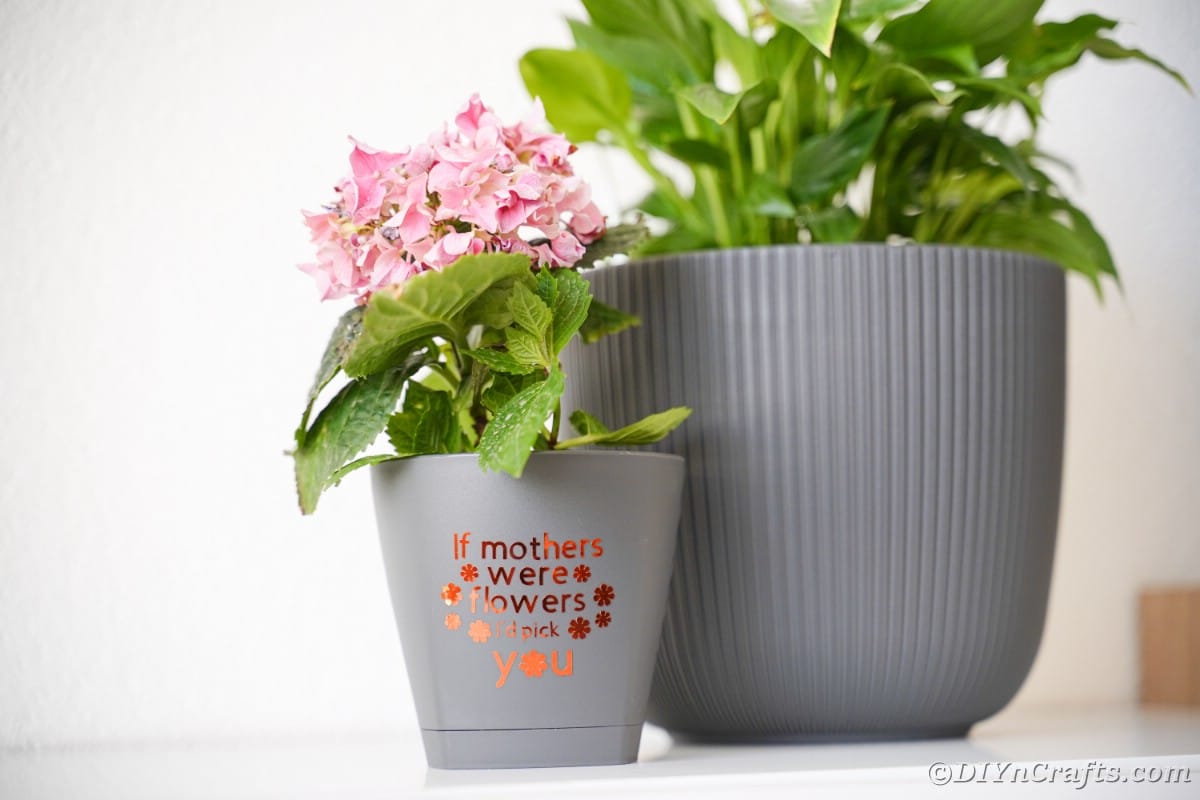
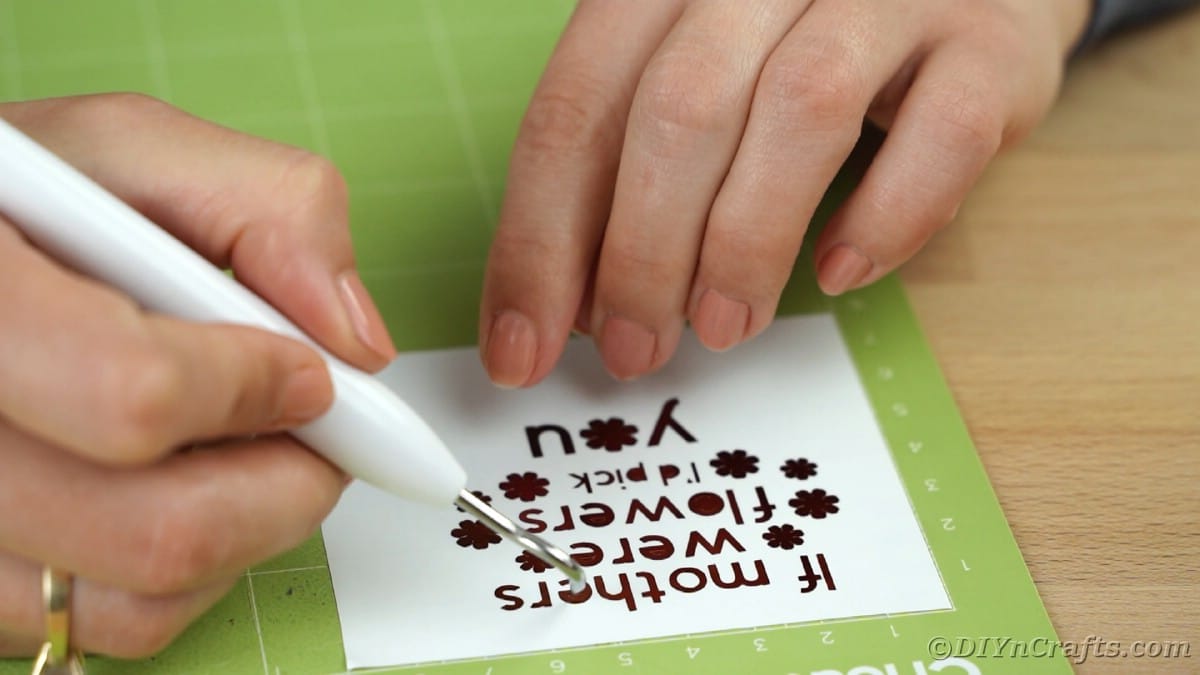
If using Design #2, load the SVG file into Cricut Design Space and choose the “If mothers were flowers I’d pick you” file.
Load the design according to the prompts shown.
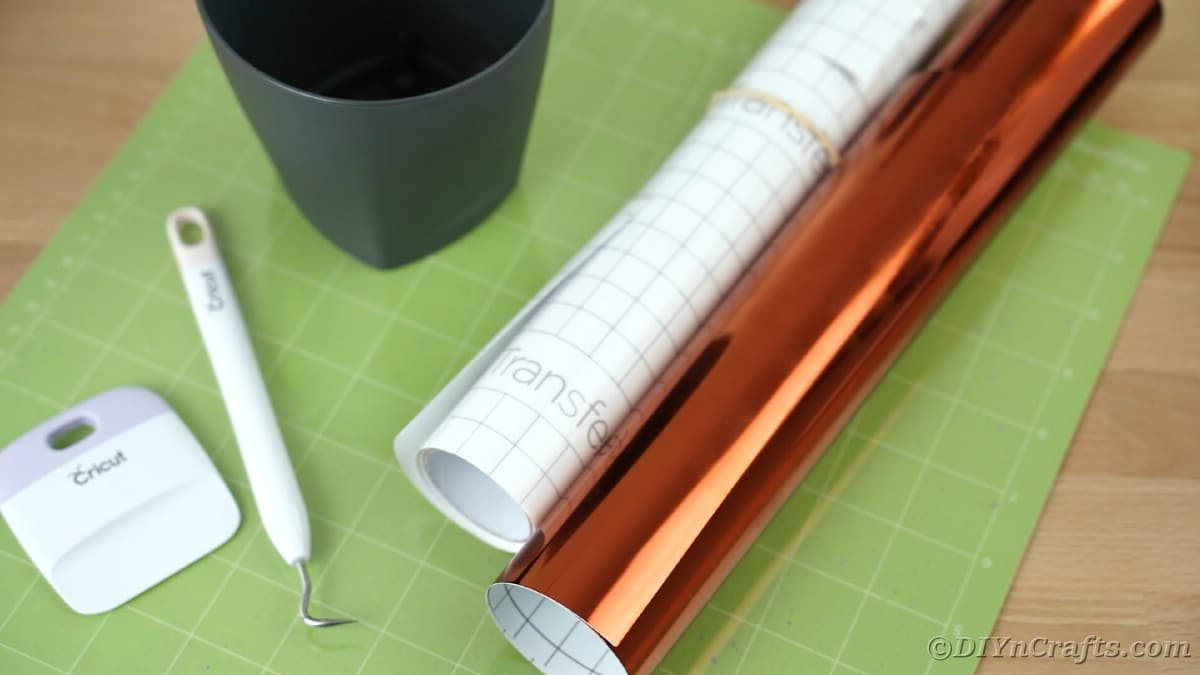
Place the orange vinyl onto the mat, and load it into the machine as directed.
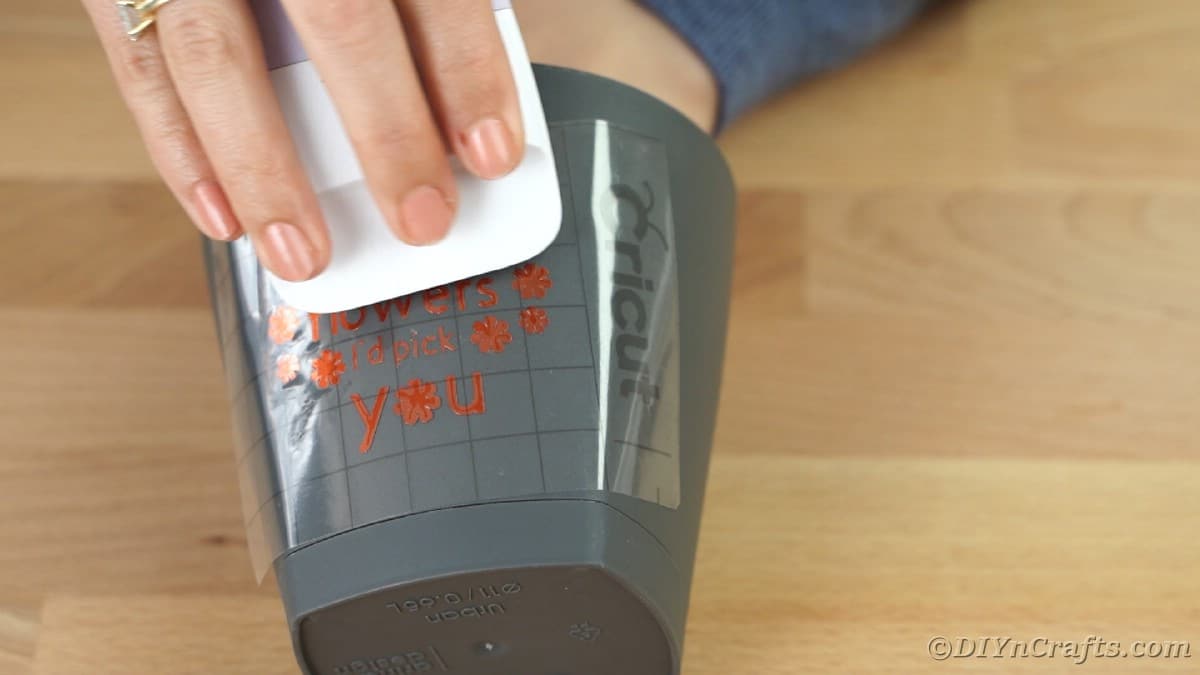
Once the cutting process is finished, follow the same process above to weed the vinyl.
Then transfer, and apply the vinyl to the flower pot.
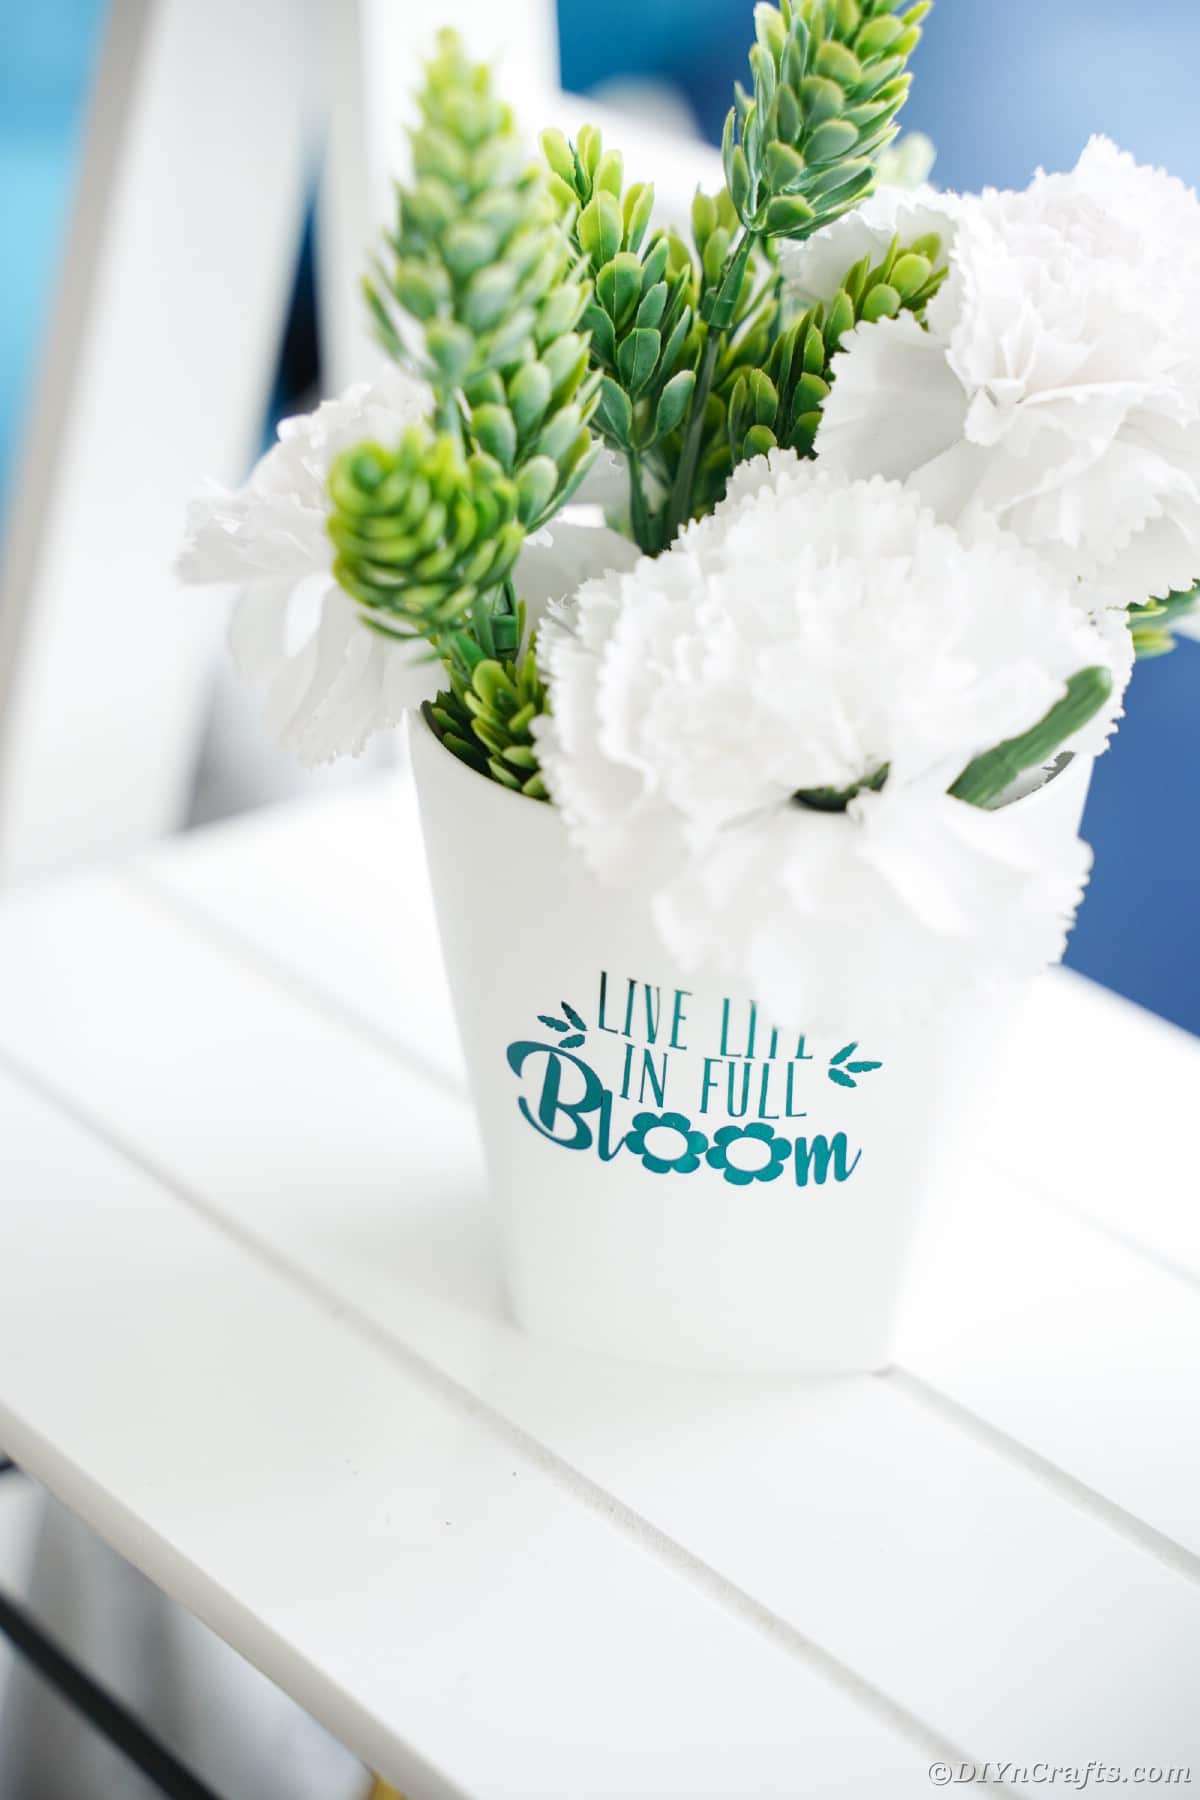
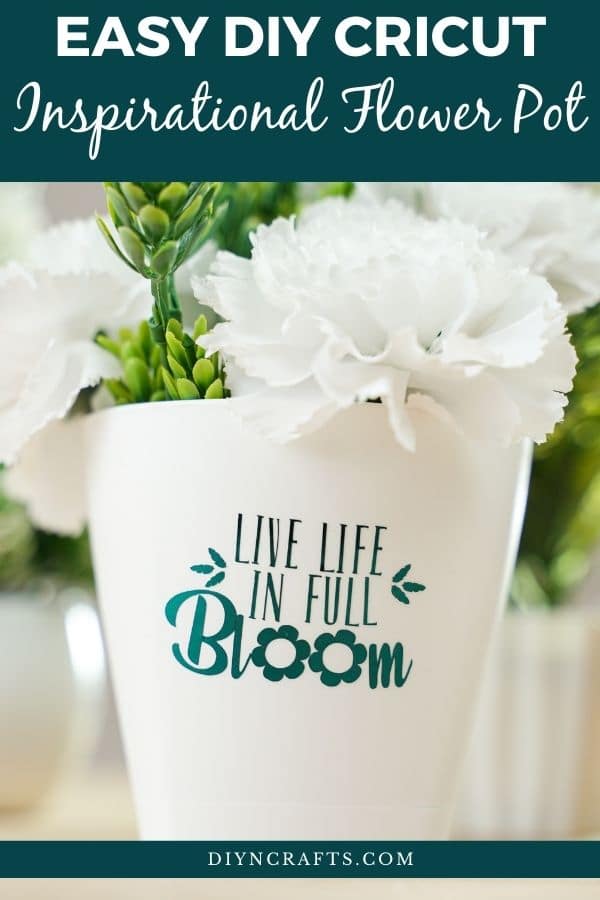
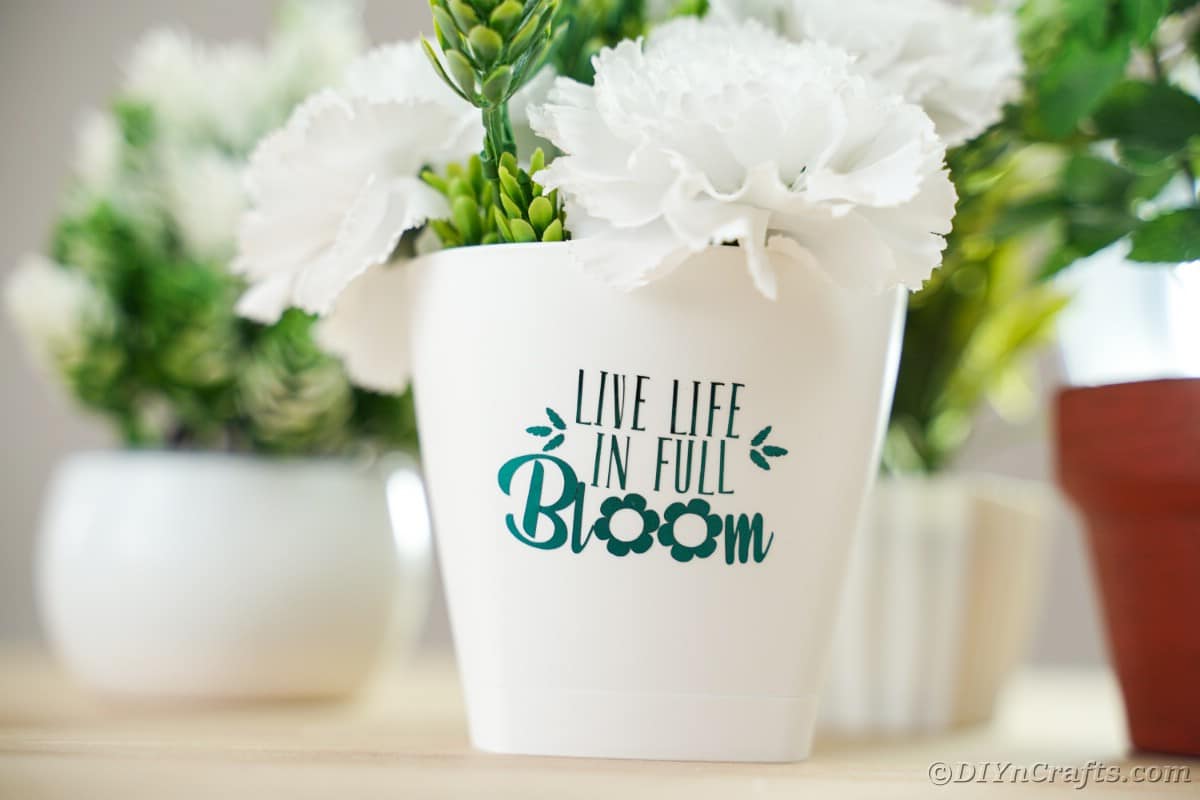
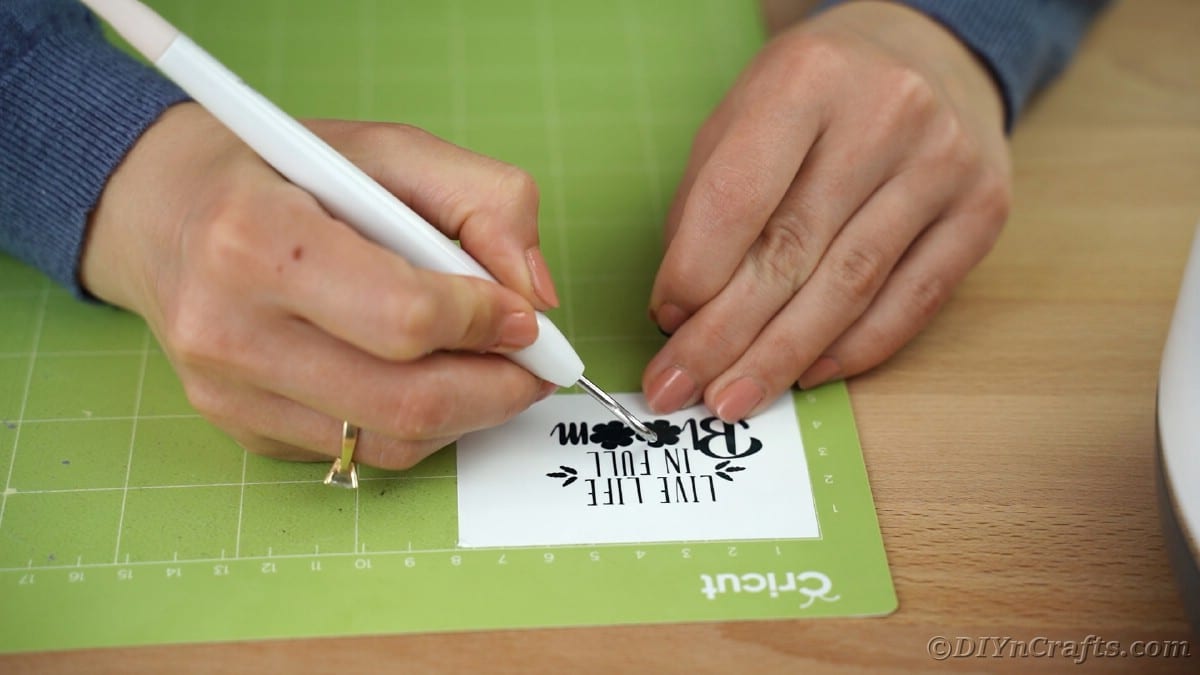
If using Design #3, load the SVG file into the Cricut Design Space and choose, “Live life in full bloom” file.
Load the design according to the prompts shown.
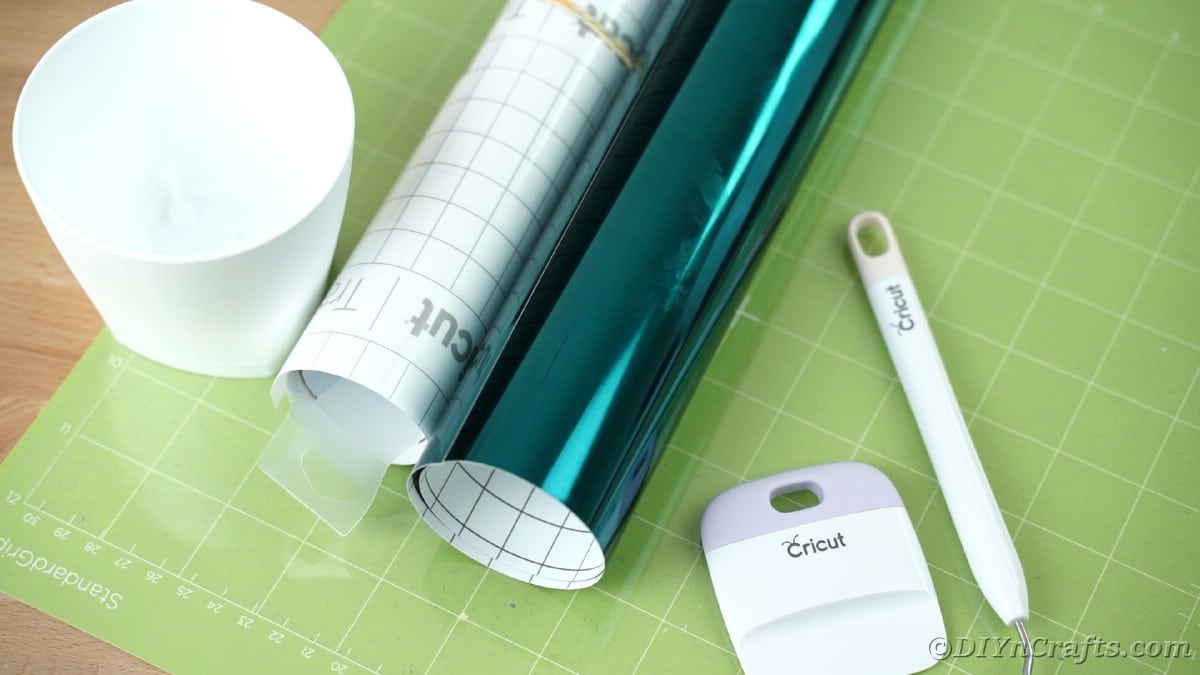
Place the teal vinyl onto the mat, and load it into the machine as directed.
Once the cutting process is finished, follow the same process above to weed.
Transfer, and apply the vinyl to the flower pot.
Seal the pot with a recommended sealant if desired and allow it to cure before using.
Gift or use in your own garden!
More Fun Cricut Projects
So far, we’ve used the Cricut mostly for Mother’s Day projects, but that is okay because all of these ideas are also excellent to gift any time of year. Below are some great ideas that feature the Cricut as the tool to use when making something beautiful to gift to anyone you care about!
Yield: 3
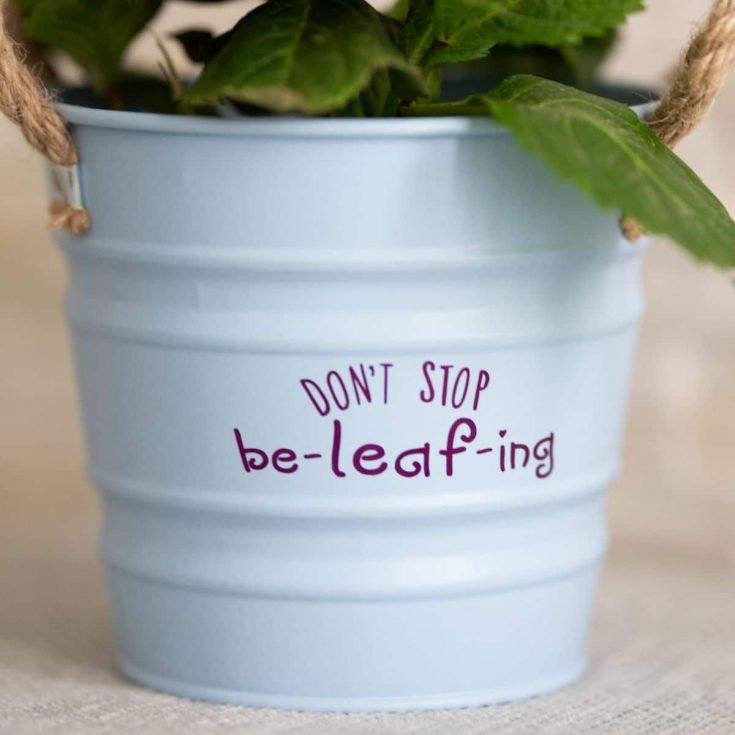
Follow this easy tutorial to make your own DIY Cricut vinyl inspirational flower pots. They are so easy and there are 3 amazing unique designs to choose from!
Active Time
25 minutes
Total Time
25 minutes
Difficulty
Easy
Estimated Cost
$10
Instructions
- Load the chosen design into the Cricut Design Space.
- Choose the design “don’t stop be-leaf-ing” and then click the “make” button.
- Follow the prompts on the screen to choose the material you will be using.
- Place the purple vinyl piece onto the Cricut mat.
- Load the mat into the Cricut machine.
- Follow the prompts on the screen to begin the cutting process.
- Remove the excess vinyl from the mat.
- Use the weeding tool to remove any small pieces within the letters as needed.
- Add a piece of transfer tape on top of the vinyl and use the scraper tool to smooth in place.
- Carefully remove the vinyl from the mat with the transfer tape.
- Center the vinyl onto the flower pot where you want it to be positioned.
- Smooth the vinyl into place.
- Carefully remove the transfer tape making sure the vinyl stays in place on the flower pot.
- If using Design #2, load the SVG file into Cricut Design Space and choose the “If mothers were flowers I’d pick you” file.
- Load the design according to the prompts shown.
- Place the orange vinyl onto the mat, and load it into the machine as directed.
- Once the cutting process is finished, follow the same process above to weed, transfer, and apply the vinyl to the flower pot.
- If using Design #3, load the SVG file into the Cricut Design Space and choose, “Live life in full bloom” file.
- Load the design according to the prompts shown.
- Place the teal vinyl onto the mat, and load it into the machine as directed.
- Once the cutting process is finished, follow the same process above to weed, transfer, and apply the vinyl to the flower pot.
- Seal the pot with a recommended sealant if desired and allow it to cure before using.
- Gift or use in your own garden!
Notes
Use any color vinyl you prefer to make this customized to your tastes.
Recommended Products
As an Amazon Associate and member of other affiliate programs, I earn from qualifying purchases.
The best part of this is to pick and choose the colors of vinyl and of flower pots that you want for yours.

These are perfect as gifts when you add a flower inside or even a little succulent.
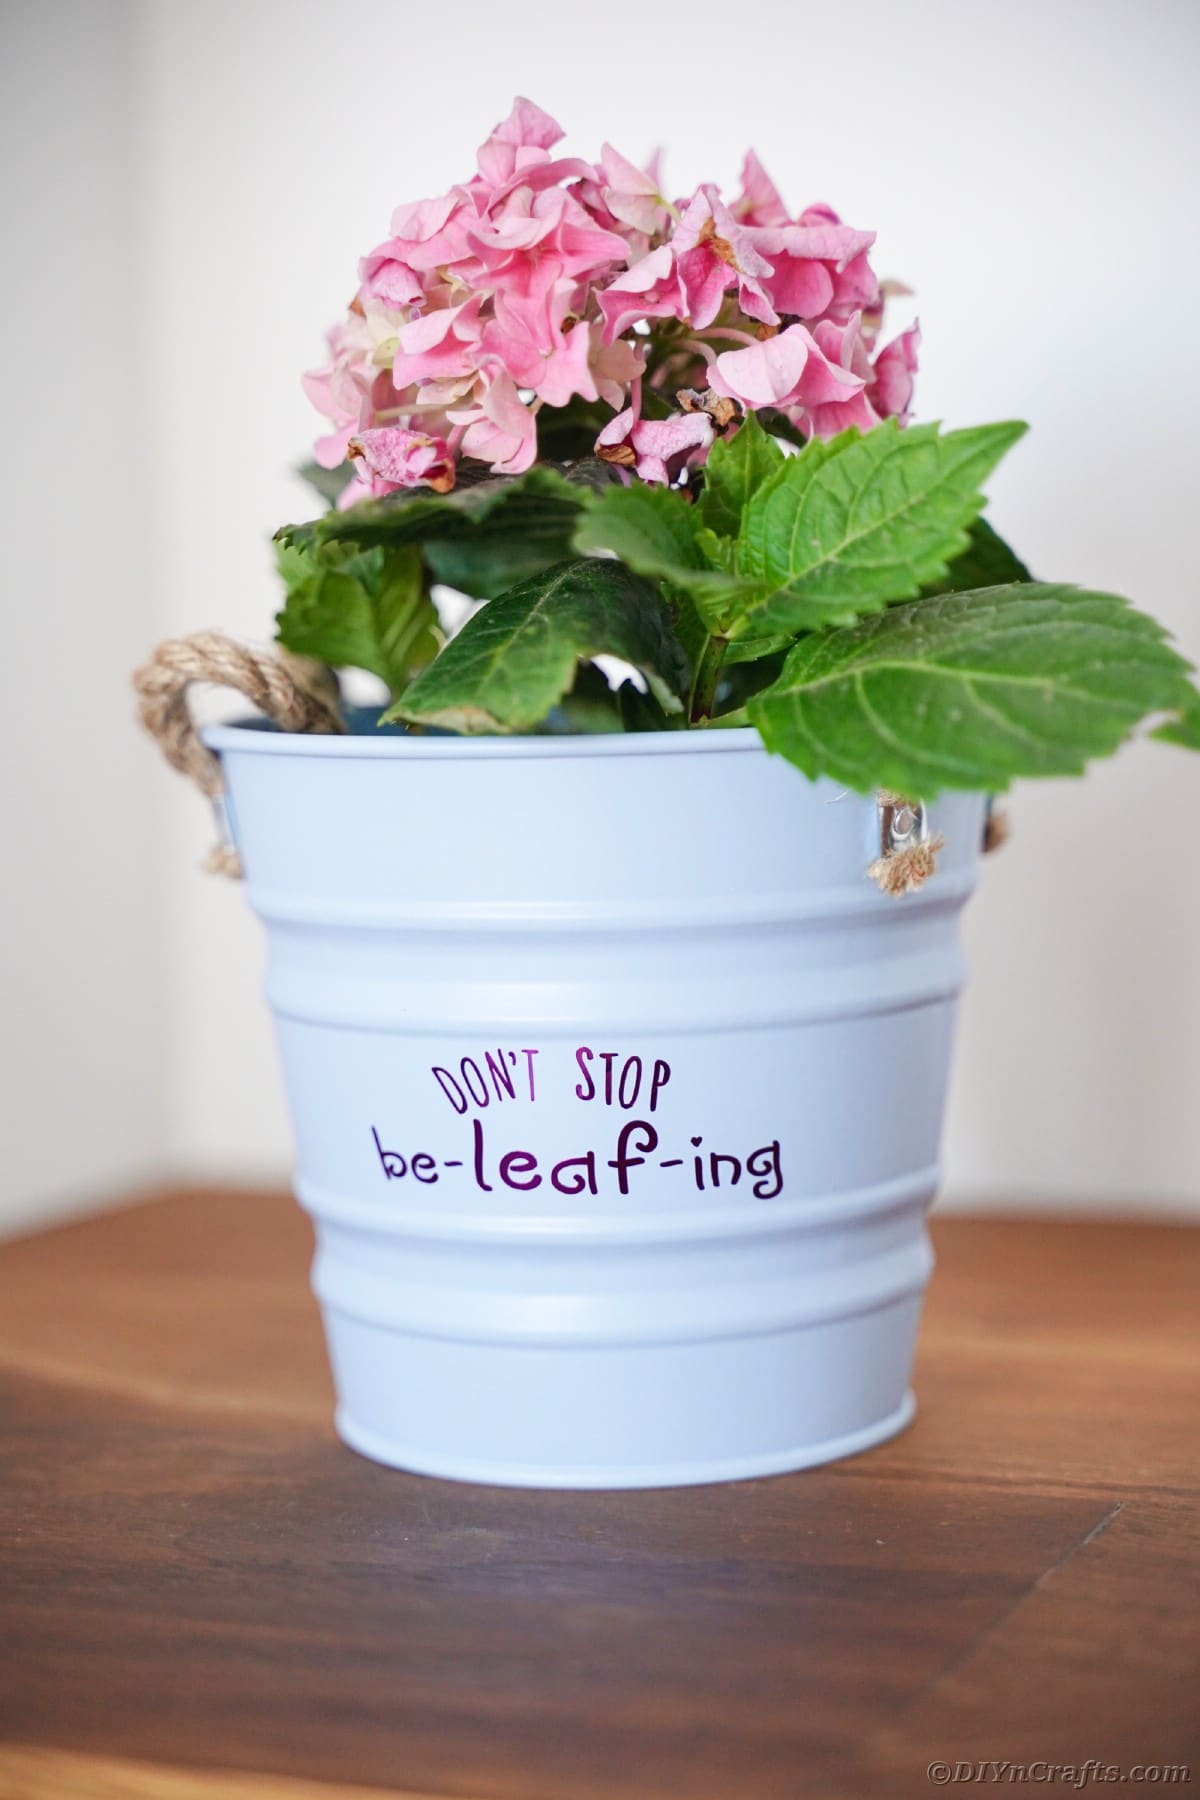
I love the idea of making these for myself as a reminder to keep going each day!
