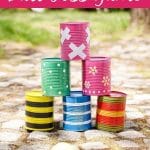
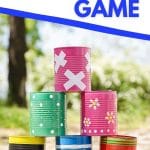
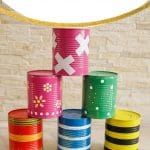
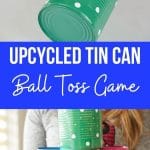
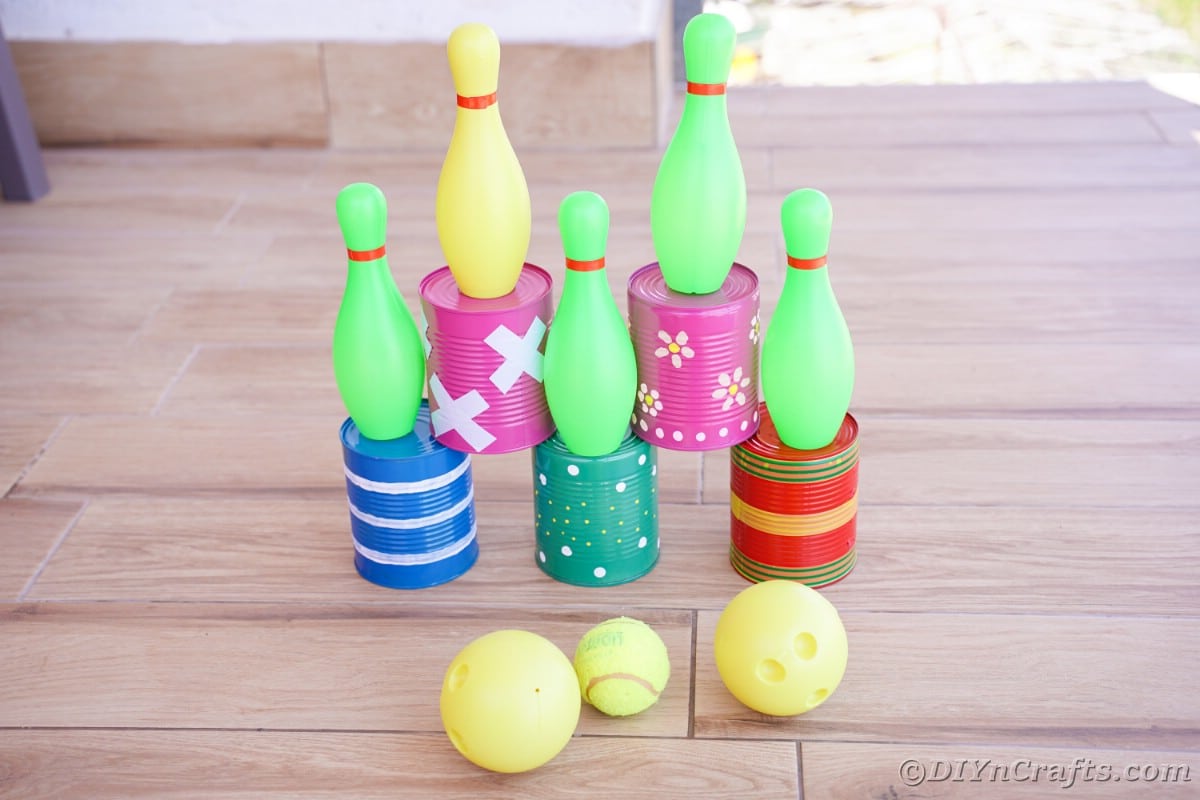
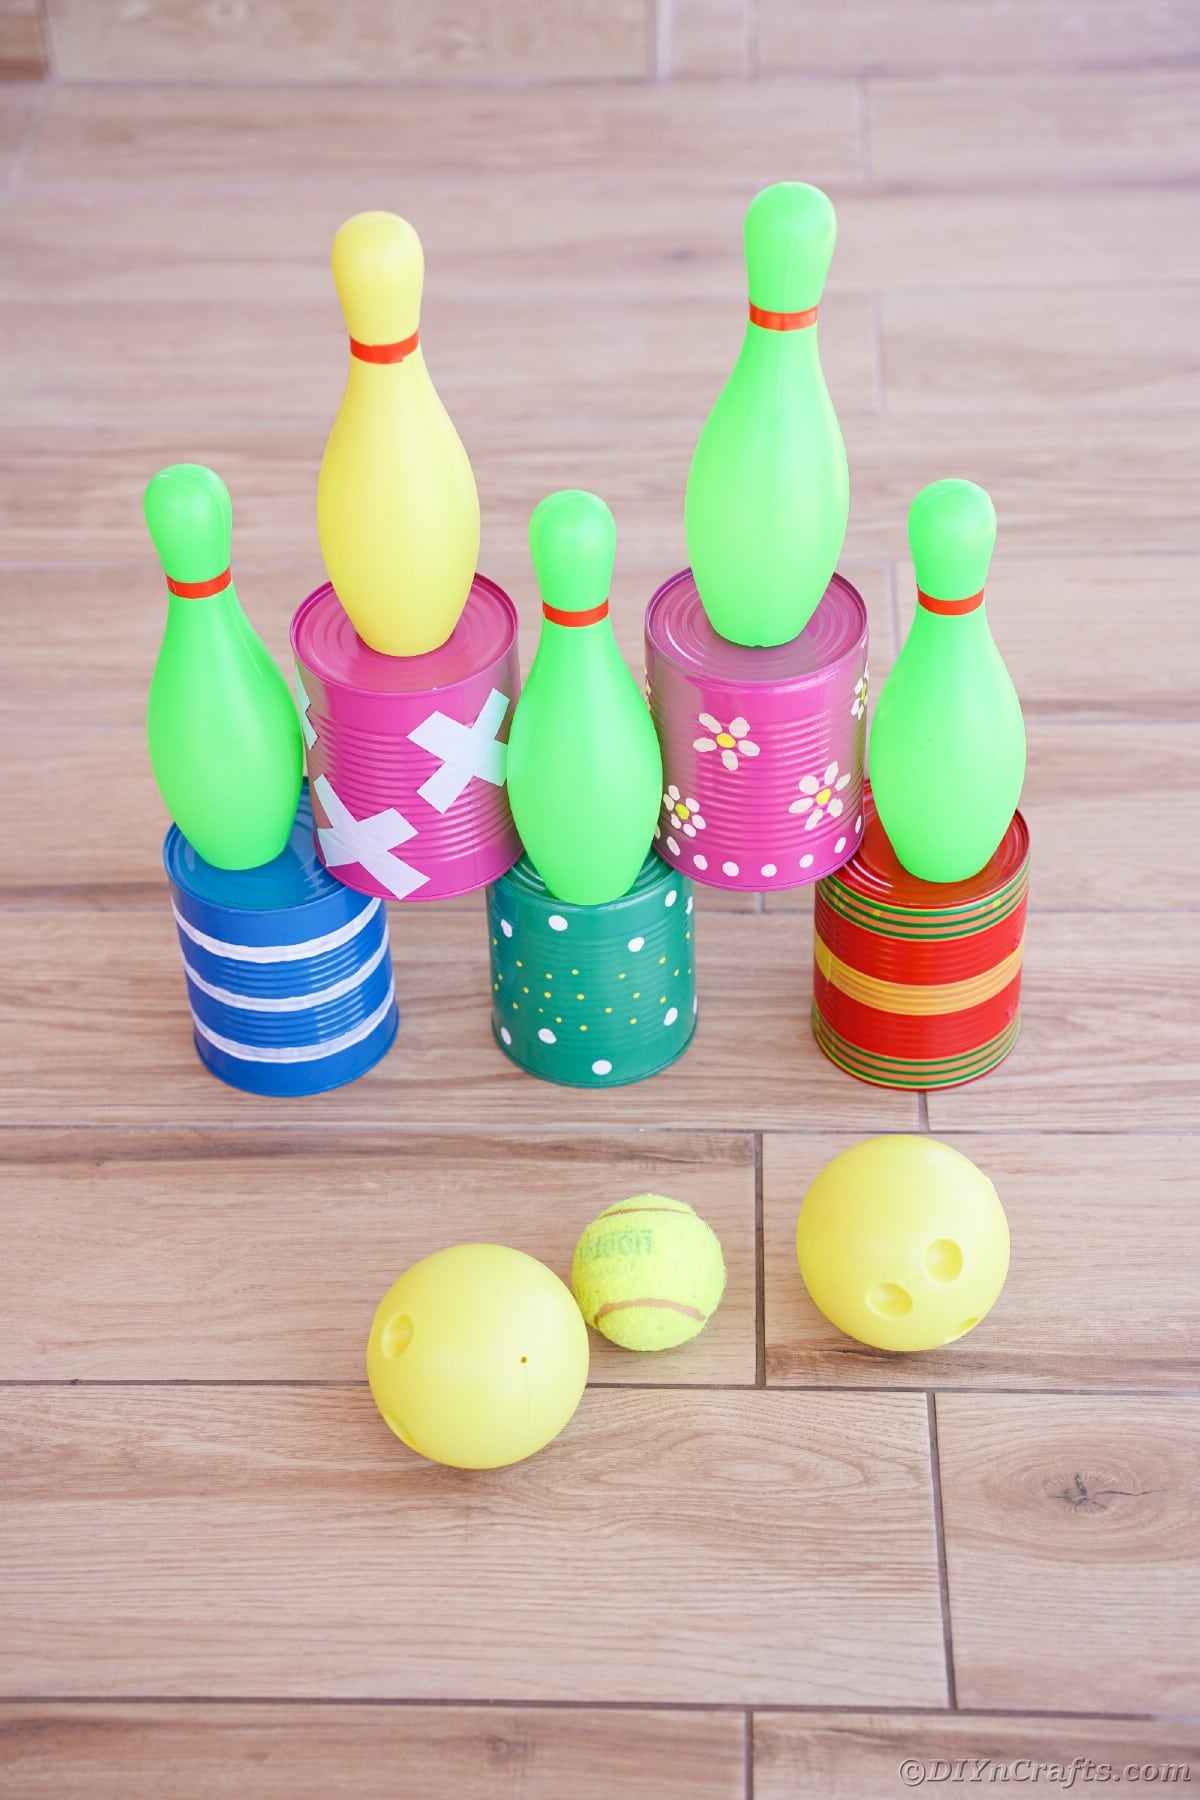
Do you love the ball toss games at the carnival? If so, you can recreate that same fun game at home using this easy upcycled tin can game tutorial. A fun way to use up cans after dinner, but also a fun game the whole family will enjoy playing. Grab some empty cans and paint to get started!
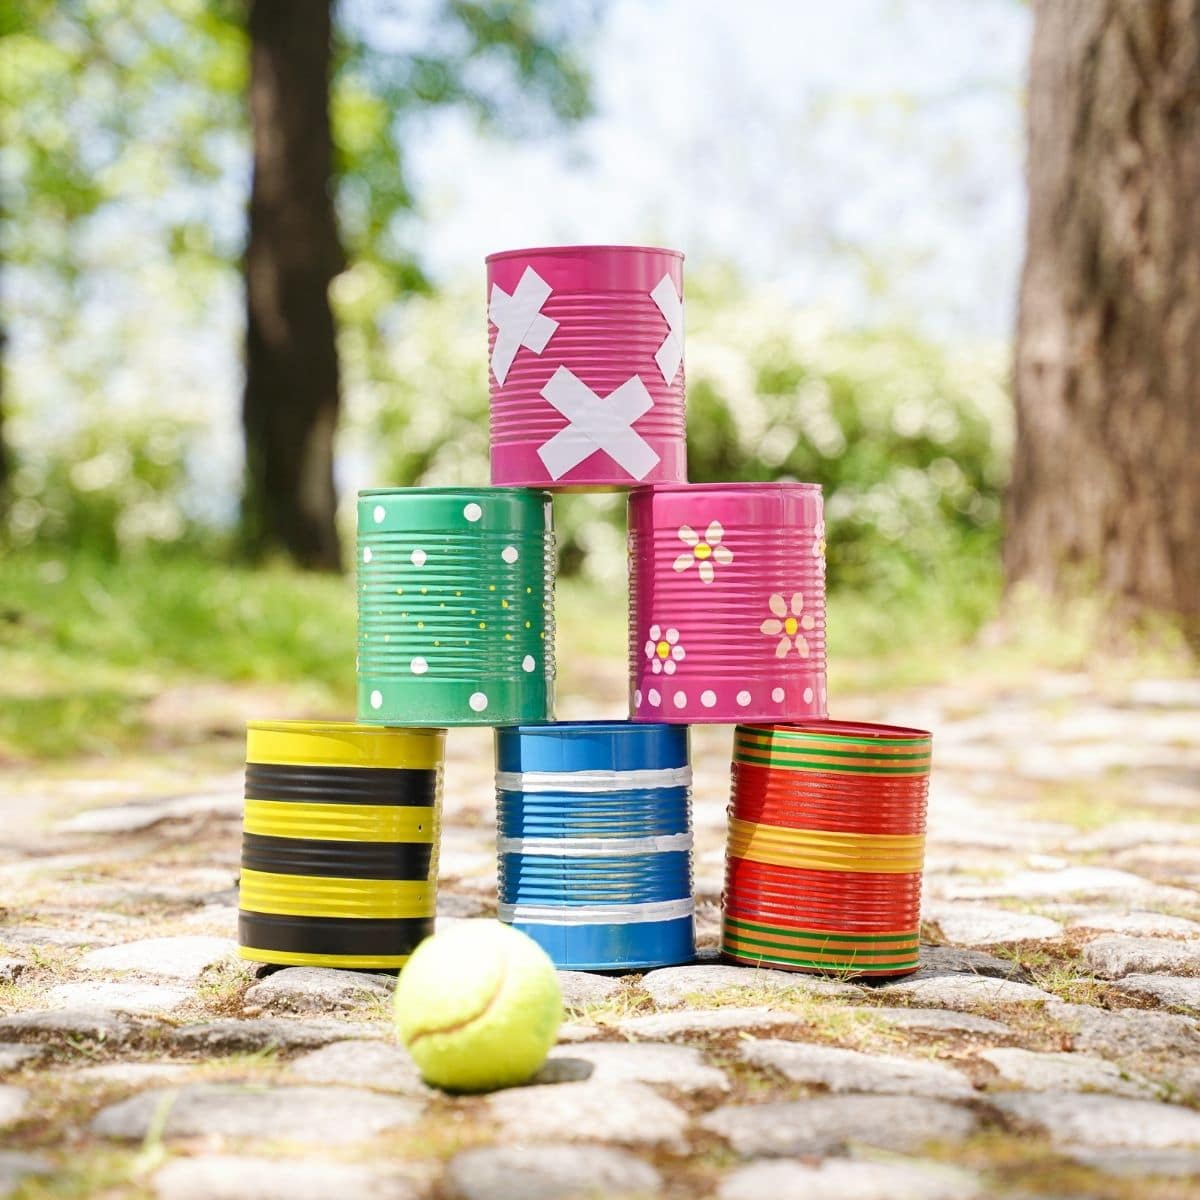
Upcycled Tin Can Ball Toss Game
While I recycle as much as I can in my weekly garbage, I have a hard time throwing out tin cans, even if they will be recycled somewhere. So, instead, I like to remove the label and put them to use when crafting. They are perfect for so many things, and I’ve shared a lot of those here before in this list of upcycled tin can craft ideas, but this is a new one I am totally in love with!
Not only is it fun to make, but it’s also super versatile. You can use this in tons of different ways and expand on the three cans I did with dozens in various sizes. Get busy making this for a fun new summer game!
What Sized Cans Should I Use?
It will depend on what you are going to play with the cans. I like to use a can that can fit the size of a tennis ball easily. Then I know that any can that I want to play will work. Typically, the larger cans or ones for coffee are best when making a game with a ball of that size.
For ping pong balls or golf balls, you could easily use regular canned goods like a can leftover from vegetables or soups. Just remember that when picking the can, consider if you will be trying to get a ball into the can or just knock it over. I like the idea of making them in a variety of sizes so you can play a variety of games.
What Ways Can I Decorate The Cans?
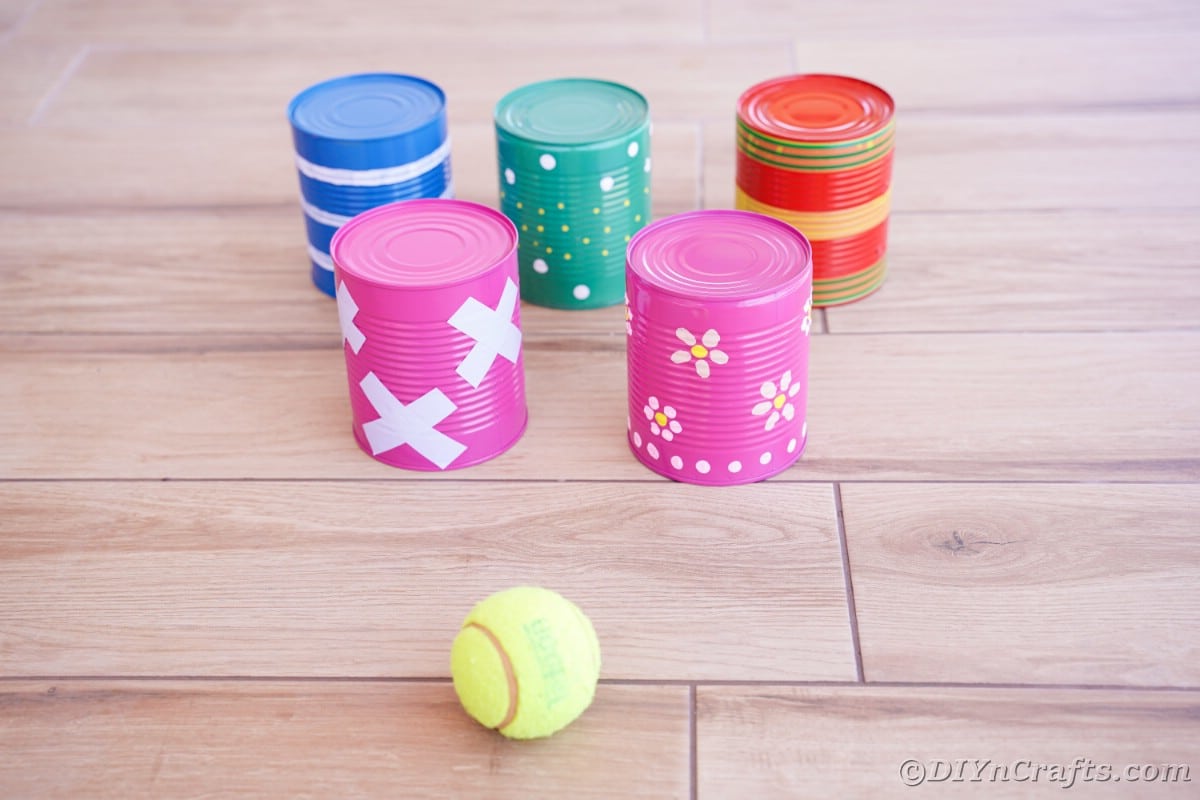
There are tons of unique ways to decorate these cans. As you will see below, I used a combination of spray paint and craft paint on mine, but you can use other handy items to decorate your cans. Below are some of the things I find work best for decorating the outside of the cans.
- Spray paint
- Acrylic craft paint
- Washi tape
- Duct tape in various colors
- Foam paper
- Felt pieces
- Craft paper
- Construction paper
- Stickers
- Ribbons
- Burlap
How to Remove Stuck on Glue and Labels from Tin Cans
You know that peeling the label off is pretty easy on most tin cans, but what’s left behind can be an issue. They often have a bit of glue that stays on the surface from when it was applied originally. If this is the case, you can try a few things to remove the glue or residue.
- Soak in warm soapy water until it is able to be scrubbed off the surface.
- Use a Goo Gone or similar remover that is designed to remove glues.
- Spray with a degreaser or oven cleaner and let it sit for 30-minutes then wipe and wash off.
How do I Remove Sharp Edges from Upcycled Tin Cans?
The best way to remove the sharp edges of the upcycled tin cans is to use a can opener that removes them. This takes the sharp edges off right away and then there is no concern about getting cut.
If you do not have one of these kinds of openers, you can also add a piece of thick tape like Gorilla tape or a thick masking tape along the edges. This will protect someone from getting cut. Be sure to check the tape often to make sure it has not moved or worn out.
Of course, the standard is to simply use a piece of sandpaper along the edges to remove any roughy or sharp pieces. While all of these can make it safer to use, it’s still a good idea to supervise when kids are playing with these cans.
How Can I Use These to Play?
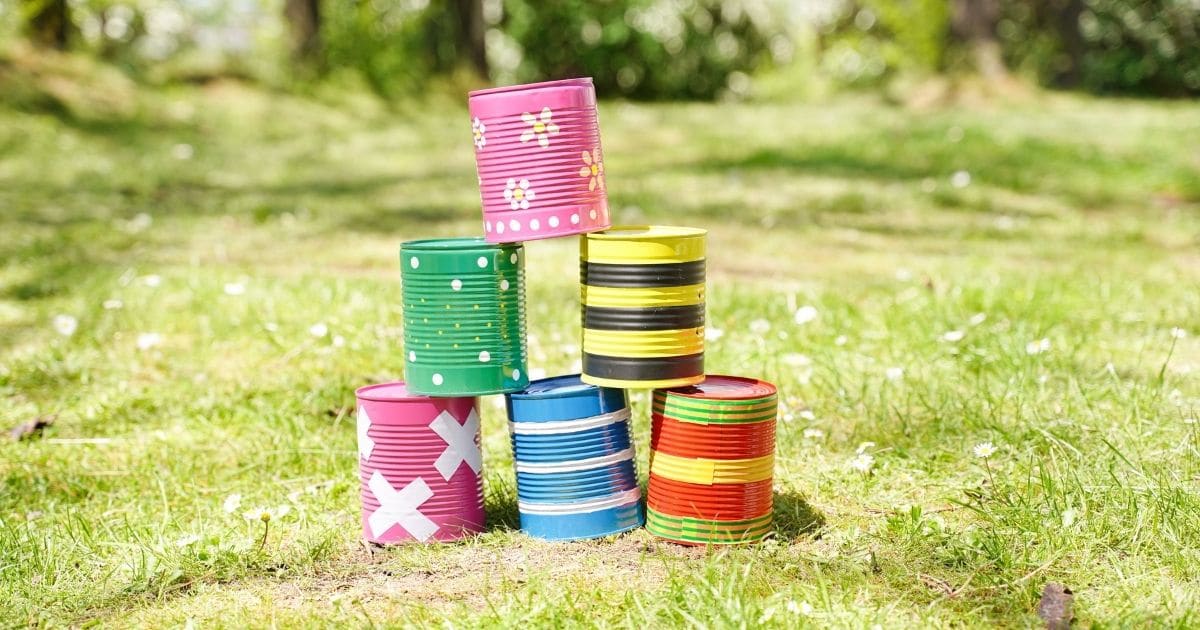
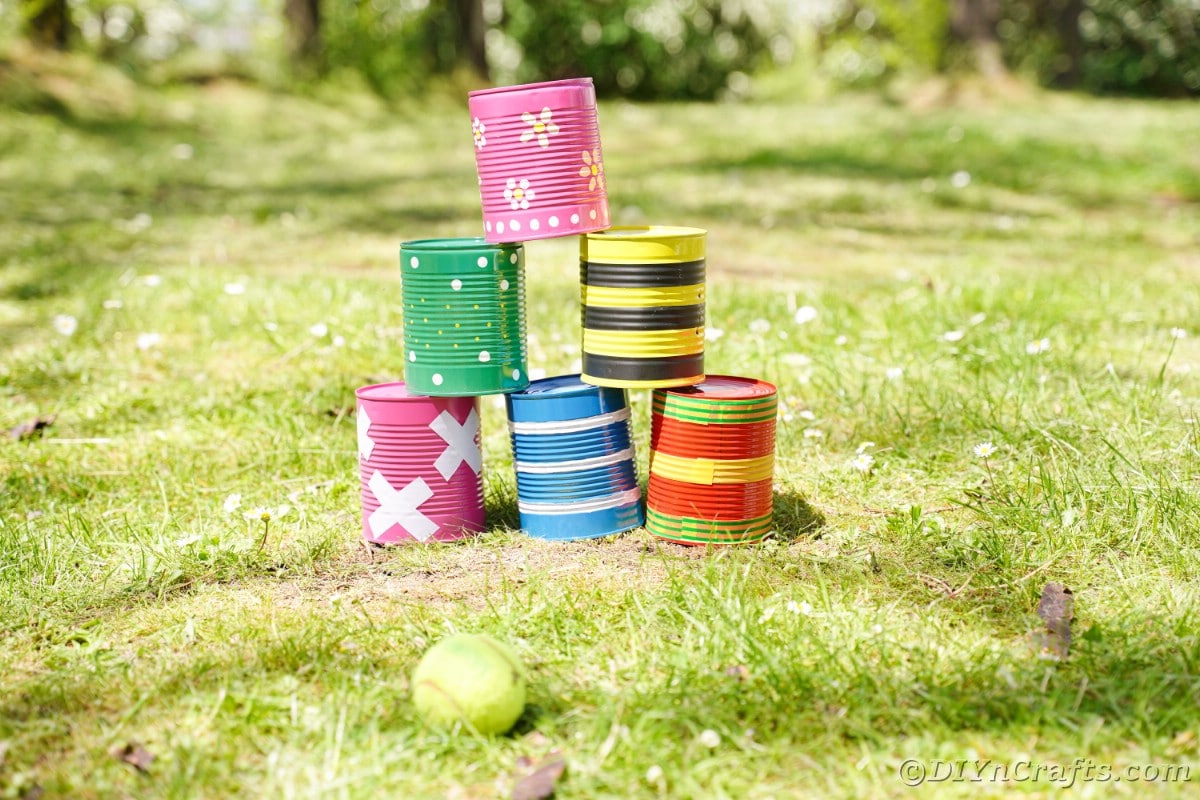
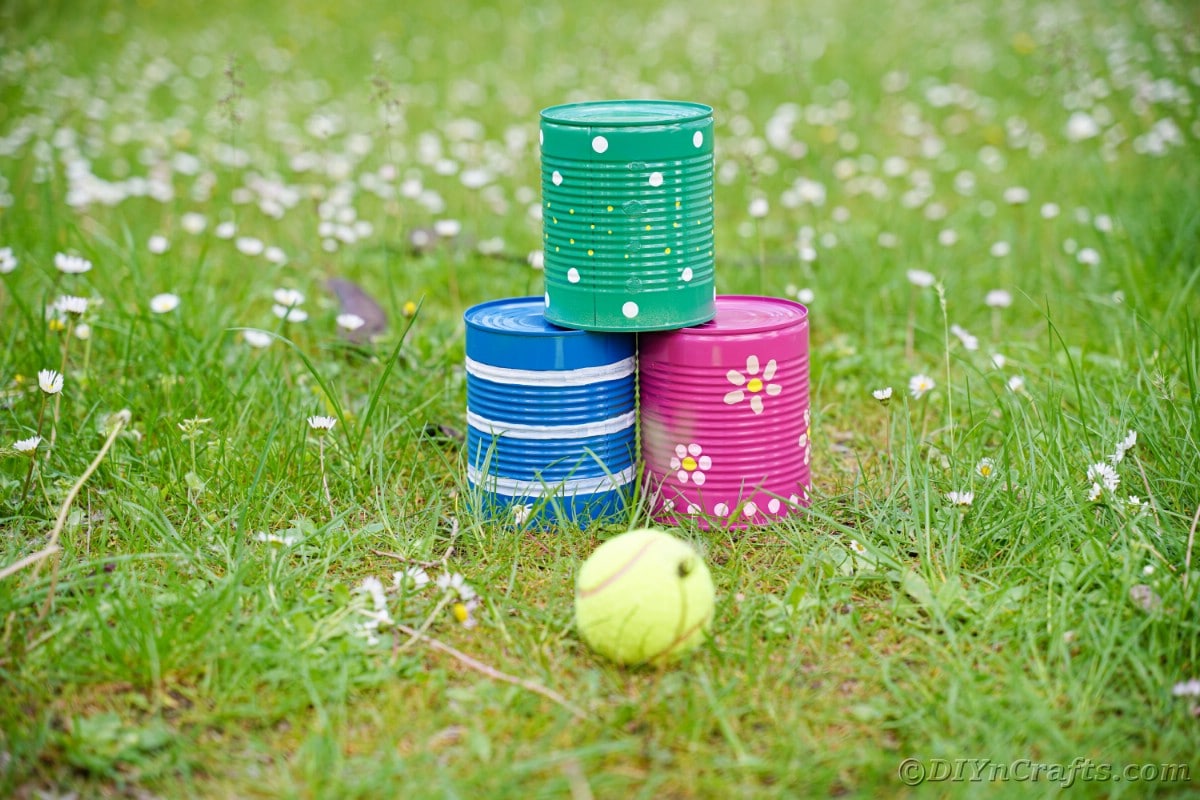
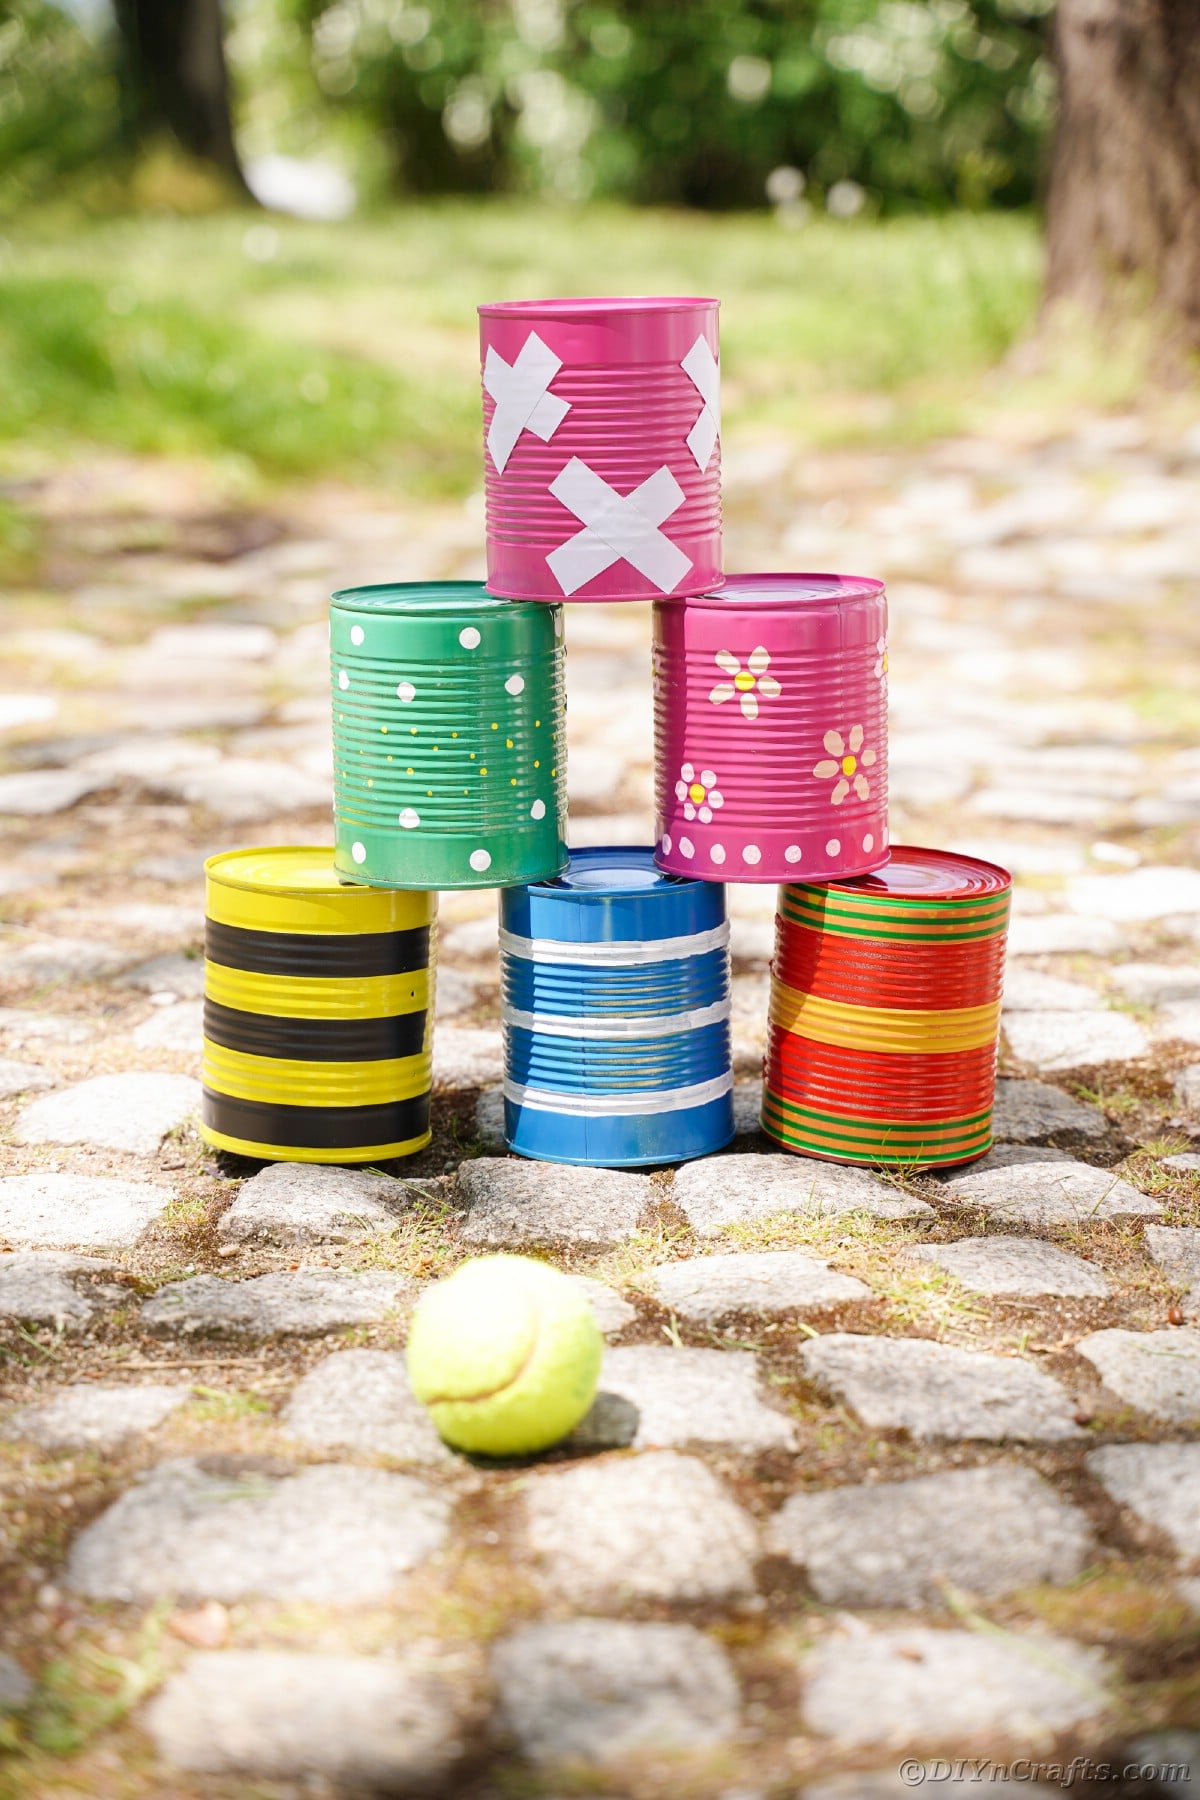
The type of games you can play with these cans is all up to how creative you are. You can use it as a coin toss or a ball toss like you would see at a carnival. Just stack the cans together on a table and set a line for people to stand behind to toss the items.
Another fun idea is to get larger rings or horseshoes and see if you can toss them and circle the can. This is better for older kids and adults who might have better aim to hit them.
Of course, one of my favorite ideas is to use them for a bowling game. Just stack them up and toss balls at them until all of the cans are knocked over! Get creative and see how many types of games you can come up with.
Supplies Needed
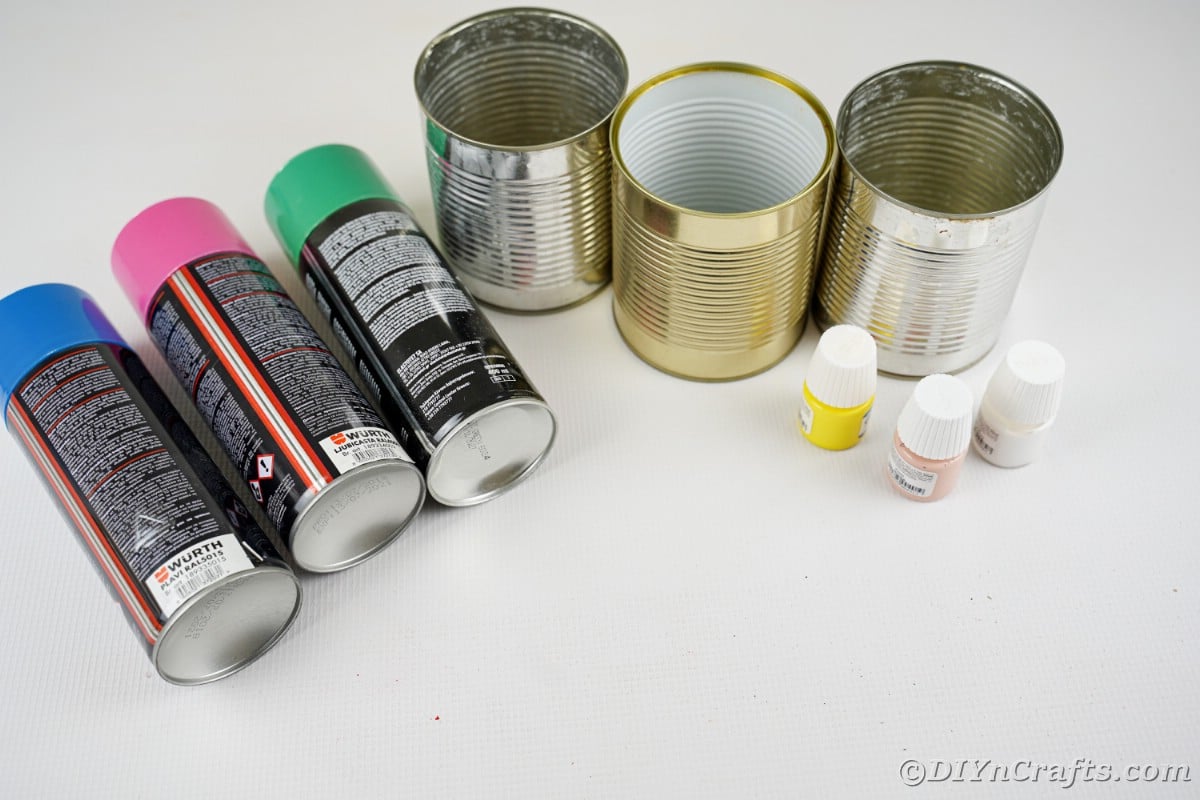
How to Make an Upcycled Tin Can Game
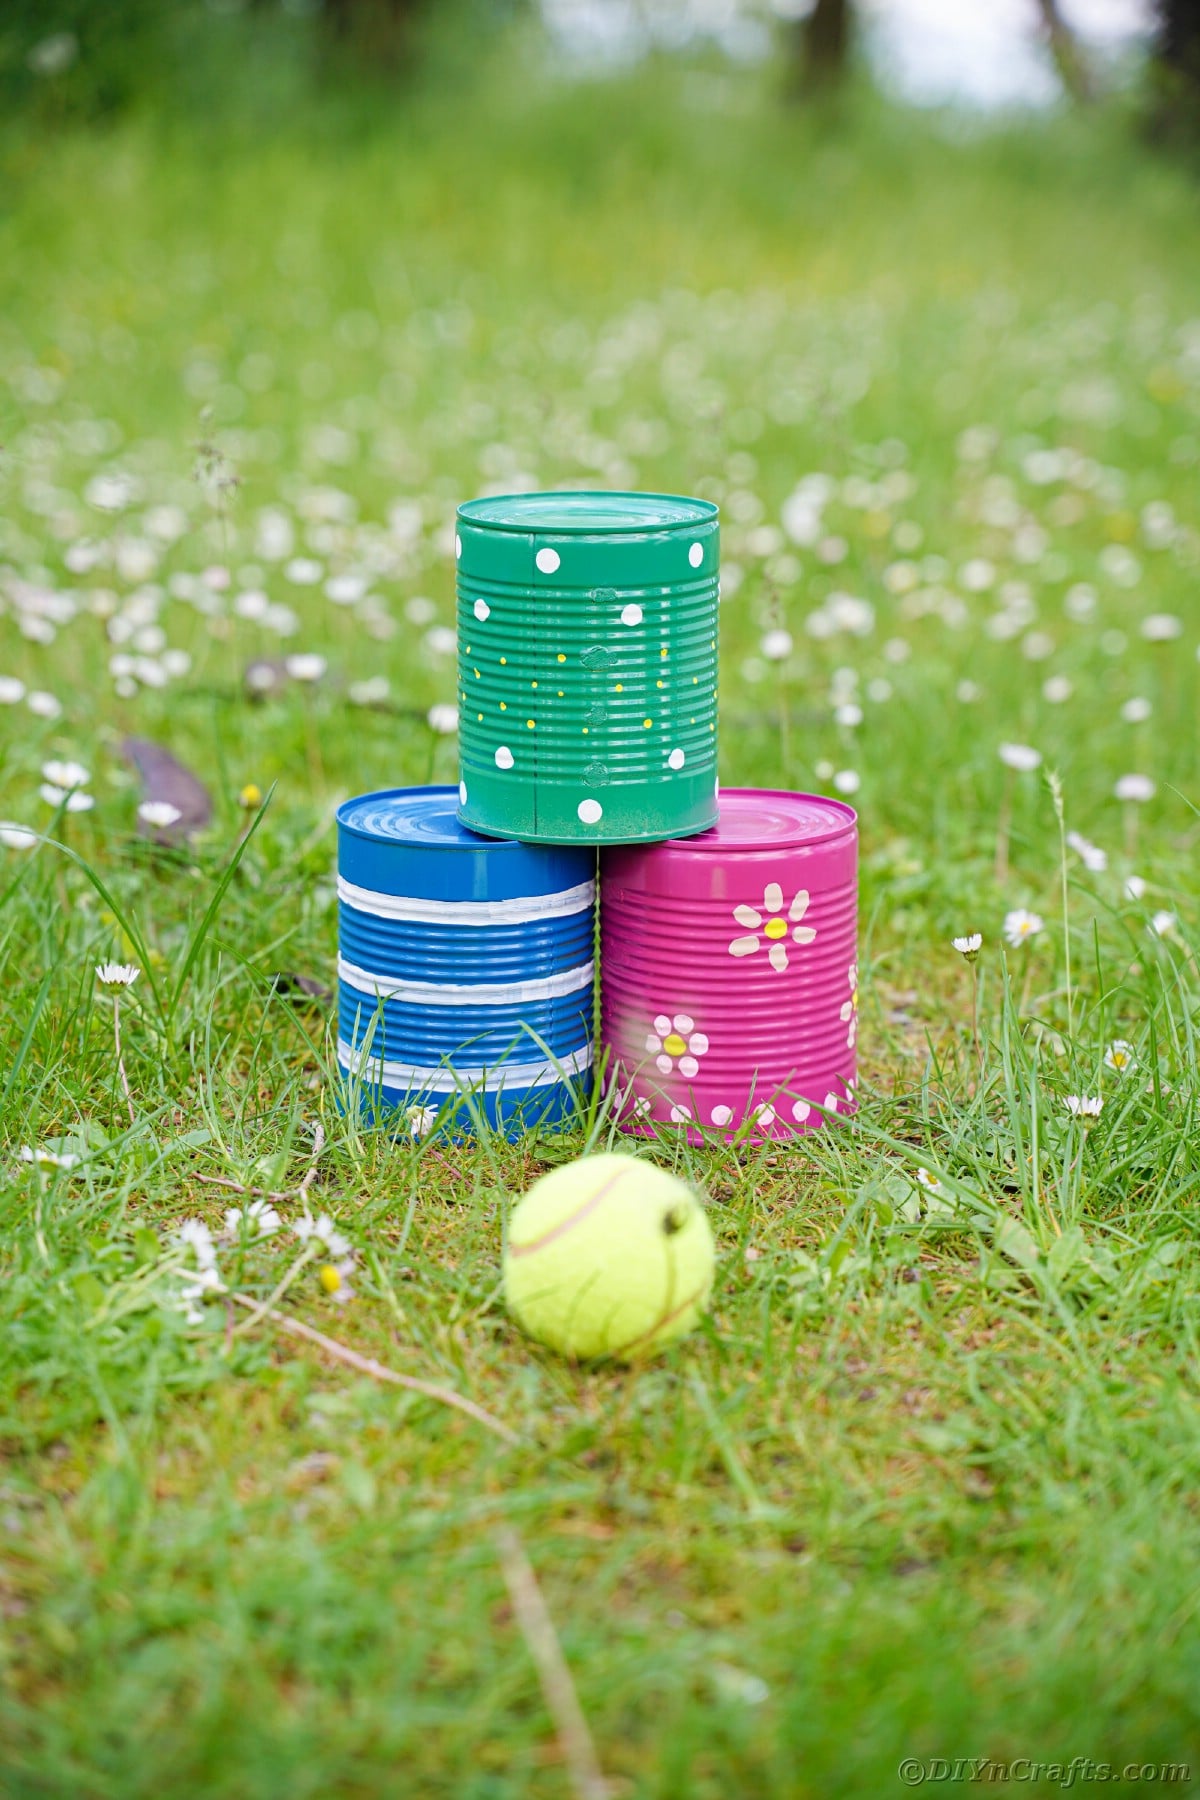
Clean out tin cans with soap and water and remove the outside label and any sticky residue. If sharp edges remain, use a bit of sandpaper to remove. Dry completely before painting.
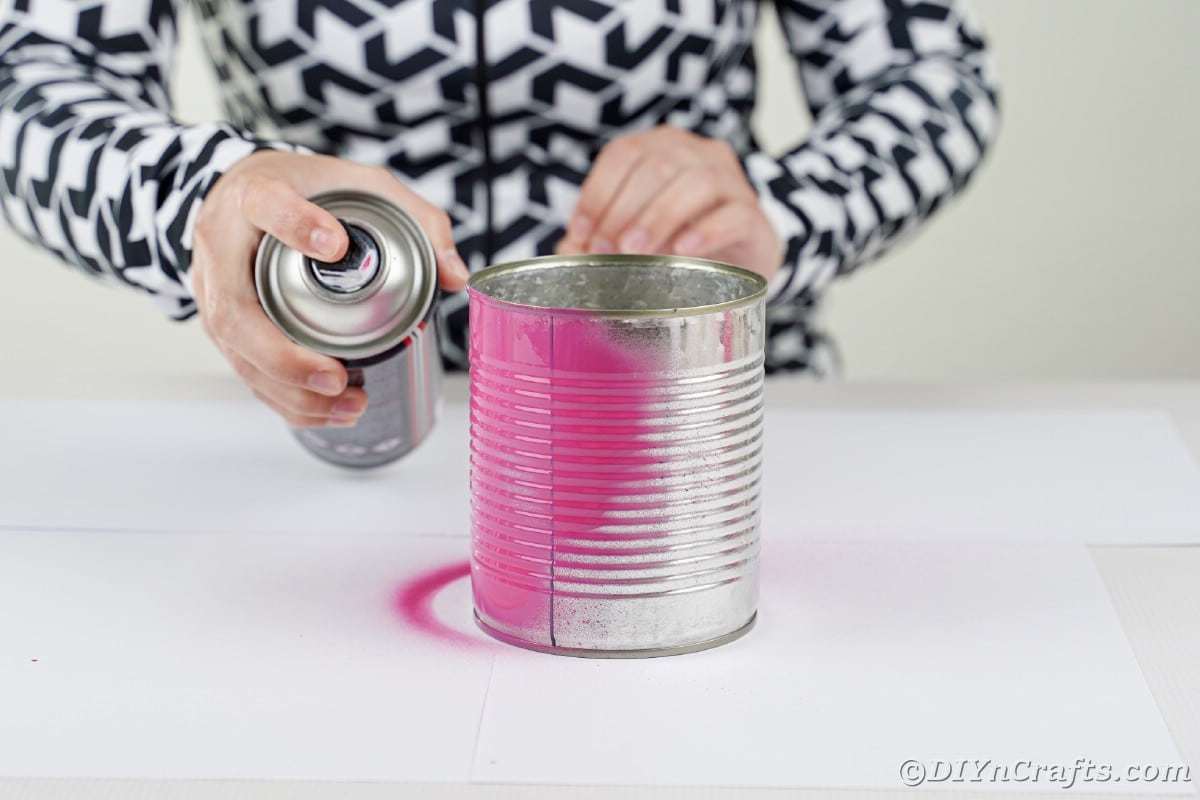
In a well-ventilated area, spray one can pink, one can blue, and one can green. Cover the outside leaving the inside and bottom clean. Set aside to dry for 30 minutes to 1 hour.
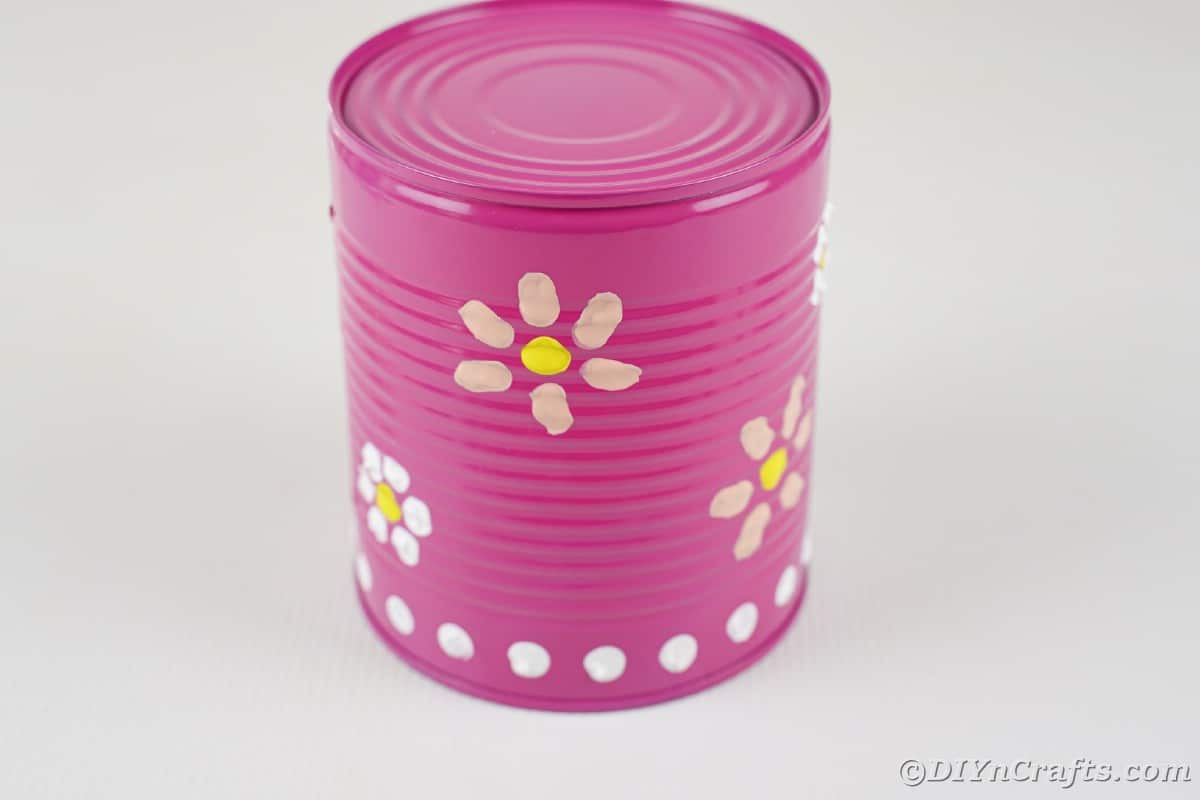
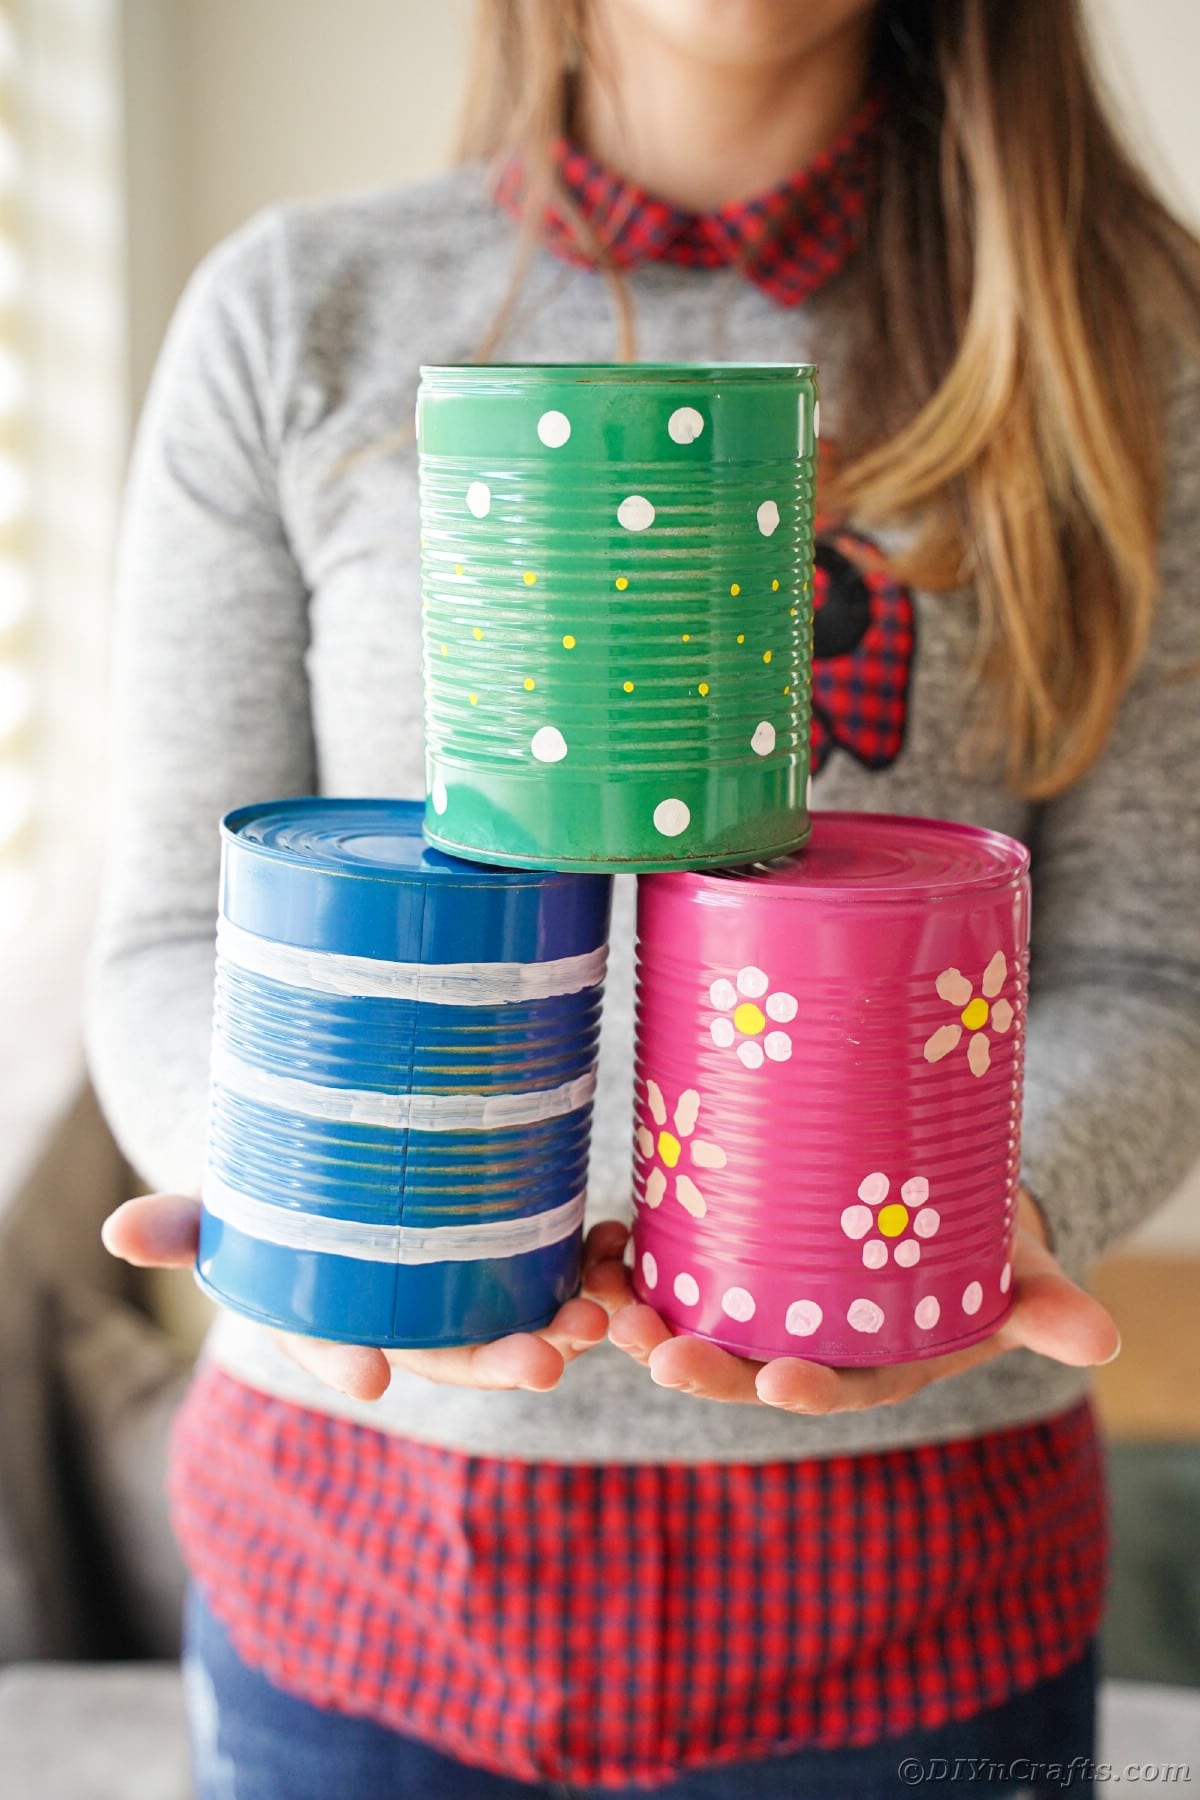
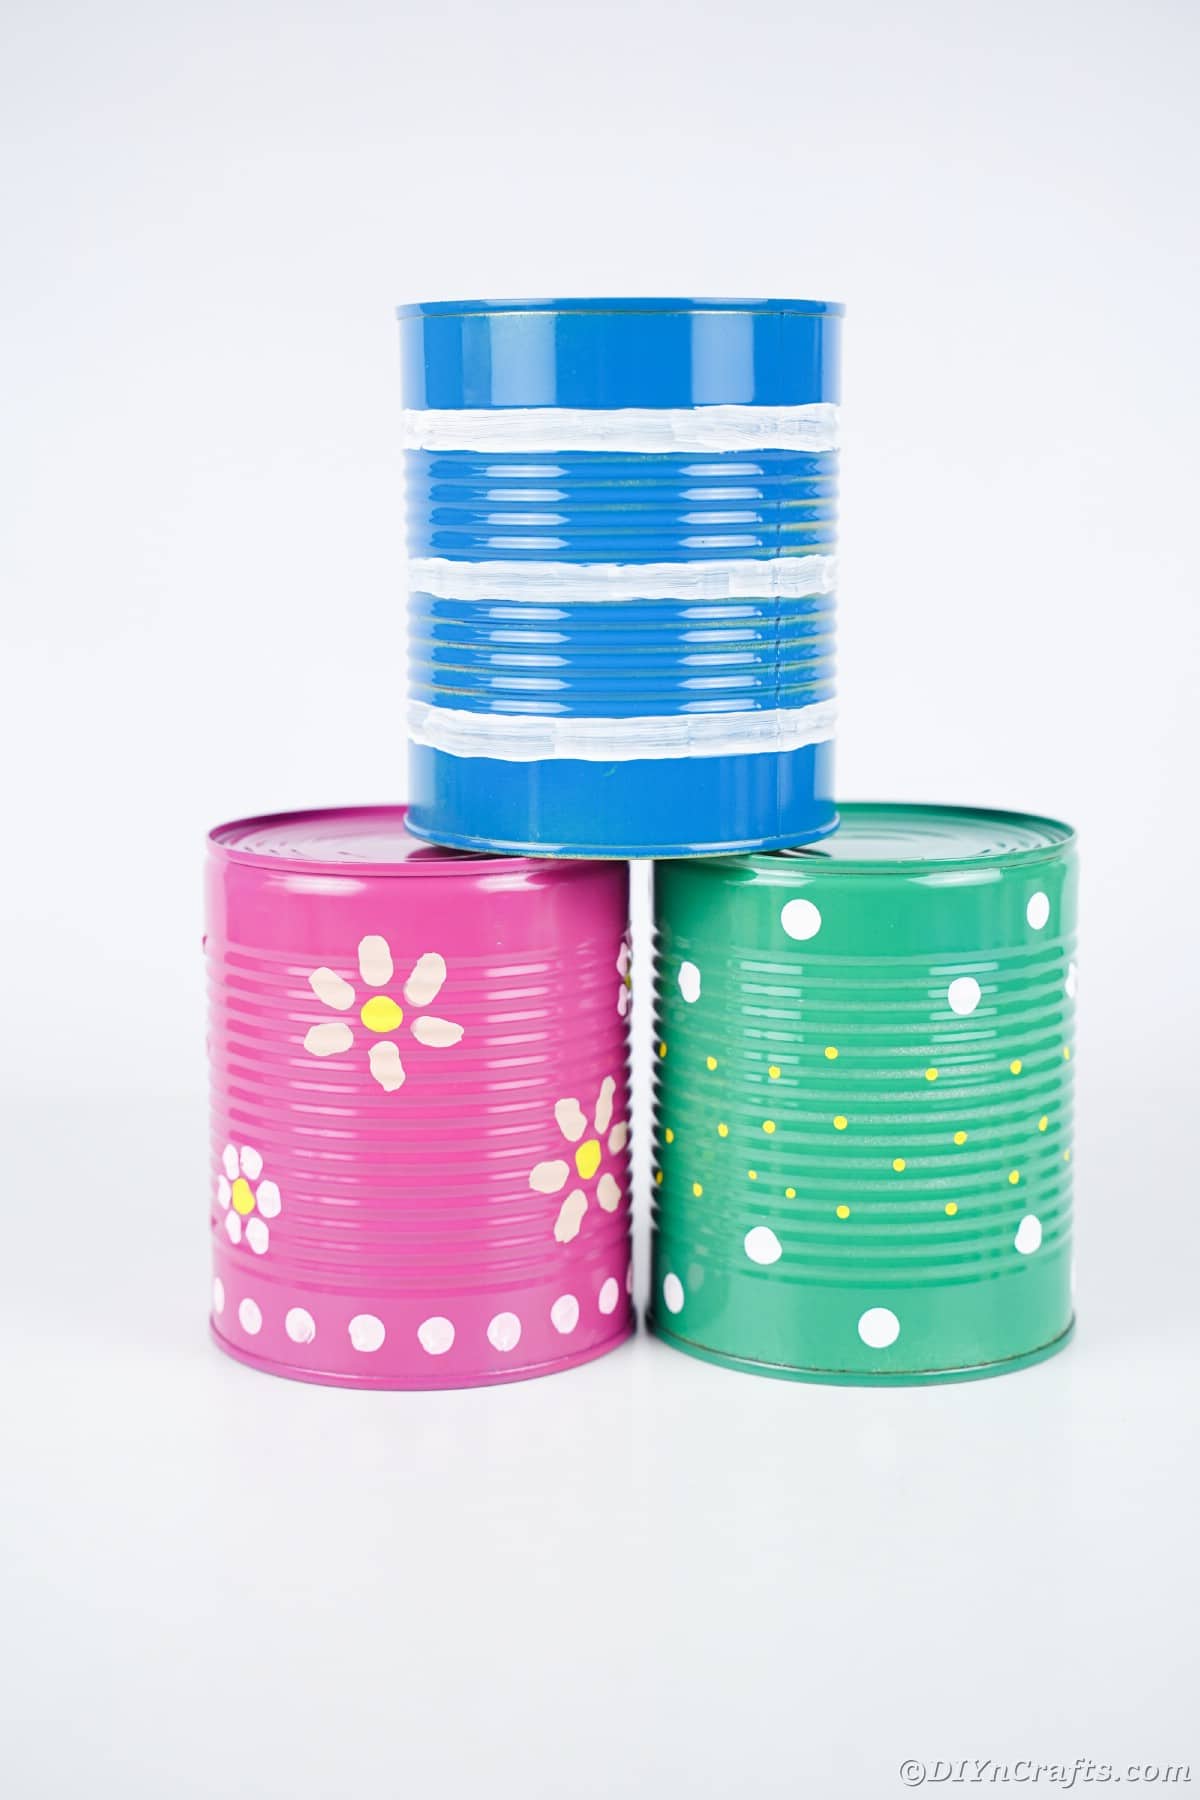
On the pink can, begin by using the rubber end of a pencil to grab paint and add yellow dots around the can, around 10 total spread 2 to 3 inches apart and at various angles.
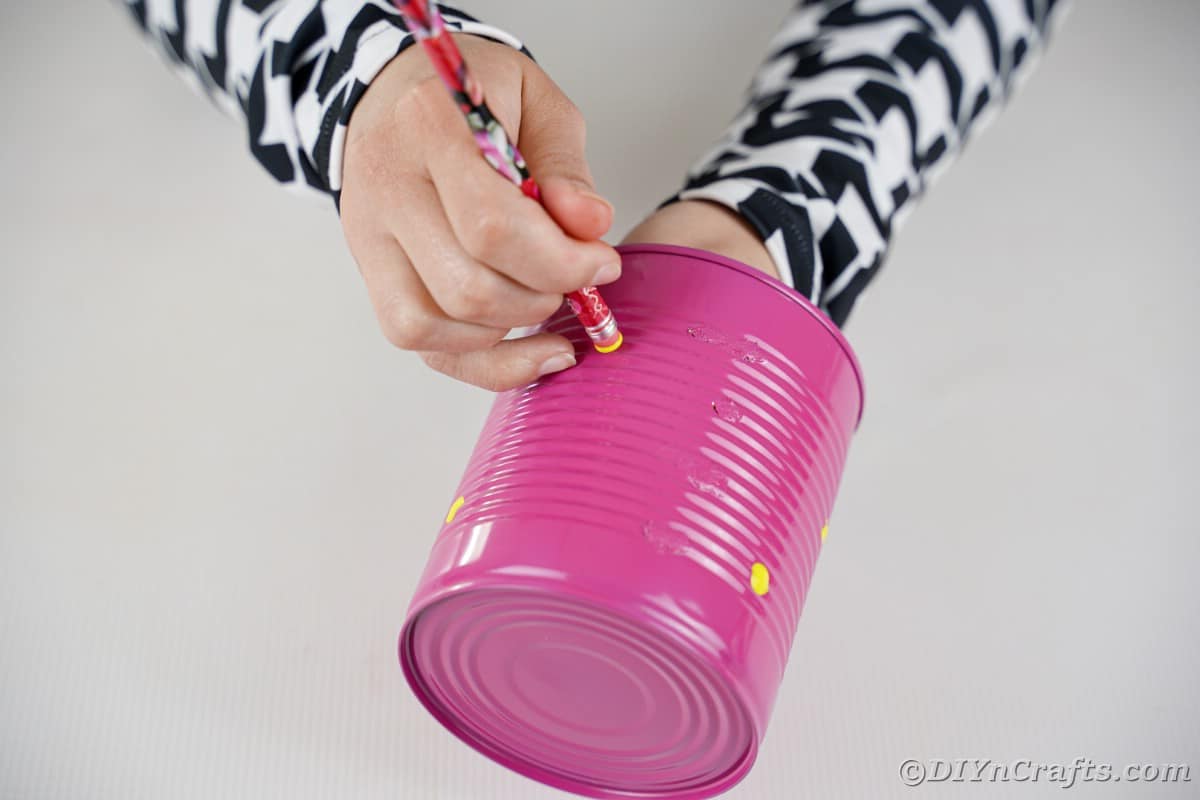
Use the pencil to pick up light pink paint and paint around each yellow dot with 4 to 6 dots of pink to create petals
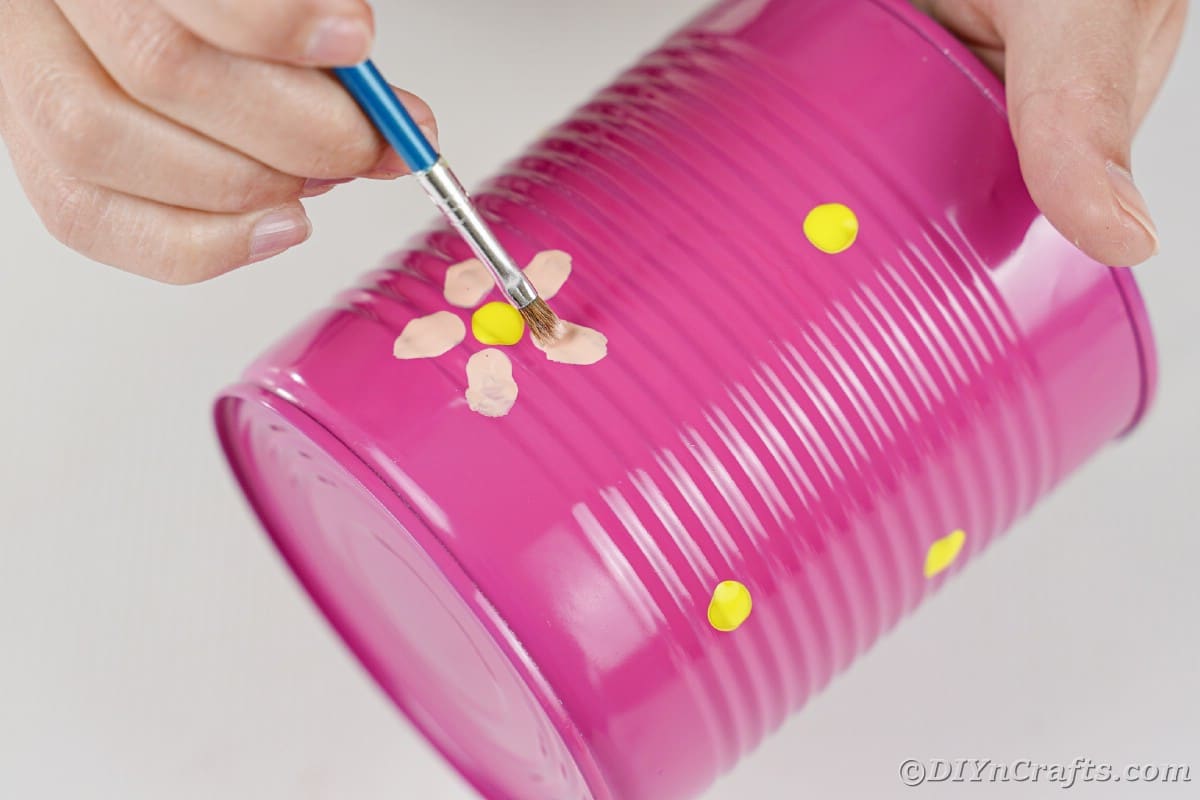
If needed, touch up the petals with additional paint using the paintbrush.
Use the pencil to pick up white paint, and add white dots of paint all around the bottom of the can below the flowers.
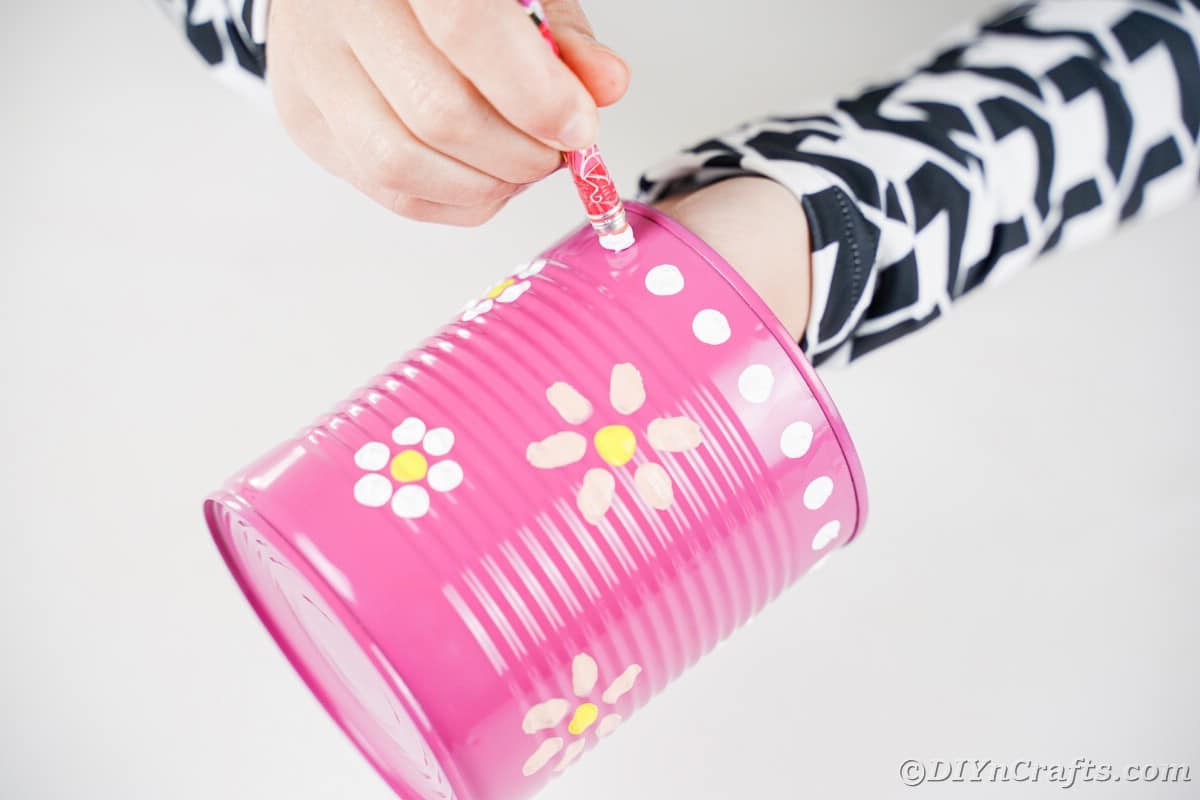
Set aside to dry.
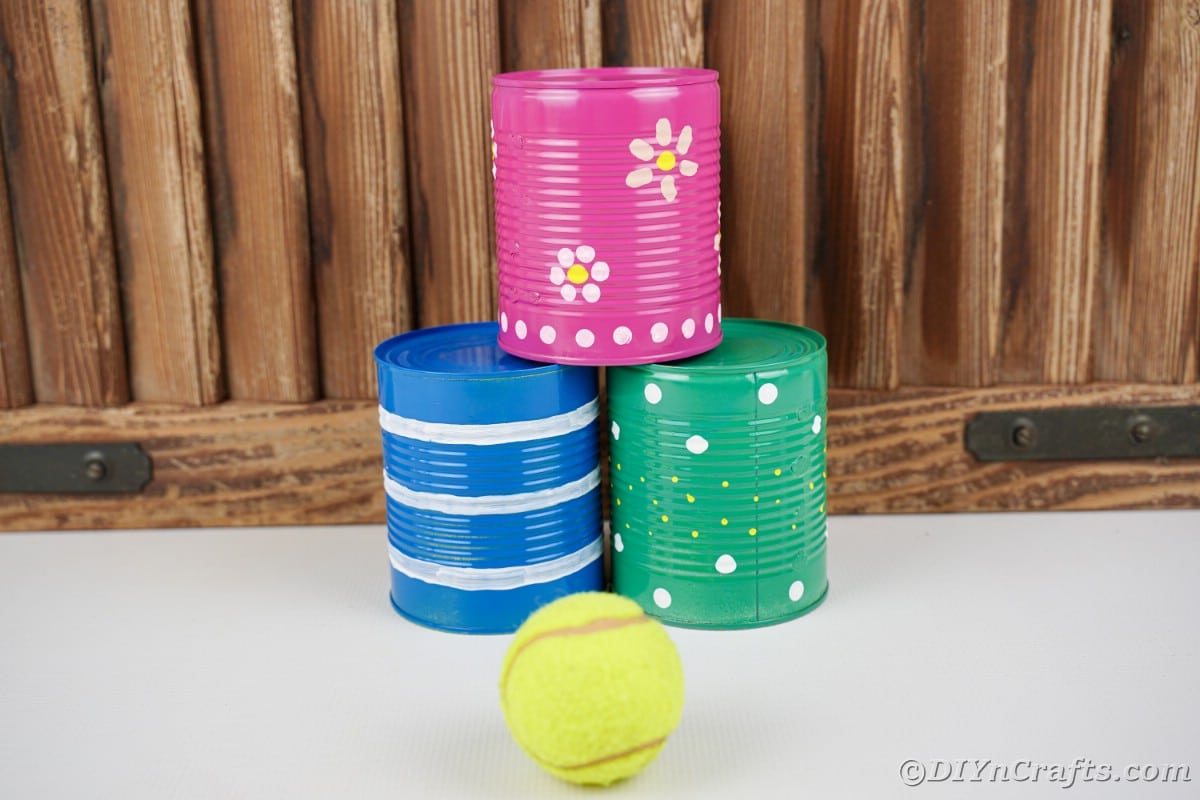
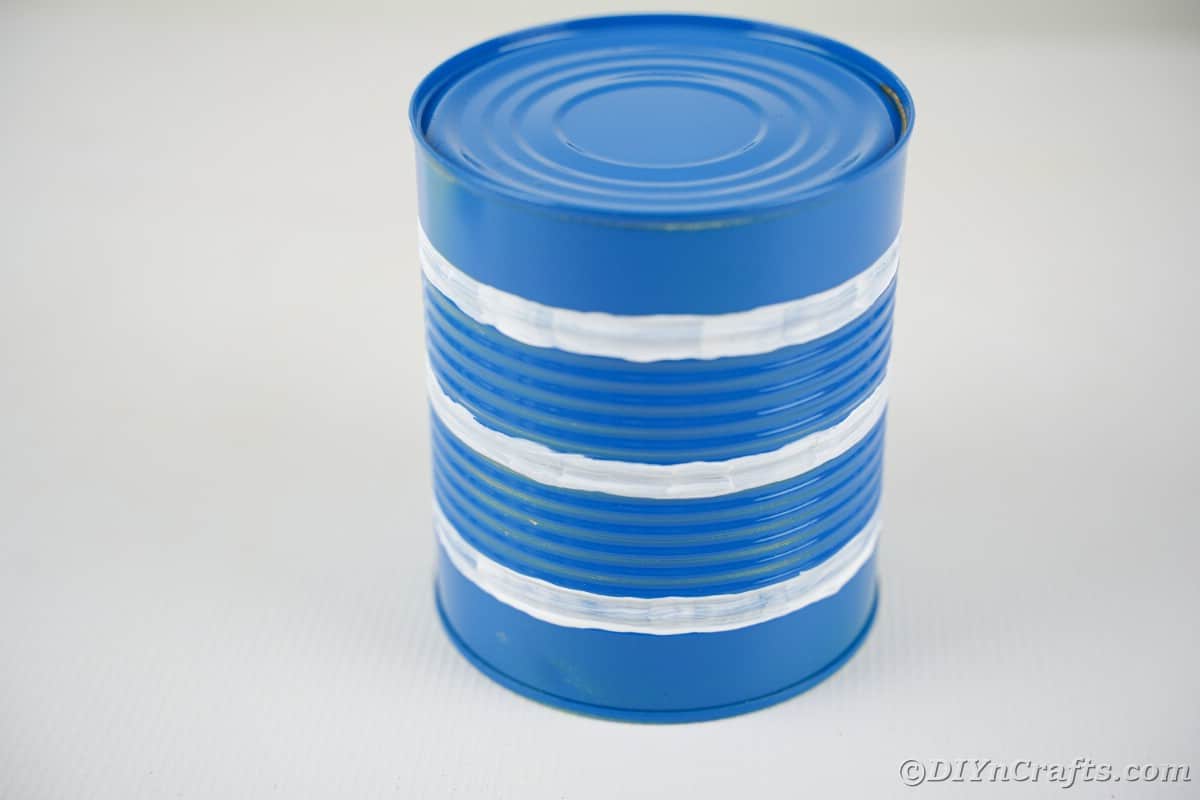
On the blue paint, use a paintbrush and white paint to create three large stripes of white.
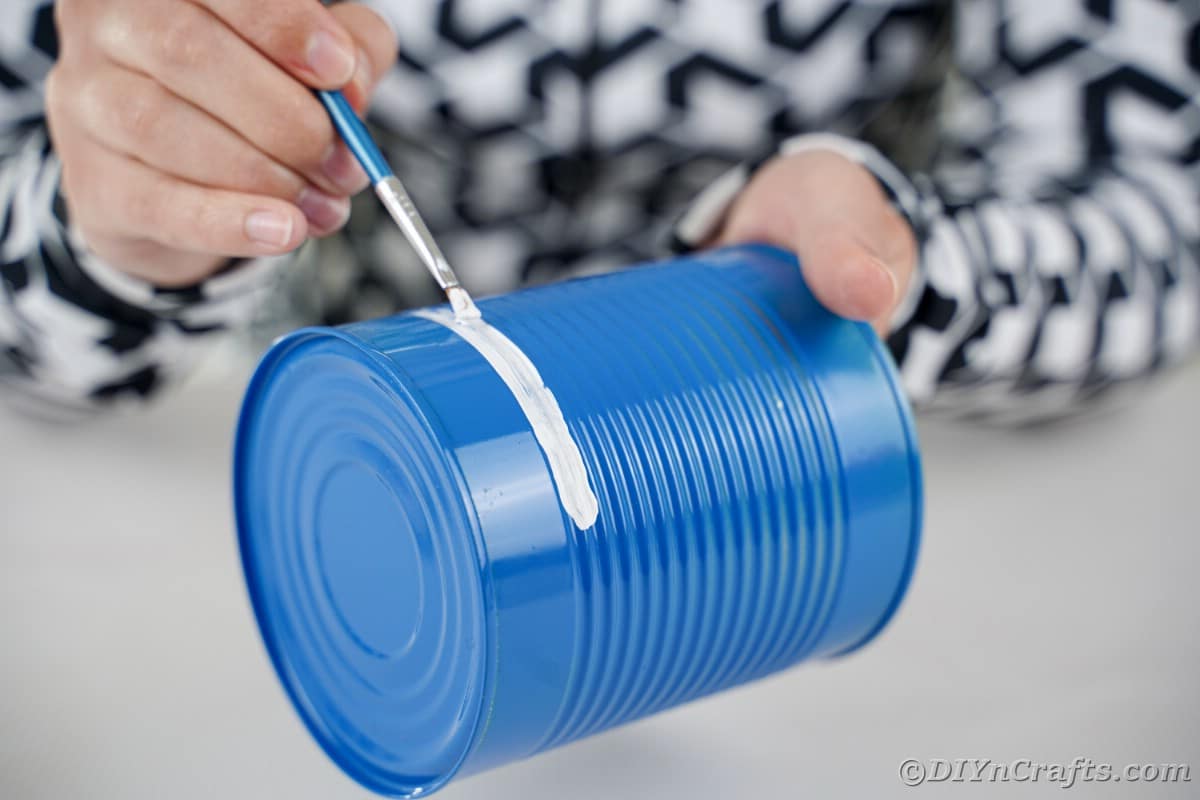
One in the middle, one at the top, and one at the bottom.
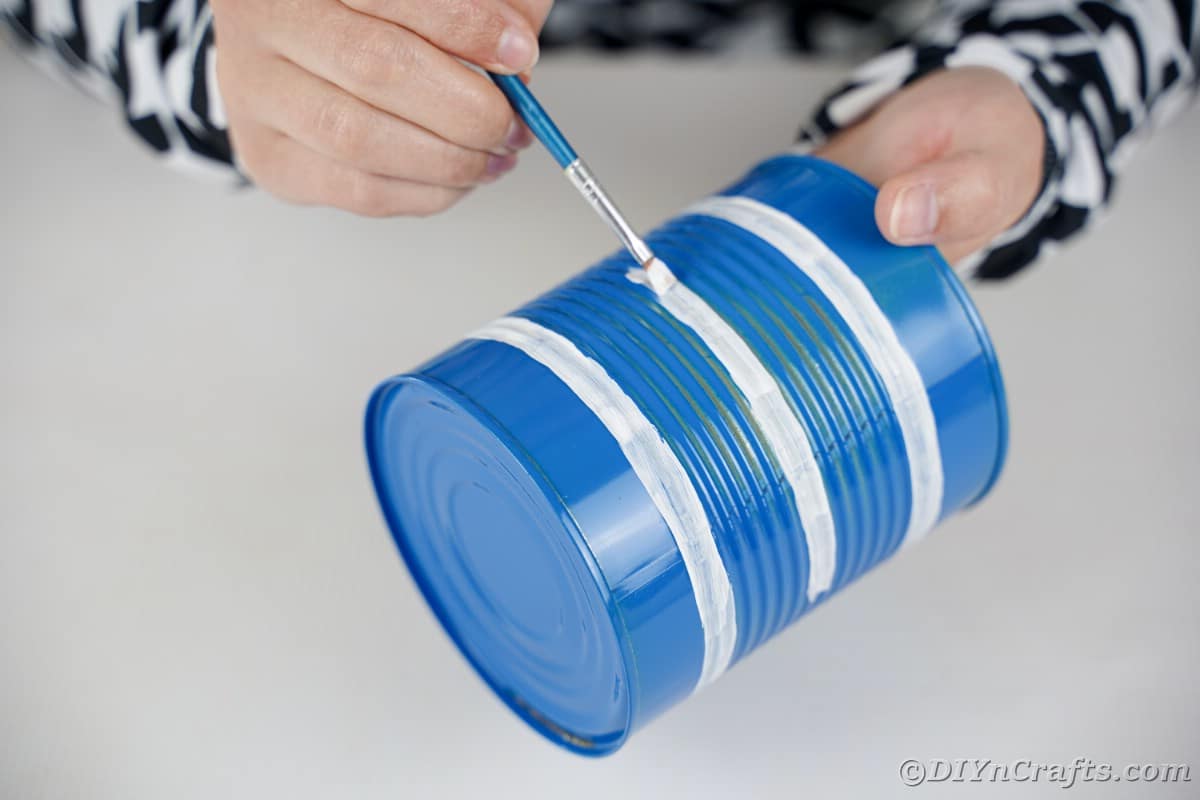
Set aside to dry.
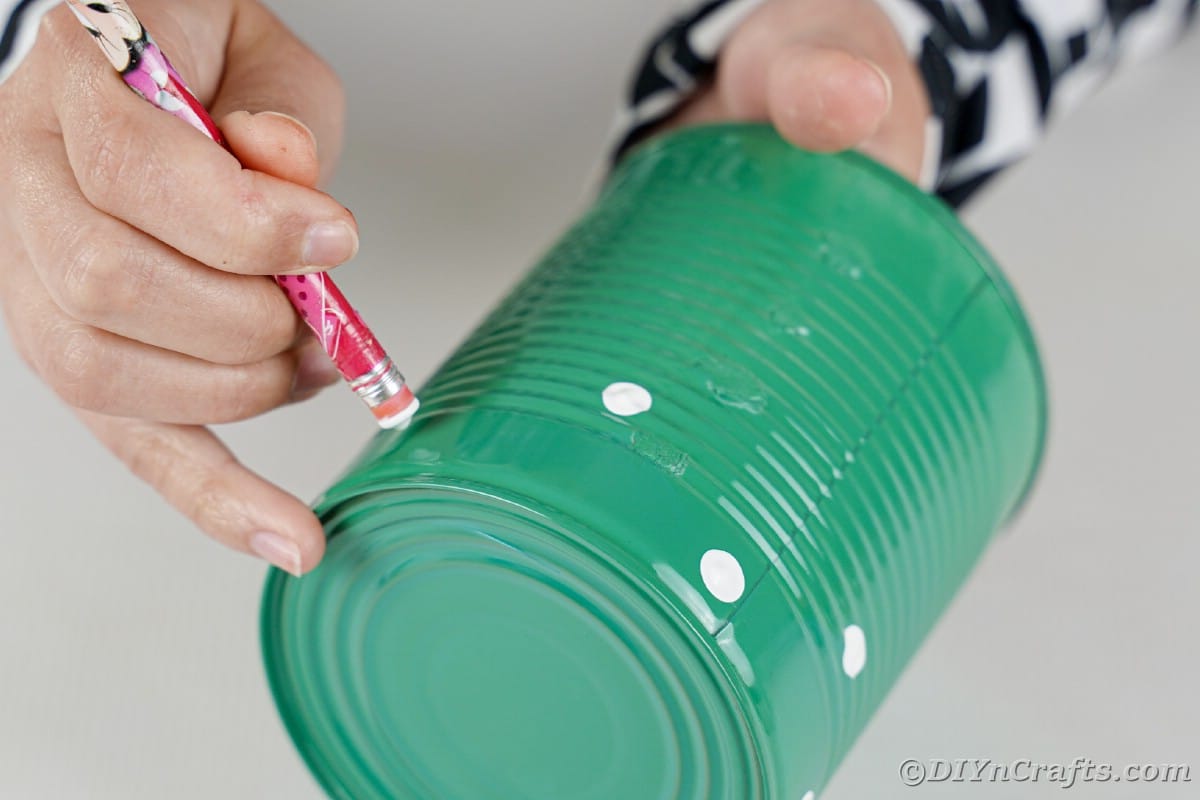
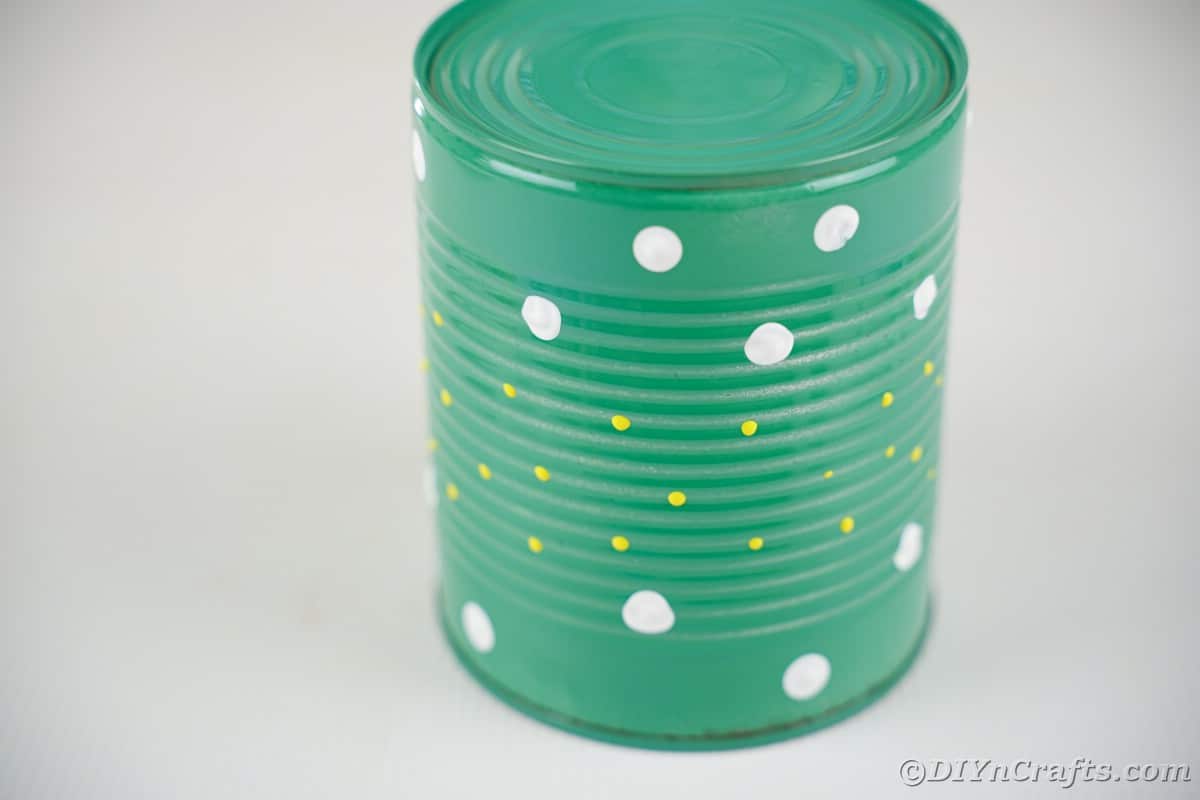
On the green can use the pencil to create white dots around the top and bottom going back and forth to create a pattern.
Use a small brush or tip of the paintbrush to add yellow dots in rows occasionally around the middle of the can.
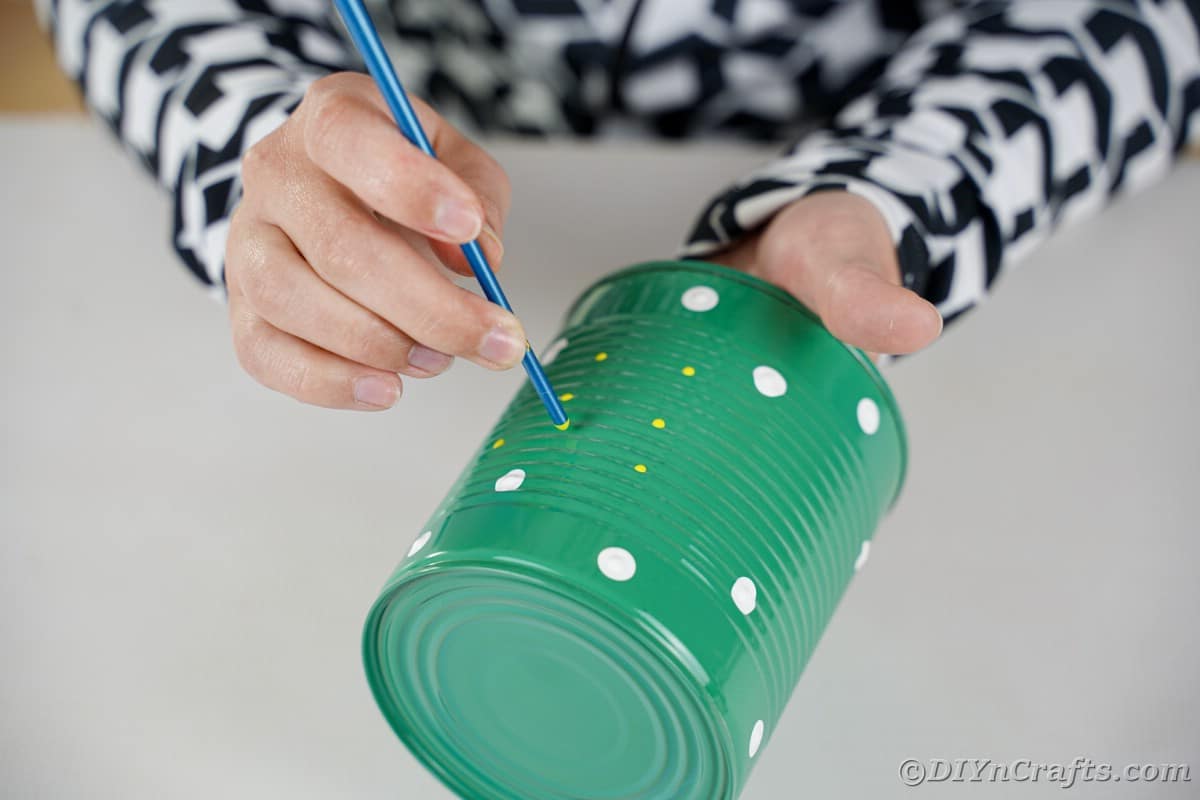
Set aside to dry.
Use a tennis ball, softball, or another ball to toss and knock down the cans.
More Upcycled Tin Can Craft Ideas
If you like to reuse items and tin cans are on hand, we have tons of amazing ideas you can put to use. Whether you want organization, gift ideas, or just fun kids’ crafts, below you will find some amazing ideas that use an empty tin can at the base. Make sure you bookmark these for your next craft day!
Yield: 1
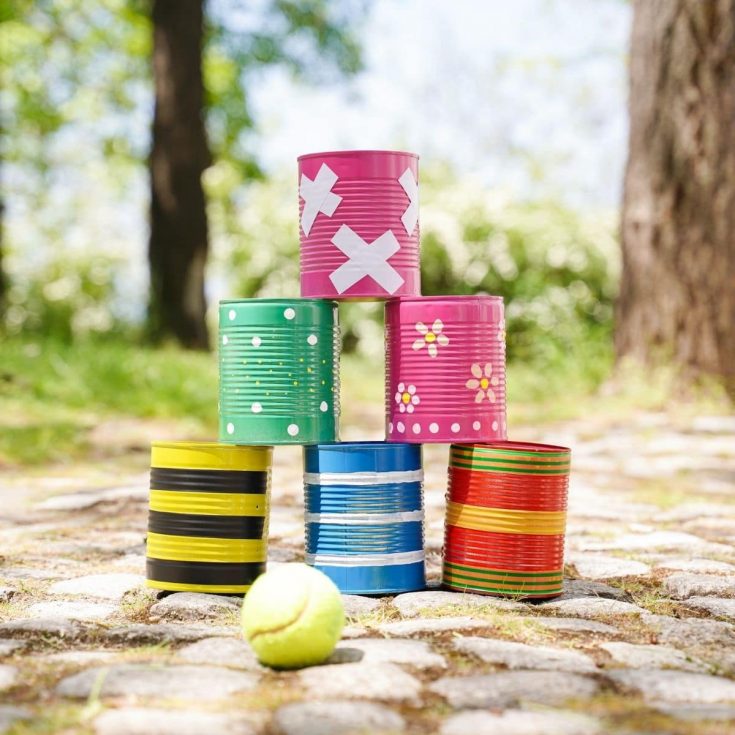
Grab those empty tin cans from dinner and turn them into a great kids’ game! This upcycled tin can ball toss game is sure to be a hit with kids of all ages.
Prep Time
10 minutes
Active Time
20 minutes
Additional Time
30 minutes
Total Time
1 hour
Difficulty
Easy
Estimated Cost
$5
Instructions
- Clean out tin cans with soap and water and remove the outside label and any sticky residue. If sharp edges remain, use a bit of sand paper to remove. Dry completely before painting.
- In a well-ventilated area, spray one can pink, one can blue, and one can green. Cover the outside leaving the inside and bottom clean. Set aside to dry for 30 minutes to 1 hour.

- On the pink can, begin by using the rubber end of a pencil to grab paint and add yellow dots around the can, around 10 total spread 2 to 3 inches apart and at various angles.
- Use the pencil to pick up light pink paint and paint around each yellow dot with 4 to 6 dots of pink to create petals

- If needed, touch up the petals with additional paint using the paintbrush.
- Use the pencil to pick up white paint, and add white dots of paint all around the bottom of the can below the flowers. Set aside to dry.

- On the blue paint, use a paintbrush and white paint to create three large stripes of white. One in the middle, one at the top, and one at the bottom. Set aside to dry.

- On the green can use the pencil to create white dots around the top and bottom going back and forth to create a pattern.
- Use a small brush or tip of the paint brush to add yellow dots in rows occasionally around the middle of the can. Set aside to dry.

- Use a tennis ball, softball, or another ball to toss and knock down the cans.
Notes
Make in a variety of sizes for more fun and games!
Recommended Products
As an Amazon Associate and member of other affiliate programs, I earn from qualifying purchases.
This is a great way to make a fun summer game for the kids. Just stack them together with bowling pins and let them bowl in your yard!
You can also use small balls to toss inside the cans for a prize.

Or even use them for a ring toss game or with horseshoes.
