
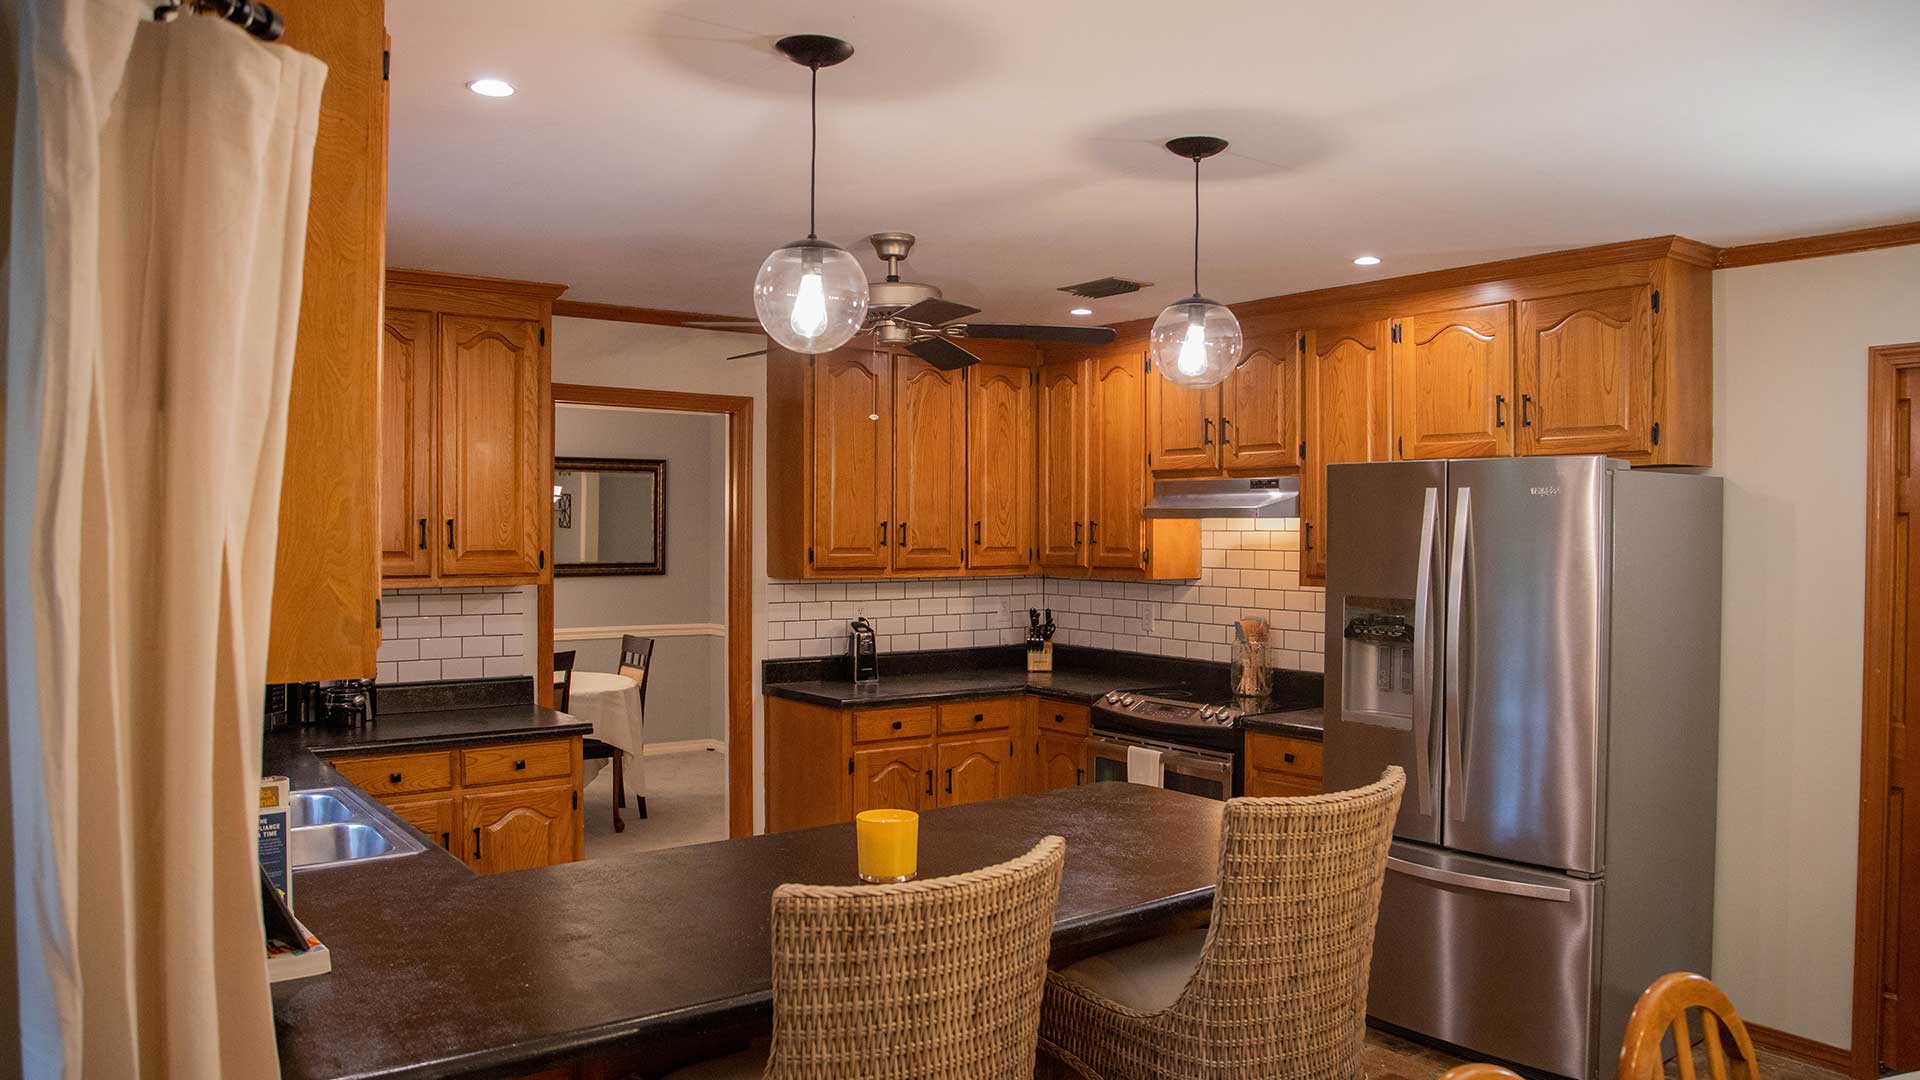
Homeowners Lloyd and Aimee Meyers and their two kids, Caroline and Landon, love their home, but they’re not so fond of their ’80s kitchen.
So, we’re helping this family with an inexpensive renovation — at just $1,200 in materials — that will leave a big impact!
We’re bringing this ’80s-style kitchen into the 21st century with a special two-part episode. This article covers part two of the project. (Missed part one? Catch up here!)
Touching Up the Cabinets
Lloyd and Aimee’s cabinets, overall, are in great shape. However, they have a few unsightly scratches.
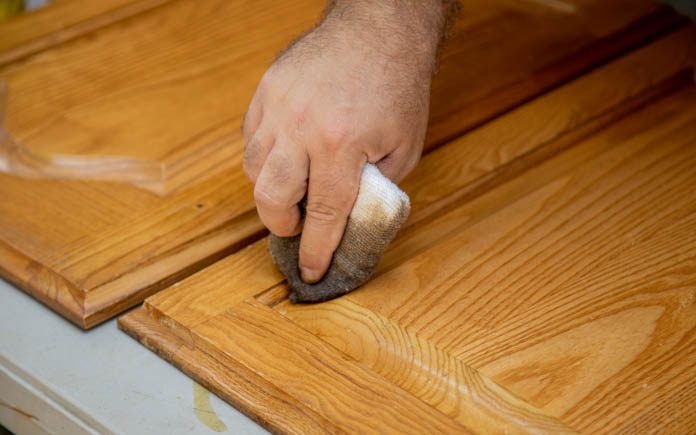
The homeowners don’t want to paint these cabinets because they love the rich wood grain. Instead, we’re touching up the stain and giving them a fresh coat of polyurethane.
In part one of this project, we cleaned and prepped the cabinets. In this episode, Chelsea shows Lloyd how to properly apply stain, waiting a few minutes for it to sink into the wood, before removing it.

After the polyurethane has dried, we place the cabinet doors back on the boxes and install new stylish pulls.
It’s such a simple change — adding new hardware — but one thing is certain: these cabinets no longer scream 1980s!
Best of all, Aimee loves how the refinished cabinets and new hardware completely transform her kitchen.
Replacing the Backsplash
Lloyd and Aimee’s kitchen had just two small backsplashes in the form of dated ceramic tile behind the sink and oven.
We’re replacing those with stylish subway tiles — and this new, sweeping backsplash will cover each wall in the workspace. The result will be a consistent look that leaves a dramatic impact.
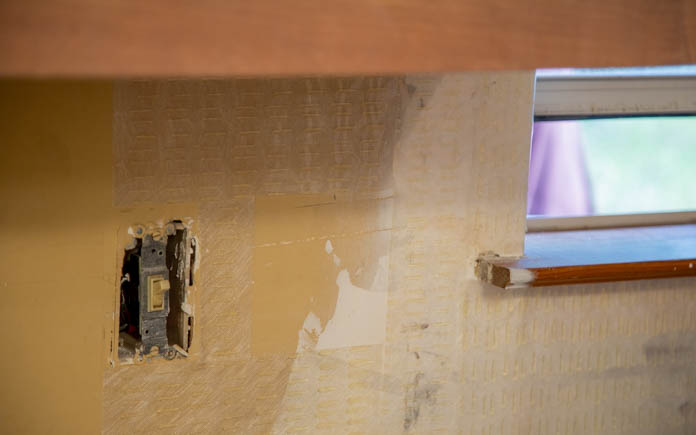
We ran into just one stumbling block before starting work on the new backsplash. We removed the old backsplash and realized it removed portions of the wall.
Things don’t always go as planned during home improvements, but in this case, we just replaced the drywall. Simple enough!
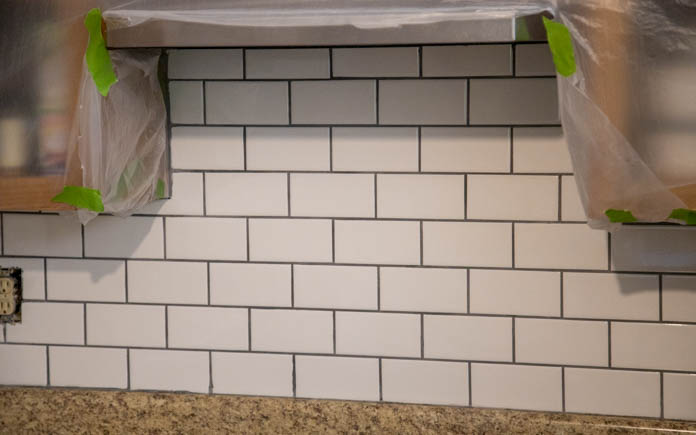
For the backsplash installation, we use SimpleMat from Custom Building Products. It’s basically a double-sided sticker. First, you apply SimpleMat to the wall. Then, remove the adhesive front and apply tiles to the SimpleMat. After that, grout the tiles and remove the excess.
You can learn more about the process in our how-to video.
This page contains affiliate links. If you purchase a product from these links, we will earn a small commission at no additional cost to you.
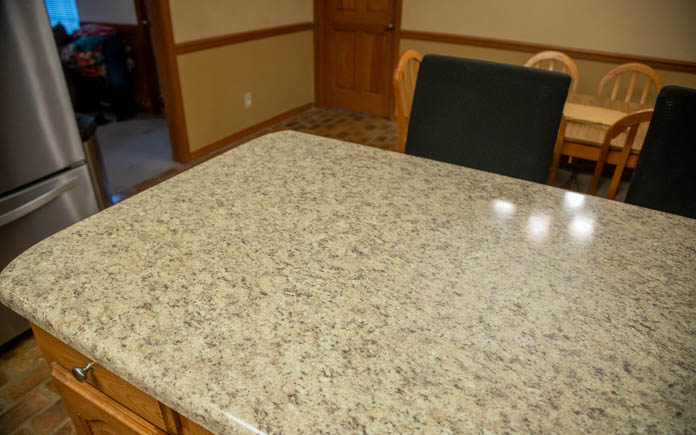
Refinishing the Countertops
This kitchen’s countertops are in great shape, but the plastic laminate no longer wows Lloyd and Aimee. And these countertops won’t look good next to the bright white backsplash we’ve installed.
One simple decor trick is to update two adjacent surfaces with contrasting colors. The subway tiles are white, so these countertops will be black.
You can paint laminate countertops, but we’re going to do something extra special, resurfacing them with Daich Coatings’ SpreadStone Countertop Refinishing Kit.
This product, seen in Volcanic Black, basically mixes dark paint with real stones for a stunning countertop makeover, and the application couldn’t be easier.
First, we sand the countertops to smooth out the laminate and remove any grime. Then we clean the countertop so primer will bond to it.

Once the primer is dry, we apply the stone coating, as directed, and let it dry. Afterward, we sand it so the stone shines through, giving the countertop a gorgeous granite look.
Finally, we finish it off with sealer.

Production Thoughts
When we first saw the Meyers’ kitchen, it was stuck in the ’80s and in dire need of a modern makeover.
By painting over mustard-colored walls, replacing outdated light fixtures and installing a new backsplash, this kitchen is now in the 21st century!
The new wall color is lighter and brighter. The cabinets look new, with a fresh coat of polyurethane and stylish pulls. And the white subway tile backsplash contrasts beautifully with the dark countertops and light fixtures.


