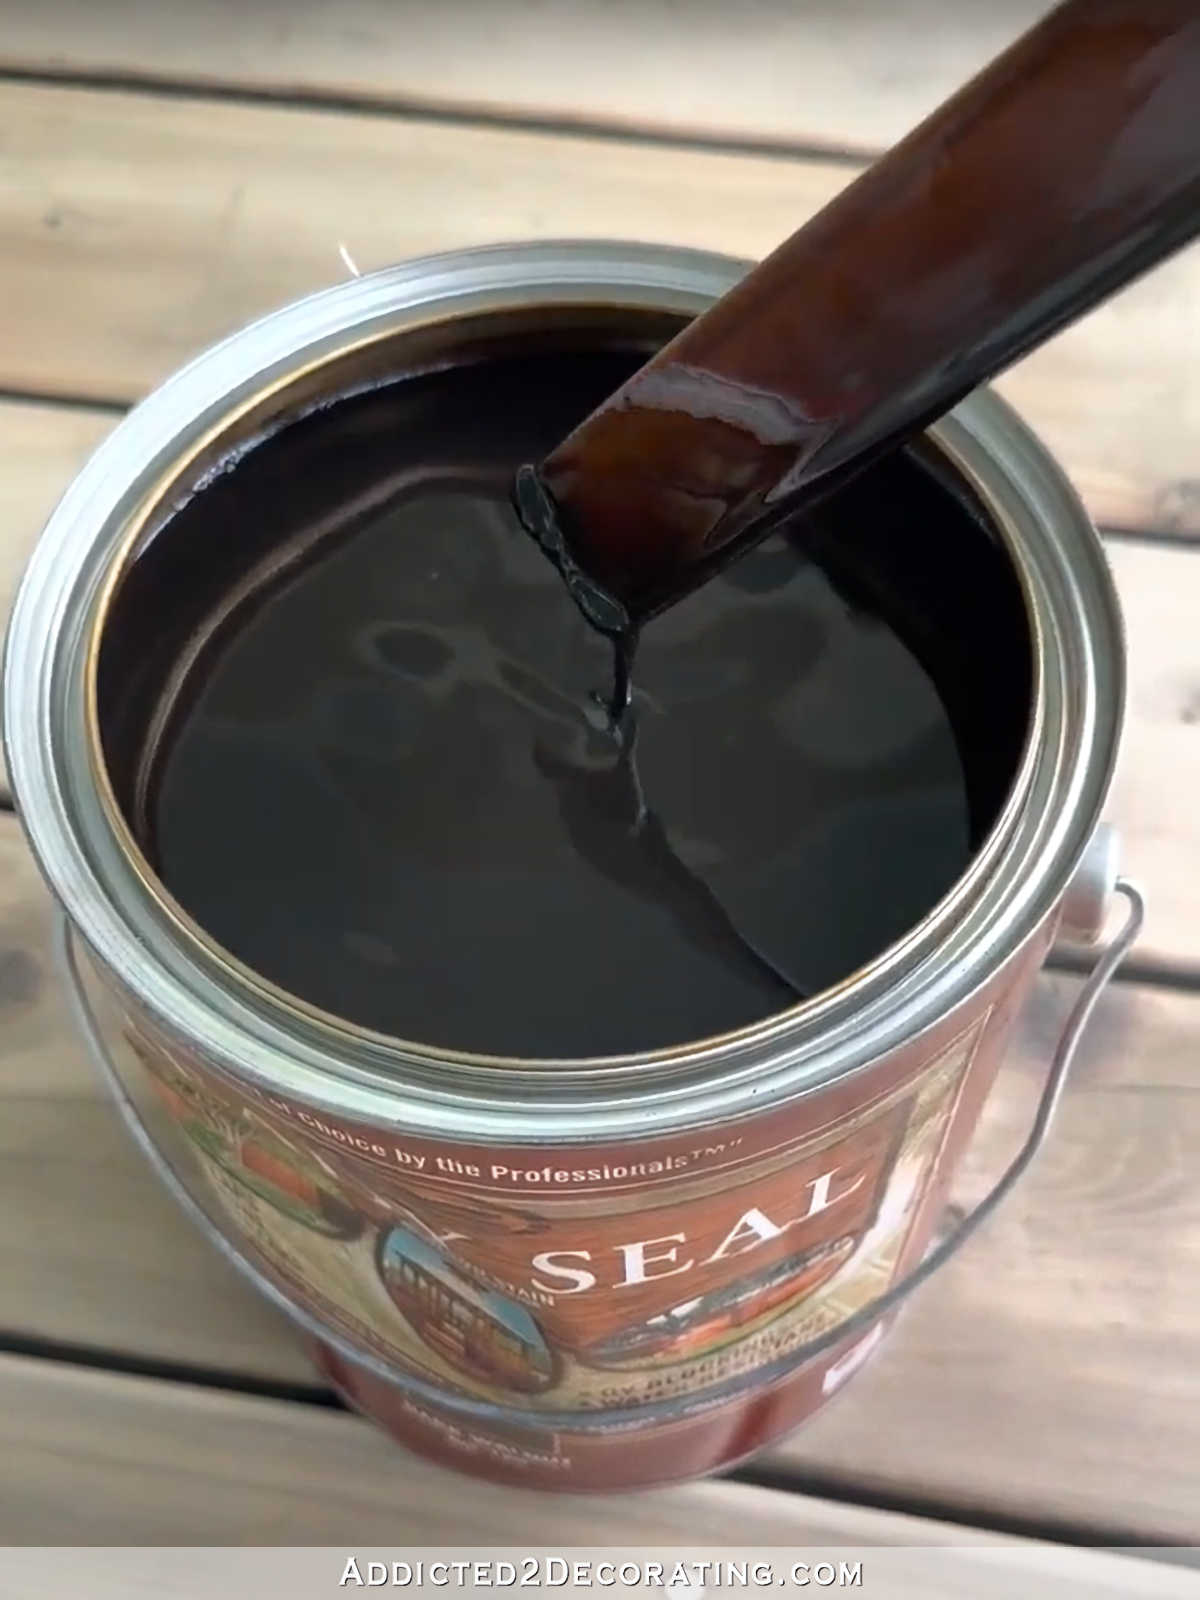
Hate is a strong word. Maybe I’m just tired and frustrated, and it’s not as bad as I think it is. But after spending yesterday staining my front porch that I had spent hours pressure washing, sanding, and prepping for a new stain and sealer, I am not at all pleased with how it turned out. I ended up using Ready Seal in Dark Walnut, and it just didn’t turn out like I had hoped.
I had planned on using Cabot Australian Timber Oil, and based on the real wood color samples that I saw at the store, I selected the color Jarrah Brown.
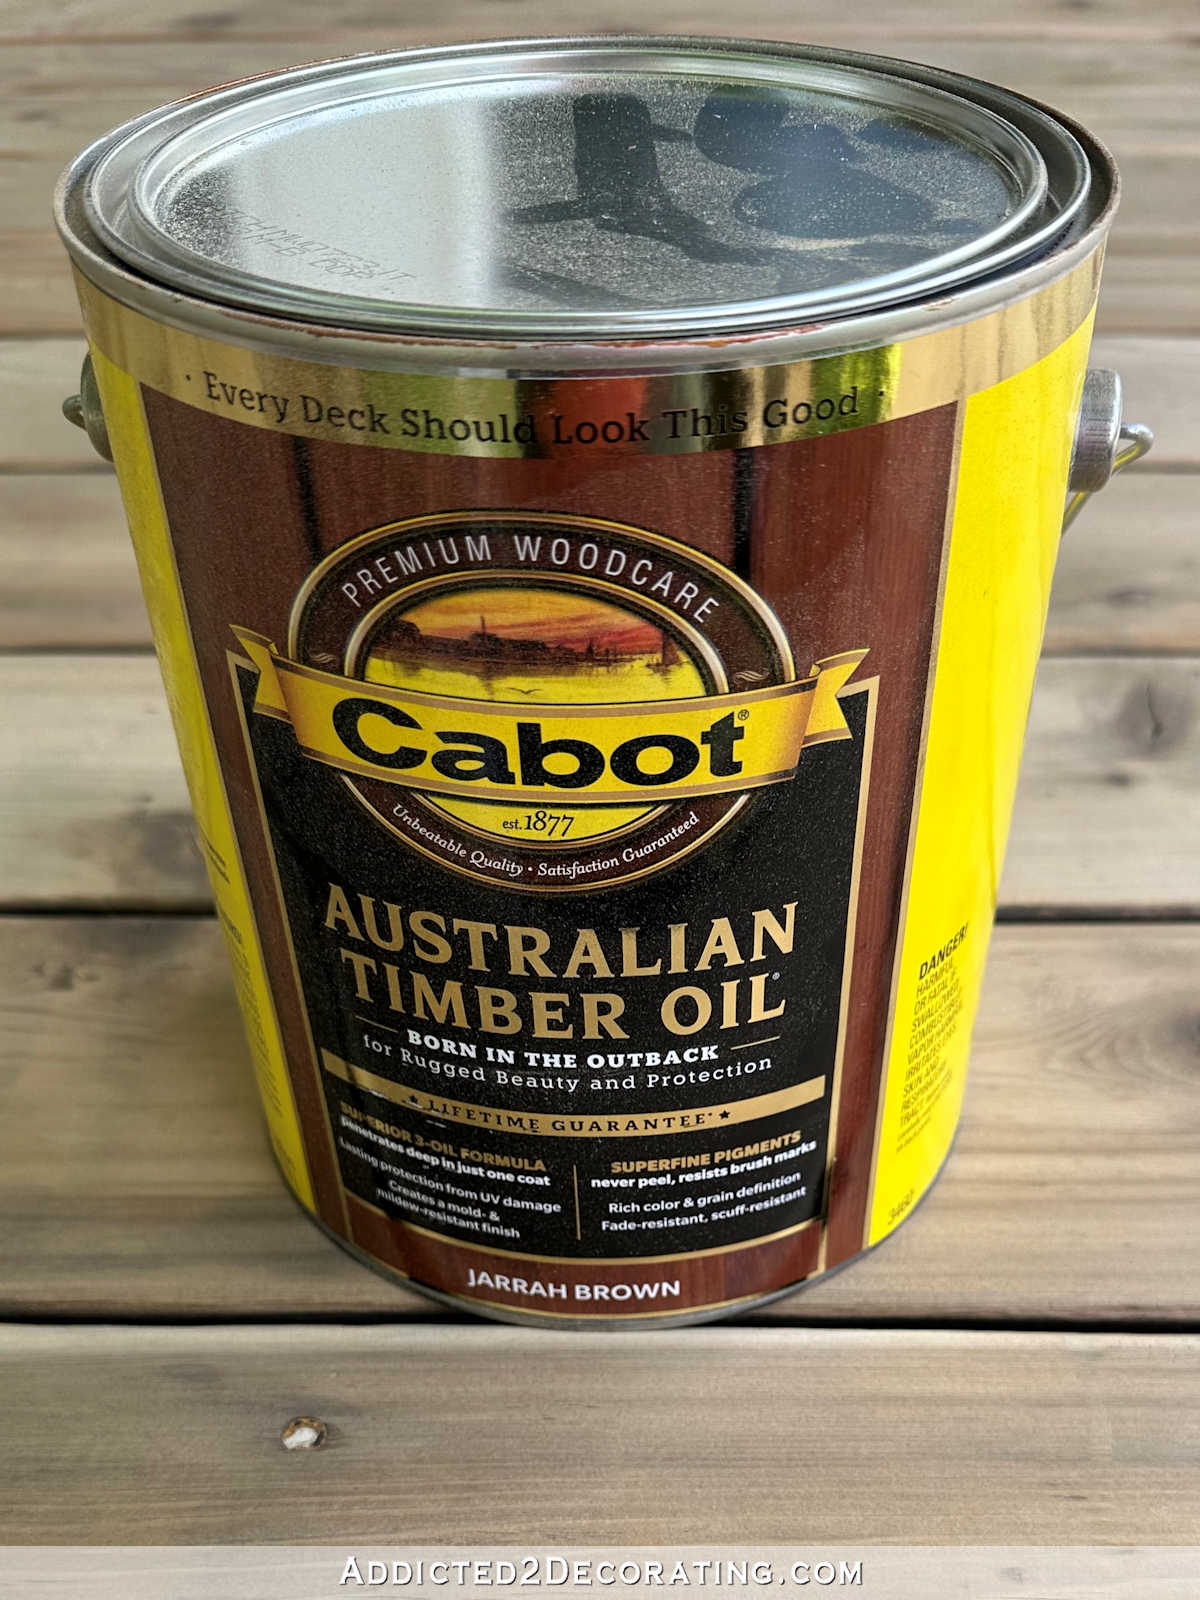
I wish I had taken a picture of the Jarrah Brown wood sample at Lowe’s. It was so pretty. It was a medium-to-light brown with no immediately noticeable undertones. It didn’t look greenish brown, and it didn’t look like a reddish brown. It was just a very neutral medium/light brown, and it was exactly what I wanted.
But when I opened it up, stirred it, and tested it on an inconspicuous board on my front porch, it was RED. I don’t even mean that it had subtle red undertones. I mean it was RED. I went to the Lowe’s website to see what the heck was going on, and as I scrolled through the customer photos on the Jarrah Brown listing, the colors seemed to be all over the place, from medium brown to very red. Obviously, the differences are because it’s being applied to different types of wood, but the outcomes were so varied! And I didn’t see any that looked like that beautiful medium/light neutral brown sample in the store.
I forgot to take a picture of the sample on my front porch, but this one is pretty close to what it looked like.
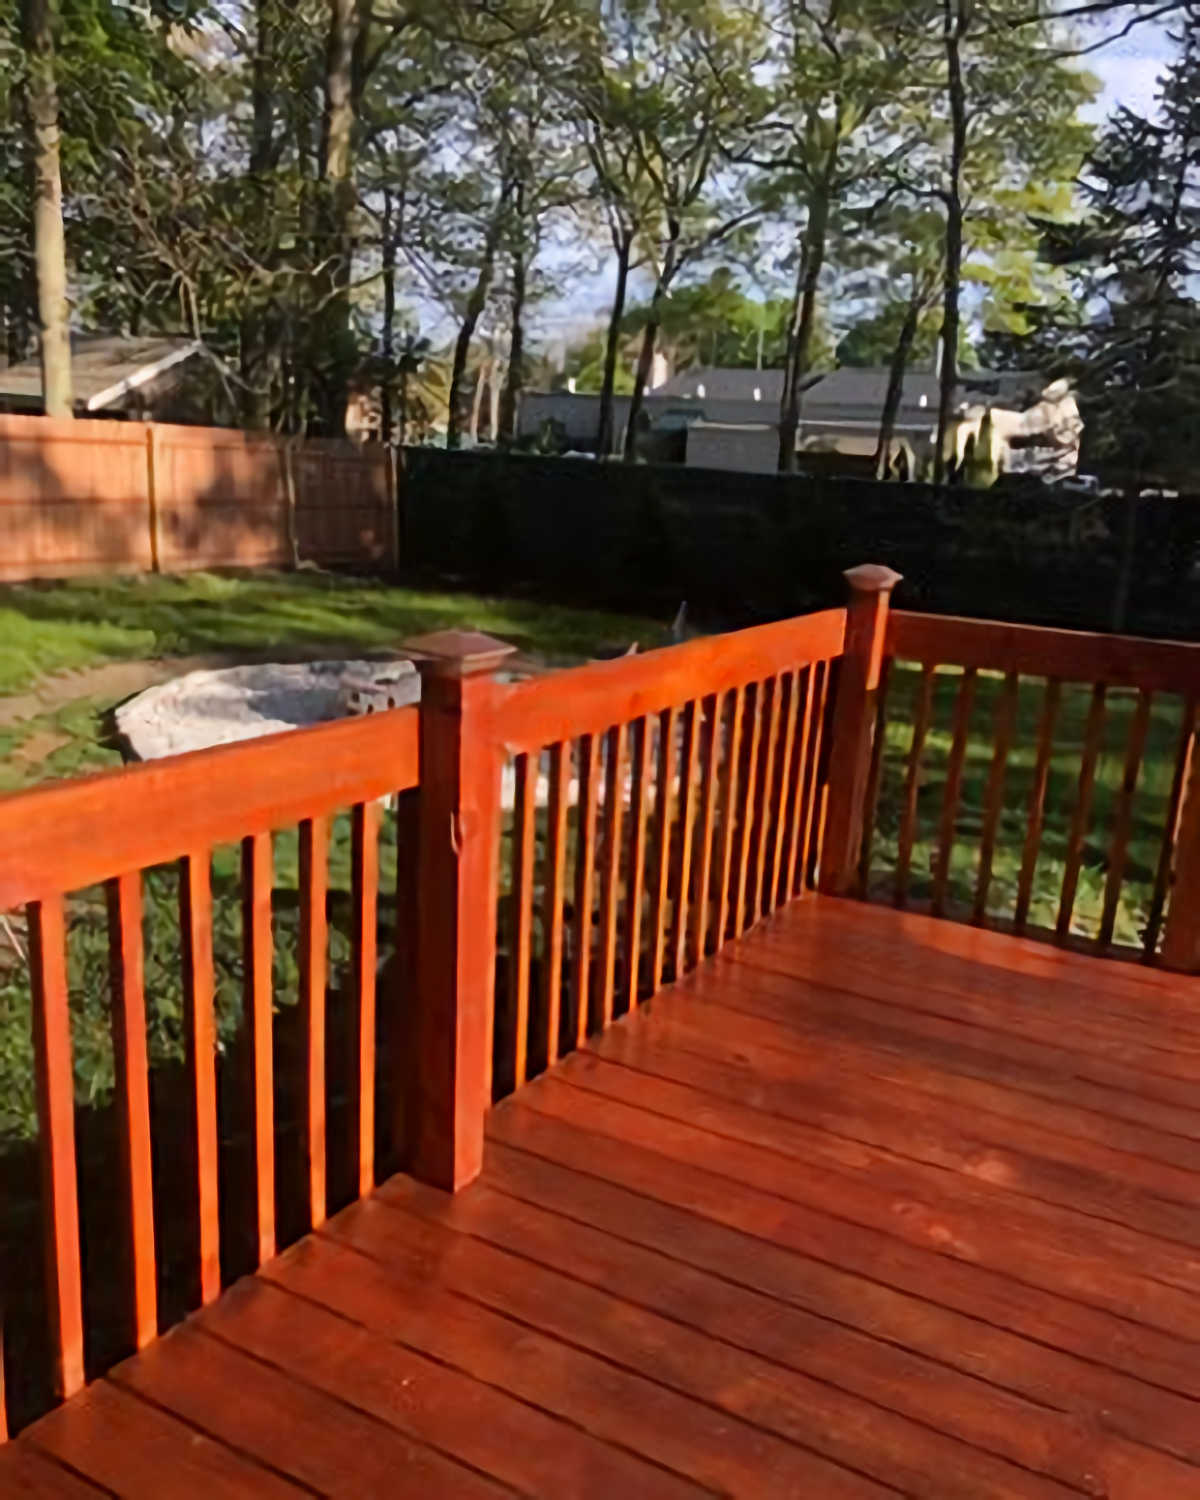
I’m very glad that customer is happy with that outcome, but to say that that is the very opposite of what I wanted would be a huge understatement. That deck looks like it’s glowing to me.
I didn’t feel like going back and looking at other colors. I had already spent way too much time in the deck stain aisles of Lowe’s and Home Depot reading labels, comparing sample colors, looking up customer reviews, etc. And now I was certain that those samples can’t be trusted anyway. I’d have just as much luck choosing a color by closing my eyes, spinning around a few times, and then randomly pointing at a can of stain.
So I decided to go back to my previous selection, which I had already purchased and had at the house. This one was Ready Seal in Dark Walnut. I had hoped to do something a little lighter this time, but I really did like my Dark Walnut front porch the first time around, so I decided to stick with it. But the first time, I used a different brand. This time, I decided to go with Ready Seal because it does have very good customer ratings. And this was way better than the Cabot Jarrah Brown.
Well, I don’t love it. The first time I stained my porch back in 2018, I used Thompson’s Timber Oil in Dark Walnut. It turned out like this…
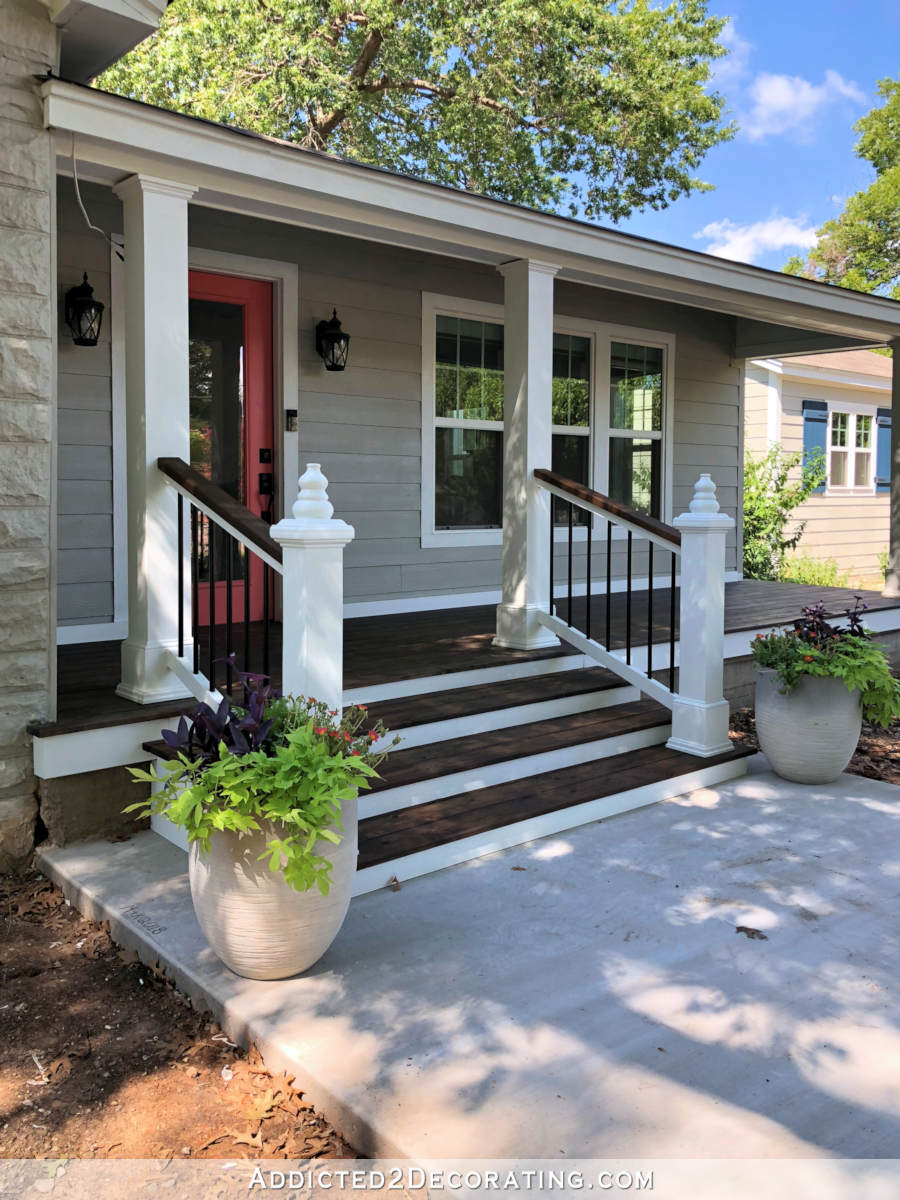
It was really dark, but it was beautiful and neutral, and it looked so pretty with the white trim and coral door. Here’s how the Ready Seal Dark Walnut turned out…
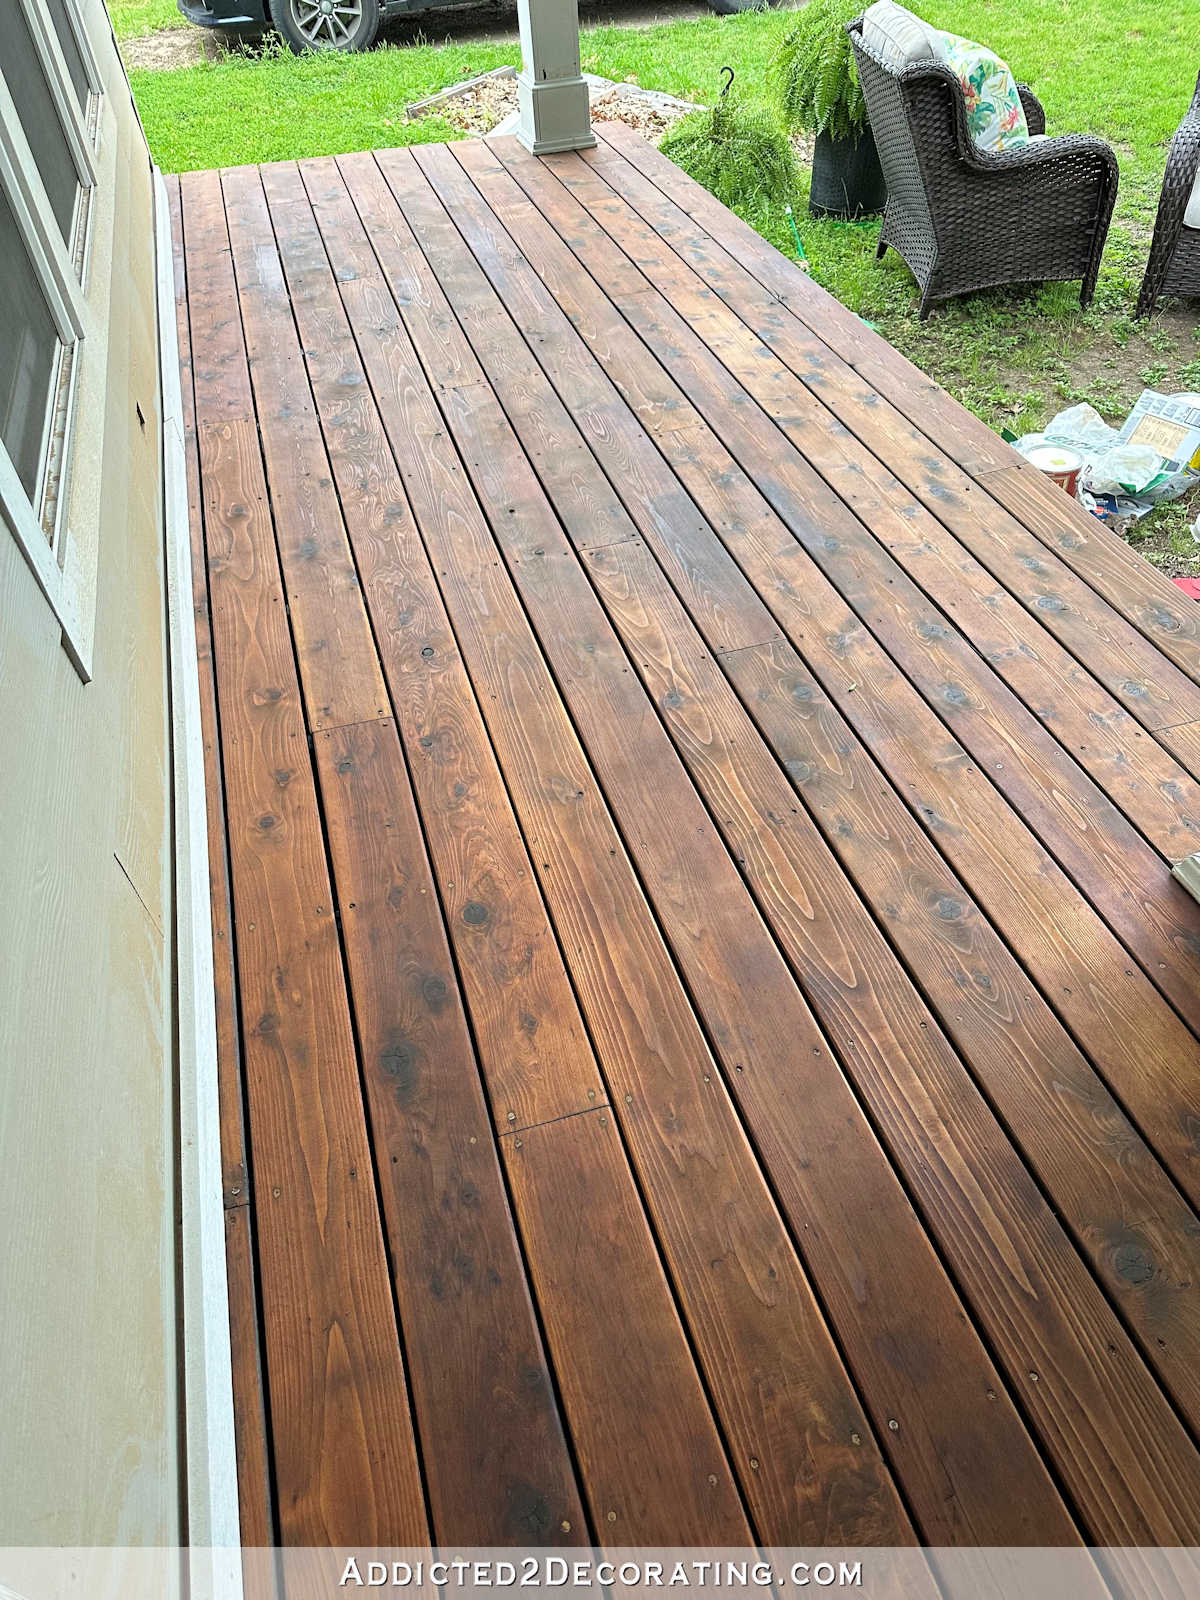
It’s orange. I now have an orange front porch. I sidestepped the awful red with the Cabot, but then went right to orange with Ready Seal. I should have stuck with Thompson’s.
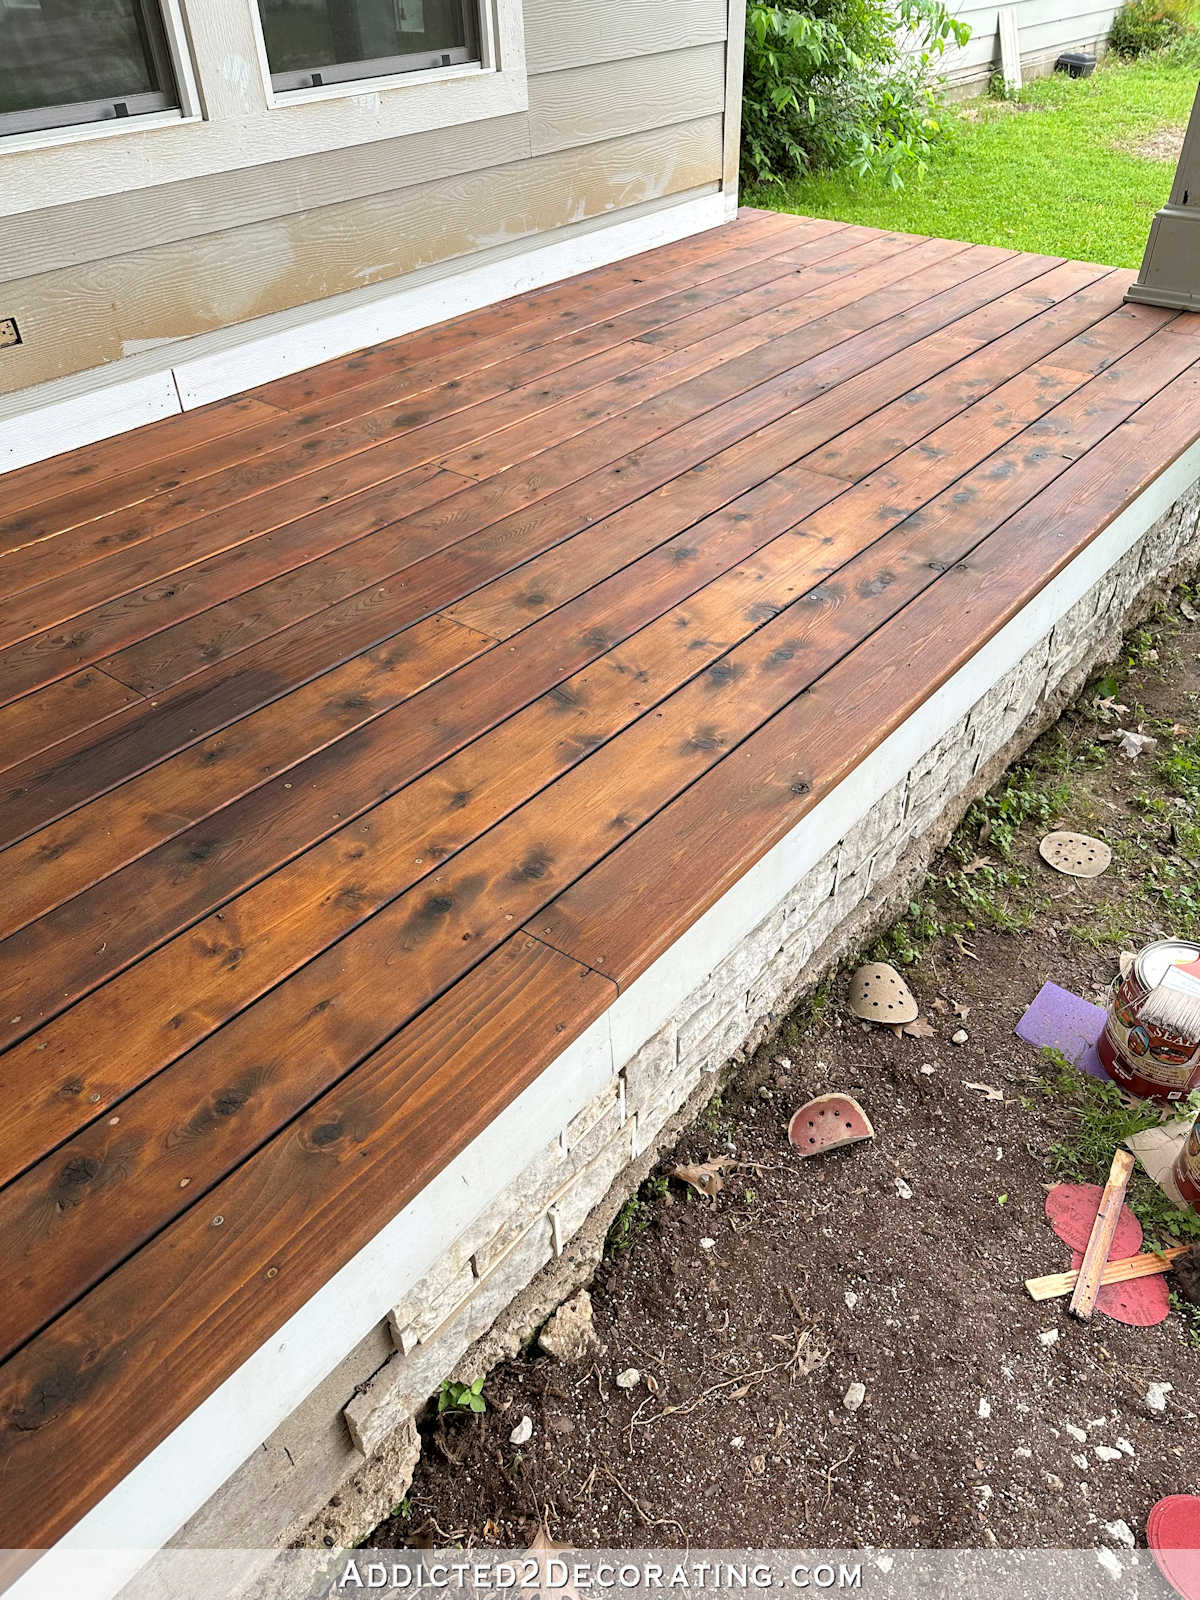
I’m so frustrated right now. I know I’m the queen of “if I don’t like it, I’ll just redo it!” But y’all, my studio cabinets are being delivered tomorrow, and redoing a front porch is literally the last thing in the world I want to be focused on right now.
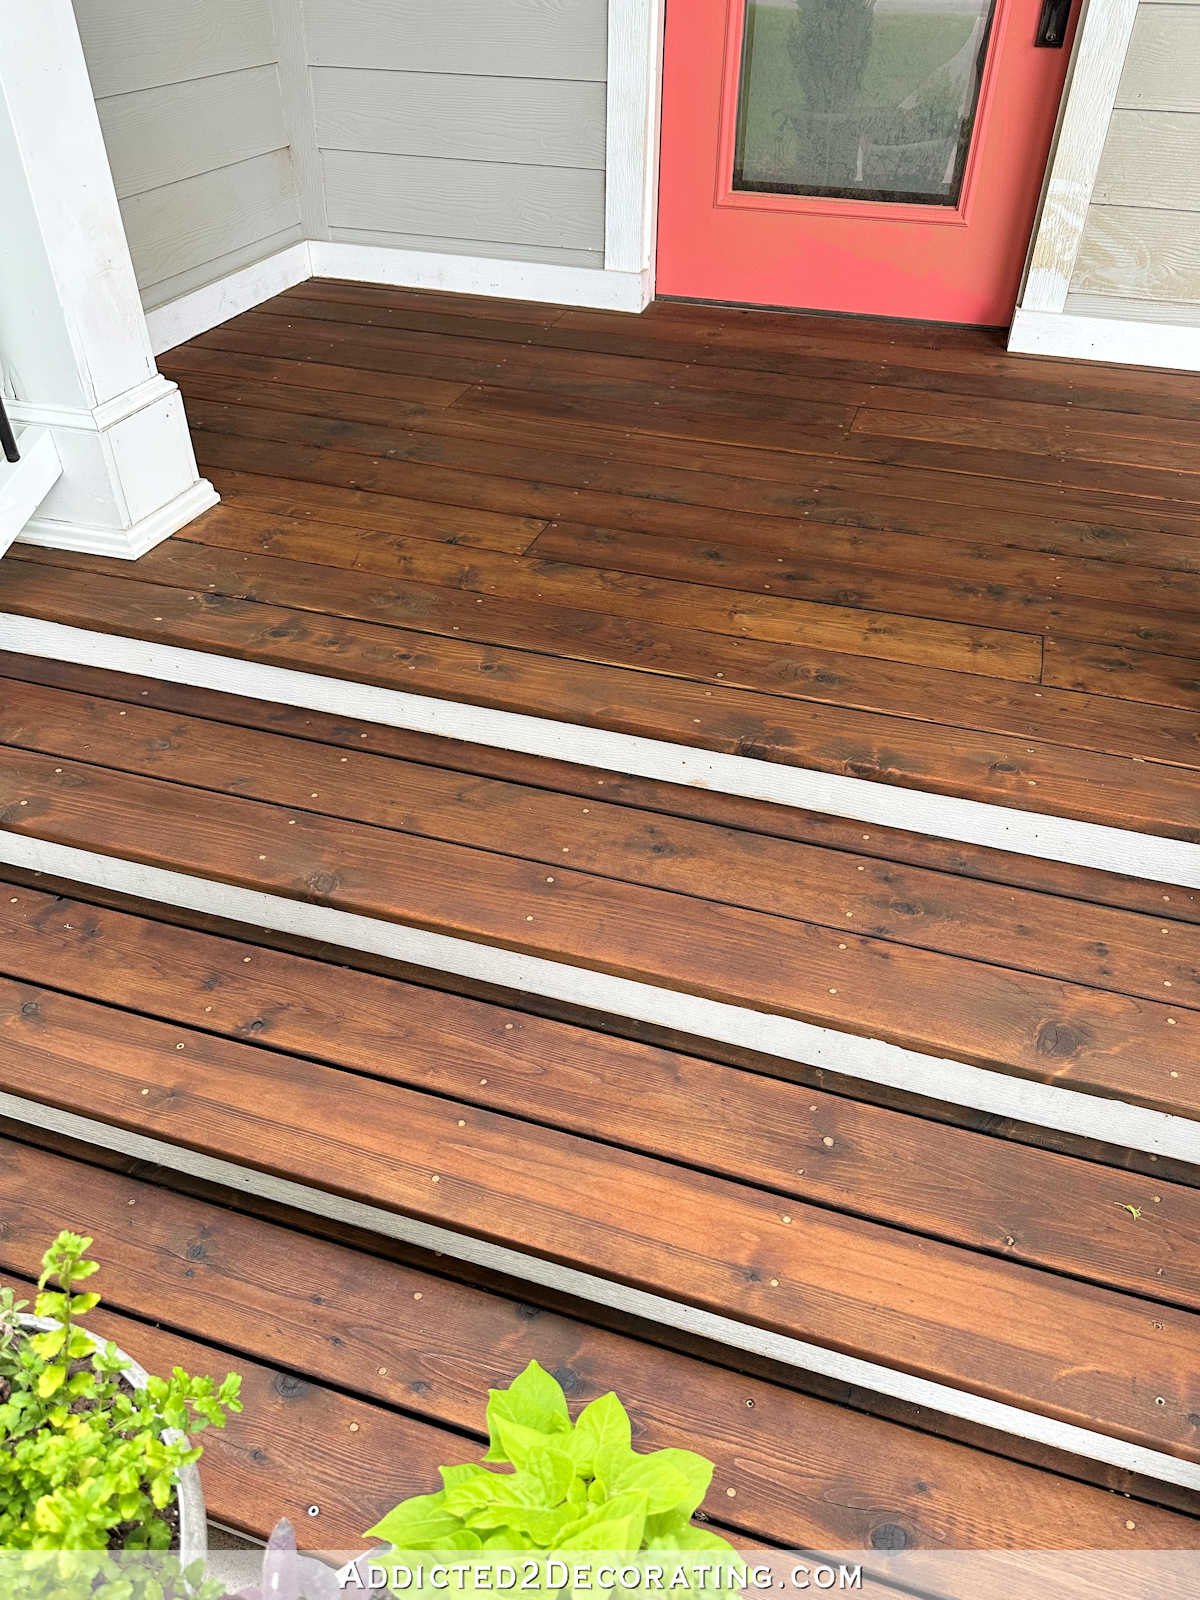
But this is awful. That Thompson’s dark walnut looked so pretty with my coral front door. This orange clashes, and I just don’t think I can live with this color. I’ll be disappointed every single time I walk out my front door, and for this to be the first impression of our house is not what I want.
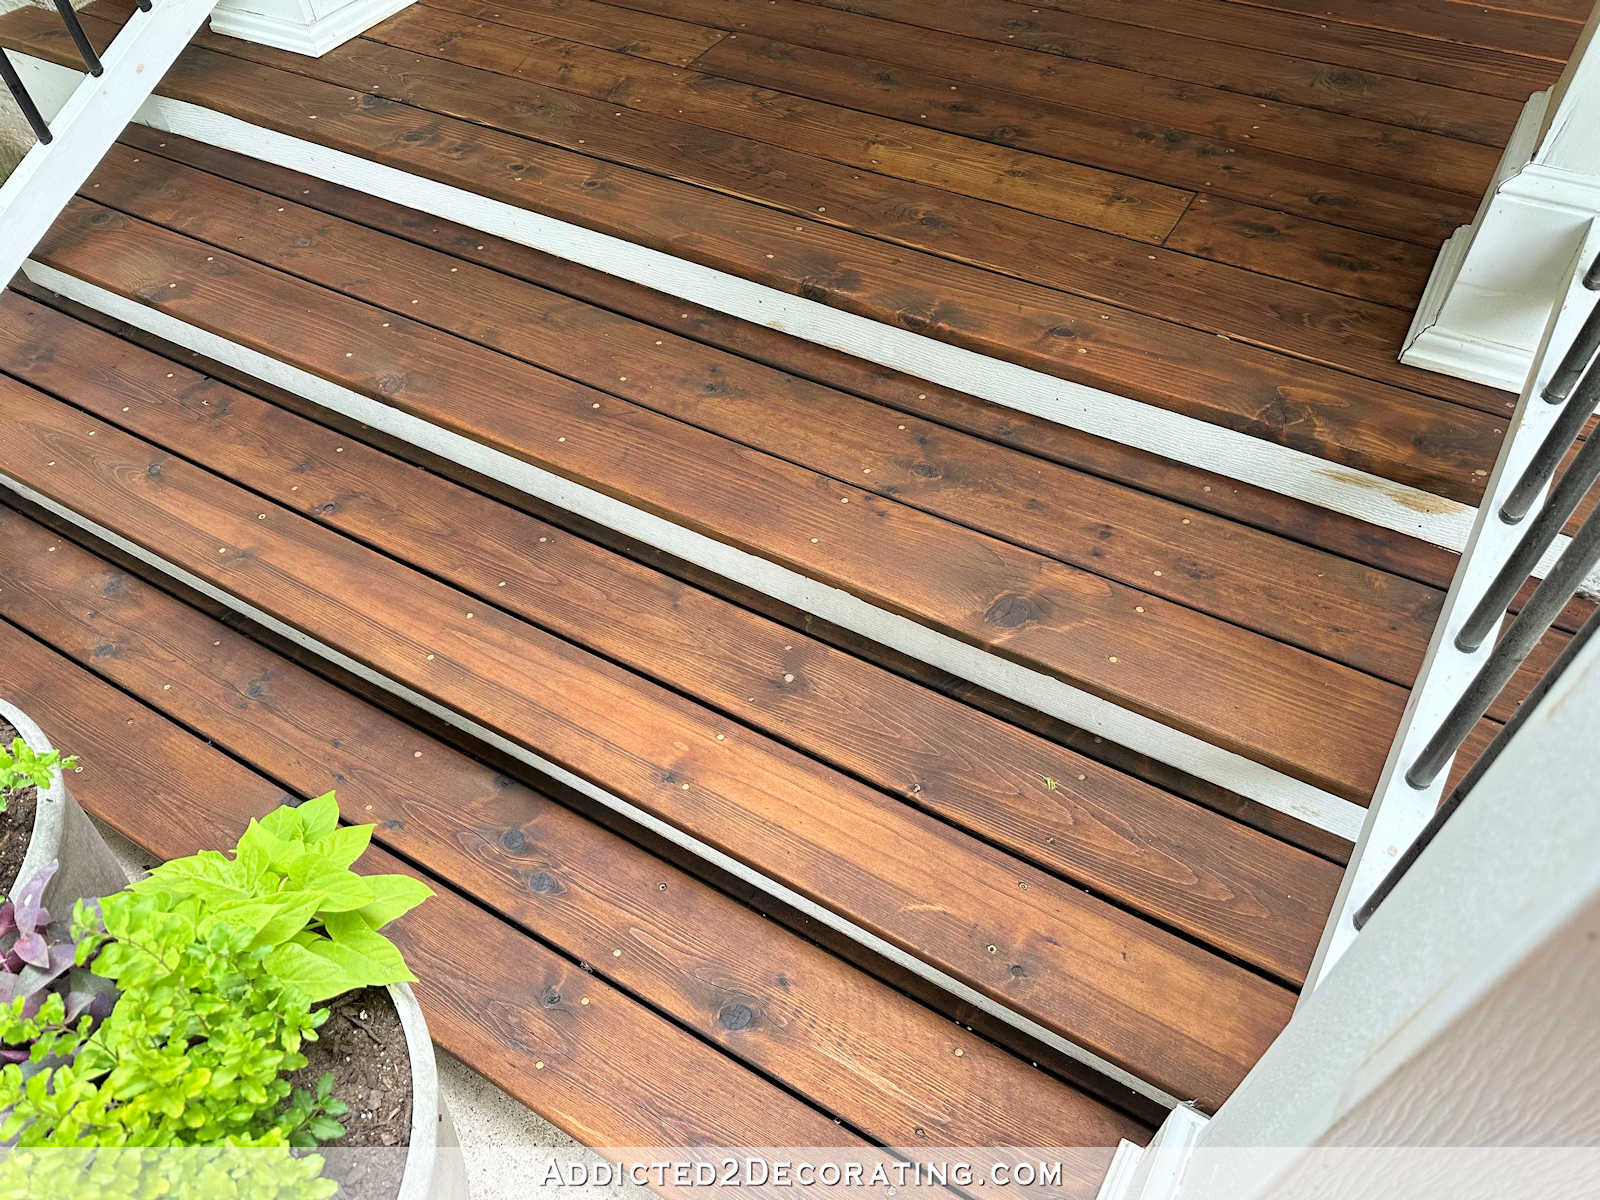
The good news is that from a distance, it’s not so bad. It’s not great, but it’s not bad. (Please excuse the sanding dust that I forgot to vacuum off the siding before staining the porch.)
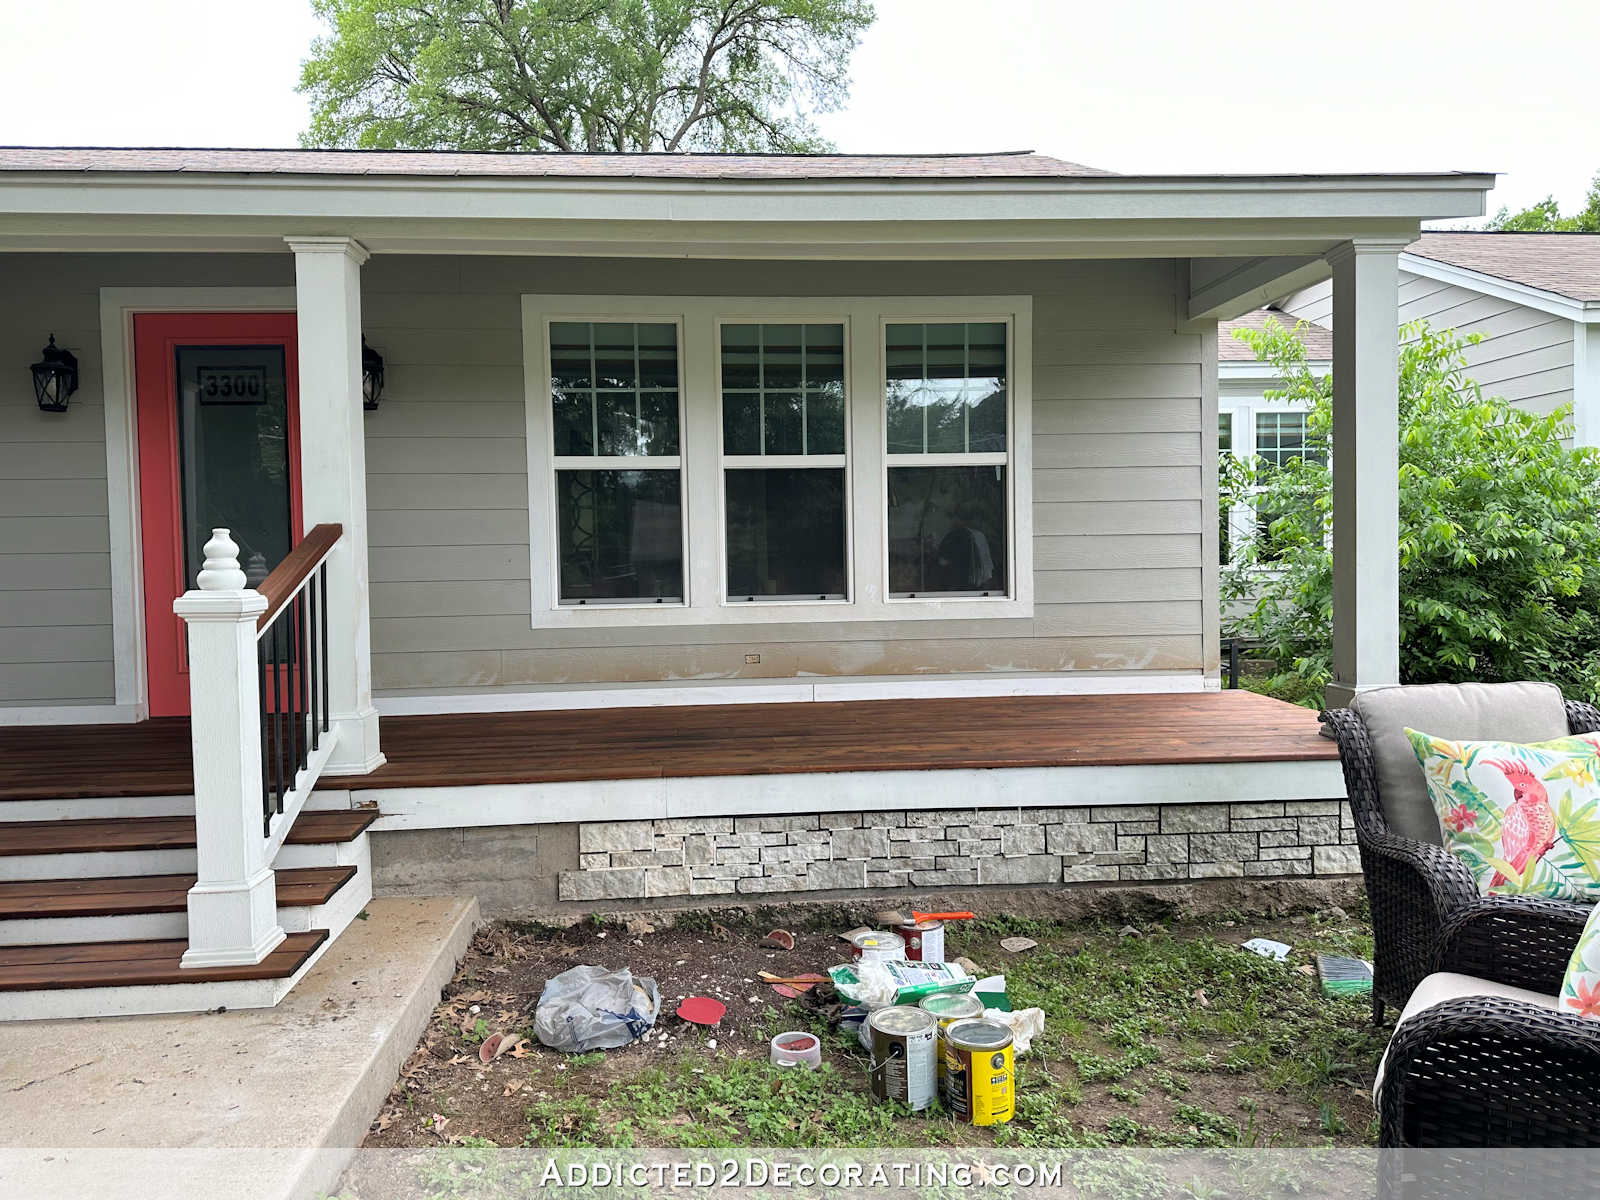
But even from a distance, it’s still orange. And it still clashes with the front door. It’s just not so noticeable from a distance. But as you approach the front door, the porch gets more and more orange the closer you get to it.
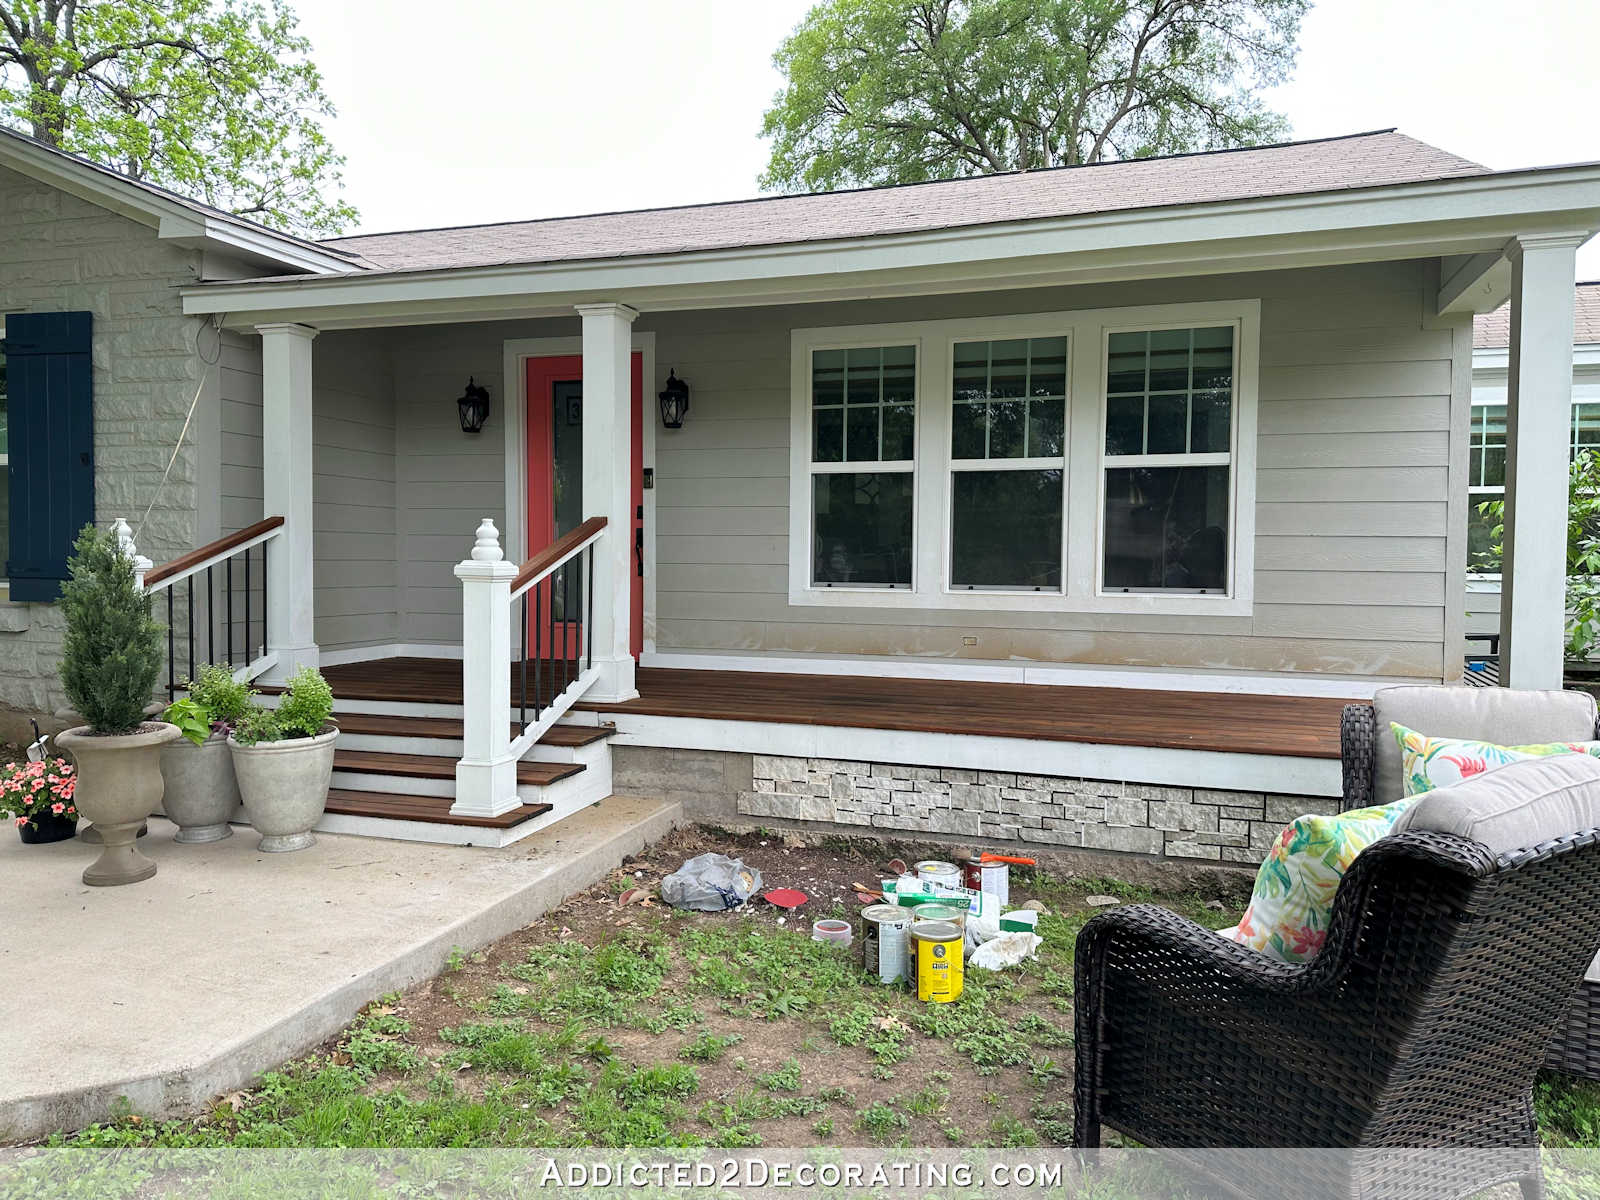
So now I have to figure out how to fix this. I called the company, and the woman I spoke with said they have a color called Mission Brown that is dark without the orange/red undertones (a color that I didn’t see on any of their sample cards…ugh!), and I could use that to do another coat over the Dark Walnut to cut the orange. The problem with that idea is that unless Mission Brown actually has green undertones to it, I don’t think it’s going to be enough to cut the orange/red color of this Dark Walnut. I need some actual green or bluish green to cut counteract this orange/red color. Just a neutral brown (which is how she described it) may not be enough. But that’s what she recommended, so that’s one option.
She also said that some contractors will add pigments to the stain to get a custom color. She didn’t recommend that option because it may affect the performance of the sealer, and it would be something I’d have to try at my own risk (meaning, if the performance of the sealer fails, they’re not at fault, obviously), but it’s still something I may consider. It just has to be a pigment that is compatible with oil-based products. Heck, I have small tubes of green and blue oil-based paint. I may even try adding those to the leftover stain to see if that eliminates the orange/red color.
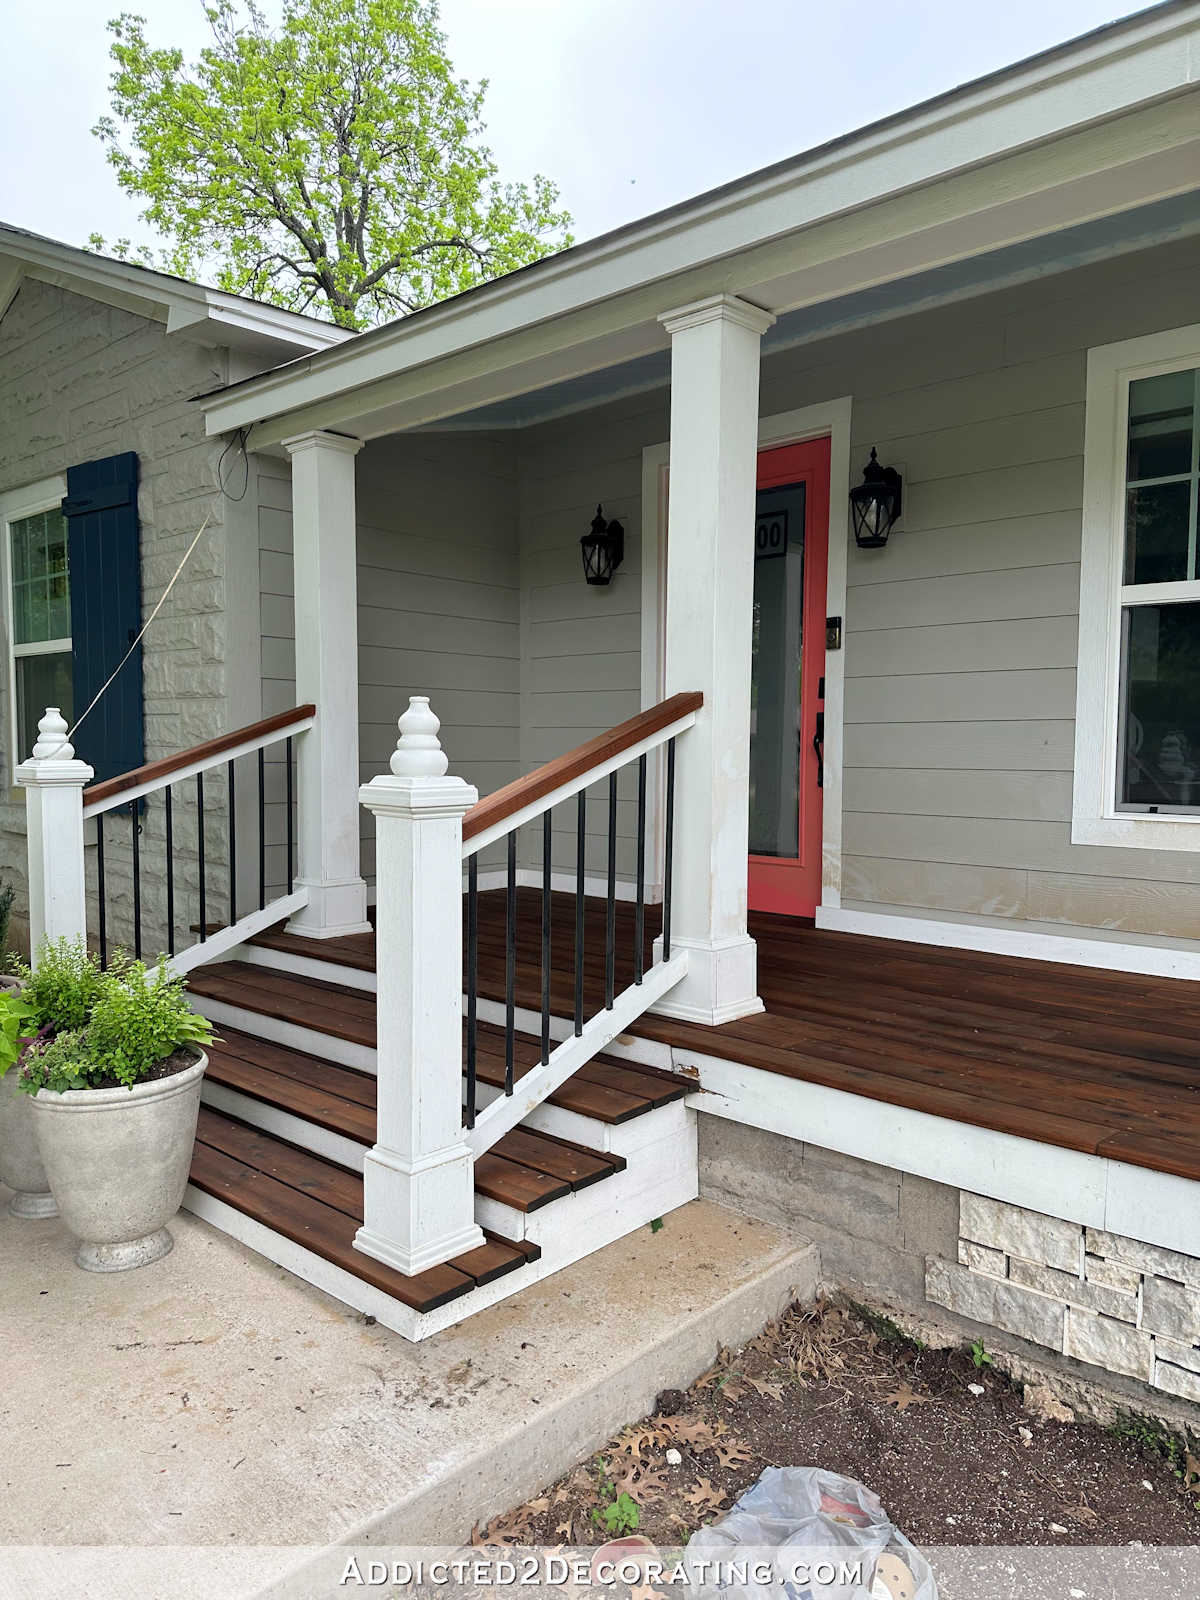
So I don’t have it figured out yet. But what I do know is that I have to come up with a solution, because having an orange wood front porch that clashes with my coral door is not an option.
As far as the product itself goes (apart from the color), Ready Seal seems pretty great. It was very easy to apply. I just used a large 4-inch brush for oil-based products, and it went on very easily and smoothly. I stirred it very thoroughly before using it, and then stirred it a few times during application just to keep the pigments from settling to the bottom. But as far as application goes, it really is goof proof, just as the label says. Now I just need to get the color right.

Addicted 2 Decorating is where I share my DIY and decorating journey as I remodel and decorate the 1948 fixer upper that my husband, Matt, and I bought in 2013. Matt has M.S. and is unable to do physical work, so I do the majority of the work on the house by myself. You can learn more about me here.
I hope you’ll join me on my DIY and decorating journey! If you want to follow my projects and progress, you can subscribe below and have each new post delivered to your email inbox. That way you’ll never miss a thing!


